ASSEMBLING FUSELAGE SIDES WITH HEAVIER-DENSITY, THINNER BALSA
By Joe Daly | stunt38060@gmail.com

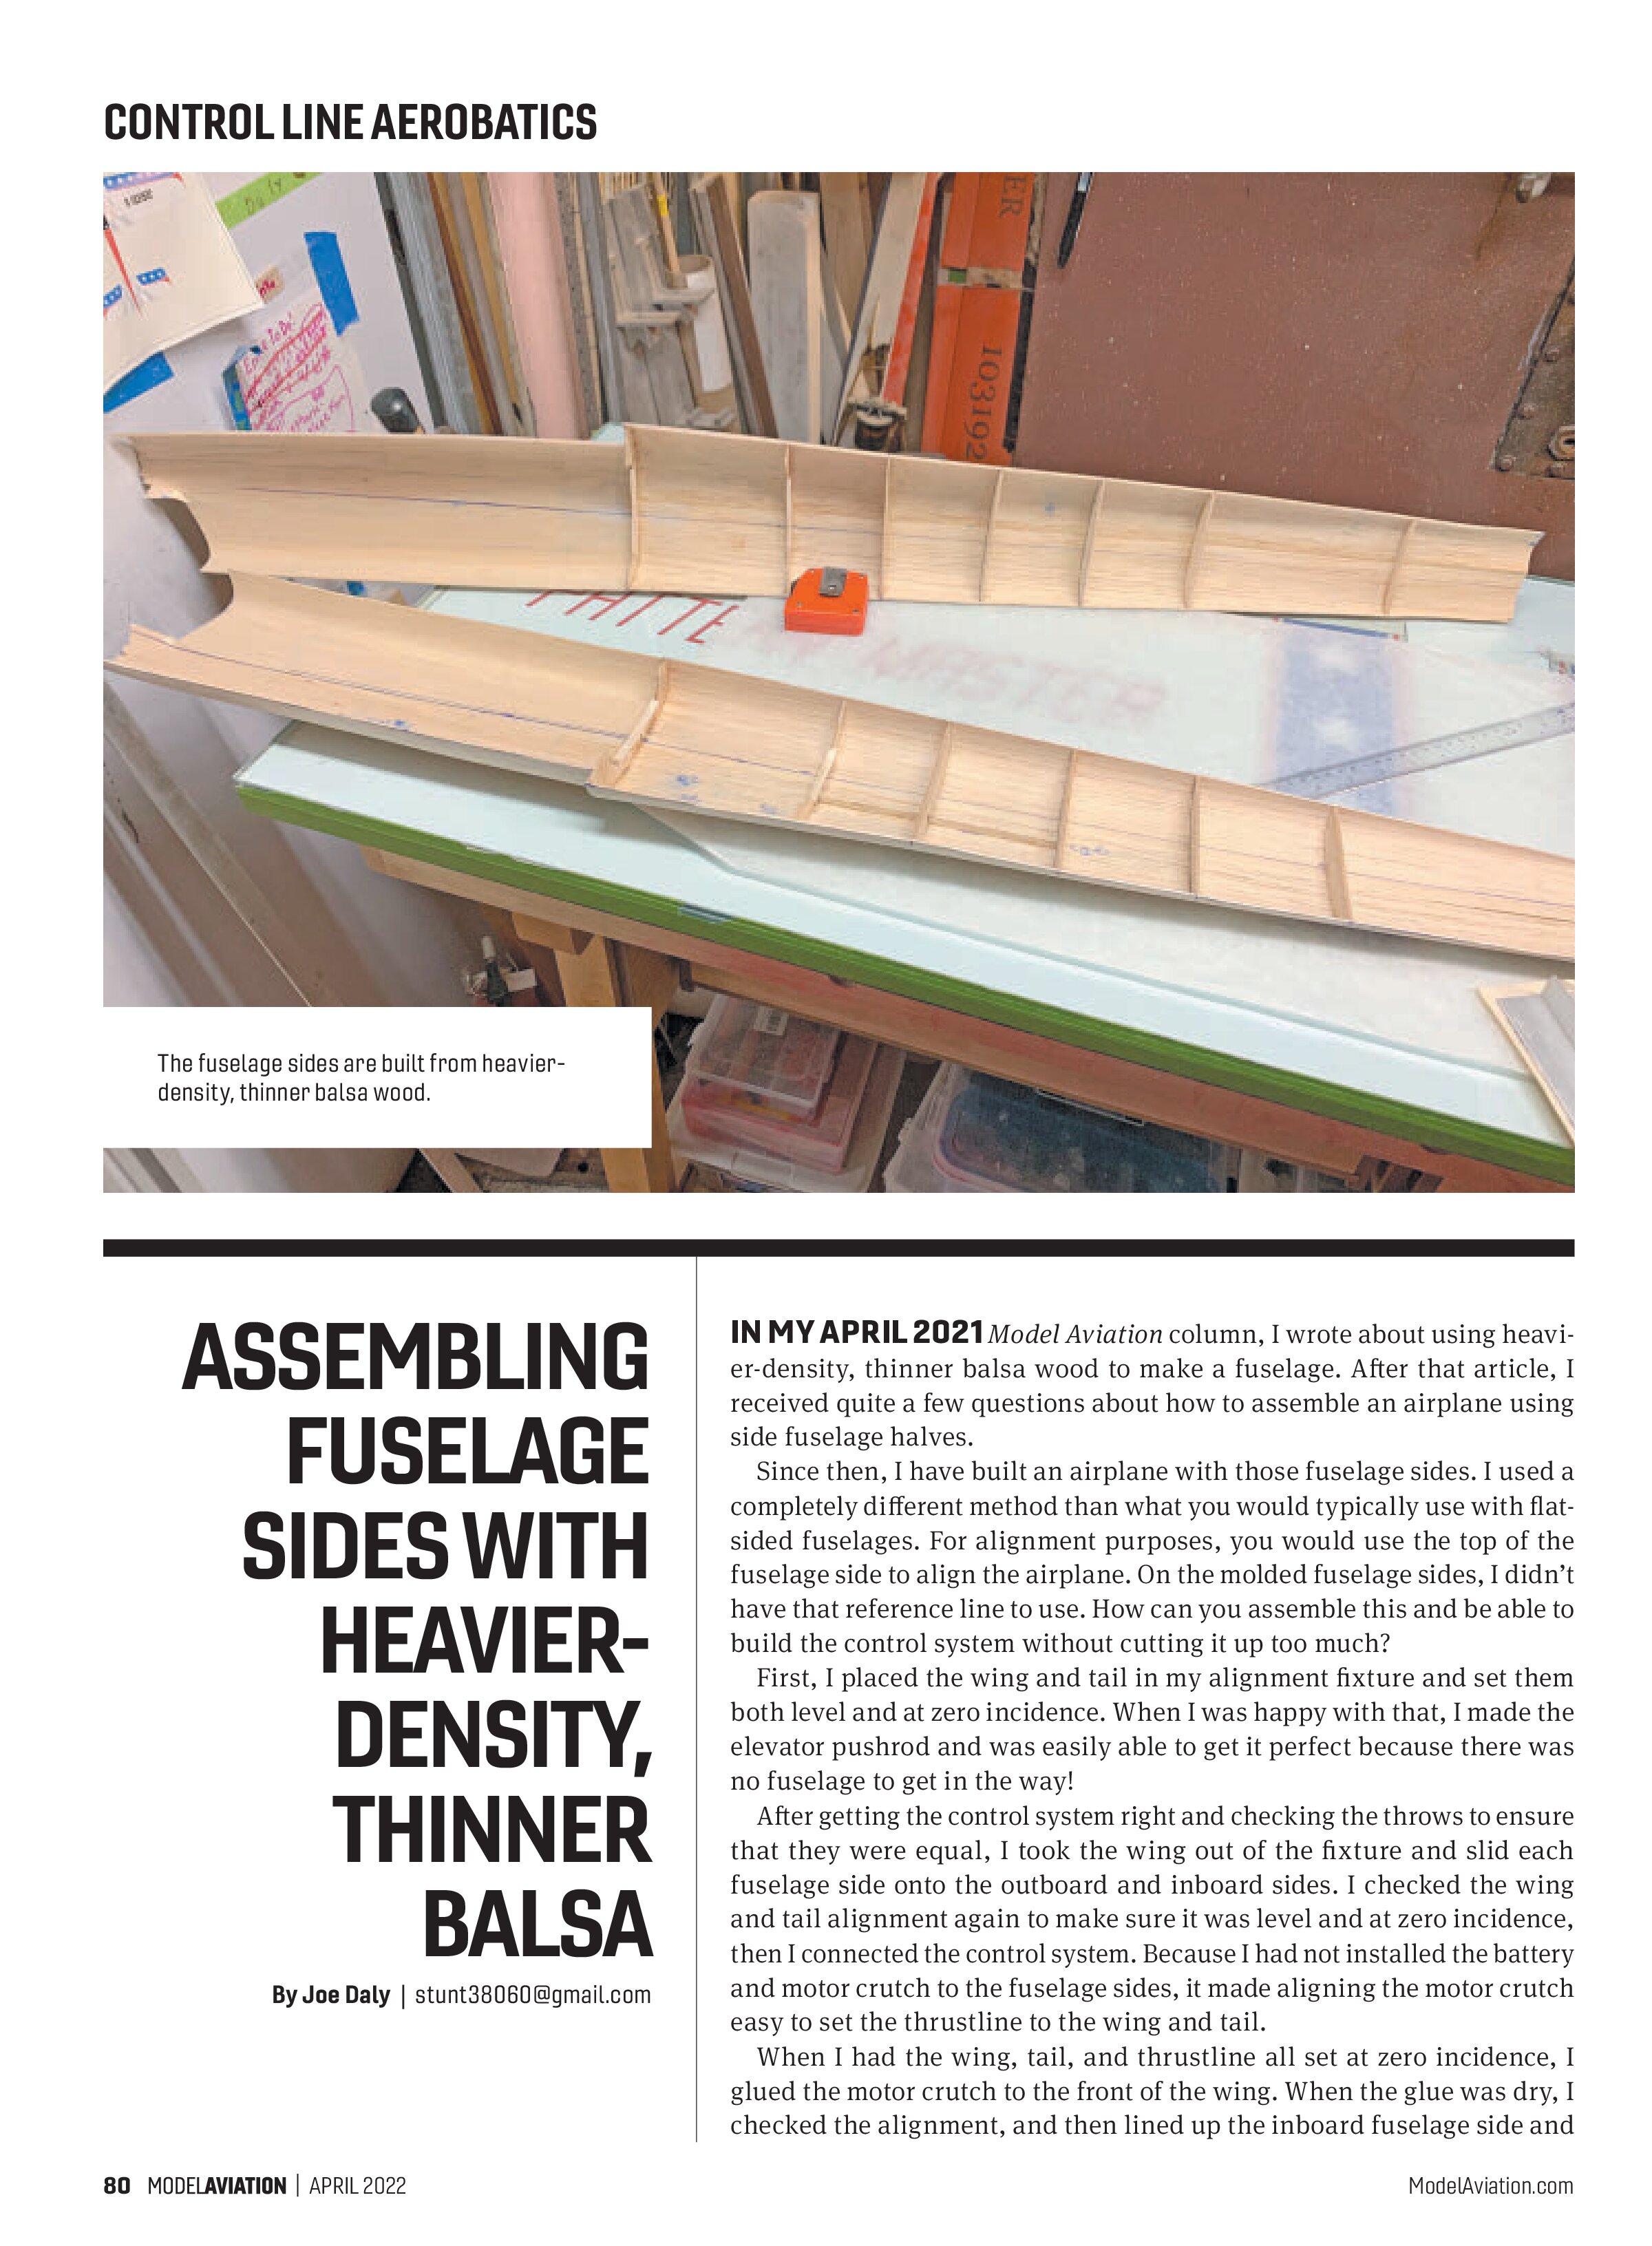
IN MY APRIL 2021 Model Aviation column, I wrote about using heavier-density, thinner balsa wood to make a fuselage. After that article, I received quite a few questions about how to assemble an airplane using side fuselage halves.
Since then, I have built an airplane with those fuselage sides. I used a completely different method than what you would typically use with flat-sided fuselages. For alignment purposes, you would use the top of the fuselage side to align the airplane. On the molded fuselage sides, I didn’t have that reference line to use. How can you assemble this and be able to build the control system without cutting it up too much?
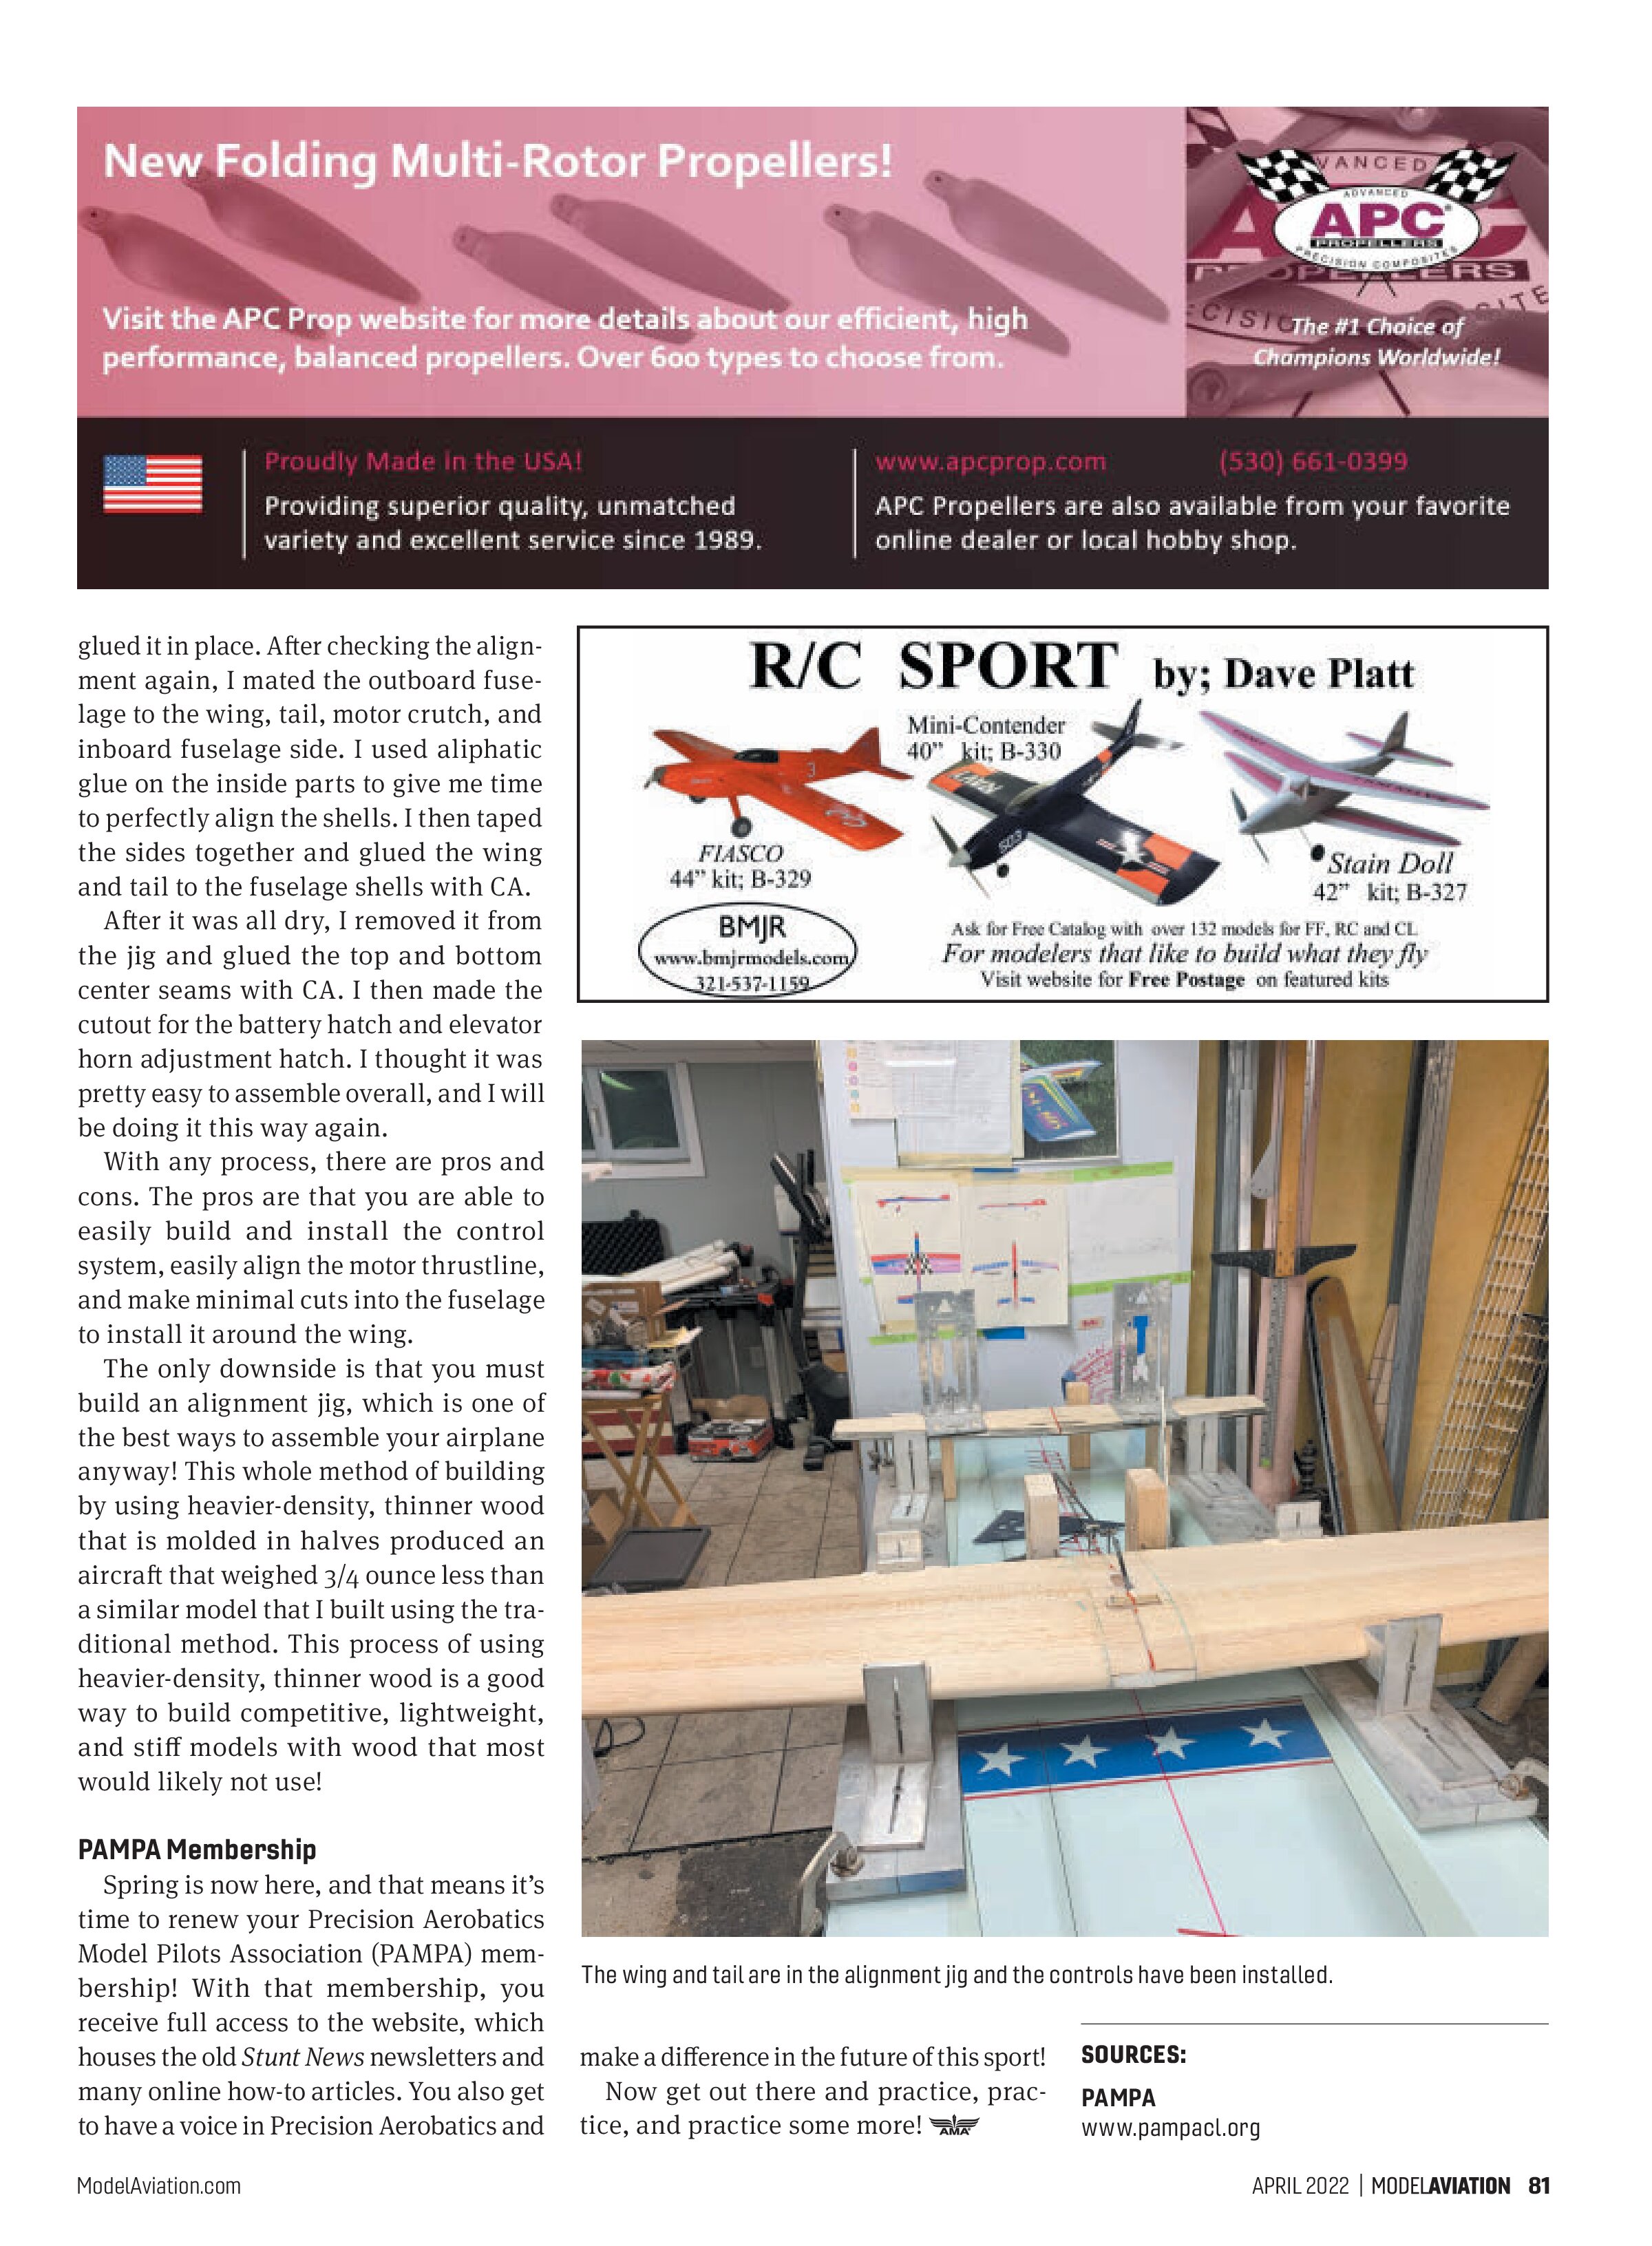
First, I placed the wing and tail in my alignment fixture and set them both level and at zero incidence. When I was happy with that, I made the elevator pushrod and was easily able to get it perfect because there was no fuselage to get in the way!
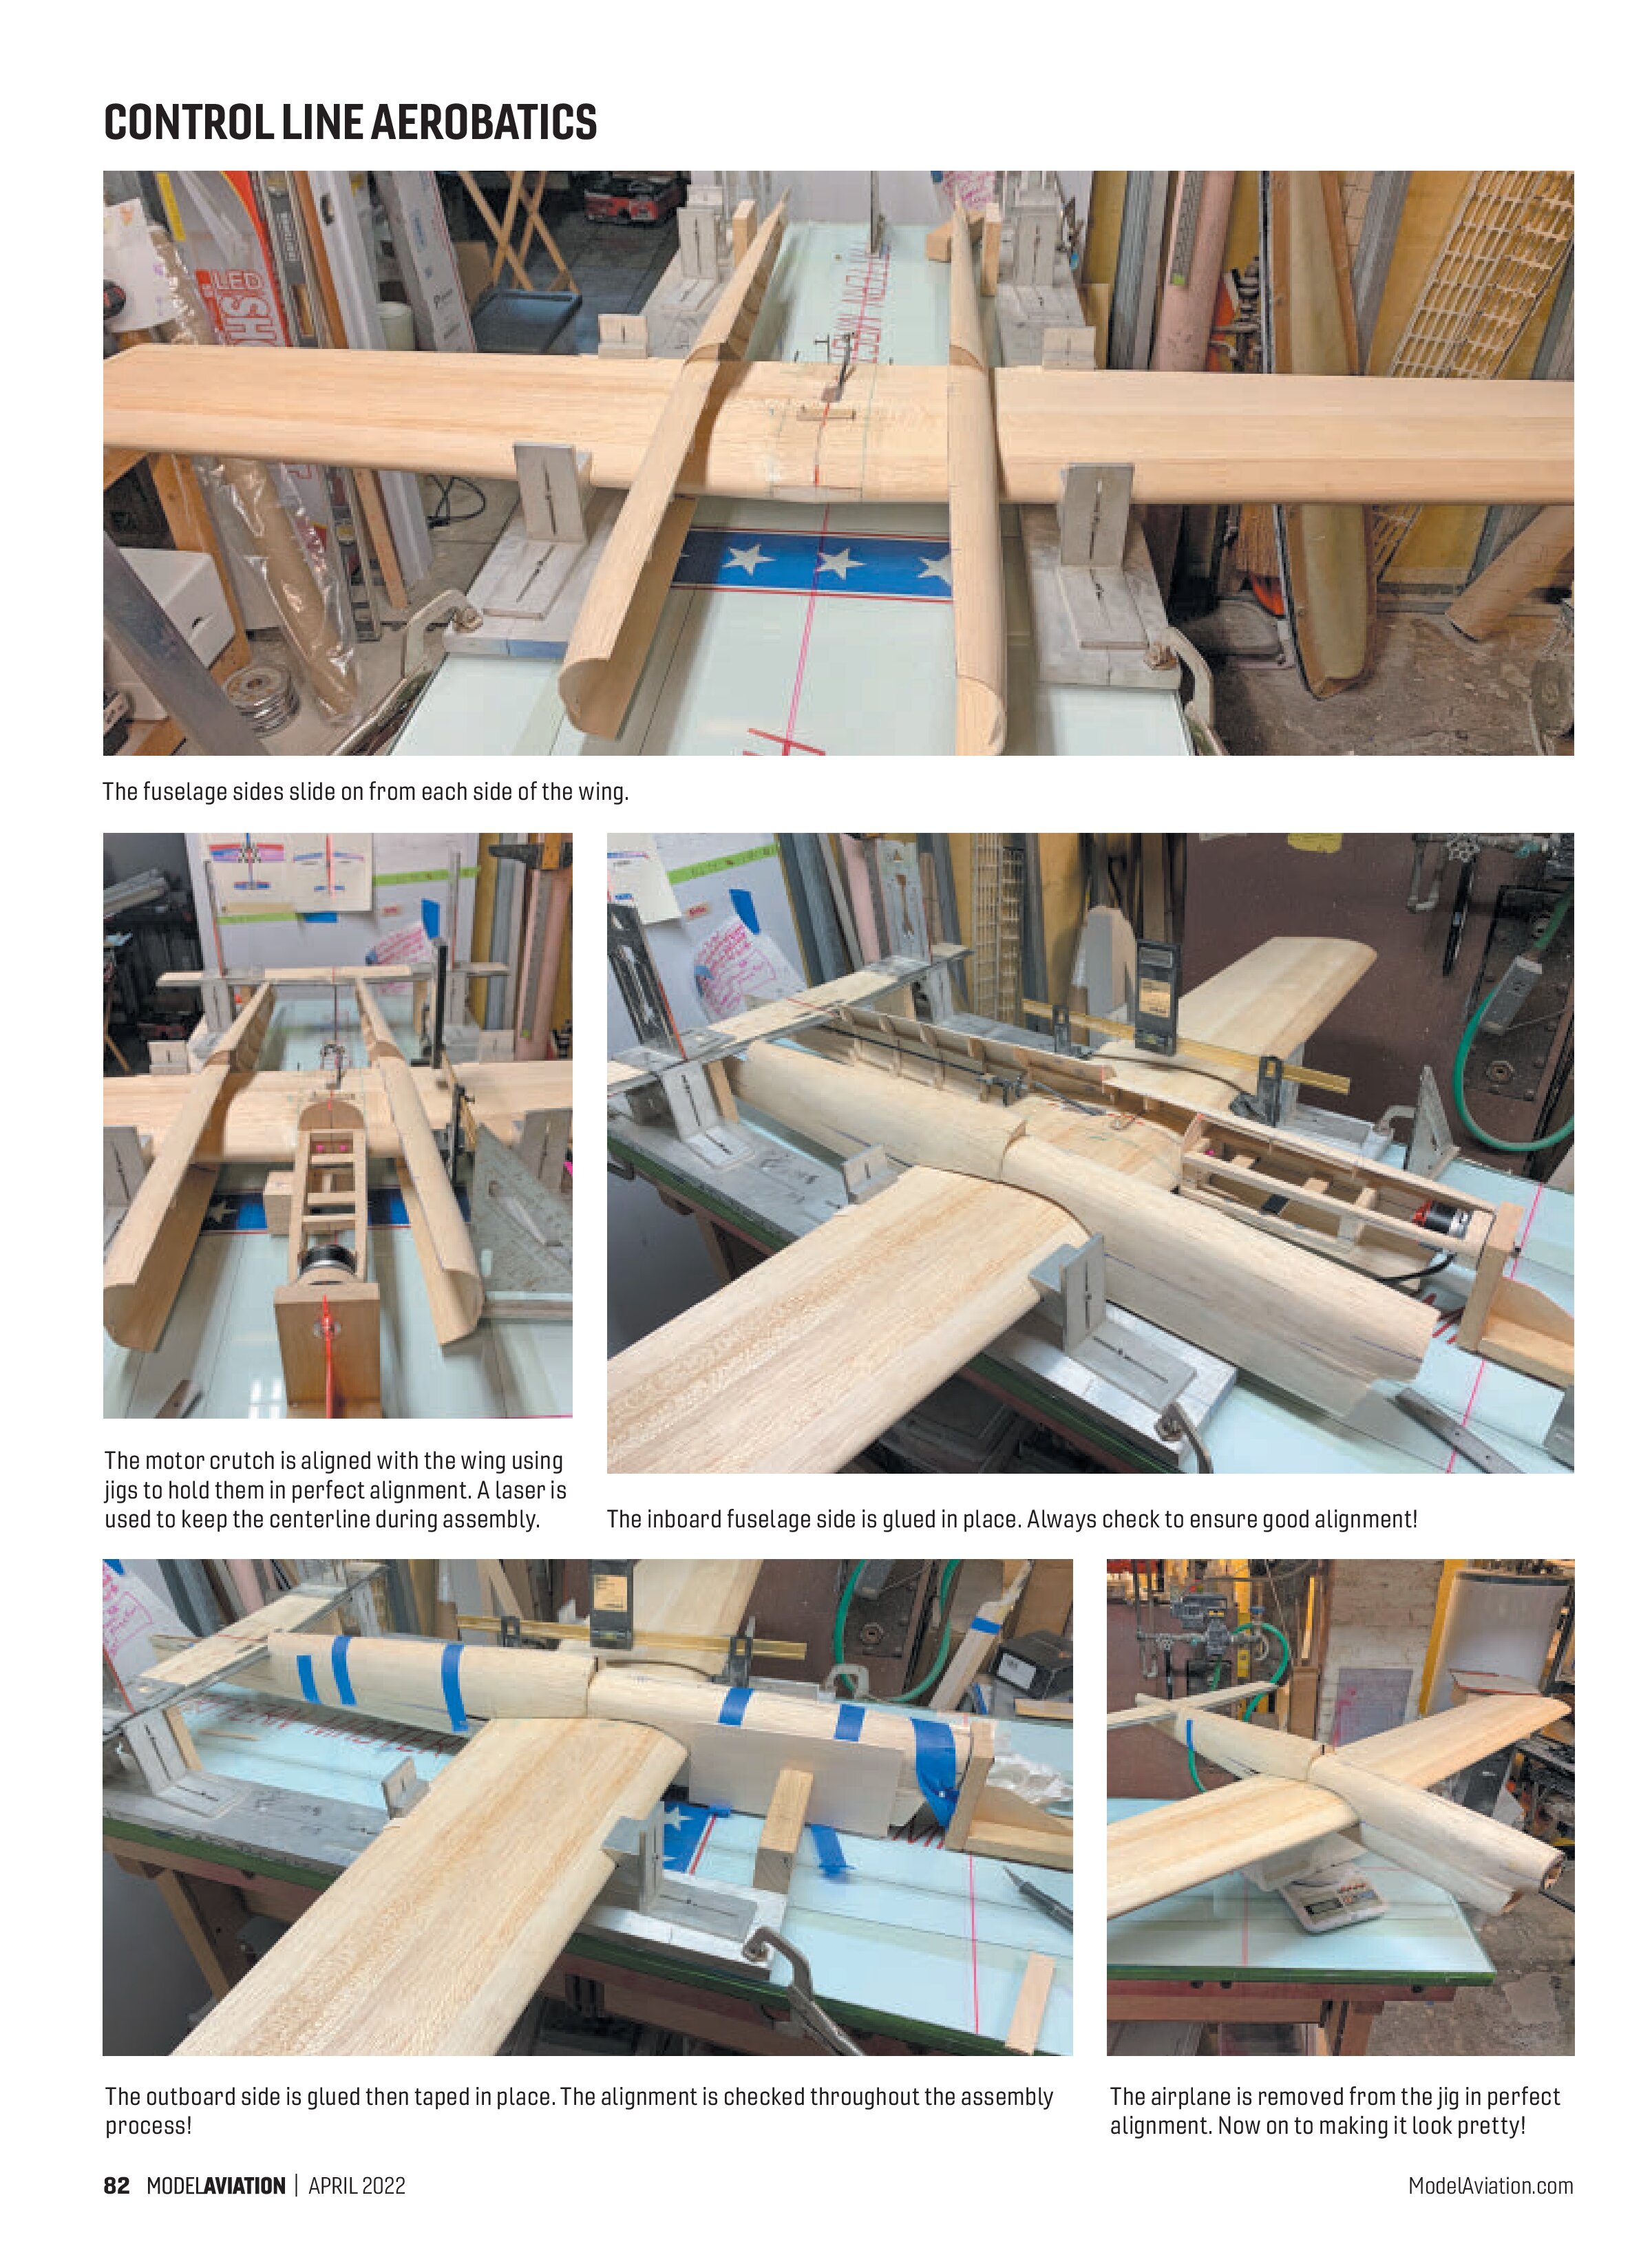
After getting the control system right and checking the throws to ensure that they were equal, I took the wing out of the fixture and slid each fuselage side onto the outboard and inboard sides. I checked the wing and tail alignment again to make sure it was level and at zero incidence, then I connected the control system. Because I had not installed the battery and motor crutch to the fuselage sides, it made aligning the motor crutch easy to set the thrustline to the wing and tail.
When I had the wing, tail, and thrustline all set at zero incidence, I glued the motor crutch to the front of the wing. When the glue was dry, I checked the alignment, and then lined up the inboard fuselage side and glued it in place. After checking the alignment again, I mated the outboard fuselage to the wing, tail, motor crutch, and inboard fuselage side. I used aliphatic glue on the inside parts to give me time to perfectly align the shells. I then taped the sides together and glued the wing and tail to the fuselage shells with CA.
After it was all dry, I removed it from the jig and glued the top and bottom center seams with CA. I then made the cutout for the battery hatch and elevator horn adjustment hatch. I thought it was pretty easy to assemble overall, and I will be doing it this way again.
With any process, there are pros and cons. The pros are that you are able to easily build and install the control system, easily align the motor thrustline, and make minimal cuts into the fuselage to install it around the wing.
The only downside is that you must build an alignment jig, which is one of the best ways to assemble your airplane anyway! This whole method of building by using heavier-density, thinner wood that is molded in halves produced an aircraft that weighed 3/4 ounce less than a similar model that I built using the traditional method. This process of using heavier-density, thinner wood is a good way to build competitive, lightweight, and stiff models with wood that most would likely not use!
PAMPA Membership
Spring is now here, and that means it’s time to renew your Precision Aerobatics Model Pilots Association (PAMPA) membership! With that membership, you receive full access to the website, which houses the old Stunt News newsletters and many online how-to articles. You also get to have a voice in Precision Aerobatics and make a difference in the future of this sport!
Now get out there and practice, practice, and practice some more!

SOURCES:
PAMPA
www.pampacl.org