CONTROL LINE AEROBATICS
HOW POINTY IS YOUR STABILIZER?
By Joe Daly | stunt38060@gmail.com
THIS COLUMN IS GOING to focus on the back end of our airplanes. I believe the stabilizer is one of the most critical components of a well-flying Control Line (CL) Precision Aerobatics (Stunt) aircraft. Besides the basics, such as being rigid, straight, and a reasonable weight, the stabilizer design seems to be a key factor in an airplane’s performance, especially when it comes to tracking and that dead-flat pullout we all look for!
There has been a lot of discussion on the “pointy leading edge [LE]” in the Stunthanger forum about how and why it works. Well, I have used the pointy LE stabilizer on my design, and I can say it works for me! The only challenge is keeping the point from being dented because once it is dented, fixing it is a pain. On my last few models, I have solved that issue; in fact, you might even be able to shave with mine. I have quite a few fliers asking how I got it so sharp, and now I will share!
For last year’s airplane, I actually built three stabilizers. I used a different building method with each one to see which would be the stiffest and lightest. One was foam and the other two were built-up, and all three had a pointy LE. In the end, I ended up using the foam one because I felt it was the stiffest and the right weight for my design.
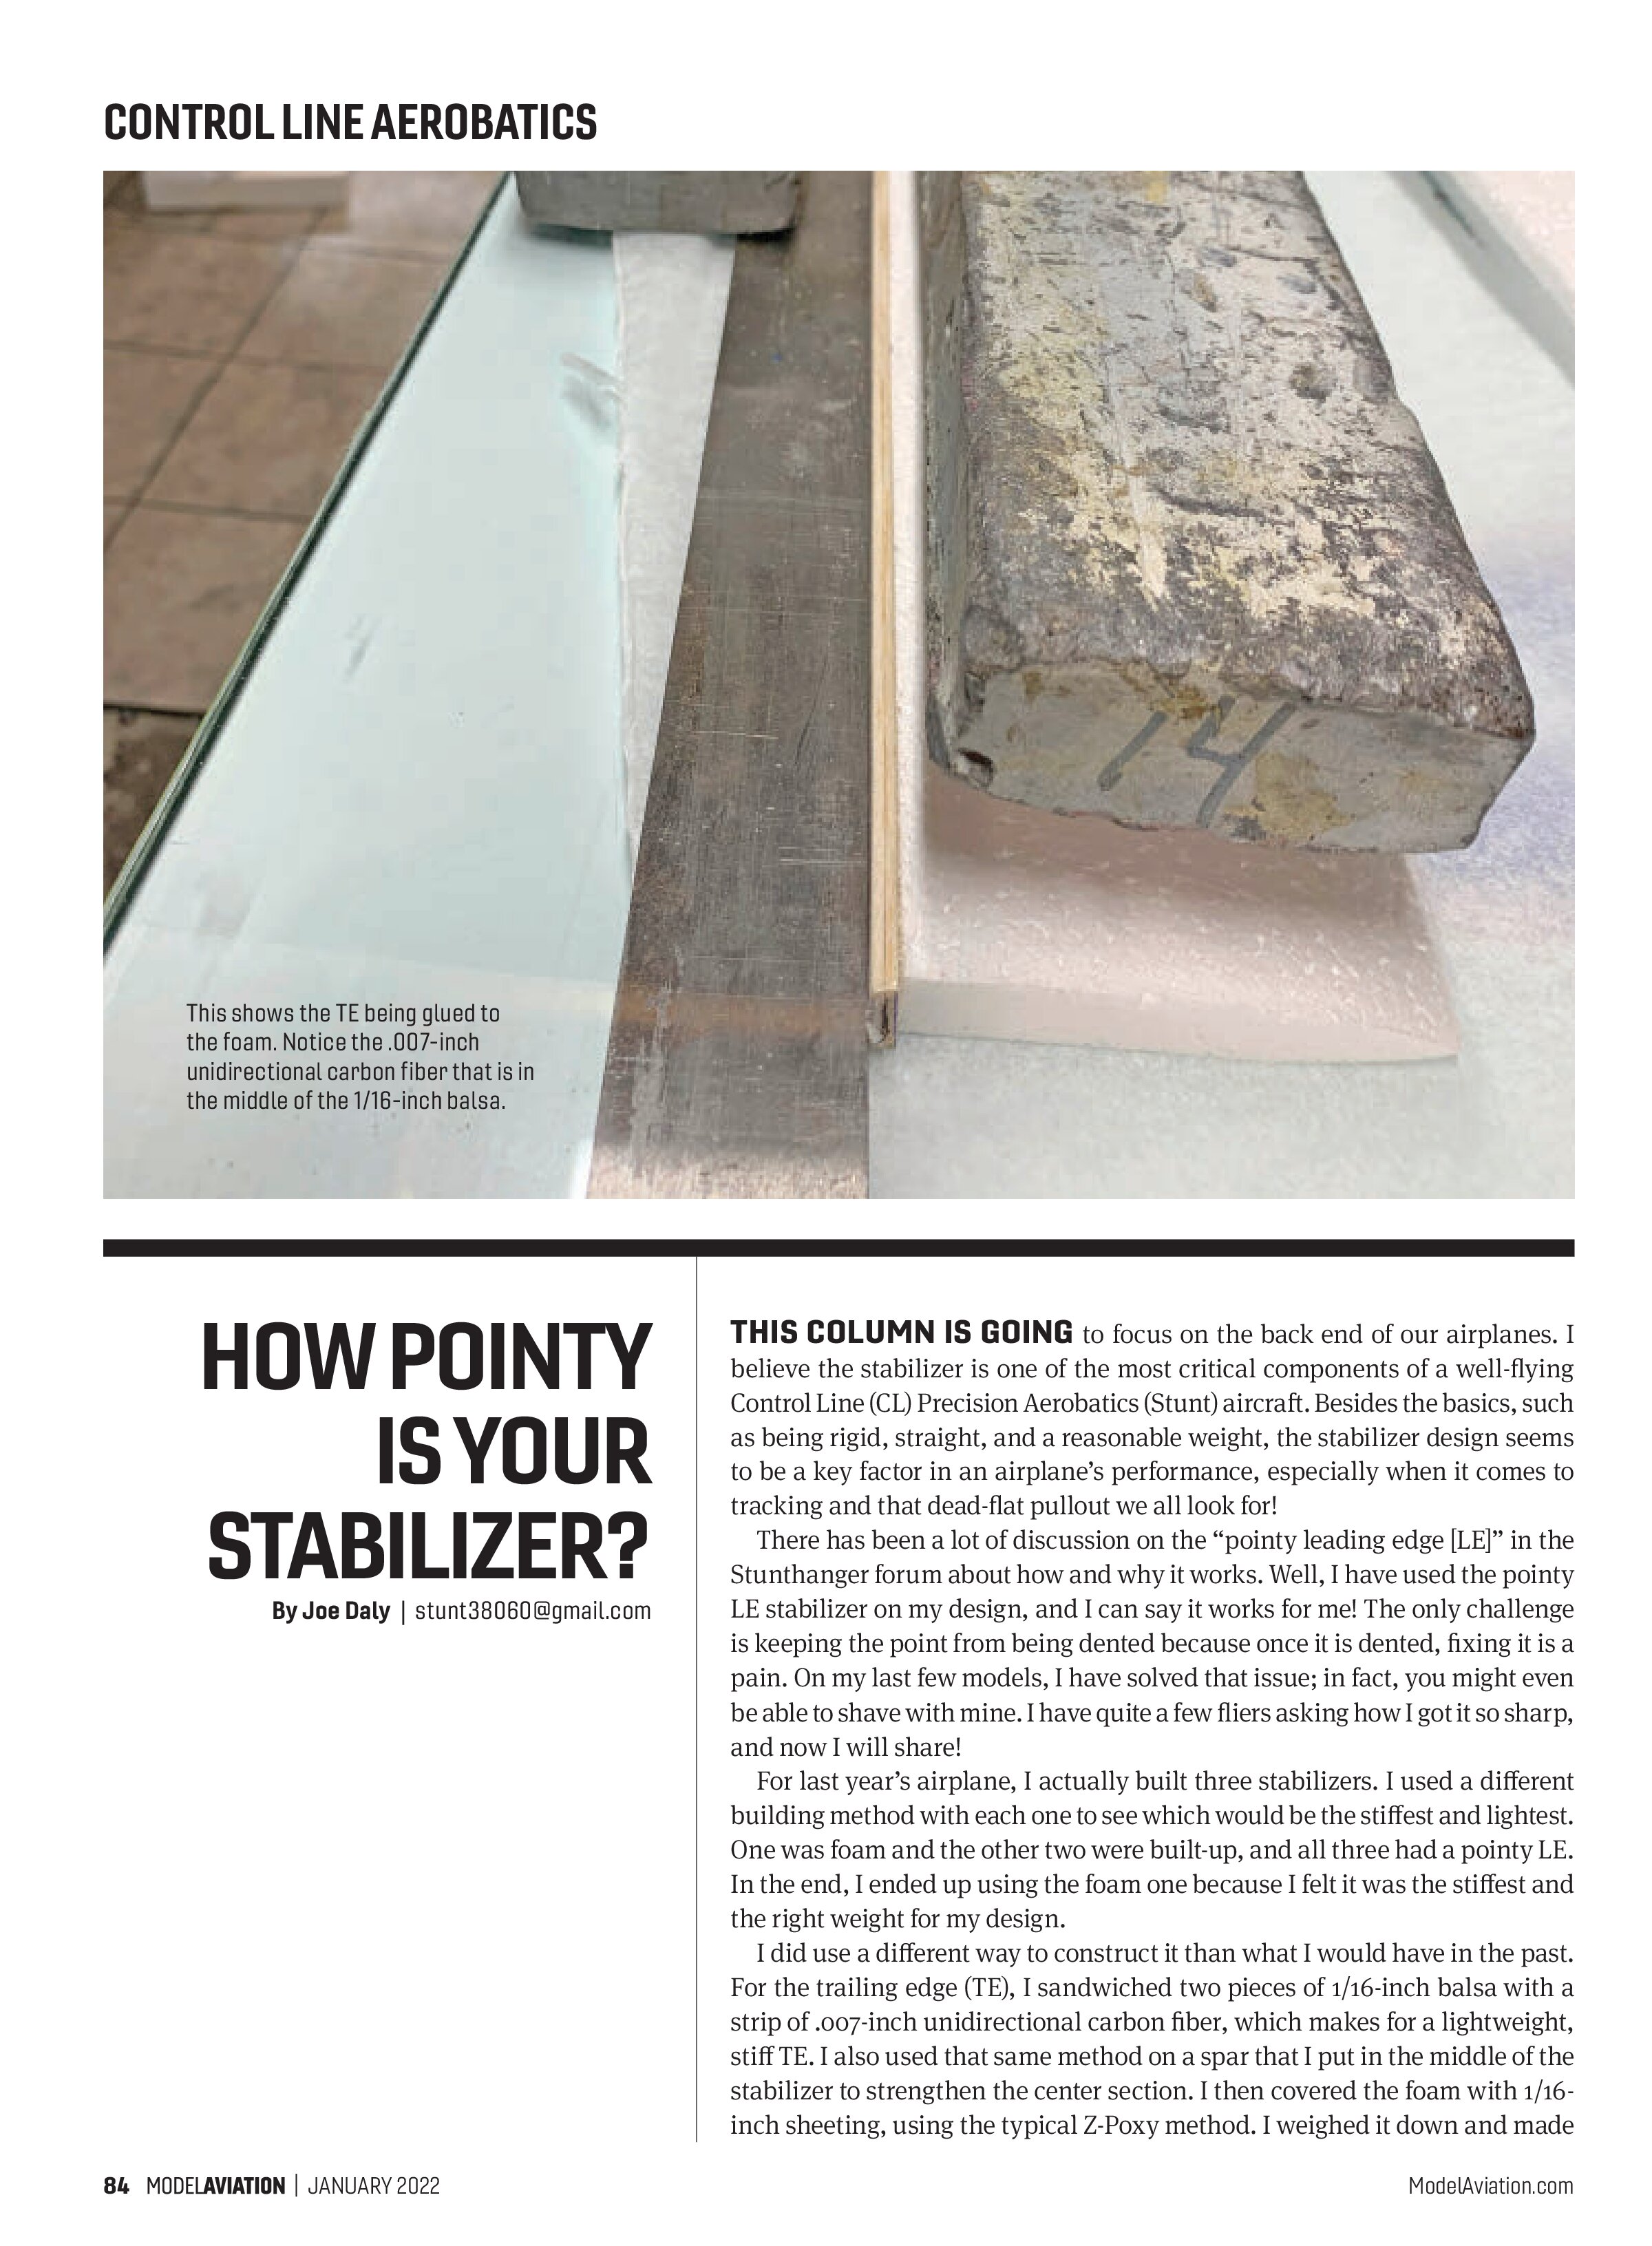
I did use a different way to construct it than what I would have in the past. For the trailing edge (TE), I sandwiched two pieces of 1/16-inch balsa with a strip of .007-inch unidirectional carbon fiber, which makes for a lightweight, stiff TE. I also used that same method on a spar that I put in the middle of the stabilizer to strengthen the center section. I then covered the foam with 1/16-inch sheeting, using the typical Z-Poxy method. I weighed it down and made sure the LE sheeting would come to a point.

After the Z-Poxy had dried, I capped the TE with 1/4-inch balsa and sanded it in. I made sure to round off the edges of the TE. Now on to the point!
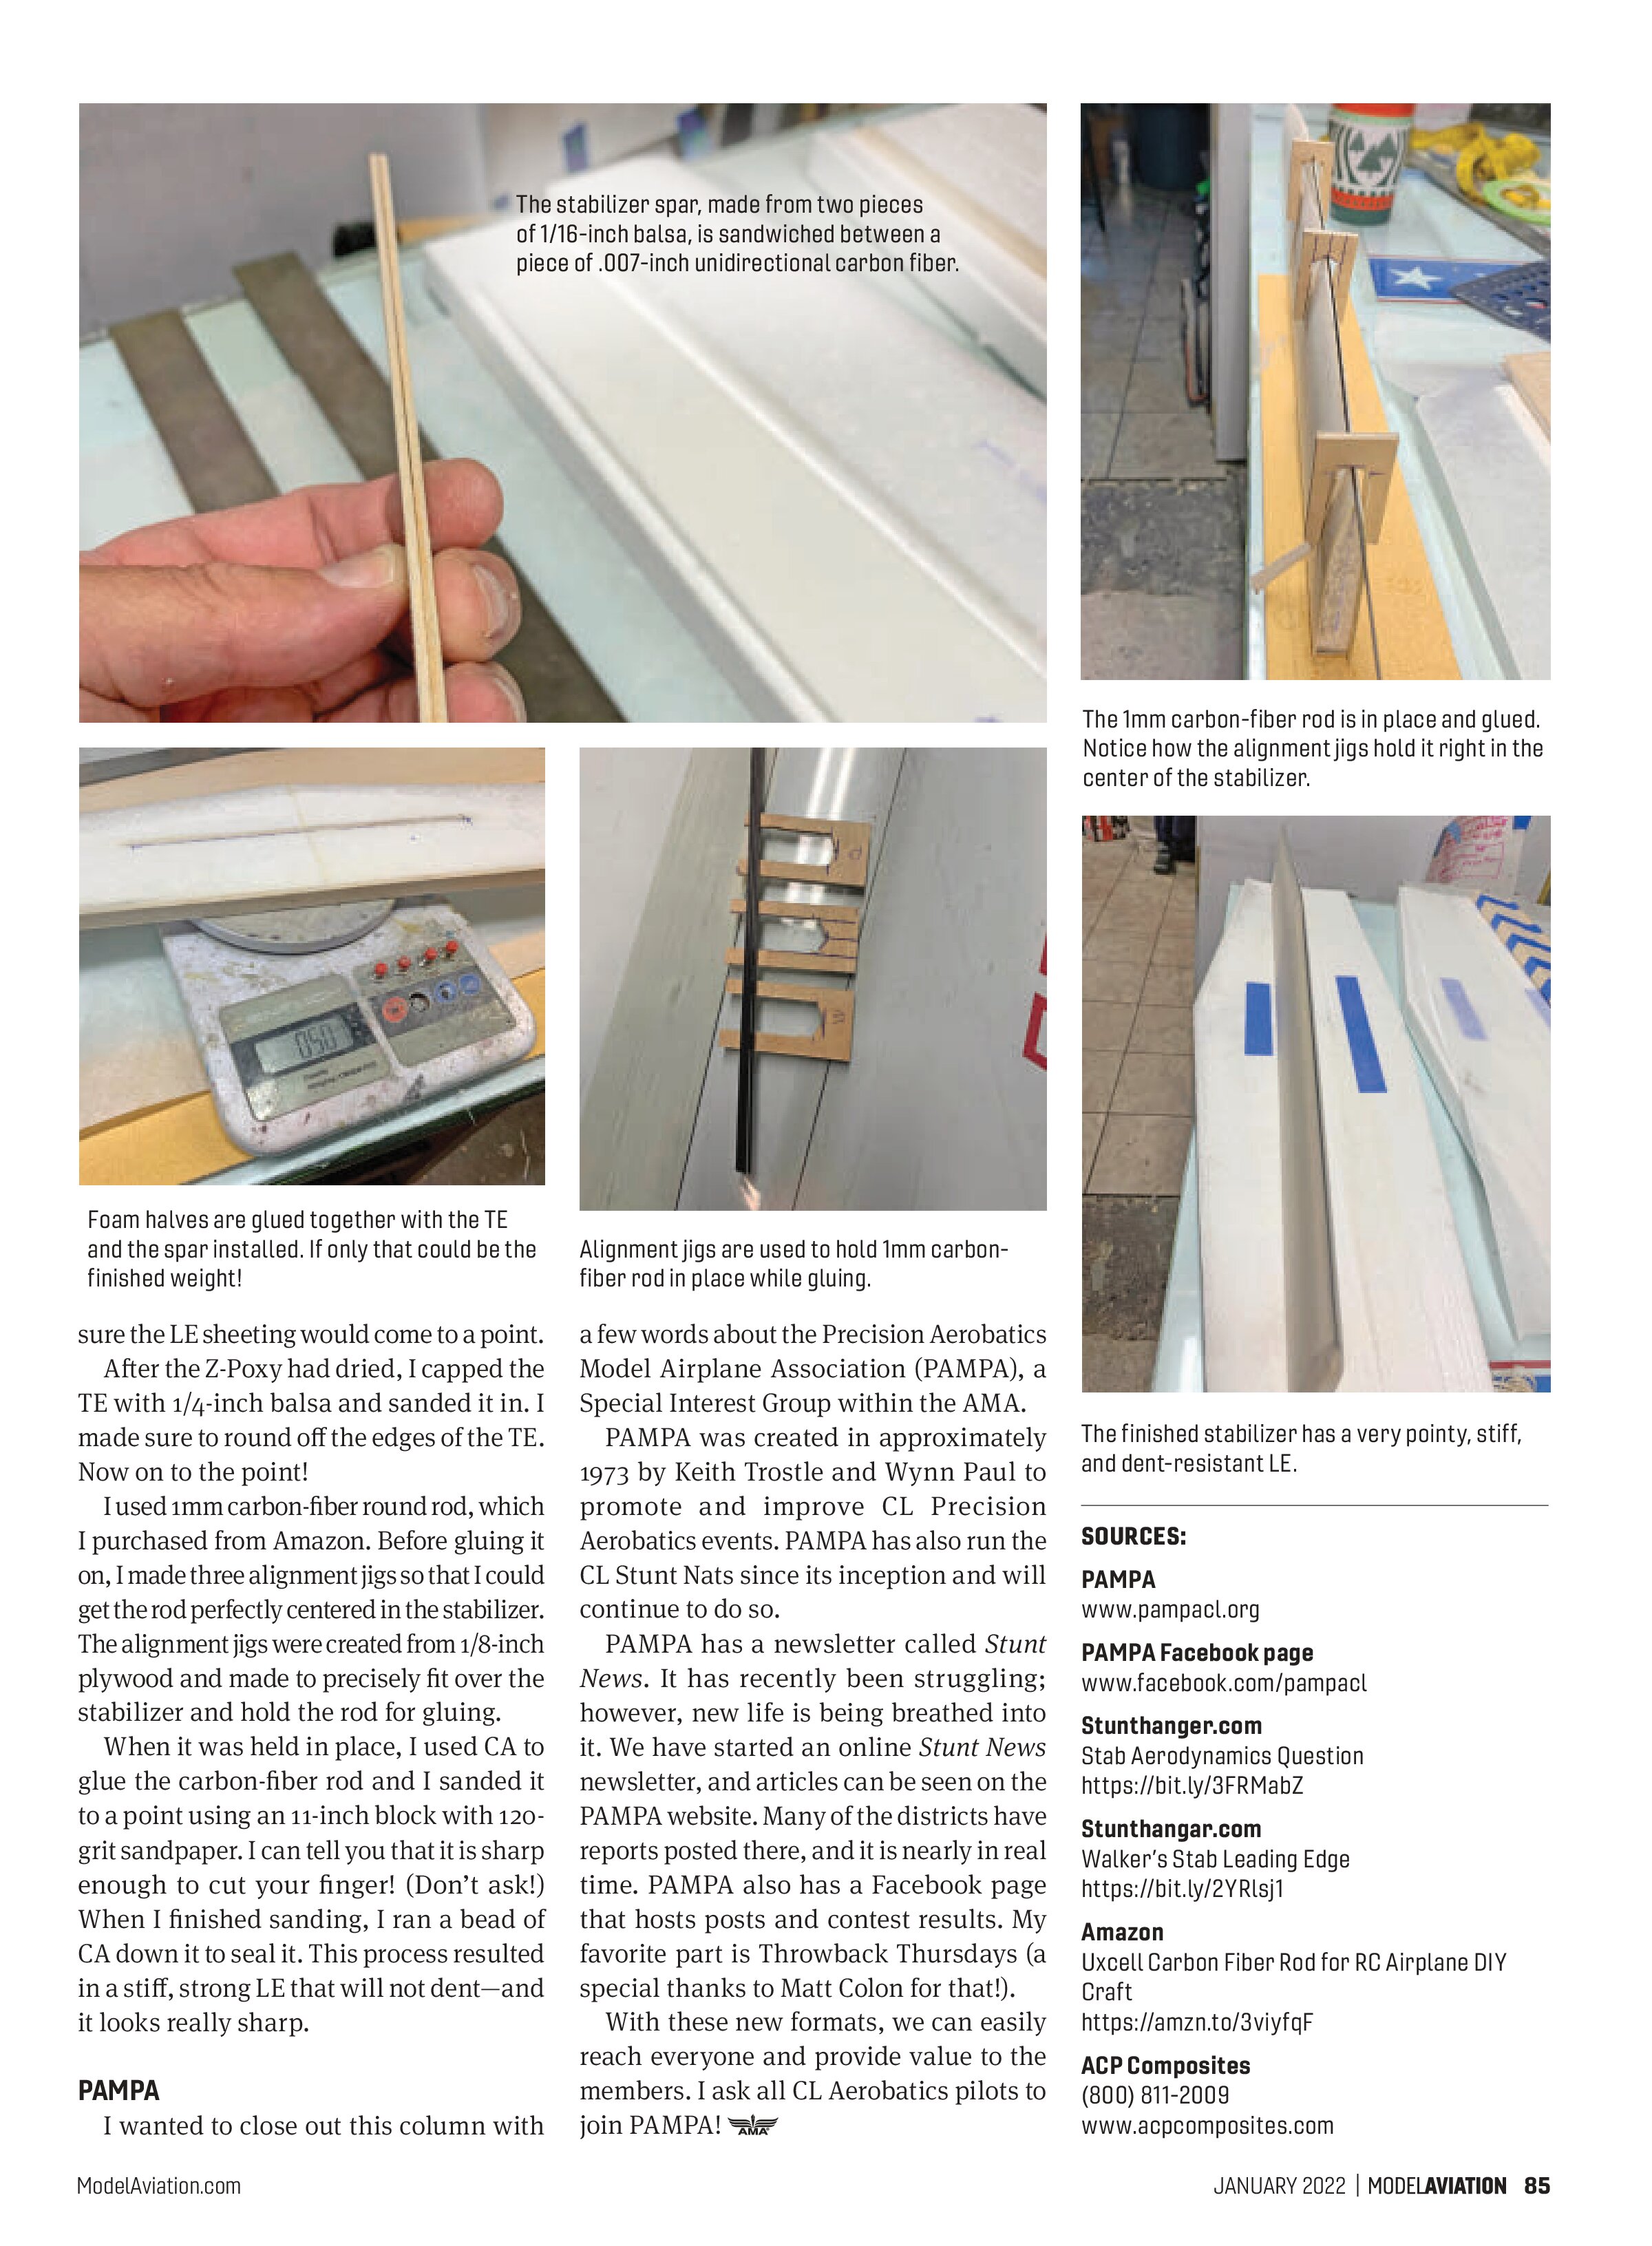
I used 1mm carbon-fiber round rod, which I purchased from Amazon. Before gluing it on, I made three alignment jigs so that I could get the rod perfectly centered in the stabilizer. The alignment jigs were created from 1/8-inch plywood and made to precisely fit over the stabilizer and hold the rod for gluing.
When it was held in place, I used CA to glue the carbon-fiber rod and I sanded it to a point using an 11-inch block with 120-grit sandpaper. I can tell you that it is sharp enough to cut your finger! (Don’t ask!) When I finished sanding, I ran a bead of CA down it to seal it. This process resulted in a stiff, strong LE that will not dent—and it looks really sharp.
PAMPA
I wanted to close out this column with a few words about the Precision Aerobatics Model Airplane Association (PAMPA), a Special Interest Group within the AMA.
PAMPA was created in approximately 1973 by Keith Trostle and Wynn Paul to promote and improve CL Precision Aerobatics events. PAMPA has also run the CL Stunt Nats since its inception and will continue to do so.
PAMPA has a newsletter called Stunt News. It has recently been struggling; however, new life is being breathed into it. We have started an online Stunt News newsletter, and articles can be seen on the PAMPA website. Many of the districts have reports posted there, and it is nearly in real time. PAMPA also has a Facebook page that hosts posts and contest results. My favorite part is Throwback Thursdays (a special thanks to Matt Colon for that!).
With these new formats, we can easily reach everyone and provide value to the members. I ask all CL Aerobatics pilots to join PAMPA!


SOURCES:
PAMPA
www.pampacl.org
PAMPA Facebook page
www.facebook.com/pampacl
Stunthanger.com
Stab Aerodynamics Question
https://bit.ly/3FRMabZ
Stunthanger.com
Walker's Stab Leading Edge
https://bit.ly/2YRIsj1
Amazon
Uxcell Carbon Fiber Rod for RC Airplane DIY Craft
https://amzn.to/3viyfqF
ACP Composites
(800) 811-2009
www.acpcomposites.com