USING THINNER, HEAVY-DENSITY BALSA
By Joe Daly | stunt38060@gmail.com

THERE IS A SHORTAGE of lightweight contest balsa, and the costs are going up, if you can even find it at all. Some of us are lucky and have saved the super-lightweight balsa for that next incredibly special airplane! However, we never seem to use that stash of “unobtanium” balsa, because if we do, we won’t have it anymore!
There was a particularly good thread on the Stunt Hangar forum called “Balsa: Changing the Paradigm” that was started by Bob Hunt. In the thread, there are a lot of ways to “skin the cat,” as we say, from composite parts to all-foam airplanes and what I am writing about—using thinner, heavier-density balsa to build our gorgeous Stunt aircraft.
Although all of the ideas are good and they work, I feel that using the thinner, heavier-density balsa wood is easier for modelers and they can avoid having to buy all sorts of expensive materials. Plus, many of us have a pile of too-heavy wood!
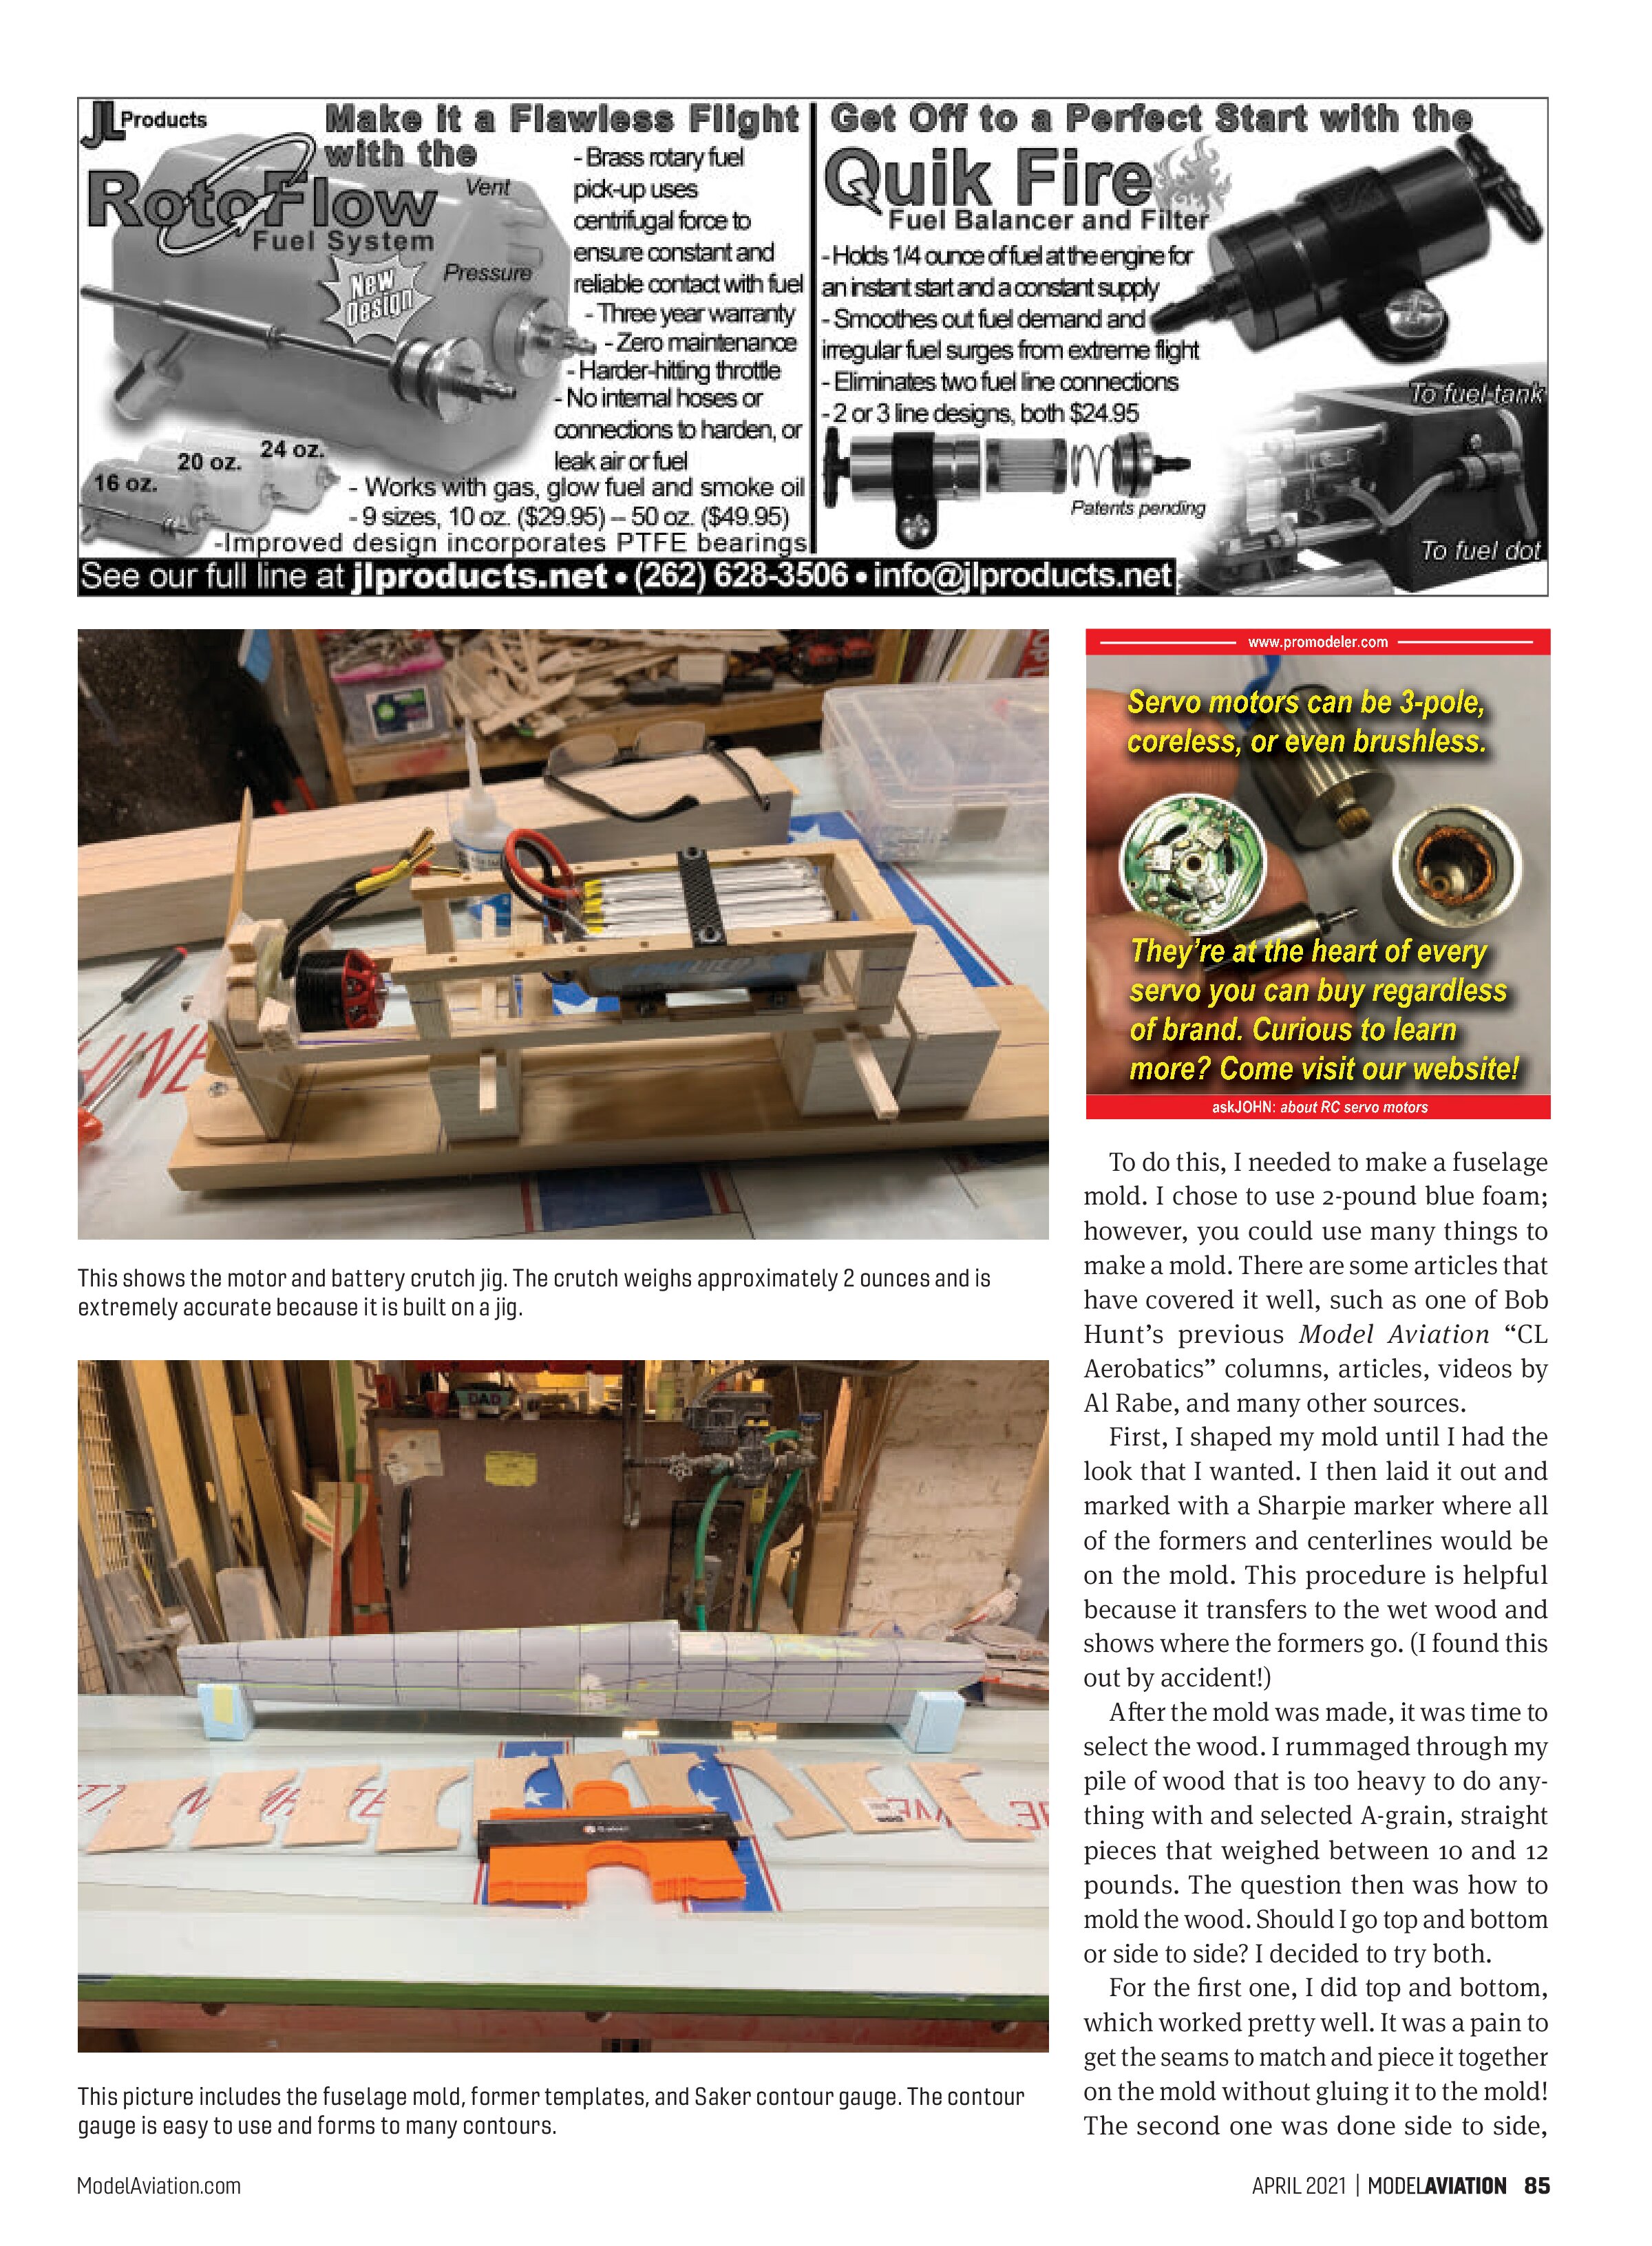
The challenge is how to build a 5-ounce fuselage using 12-pound wood. Most of my fuselages weigh in the 5- to 7-ounce range, including the motor and battery crutch, which weigh approximately 2 ounces on mine. I could probably remove another 1/4 to 1/2 ounce without reducing the strength if I wanted. Most traditional Stunt aircraft are built with 3/32- or 1/8-inch balsa sides using 4- to 5-pound wood.
What if I used 12-pound, 1/16-inch wood? What would it weigh? I did just that, and what I found was that the thinner, heavier-density wood was just as lightweight as using thicker, lower-density wood. What I really liked was the hardness and stiffness of the thinner, higher-density balsa.

To do this, I needed to make a fuselage mold. I chose to use 2-pound blue foam; however, you could use many things to make a mold. There are some articles that have covered it well, such as one of Bob Hunt’s previous Model Aviation “CL Aerobatics” columns, articles, videos by Al Rabe, and many other sources.
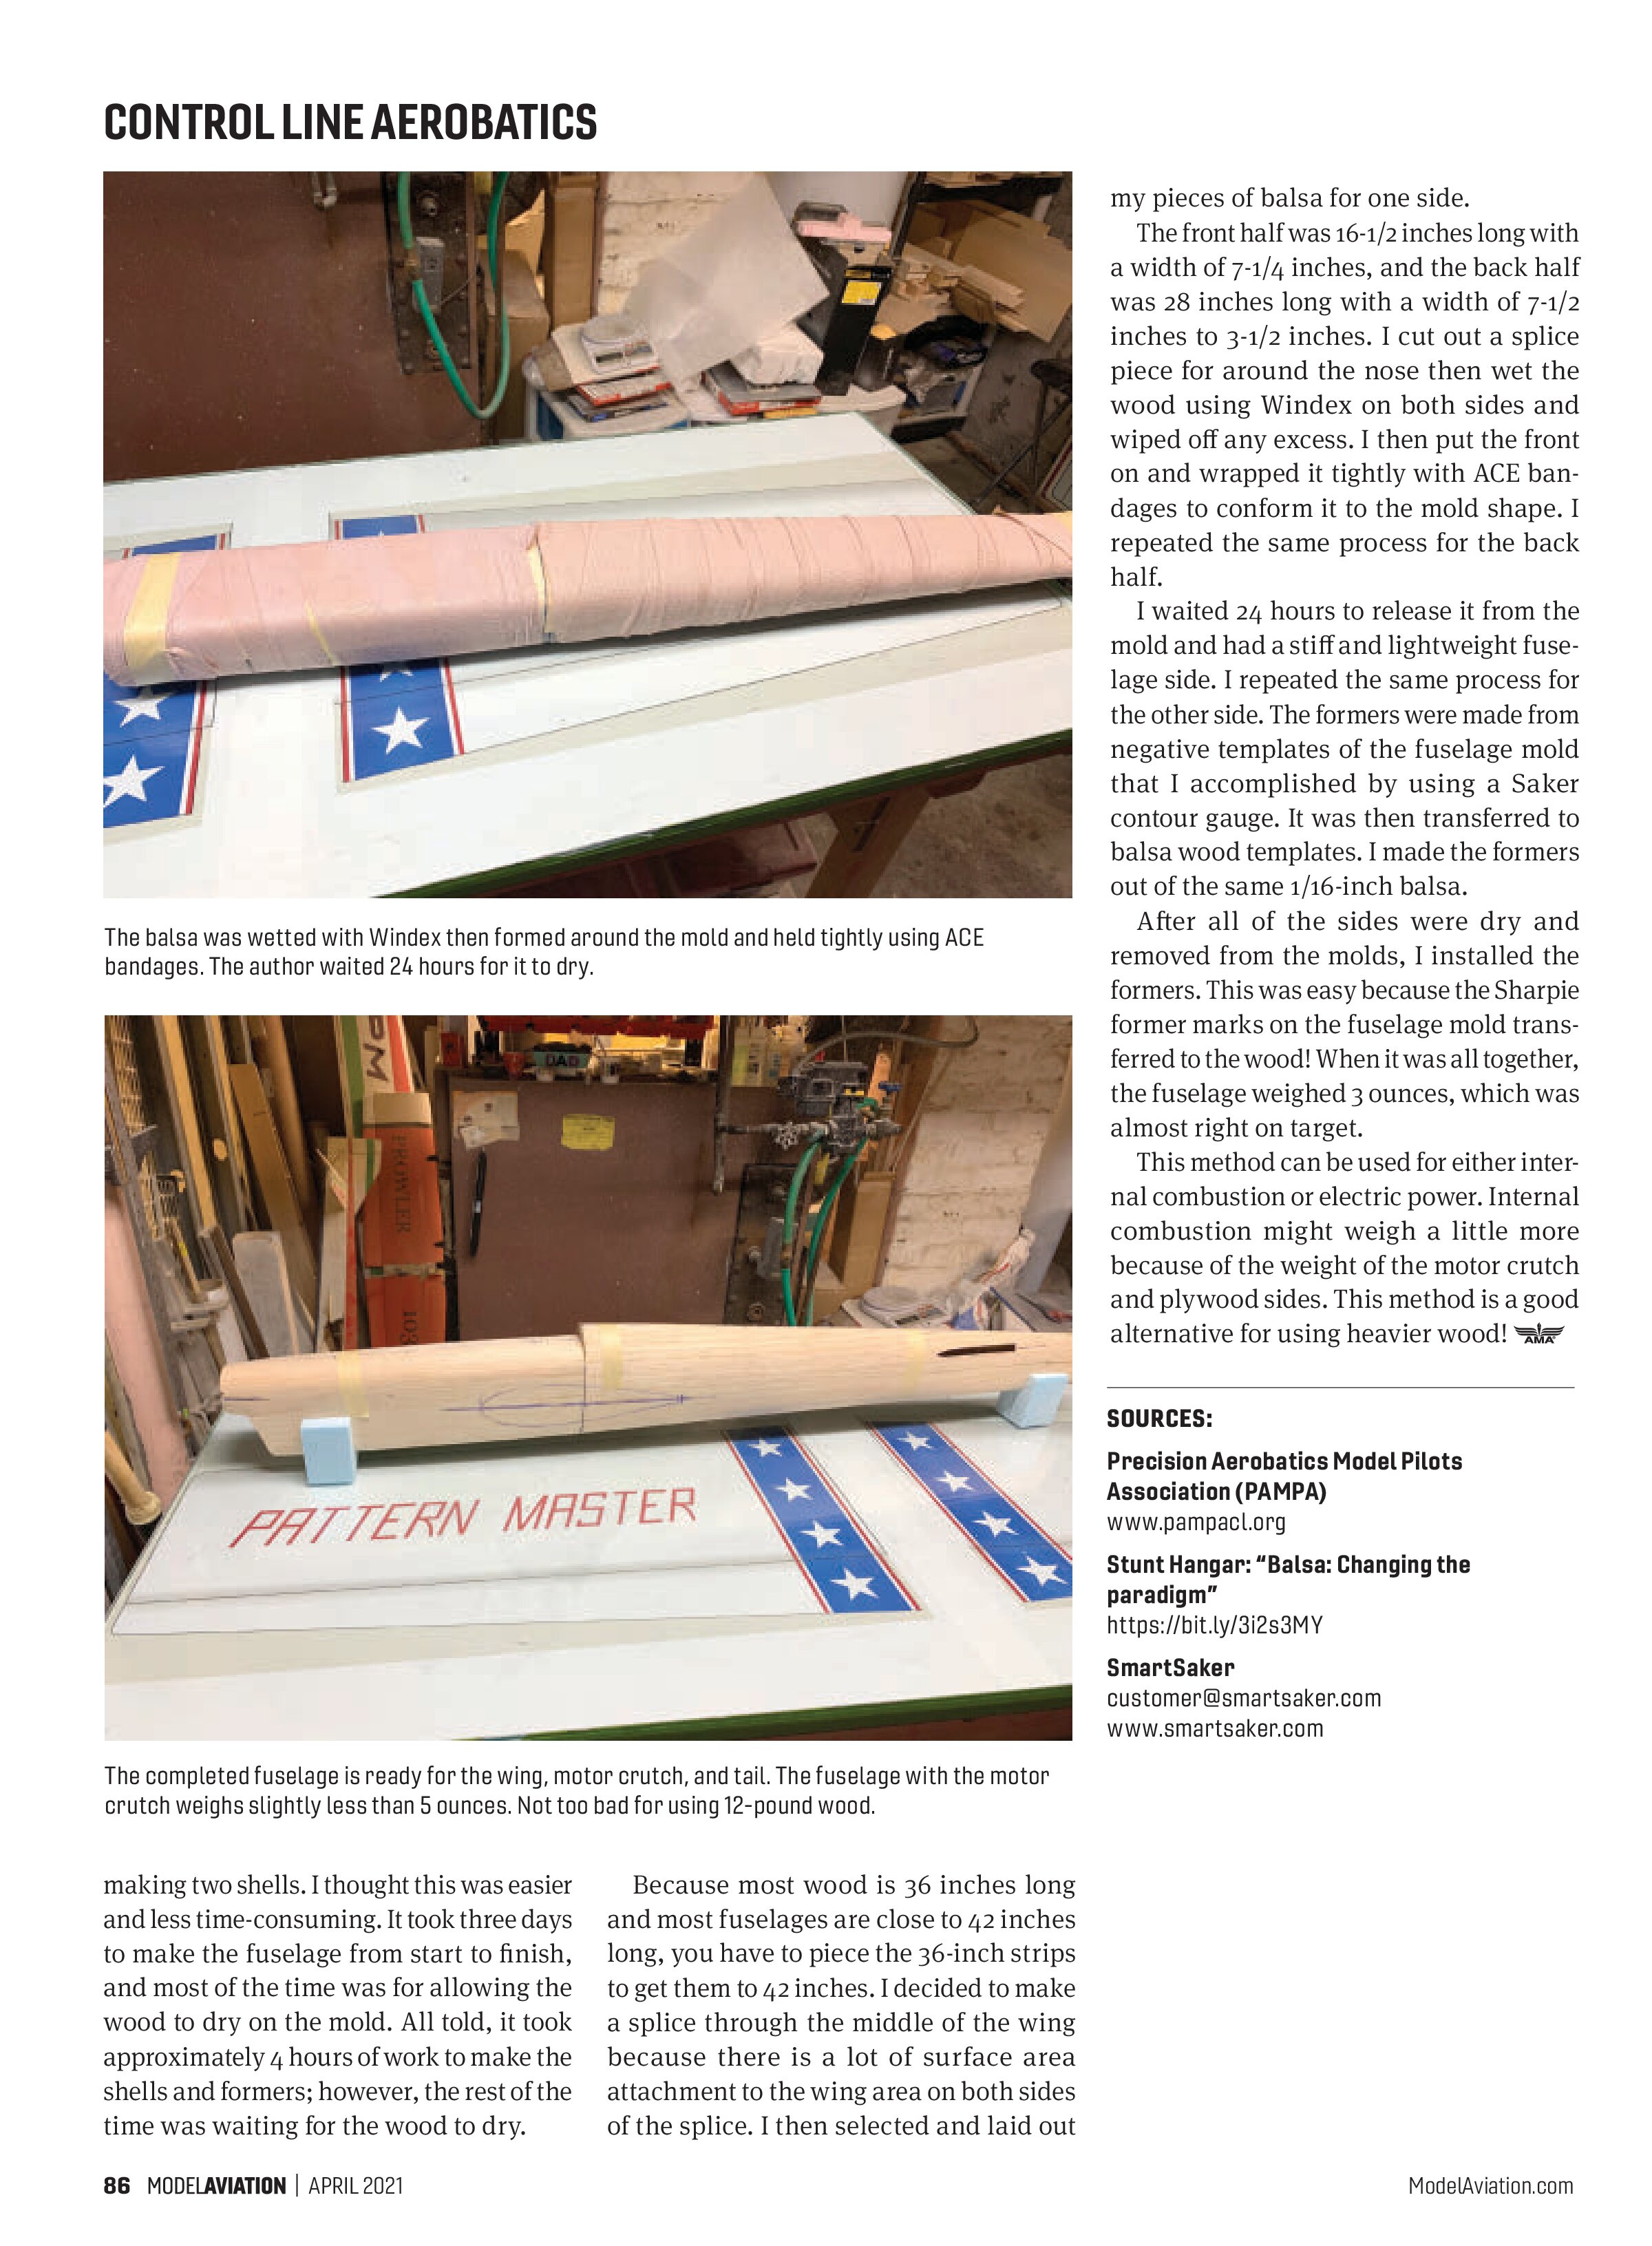
First, I shaped my mold until I had the look that I wanted. I then laid it out and marked with a Sharpie marker where all of the formers and centerlines would be on the mold. This procedure is helpful because it transfers to the wet wood and shows where the formers go. (I found this out by accident!)
After the mold was made, it was time to select the wood. I rummaged through my pile of wood that is too heavy to do anything with and selected A-grain, straight pieces that weighed between 10 and 12 pounds. The question then was how to mold the wood. Should I go top and bottom or side to side? I decided to try both.
For the first one, I did top and bottom, which worked pretty well. It was a pain to get the seams to match and piece it together on the mold without gluing it to the mold! The second one was done side to side,


making two shells. I thought this was easier and less time-consuming. It took three days to make the fuselage from start to finish, and most of the time was for allowing the wood to dry on the mold. All told, it took approximately 4 hours of work to make the shells and formers; however, the rest of the time was waiting for the wood to dry.
Because most wood is 36 inches long and most fuselages are close to 42 inches long, you have to piece the 36-inch strips to get them to 42 inches. I decided to make a splice through the middle of the wing because there is a lot of surface area attachment to the wing area on both sides of the splice. I then selected and laid out my pieces of balsa for one side.
The front half was 16-1/2 inches long with a width of 7-1/4 inches, and the back half was 28 inches long with a width of 7-1/2 inches to 3-1/2 inches. I cut out a splice piece for around the nose then wet the wood using Windex on both sides and wiped off any excess. I then put the front on and wrapped it tightly with ACE bandages to conform it to the mold shape. I repeated the same process for the back half.
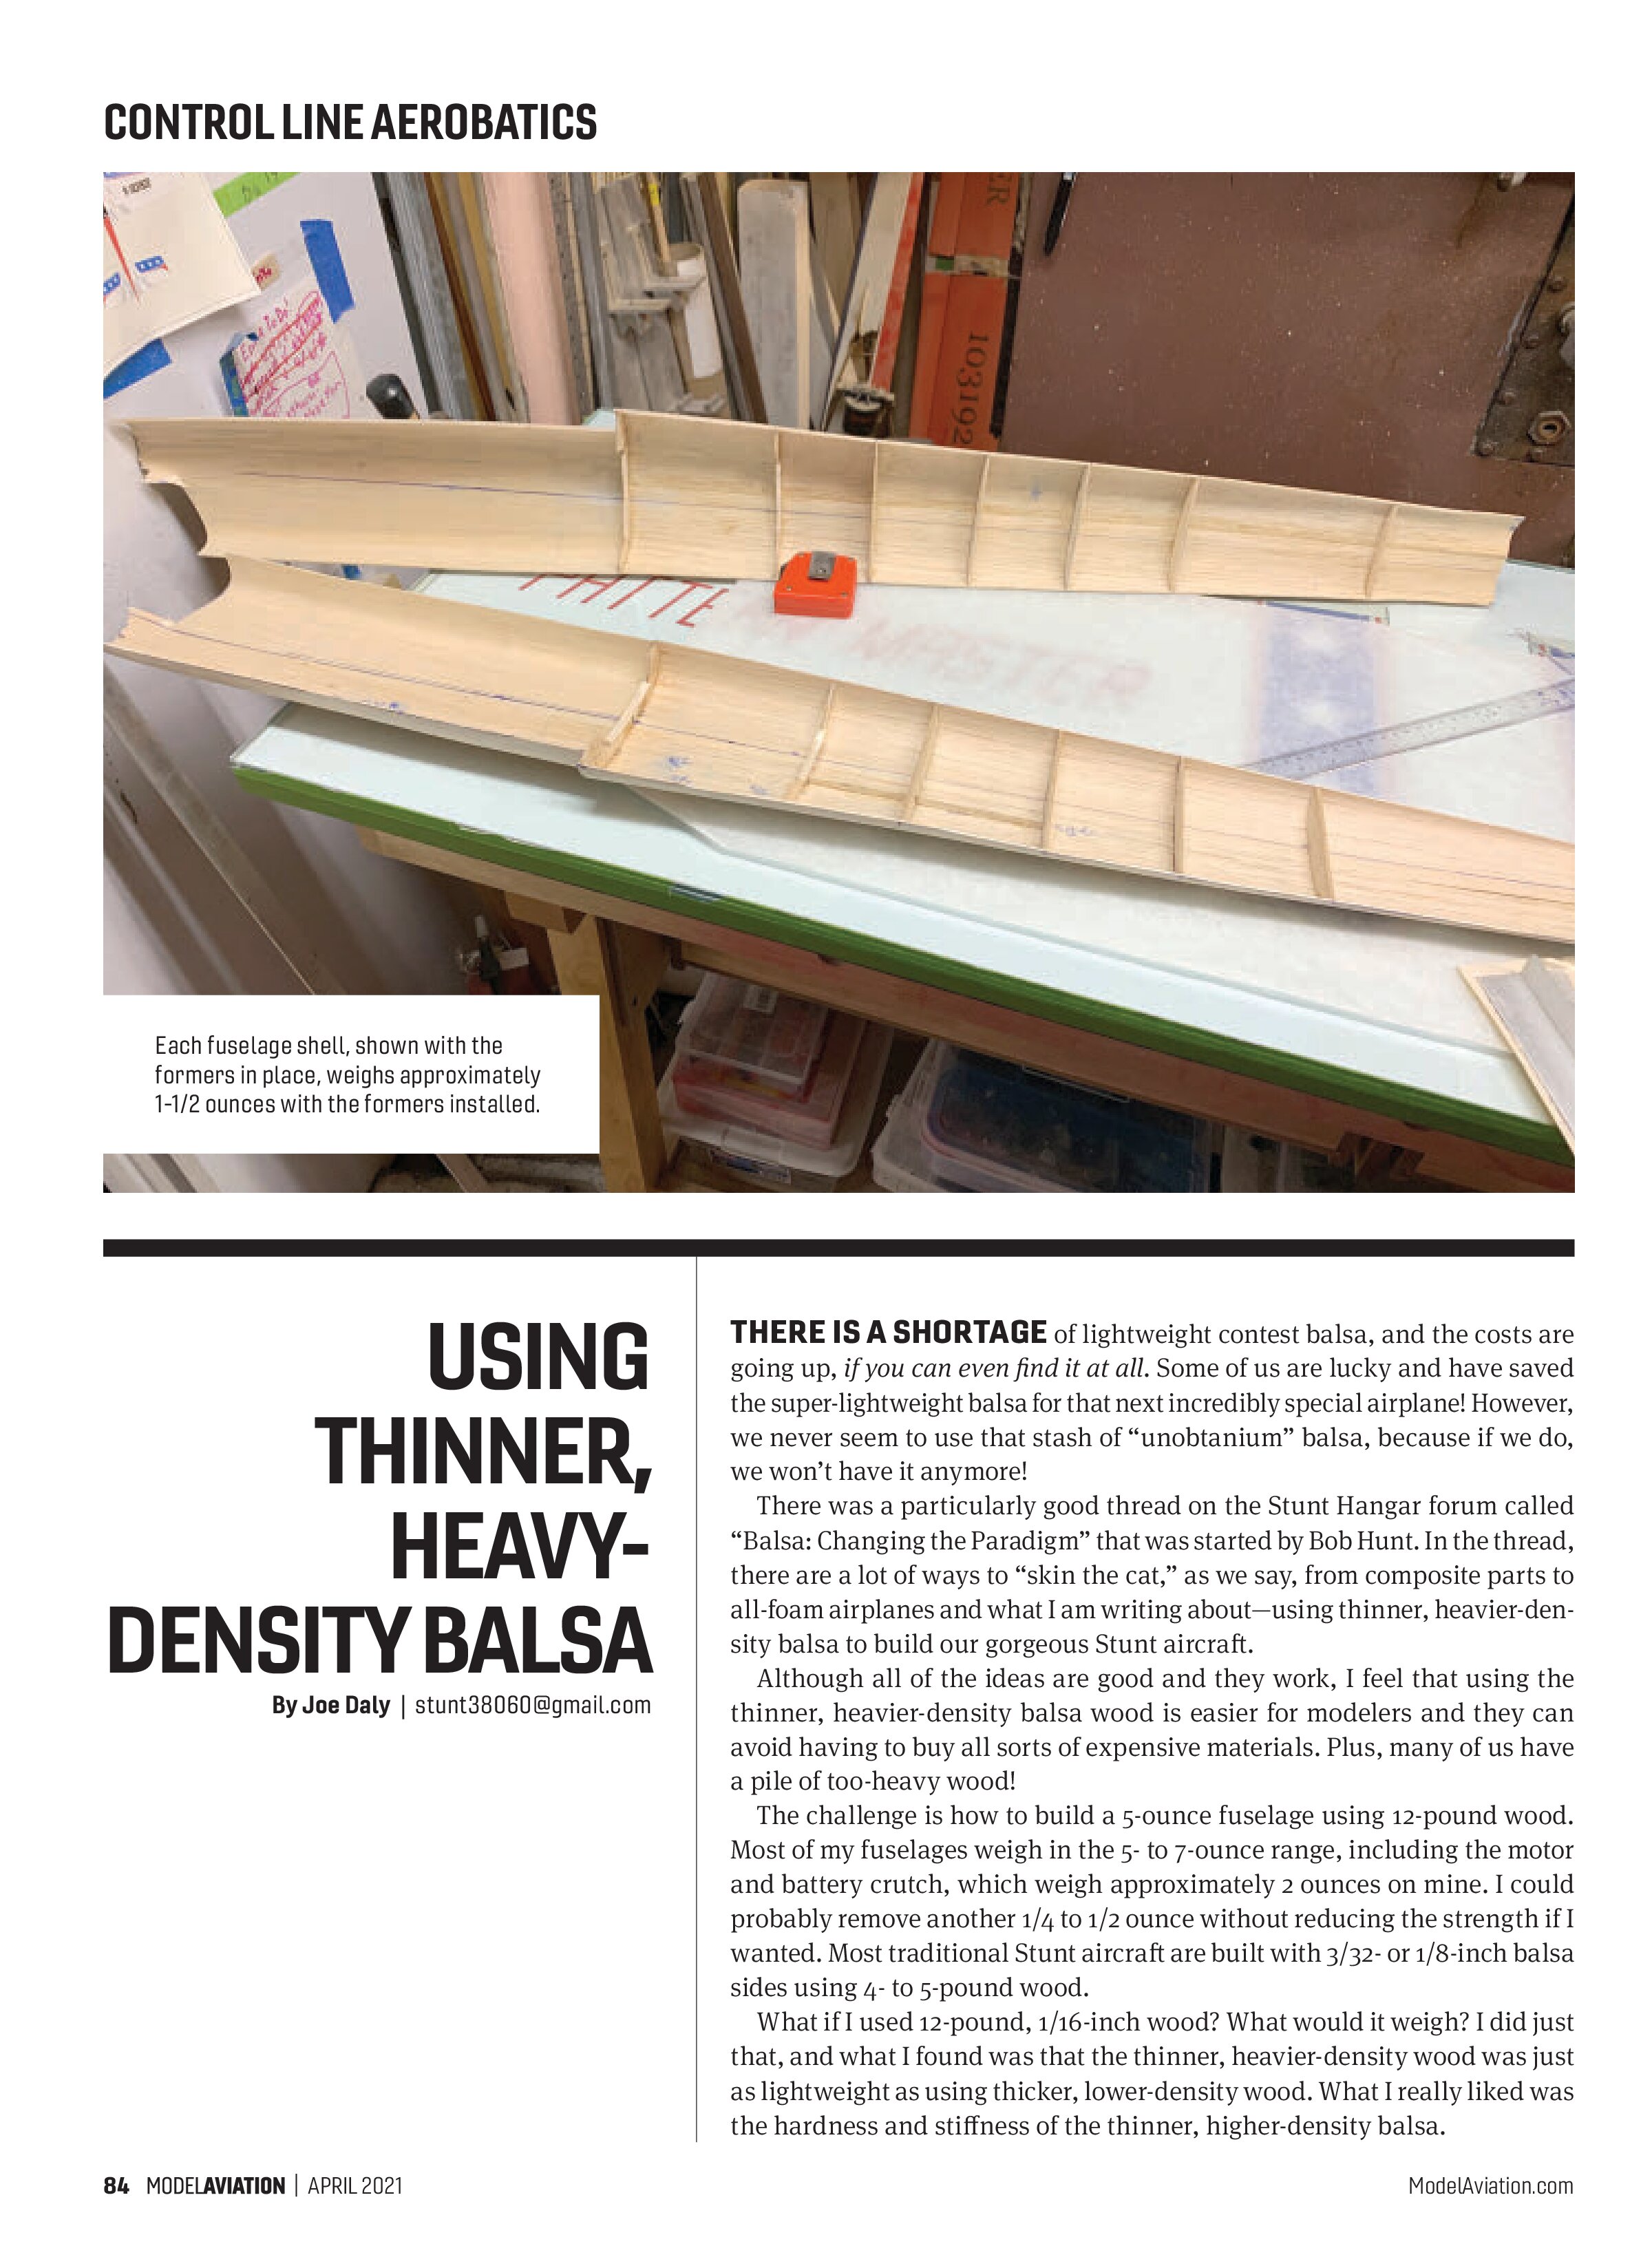
I waited 24 hours to release it from the mold and had a stiff and lightweight fuselage side. I repeated the same process for the other side. The formers were made from negative templates of the fuselage mold that I accomplished by using a Saker contour gauge. It was then transferred to balsa wood templates. I made the formers out of the same 1/16-inch balsa.
After all of the sides were dry and removed from the molds, I installed the formers. This was easy because the Sharpie former marks on the fuselage mold transferred to the wood! When it was all together, the fuselage weighed 3 ounces, which was almost right on target.
This method can be used for either internal combustion or electric power. Internal combustion might weigh a little more because of the weight of the motor crutch and plywood sides. This method is a good alternative for using heavier wood!
SOURCES:
Precision Aerobatics Model Pilots Association (PAMPA)
www.pampacl.org
Stunt Hangar: “Balsa: Changing the paradigm”
https://bit.ly/3i2s3MY