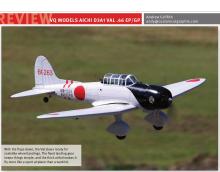
VQ MODELS AICHI D3A1 VAL .46 EP/GP
Andrew Griffith
andy@customcutgraphix.com

Sport flier manners with warbird appeal
Because of the complicated and often bewildering naming system used before and during World War II by the Japanese military, an easier method of identification was needed for combat radio calls and reporting purposes.
Capt. Frank McCoy, an intelligence officer in the U.S. Army Air Force, decided it was time to simplify things. He devised a system to name enemy aircraft that was almost universally adopted—aircraft were given code or “reporting names.”
Fighters were named after boys and included the Zeke (also called Zero), Hap, and Tony, among others. Bombers were given ladies’ names, such as the Betty, and our subject aircraft, the Aichi D3A or Val (named after an Australian Army sergeant). The actual name of the airplane is Kanjō Bakugekiki, so it’s easy to see why the allies needed nicknames!
The Val was a carrier-based dive bomber that carried a 550-pound bomb on a swing rack on the fuselage centerline and could carry two additional 130-pound bombs on wing-mounted hard points. The pilot had two forward-firing machine guns, and sitting facing backward was a rear gunner with a single-barrel 7.7mm gun that provided self-defense. This made attempting to sneak up from behind a Val on its six a dangerous proposition.
This is my first direct experience with VQ Models and being the warbird lover that I am, particularly World War II airplanes of all types, I was excited to review the Val.
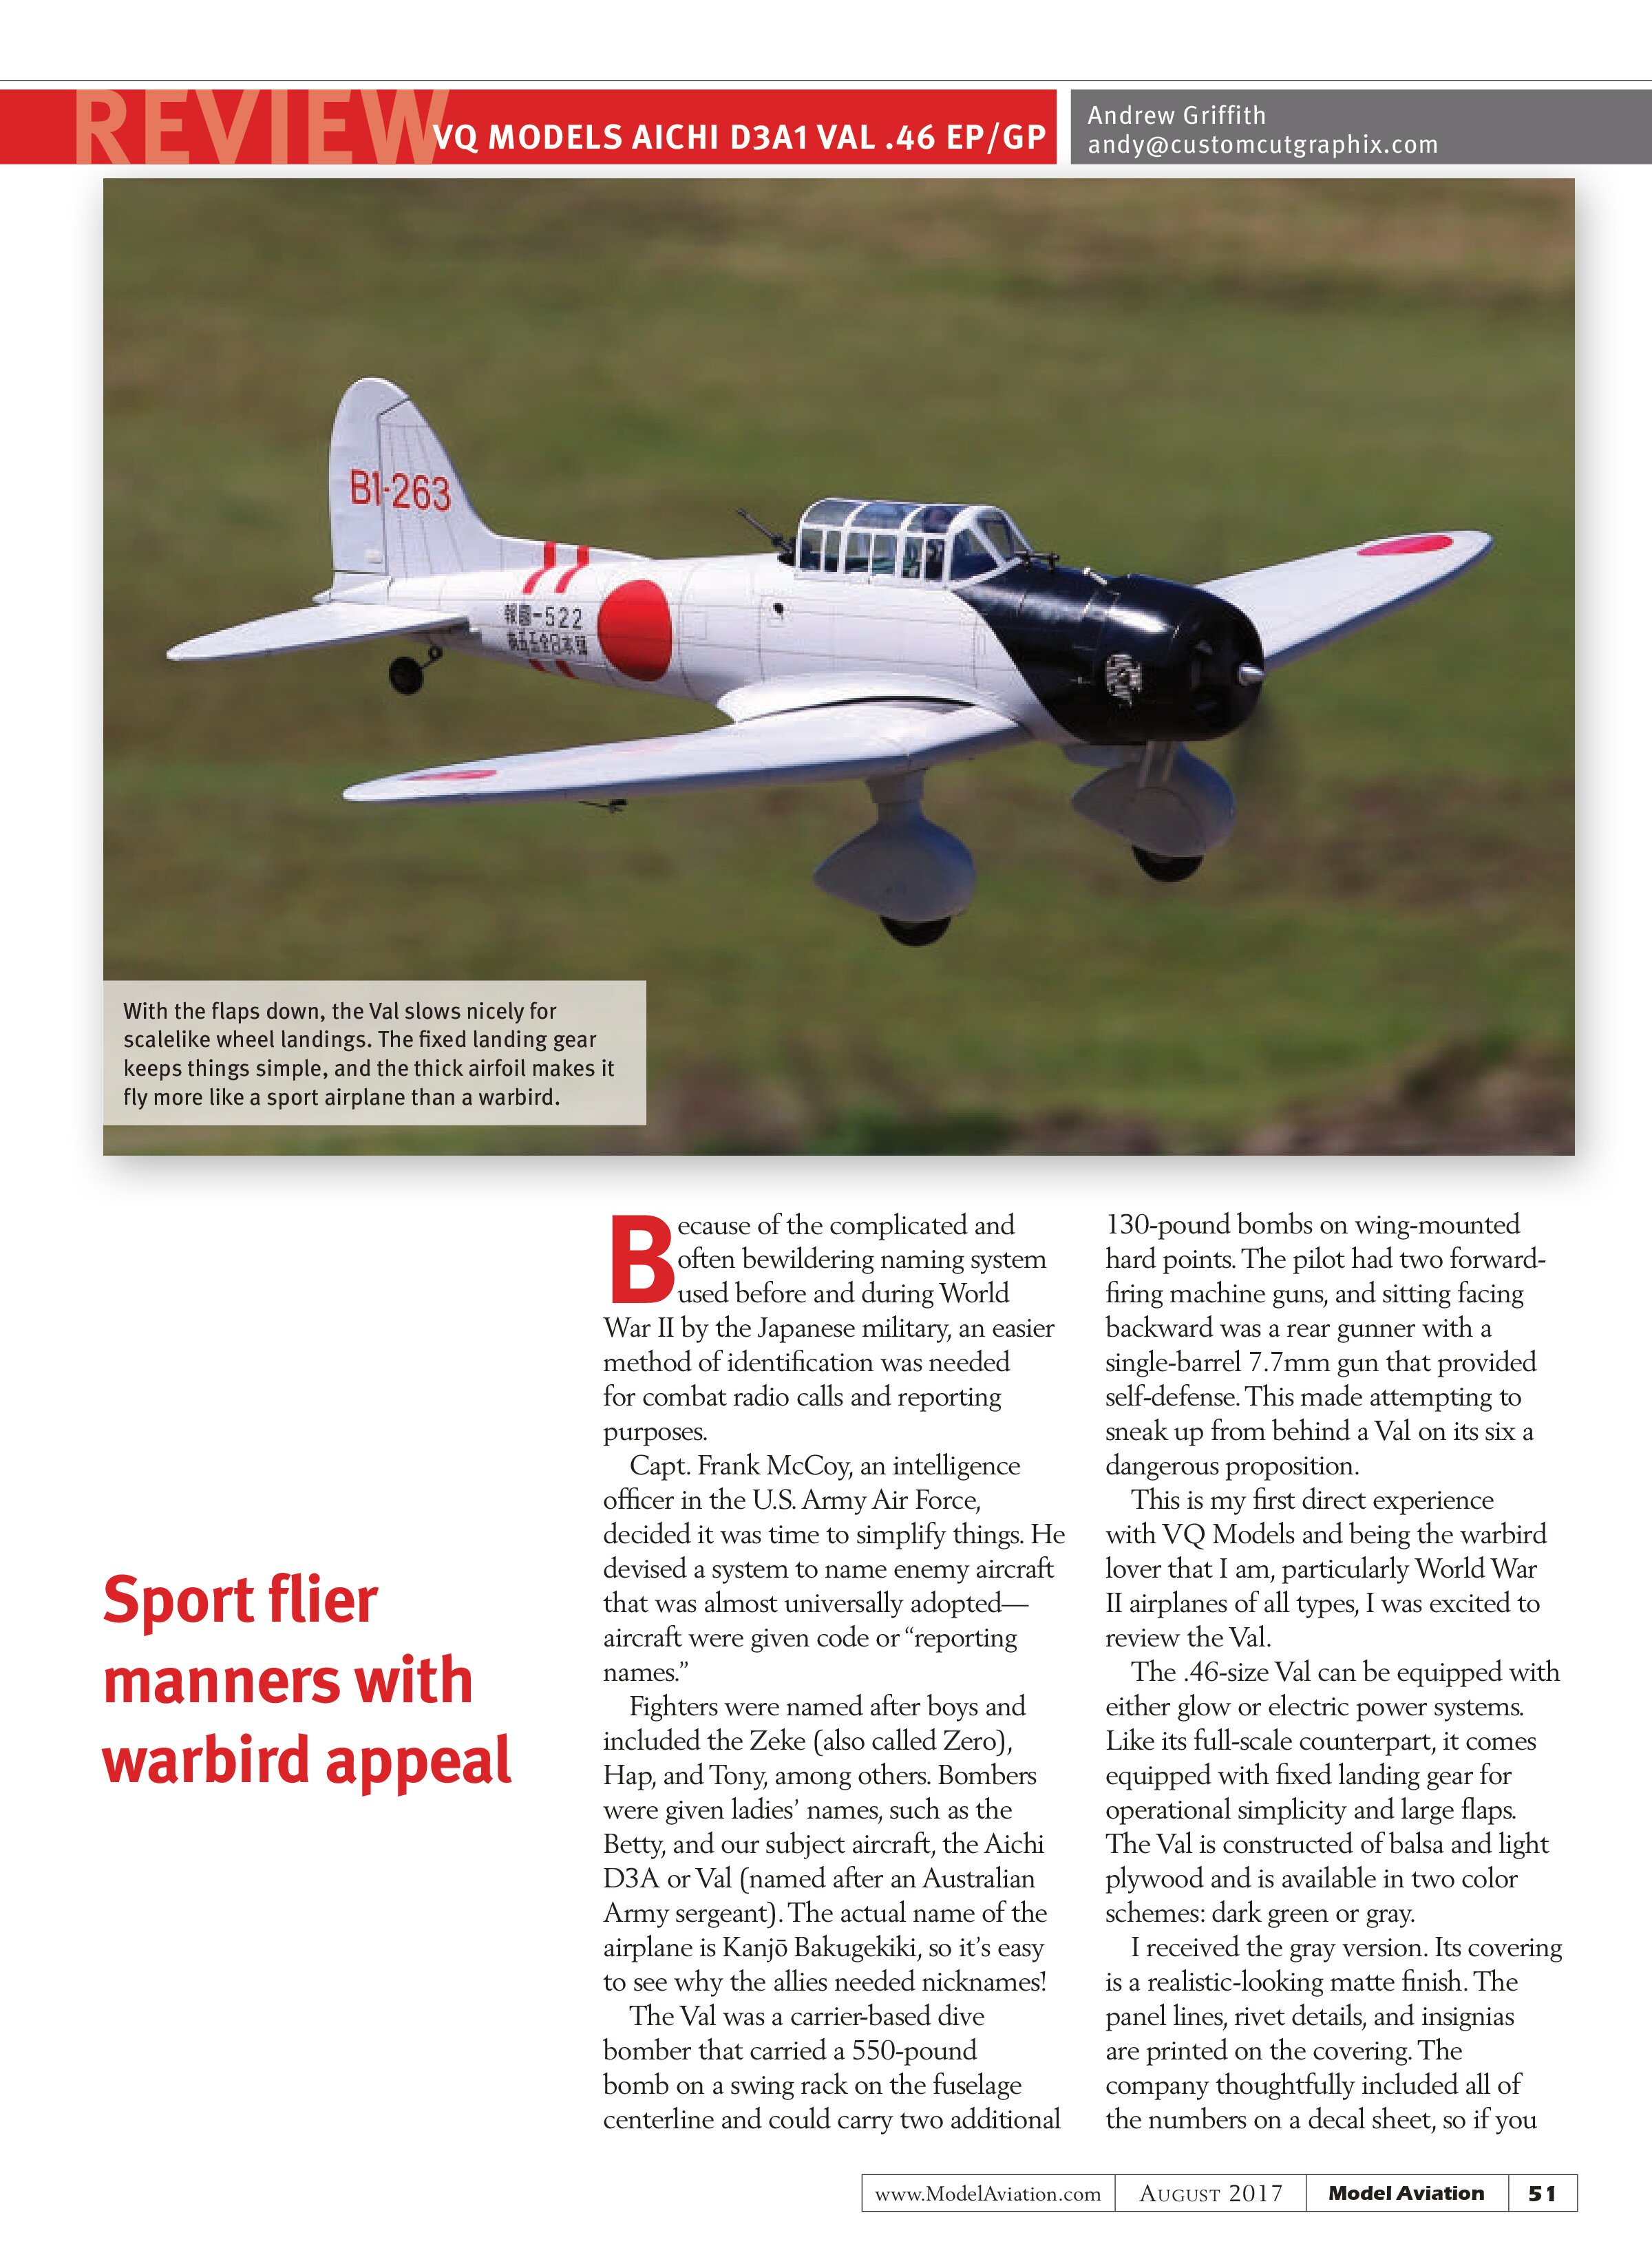
The .46-size Val can be equipped with either glow or electric power systems. Like its full-scale counterpart, it comes equipped with fixed landing gear for operational simplicity and large flaps. The Val is constructed of balsa and light plywood and is available in two color schemes: dark green or gray.
I received the gray version. Its covering is a realistic-looking matte finish. The panel lines, rivet details, and insignias are printed on the covering. The company thoughtfully included all of the numbers on a decal sheet, so if you
want to customize your Val, you have the freedom to do so without peeling graphics off.
Assembly
After receiving the Val, I inspected it for damage and found it well packaged and in good shape. I sat down to spend some quality time with the instruction manual. The manual is adequate for anyone who has assembled a few ARFs and is sufficient to successfully prepare the Val for flight.
There are no photographs—just mechanical drawings and a little hand-holding. I suggest studying the manual, particularly as it pertains to installing your power system of choice before doing any cutting or drilling to clearly understand what you need to do.
I assembled the Val using Zap brand thin and medium CA adhesive, Pacer Z-Poxy 15- and 30-minute epoxy, and Z-42 brand threadlocker—all of which are available from Frank Tiano Enterprises. Ensure that you have adequate ventilation whenever using any modeling chemicals.
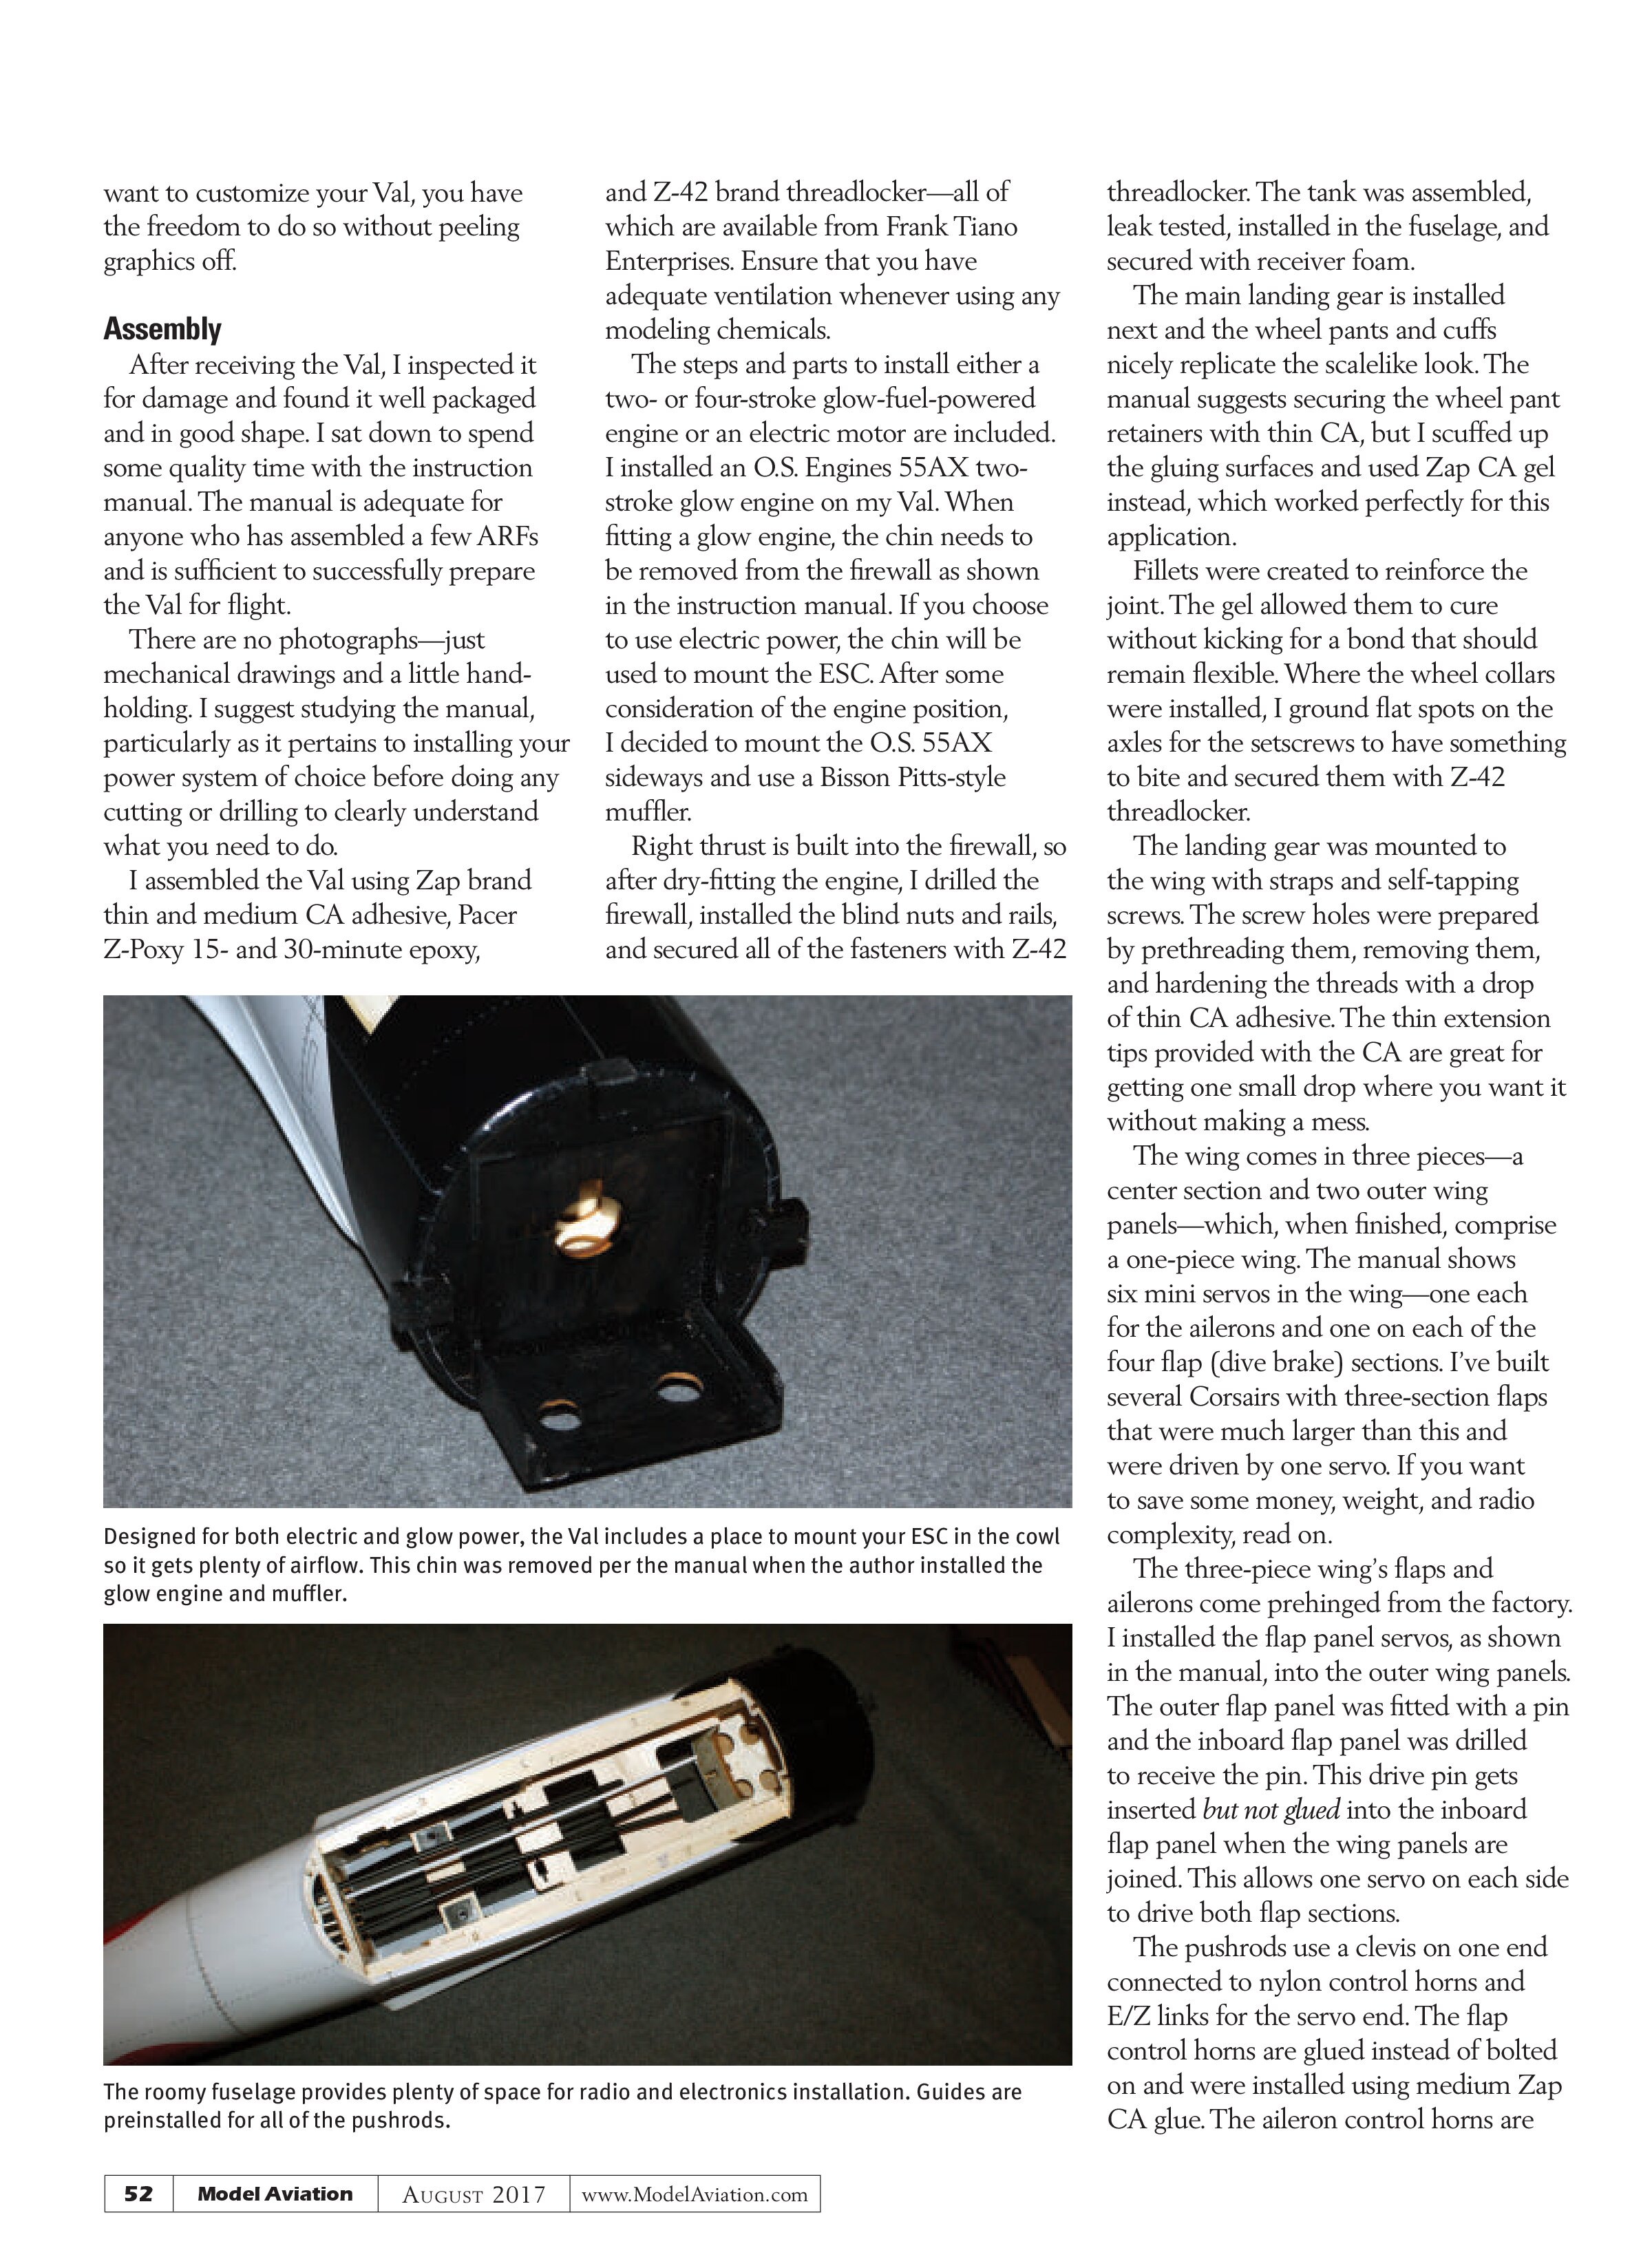
The steps and parts to install either a two- or four-stroke glow-fuel-powered engine or an electric motor are included. I installed an O.S. Engines 55AX two-stroke glow engine on my Val. When fitting a glow engine, the chin needs to be removed from the firewall as shown in the instruction manual. If you choose to use electric power, the chin will be used to mount the ESC. After some consideration of the engine position, I decided to mount the O.S. 55AX sideways and use a Bisson Pitts-style muffler.
Right thrust is built into the firewall, so after dry-fitting the engine, I drilled the firewall, installed the blind nuts and rails, and secured all of the fasteners with Z-42 threadlocker. The tank was assembled, leak tested, installed in the fuselage, and secured with receiver foam.
The main landing gear is installed next and the wheel pants and cuffs nicely replicate the scalelike look. The manual suggests securing the wheel pant retainers with thin CA, but I scuffed up the gluing surfaces and used Zap CA gel instead, which worked perfectly for this application.
Fillets were created to reinforce the joint. The gel allowed them to cure without kicking for a bond that should remain flexible. Where the wheel collars were installed, I ground flat spots on the axles for the setscrews to have something to bite and secured them with Z-42 threadlocker.
The landing gear was mounted to the wing with straps and self-tapping screws. The screw holes were prepared by prethreading them, removing them, and hardening the threads with a drop of thin CA adhesive. The thin extension tips provided with the CA are great for getting one small drop where you want it without making a mess.
The wing comes in three pieces—a center section and two outer wing panels—which, when finished, comprise a one-piece wing. The manual shows six mini servos in the wing—one each for the ailerons and one on each of the four flap (dive brake) sections. I’ve built several Corsairs with three-section flaps that were much larger than this and were driven by one servo. If you want to save some money, weight, and radio complexity, read on.
The three-piece wing’s flaps and ailerons come prehinged from the factory. I installed the flap panel servos, as shown in the manual, into the outer wing panels. The outer flap panel was fitted with a pin and the inboard flap panel was drilled to receive the pin. This drive pin gets inserted but not glued into the inboard flap panel when the wing panels are joined. This allows one servo on each side to drive both flap sections.
The pushrods use a clevis on one end connected to nylon control horns and E/Z links for the servo end. The flap control horns are glued instead of bolted on and were installed using medium Zap CA glue. The aileron control horns are screwed on in the traditional manner with a backplate and self-tapping screws. All of the servo mount screws were prethreaded then hardened with thin CA adhesive.
After the aileron and flap servos were installed, I prepared to mate the wing sections. All gluing surfaces were scuffed with 80-grit sandpaper including the plywood wing joiners, index pins, and the mating ribs. I glued one side at a time using Z-Poxy 30-minute epoxy and weights. The excess glue was cleaned up using a paper towel and a small amount of alcohol diluted 50/50 with distilled water, where needed.
Undiluted alcohol could damage the finish and I didn’t use low-tack tape for the same reason. If you use tape, stick it to your shirt first so it doesn’t pull the markings off the covering.
The tail is assembled like most modern ARF models. Install the wing and use it as a visual reference. The seat for the stabilizer needed to be sanded slightly to get perfect alignment, but it was close. I removed the covering from the gluing areas using an old soldering iron tip. It sealed the edge and didn’t cut into the wood. The stabilizers were installed using thin Zap CA adhesive.
The elevators and rudder are hinged using CA hinges. After clearing the hinge slots with a #11 hobby blade, the hinge slots were center drilled using a 1/16-inch drill bit to help the CA wick deep into the joint. After they were hinged, the control horns were installed with medium Zap.
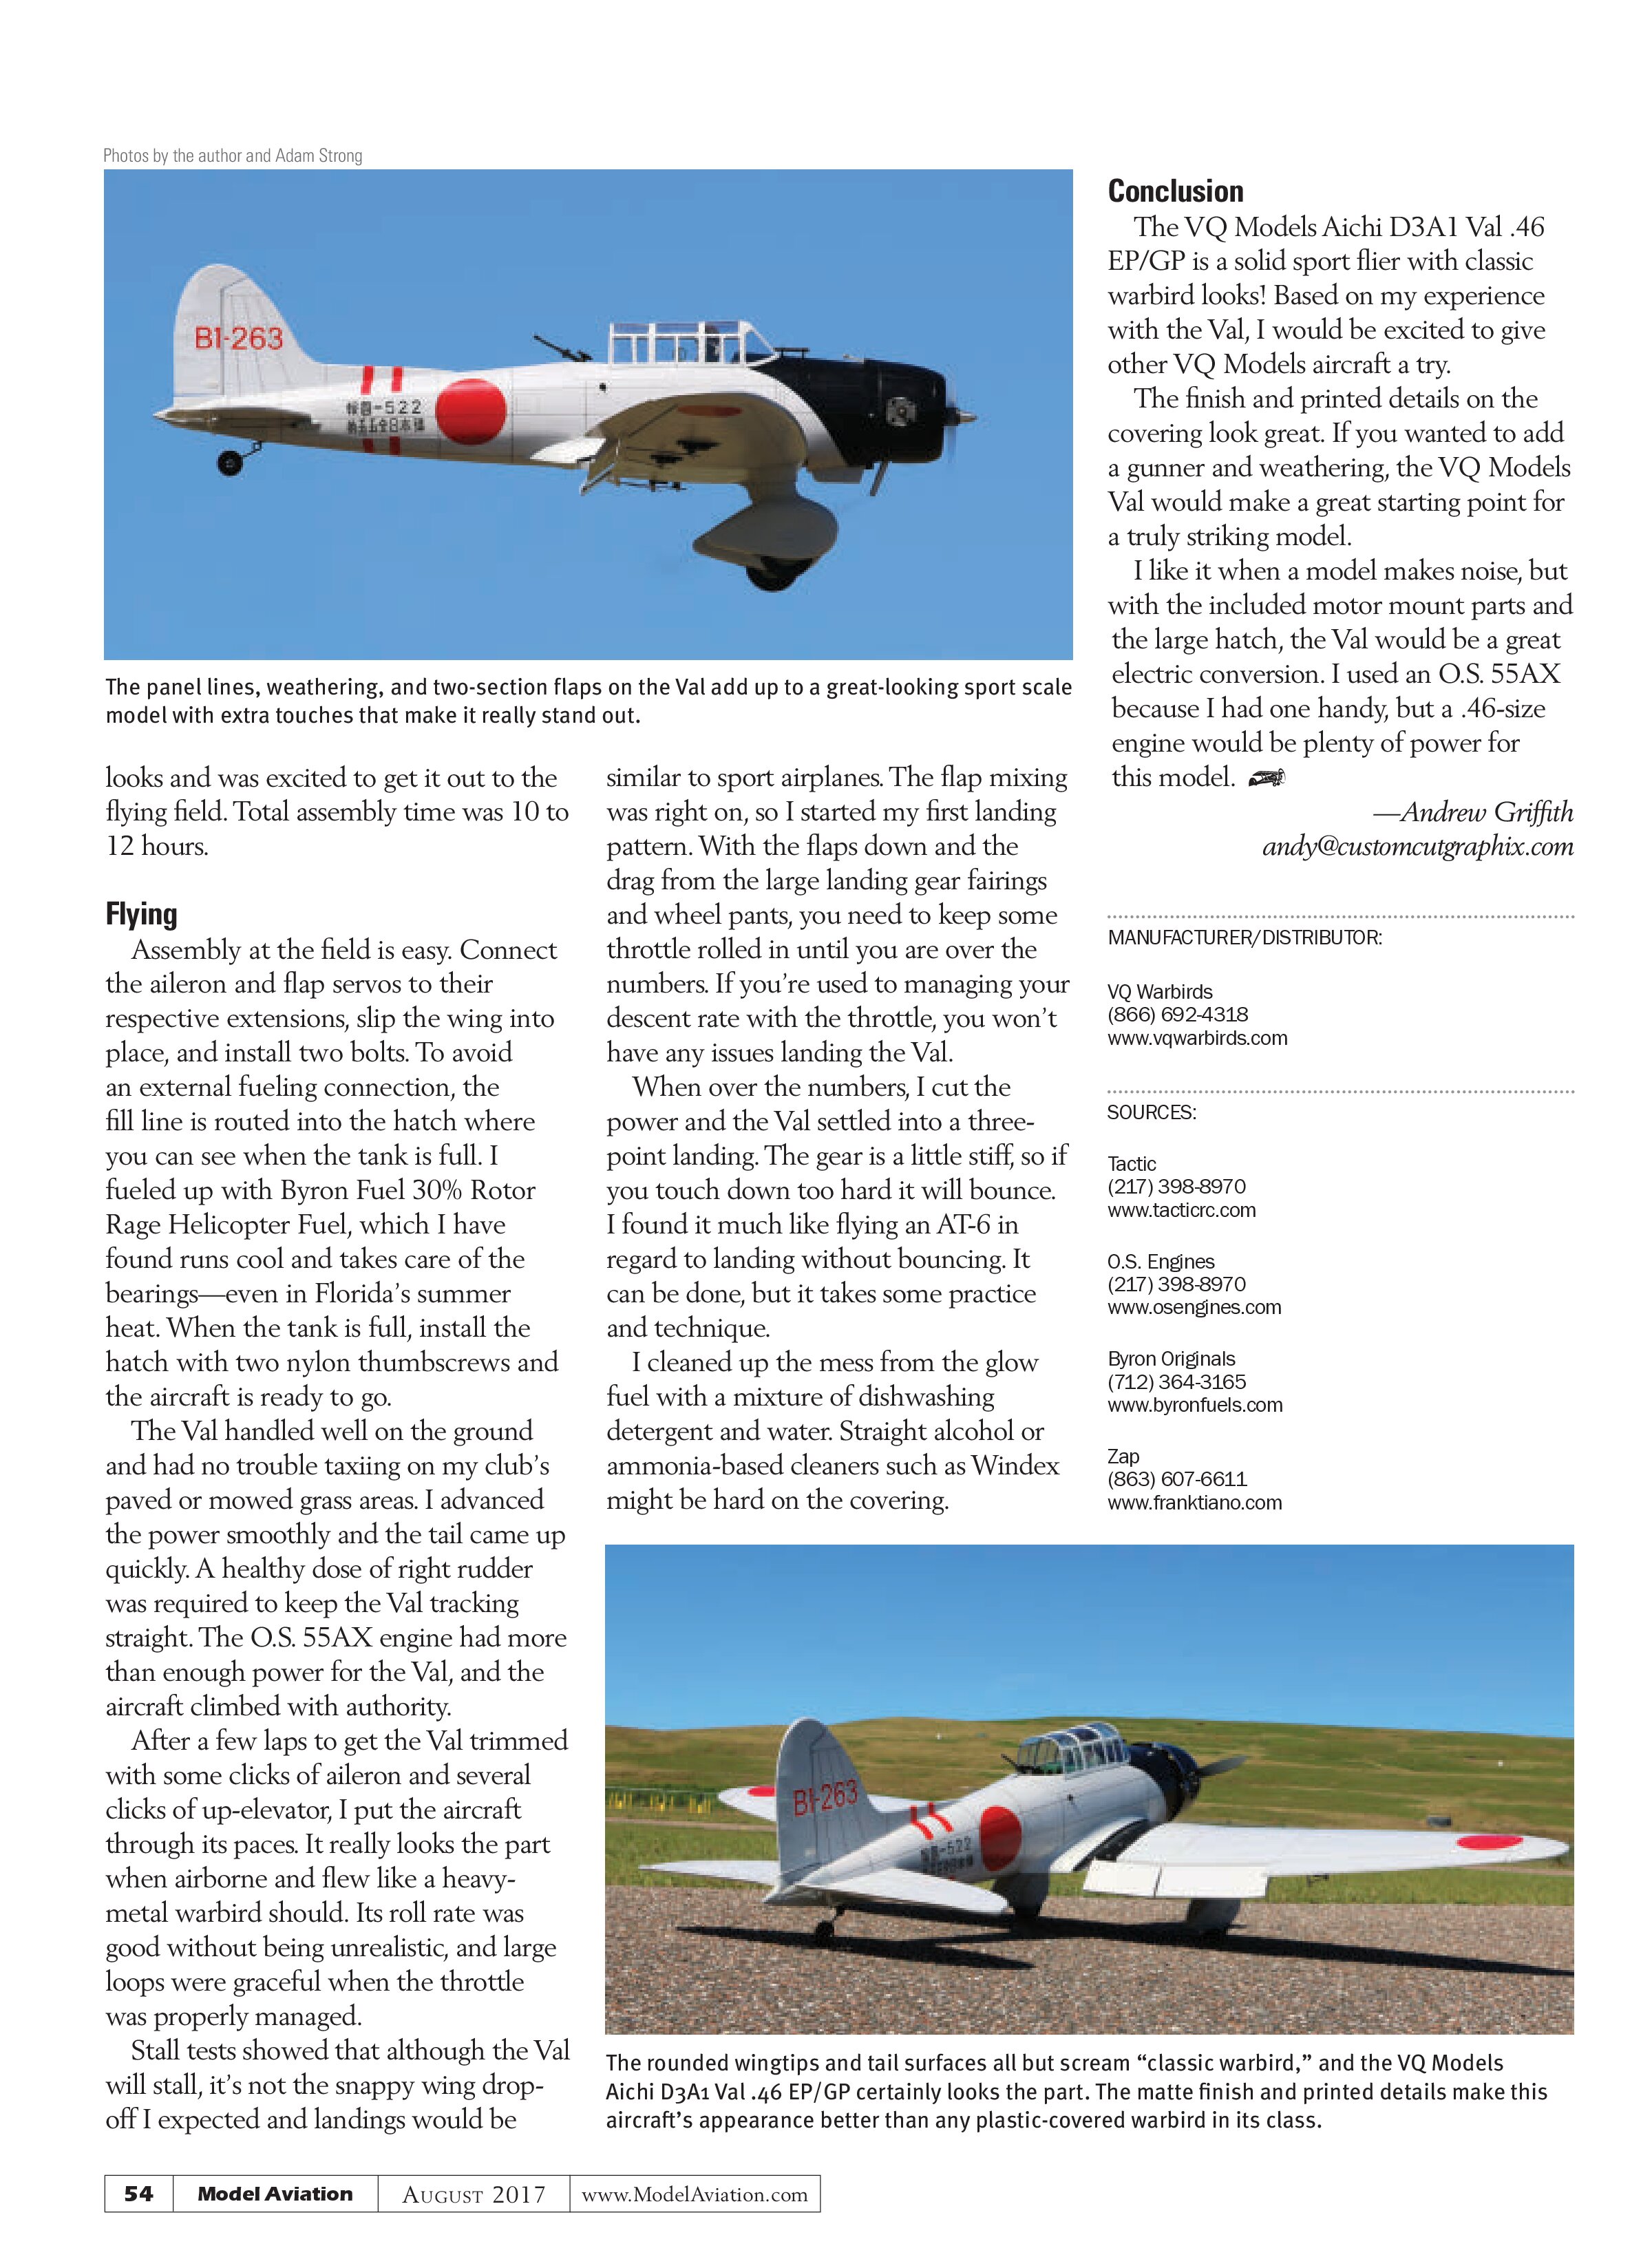
The tail is completed by attaching the tail wheel and the associated fairings. The supporting bushing is treated like a servo mount. The holes are threaded and hardened with thin CA. I like the Val’s tail wheel installation because it appears sturdy, it’s in a scalelike location and not hanging off the back of the rudder, and the entire linkage is hidden. Add a dab of paint on the screws that are holding the fairing in place and they will disappear.
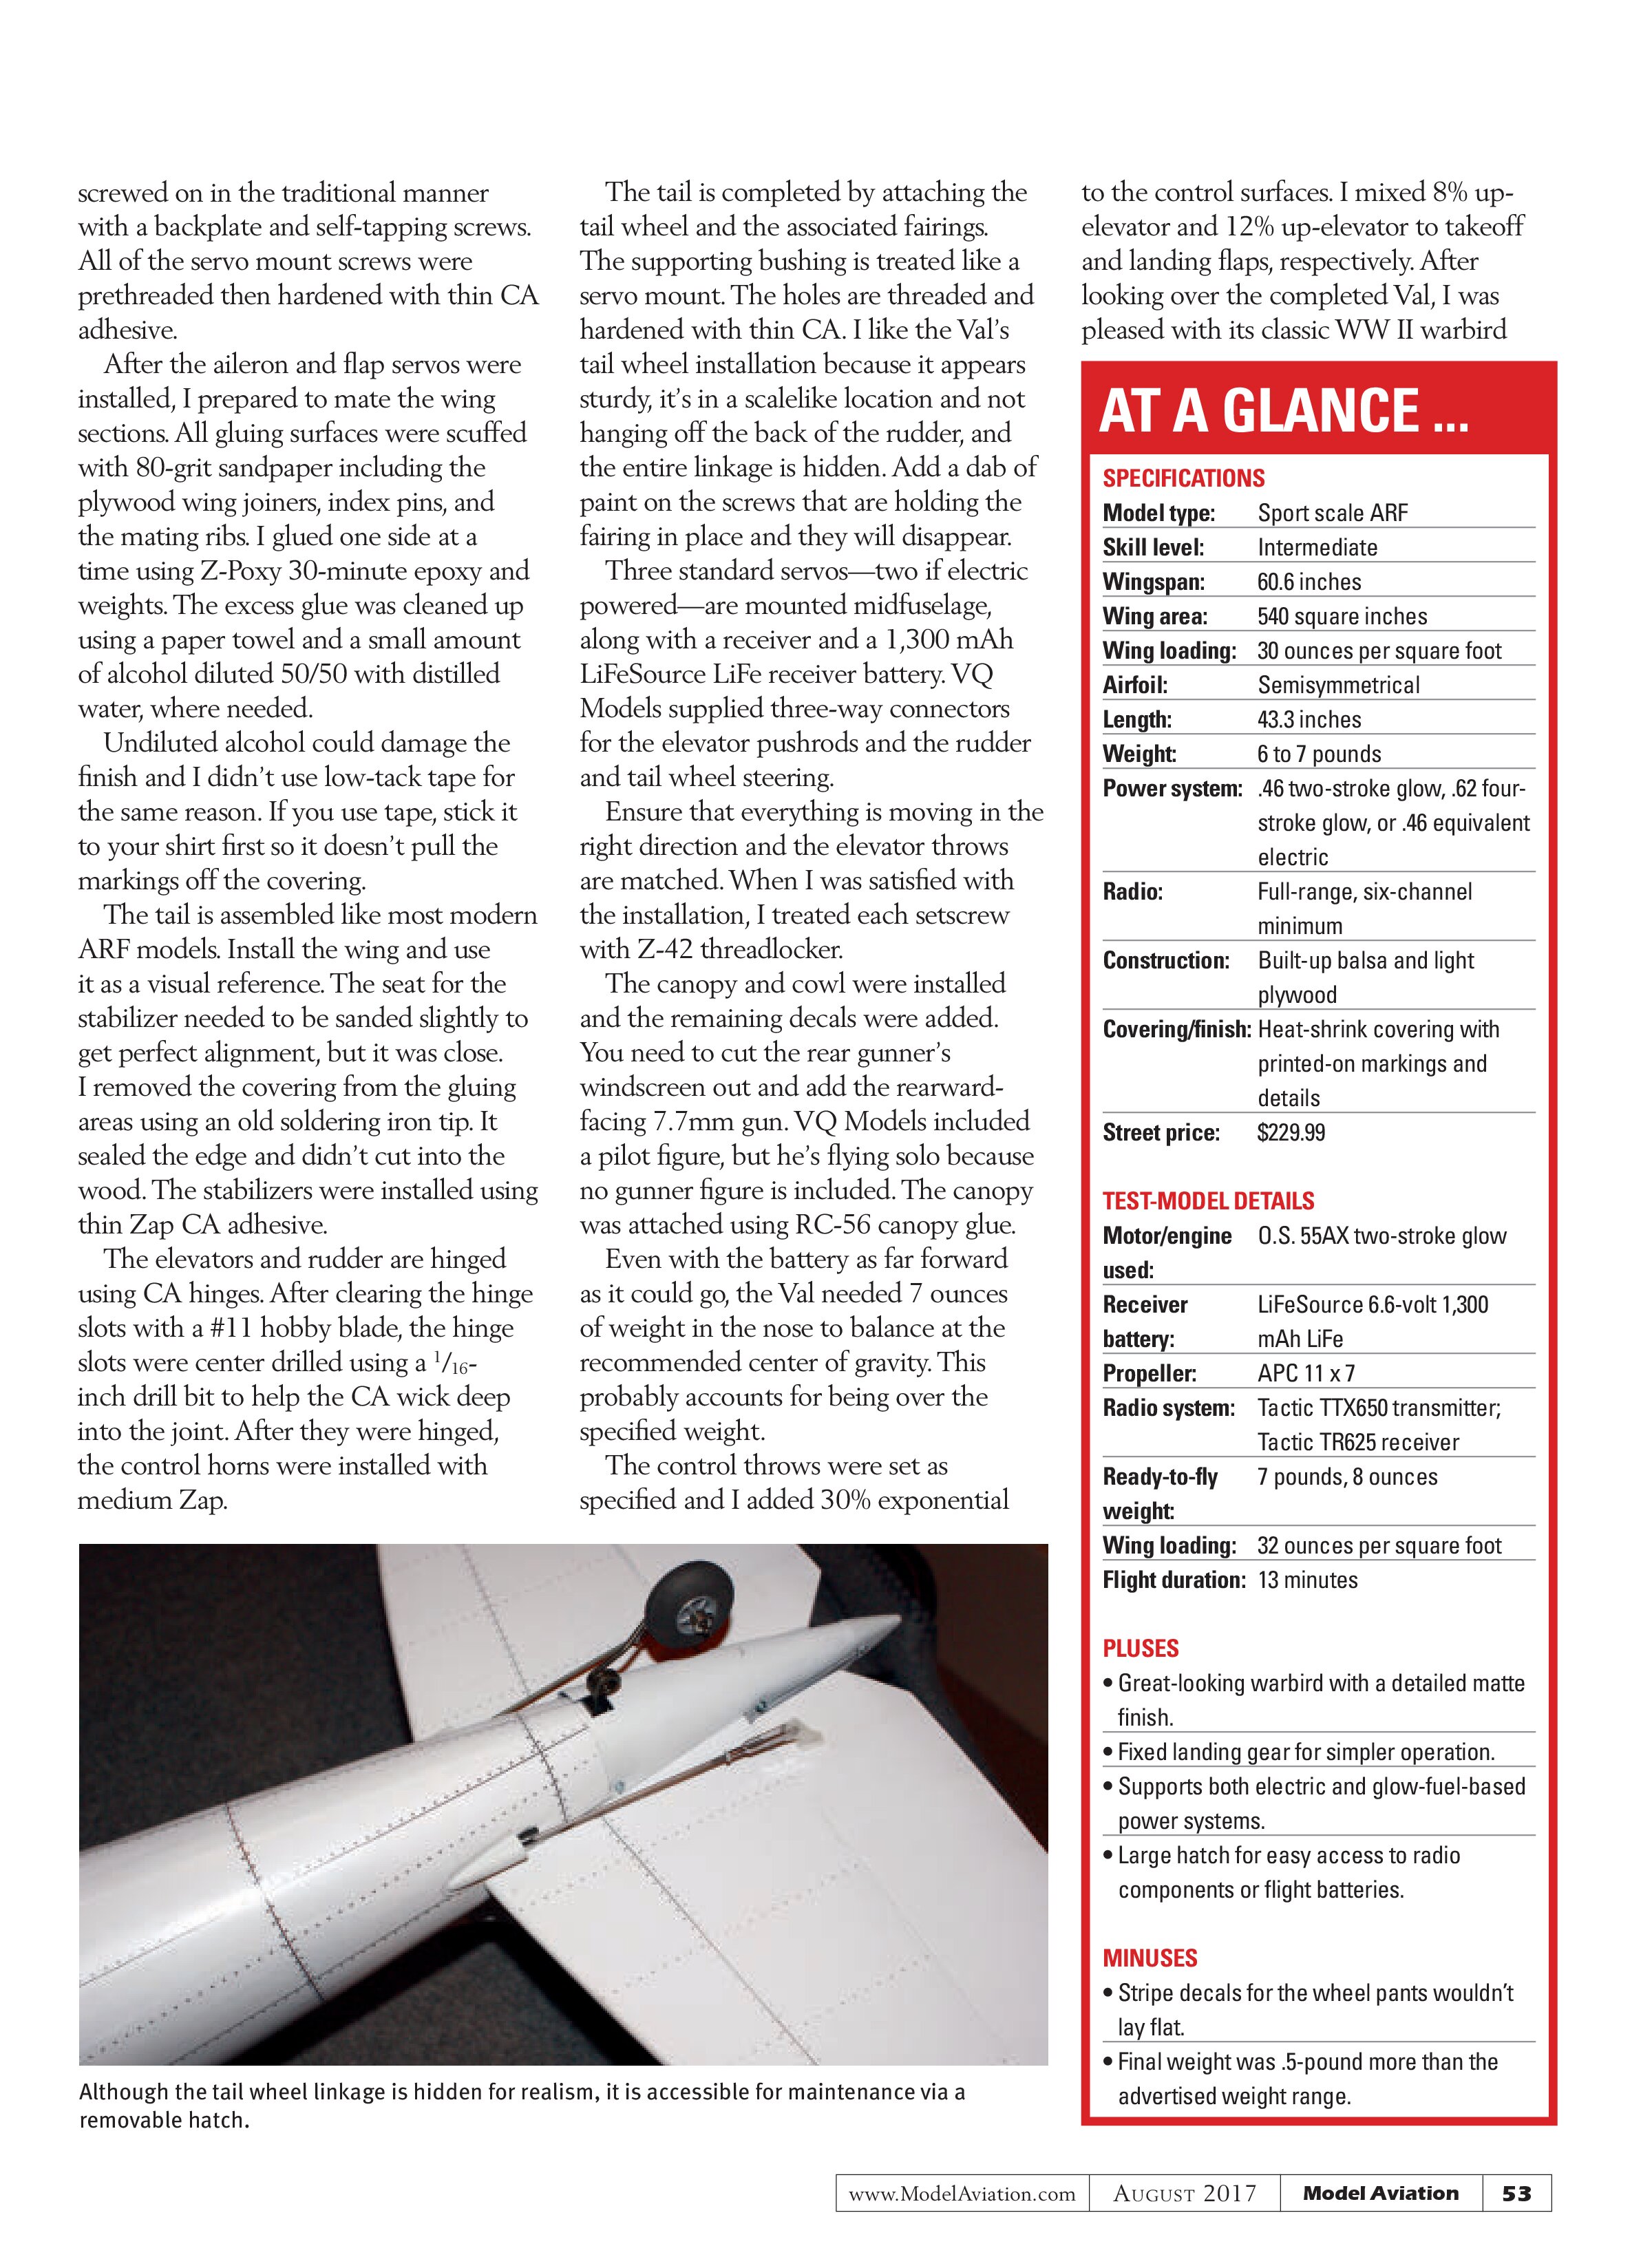
Three standard servos—two if electric powered—are mounted midfuselage, along with a receiver and a 1,300 mAh LiFeSource LiFe receiver battery. VQ Models supplied three-way connectors for the elevator pushrods and the rudder and tail wheel steering.
Ensure that everything is moving in the right direction and the elevator throws are matched. When I was satisfied with the installation, I treated each setscrew with Z-42 threadlocker.
The canopy and cowl were installed and the remaining decals were added. You need to cut the rear gunner’s windscreen out and add the rearward-facing 7.7mm gun. VQ Models included a pilot figure, but he’s flying solo because no gunner figure is included. The canopy was attached using RC-56 canopy glue.
Even with the battery as far forward as it could go, the Val needed 7 ounces of weight in the nose to balance at the recommended center of gravity. This probably accounts for being over the specified weight.
The control throws were set as specified and I added 30% exponential to the control surfaces. I mixed 8% up-elevator and 12% up-elevator to takeoff and landing flaps, respectively. After looking over the completed Val, I was pleased with its classic WW II warbird
At a Glance ...
Specifications
Model type: Sport scale ARF
Skill level: Intermediate
Wingspan: 60.6 inches
Wing area: 540 square inches
Wing loading: 30 ounces per square foot
Airfoil: Semisymmetrical
Length: 43.3 inches
Weight: 6 to 7 pounds
Power system: .46 two-stroke glow, .62 four-stroke glow, or .46 equivalent electric
Radio: Full-range, six-channel minimum
Construction: Built-up balsa and light plywood
Covering/finish: Heat-shrink covering with printed-on markings and details
Street price: $229.99
Test-model details
Motor/engine used: O.S. 55AX two-stroke glow
Receiver battery: LiFeSource 6.6-volt 1,300 mAh LiFe
Propeller: APC 11 x 7
Radio system: Tactic TTX650 transmitter; Tactic TR625 receiver
Ready-to-fly weight: 7 pounds, 8 ounces
Wing loading: 32 ounces per square foot
Flight duration: 13 minutes
Pluses
- Great-looking warbird with a detailed matte finish.
- Fixed landing gear for simpler operation.
- Supports both electric and glow-fuel-based power systems.
- Large hatch for easy access to radio components or flight batteries.
Minuses
- Stripe decals for the wheel pants wouldn’t lay flat.
- Final weight was .5-pound more than the advertised weight range.


looks and was excited to get it out to the flying field. Total assembly time was 10 to 12 hours.
Flying
Assembly at the field is easy. Connect the aileron and flap servos to their respective extensions, slip the wing into place, and install two bolts. To avoid an external fueling connection, the fill line is routed into the hatch where you can see when the tank is full. I fueled up with Byron Fuel 30% Rotor Rage Helicopter Fuel, which I have found runs cool and takes care of the bearings—even in Florida’s summer heat. When the tank is full, install the hatch with two nylon thumbscrews and the aircraft is ready to go.
The Val handled well on the ground and had no trouble taxiing on my club’s paved or mowed grass areas. I advanced the power smoothly and the tail came up quickly. A healthy dose of right rudder was required to keep the Val tracking straight. The O.S. 55AX engine had more than enough power for the Val, and the aircraft climbed with authority.
After a few laps to get the Val trimmed with some clicks of aileron and several clicks of up-elevator, I put the aircraft through its paces. It really looks the part when airborne and flew like a heavy-metal warbird should. Its roll rate was good without being unrealistic, and large loops were graceful when the throttle was properly managed.
Stall tests showed that although the Val will stall, it’s not the snappy wing drop-off I expected and landings would be similar to sport airplanes. The flap mixing was right on, so I started my first landing pattern. With the flaps down and the drag from the large landing gear fairings and wheel pants, you need to keep some throttle rolled in until you are over the numbers. If you’re used to managing your descent rate with the throttle, you won’t have any issues landing the Val.
When over the numbers, I cut the power and the Val settled into a three-point landing. The gear is a little stiff, so if you touch down too hard it will bounce. I found it much like flying an AT-6 in regard to landing without bouncing. It can be done, but it takes some practice and technique.
I cleaned up the mess from the glow fuel with a mixture of dishwashing detergent and water. Straight alcohol or ammonia-based cleaners such as Windex might be hard on the covering.
Conclusion
The VQ Models Aichi D3A1 Val .46 EP/GP is a solid sport flier with classic warbird looks! Based on my experience with the Val, I would be excited to give other VQ Models aircraft a try.
The finish and printed details on the covering look great. If you wanted to add a gunner and weathering, the VQ Models Val would make a great starting point for a truly striking model.
I like it when a model makes noise, but with the included motor mount parts and the large hatch, the Val would be a great electric conversion. I used an O.S. 55AX because I had one handy, but a .46-size engine would be plenty of power for this model.
—Andrew Griffith
andy@customcutgraphix.com
MANUFACTURER/DISTRIBUTOR:
VQ Warbirds
(866) 692-4318
www.vqwarbirds.com
SOURCES:
Tactic
(217) 398-8970
www.tacticrc.com
O.S. Engines
(217) 398-8970
www.osengines.com
Byron Originals
(712) 364-3165
www.byronfuels.com
Zap
(863) 607-6611
www.franktiano.com