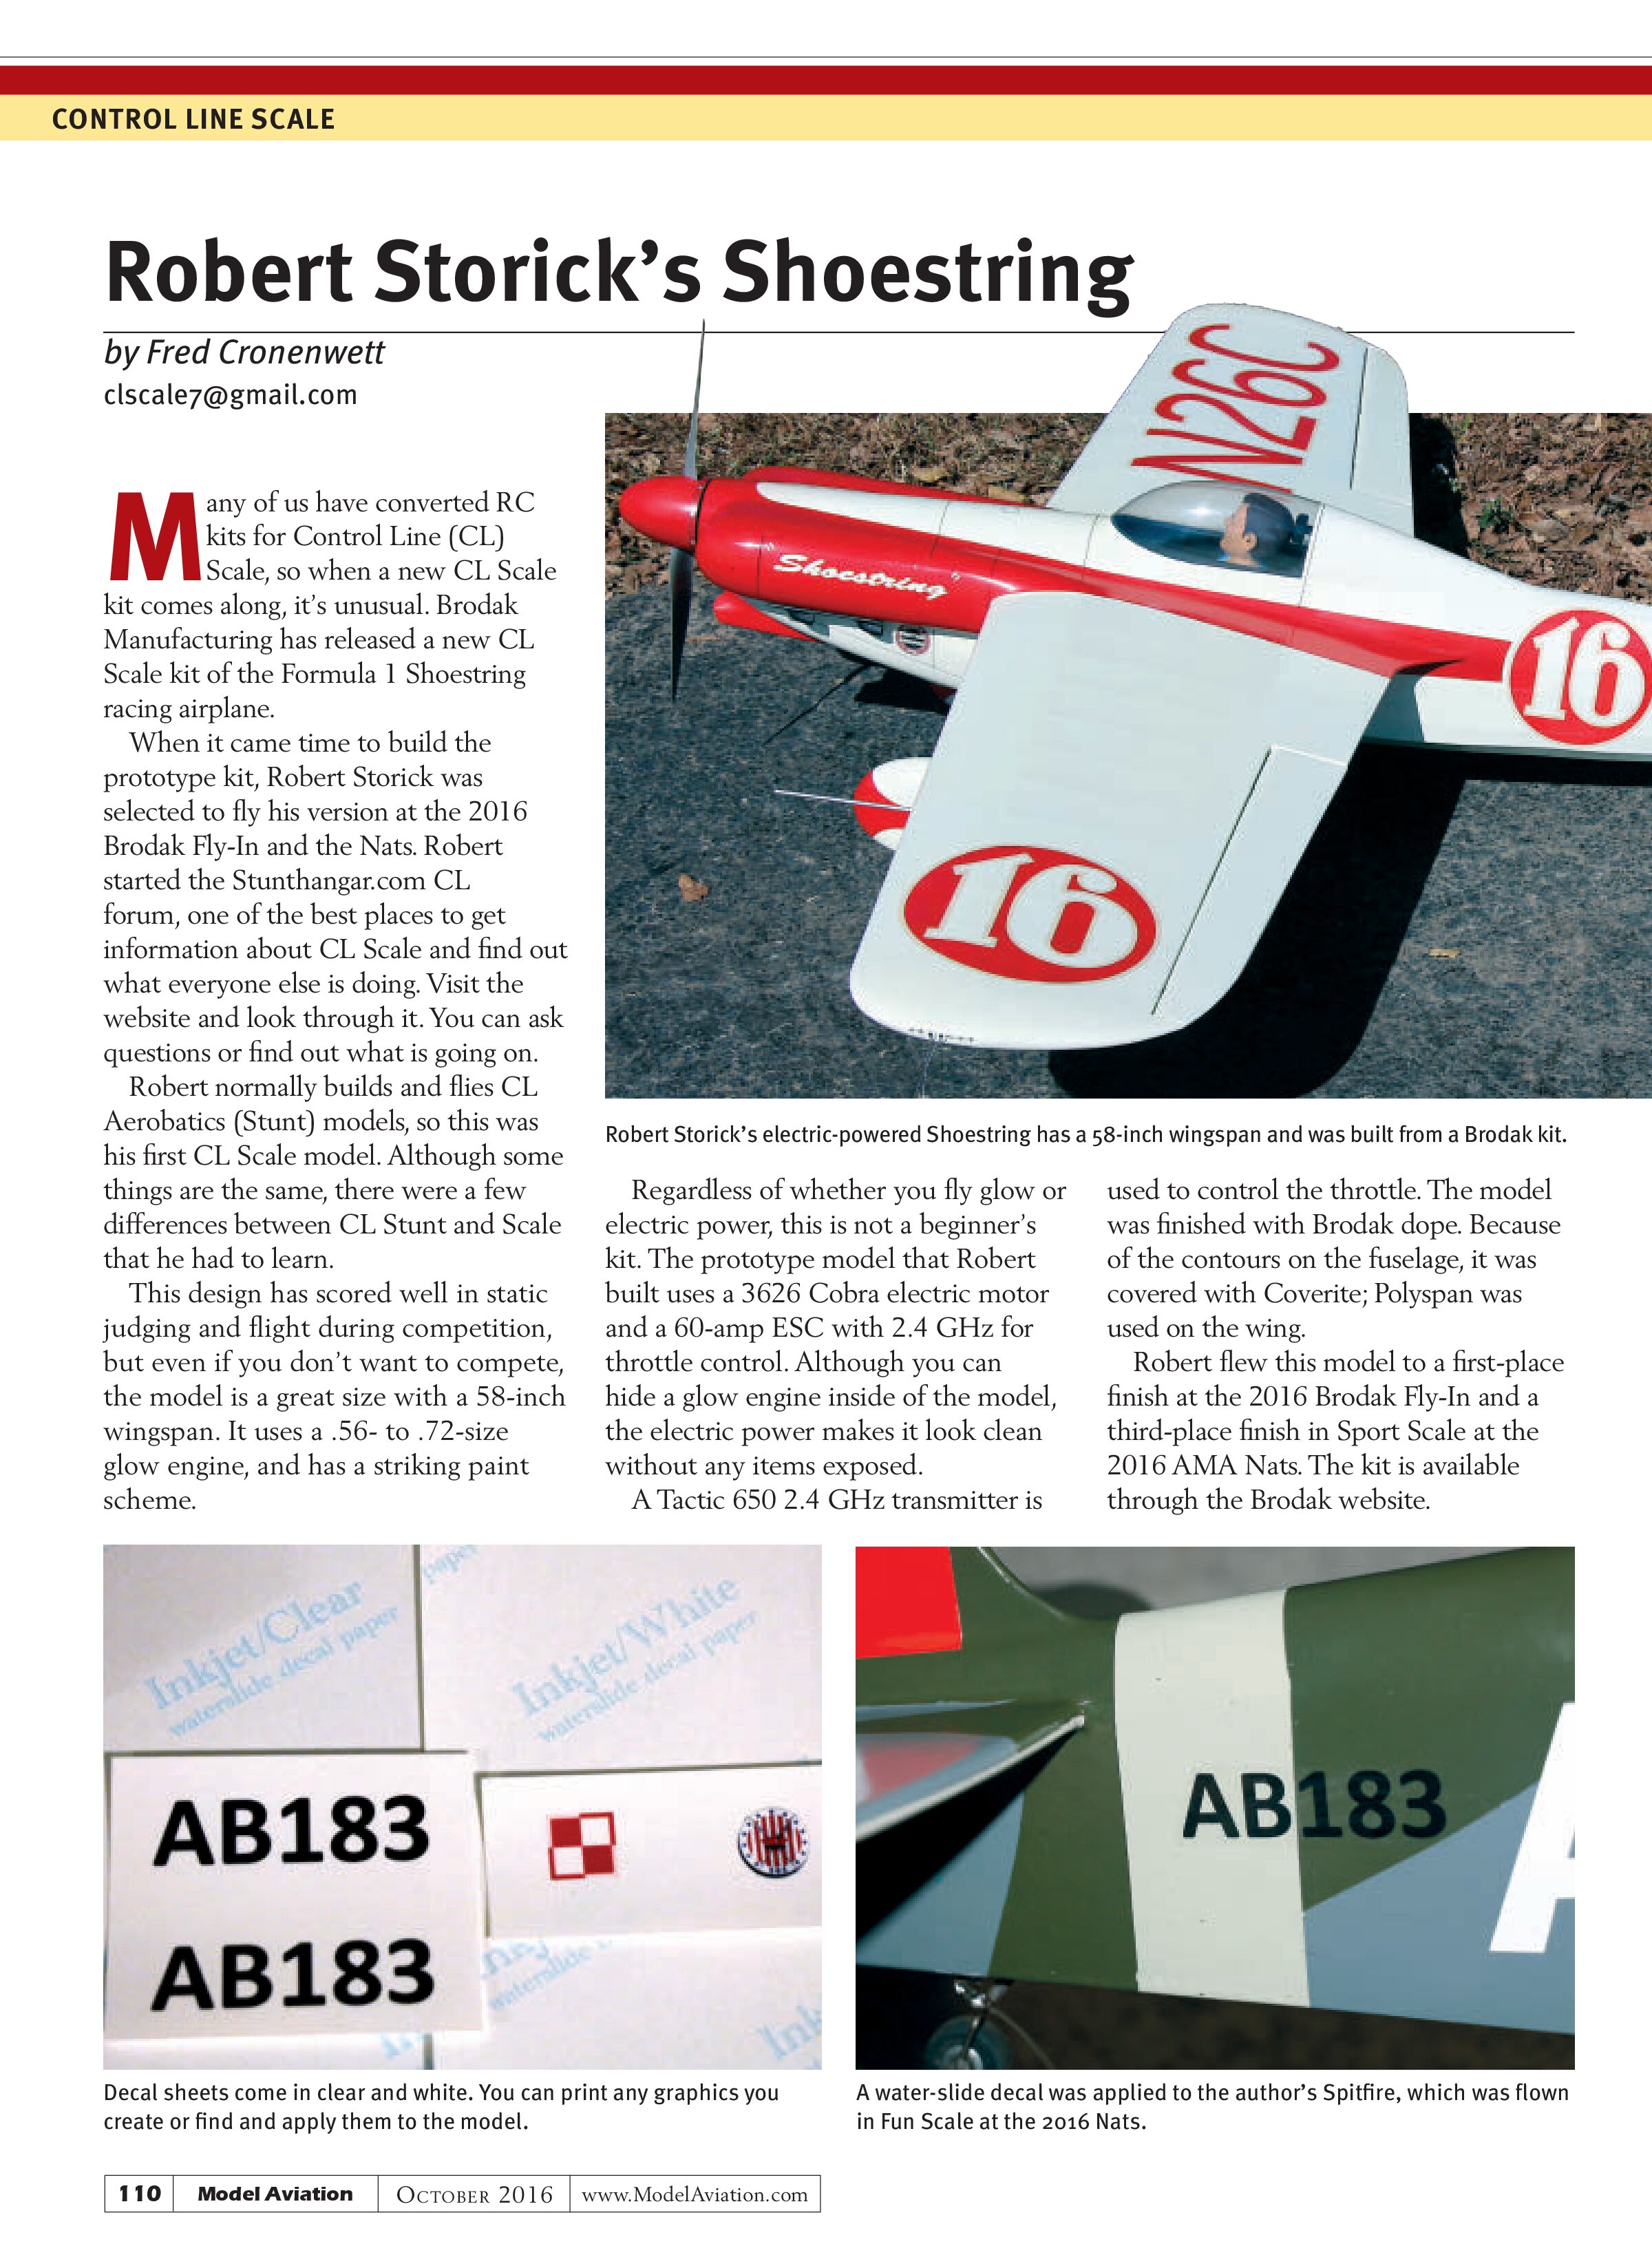
Robert Storick’s Shoestring
by Fred Cronenwett
clscale7@gmail.com
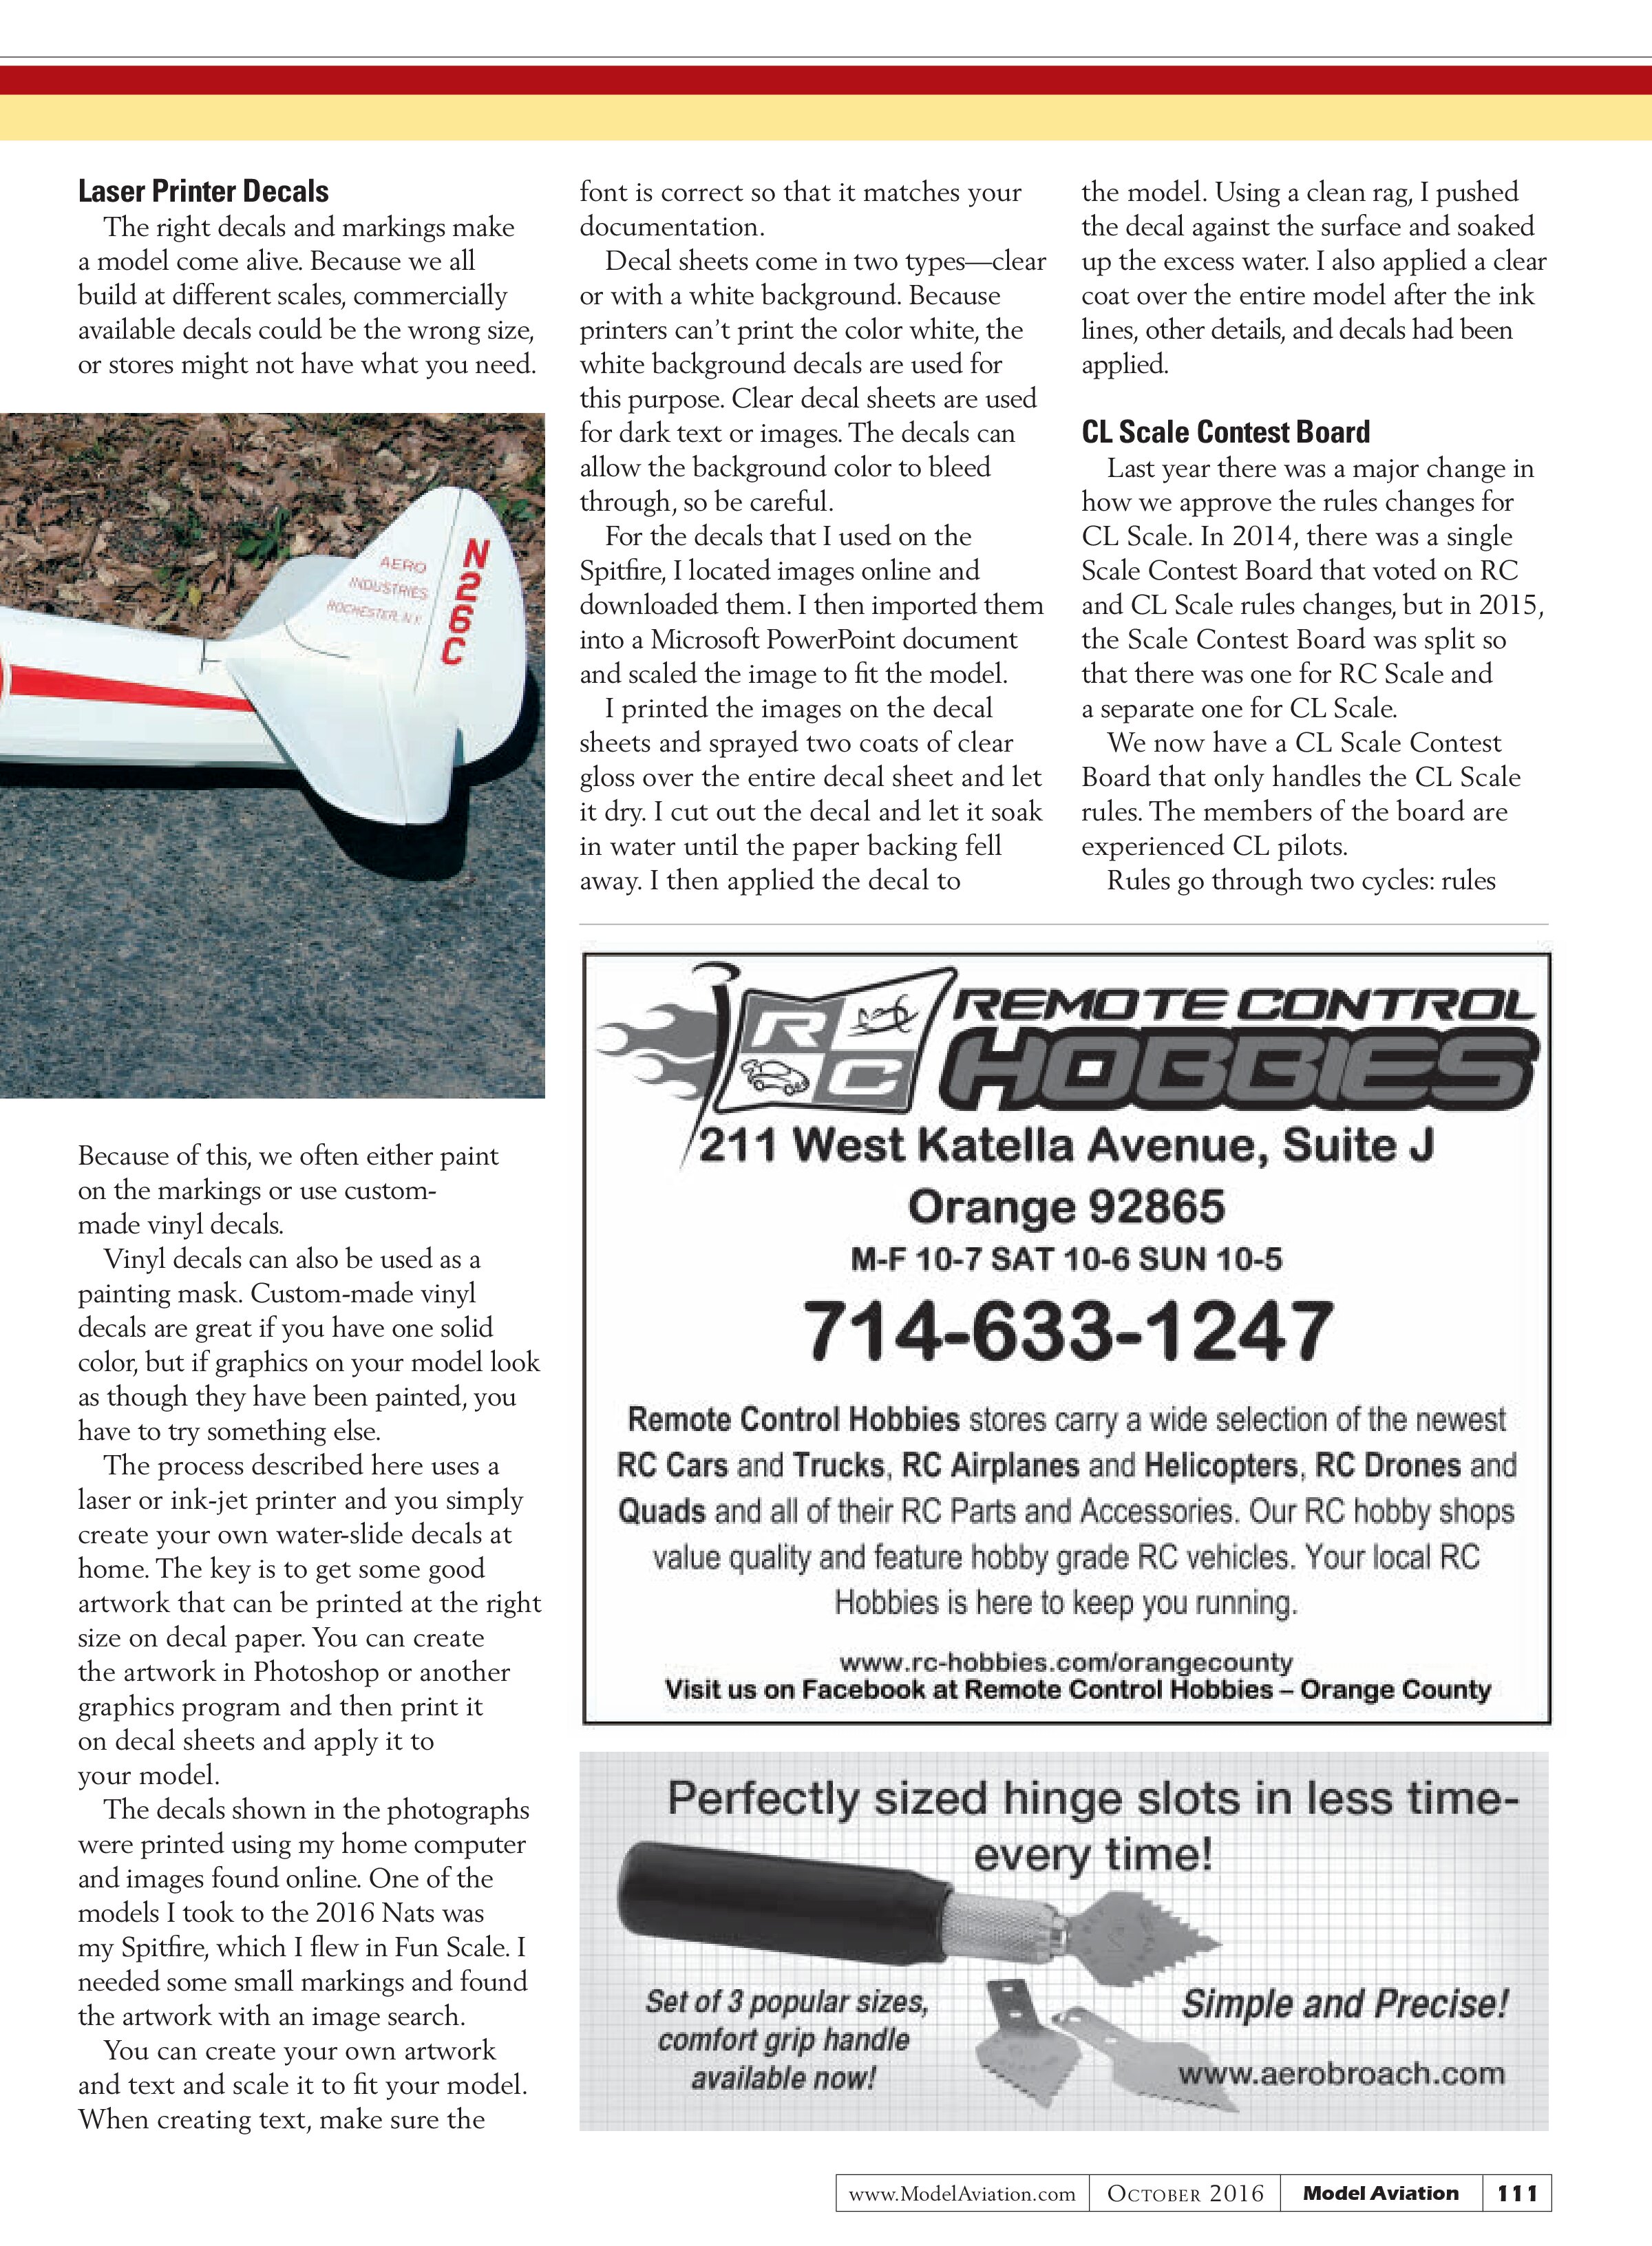
Many of us have converted RC kits for Control Line (CL) Scale, so when a new CL Scale kit comes along, it’s unusual. Brodak Manufacturing has released a new CL Scale kit of the Formula 1 Shoestring racing airplane.
When it came time to build the prototype kit, Robert Storick was selected to fly his version at the 2016 Brodak Fly-In and the Nats. Robert started the Stunthangar.com CL forum, one of the best places to get information about CL Scale and find out what everyone else is doing. Visit the website and look through it. You can ask questions or find out what is going on.
Robert normally builds and flies CL Aerobatics (Stunt) models, so this was his first CL Scale model. Although some things are the same, there were a few differences between CL Stunt and Scale that he had to learn.
This design has scored well in static judging and flight during competition, but even if you don’t want to compete, the model is a great size with a 58-inch wingspan. It uses a .56- to .72-size glow engine, and has a striking paint scheme.

Regardless of whether you fly glow or electric power, this is not a beginner’s kit. The prototype model that Robert built uses a 3626 Cobra electric motor and a 60-amp ESC with 2.4 GHz for throttle control. Although you can hide a glow engine inside of the model, the electric power makes it look clean without any items exposed.
A Tactic 650 2.4 GHz transmitter is used to control the throttle. The model was finished with Brodak dope. Because of the contours on the fuselage, it was covered with Coverite; Polyspan was used on the wing.
Robert flew this model to a first-place finish at the 2016 Brodak Fly-In and a third-place finish in Sport Scale at the 2016 AMA Nats. The kit is available through the Brodak website.


Laser Printer Decals
The right decals and markings make a model come alive. Because we all build at different scales, commercially available decals could be the wrong size, or stores might not have what you need.

Because of this, we often either paint on the markings or use custom-made vinyl decals.
Vinyl decals can also be used as a painting mask. Custom-made vinyl decals are great if you have one solid color, but if graphics on your model look as though they have been painted, you have to try something else.
The process described here uses a laser or ink-jet printer and you simply create your own water-slide decals at home. The key is to get some good artwork that can be printed at the right size on decal paper. You can create the artwork in Photoshop or another graphics program and then print it on decal sheets and apply it to your model.
The decals shown in the photographs were printed using my home computer and images found online. One of the models I took to the 2016 Nats was my Spitfire, which I flew in Fun Scale. I needed some small markings and found the artwork with an image search.
You can create your own artwork and text and scale it to fit your model. When creating text, make sure the font is correct so that it matches your documentation.
Decal sheets come in two types—clear or with a white background. Because printers can’t print the color white, the white background decals are used for this purpose. Clear decal sheets are used for dark text or images. The decals can allow the background color to bleed through, so be careful.
For the decals that I used on the Spitfire, I located images online and downloaded them. I then imported them into a Microsoft PowerPoint document and scaled the image to fit the model.
I printed the images on the decal sheets and sprayed two coats of clear gloss over the entire decal sheet and let it dry. I cut out the decal and let it soak in water until the paper backing fell away. I then applied the decal to the model. Using a clean rag, I pushed the decal against the surface and soaked up the excess water. I also applied a clear coat over the entire model after the ink lines, other details, and decals had been applied.
CL Scale Contest Board
Last year there was a major change in how we approve the rules changes for CL Scale. In 2014, there was a single Scale Contest Board that voted on RC and CL Scale rules changes, but in 2015, the Scale Contest Board was split so that there was one for RC Scale and a separate one for CL Scale.
We now have a CL Scale Contest Board that only handles the CL Scale rules. The members of the board are experienced CL pilots.
Rules go through two cycles: rules