TOWER HOBBIES PIPER J-3 40 CUB ARF
Andrew Griffith

Get back to basics with this Giant Scale model
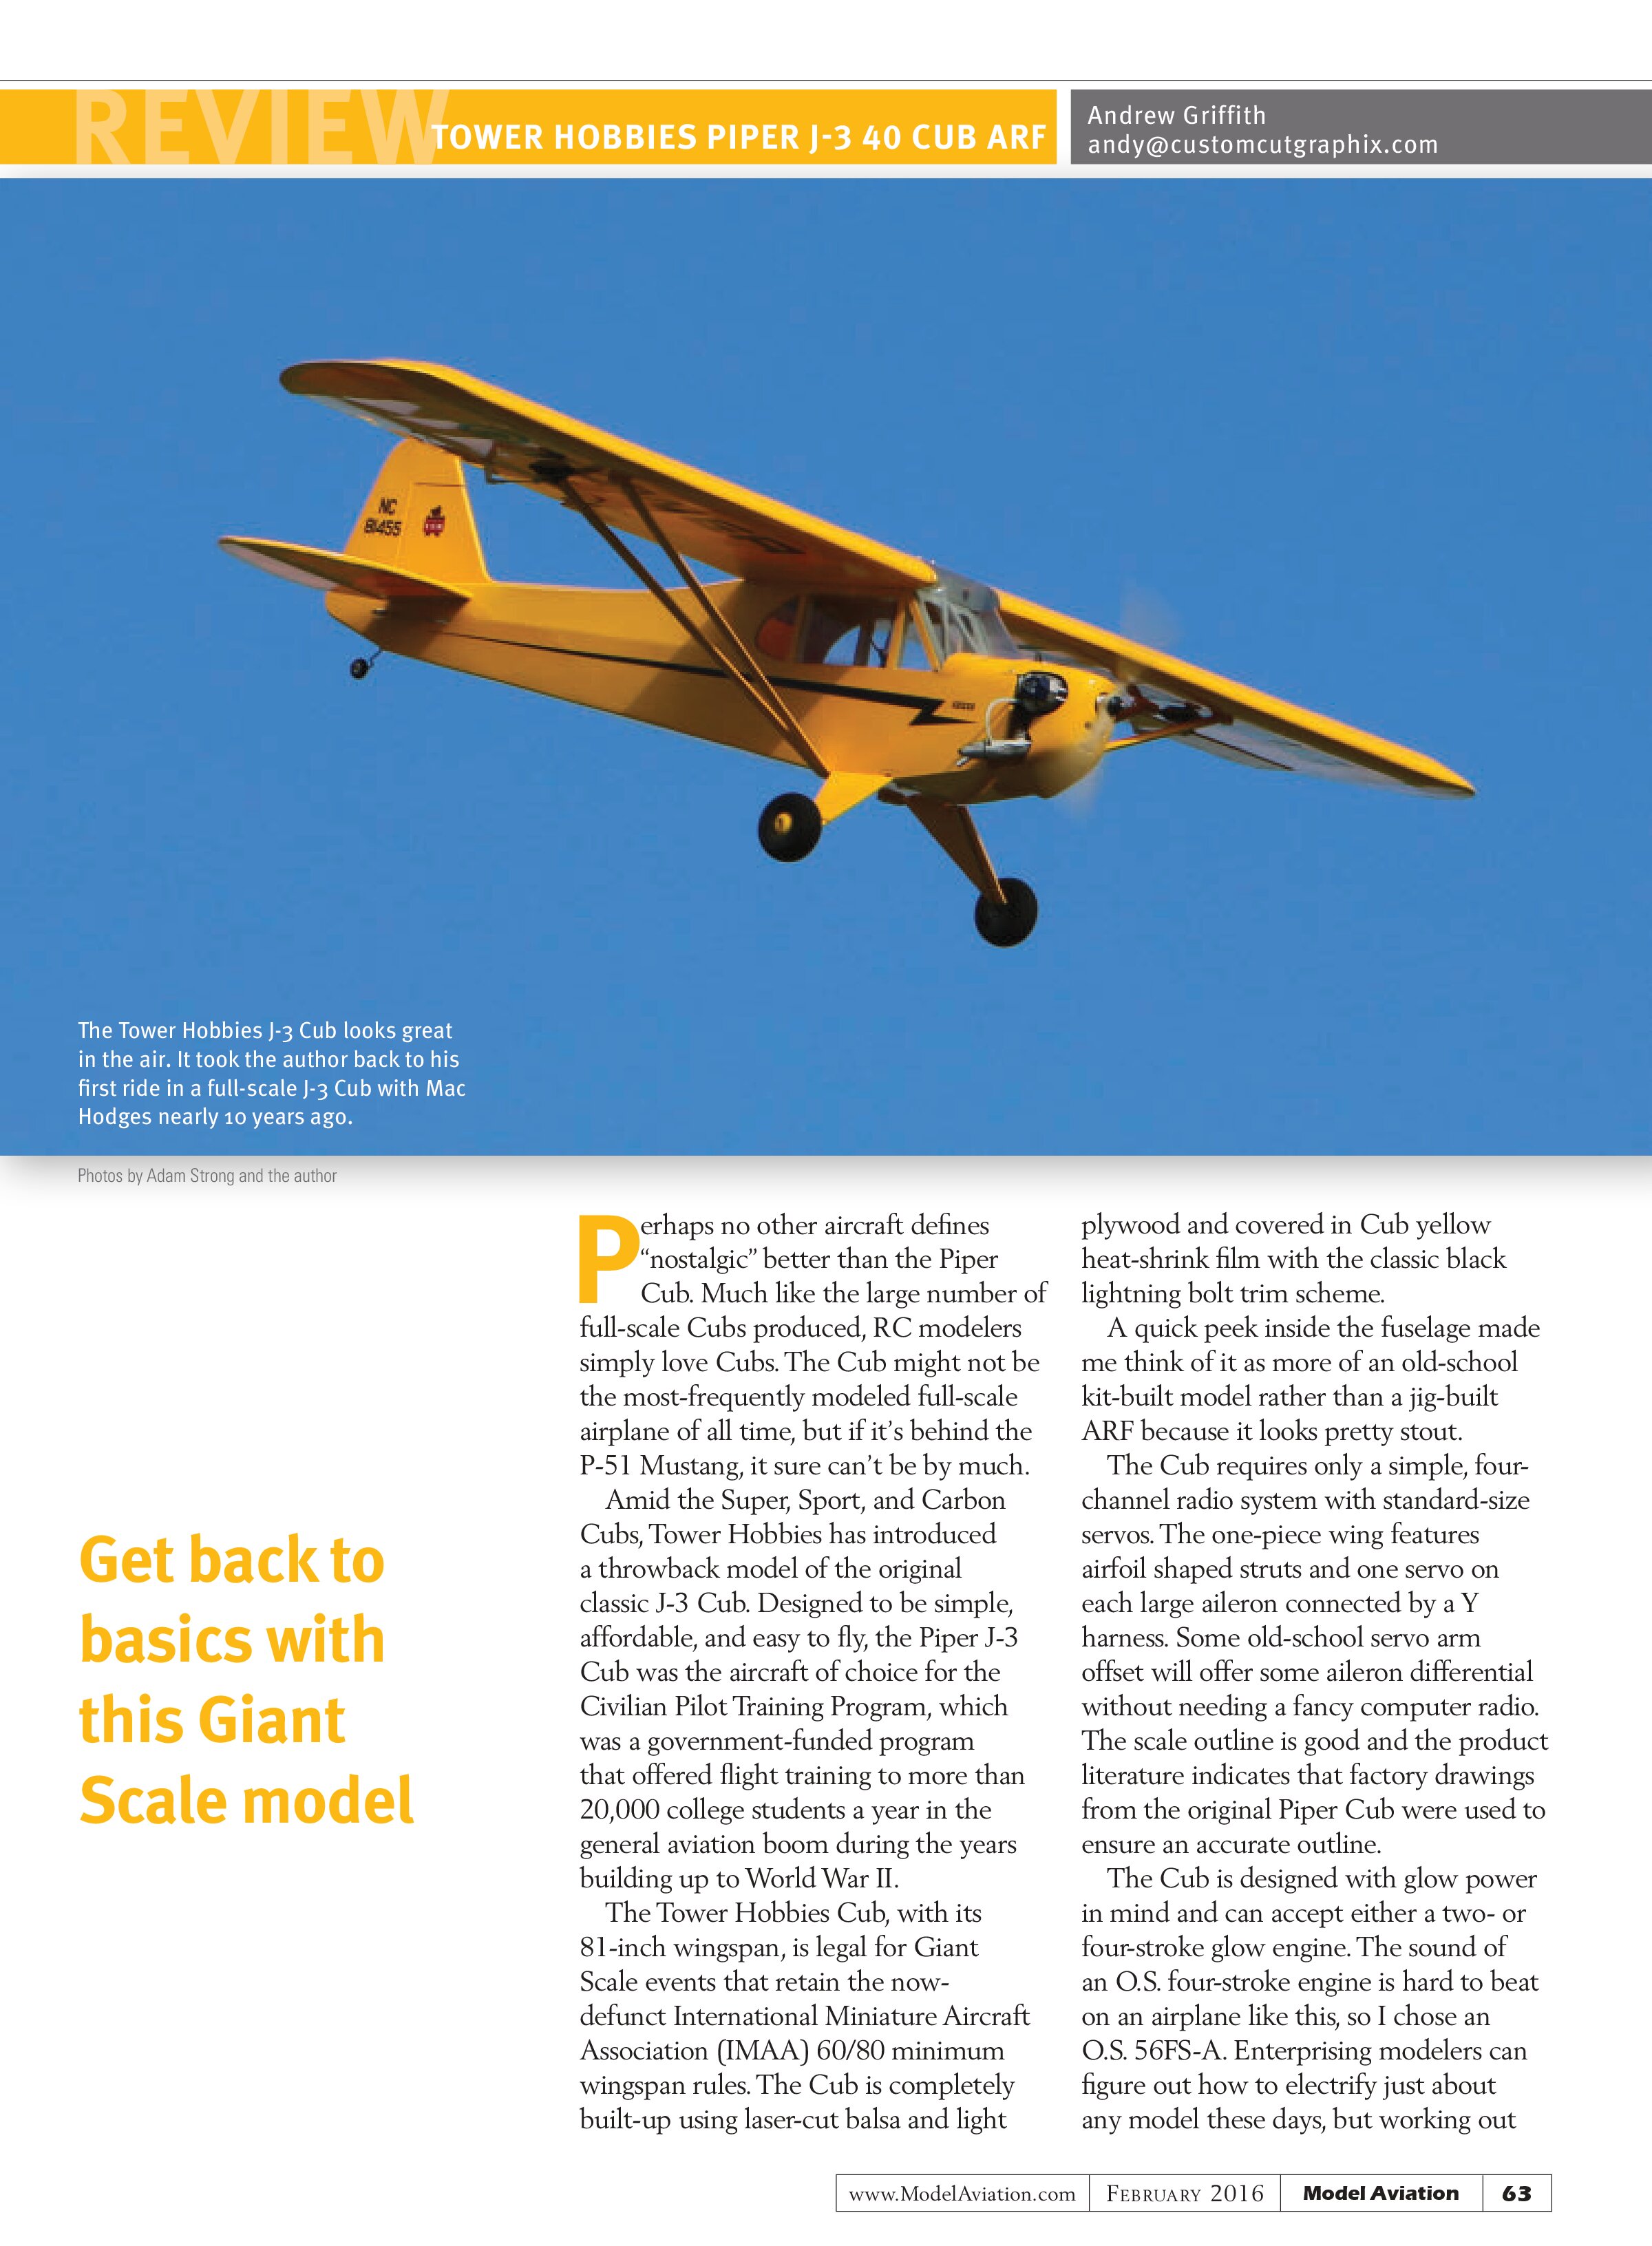
Perhaps no other aircraft defines “nostalgic” better than the Piper Cub. Much like the large number of full-scale Cubs produced, RC modelers simply love Cubs. The Cub might not be the most-frequently modeled full-scale airplane of all time, but if it’s behind the P-51 Mustang, it sure can’t be by much.
Amid the Super Sport, and Carbon Cubs, Tower Hobbies has introduced a throwback model of the original classic J-3 Cub. Designed to be simple, affordable, and easy to fly, the Piper J-3 Cub was the aircraft of choice for the Civilian Pilot Training Program, which was a government-funded program that offered flight training to more than 20,000 college students a year in the general aviation boom during the years building up to World War II.
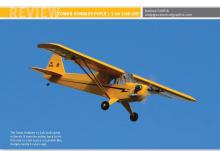
The Tower Hobbies Cub, with its 81-inch wingspan, is legal for Giant Scale events that retain the now-defunct International Miniature Aircraft Association (IMAA) 60/80 minimum wingspan rules. The Cub is completely built-up using laser-cut balsa and light plywood and covered in Cub yellow heat-shrink film with the classic black lightning bolt trim scheme.
A quick peek inside the fuselage made me think of it as more of an old-school kit-built model rather than a jig-built ARF because it looks pretty stout.
The Cub requires only a simple, four-channel radio system with standard-size servos. The one-piece wing features airfoil shaped struts and one servo on each large aileron connected by a Y harness. Some old-school servo arm offset will offer some aileron differential without needing a fancy computer radio. The scale outline is good and the product literature indicates that factory drawings from the original Piper Cub were used to ensure an accurate outline.
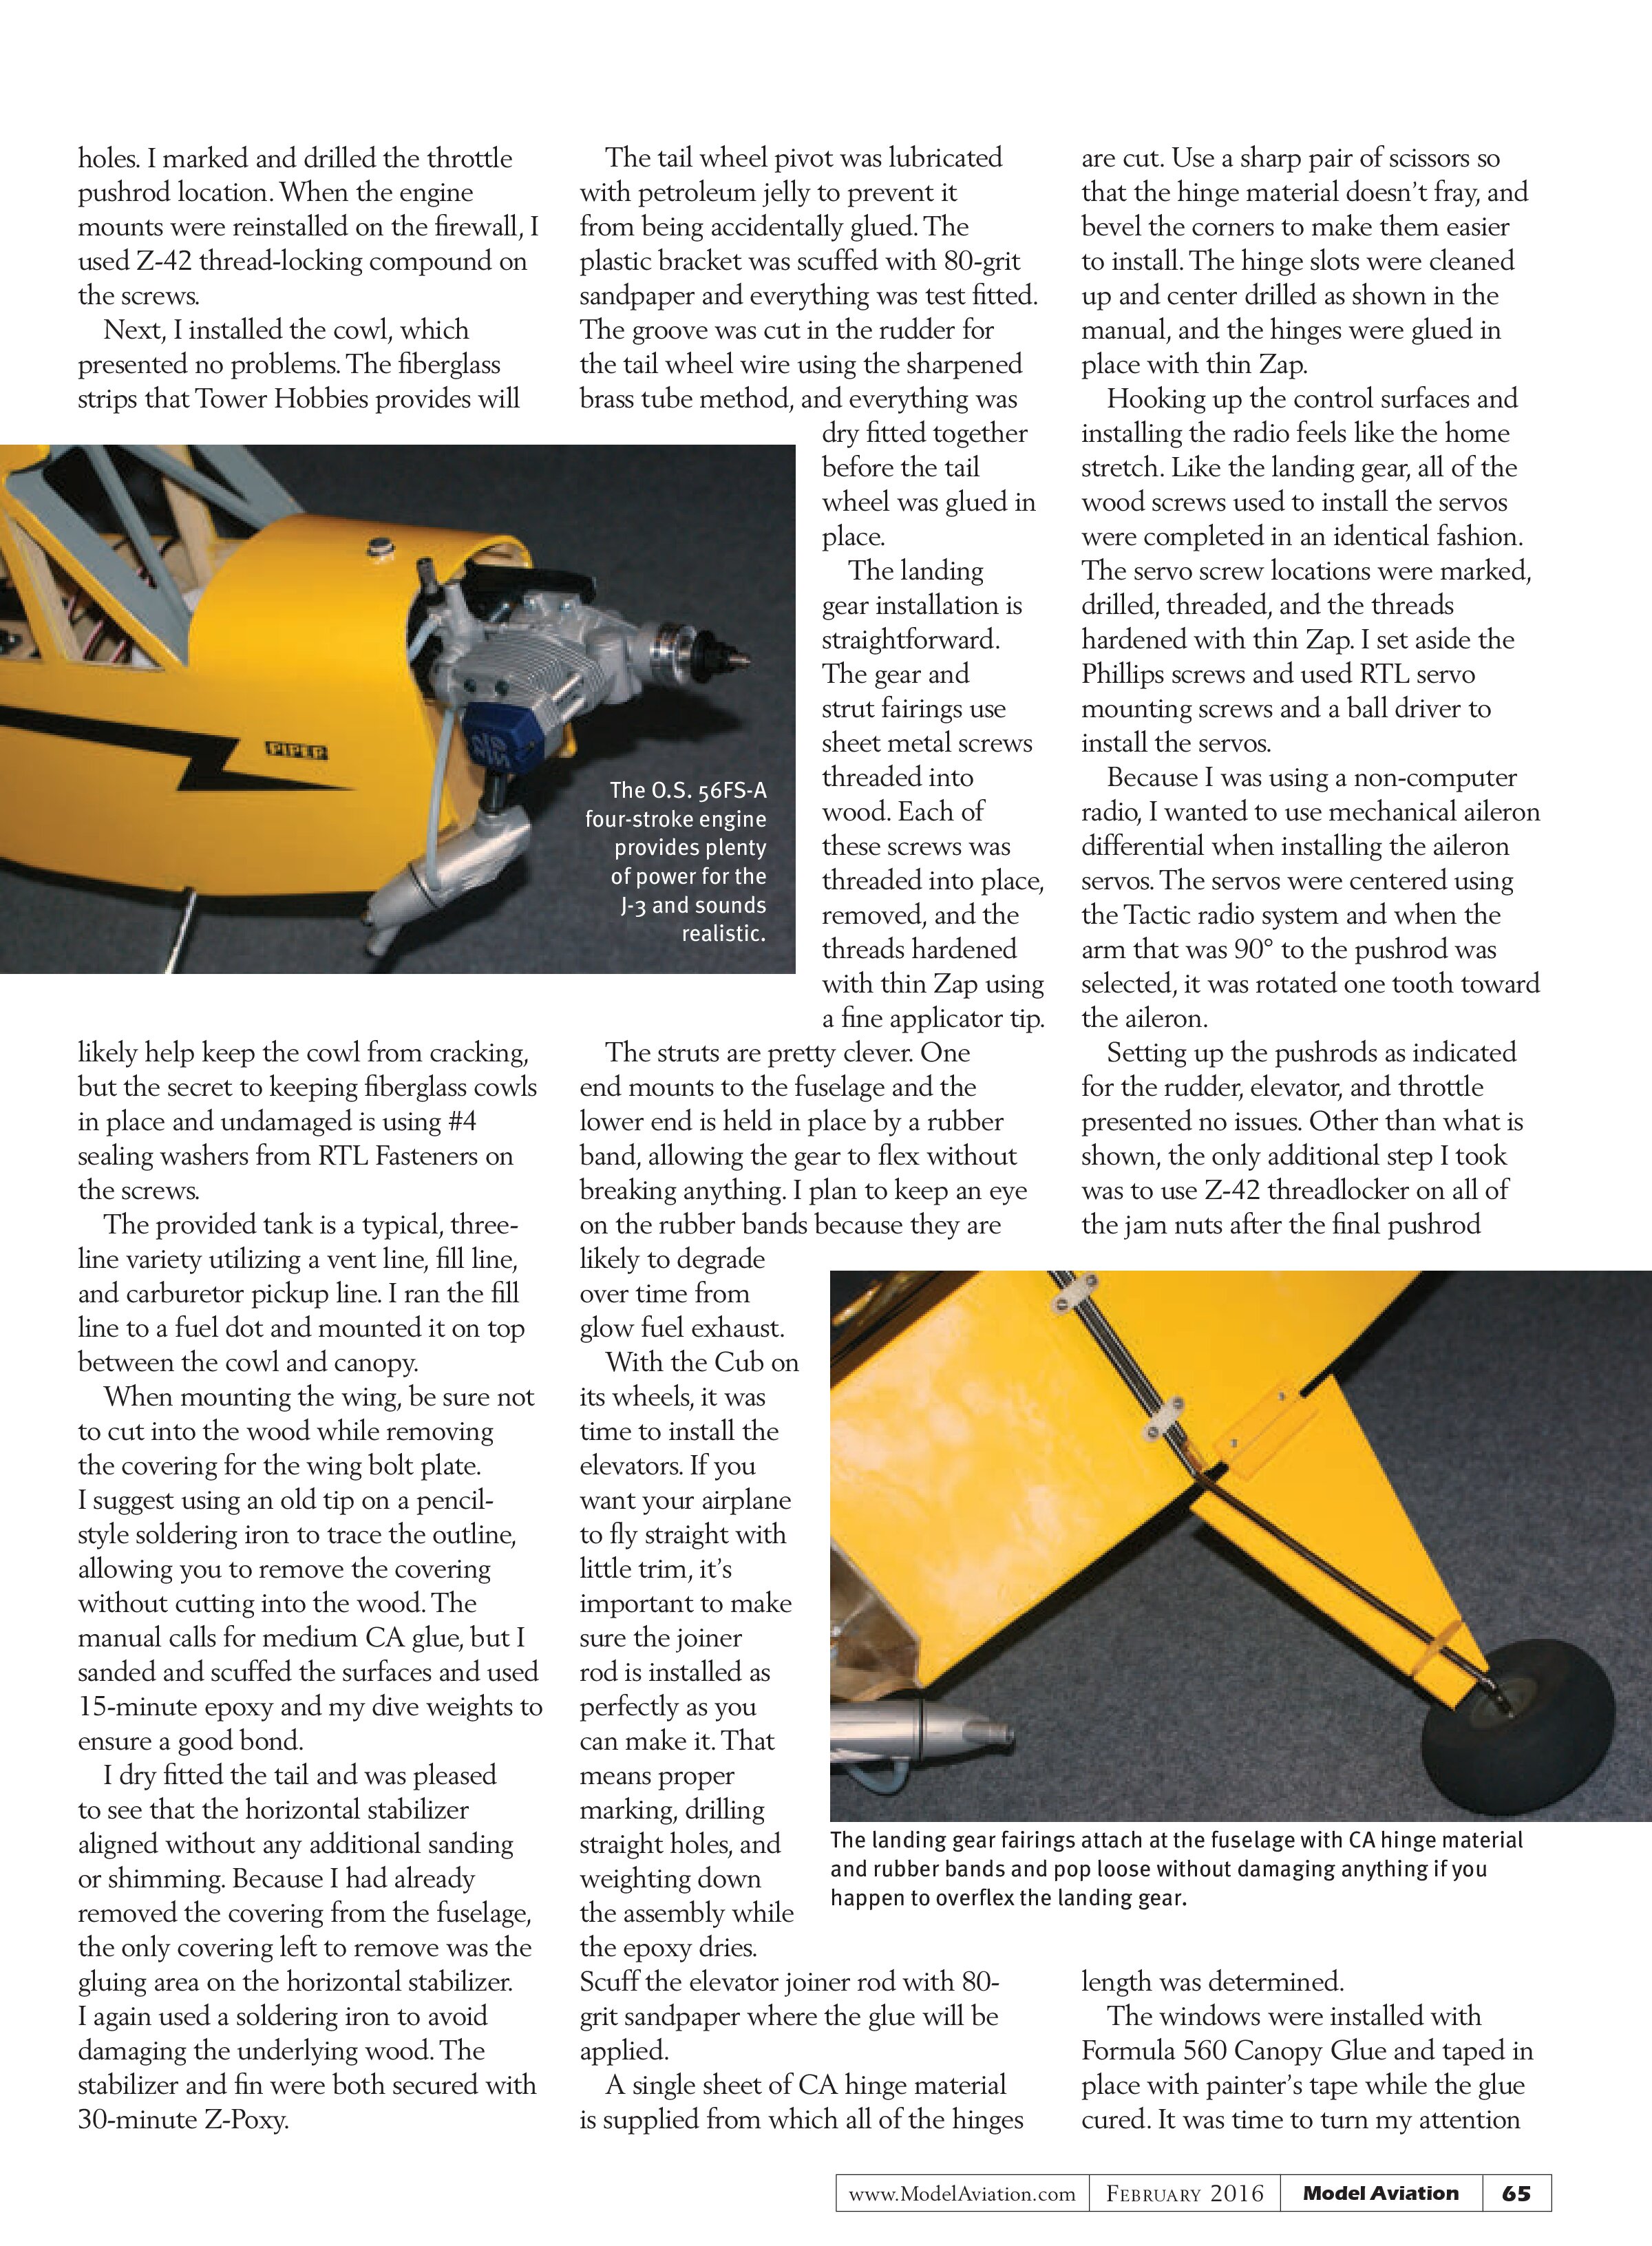
The Cub is designed with glow power in mind and can accept either a two- or four-stroke glow engine. The sound of an O.S. four-stroke engine is hard to beat on an airplane like this, so I chose an O.S. 56FS-A. Enterprising modelers can figure out how to electrify just about any model these days, but working out
battery access on this particular Cub might be more trouble than it’s worth. Although Cubs are naturals on floats, this particular kit has no provisions for mounting them, so if you plan to add floats, you will have to get into the bottom of the airframe and engineer your own mounting points.
Construction
Begin by reading the 23-page manual with photo illustrations. Although the Cub isn’t a primary trainer, anyone building his or her first sport scale model won’t have any challenges assembling this model by carefully following the included manual. If you want a look at what you’re getting into, the manual can be downloaded from the product page on the Tower Hobbies website.
The Tower Hobbies Cub will be constructed using Zap thin and medium CA glue and 15- and 30-minute Pacer Z-Poxy. Z-42 medium threadlocker will be used where metal-to-metal fasteners need to be protected from vibration. These adhesives can be obtained from Frank Tiano Enterprises.
The assembly sequence starts by opening the servo mounts for the ailerons. I took 20 minutes and cleaned up any wrinkles and sealed the seams on all of the surfaces. I also went through the manual and removed the covering on all of the required cutouts such as the fin and stabilizer. When the covering was sealed to the edges of the servo cutouts,

the aileron pull strings were taped down to keep them from scampering away.
The wing joiner parts were sanded lightly with 80-grit sandpaper, laminated together with 30-minute Z-Poxy, and clamped in place to dry. Clean up any excess epoxy with isopropyl alcohol now to save yourself a lot of sanding later when it’s time to fit the joiner and join the wings.
Dry fit everything before you join the wings. When you’re happy with the fit, use an epoxy brush to apply the adhesive on half of the joiner and install it in one wing. Coat the other half of the joiner and the root rib and slide the other half of the wing in place. Clean up any excess glue and let the wing joint dry.
I used flexible 2-pound dive weight bags and low-tack painter’s tape to make sure everything stayed put while the glue cured. The flat-bottom wing has no dihedral, so everything can be assembled on a flat surface on top of waxed paper. Don’t skimp on the glue. If you’re not cleaning up epoxy that squeezes out of the wing joint, you probably didn’t use enough.
While the wing dries, start mounting the engine. A drilling template is provided on the last page of the manual that you can cut out and tape in place. If you elect to use a two-stroke engine, you’re going to have to determine the correct standoff distance for the engine and fabricate some plywood shims, as well as provide correspondingly longer engine-mounting screws.
With the engine in place, I marked the holes, removed the mounts, and used my drill press to drill the mounting holes. My Du-Bro metric drill and tap had the correct drill bit for the 4mm mounting
AT A GLANCE ...
SPECIFICATIONS
Model type: Semiscale ARF
Skill level: Intermediate
Wingspan: 81 inches
Wing area: 984 square inches
Wing loading: 16.9 ounces per square foot
Airfoil: Flat bottom
Length: 49 inches
Weight: 7 pounds, 4 ounces
Engine: .40 to .46 two-stroke or .52 to .72 four-stroke
Radio: Four-channel minimum
Construction: Laser-cut balsa and light plywood
Covering/finish: Film covered in the classic Lock Haven Yellow Cub scheme with black trim
Street price: $179.97
TEST-MODEL DETAILS
Engine used: O.S. 56FS-A four-stroke glow
Receiver battery: Hobbico LiFeSource 1,900 mAh
Propeller: 12 x 6 APC
Radio system: Tactic TTX610 2.4 GHz; TR624 six-channel receiver; HydriMax four-cell 2,000 mAh receiver battery; five TSX47 servos
Ready-to-fly weight: 7 pounds, 4 ounces
Flight duration: 15-plus minutes
PLUSES
- Classic Cub looks.
- O.S. 56FS-A four-stroke engine has plenty of power and sounds great.
- One-piece wing makes for quick field assembly.
- Requires only a simple four-channel radio system with standard servos.
- Flying weight was less than specified.
MINUSES
- One-piece 81-inch wing can be difficult to transport.
- No provisions for mounting floats.
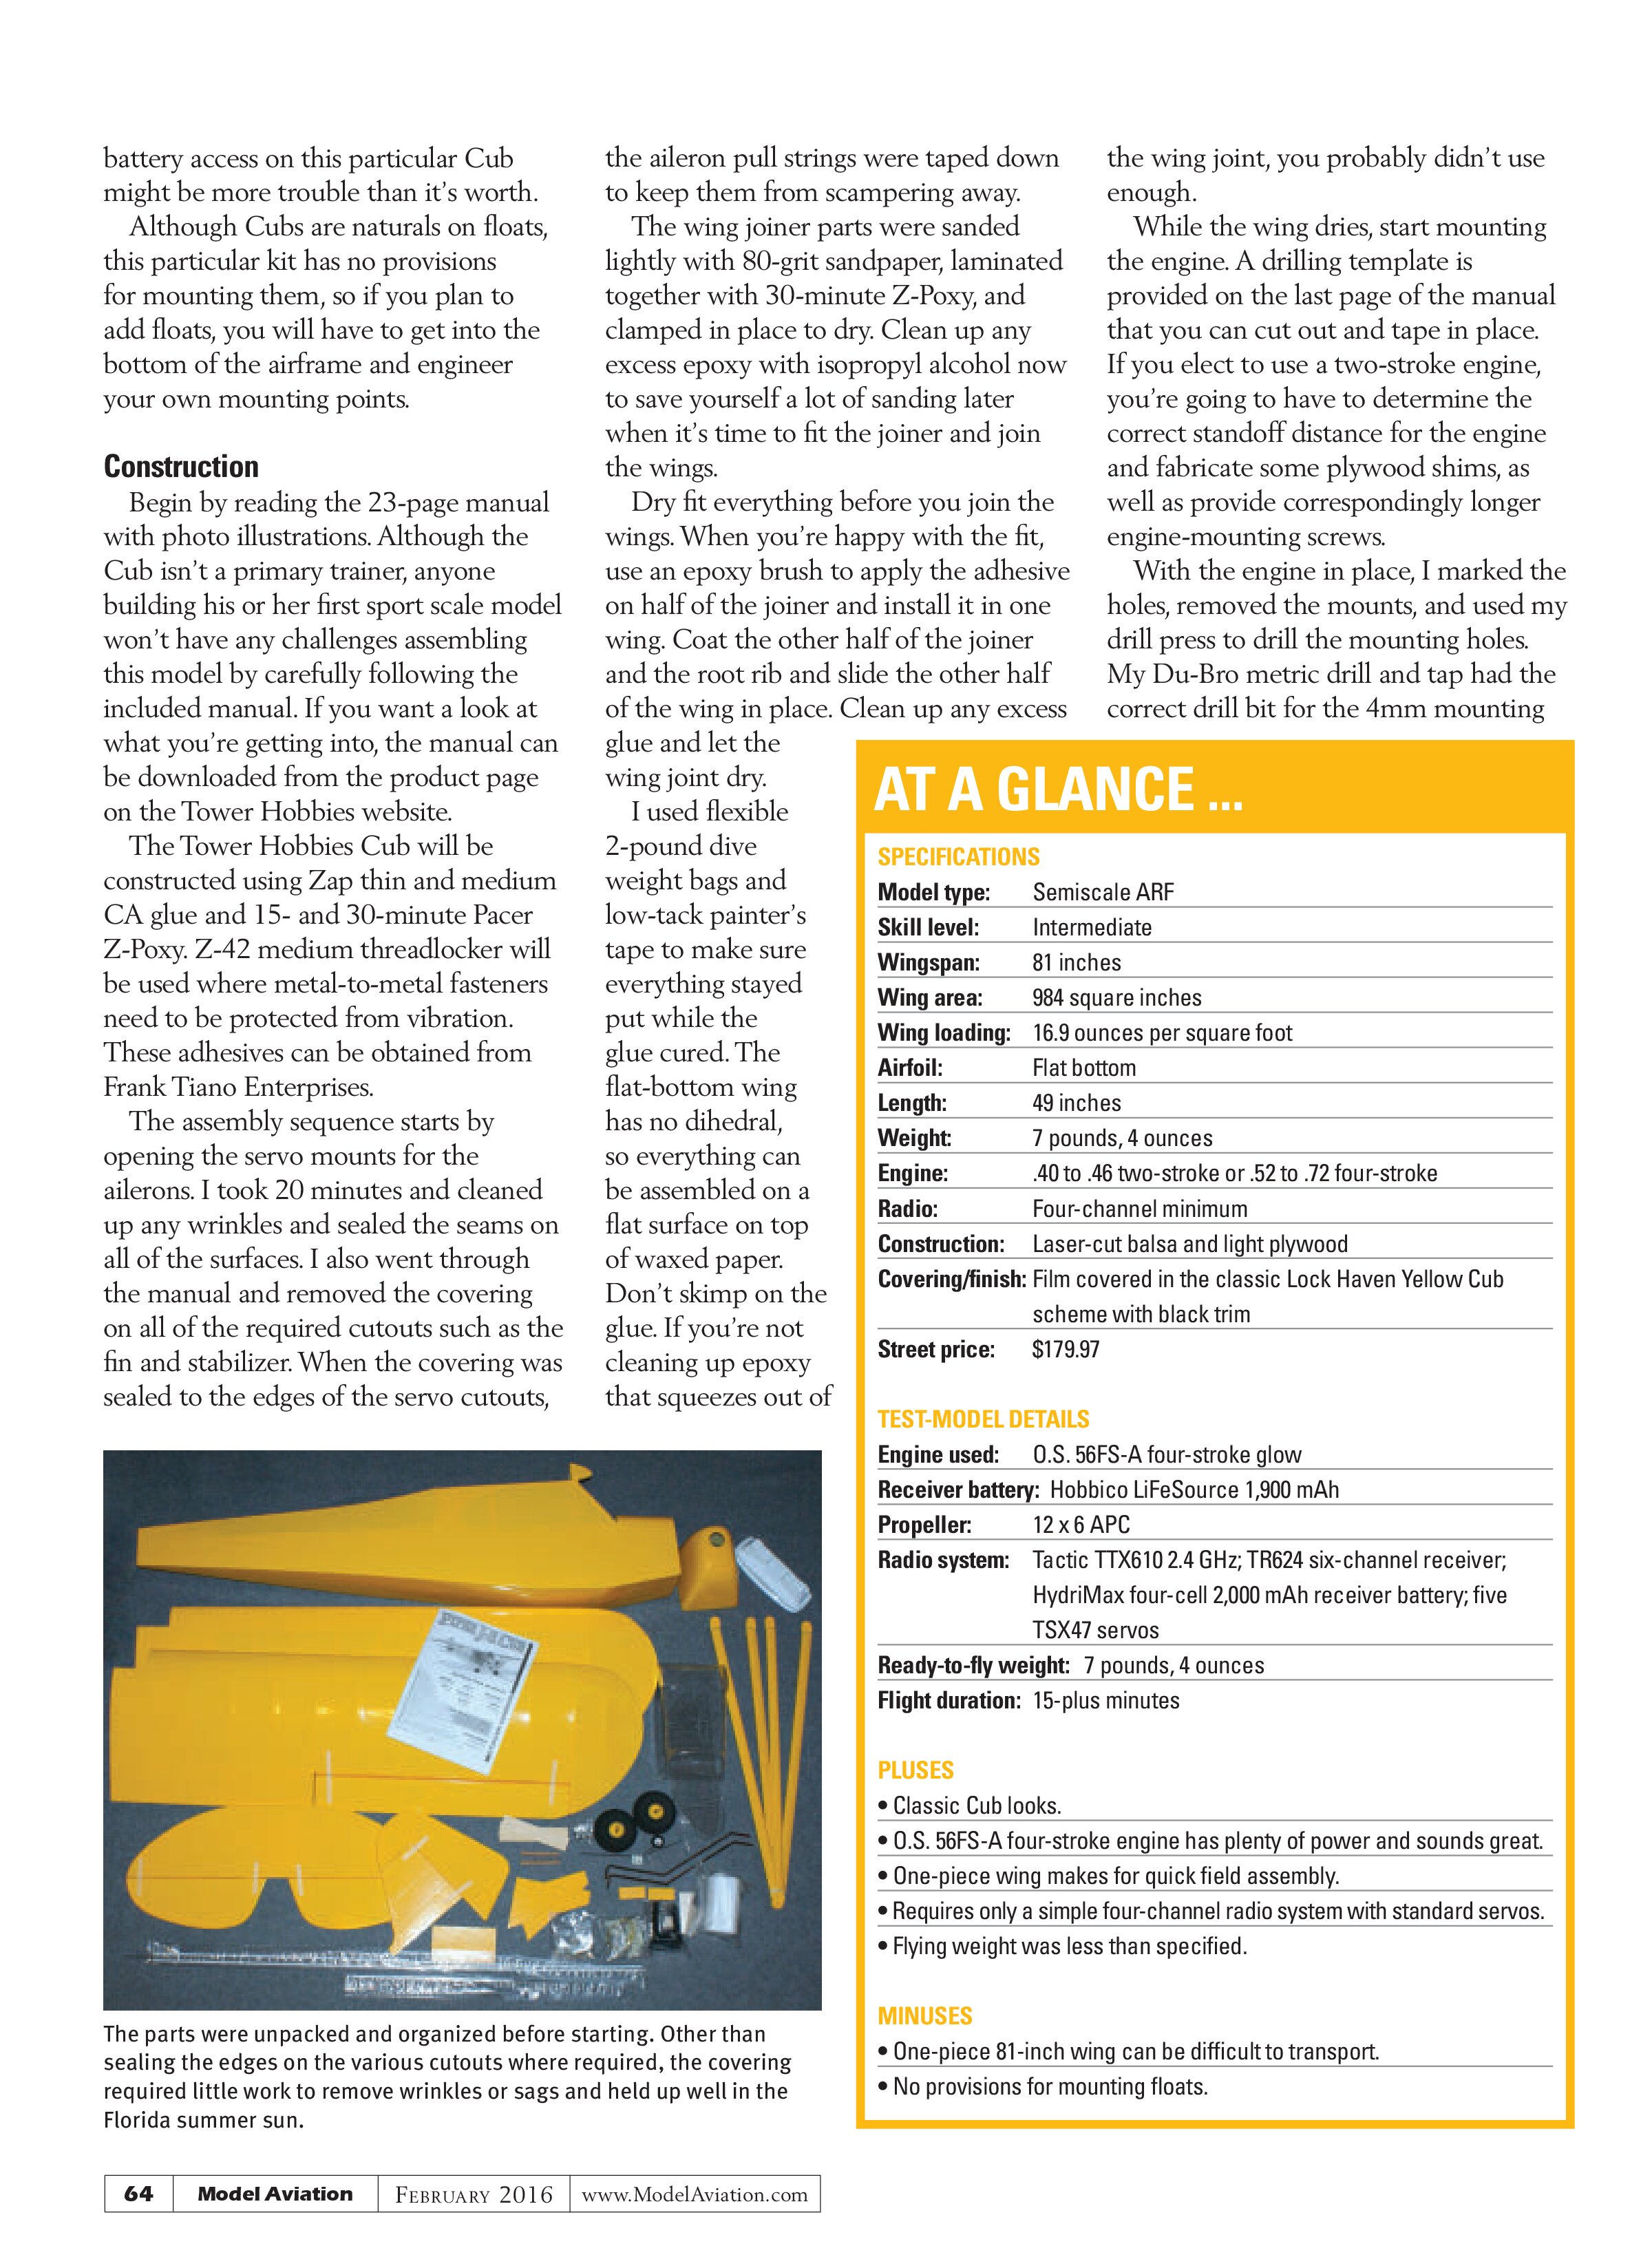
The parts were unpacked and organized before starting. Other than sealing the edges on the various cutouts where required, the covering required little work to remove wrinkles or sags and held up well in the Florida summer sun.

holes. I marked and drilled the throttle pushrod location. When the engine mounts were reinstalled on the firewall, I used Z-42 thread-locking compound on the screws.
Next, I installed the cowl, which presented no problems. The fiberglass strips that Tower Hobbies provides will

likely help keep the cowl from cracking, but the secret to keeping fiberglass cowls in place and undamaged is using #4 sealing washers from RTL Fasteners on the screws.
The provided tank is a typical, three-line variety utilizing a vent line, fill line, and carburetor pickup line. I ran the fill line to a fuel dot and mounted it on top between the cowl and canopy.
When mounting the wing, be sure not to cut into the wood while removing the covering for the wing bolt plate. I suggest using an old tip on a pencil-style soldering iron to trace the outline, allowing you to remove the covering without cutting into the wood. The manual calls for medium CA glue, but I sanded and scuffed the surfaces and used 15-minute epoxy and my dive weights to ensure a good bond.
I dry fitted the tail and was pleased to see that the horizontal stabilizer aligned without any additional sanding or shimming. Because I had already removed the covering from the fuselage, the only covering left to remove was the gluing area on the horizontal stabilizer. I again used a soldering iron to avoid damaging the underlying wood. The stabilizer and fin were both secured with 30-minute Z-Poxy.
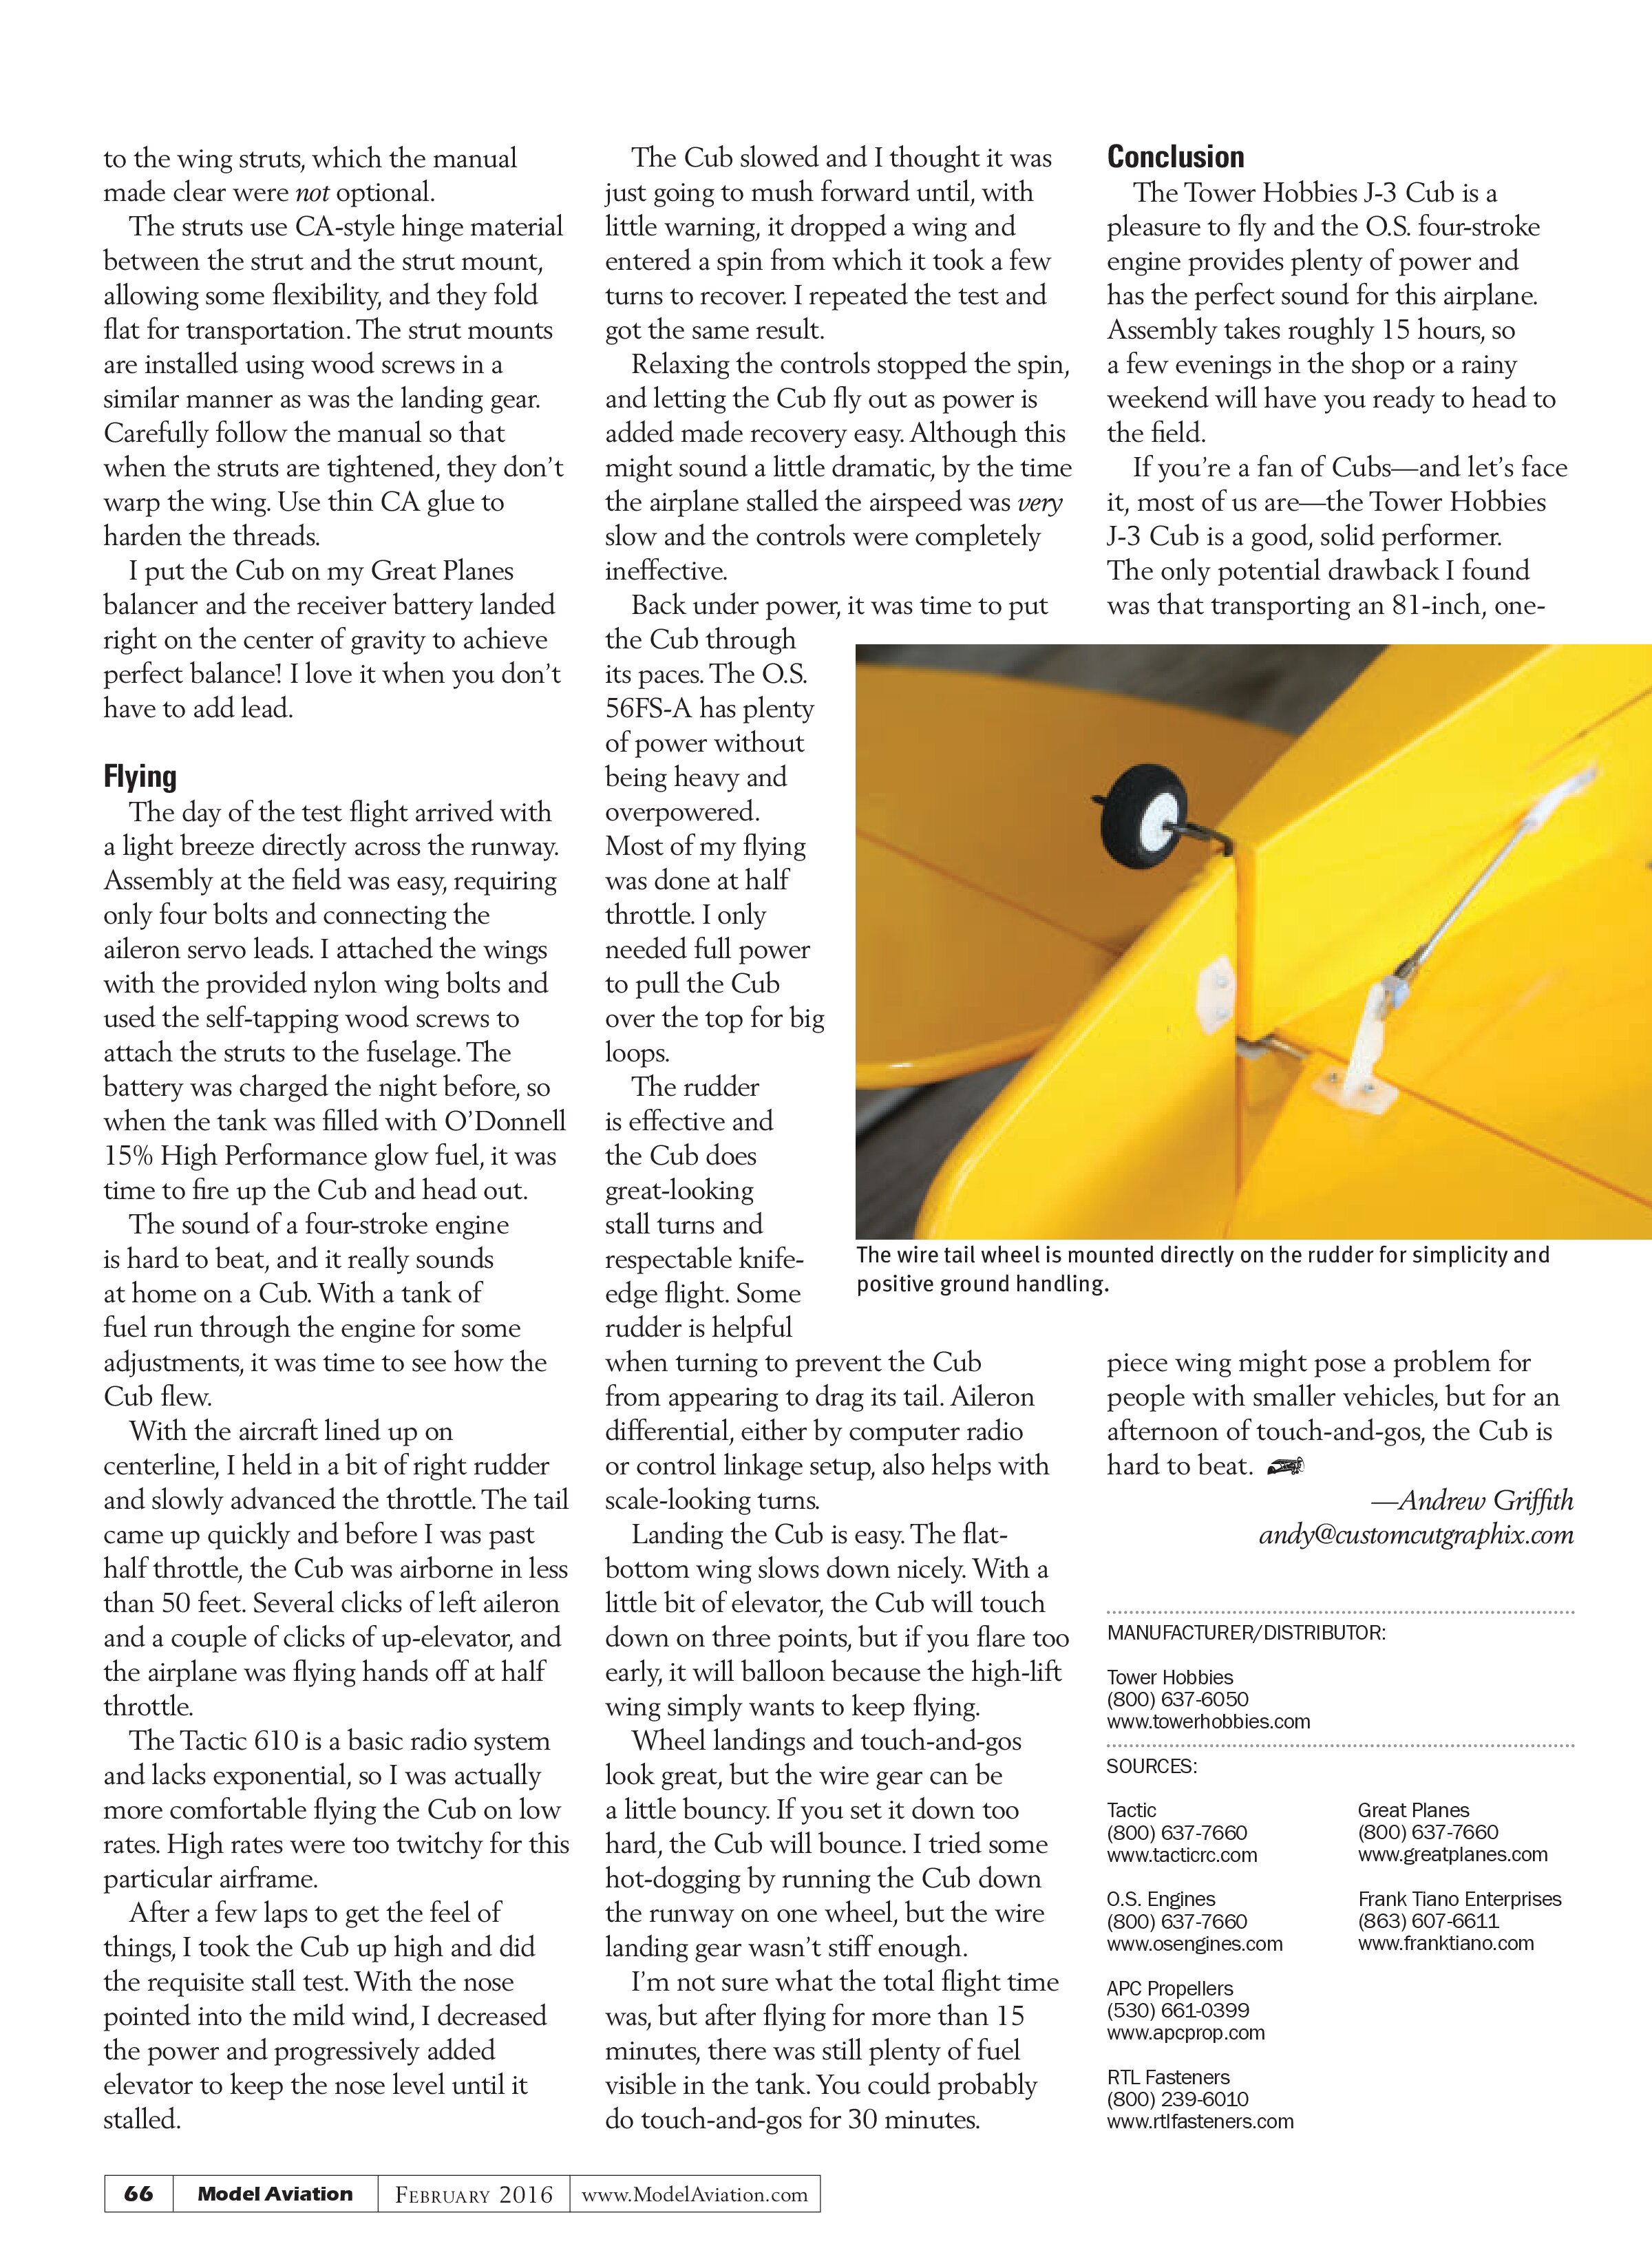
The tail wheel pivot was lubricated with petroleum jelly to prevent it from being accidentally glued. The plastic bracket was scuffed with 80-grit sandpaper and everything was test fitted. The groove was cut in the rudder for the tail wheel wire using the sharpened brass tube method, and everything was dry fitted together before the tail wheel was glued in place.
The landing gear installation is straightforward. The gear and strut fairings use sheet metal screws threaded into wood. Each of these screws was threaded into place, removed, and the threads hardened with thin Zap using a fine applicator tip.
The struts are pretty clever. One end mounts to the fuselage and the lower end is held in place by a rubber band, allowing the gear to flex without breaking anything. I plan to keep an eye on the rubber bands because they are likely to degrade over time from glow fuel exhaust.
With the Cub on its wheels, it was time to install the elevators. If you want your airplane to fly straight with little trim, it’s important to make sure the joiner rod is installed as perfectly as you can make it. That means proper marking, drilling straight holes, and weighting down the assembly while the epoxy dries. Scuff the elevator joiner rod with 80-grit sandpaper where the glue will be applied.
A single sheet of CA hinge material is supplied from which all of the hinges are cut. Use a sharp pair of scissors so that the hinge material doesn’t fray, and bevel the corners to make them easier to install. The hinge slots were cleaned up and center drilled as shown in the manual, and the hinges were glued in place with thin Zap.
Hooking up the control surfaces and installing the radio feels like the home stretch. Like the landing gear, all of the wood screws used to install the servos were completed in an identical fashion. The servo screw locations were marked, drilled, threaded, and the threads hardened with thin Zap. I set aside the Phillips screws and used RTL servo mounting screws and a ball driver to install the servos.
Because I was using a non-computer radio, I wanted to use mechanical aileron differential when installing the aileron servos. The servos were centered using the Tactic radio system and when the arm that was 90° to the pushrod was selected, it was rotated one tooth toward the aileron.
Setting up the pushrods as indicated for the rudder, elevator, and throttle presented no issues. Other than what is shown, the only additional step I took was to use Z-42 threadlocker on all of the jam nuts after the final pushrod length was determined.
The windows were installed with Formula 560 Canopy Glue and taped in place with painter’s tape while the glue cured. It was time to turn my attention
to the wing struts, which the manual made clear were not optional.
The struts use CA-style hinge material between the strut and the strut mount, allowing some flexibility, and they fold flat for transportation. The strut mounts are installed using wood screws in a similar manner as was the landing gear. Carefully follow the manual so that when the struts are tightened, they don’t warp the wing. Use thin CA glue to harden the threads.
I put the Cub on my Great Planes balancer and the receiver battery landed right on the center of gravity to achieve perfect balance! I love it when you don’t have to add lead.
Flying
The day of the test flight arrived with a light breeze directly across the runway. Assembly at the field was easy, requiring only four bolts and connecting the aileron servo leads. I attached the wings with the provided nylon wing bolts and used the self-tapping wood screws to attach the struts to the fuselage. The battery was charged the night before, so when the tank was filled with O’Donnell 15% High Performance glow fuel, it was time to fire up the Cub and head out.
The sound of a four-stroke engine is hard to beat, and it really sounds at home on a Cub. With a tank of fuel run through the engine for some adjustments, it was time to see how the Cub flew.
With the aircraft lined up on centerline, I held in a bit of right rudder and slowly advanced the throttle. The tail came up quickly and before I was past half throttle, the Cub was airborne in less than 50 feet. Several clicks of left aileron and a couple of clicks of up-elevator, and the airplane was flying hands off at half throttle.
The Tactic 610 is a basic radio system and lacks exponential, so I was actually more comfortable flying the Cub on low rates. High rates were too twitchy for this particular airframe.
After a few laps to get the feel of things, I took the Cub up high and did the requisite stall test. With the nose pointed into the mild wind, I decreased the power and progressively added elevator to keep the nose level until it stalled.
The Cub slowed and I thought it was just going to mush forward until, with little warning, it dropped a wing and entered a spin from which it took a few turns to recover. I repeated the test and got the same result.
Relaxing the controls stopped the spin, and letting the Cub fly out as power is added made recovery easy. Although this might sound a little dramatic, by the time the airplane stalled the airspeed was very slow and the controls were completely ineffective.
Back under power, it was time to put the Cub through its paces. The O.S. 56FS-A has plenty of power without being heavy and overpowered. Most of my flying was done at half throttle. I only needed full power to pull the Cub over the top for big loops.
The rudder is effective and the Cub does great-looking stall turns and respectable knife-edge flight. Some rudder is helpful when turning to prevent the Cub from appearing to drag its tail. Aileron differential, either by computer radio or control linkage setup, also helps with scale-looking turns.
Landing the Cub is easy. The flat-bottom wing slows down nicely. With a little bit of elevator, the Cub will touch down on three points, but if you flare too early, it will balloon because the high-lift wing simply wants to keep flying.
Wheel landings and touch-and-gos look great, but the wire gear can be a little bouncy. If you set it down too hard, the Cub will bounce. I tried some hot-dogging by running the Cub down the runway on one wheel, but the wire landing gear wasn’t stiff enough.
I’m not sure what the total flight time was, but after flying for more than 15 minutes, there was still plenty of fuel visible in the tank. You could probably do touch-and-gos for 30 minutes.
Conclusion
The Tower Hobbies J-3 Cub is a pleasure to fly and the O.S. four-stroke engine provides plenty of power and has the perfect sound for this airplane. Assembly takes roughly 15 hours, so a few evenings in the shop or a rainy weekend will have you ready to head to the field.
If you’re a fan of Cubs—and let’s face it, most of us are—the Tower Hobbies J-3 Cub is a good, solid performer. The only potential drawback I found was that transporting an 81-inch, one-piece wing might pose a problem for people with smaller vehicles, but for an afternoon of touch-and-gos, the Cub is hard to beat.

—Andrew Griffith
andy@customcutgraphix.com
MANUFACTURER/DISTRIBUTOR:
Tower Hobbies
(800) 637-6050
www.towerhobbies.com
SOURCES:
Tactic
(800) 637-7660
www.tacticrc.com
Great Planes
(800) 637-7660
www.greatplanes.com
O.S. Engines
(800) 637-7660
www.osengines.com
Frank Tiano Enterprises
(863) 670-6611
www.franktiano.com
APC Propellers
(530) 661-0399
www.apcprop.com
RTL Fasteners
(800) 239-6010
www.rtlf fasteners.com