ME 163 KOMET REPAIR
By Sal Calvagna | rcgiants@optonline.net
WELCOME BACK. The October issue of Model Aviation magazine is dedicated to building, construction, tips and tricks, and how-to articles, so in this month’s column, I am volunteering my 105-inch wingspan Messerschmitt Me 163 Komet, built from Jim Kiehl Plans, as the subject of a major repair. I hope you enjoy!
As many readers know, the Me 163 Komet was the one-and-only operational rocket-powered interceptor ever produced. It became operational late in World War II as a weapon of desperation. As the Allies closed in from all sides, the Komet was supposed to intercept the vast bomber streams that were raining down on German cities. It was a tailless design by Dr. Alexander Lippisch that came from years of glider research after the first World War. It was a relatively small aircraft that lacked a horizontal stabilizer and was controlled by elevons, a rudder, trim flaps, and speed brakes that were located under the wing. The aircraft took off, jettisoned a two-wheel dolly, and then landed on a retractable skid.
The Komet’s claim to fame was that it was the fastest aircraft of WW II; however, it had very limited success and was more dangerous to its own pilots than the airmen and aircraft it was meant to destroy.
Repairing the Komet
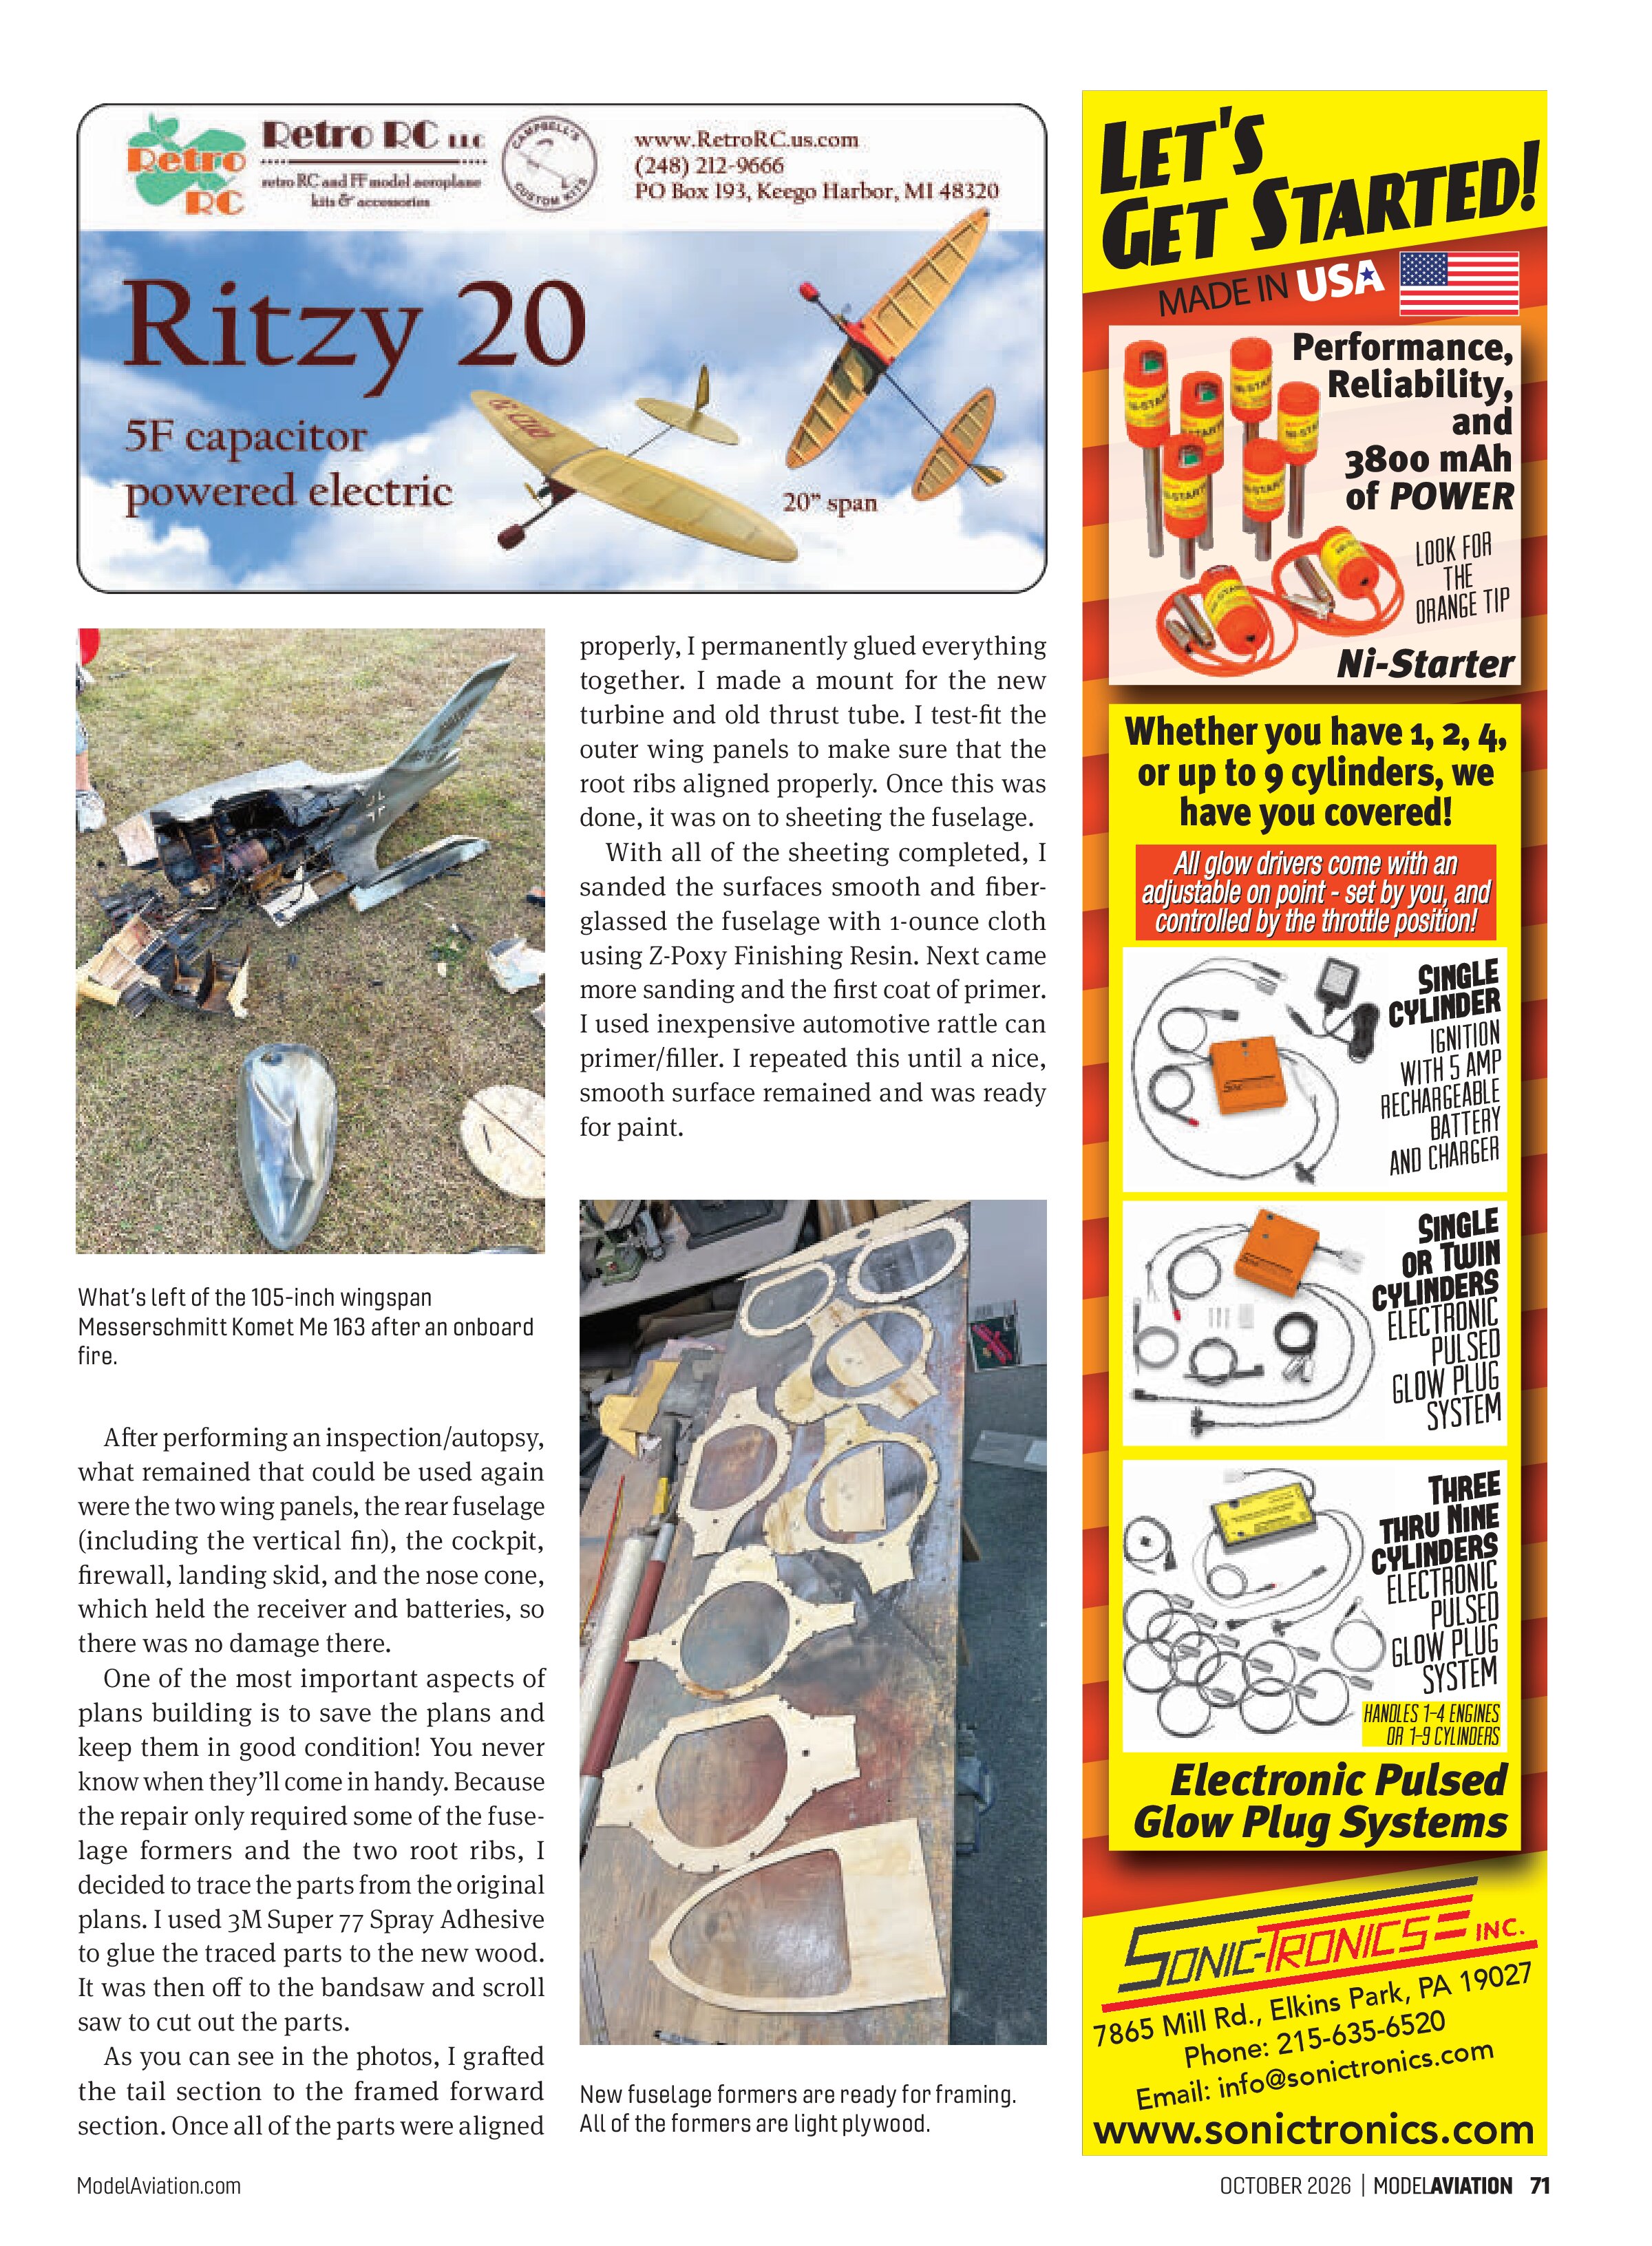
There’s an old saying in our hobby/sport: “It’s not a question of if, but when.” My “when” happened the previous summer when a fuel leak caused an internal fire. Upon landing, the ensuing fire consumed much of the fuselage before it was put out. Some say it was a scale landing for the Komet!

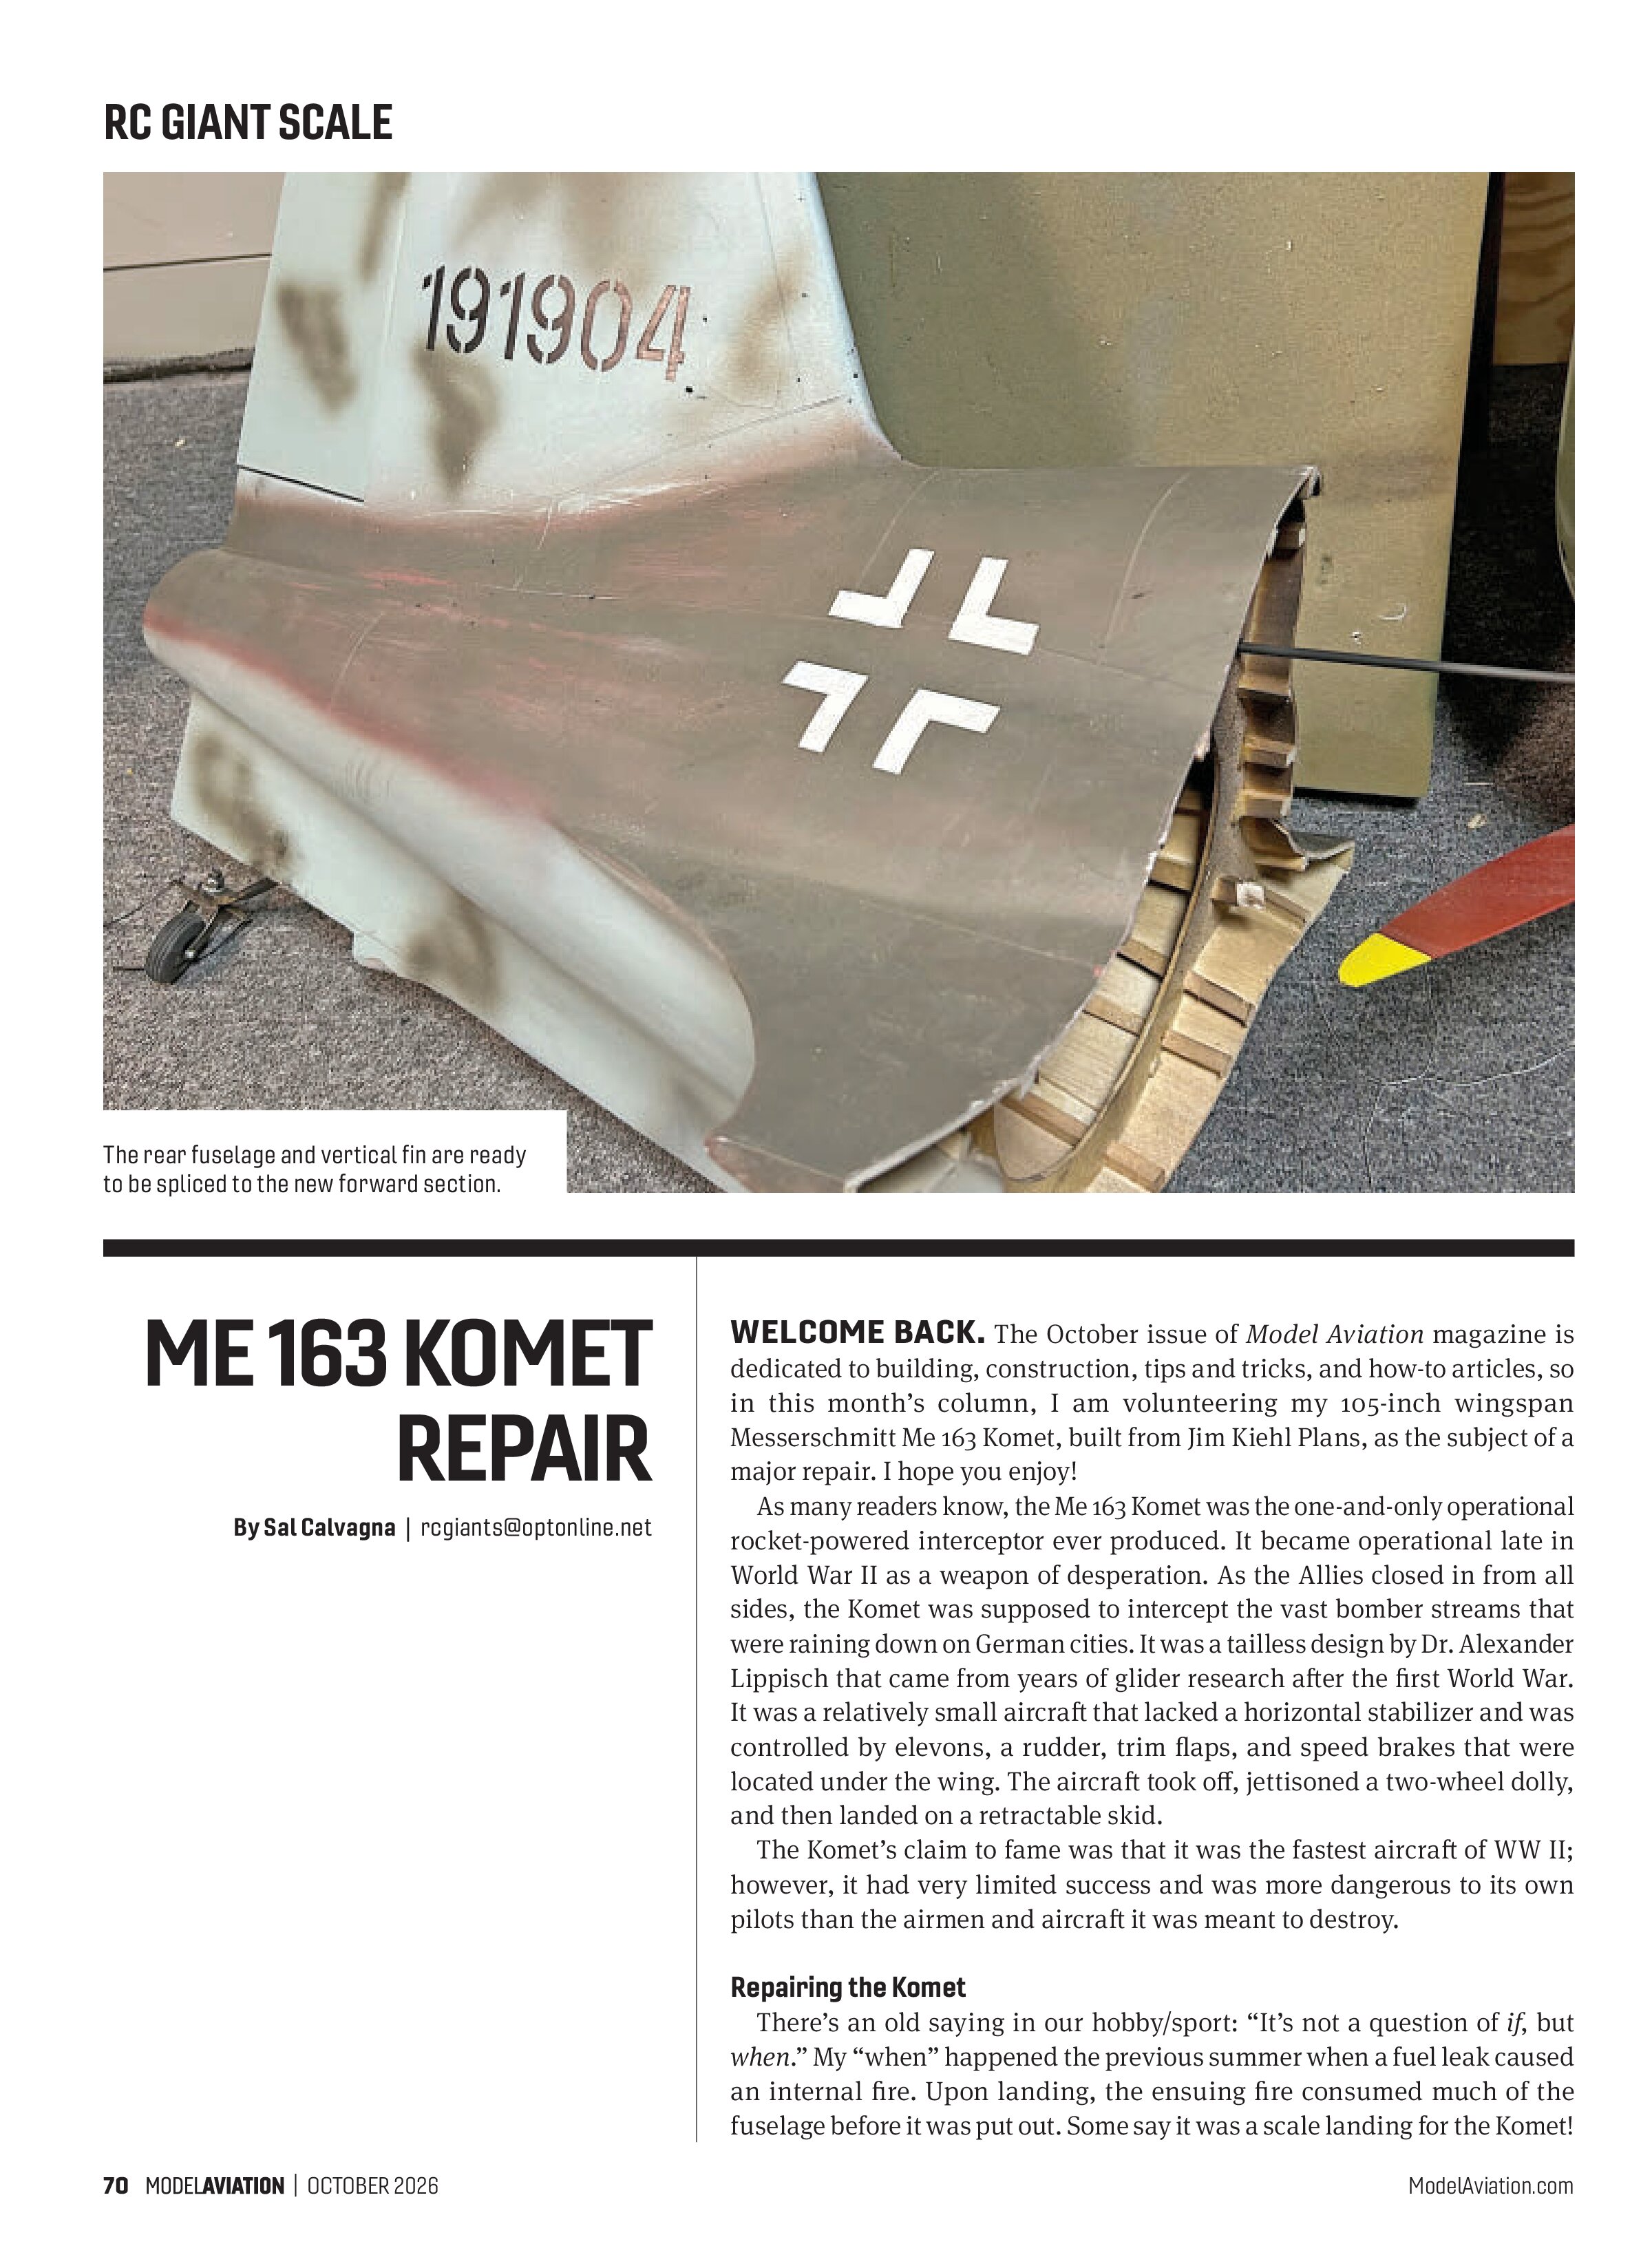
After performing an inspection/autopsy, what remained that could be used again were the two wing panels, the rear fuselage (including the vertical fin), the cockpit, firewall, landing skid, and the nose cone, which held the receiver and batteries, so there was no damage there.
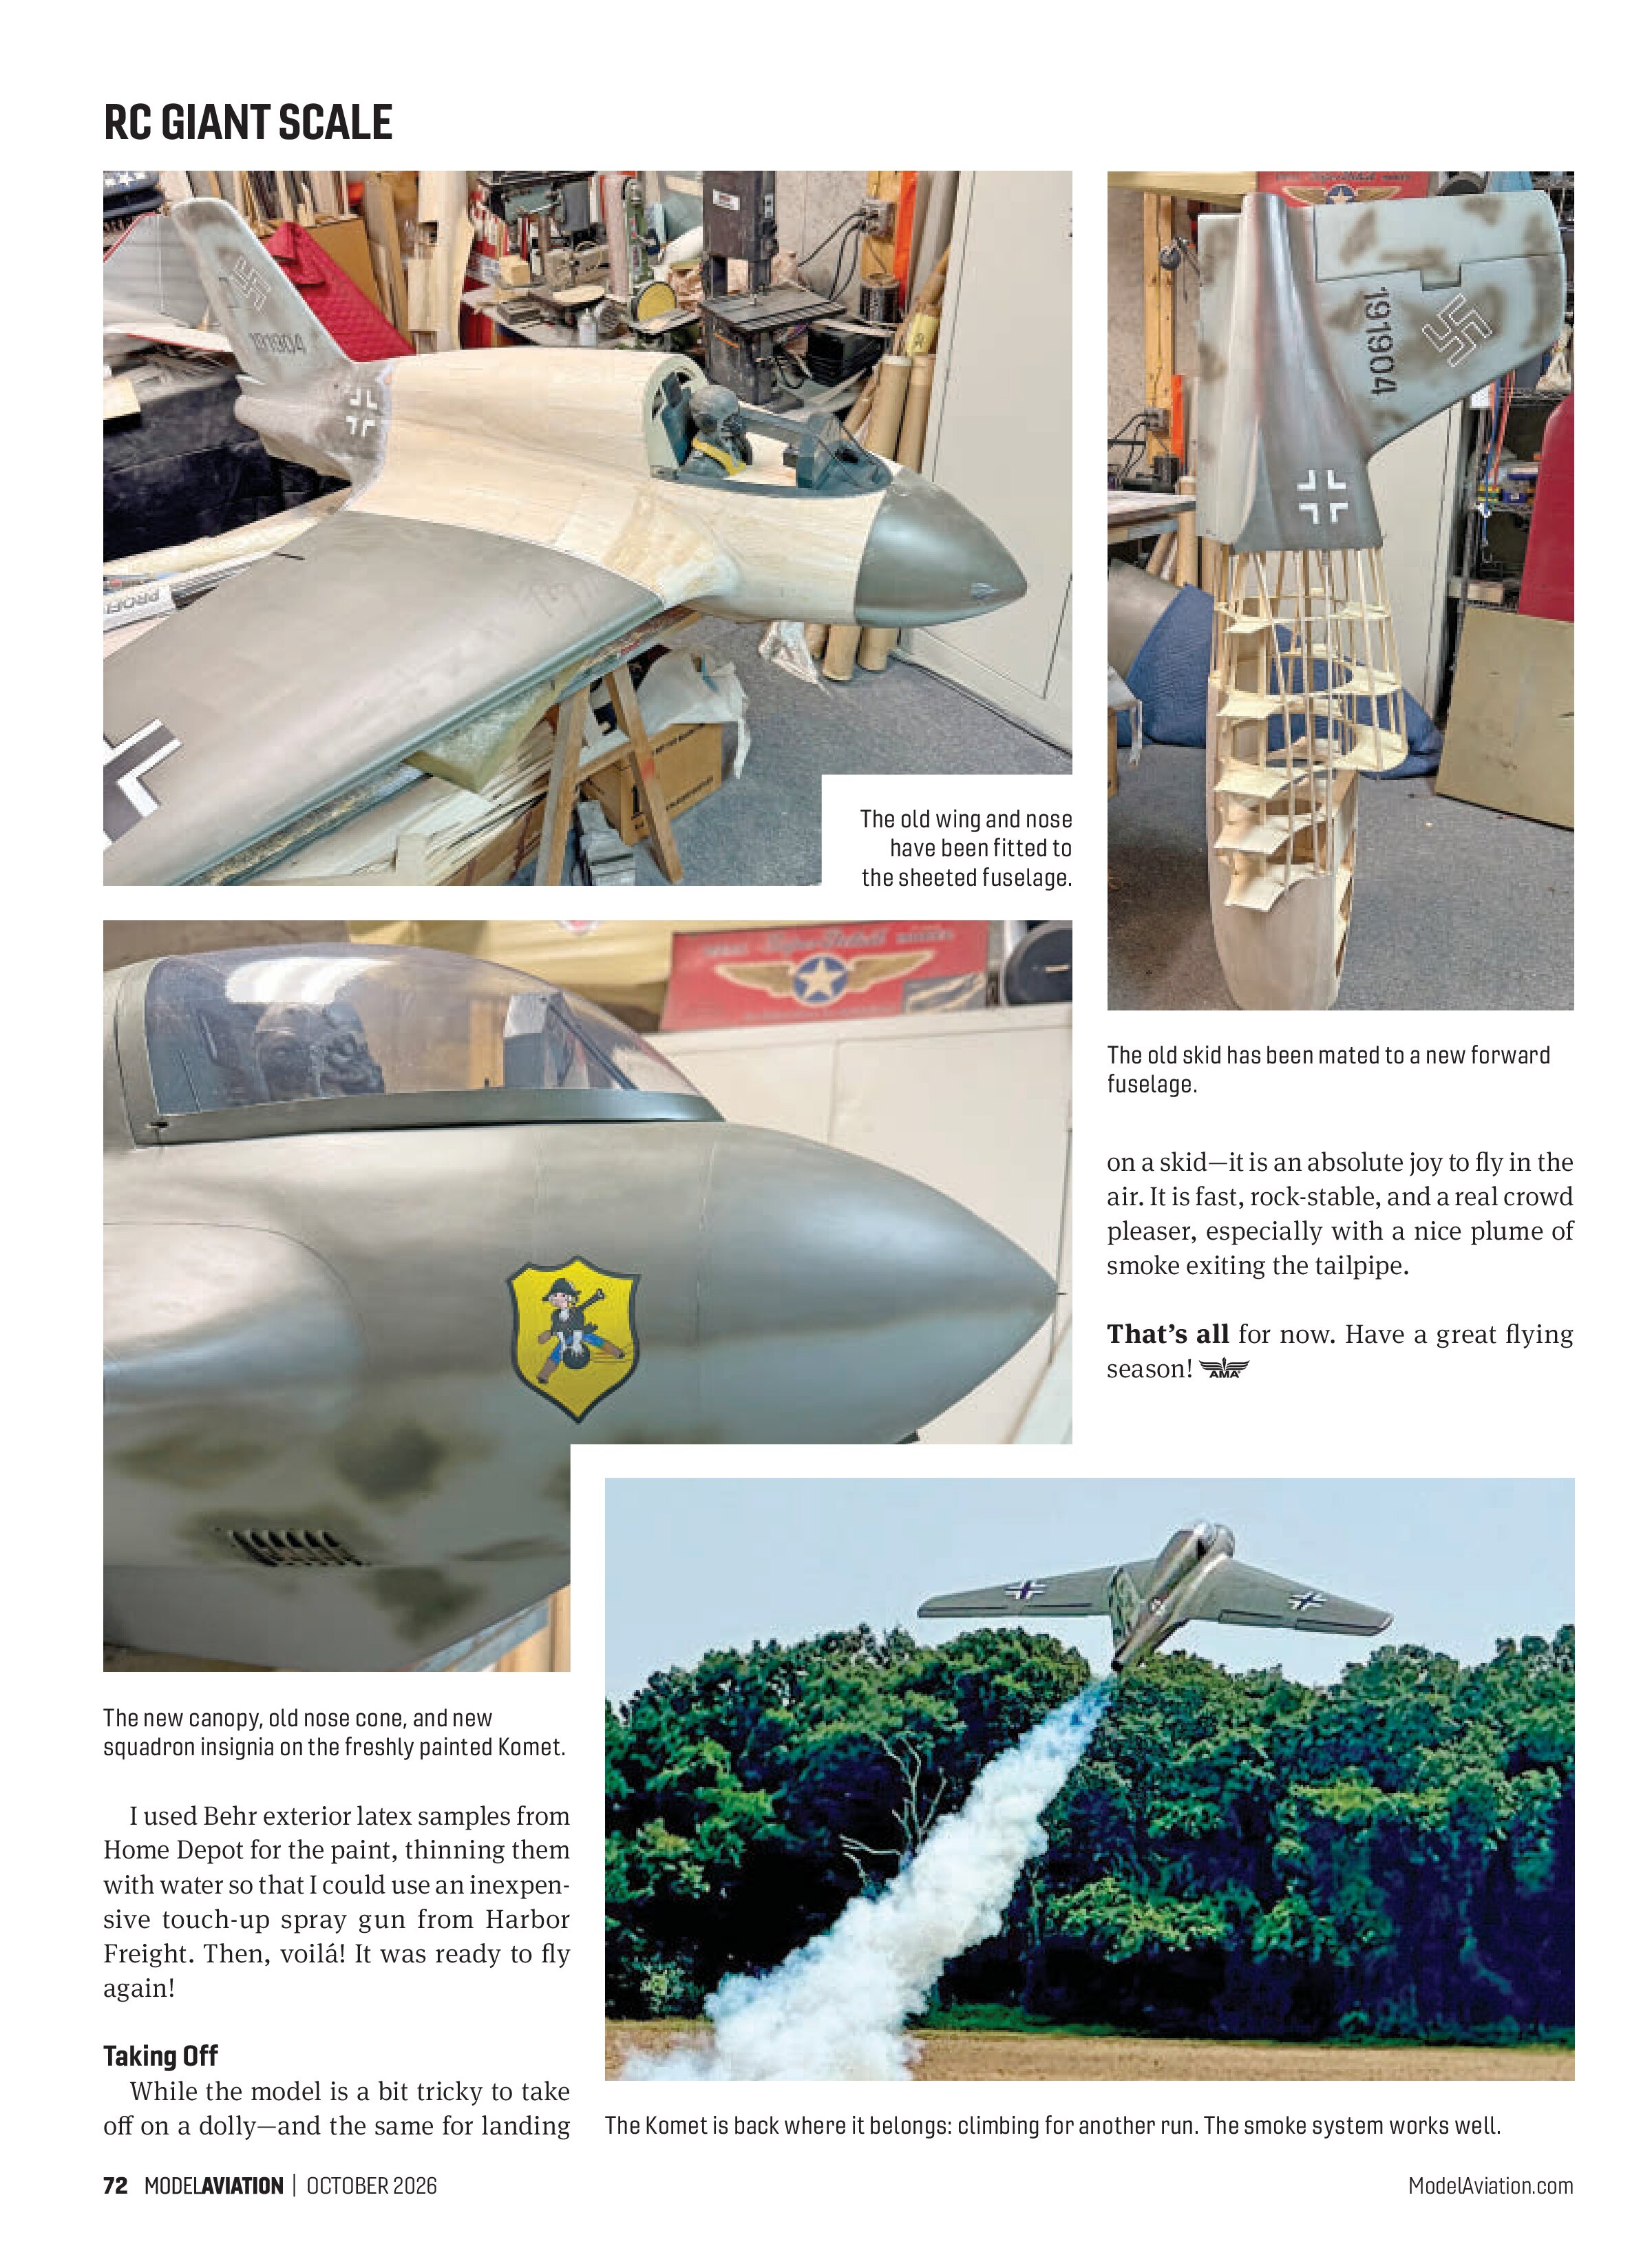
One of the most important aspects of plans building is to save the plans and keep them in good condition! You never know when they’ll come in handy. Because the repair only required some of the fuselage formers and the two root ribs, I decided to trace the parts from the original plans. I used 3M Super 77 Spray Adhesive to glue the traced parts to the new wood. It was then off to the bandsaw and scroll saw to cut out the parts.
As you can see in the photos, I grafted the tail section to the framed forward section. Once all of the parts were aligned properly, I permanently glued everything together. I made a mount for the new turbine and old thrust tube. I test-fit the outer wing panels to make sure that the root ribs aligned properly. Once this was done, it was on to sheeting the fuselage.

With all of the sheeting completed, I sanded the surfaces smooth and fiberglassed the fuselage with 1-ounce cloth using Z-Poxy Finishing Resin. Next came more sanding and the first coat of primer. I used inexpensive automotive rattle can primer/filler. I repeated this until a nice, smooth surface remained and was ready for paint.


I used Behr exterior latex samples from Home Depot for the paint, thinning them with water so that I could use an inexpensive touch-up spray gun from Harbor Freight. Then, voilà! It was ready to fly again!
Taking Off
While the model is a bit tricky to take off on a dolly—and the same for landing on a skid—it is an absolute joy to fly in the air. It is fast, rock-stable, and a real crowd pleaser, especially with a nice plume of smoke exiting the tailpipe.
That’s all for now. Have a great flying season!