THREADED
HEAT-PRESS
INSERTS MADE
EASY
By Don Slusarczyk | don@slusarczyk.com
HEAT-PRESS INSERTS have been around for a long time. They are basically a specialized threaded nut that is heated and pressed into a hole in a plastic part. They have a knurled outer diameter that locks into the melted plastic. The end result is a nicely machined thread to fasten a machine screw into. This means that you can screw 3D-printed parts together, and then take them apart again. 3D-printed airplanes are typically glued together with CA, but some designers have used heat-press inserts for bolting on parts such as wingtips, motor mounts, or even for assembling major parts of the model.
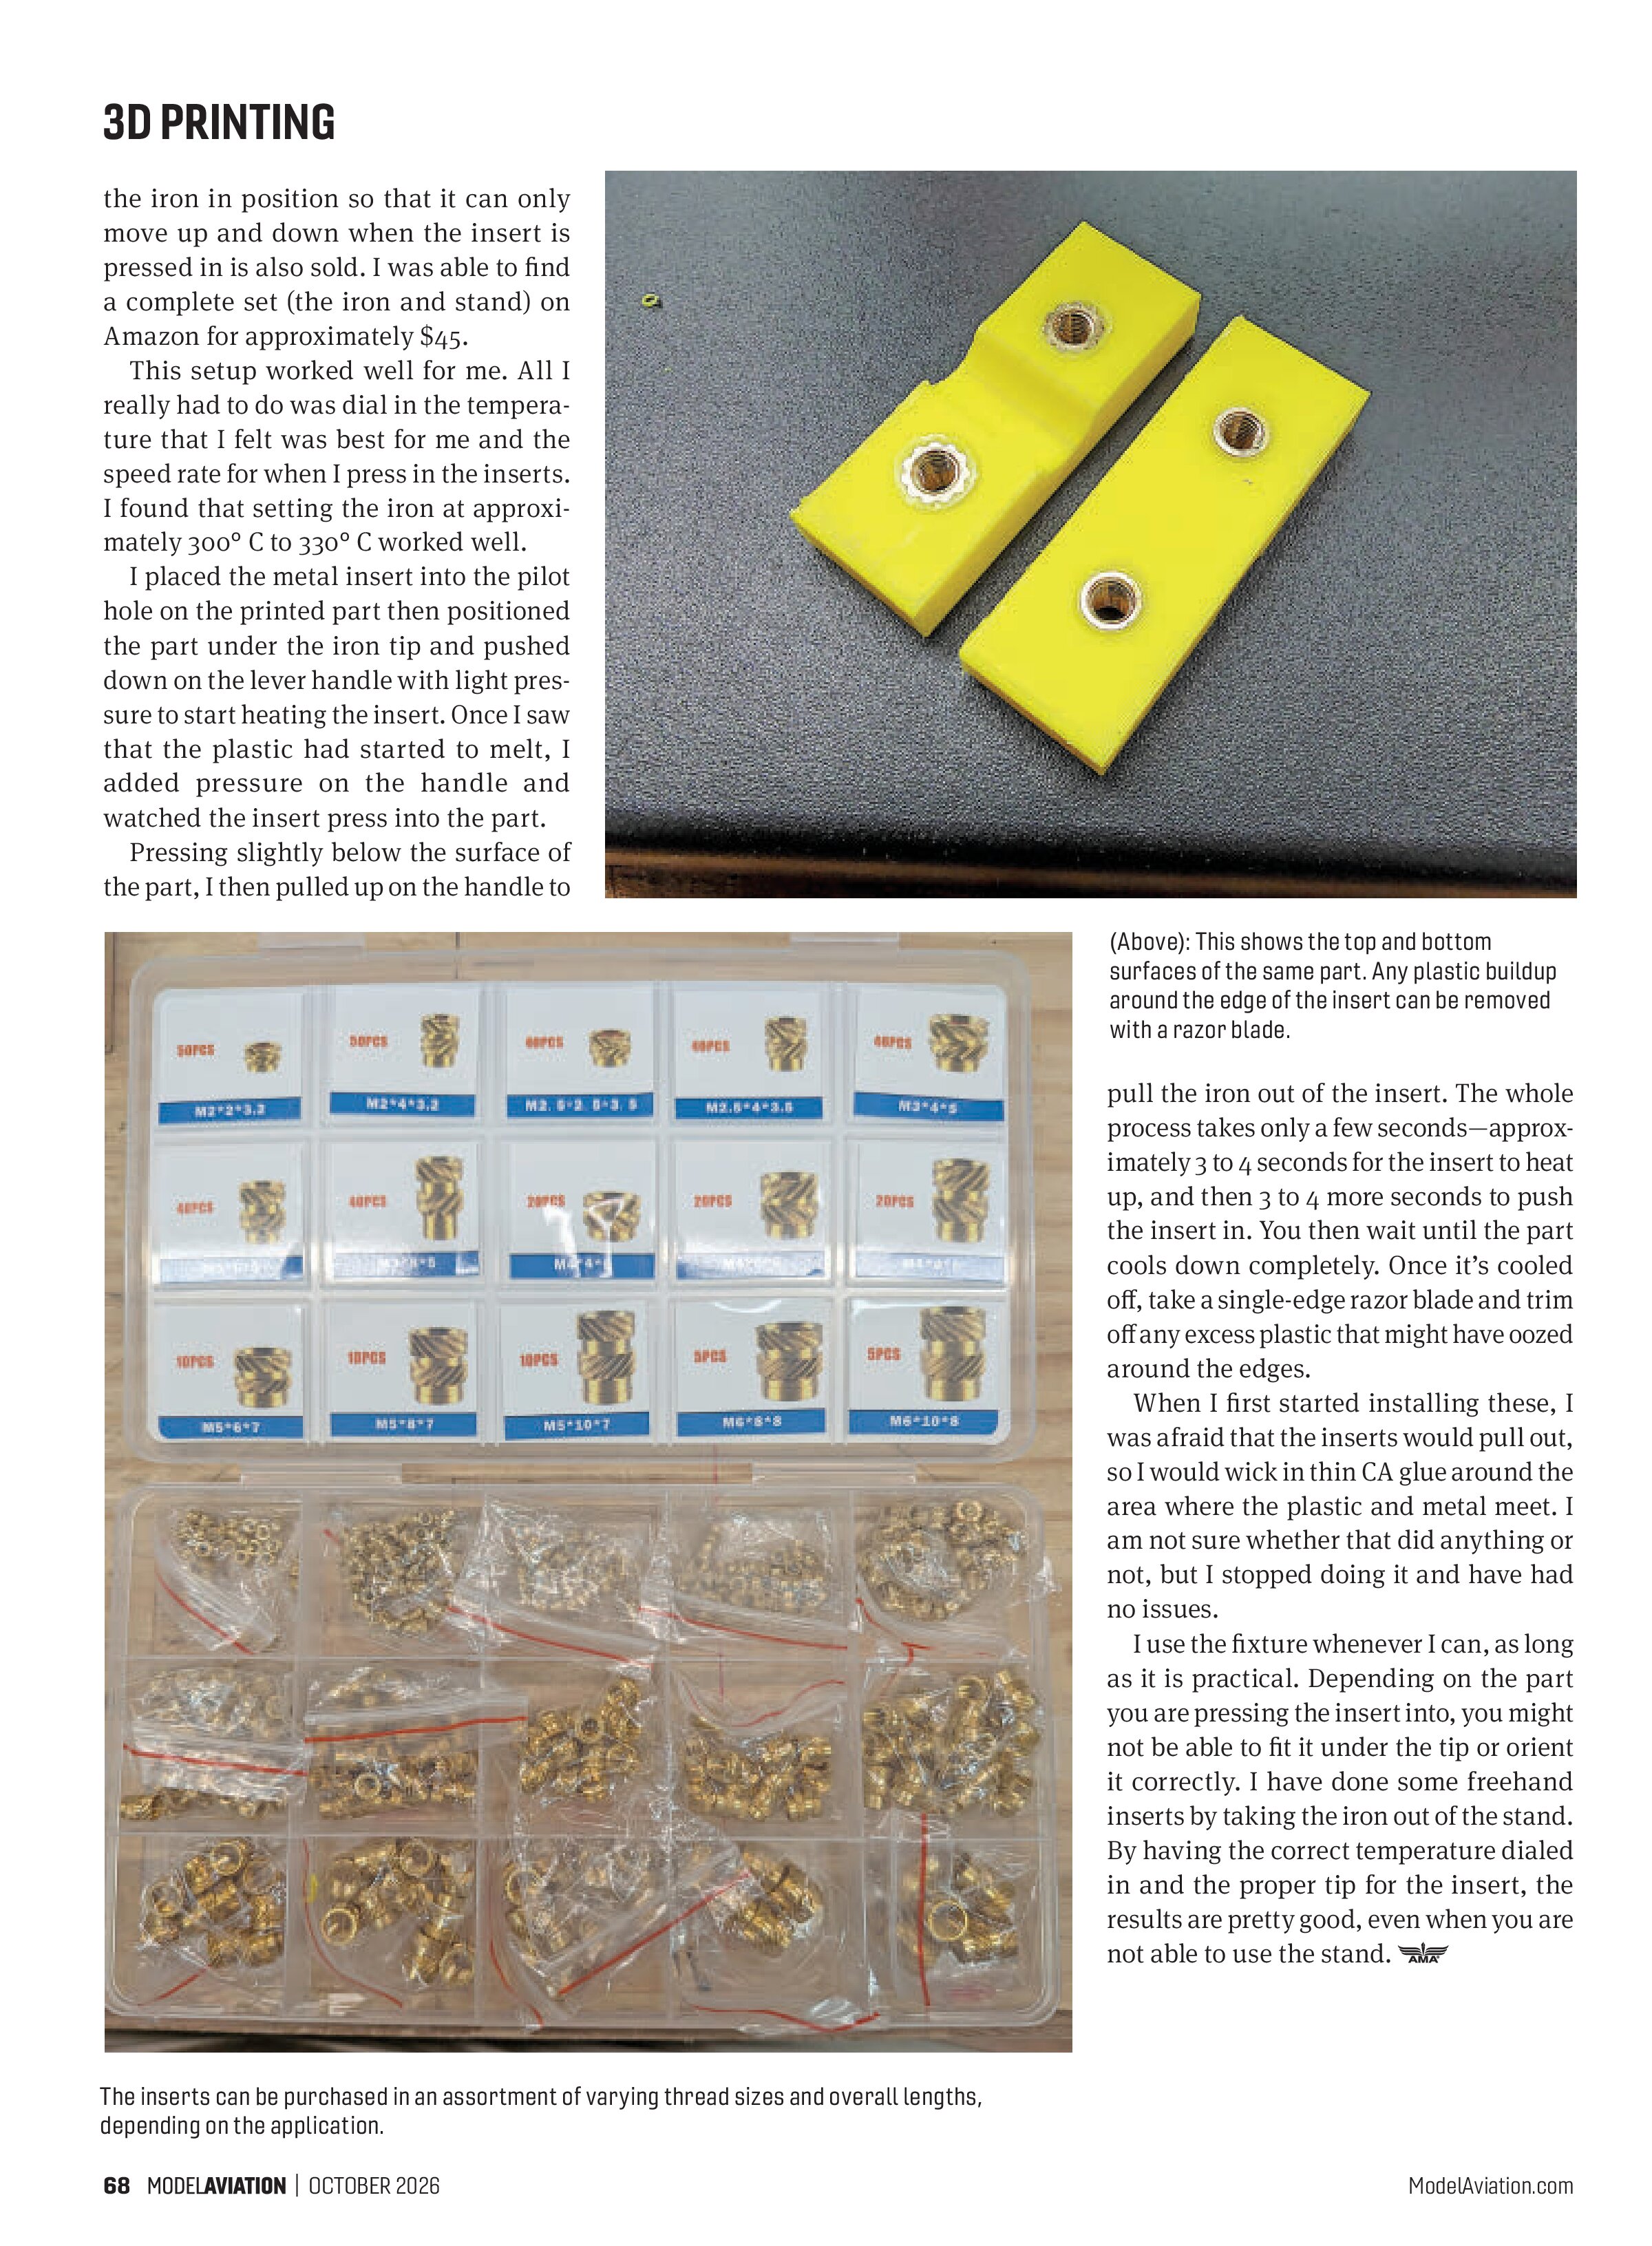
If you print other things with your 3D printer besides RC airplanes, you might have come across these inserts before. Sourcing them is easy; you can get assortment sets off Amazon, as well as bags of specific thread sizes. The best ones will have a small, round, turned diameter on one end. This helps with alignment when it’s being installed.
The first time that I had to install one of these, I was a little concerned because I had never done it before, plus the insert was going into a part that took several hours to print. Messing it up would mean reprinting the part. I did watch some videos online and it seemed easy enough.
I initially used a soldering iron to install the insert, but I had some issues. The tapered tip of the soldering iron did not keep the insert straight as it melted into the plastic. This allowed the insert to cock to the side, which can become a problem if the design requires multiple inserts in a pattern.
I also found out that the temperature setting is very crucial. You want the insert to heat up enough that the plastic melts to a point where the insert can be pushed into it easily and quickly. If it is too hot, though, the plastic becomes too soft and liquid-like before the insert is pressed in all of the way, or it starts to burn. Too low of a temperature and it takes too long to melt the plastic, the heat starts to disperse into other areas of the printed part, or it warps the part as you press the insert in. My soldering iron has an adjustable temperature range, but the range is meant more for soldering wires together, not heating inserts.
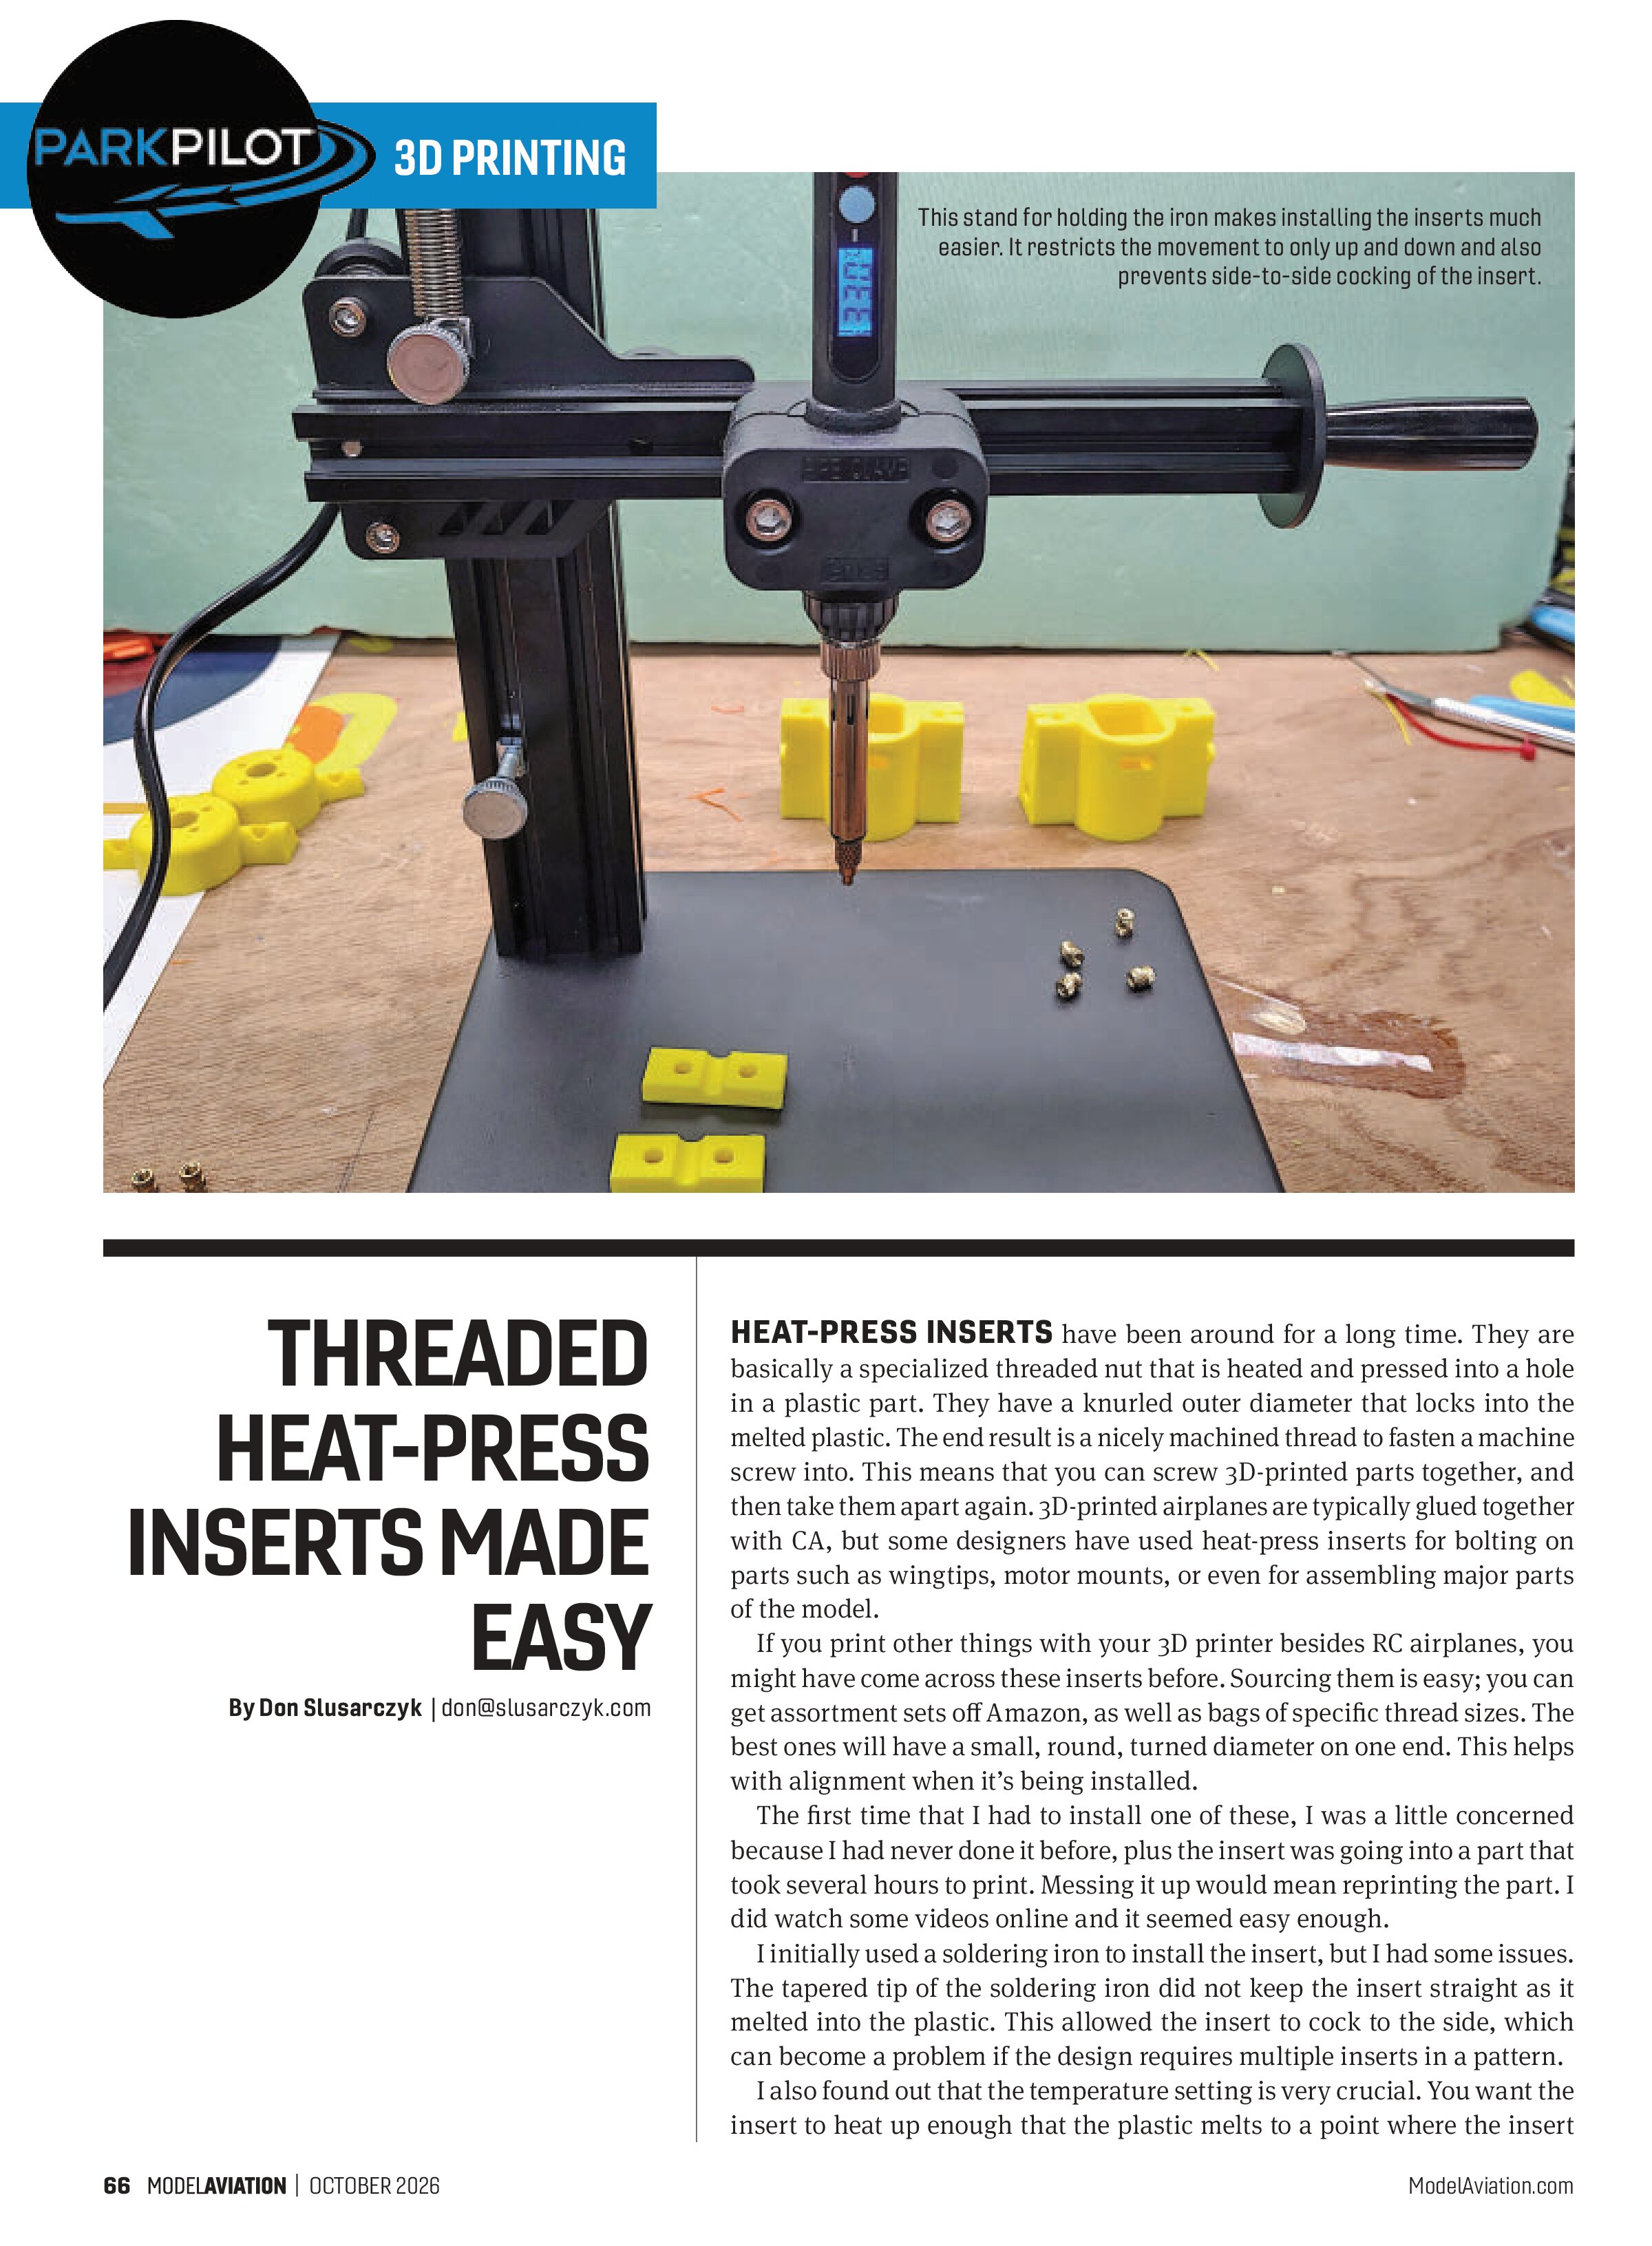
I did some research and found specialized soldering irons that are designed for heat-press inserts. They have an adjustable temperature range with a digital readout, as well as a threaded tip that can fit various insert sizes. A fixture that holds


3D PRINTING
the iron in position so that it can only move up and down when the insert is pressed in is also sold. I was able to find a complete set (the iron and stand) on Amazon for approximately $45.
This setup worked well for me. All I really had to do was dial in the temperature that I felt was best for me and the speed rate for when I press in the inserts. I found that setting the iron at approximately 300° C to 330° C worked well.
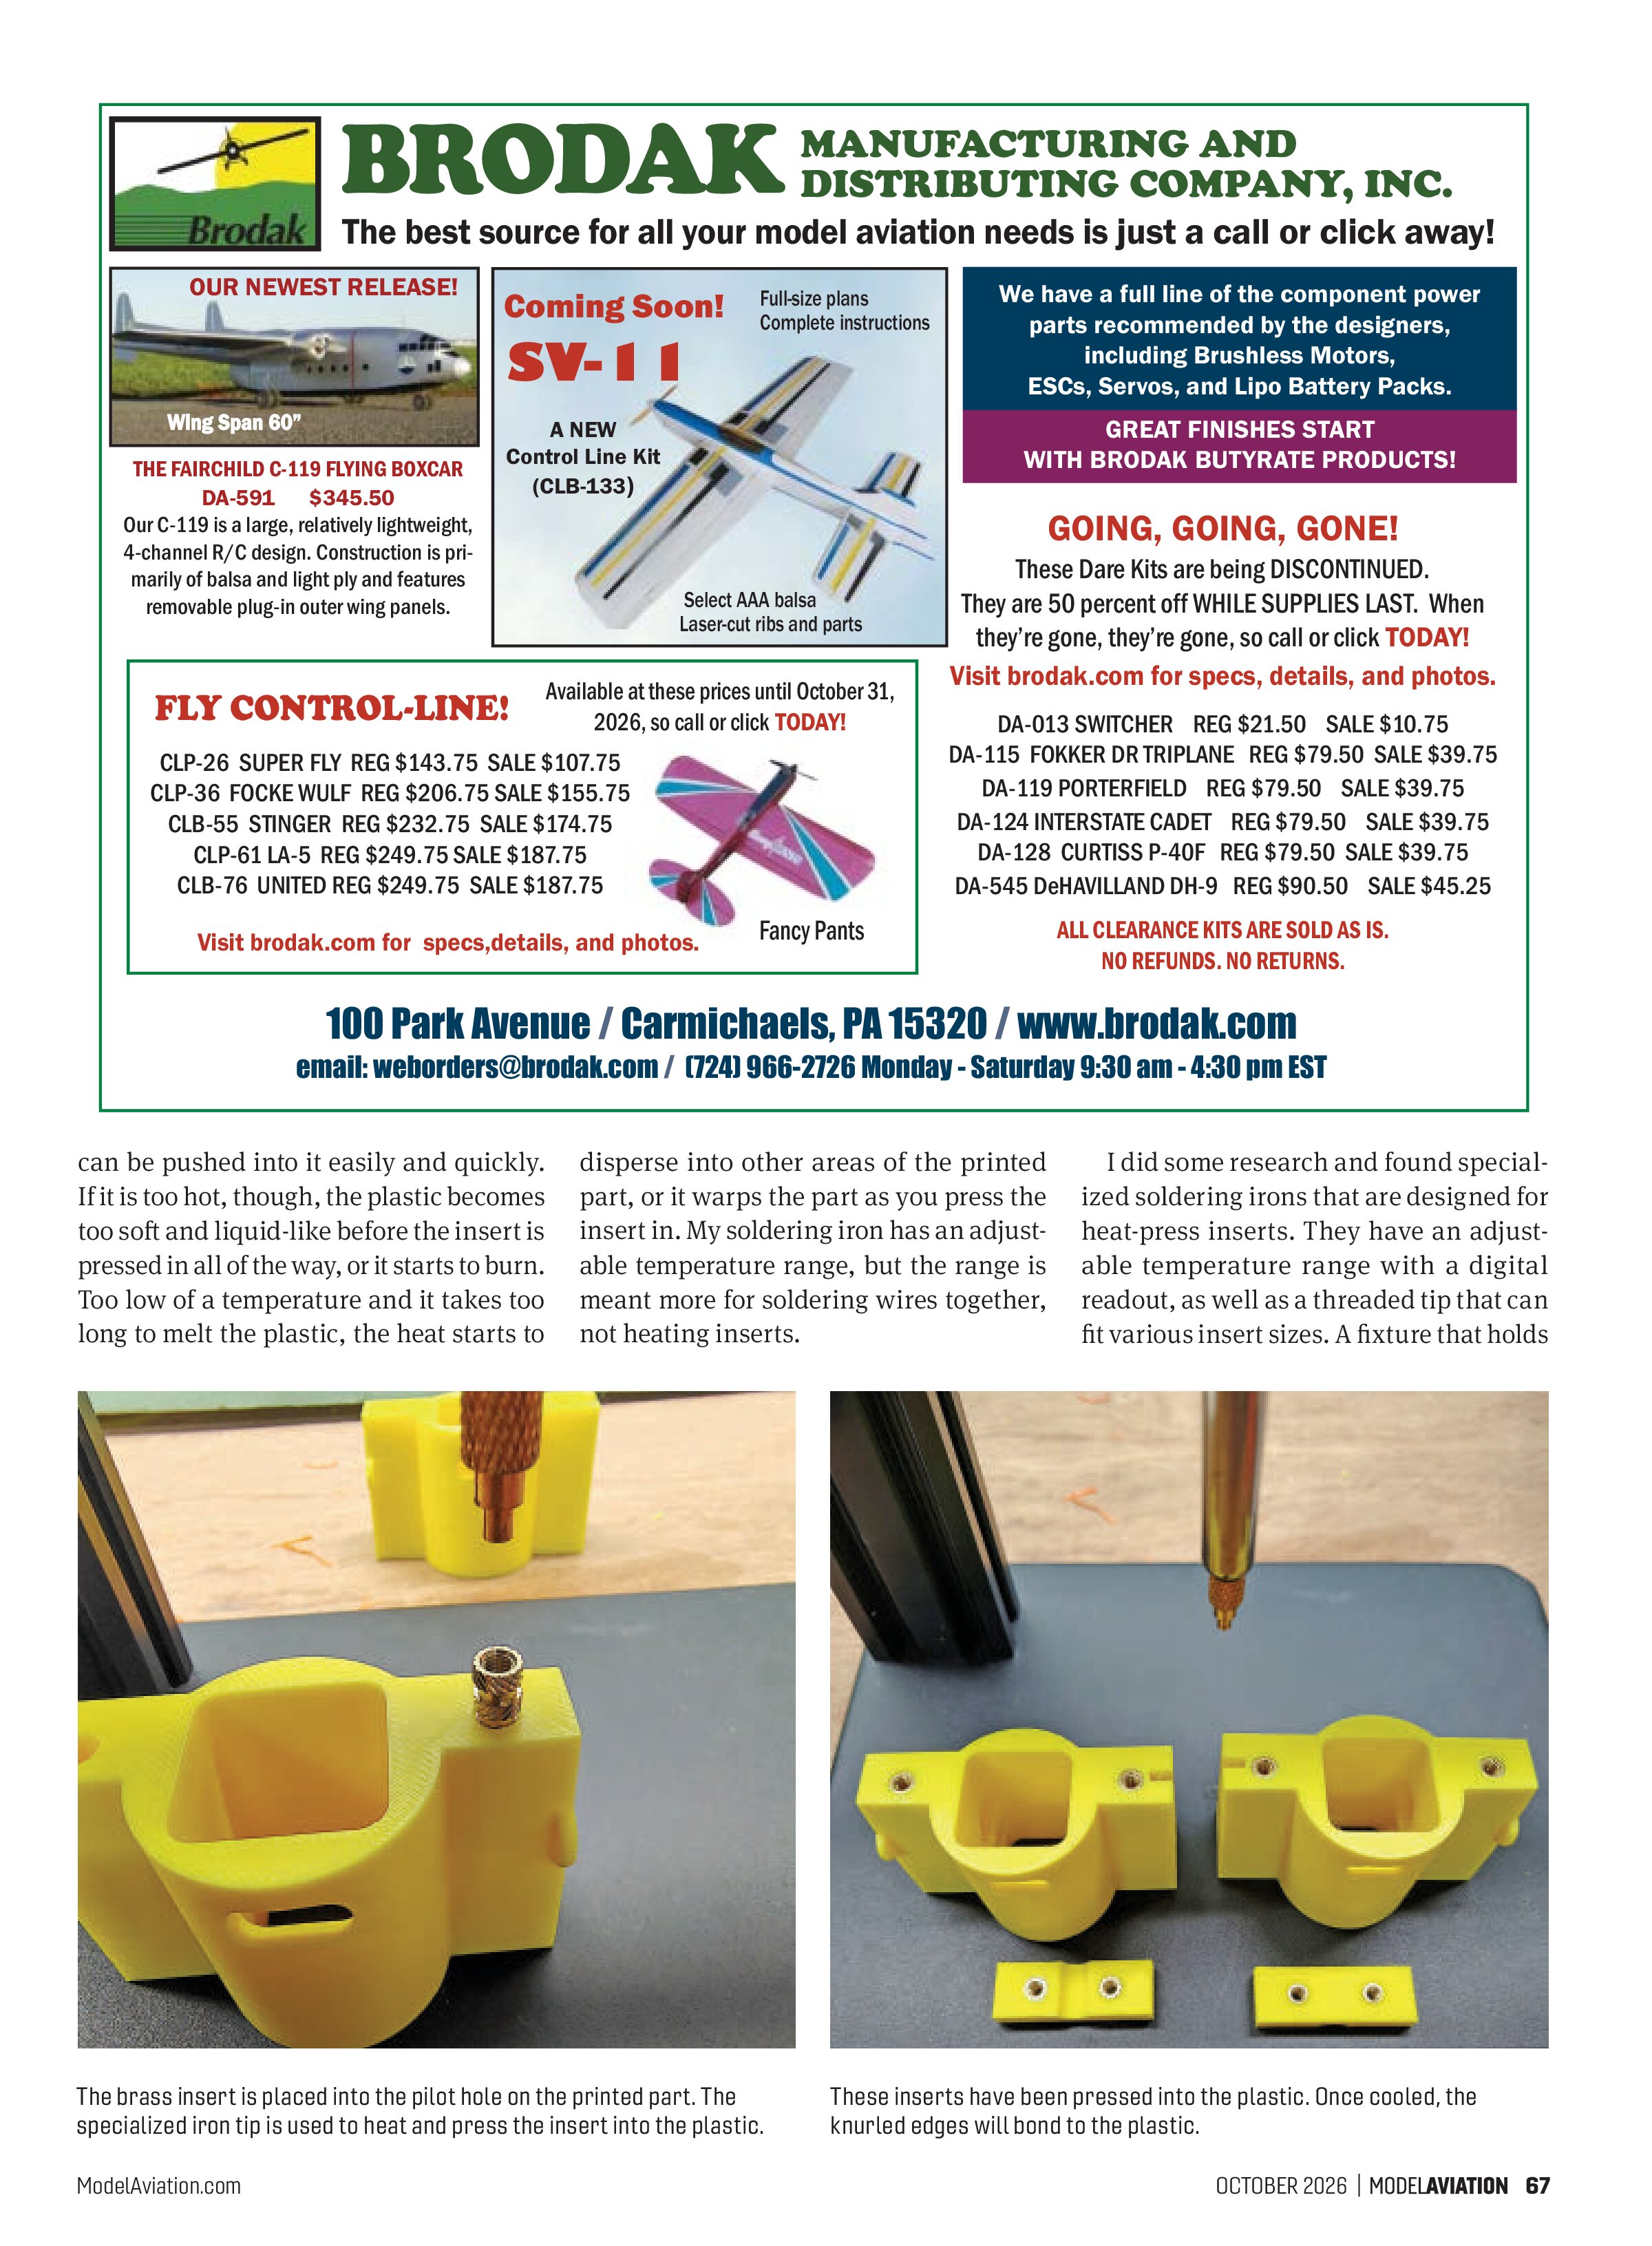
I placed the metal insert into the pilot hole on the printed part then positioned the part under the iron tip and pushed down on the lever handle with light pressure to start heating the insert. Once I saw that the plastic had started to melt, I added pressure on the handle and watched the insert press into the part.
Pressing slightly below the surface of the part, I then pulled up on the handle to

pull the iron out of the insert. The whole process takes only a few seconds—approximately 3 to 4 seconds for the insert to heat up, and then 3 to 4 more seconds to push the insert in. You then wait until the part cools down completely. Once it’s cooled off, take a single-edge razor blade and trim off any excess plastic that might have oozed around the edges.
When I first started installing these, I was afraid that the inserts would pull out, so I would wick in thin CA glue around the area where the plastic and metal meet. I am not sure whether that did anything or not, but I stopped doing it and have had no issues.
I use the fixture whenever I can, as long as it is practical. Depending on the part you are pressing the insert into, you might not be able to fit it under the tip or orient it correctly. I have done some freehand inserts by taking the iron out of the stand. By having the correct temperature dialed in and the proper tip for the insert, the results are pretty good, even when you are not able to use the stand.