TISSUE OVER DOCULAM
Vintage look and modern durability
By Greg Gimlick | maeletrics@gimlick.com | Photos by the author

Whether you’re building a new Old-Timer model or restoring a vintage/antique airplane, covering methods matter. It’s hard not to be in awe of the finishes that are used by master modelers of the past (and some current ones). Tissue paper or silkspan that is sealed with dope has a certain look that is lost when it’s replaced with modern shrink-film covering. Some airplanes just don’t look right all shiny and new.
The old methods still exist, but it makes sense to look for better, safer alternatives given what we know now about the health and safety hazards of chemicals that are used in dope. As an asthma/allergy sufferer, I was intensely interested in finding ways to continue modeling that would not affect my health any further. This led me to learn about applying tissue over Doculam (laminating film) then sealing it all with either water-based polyurethane or something else. What I discovered worked miraculously for me, and I hope it does for you. The magic sauce was Deluxe Materials Eze Dope.
I tried water-based polyurethane and wasn’t happy with my results, but the Eze Dope went on easier, didn’t show any brush marks when it was dry, and it dried very quickly. Multiple coats didn’t require any special preparation and provided a waterproof/fuelproof finish. It’s diluted to a 30% solution, so the small bottle goes a very long way. Be sure to use distilled water to dilute it for the best results.


Materials Needed
- Tissue for covering
- Laminating film (I found 1.5 mil to be a good choice)
- Scalpel
- Spray bottle for a 50/50 mix of alcohol and water
- Deluxe Materials Eze Dope
- Quality paint brushes
- Sandpaper
- Tack cloth (or something to remove sawdust residue)
- Covering irons
- Paper towels
The Process
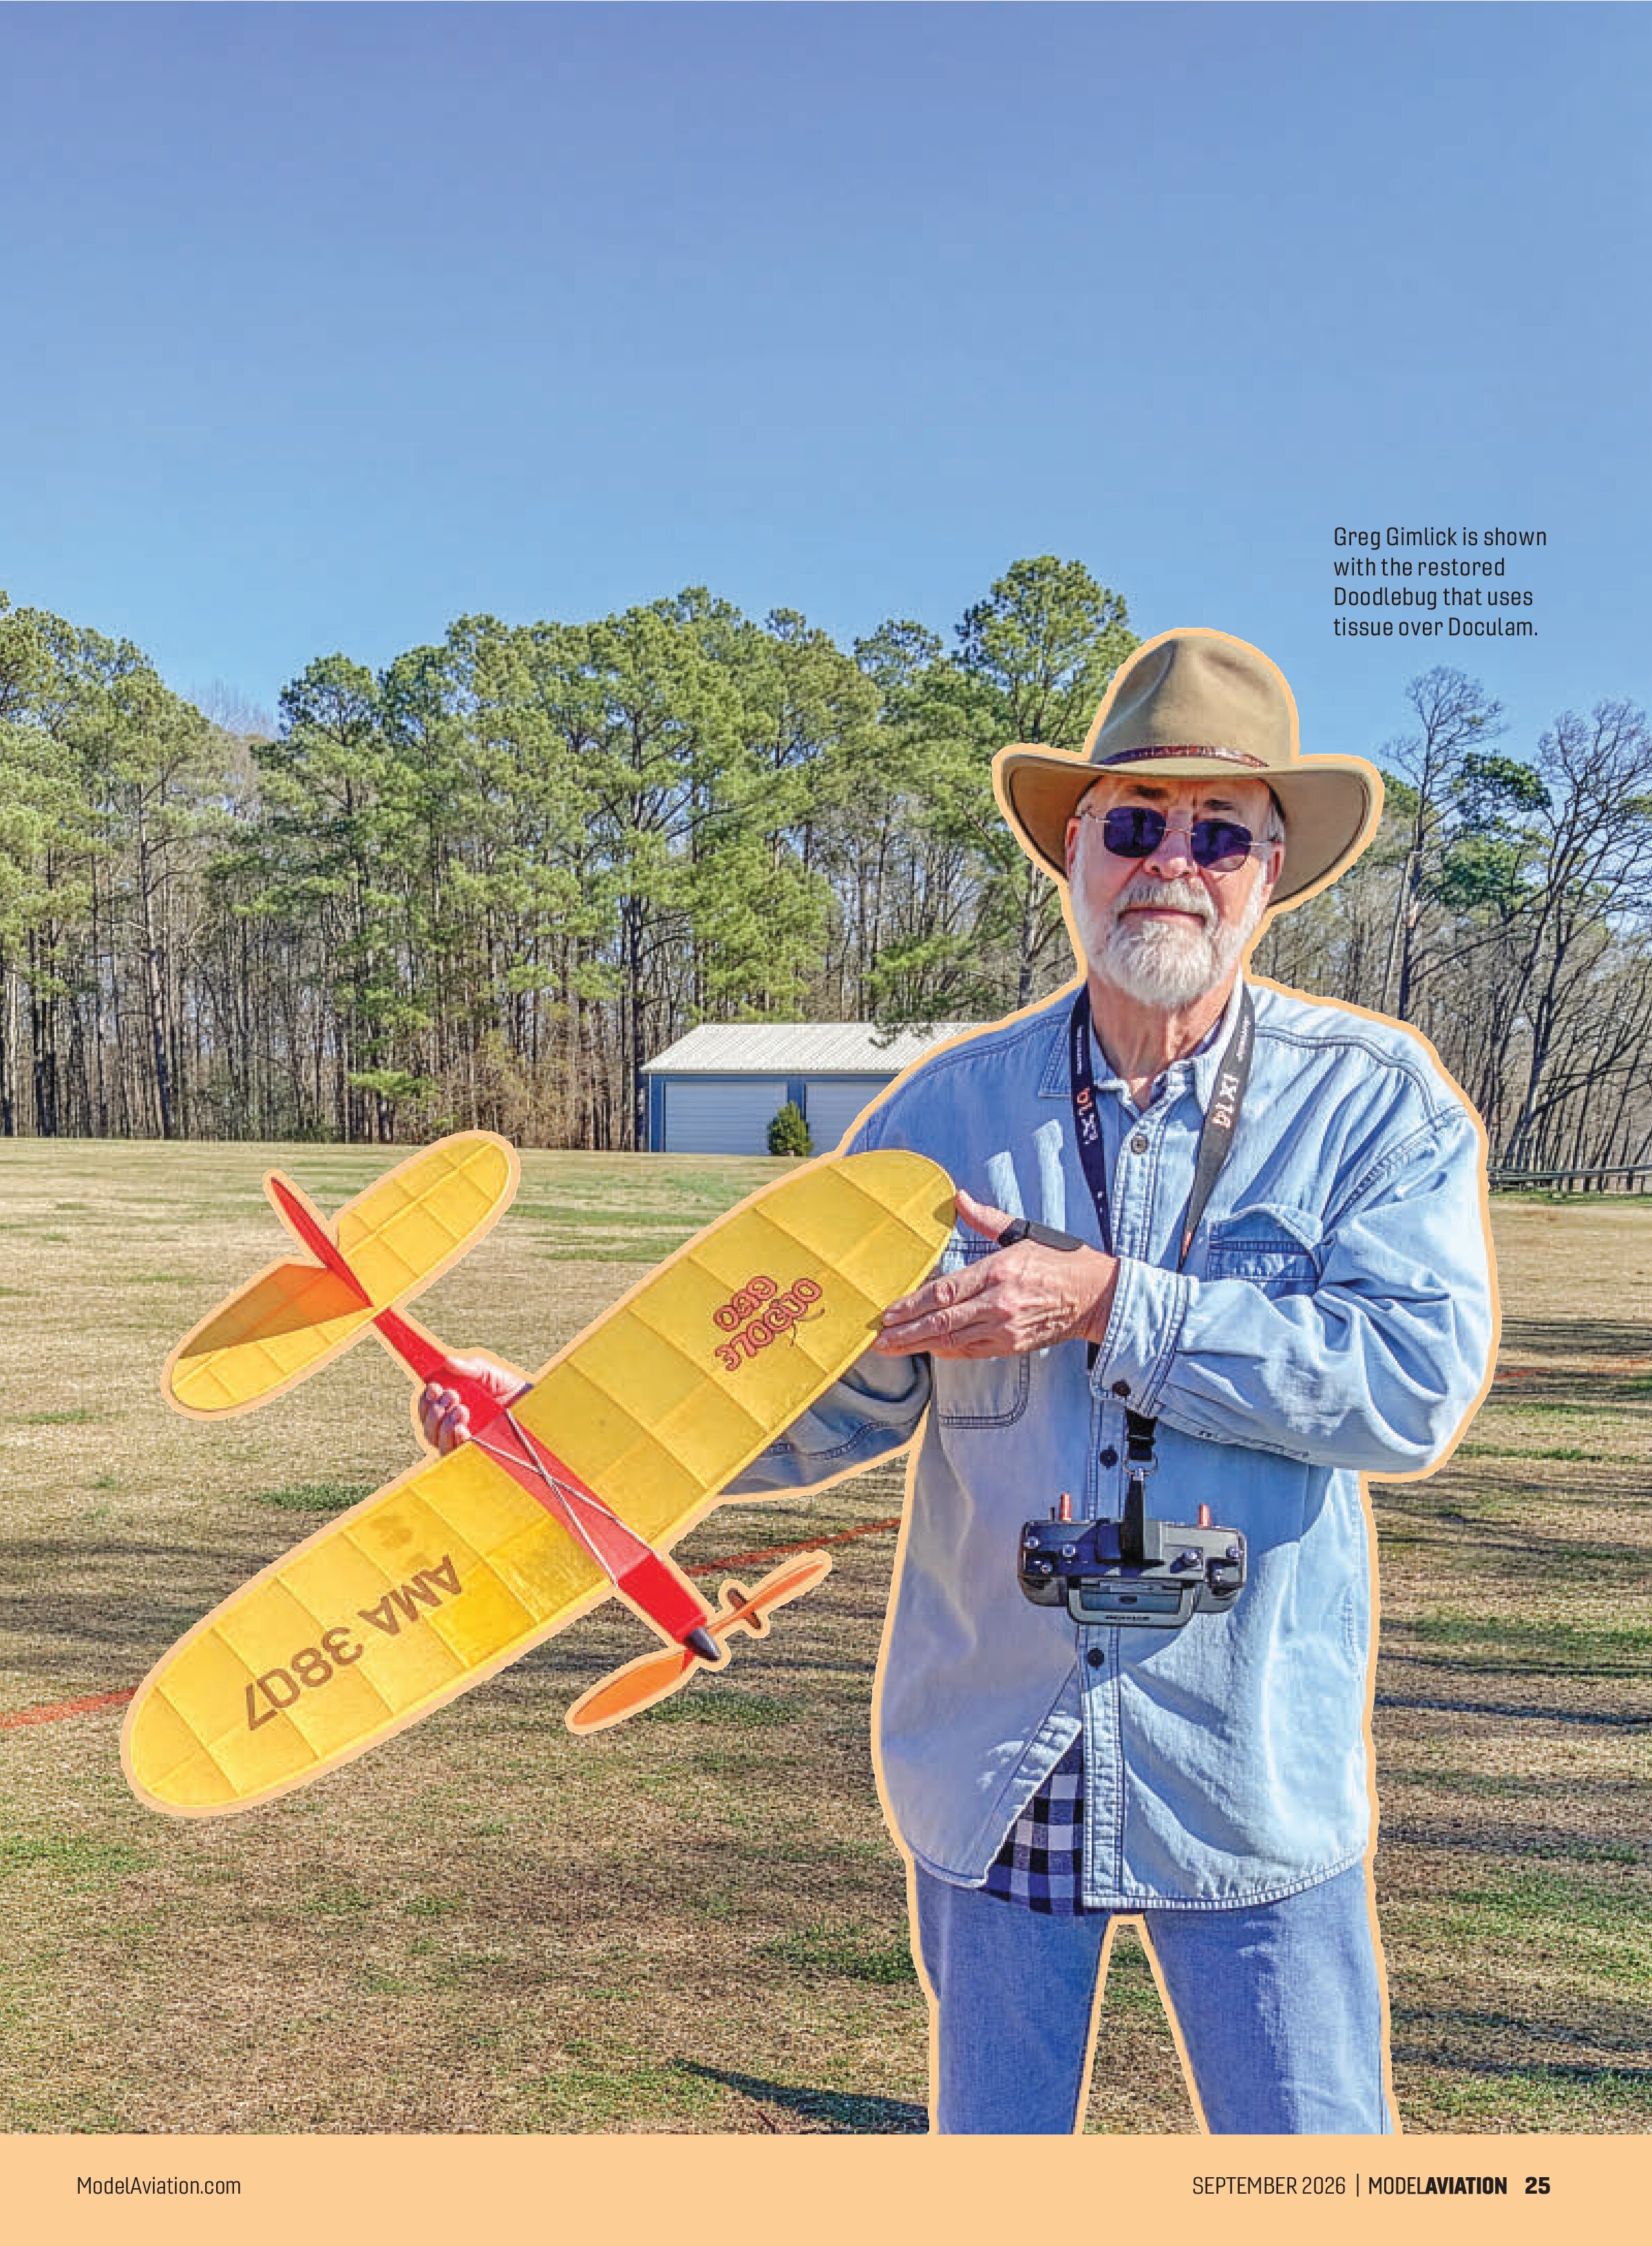
I recommend making a test frame while you perfect your method of application. I built a small fuselage piece and a wing section. There is no substitute for good surface preparation, so don’t skimp on sanding and cleaning. Dust is your enemy! If you’re stripping old covering as I did with my Doodlebug restoration, ensure that you get it as clean as possible. Small chunks of old silkspan or tissue will leave lumps under the new covering.
- Once you’ve got your test frame set, it’s time to cover it with Doculam. This comes in a big roll that will last for ages, but it’s cheap. Laminating film comes in various thicknesses, but for most models, I find 1.5 mil works well. This is about the same weight, or a tad less, than modern “ultra-lite” coverings, at about 30 grams per square yard. If you’re doing a large, heavy model, you might want to experiment with heavier versions of up to 3 mil. Unlike regular model heat-shrink covering, Doculam doesn’t have a backing to peel off prior to applying it. The glue side is somewhat cloudy looking compared to the finish side. It applies in much the same way as any heat-shrink covering, and is even more forgiving. Tack all of the edges and seal them down firmly prior to the shrinking. You can use a heat gun or iron to do the shrinking, but for this, I prefer an iron for better control. Either will work, so do what you’re comfortable with.
- This is where the test frame pays dividends. When you do the final shrinking with your heat gun or iron, you’ll notice the opaque appearance will suddenly become clear. Do not be tempted to keep ironing if you have a wrinkle or two. Doculam continues to shrink a bit when you take the iron away and it cools, so give it time to see what it will do. If there are small wrinkles when it’s cool, apply more heat.
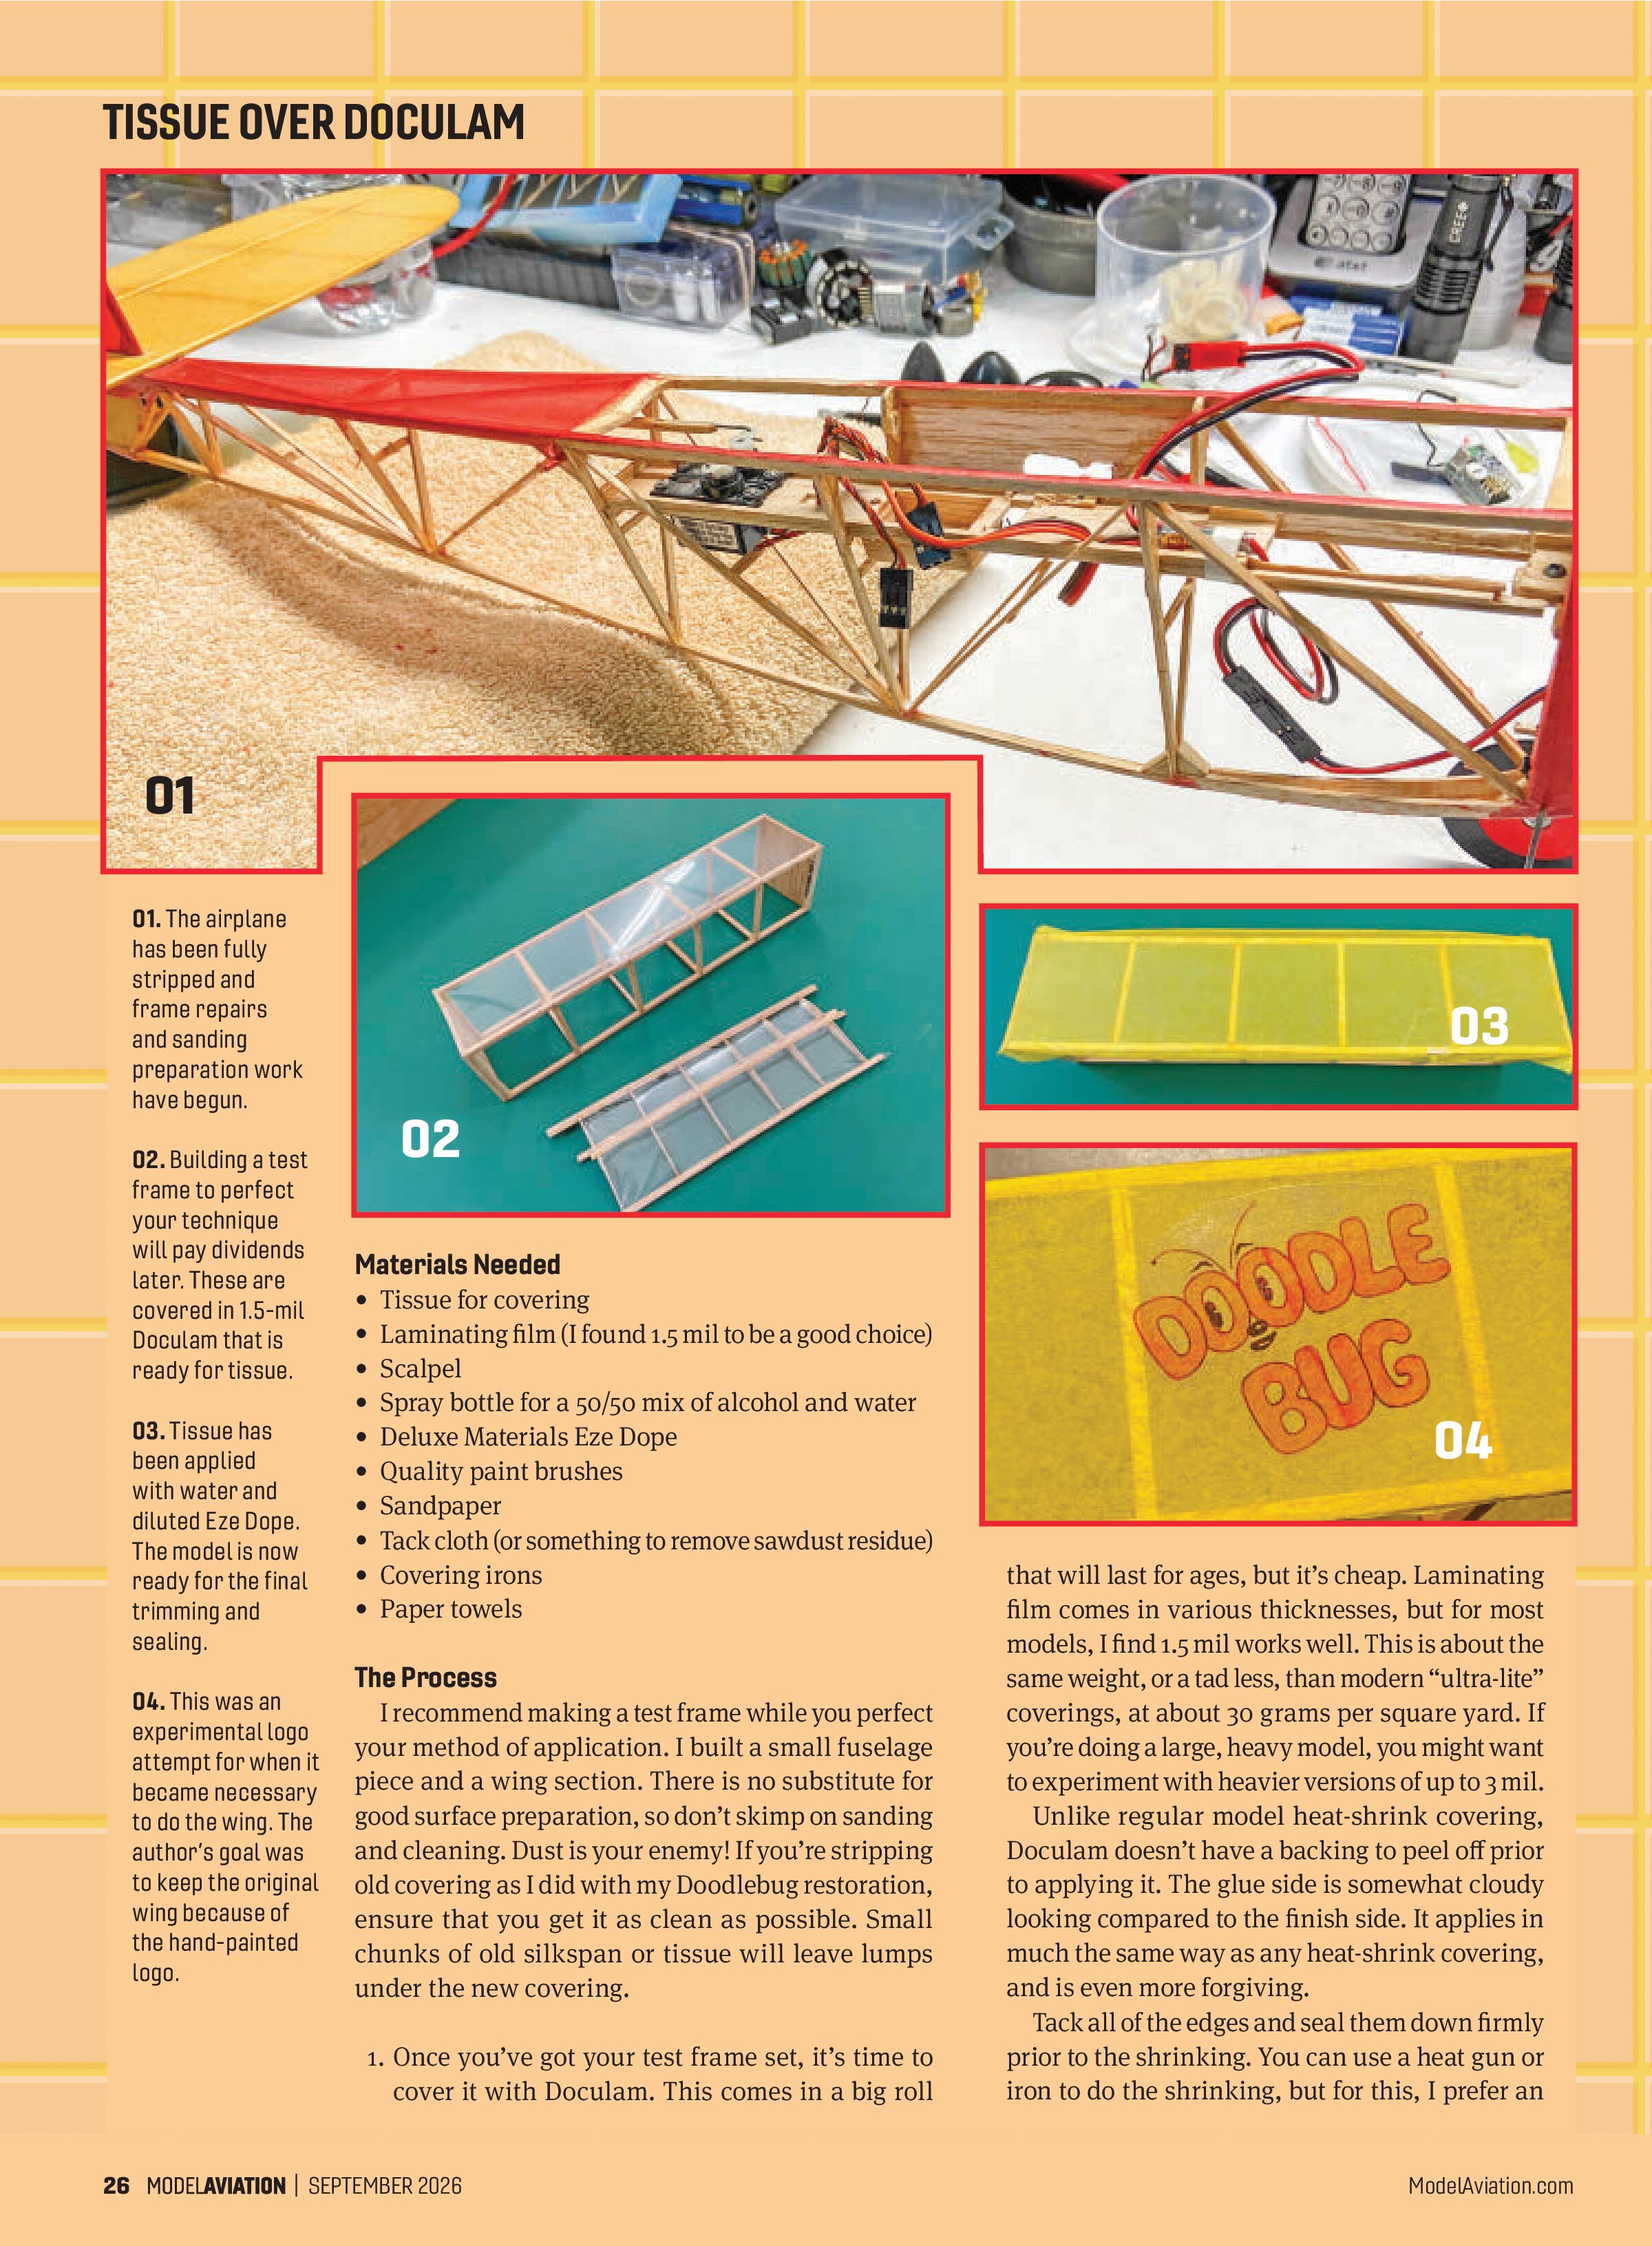
- After you’re happy with your covered test frame, it’s time to apply the tissue. A word of caution if you haven’t used tissue before: Japanese tissue for modeling is totally different from the tissue you find for wrapping gifts or in shirt boxes. It has a “grain” to it and a much greater wet strength. It’s most often referred to as Esaki, Gampi, or Mt. Fuji tissue, and it’s available from many online sources. The weight is approximately 10 grams per square yard.
- Once again, preparation matters, so take some time to clean your freshly covered surfaces. I use a microfiber cloth and some alcohol to remove any greasy finger residue. The cleaner the Doculam, the better the tissue and dope will stick. Vinegar is also a good cleaner.
- Cut your tissue pieces with the grain or fibers running lengthwise over the surface you’re covering. If you can’t determine the direction of the fibers, tear a small corner to expose them.
- There are two methods of applying tissue: wet and dry. I prefer the dry method and will explain that method here. Lay your cut tissue over the piece to be covered and smooth it out, allowing for a bit of overhang


along the edges. You can use plain water or a mix of water and alcohol in a spray bottle for the next step. I prefer about 50% water and 50% alcohol, but experimentation will help you decide what’s right for you. More alcohol causes it to dry faster but reduces the working time you have to smooth things out perfectly. Using all water gives the most working time. Some tissues will also shrink and tighten slightly differently with the mix.
6. Lightly spray the tissue that is laid over your Doculam surface. Finesse is the key here, so go slowly and spray evenly. I use an approximately 1-inch-wide very soft, quality brush to begin smoothing out the tissue. It will look quite wrinkly now that it’s wet, but don’t panic. A combination of light brushing and using your fingers to get it all smoothed out and the excess water off will render a smooth, wet surface. Work the edges over the sides of the frame, leaving enough to trim back for a clean edge.
7. Patience is needed here; allow it a few minutes to dry and begin shrinking. As it shrinks, you might find areas that appear to lift, so use your wet brush to work those down smoothly. Finally, blot any excess water off with a paper towel. Go easy; don’t wipe it and pull the wet tissue off of the surface. When it’s almost dry (or just barely damp), I like to trim the edges how I want them.
8. I prefer a mix of 30% Eze Dope and 70% water for this next step. It’s very forgiving and you can go with a lighter mix if it’s desired, but this works for me. Slowly begin brushing the Eze Dope onto the tissue, being careful not to pull or move anything. Spread it thinly and evenly but don’t obsess. I use my fingers to ensure that all of the edges/corners are smoothed perfectly. Work your dope until everything is smooth and even. There shouldn’t be any puddles or areas that appear wetter than others. If you find that you have too much and can’t brush it off, carefully blot it with a paper towel.
9. That’s it! Set it aside and allow it to fully cure. You should have a very even, smooth surface with the tissue nicely stuck down to the Doculam. If you find an area that has lifted, you can try to work more Eze Dope into it and get it stuck down, but it’s probably because you didn’t clean the Doculam enough prior to laying the tissue. This is why test frames are so valuable as you perfect your method.
10. You can finish it off with multiple coats of Eze Dope to make it fuel-proof, or at least enough to protect against water if it doesn’t require a fuelproof finish.
The Doodlebug
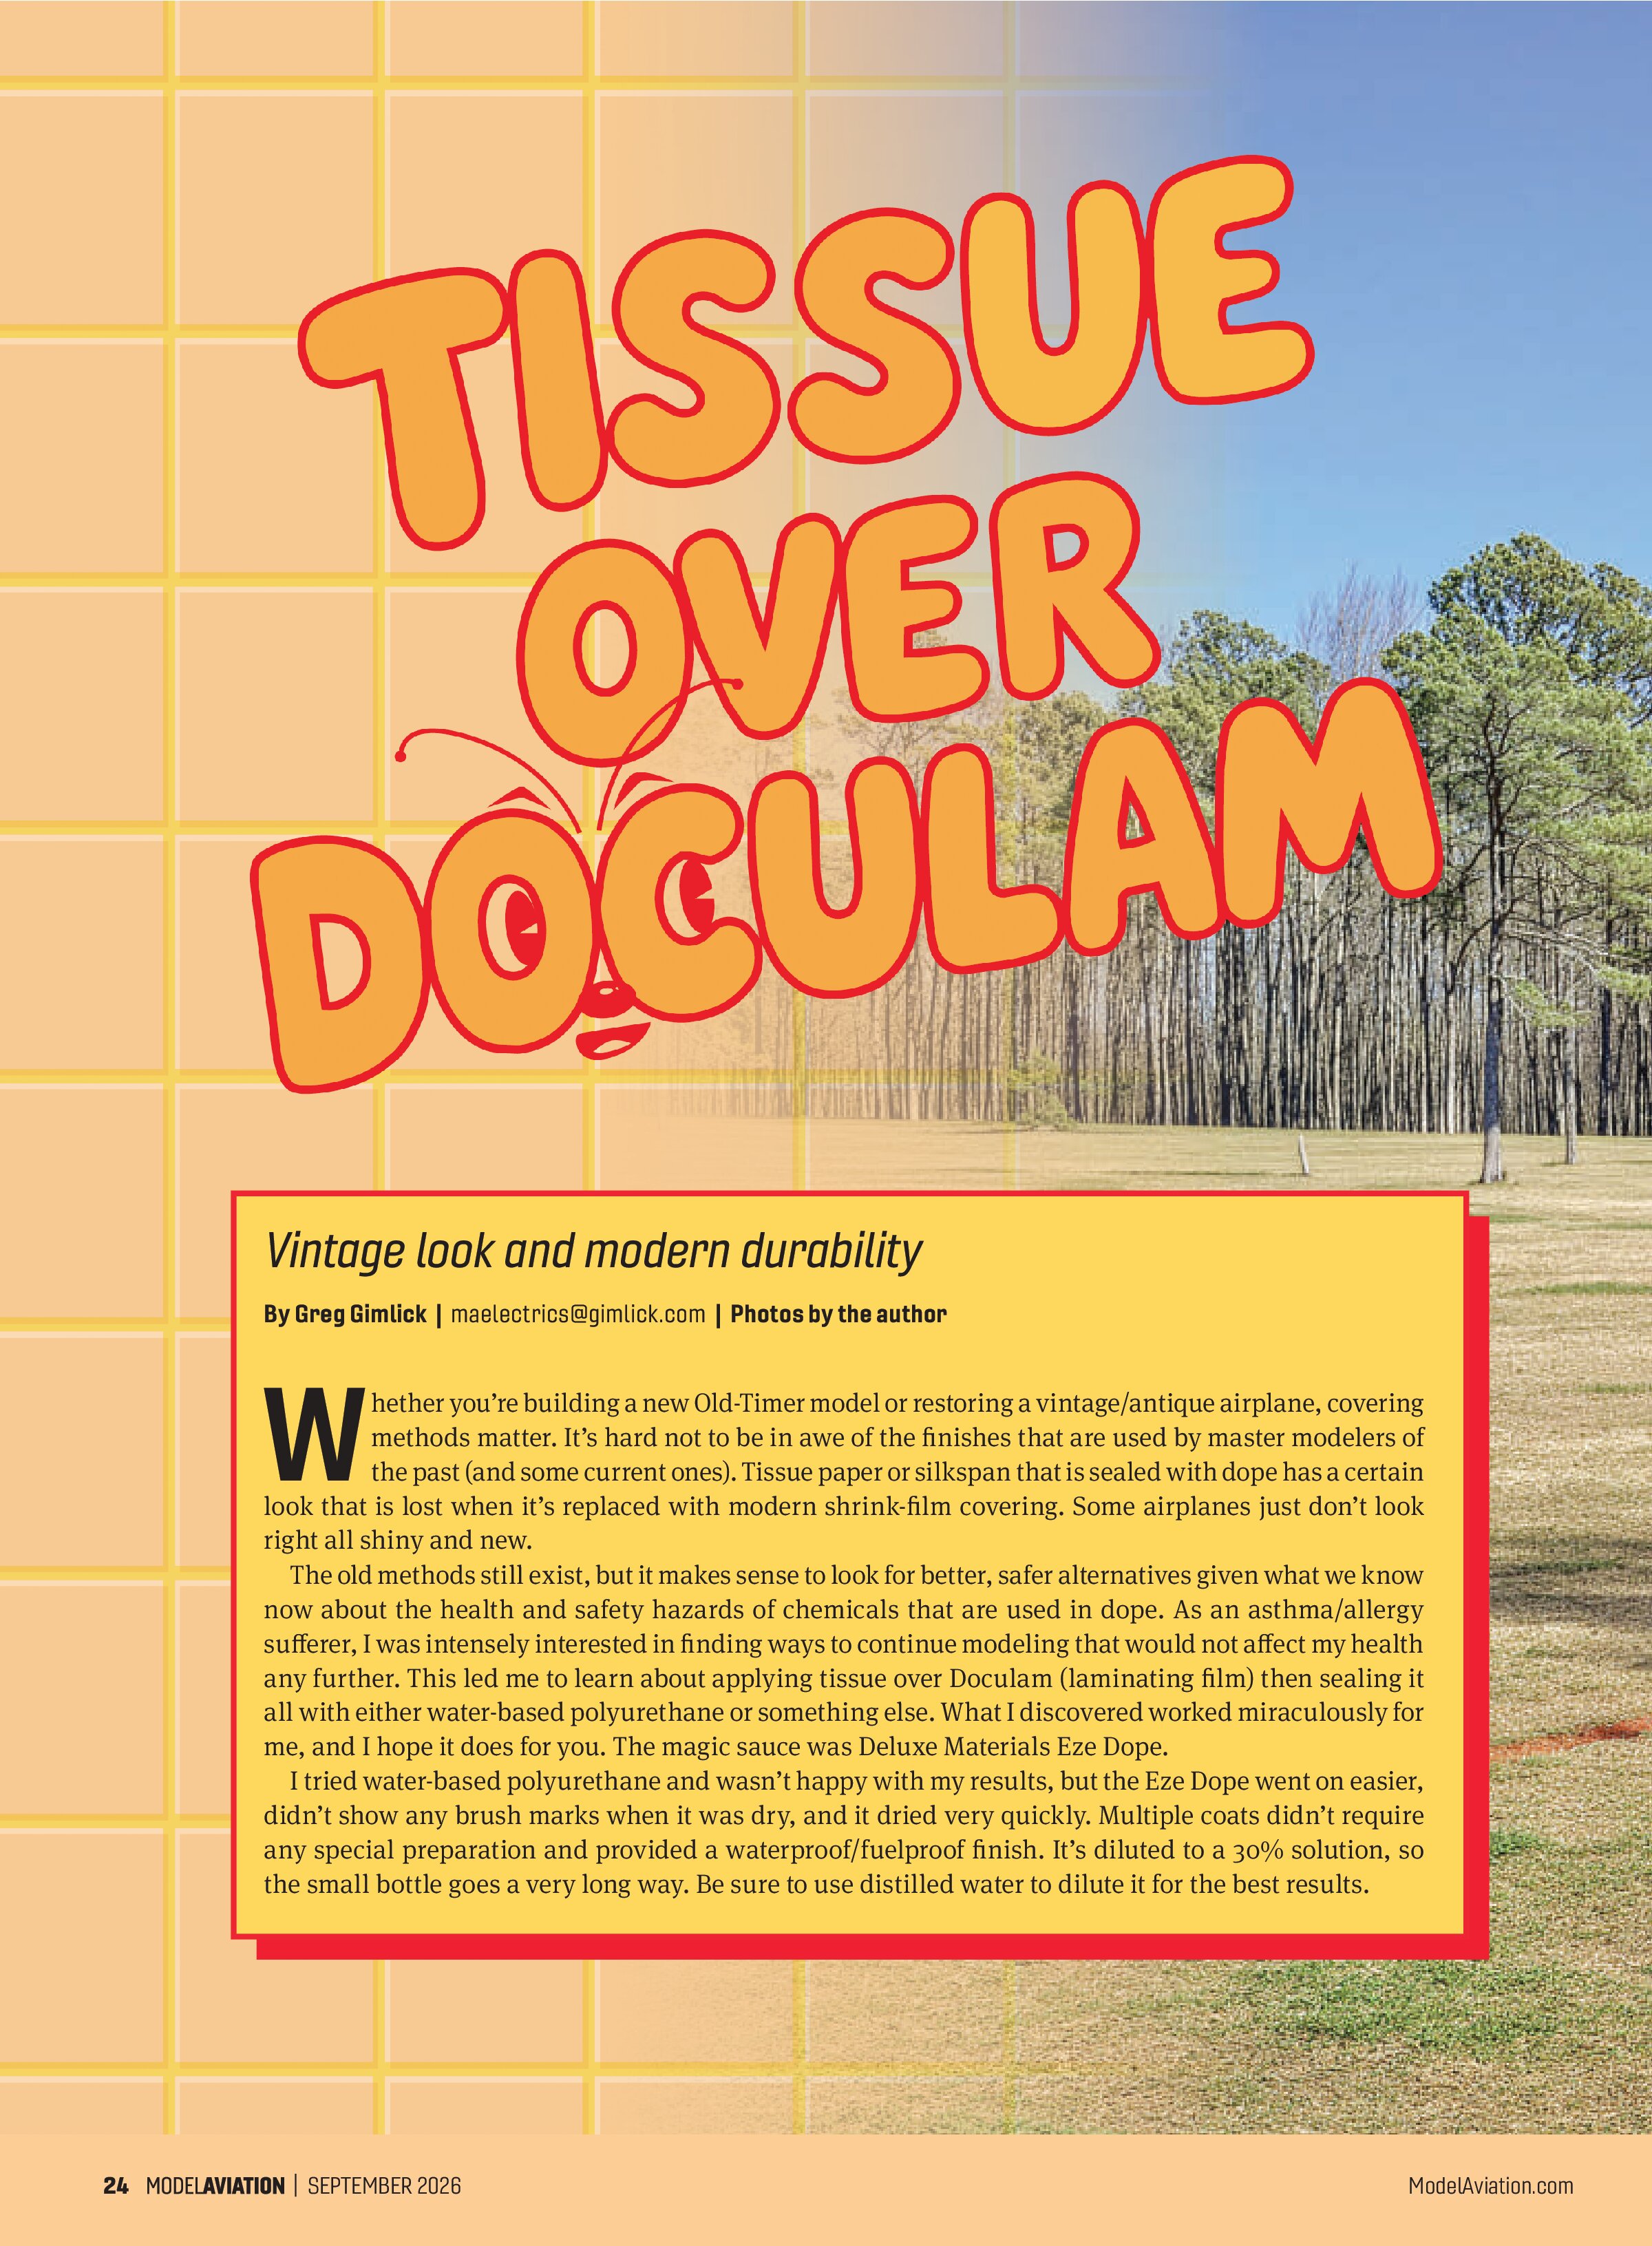
Restoring a 50-plus-year-old model from an estate was my reason for learning this technique, but I’ve used it on several other projects now. It’s not as fast as using modern-day colored heat shrink, but it has the appearance of the original tissue/dope or silkspan/dope finishes.
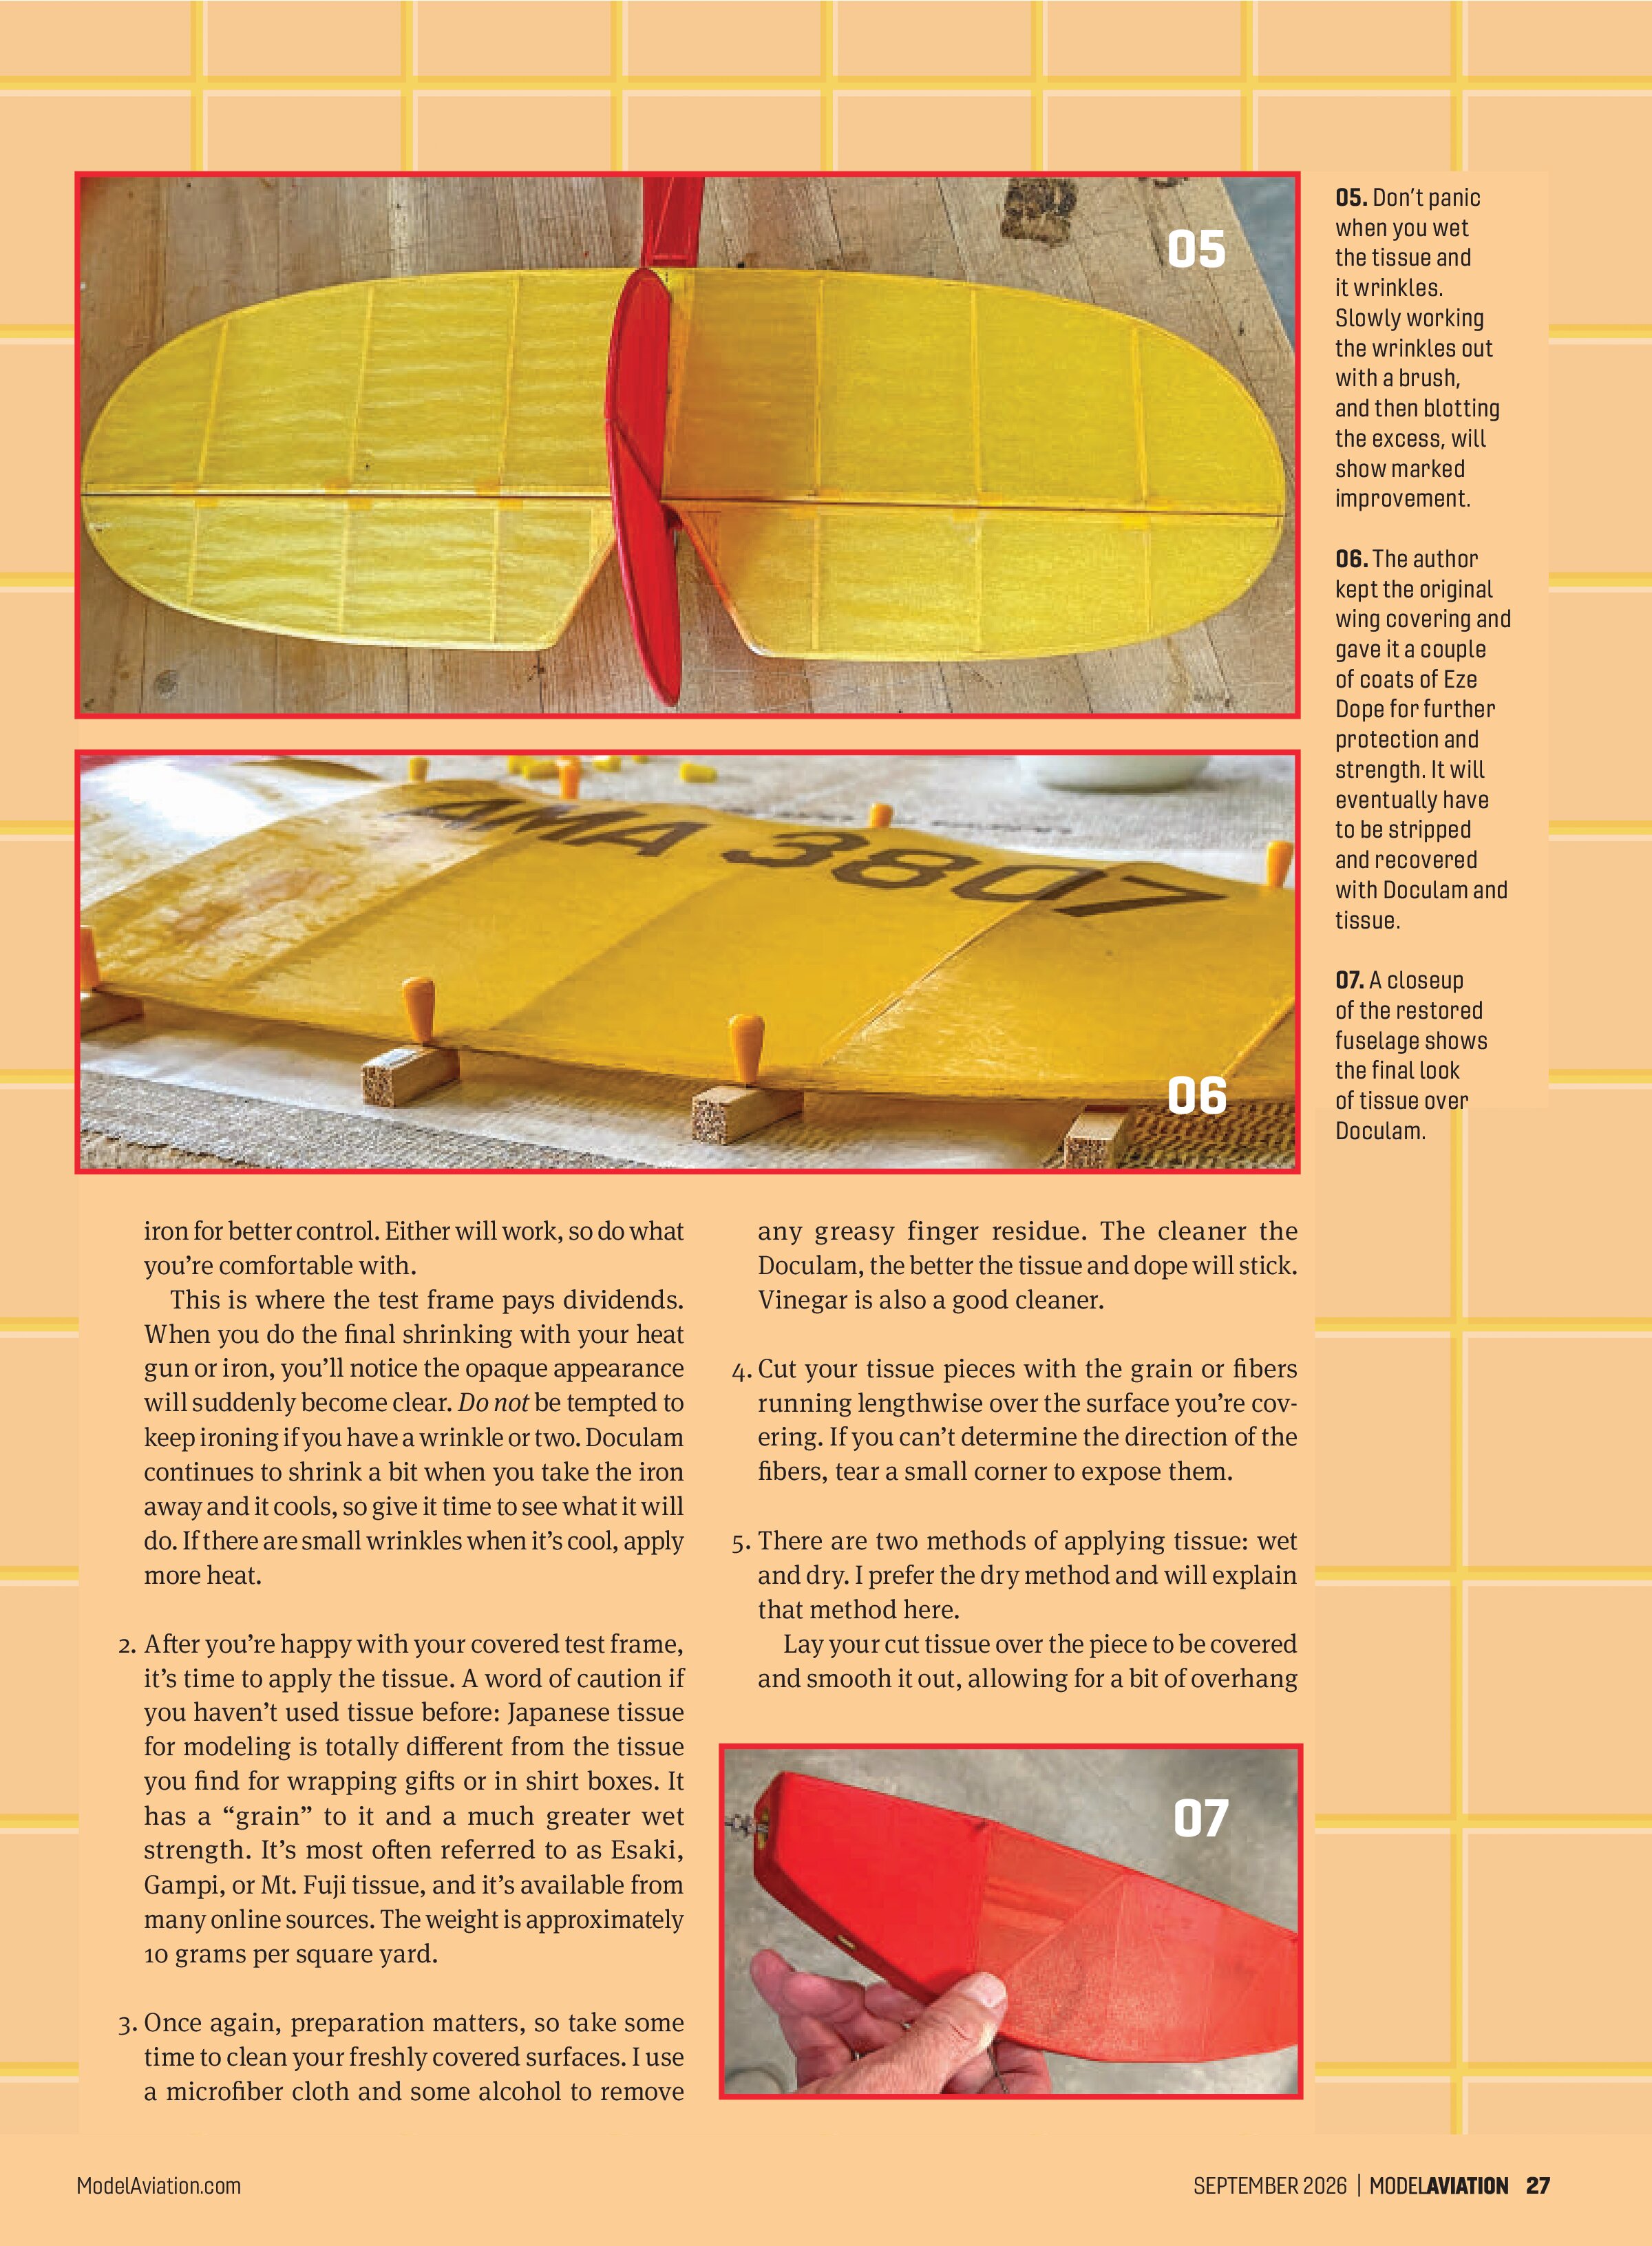
I stripped the original tissue off of the Doodlebug and lightly sanded the airframe. There was a lot of damage from shipping, so I had to rebuild much of the 1/8-inch balsa fuselage. My goal was to try to save the original wing because the wood wasn’t damaged and the logo was hand-drawn by the builder.
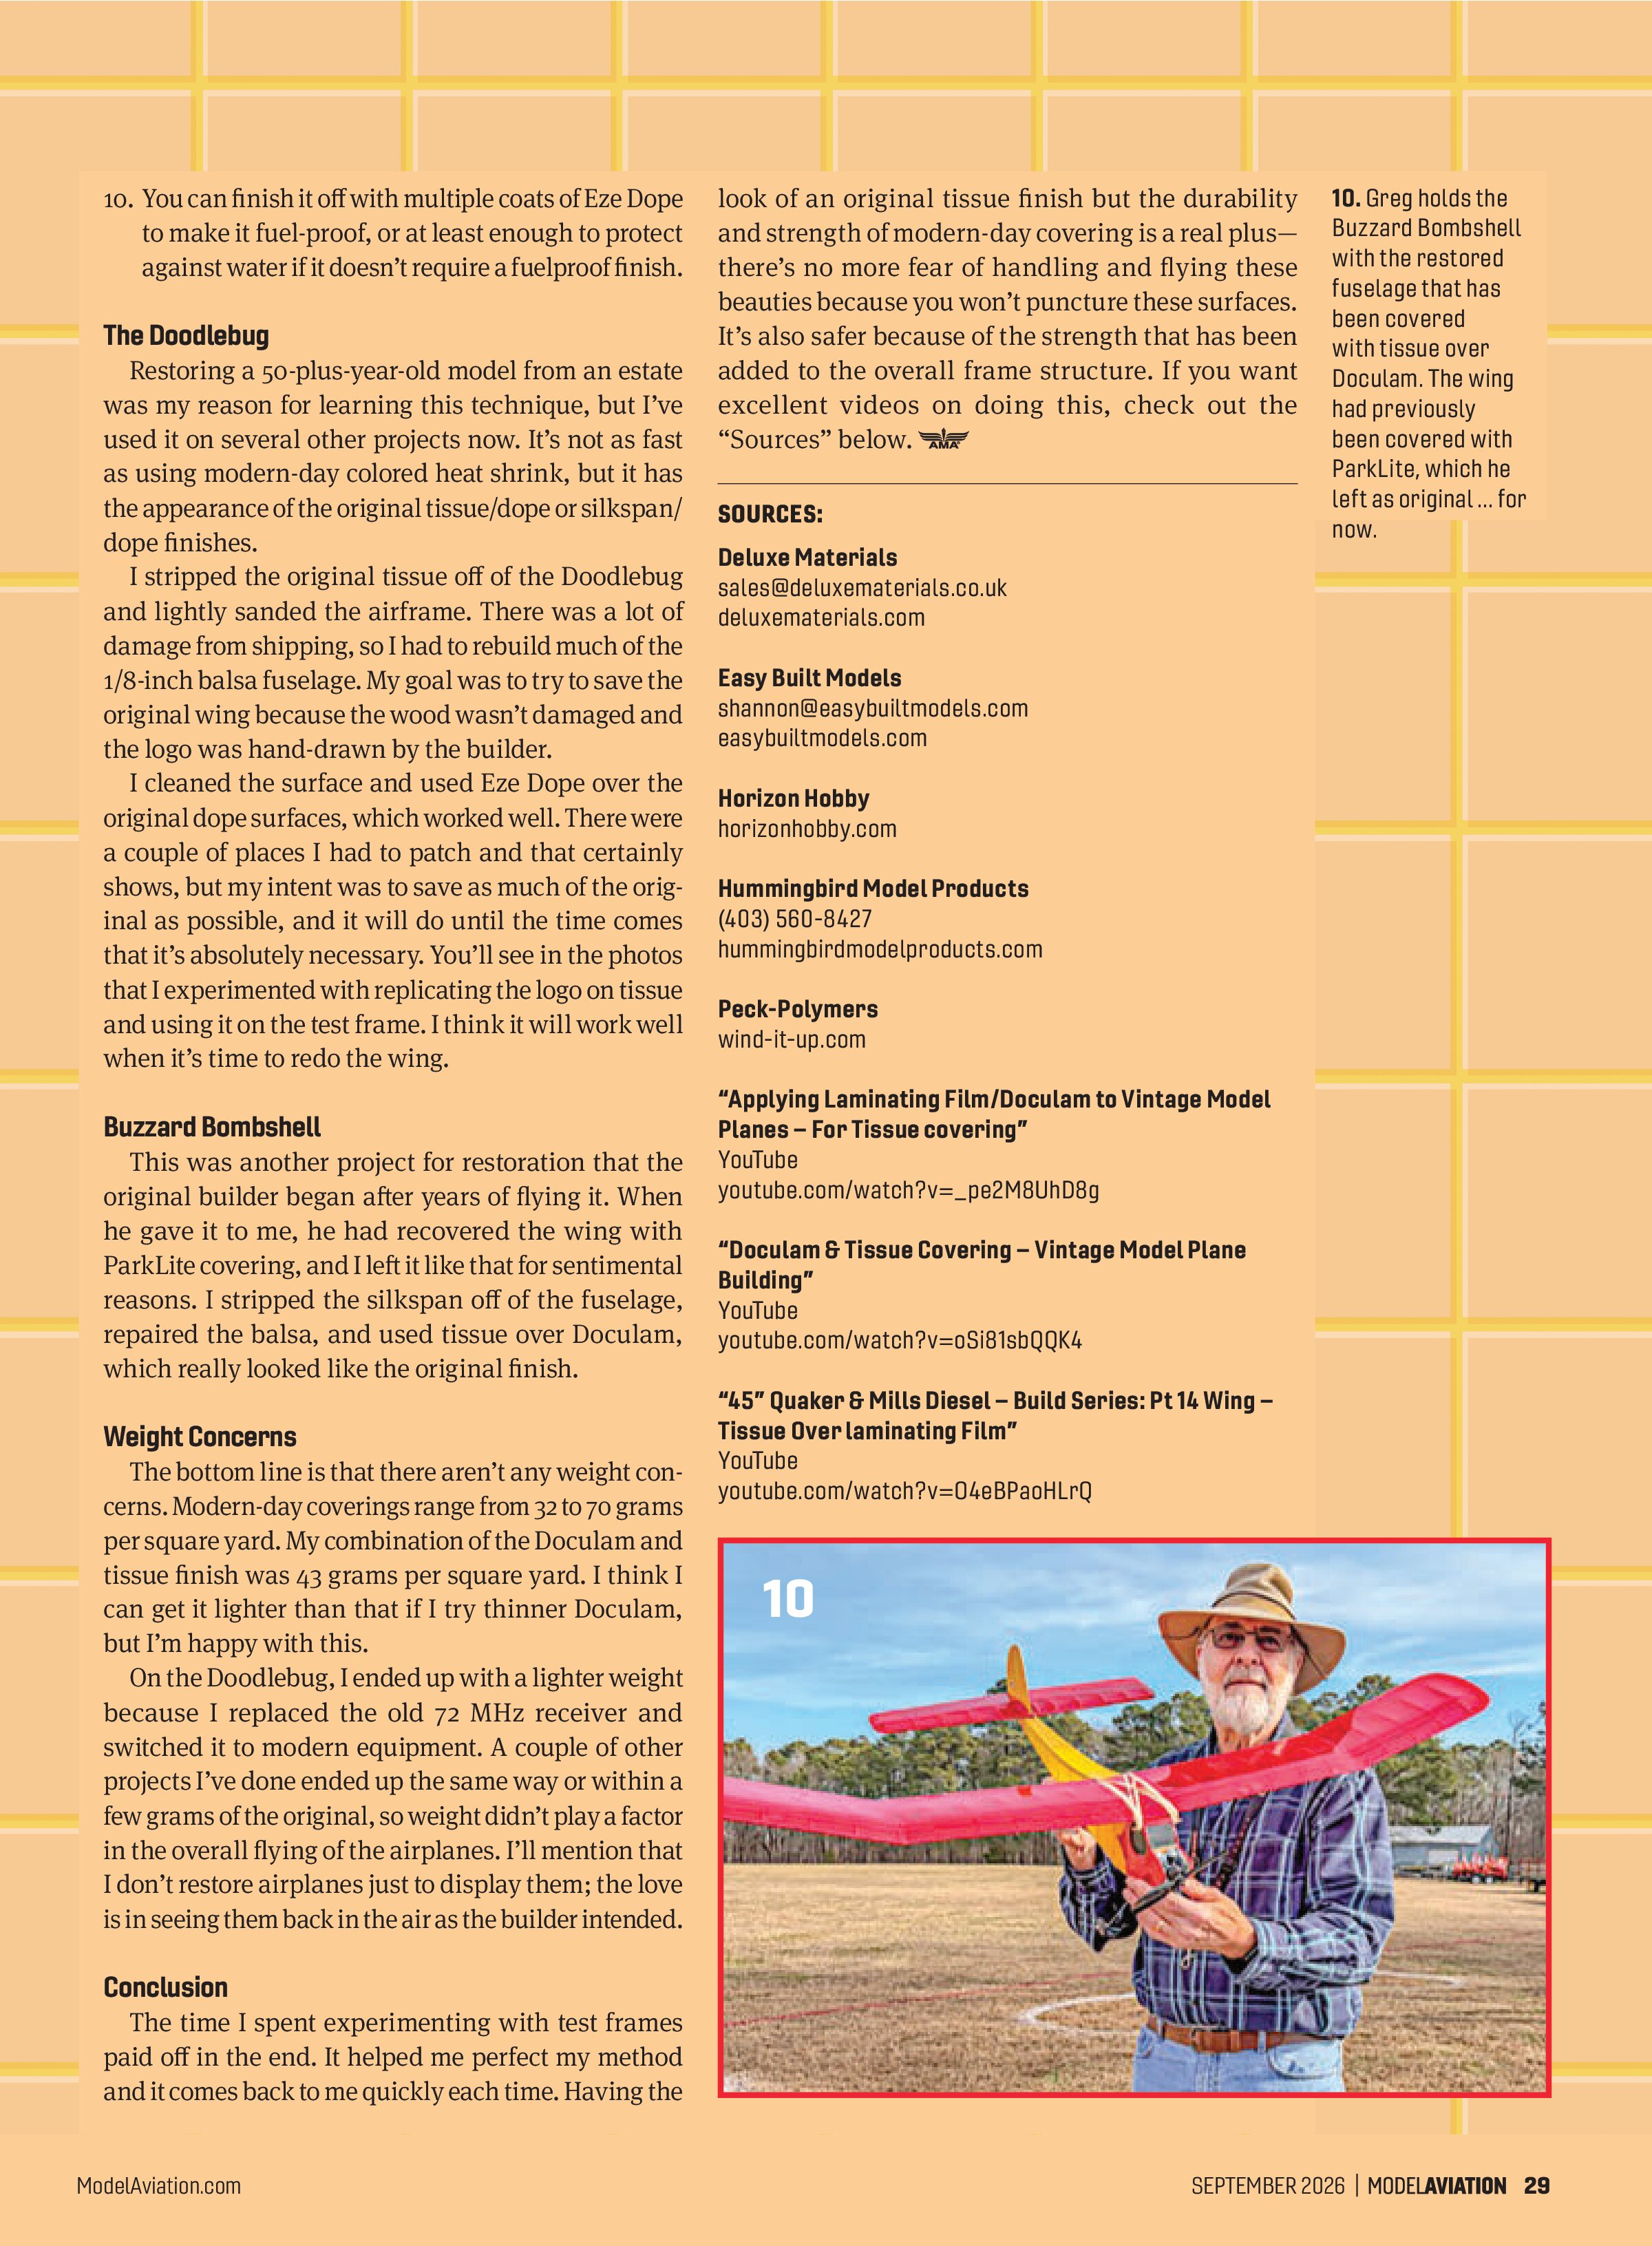
I cleaned the surface and used Eze Dope over the original dope surfaces, which worked well. There were a couple of places I had to patch and that certainly shows, but my intent was to save as much of the original as possible, and it will do until the time comes that it’s absolutely necessary. You’ll see in the photos that I experimented with replicating the logo on tissue and using it on the test frame. I think it will work well when it’s time to redo the wing.
Buzzard Bombshell
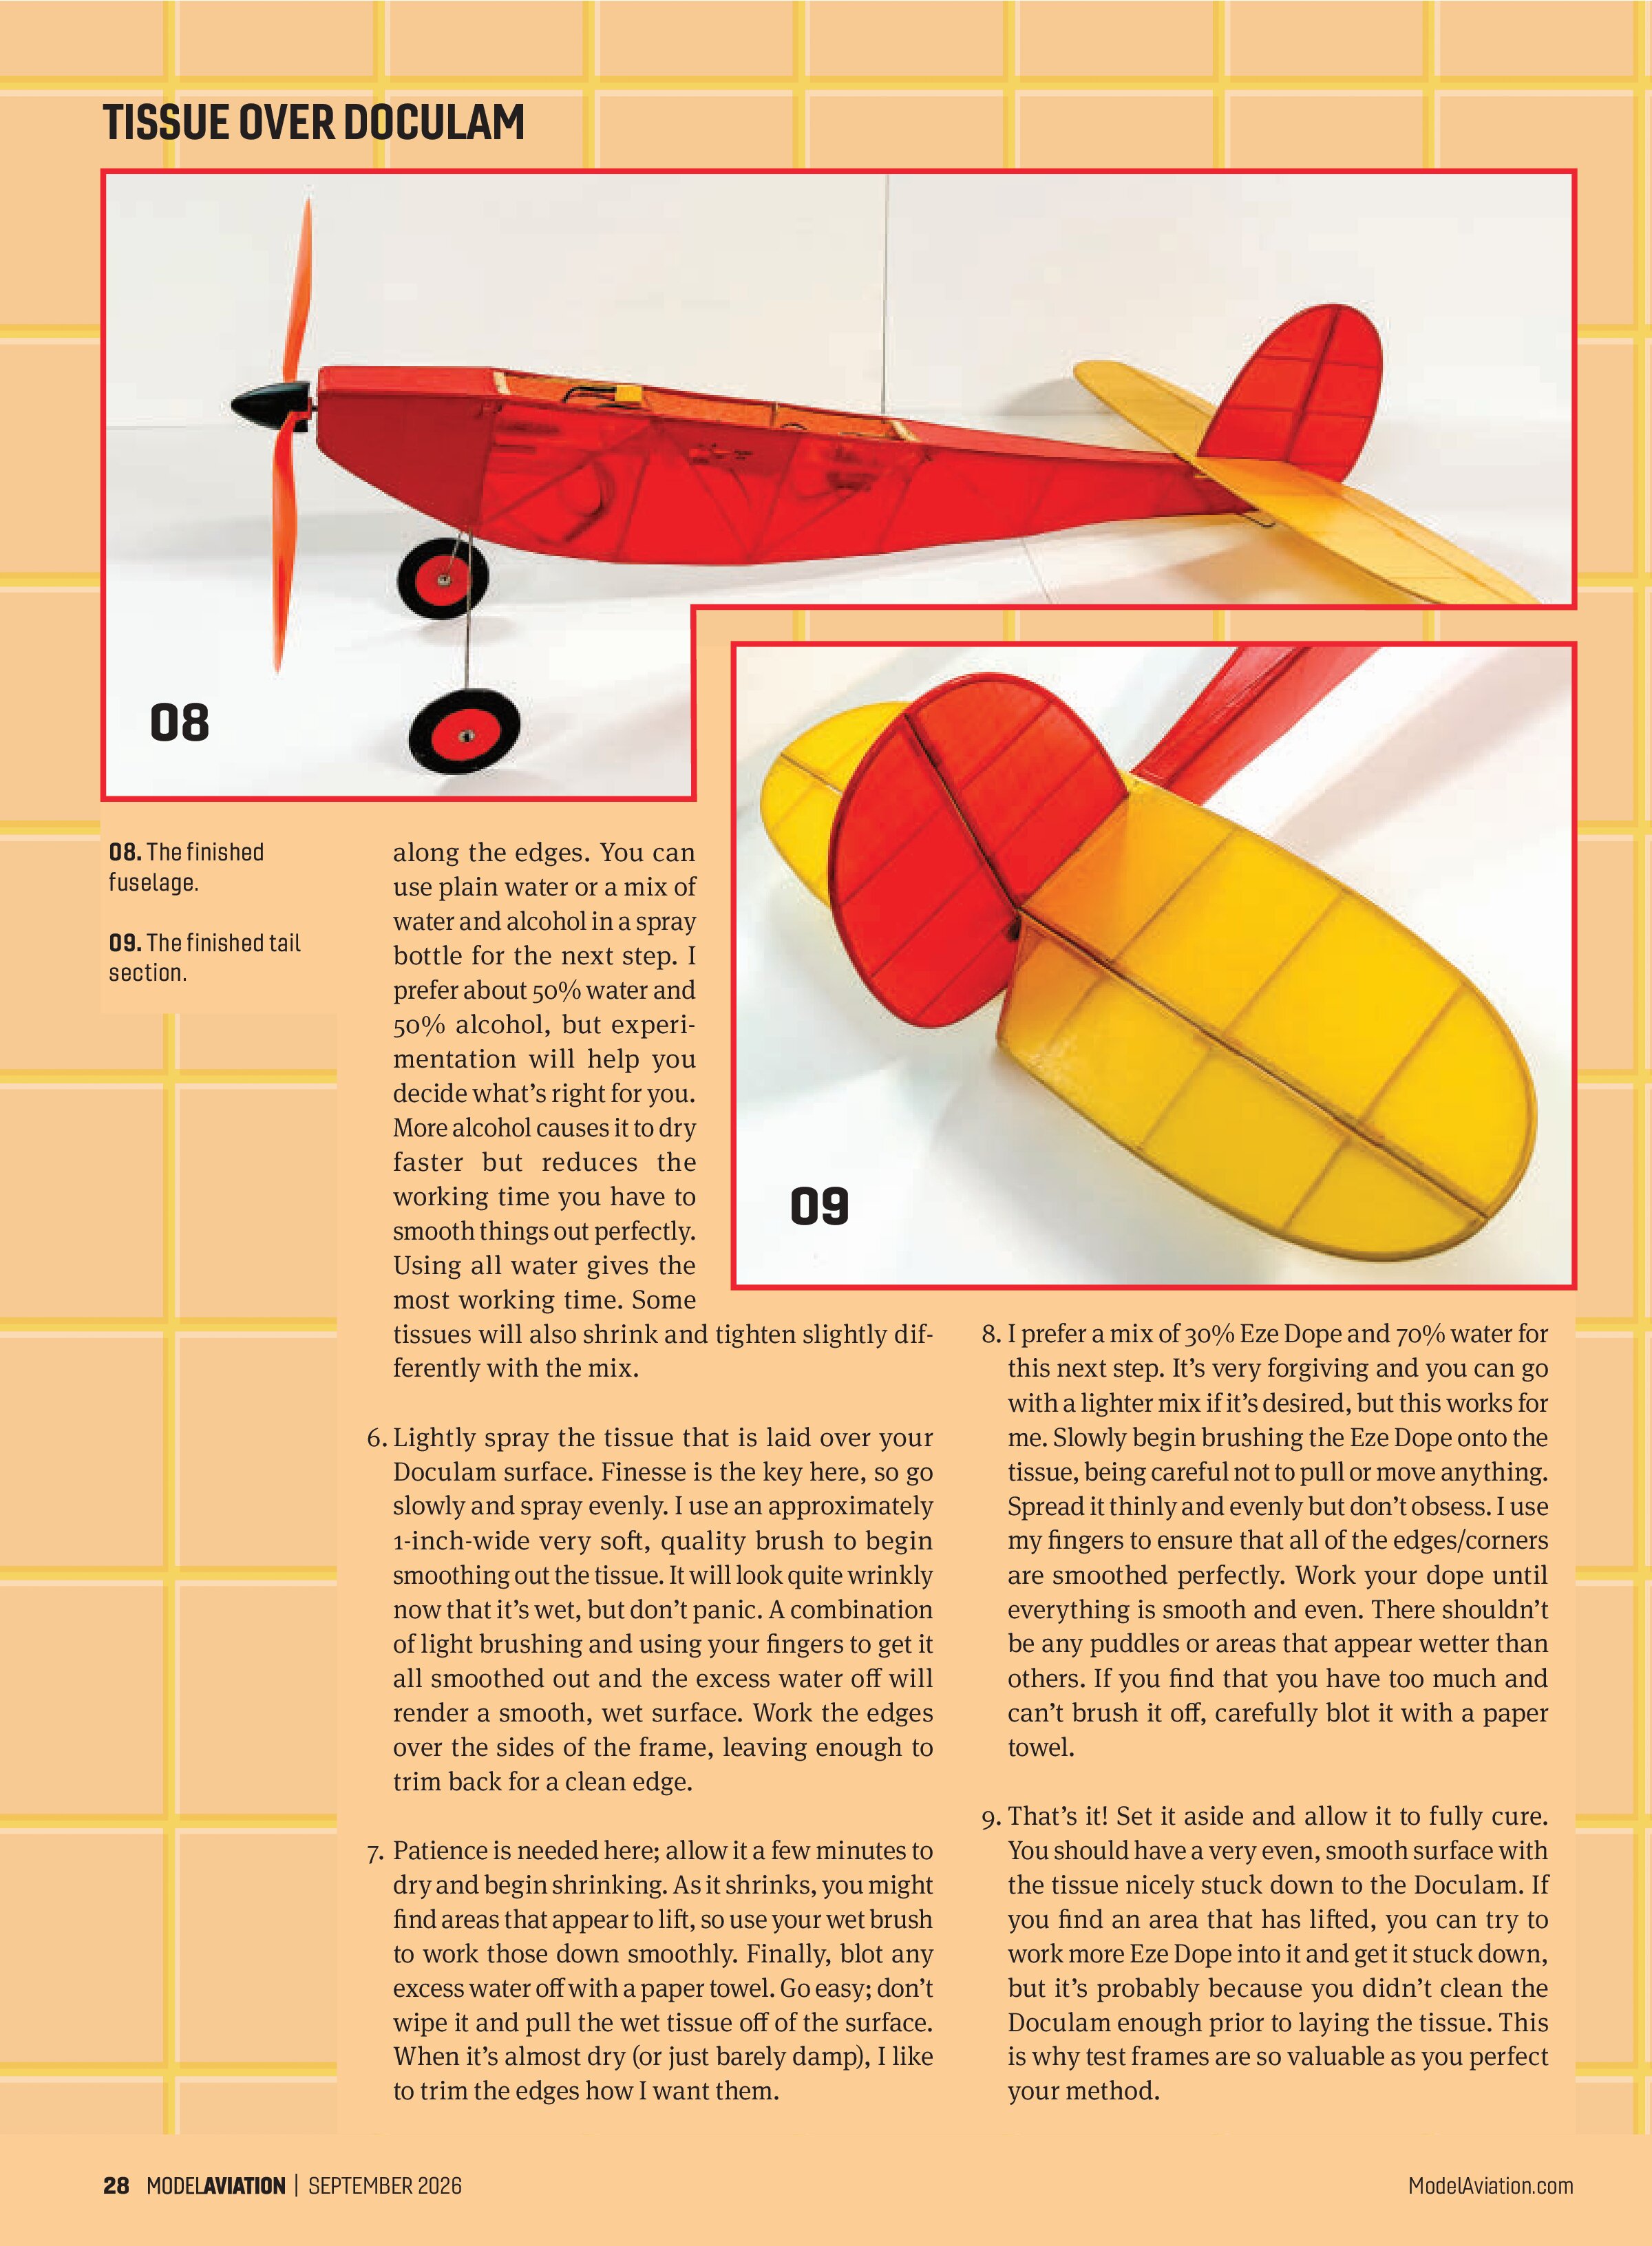
This was another project for restoration that the original builder began after years of flying it. When he gave it to me, he had recovered the wing with ParkLite covering, and I left it like that for sentimental reasons. I stripped the silkspan off of the fuselage, repaired the balsa, and used tissue over Doculam, which really looked like the original finish.
Weight Concerns
The bottom line is that there aren’t any weight concerns. Modern-day coverings range from 32 to 70 grams per square yard. My combination of the Doculam and tissue finish was 43 grams per square yard. I think I can get it lighter than that if I try thinner Doculam, but I’m happy with this.
On the Doodlebug, I ended up with a lighter weight because I replaced the old 72 MHz receiver and switched it to modern equipment. A couple of other projects I’ve done ended up the same way or within a few grams of the original, so weight didn’t play a factor in the overall flying of the airplanes. I’ll mention that I don’t restore airplanes just to display them; the love is in seeing them back in the air as the builder intended.
Conclusion
The time I spent experimenting with test frames paid off in the end. It helped me perfect my method and it comes back to me quickly each time. Having the look of an original tissue finish but the durability and strength of modern-day covering is a real plus—there’s no more fear of handling and flying these beauties because you won’t puncture these surfaces. It’s also safer because of the strength that has been added to the overall frame structure. If you want excellent videos on doing this, check out the “Sources” below.
SOURCES:
Deluxe Materials
sales@deluxematerials.co.uk
deluxematerials.com
Easy Built Models
shannon@easybuiltmodels.com
easybuiltmodels.com
Horizon Hobby
horizonhobby.com
Hummingbird Model Products
(403) 560-8427
hummingbirdmodelproducts.com
Peck-Polymers
wind-it-up.com
“Applying Laminating Film/Doculam to Vintage Model Planes – For Tissue covering”
YouTube
youtube.com/watch?v=_pe2M8UhD8g
“Doculam & Tissue Covering – Vintage Model Plane Building”
YouTube
youtube.com/watch?v=oSI8lsbQQK4
“45” Quaker & Mills Diesel – Build Series: Pt 14 Wing – Tissue Over Laminating Film”
YouTube
youtube.com/watch?v=04eBPaoHLrQ