SAMSON RC MUDRY CAP 231EX ARF
An iconic airshow performer’s scheme as a colorful, new ARFBy Tom Dale | tom@rcplanelab.com | Photos by Ron Hull

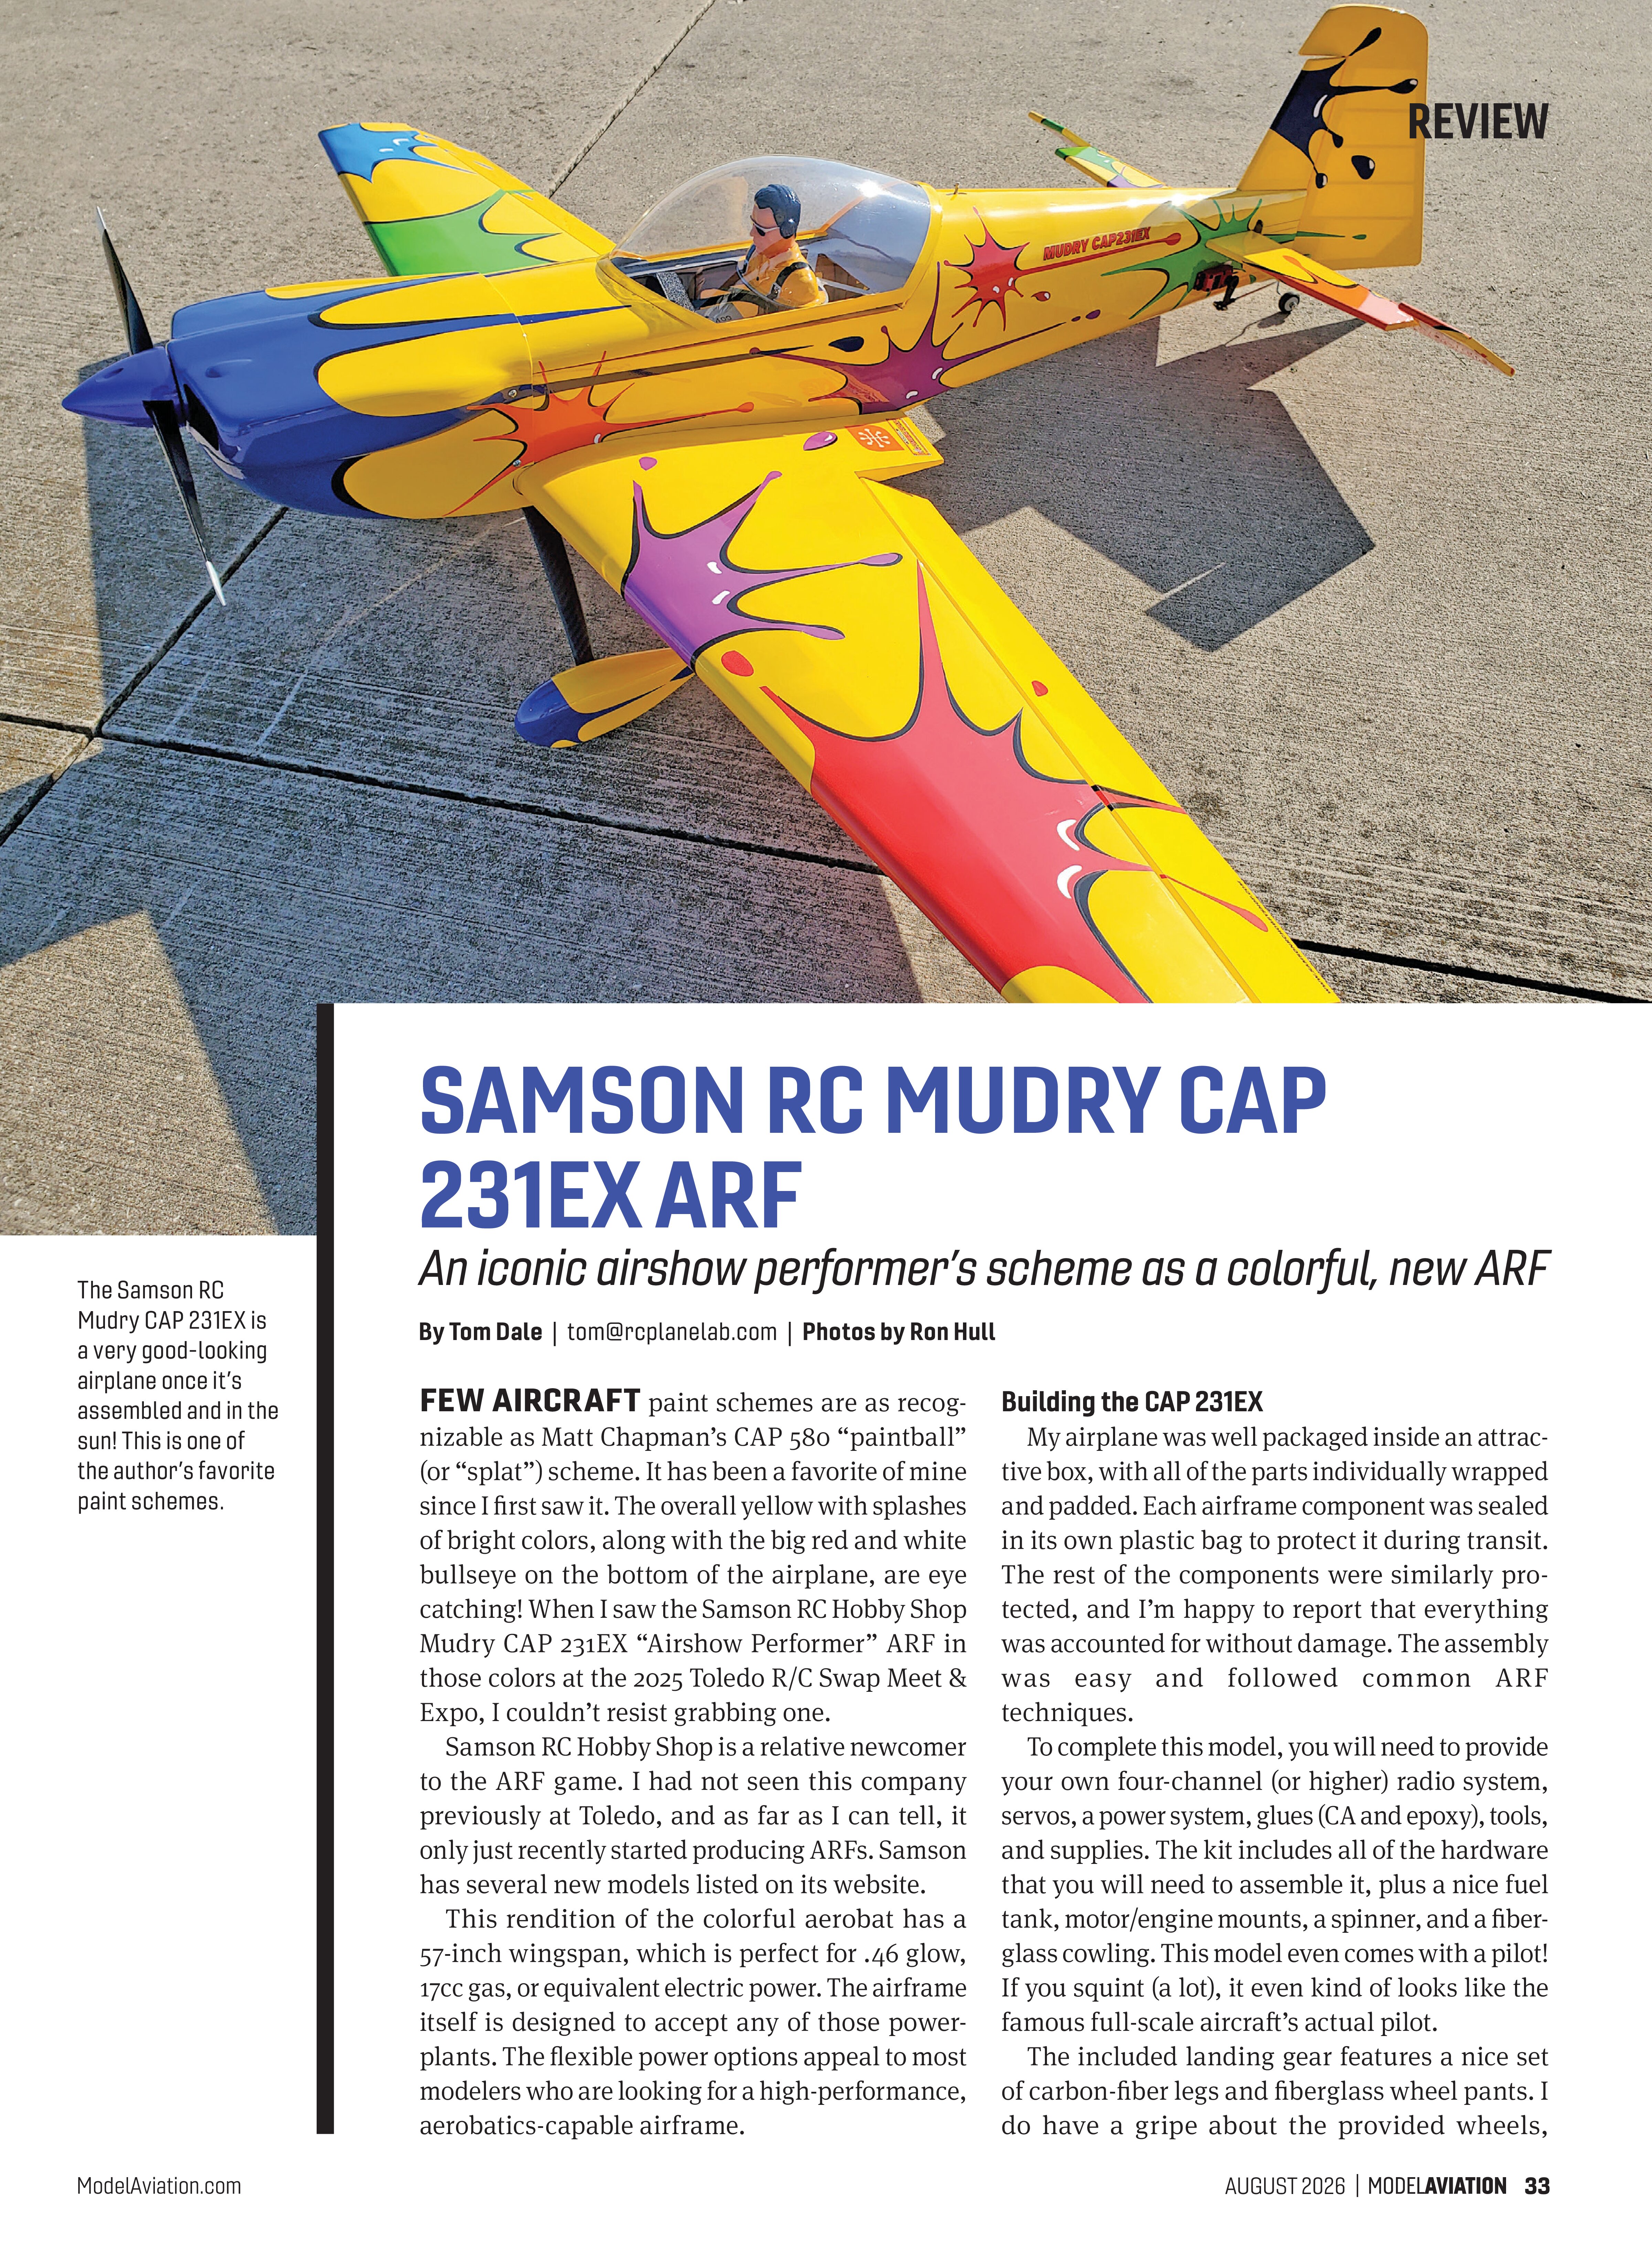
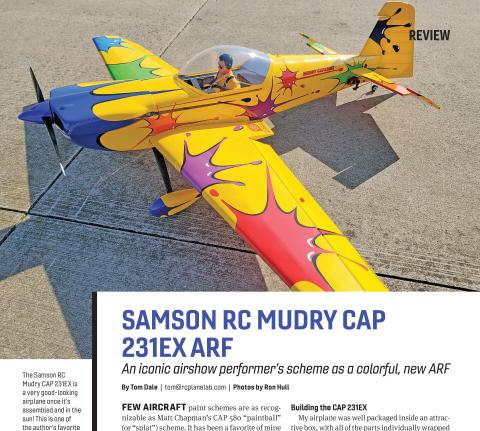
The Samson RC Mudry CAP 231EX is a very good-looking airplane once it’s assembled and in the sun! This is one of the author’s favorite paint schemes.
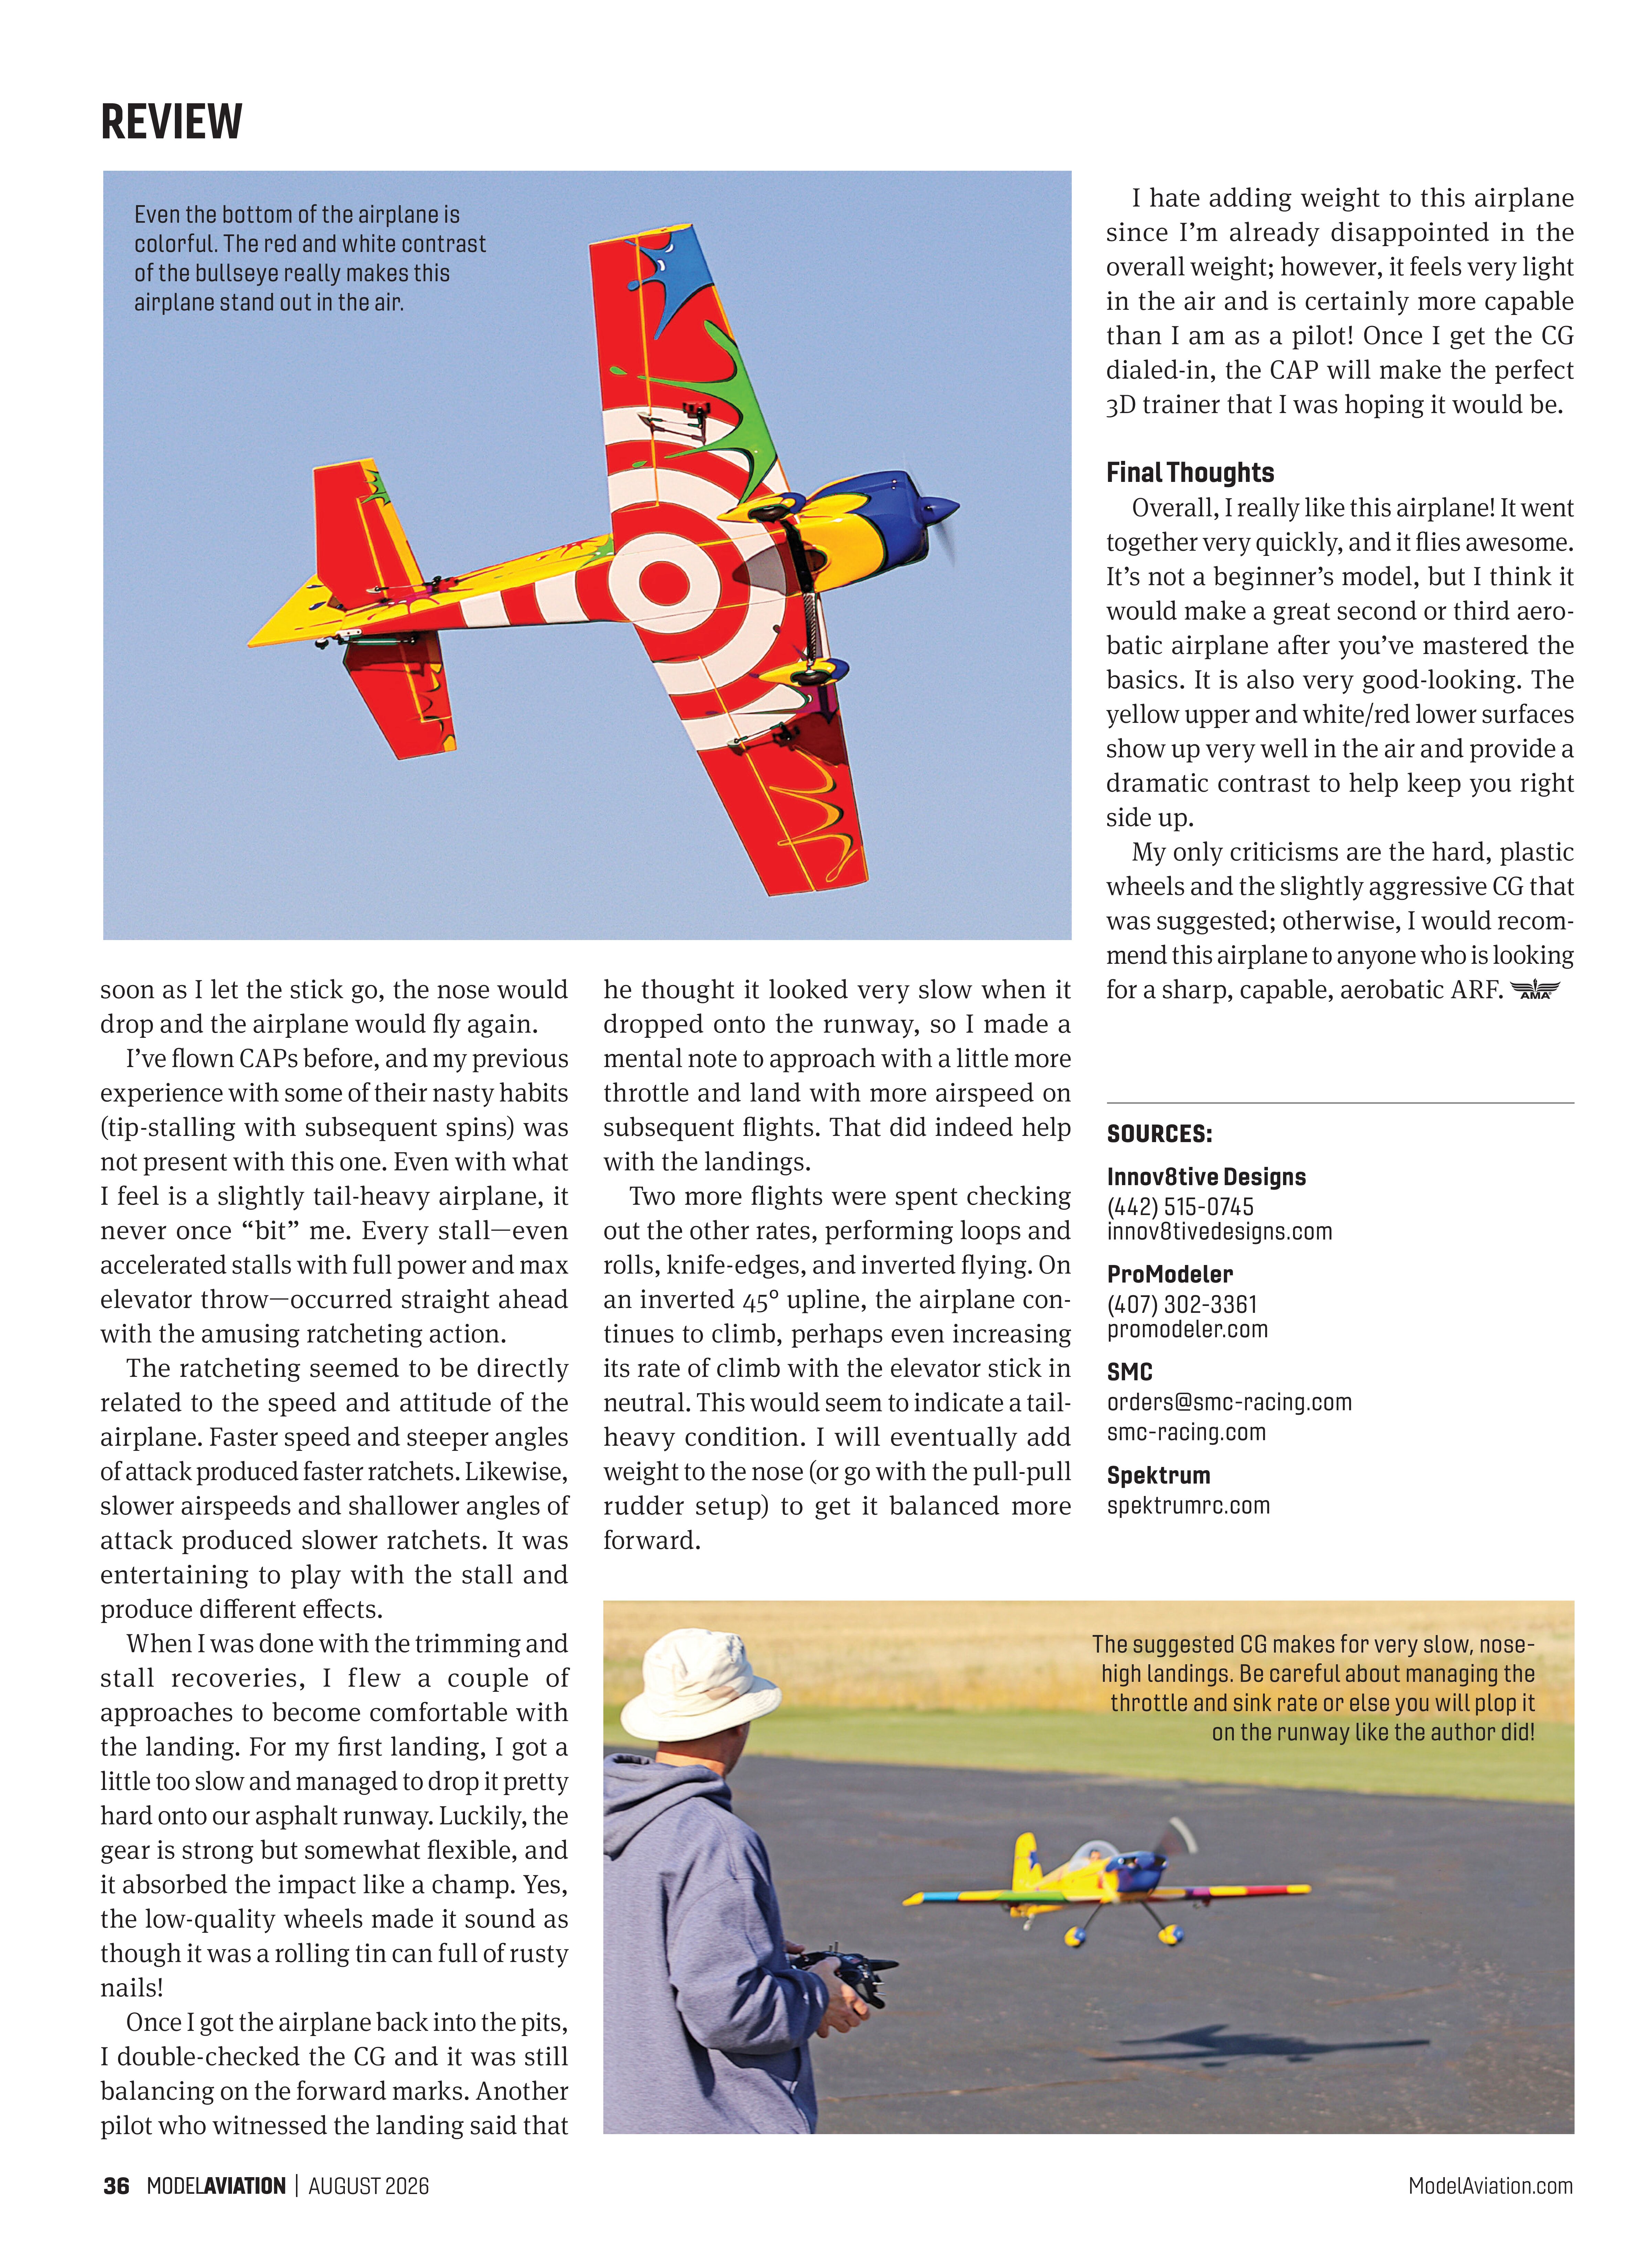
FEW AIRCRAFT paint schemes are as recognizable as Matt Chapman’s CAP 580 “paintball” (or “splat”) scheme. It has been a favorite of mine since I first saw it. The overall yellow with splashes of bright colors, along with the big red and white bullseye on the bottom of the airplane, are eye catching! When I saw the Samson RC Hobby Shop Mudry CAP 231EX “Airshow Performer” ARF in those colors at the 2025 Toledo R/C Swap Meet & Expo, I couldn’t resist grabbing one.
Samson RC Hobby Shop is a relative newcomer to the ARF game. I had not seen this company previously at Toledo, and as far as I can tell, it only just recently started producing ARFs. Samson has several new models listed on its website.
This rendition of the colorful aerobat has a 57-inch wingspan, which is perfect for .46 glow, 17cc gas, or equivalent electric power. The airframe itself is designed to accept any of those powerplants. The flexible power options appeal to most modelers who are looking for a high-performance, aerobatics-capable airframe.
Building the CAP 231EX
My airplane was well packaged inside an attractive box, with all of the parts individually wrapped and padded. Each airframe component was sealed in its own plastic bag to protect it during transit. The rest of the components were similarly protected, and I’m happy to report that everything was accounted for without damage. The assembly was easy and followed common ARF techniques.
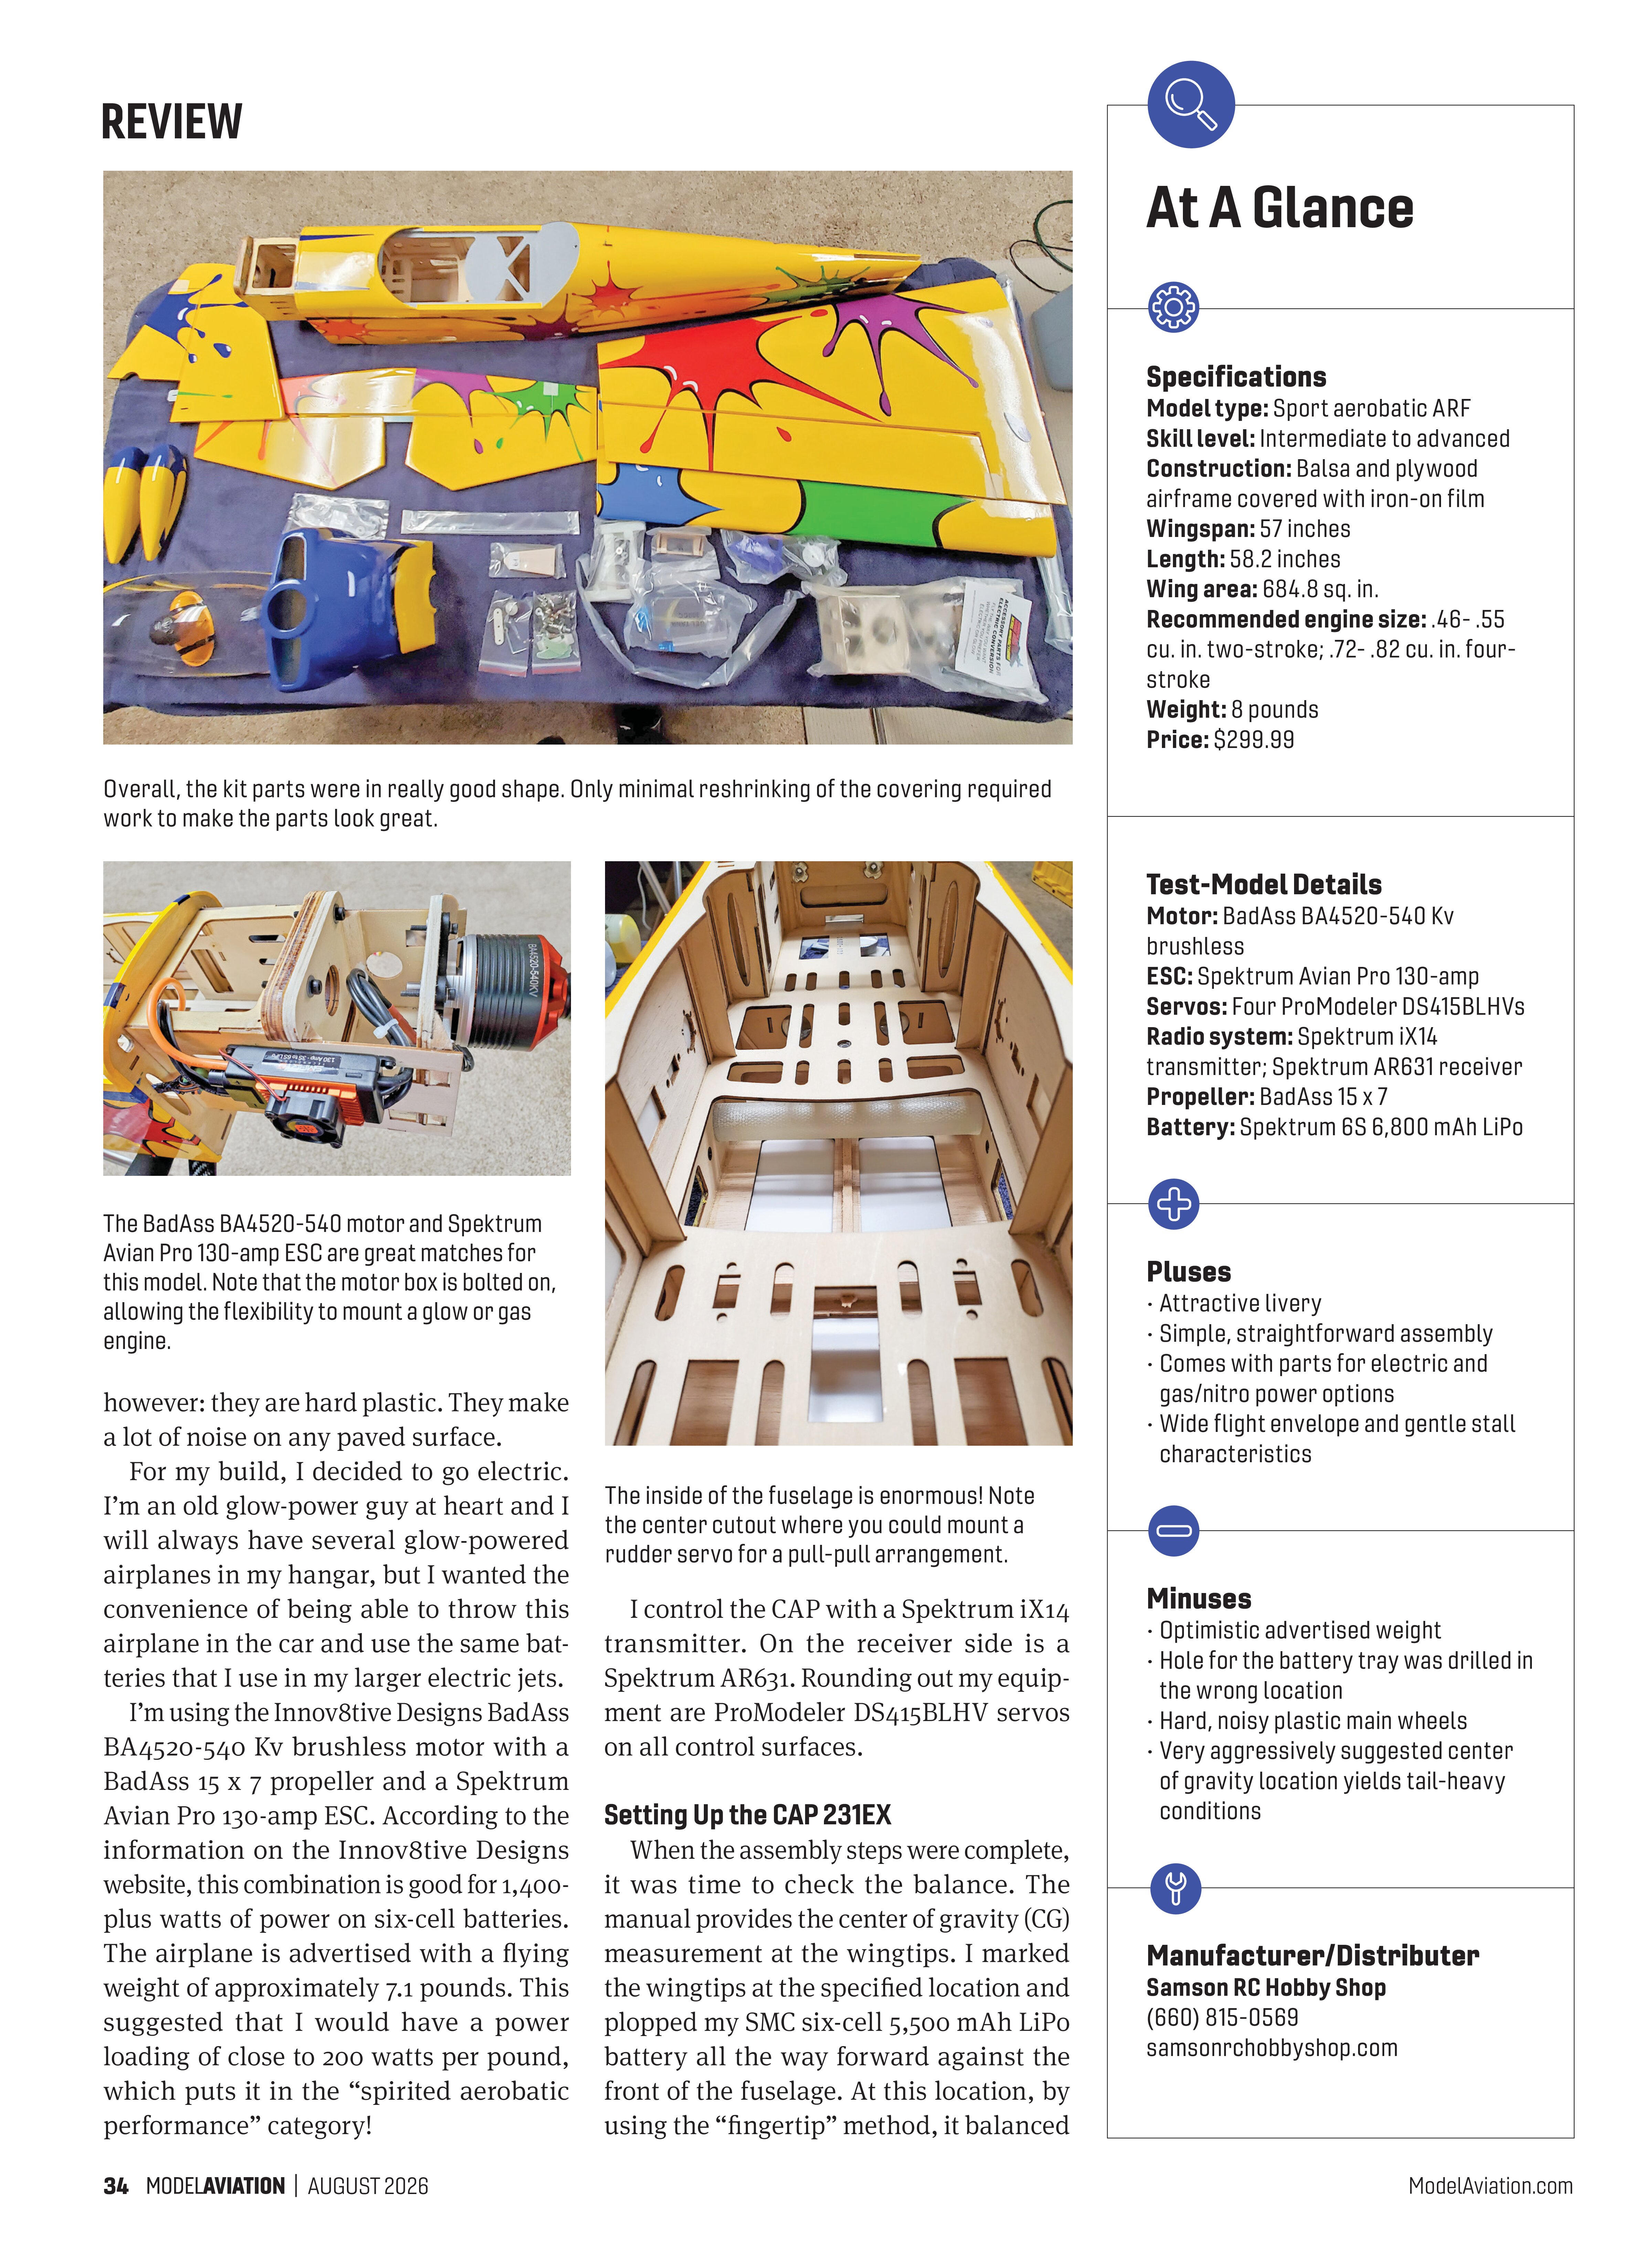
Overall, the kit parts were in really good shape. Only minimal reshrinking of the covering required work to make the parts look great.

The BadAss BA4520-540 motor and Spektrum Avian Pro 130-amp ESC are great matches for this model. Note that the motor box is bolted on, allowing the flexibility to mount a glow or gas engine.

The inside of the fuselage is enormous! Note the center cutout where you could mount a rudder servo for a pull-pull arrangement.

however: they are hard plastic. They make a lot of noise on any paved surface.
For my build, I decided to go electric. I’m an old glow-power guy at heart and I will always have several glow-powered airplanes in my hangar, but I wanted the convenience of being able to throw this airplane in the car and use the same batteries that I use in my larger electric jets.
I’m using the Innov8tive Designs BadAss BA4520-540 Kv brushless motor with a BadAss 15 x 7 propeller and a Spektrum Avian Pro 130-amp ESC. According to the information on the Innov8tive Designs website, this combination is good for 1,400-plus watts of power on six-cell batteries. The airplane is advertised with a flying weight of approximately 7.1 pounds. This suggested that I would have a power loading of close to 200 watts per pound, which puts it in the “spirited aerobatic performance” category!
With the CG sorted, I fired everything up and completed all of the radio programming, control-surface centering, throws, etc. I used triple rates for this airplane, so I set up low rates per the manual, with the manual’s high rates as my mid-rates, and the maximum deflection that I could get on each surface as my high rates.
Setting Up the CAP 231EX
When the assembly steps were complete, it was time to check the balance. The manual provides the center of gravity (CG) measurement at the wingtips. I marked the wingtips at the specified location and plopped my SMC six-cell 5,500 mAh LiPo battery all the way forward against the front of the fuselage. At this location, by using the “fingertip” method, it balanced slightly tail down. By replacing the SMC battery with my Spektrum six-cell 6,800 mAh Smart battery, it sat perfectly level on the forward end of the CG range.
I was a little disappointed with the overall weight of the airplane. With the 6,800 mAh battery, the airplane weighed 8 pounds. I was hoping for something in the 7.5-pound range, but I suppose my expectations should have been a little more realistic considering the size of the motor and my choice of relatively portly servos.
I control the CAP with a Spektrum iX14 transmitter. On the receiver side is a Spektrum AR631. Rounding out my equipment are ProModeler DS415BLH V servos on all control surfaces.

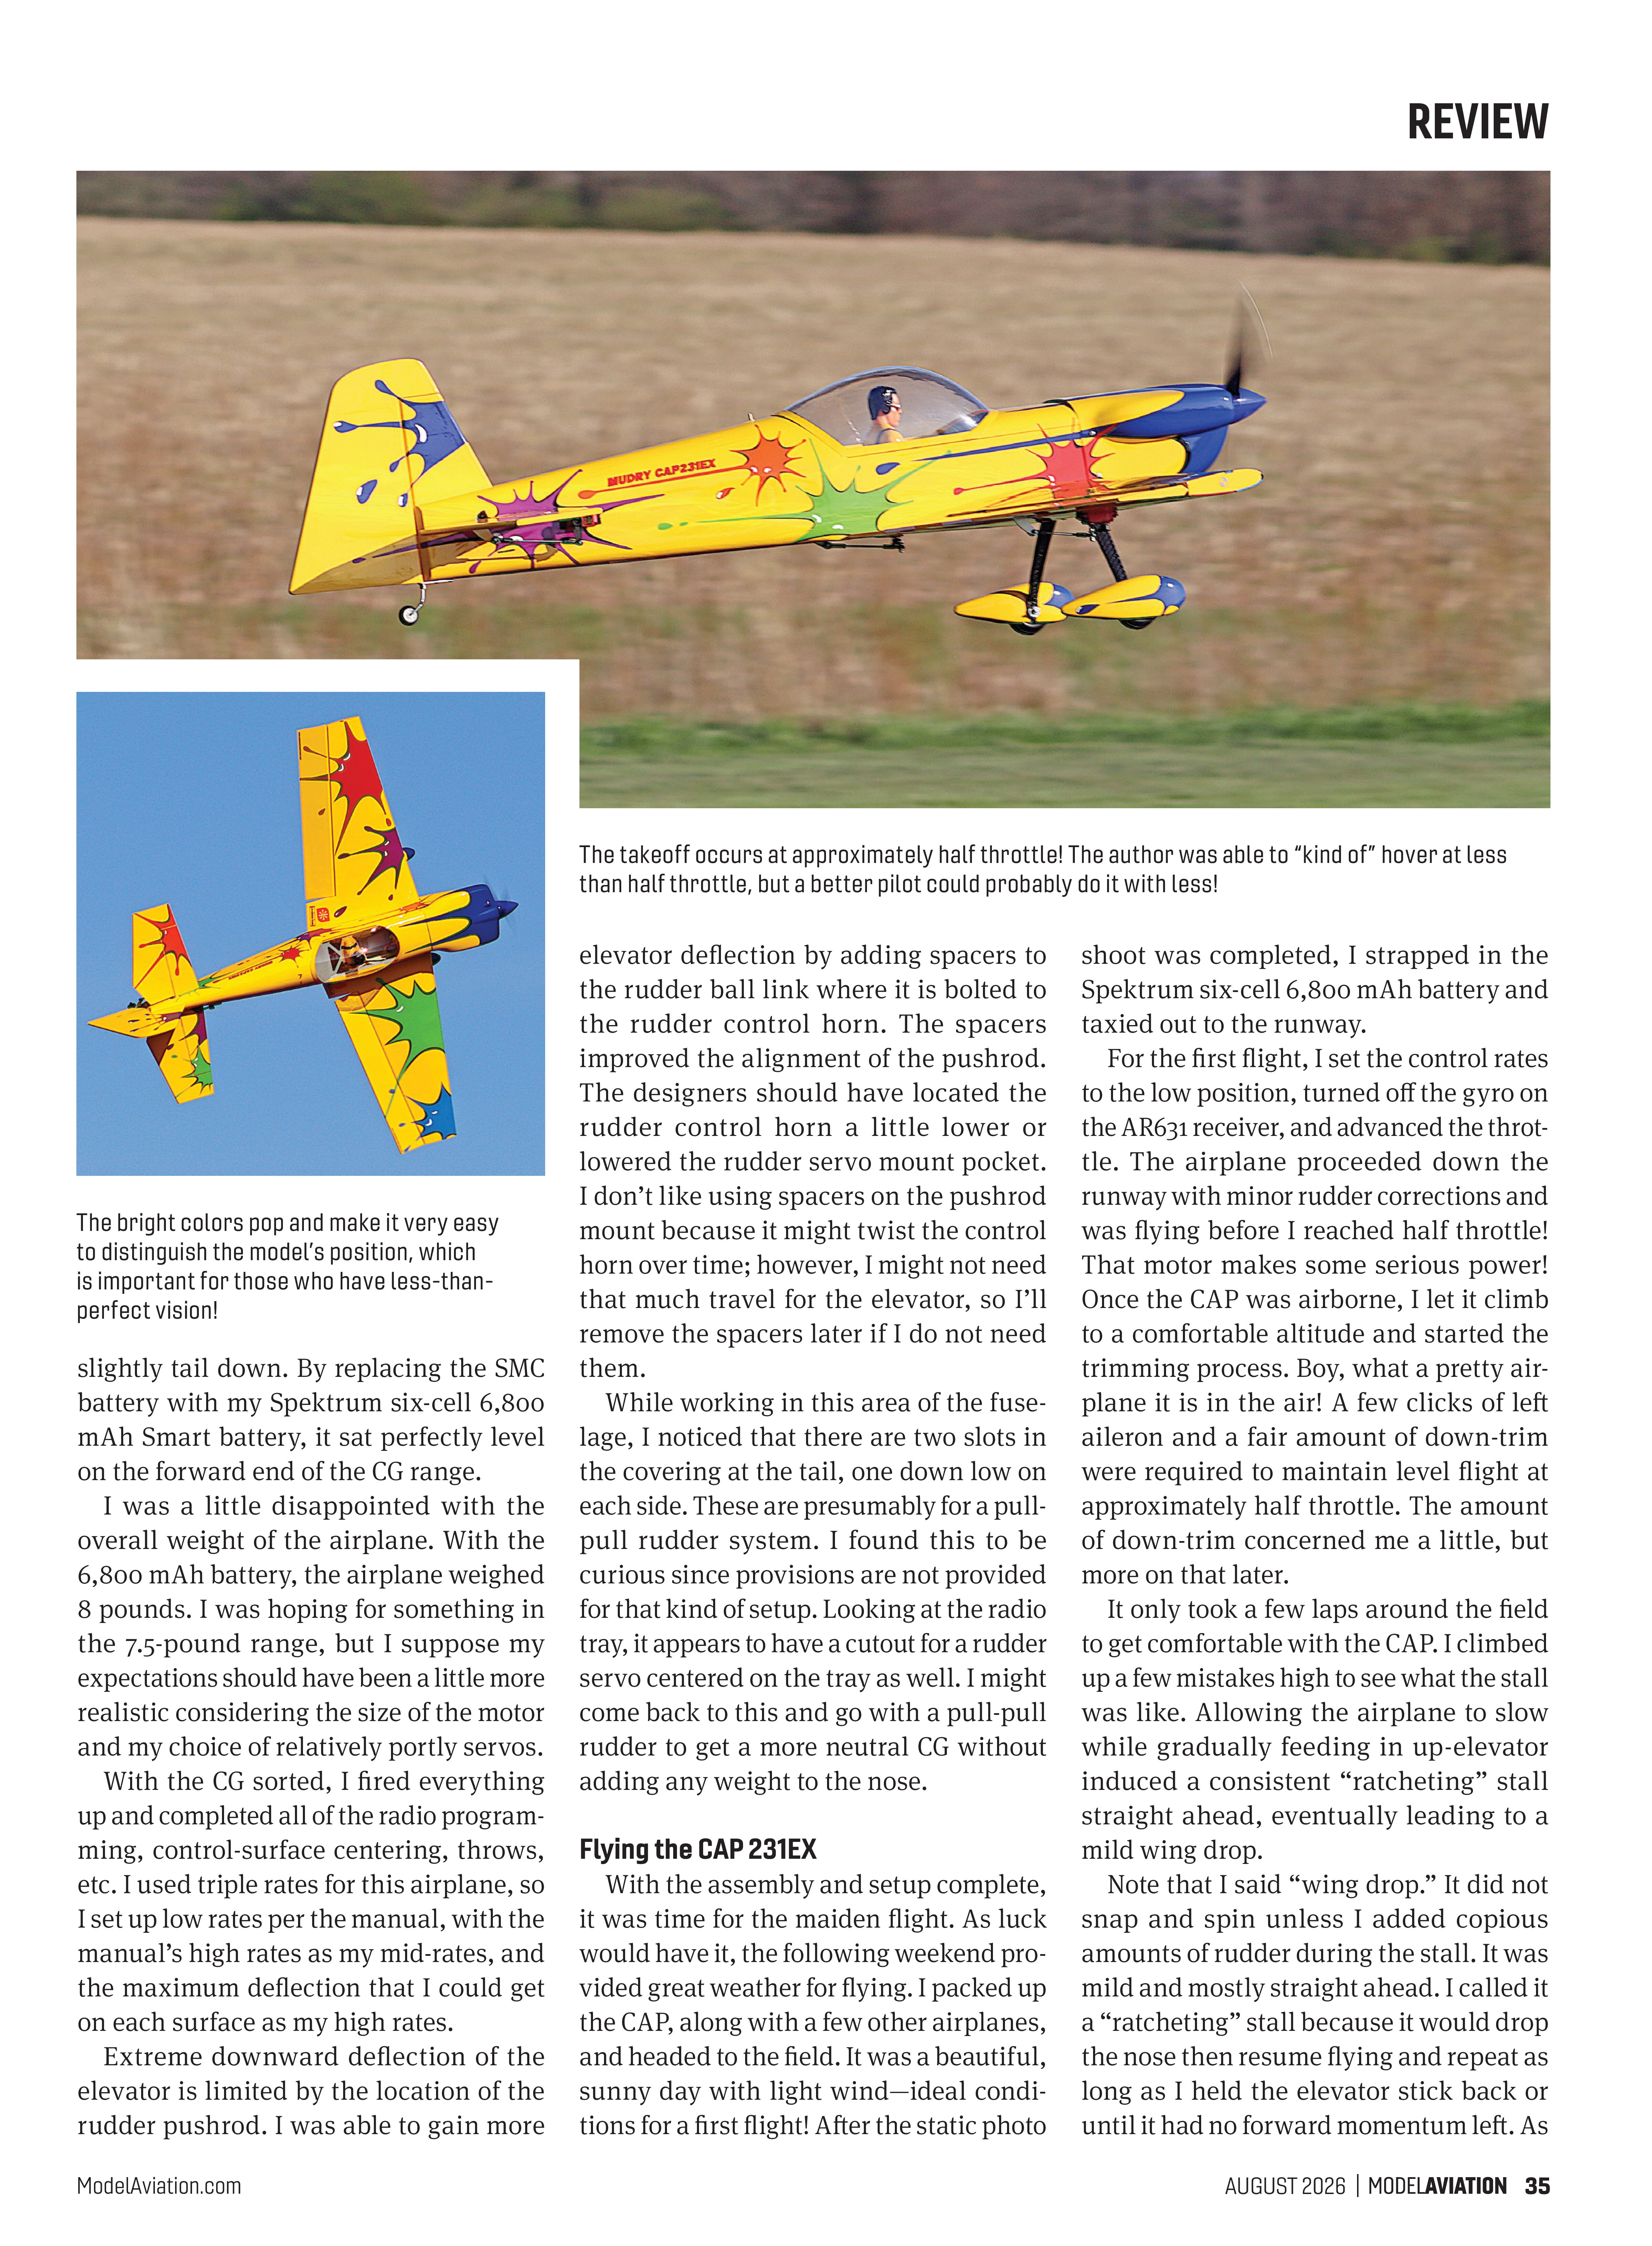
The takeoff occurs at approximately half throttle! The author was able to “kind of” hover at less than half throttle, but a better pilot could probably do it with less!

The bright colors pop and make it very easy to distinguish the model’s position, which is important for those who have less-than-perfect vision!

soon as I let the stick go, the nose would drop and the airplane would fly again.
I’ve flown CAPs before, and my previous experience with some of their nasty habits (tip-stalling with subsequent spins) was not present with this one. Even with what I feel is a slightly tail-heavy airplane, it never once “bit” me. Every stall—even accelerated stalls with full power and max elevator throw—occurred straight ahead with the amusing ratcheting action.
The ratcheting seemed to be directly related to the speed and attitude of the airplane. Faster speed and steeper angles of attack produced faster ratchets. Likewise, slower airspeeds and shallower angles of attack produced slower ratchets. It was entertaining to play with the stall and produce different effects.
When I was done with the trimming and stall recoveries, I flew a couple of approaches to become comfortable with the landing. For my first landing, I got a little too slow and managed to drop it pretty hard onto our asphalt runway. Luckily, the gear is strong but somewhat flexible, and it absorbed the impact like a champ. Yes, the low-quality wheels made it sound as though it was a rolling tin can full of rusty nails!
Once I got the airplane back into the pits, I double-checked the CG and it was still balancing on the forward marks. Another pilot who witnessed the landing said that he thought it looked very slow when it dropped onto the runway, so I made a mental note to approach with a little more throttle and land with more airspeed on subsequent flights. That did indeed help with the landings.
Two more flights were spent checking out the other rates, performing loops and rolls, knife-edges, and inverted flying. On an inverted 45° upline, the airplane continues to climb, perhaps even increasing its rate of climb with the elevator stick in neutral. This would seem to indicate a tail-heavy condition. I will eventually add weight to the nose (or go with the pull-pull rudder setup) to get it balanced more forward.
I hate adding weight to this airplane since I’m already disappointed in the overall weight; however, it feels very light in the air and is certainly more capable than I am as a pilot! Once I get the CG dialed-in, the CAP will make the perfect 3D trainer that I was hoping it would be.
Final Thoughts
Overall, I really like this airplane! It went together very quickly, and it flies awesome. It’s not a beginner’s model, but I think it would make a great second or third aerobatic airplane after you’ve mastered the basics. It is also very good-looking. The yellow upper and white/red lower surfaces show up very well in the air and provide a dramatic contrast to help keep you right side up.
My only criticisms are the hard, plastic wheels and the slightly aggressive CG that was suggested; otherwise, I would recommend this airplane to anyone who is looking for a sharp, capable, aerobatic ARF.

SOURCES:
Innov8tive Designs
(442) 515-0745
innov8tivedesigns.com
ProModeler
(407) 302-3361
promodeler.com
SMC
orders@smc-racing.com
smc-racing.com
Spektrum
spektrumrc.com