Xicoy LGC25L Controller
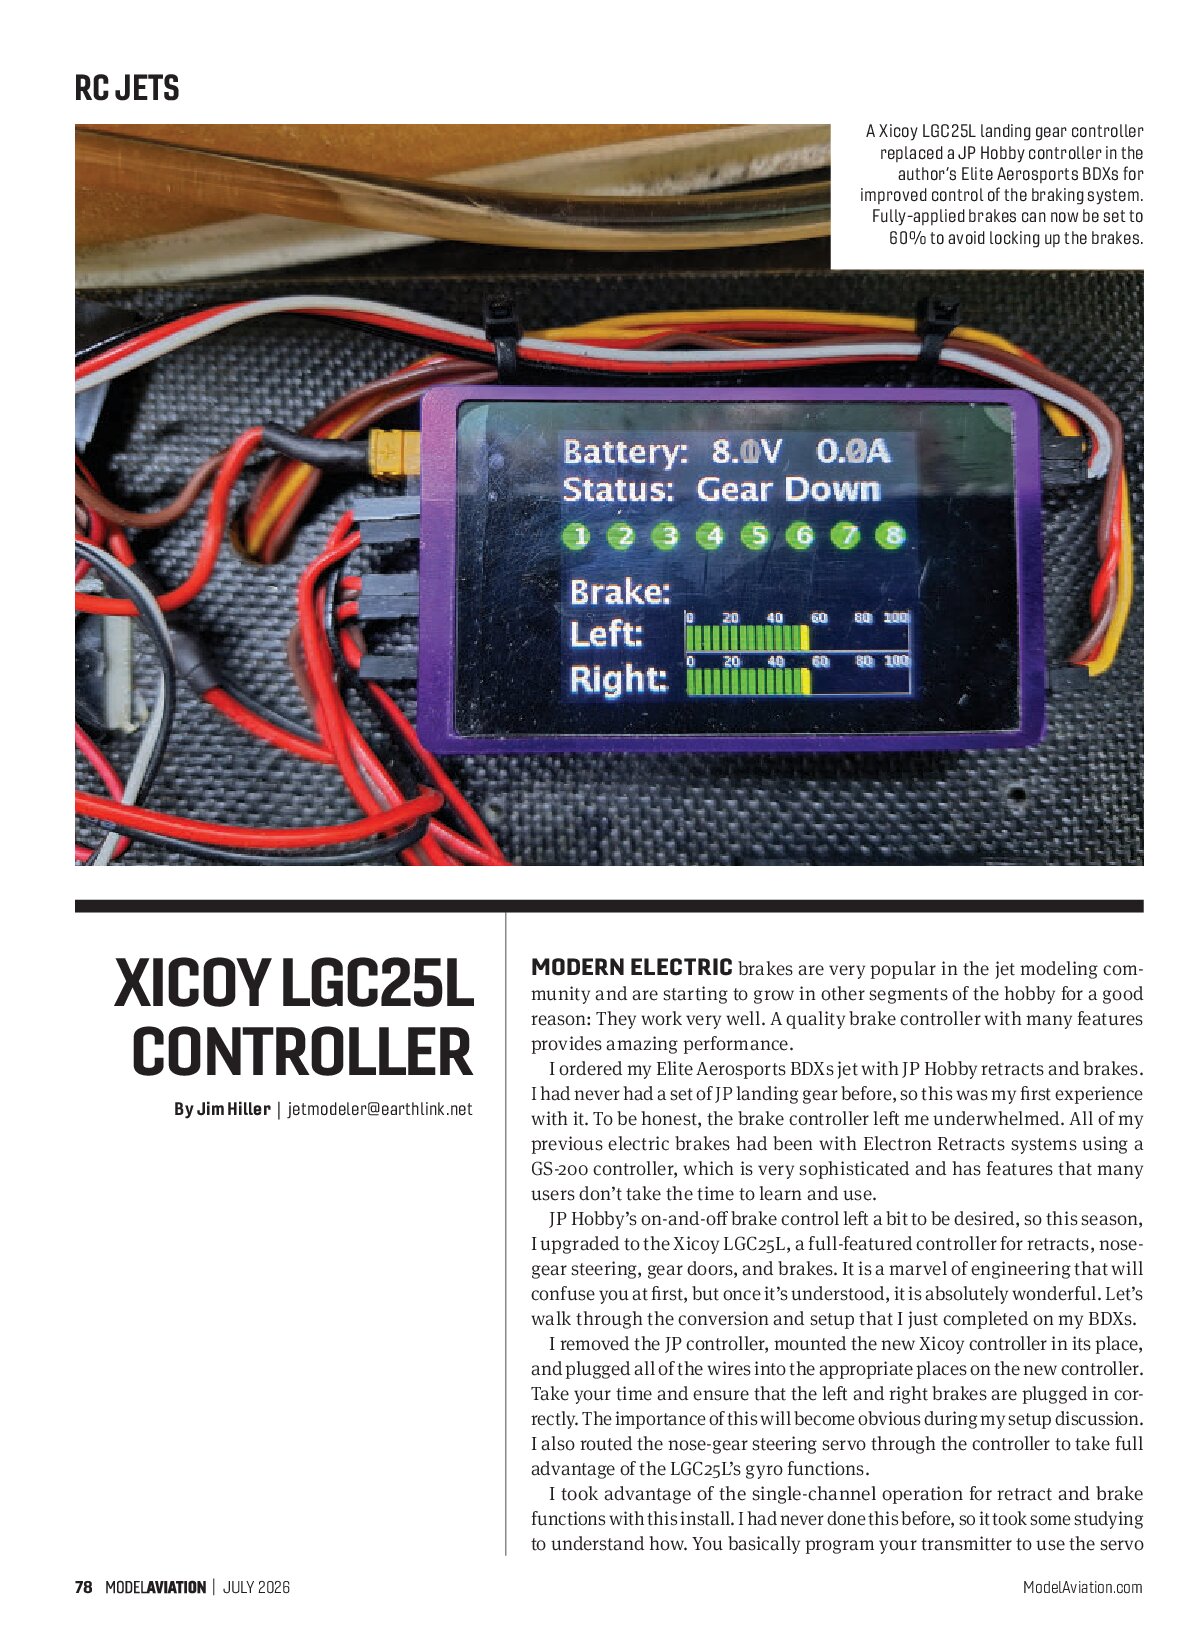
A Xicoy LGC25L landing gear controller replaced a JP Hobby controller in the author’s Elite Aerosports BDXs for improved control of the braking system. Fully-applied brakes can now be set to 60% to avoid locking up the brakes.
Modern electric brakes are very popular in the jet modeling community and are starting to grow in other segments of the hobby for a good reason: They work very well. A quality brake controller with many features provides amazing performance.
I ordered my Elite Aerosports BDXs jet with JP Hobby retracts and brakes. I had never had a set of JP landing gear before, so this was my first experience with it. To be honest, the brake controller left me underwhelmed. All of my previous electric brakes had been with Electron Retracts systems using a GS-200 controller, which is very sophisticated and has features that many users don’t take the time to learn and use.
JP Hobby’s on-and-off brake control left a bit to be desired, so this season, I upgraded to the Xicoy LGC25L, a full-featured controller for retracts, nose-gear steering, gear doors, and brakes. It is a marvel of engineering that will confuse you at first, but once it’s understood, it is absolutely wonderful. Let’s walk through the conversion and setup that I just completed on my BDXs.
I removed the JP controller, mounted the new Xicoy controller in its place, and plugged all of the wires into the appropriate places on the new controller. Take your time and ensure that the left and right brakes are plugged in correctly. The importance of this will become obvious during my setup discussion. I also routed the nose-gear steering servo through the controller to take full advantage of the LGC25L’s gyro functions.
I took advantage of the single-channel operation for retract and brake functions with this install. I had never done this before, so it took some studying to understand how. You basically program your transmitter to use the servo monitor position at -100% landing gear up and -50% landing gear down, and then you mix your brake channel to move the servo position from -50% up to a maximum of 100%. This is different from the straight mix that most of us know, so let’s go through the transmitter setup using my Spektrum iX20. You will have to sort through the process with other brands of transmitters, but many are similar.
I put the retract/brake channel on channel 9 with the servo travel set to +100% and -100%. Next, I set the retract function travel by using a digital switch position; in this case, the two-position retract switch, with position one (gear up) to -100% servo travel and position two (gear down) to -50% servo travel. For the final brakes step, I mixed channel 14, an open channel that was not in use, to provide 100% servo travel for the brake function. The iX20 has the ability to turn on a mix with a switch, so I assigned the retract switch to only turn on the mix in position two. In the gear-up position, this mix is turned off.
To set up the Xicoy LGC25L controller, first take care of the radio setup; in this case, the single-channel operation screen. Follow the instructions to set the gear-up, gear-down, and full-brake travel positions.
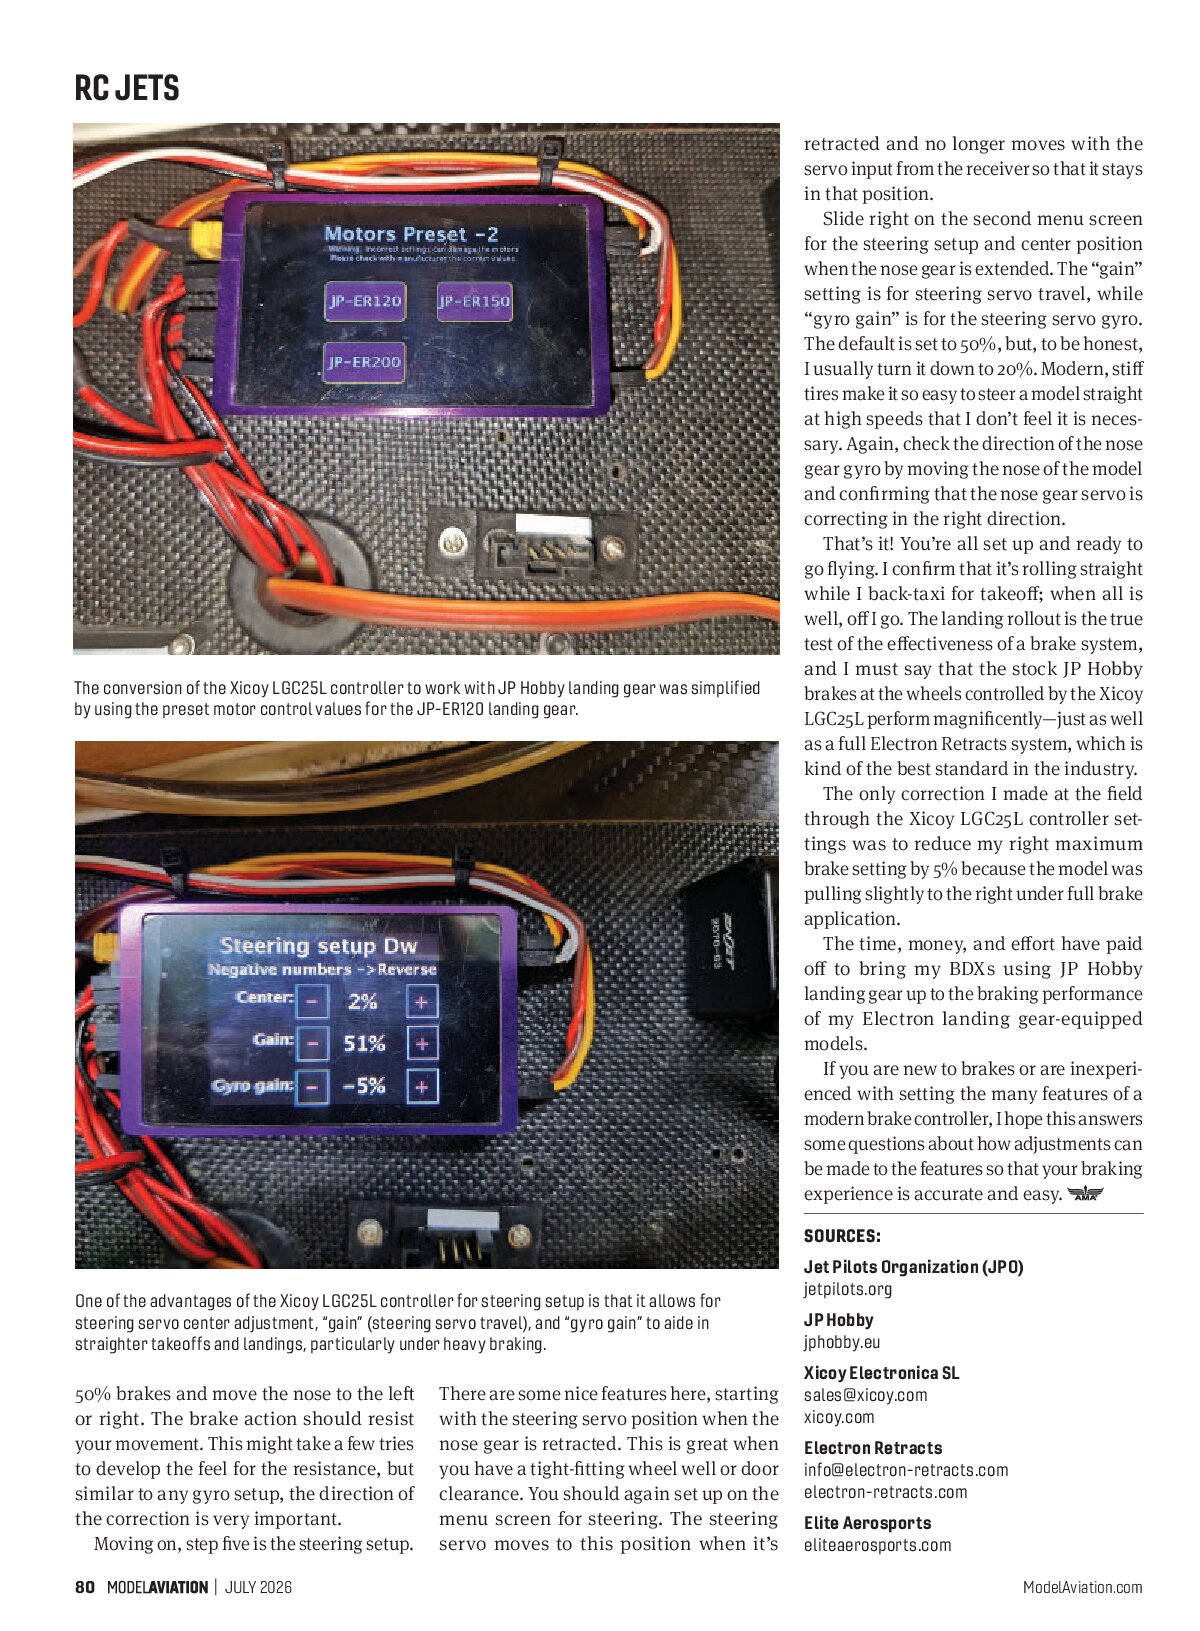
Step two is the motor setup for the retract units. The first few screens show motor parameters for the main gear and nose gear; slide past those and you will find a screen to select Electron ER-30, ER-40, or ER-50 landing gear. Slide one more time and the screen for JP Hobby gear comes up. I selected JP-ER120 gear. When you go back to the first few screens, you will see that the landing gear cutoff voltages and various parameters have been inserted for JP-ER120 landing gear. The basic setup is then complete.
Step three is for the fun features of the braking system. The first value to set is the brake pulse ratio. Think of it as an ABS brake setting to prevent the brakes from locking up and the associated flat spots on tires. I generally use the default setting because it has been effective on my airplanes so far.
Next is the brake steering mix. I like approximately 10% for this value; as you steer the model, it assists the nose-gear steering with some brake application, which helps to steer a jet on wet runway conditions with slightly more effective steering inputs.
The next value is the brake gyro-mix setting. You are basically using differential brakes to assist the nose-gear steering to maintain a straight landing rollout. This is especially effective during heavy braking. After a few flights, you might want to tweak this setting if it’s necessary. Taking the time to adjust these values under various conditions can greatly assist with heavy braking performance during slick runway conditions.
A few notes on the brake setup. My preference for brake power is to only set it so that my tires won’t lock up and end up with flat spots. The process is easy with the airplane assembled: apply the brakes and pull the model by the nose gear. If the tires slide, reduce the maximum brake setting until they spin as the model is pulled. This provides the most effective braking while still keeping the model under control and not causing flat spots on your tires.
At this time, you should also check your brake gyro direction. Apply approximately 50% brakes and move the nose to the left or right. The brake action should resist your movement. This might take a few tries to develop the feel for the resistance, but similar to any gyro setup, the direction of the correction is very important.
Moving on, step five is the steering setup. There are some nice features here, starting with the steering servo position when the nose gear is retracted. This is great when you have a tight-fitting wheel well or door clearance. You should again set up on the menu screen for steering. The steering servo moves to this position when it’s retracted and no longer moves with the servo input from the receiver so that it stays in that position.
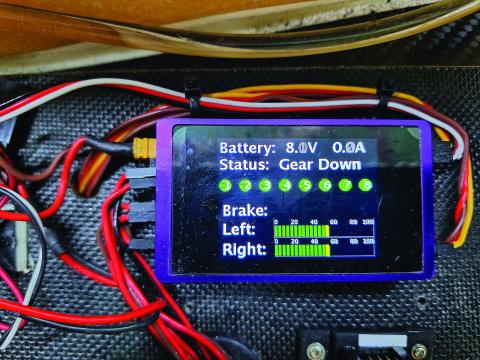
Slide right on the second menu screen for the steering setup and center position when the nose gear is extended. The “gain” setting is for steering servo travel, while “gyro gain” is for the steering servo gyro. The default is set to 50%, but, to be honest, I usually turn it down to 20%. Modern, stiff tires make it so easy to steer a model straight at high speeds that I don’t feel it is necessary. Again, check the direction of the nose gear gyro by moving the nose of the model and confirming that the nose gear servo is correcting in the right direction.
That’s it! You’re all set up and ready to go flying. I confirm that it’s rolling straight while I back-taxi for takeoff; when all is well, off I go. The landing rollout is the true test of the effectiveness of a brake system, and I must say that the stock JP Hobby brakes at the wheels controlled by the Xicoy LGC25L perform magnificently—just as well as a full Electron Retracts system, which is kind of the best standard in the industry.
The only correction I made at the field through the Xicoy LGC25L controller settings was to reduce my right maximum brake setting by 5% because the model was pulling slightly to the right under full brake application.
The time, money, and effort have paid off to bring my BDXs using JP Hobby landing gear up to the braking performance of my Electron landing gear-equipped models.
If you are new to brakes or are inexperienced with setting the many features of a modern brake controller, I hope this answers some questions about how adjustments can be made to the features so that your braking experience is accurate and easy.


Photo captions
One of the advantages of the Xicoy LGC25L controller for steering setup is that it allows for steering servo center adjustment, “gain” (steering servo travel), and “gyro gain” to aide in straighter takeoffs and landings, particularly under heavy braking.
SOURCES
- Jet Pilots Organization (JPO)
- jetpilots.org
- JP Hobby
- jphobby.eu
- Xicoy Electronica SL
sales@xicoy.com - xicoy.com
- Electron Retracts
info@electron-retracts.com - electron-retracts.com
- Elite Aerosports
- eliteaerosports.com