Prestige 2PK Gets a Nose Job!
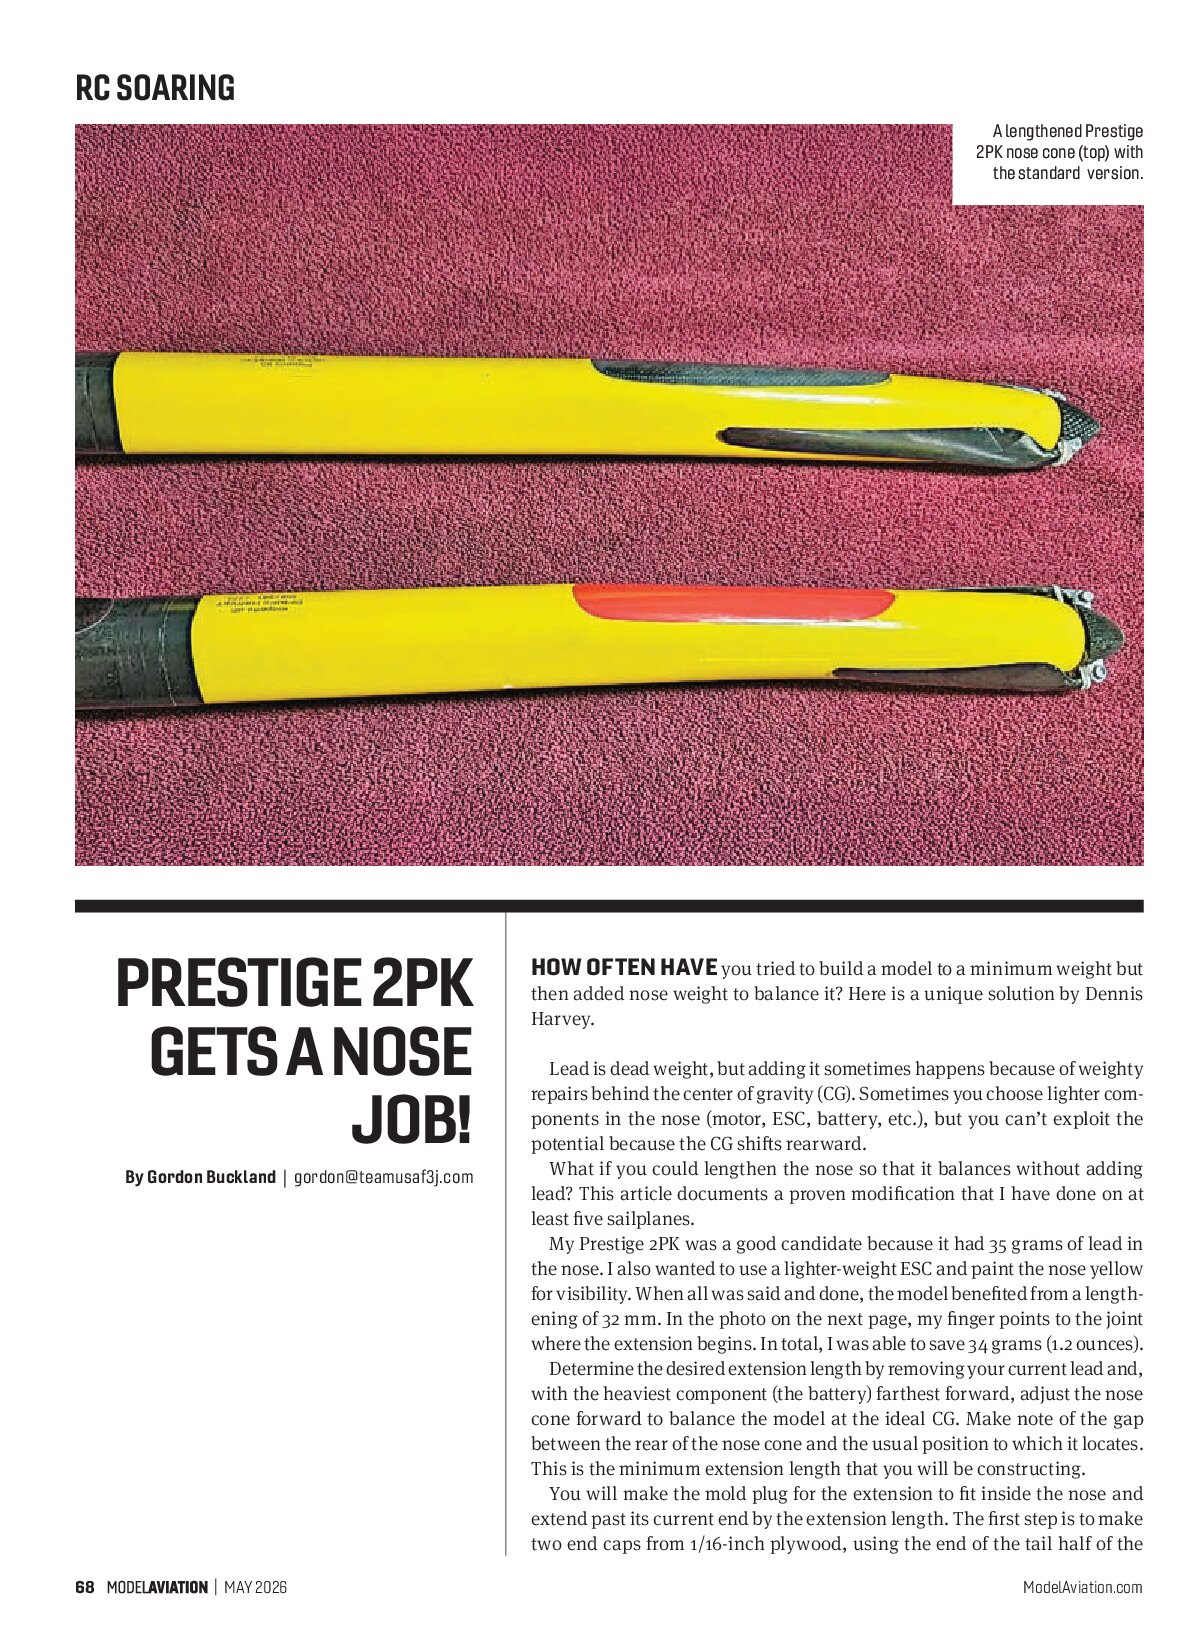
A lengthened Prestige 2PK nose cone (top) with the standard version.
How often have you tried to build a model to a minimum weight but then added nose weight to balance it? Here is a unique solution by Dennis Harvey.
Lead is dead weight, but adding it sometimes happens because of weighty repairs behind the center of gravity (CG). Sometimes you choose lighter components in the nose (motor, ESC, battery, etc.), but you can’t exploit the potential because the CG shifts rearward.
What if you could lengthen the nose so that it balances without adding lead? This article documents a proven modification that I have done on at least five sailplanes.
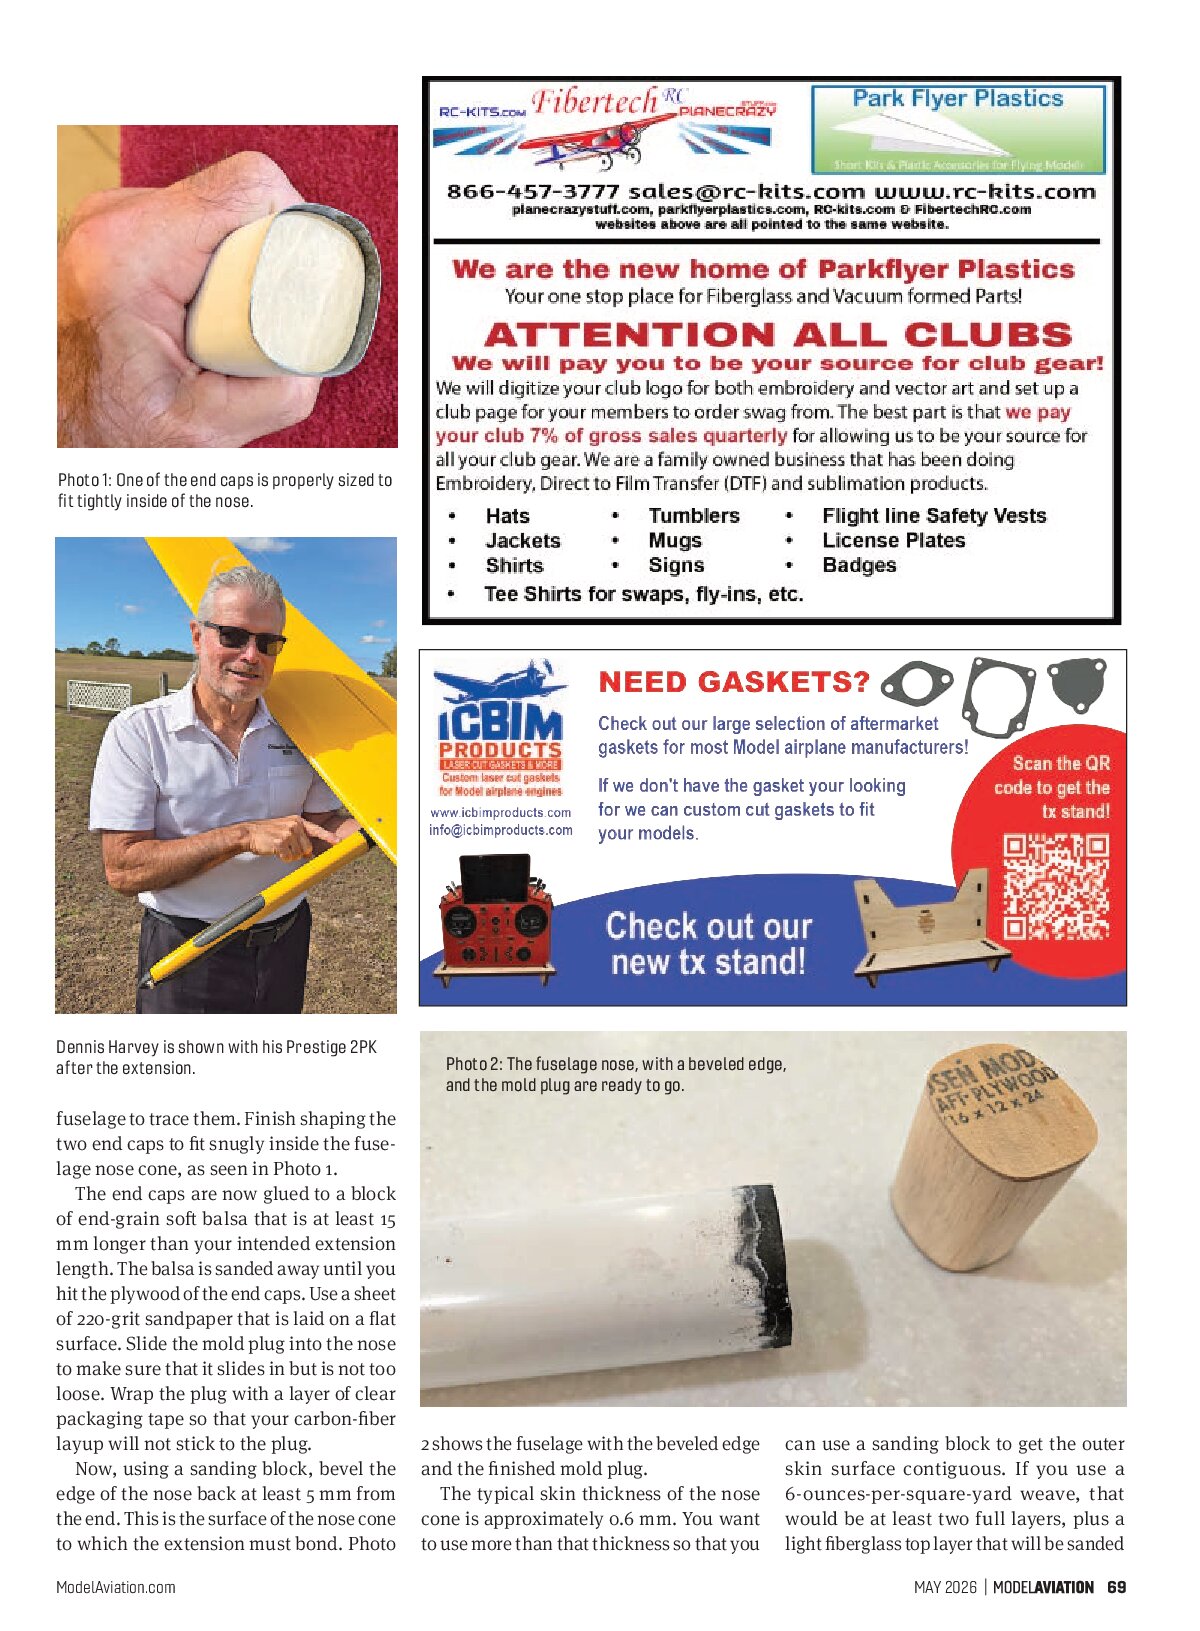
My Prestige 2PK was a good candidate because it had 35 grams of lead in the nose. I also wanted to use a lighter-weight ESC and paint the nose yellow for visibility. When all was said and done, the model benefited from a lengthening of 32 mm. In the photo on the next page, my finger points to the joint where the extension begins. In total, I was able to save 34 grams (1.2 ounces).
Determine the desired extension length by removing your current lead and, with the heaviest component (the battery) farthest forward, adjust the nose cone forward to balance the model at the ideal CG. Make note of the gap between the rear of the nose cone and the usual position to which it locates. This is the minimum extension length that you will be constructing.
You will make the mold plug for the extension to fit inside the nose and extend past its current end by the extension length. The first step is to make two end caps from 1/16-inch plywood, using the end of the tail half of the fuselage to trace them. Finish shaping the two end caps to fit snugly inside the fuselage nose cone, as seen in Photo 1.
The end caps are now glued to a block of end-grain soft balsa that is at least 15 mm longer than your intended extension length. The balsa is sanded away until you hit the plywood of the end caps. Use a sheet of 220-grit sandpaper that is laid on a flat surface. Slide the mold plug into the nose to make sure that it slides in but is not too loose. Wrap the plug with a layer of clear packaging tape so that your carbon-fiber layup will not stick to the plug.
Now, using a sanding block, bevel the edge of the nose back at least 5 mm from the end. This is the surface of the nose cone to which the extension must bond. Photo 2 shows the fuselage with the beveled edge and the finished mold plug.
The typical skin thickness of the nose cone is approximately 0.6 mm. You want to use more than that thickness so that you can use a sanding block to get the outer skin surface contiguous. If you use a 6-ounces-per-square-yard weave, that would be at least two full layers, plus a light fiberglass top layer that will be sanded down for smoothness. I used seven layers of 45°/45° carbon fiber that weighed 40 grams per square meter. I ended up sanding away most of the two top layers but got a flawless outer shape. Whatever carbon fiber you use, make sure that the fibers are 45° to the axis of the nose for maximum torsional strength.
Cut the carbon-fiber pieces to size. Protect the nose cone forward of the beveled edge with one layer of wide masking tape. You will be sanding down the molded extension until it just touches this tape. Insert the mold plug into the nose at least 10 mm. Make sure that it is aligned and snug. Use more packaging tape to build up its circumference if necessary.
Mix West System 105 Epoxy Resin and 206 Slow Hardener, and then wrap the carbon fiber around the fuselage, wetting it out with resin and making sure to not trap air. Once this has cured, knock out the mold plug with a metal rod or, if necessary, you can drill and chisel it out. Trim the end of the extension and make sure that it slides over the rear section of the fuselage. If it’s too tight, carefully sand the inside of the extension.
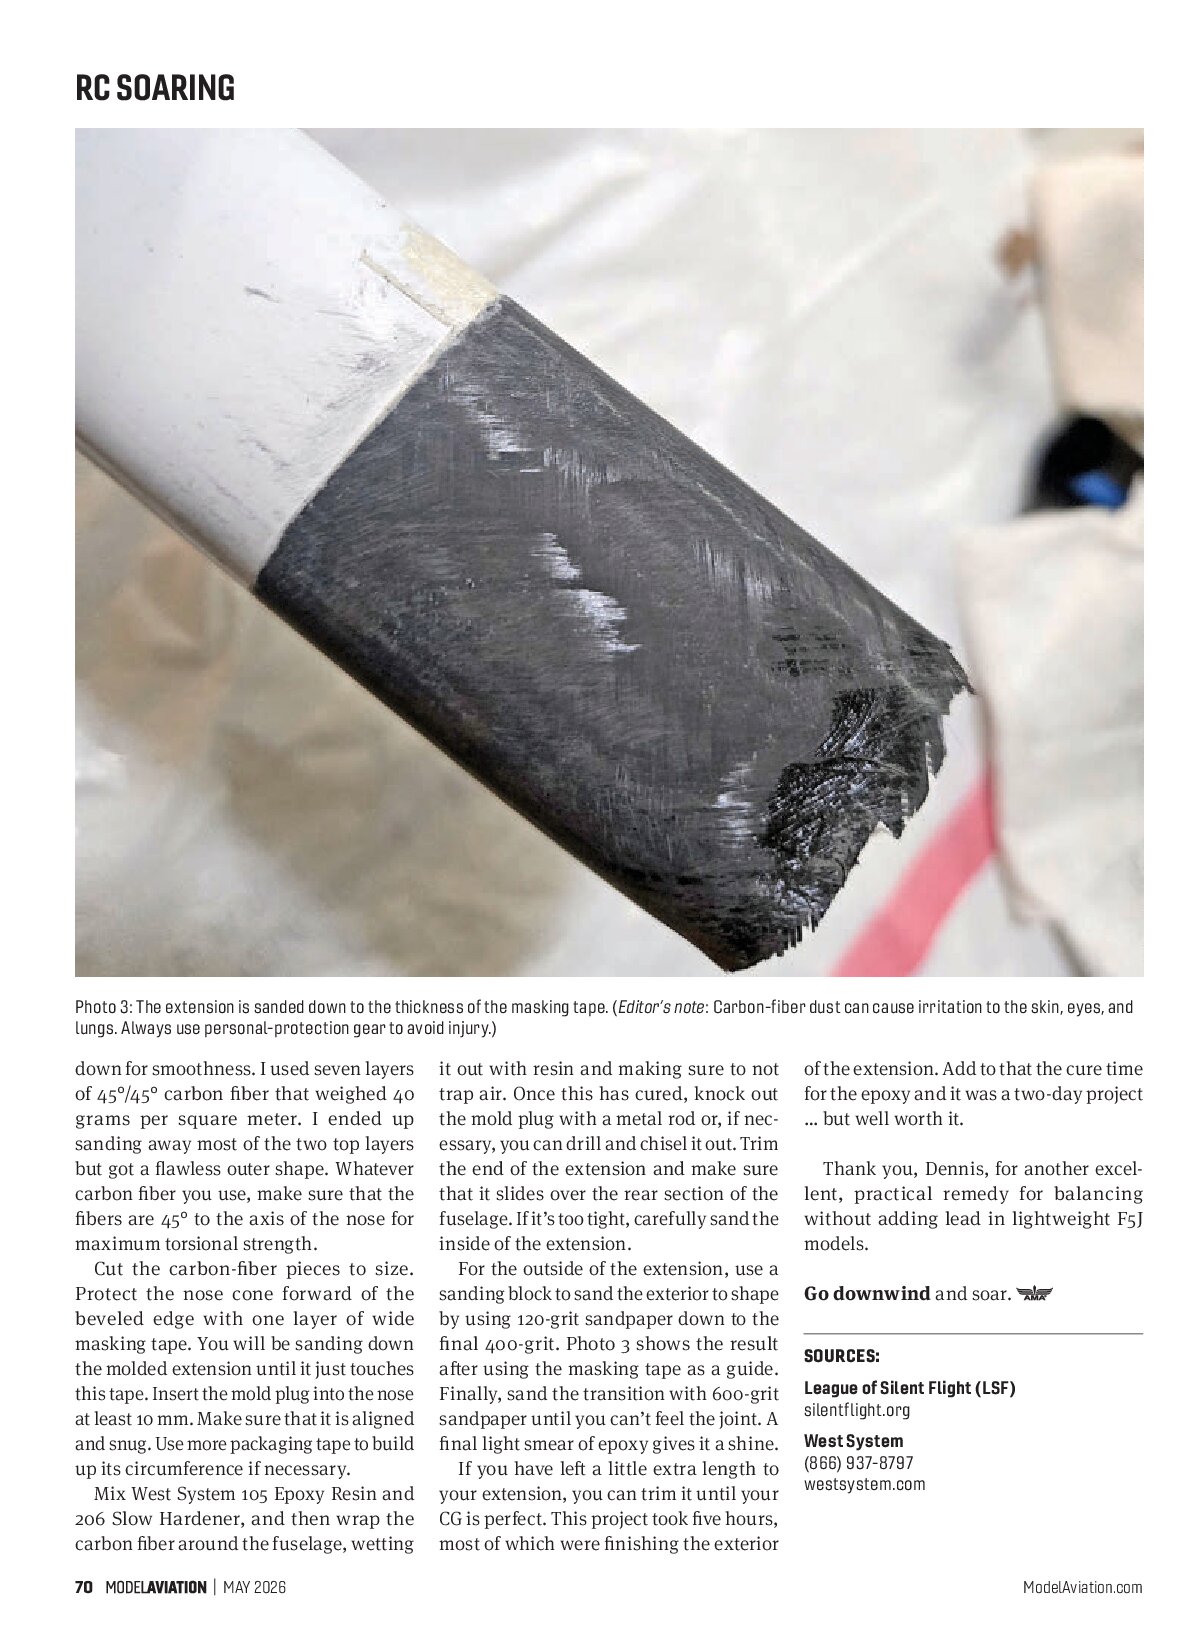
For the outside of the extension, use a sanding block to sand the exterior to shape by using 120-grit sandpaper down to the final 400-grit. Photo 3 shows the result after using the masking tape as a guide. Finally, sand the transition with 600-grit sandpaper until you can’t feel the joint. A final light smear of epoxy gives it a shine.
If you have left a little extra length to your extension, you can trim it until your CG is perfect. This project took five hours, most of which were finishing the exterior of the extension. Add to that the cure time for the epoxy and it was a two-day project … but well worth it.
Thank you, Dennis, for another excellent, practical remedy for balancing without adding lead in lightweight F5J models.


Go downwind and soar.

SOURCES
- League of Silent Flight (LSF)
- silentflight.org
- West System
(866) 937-8797 - westsystem.com