MAKING PAPER


PATTERNS
Windshields, cowling skins, wing root fairings, and more!
By Pat Tritle
patscustommodels@gmail.com
Photos provided by the author
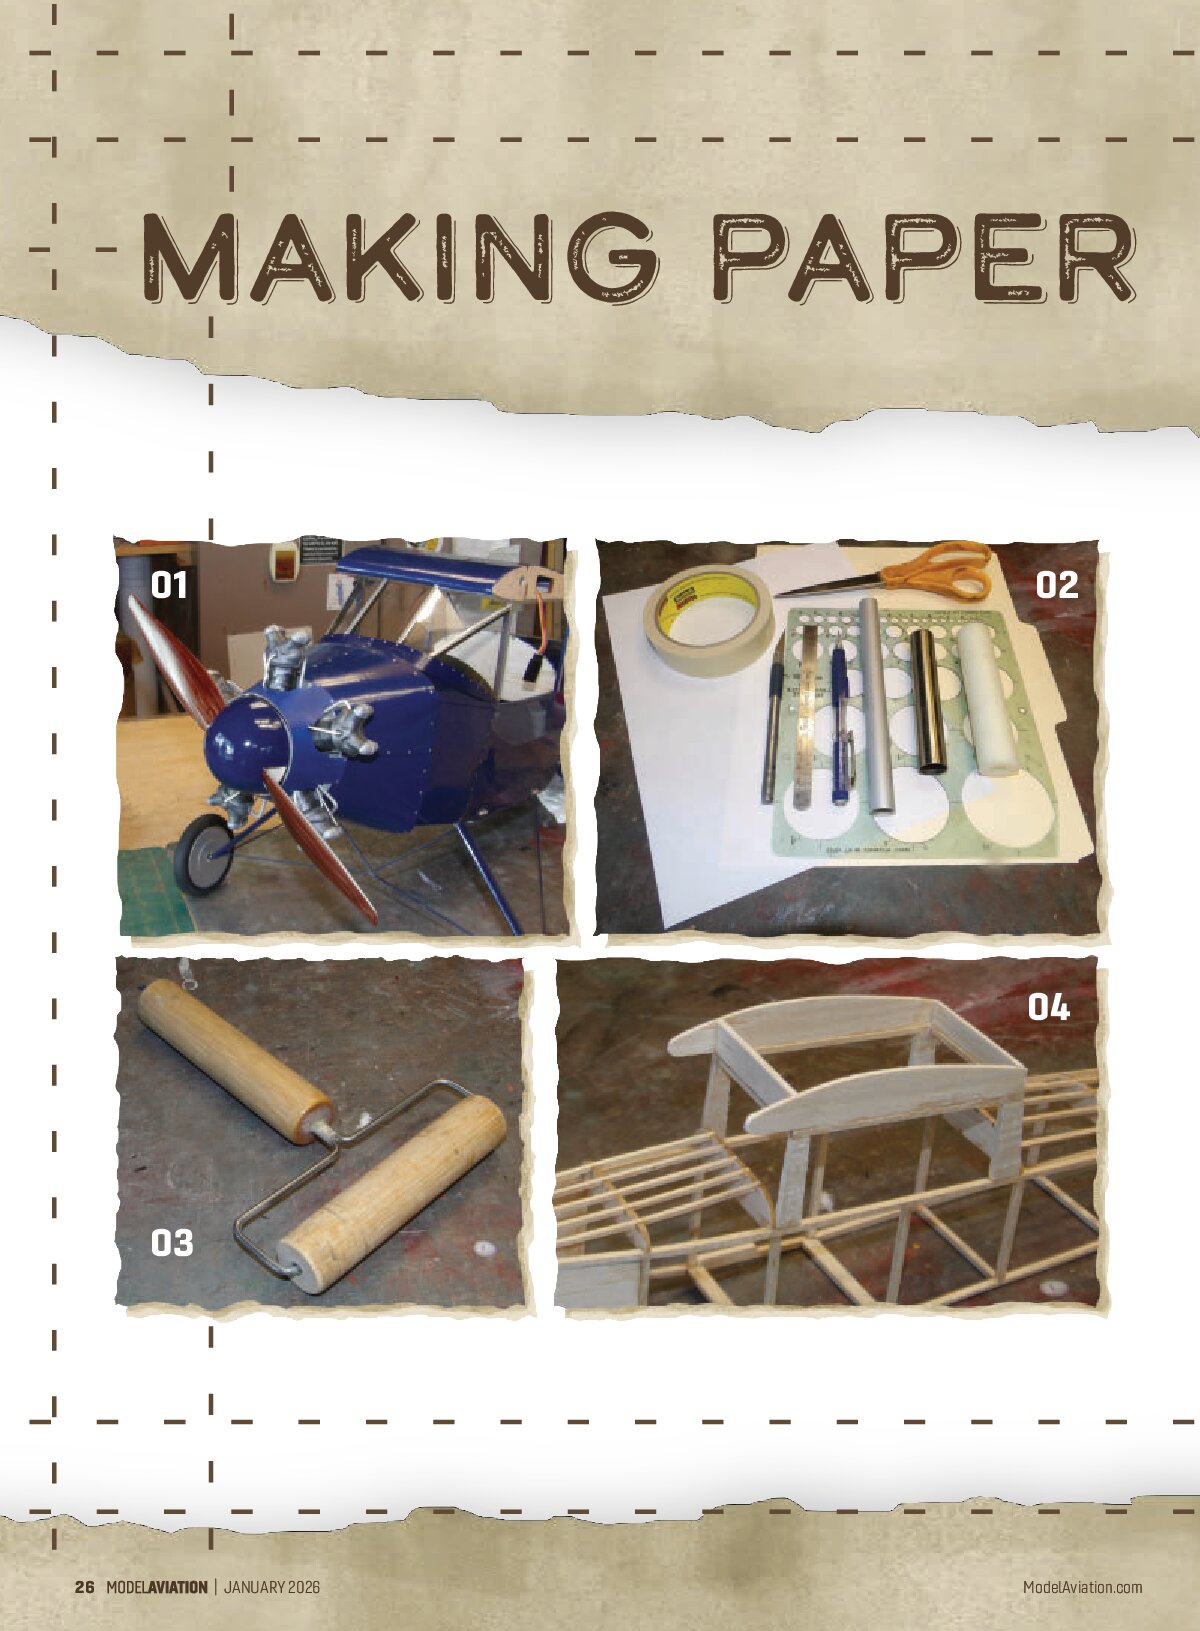
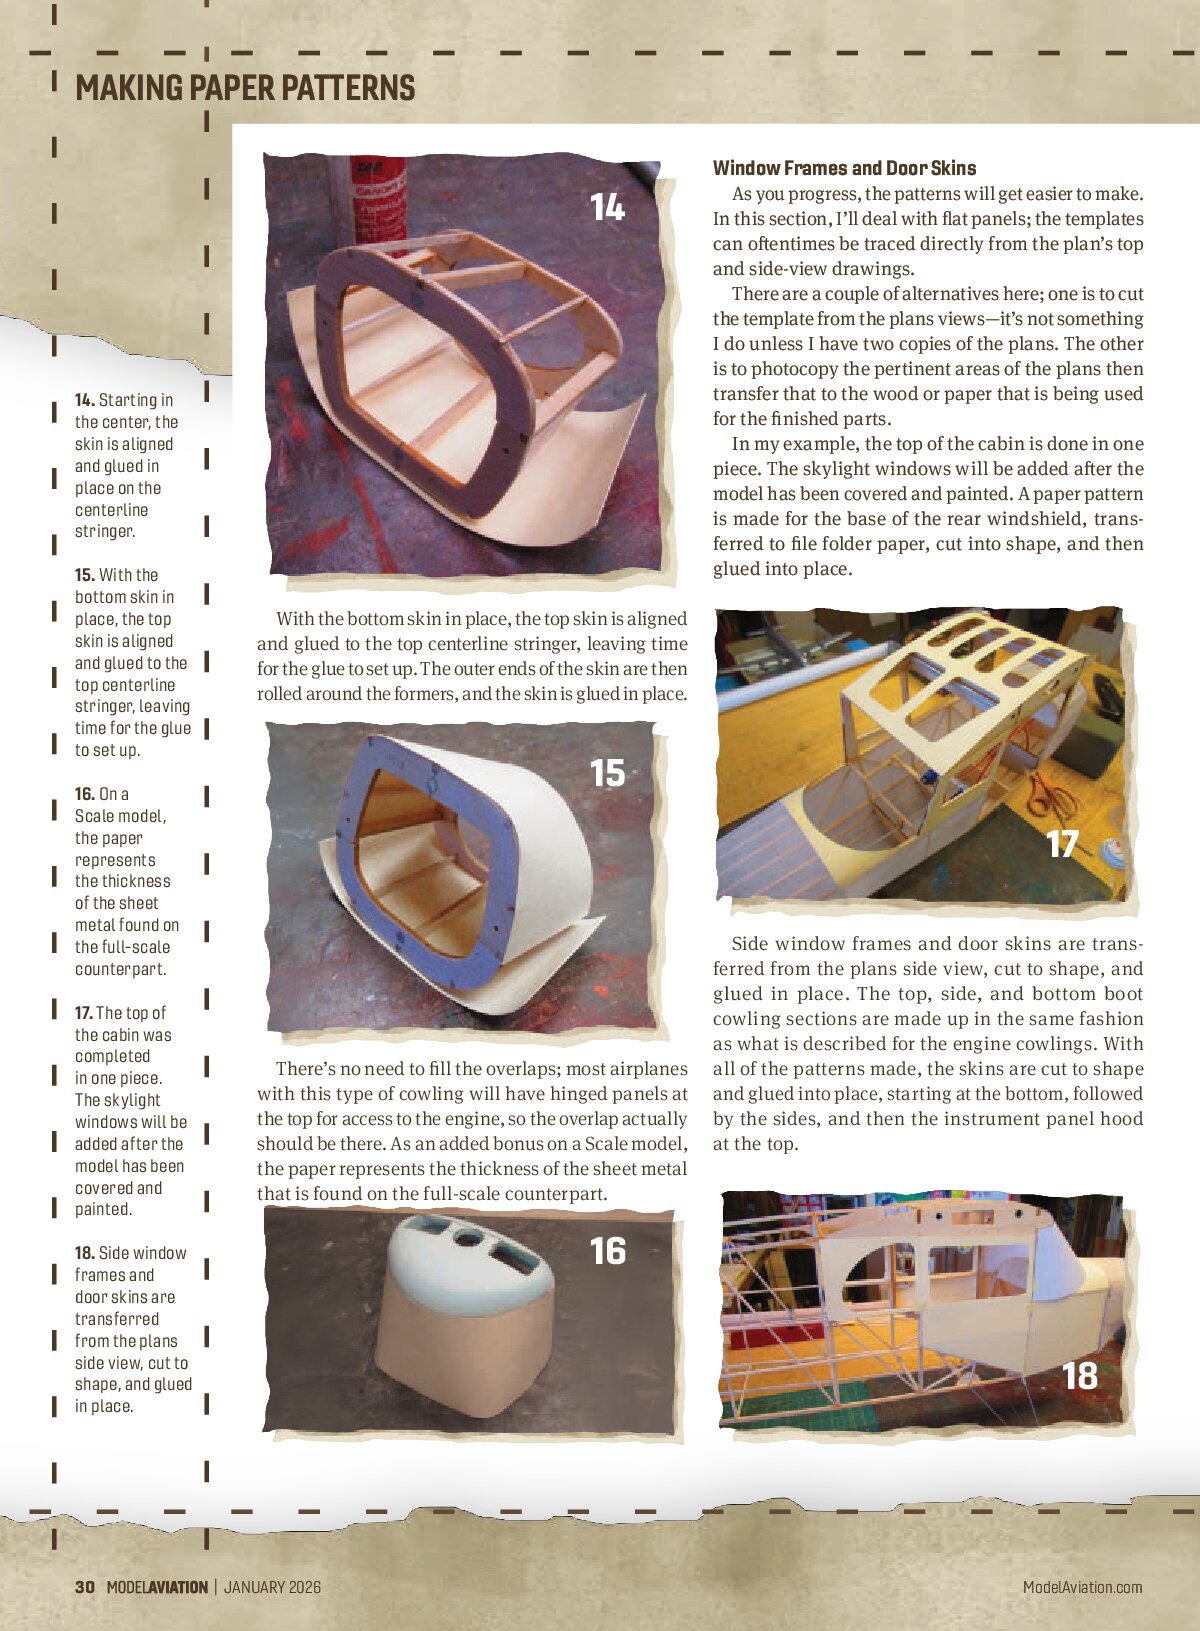
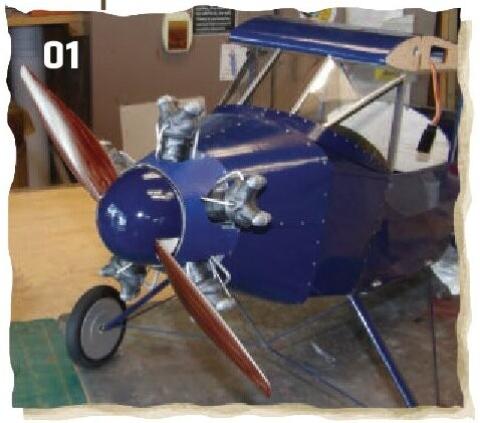
01. The model after covering and assembly.
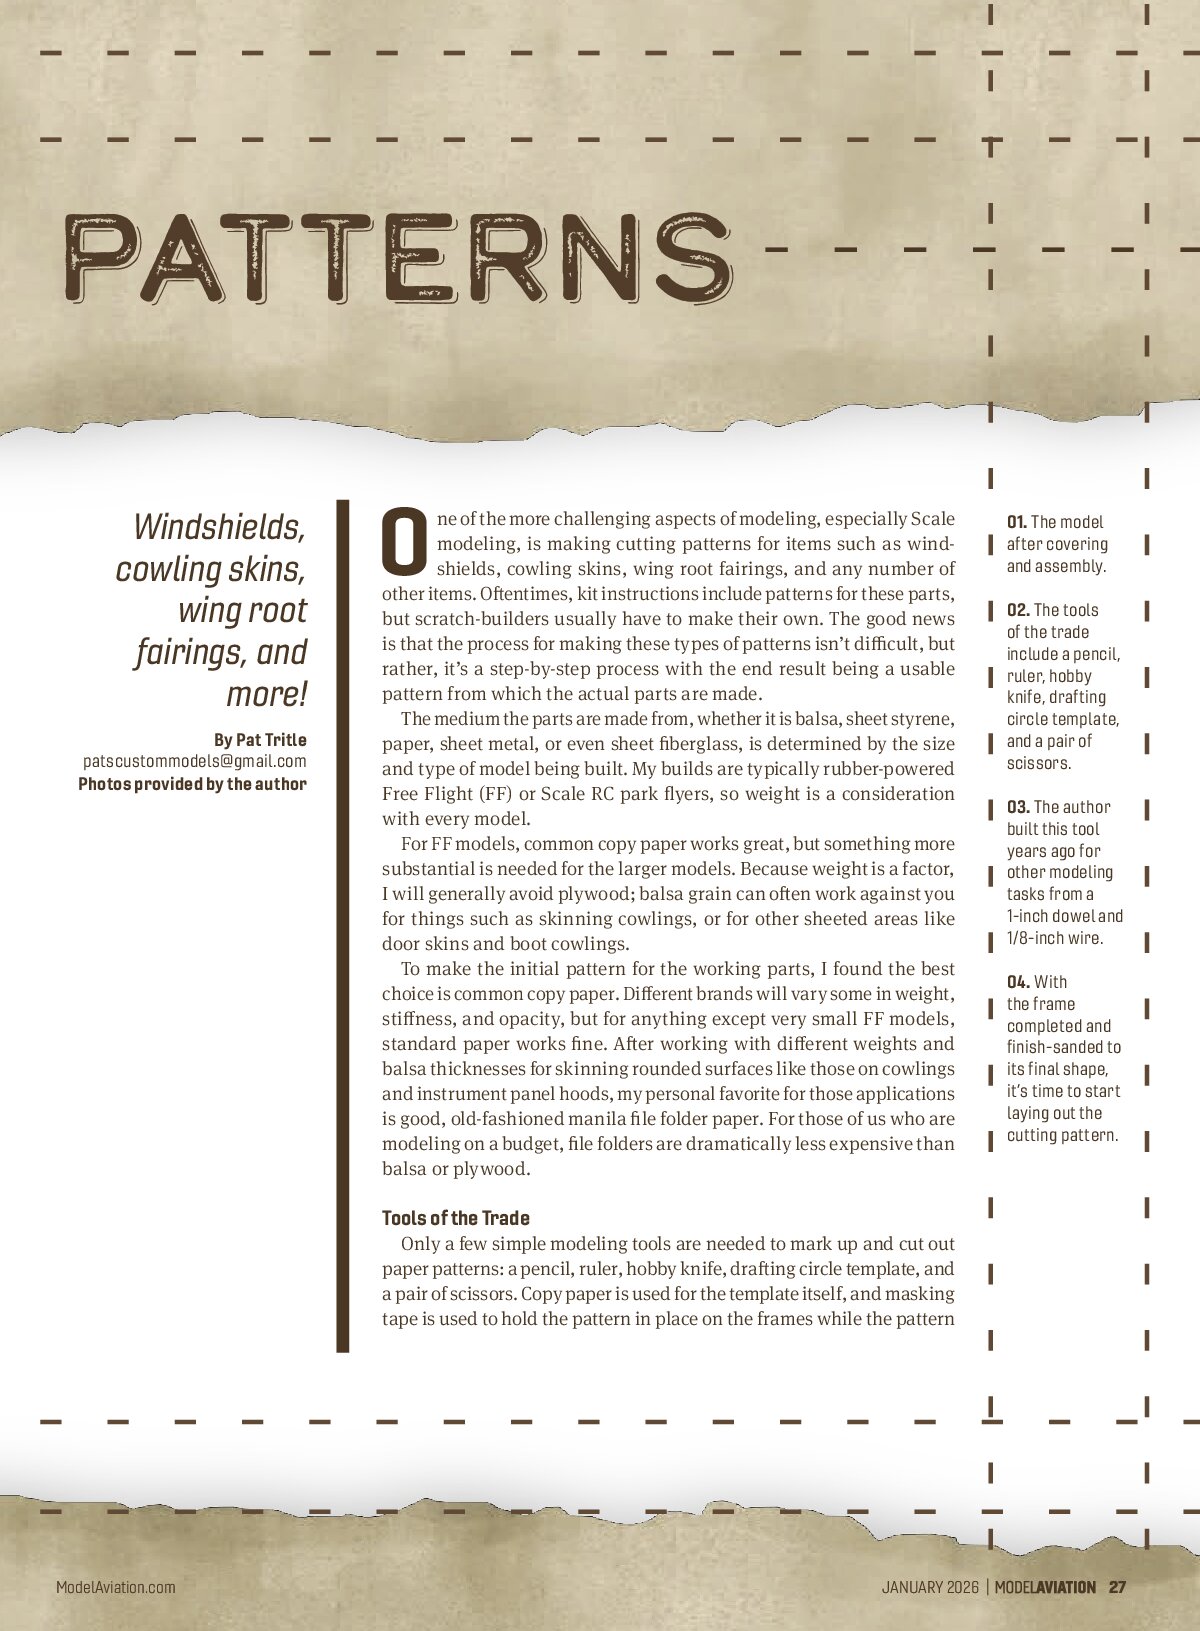
02. The tools of the trade include a pencil, ruler, hobby knife, drafting circle template, and a pair of scissors.
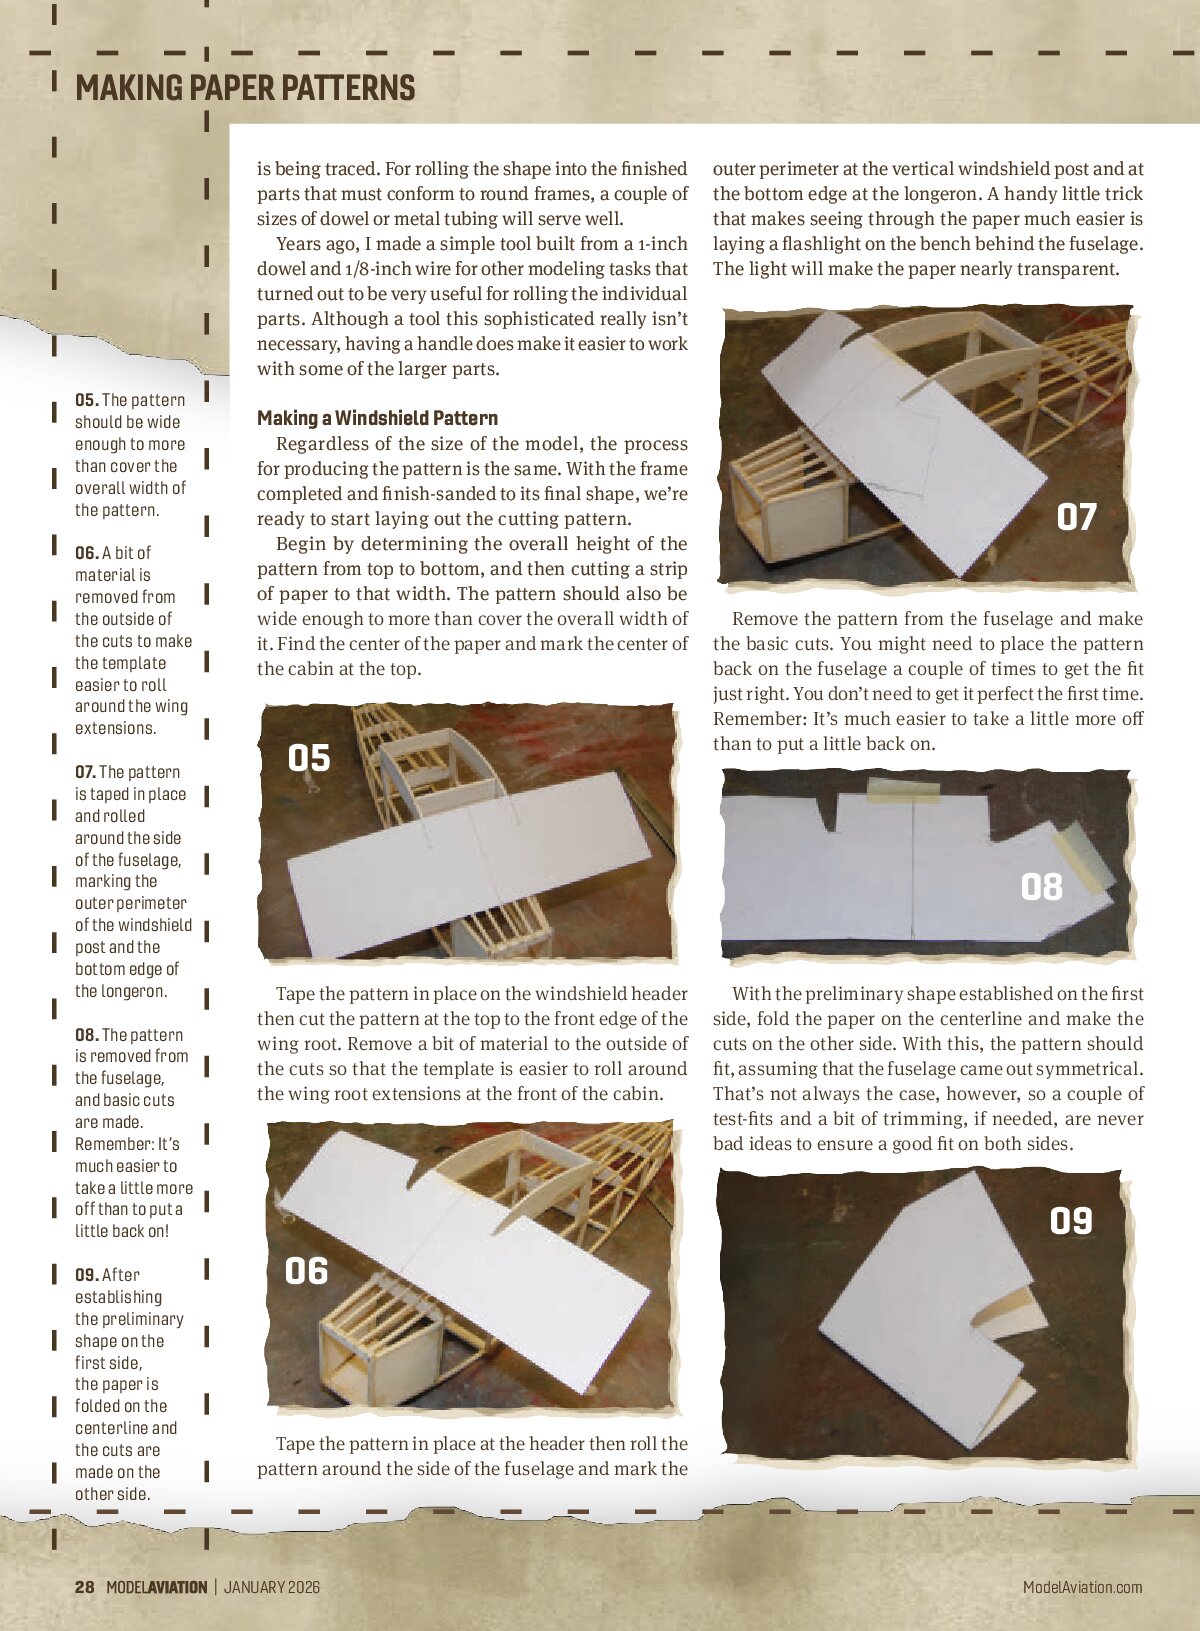
03. The author built this tool years ago for other modeling tasks from a 1-inch dowel and 1/8-inch wire.
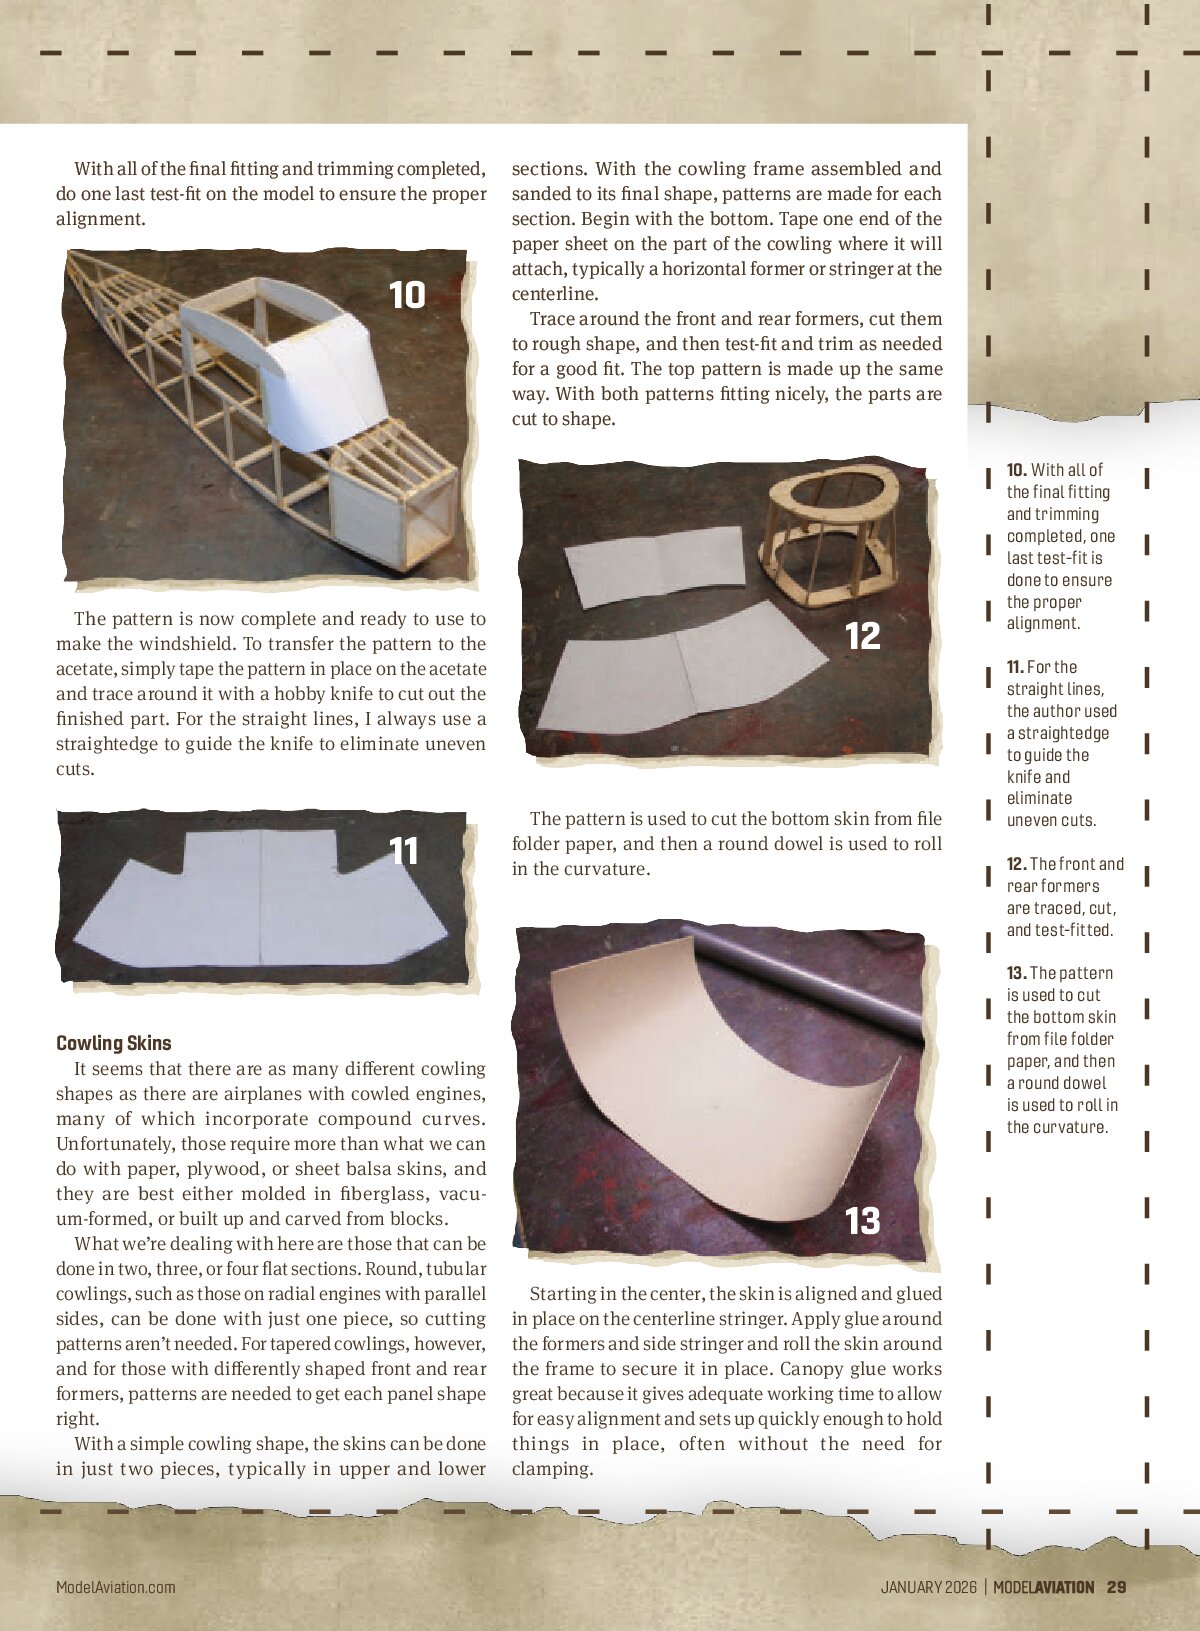
04. With the frame completed and finish-sanded to its final shape, it’s time to start laying out the cutting pattern.
One of the more challenging aspects of modeling, especially Scale modeling, is making cutting patterns for items such as windshields, cowling skins, wing root fairings, and any number of other items. Oftentimes, kit instructions include patterns for these parts, but scratch-builders usually have to make their own. The good news is that the process for making these types of patterns isn’t difficult, but rather, it’s a step-by-step process with the end result being a usable pattern from which the actual parts are made.
The medium the parts are made from, whether it is balsa, sheet styrene, paper, sheet metal, or even sheet fiberglass, is determined by the size and type of model being built. My builds are typically rubber-powered Free Flight (FF) or Scale RC park flyers, so weight is a consideration with every model.
For FF models, common copy paper works great, but something more substantial is needed for the larger models. Because weight is a factor, I will generally avoid plywood; balsa grain can often work against you for things such as skinning cowlings, or for other sheeted areas like door skins and boot cowlings.
To make the initial pattern for the working parts, I found the best choice is common copy paper. Different brands will vary some in weight, stiffness, and opacity, but for anything except very small FF models, standard paper works fine. After working with different weights and balsa thicknesses for skinning rounded surfaces like those on cowlings and instrument panel hoods, my personal favorite for those applications is good, old-fashioned manila file folder paper. For those of us who are modeling on a budget, file folders are dramatically less expensive than balsa or plywood.
Tools of the Trade
Only a few simple modeling tools are needed to mark up and cut out paper patterns: a pencil, ruler, hobby knife, drafting circle template, and a pair of scissors. Copy paper is used for the template itself, and masking tape is used to hold the pattern in place on the frames while the pattern
is being traced. For rolling the shape into the finished parts that must conform to round frames, a couple of sizes of dowel or metal tubing serve well.
Years ago, I made a simple tool built from a 1-inch dowel and 1/8-inch wire for other modeling tasks that turned out to be very useful for rolling the individual parts. Although a tool this sophisticated really isn’t necessary, having a handle does make it easier to work with some of the larger parts.
Making a Windshield Pattern
Regardless of the size of the model, the process for producing the pattern is the same. With the frame completed and finish-sanded to its final shape, we’re ready to start laying out the cutting pattern.
Begin by determining the overall height of the pattern from top to bottom, and then cutting a strip of paper to that width. The pattern should also be wide enough to more than cover the overall width of it. Find the center of the paper and mark the center of the cabin at the top.

Tape the pattern in place on the windshield header then cut the pattern at the top to the front edge of the wing root. Remove a bit of material to the outside of the cuts so that the template is easier to roll around the wing root extensions at the front of the cabin.

Tape the pattern in place at the header then roll the pattern around the side of the fuselage and mark the
outer perimeter at the vertical windshield post and at the bottom edge at the longeron. A handy little trick that makes seeing through the paper much easier is laying a flashlight on the bench behind the fuselage. The light will make the paper nearly transparent.

Remove the pattern from the fuselage and make the basic cuts. You might need to place the pattern back on the fuselage a couple of times to get the fit just right. You don’t need to get it perfect the first time. Remember: It’s much easier to take a little more off than to put a little back on.

With the preliminary shape established on the first side, fold the paper on the centerline and make the cuts on the other side. With this, the pattern should fit, assuming that the fuselage came out symmetrical. That’s not always the case, however, so a couple of test-fits and a bit of trimming, if needed, are never bad ideas to ensure a good fit on both sides.

With the cowling frame assembled and sanded to its final shape, patterns are made for each section. Begin with the bottom. Tape one end of the paper sheet on the part of the cowling where it will attach, typically a horizontal former or stringer at the centerline.
Trace around the front and rear formers, cut them to rough shape, and then test-fit and trim as needed for a good fit. The top pattern is made up the same way. With both patterns fitting nicely, the parts are cut to shape.
With all of the final fitting and trimming completed, do one last test-fit on the model to ensure the proper alignment.

The pattern is now complete and ready to use to make the windshield. To transfer the pattern to the acetate, simply tape the pattern in place on the acetate and trace around it with a hobby knife to cut out the finished part. For the straight lines, I always use a straightedge to guide the knife to eliminate uneven cuts.

Cowling Skins
It seems that there are as many different cowling shapes as there are airplanes with cowled engines, many of which incorporate compound curves. Unfortunately, those require more than what we can do with paper, plywood, or sheet balsa skins, and they are best either molded in fiberglass, vacuum-formed, or built up and carved from blocks.
What we’re dealing with here are those that can be done in two, three, or four flat sections. Round, tubular cowlings, such as those on radial engines with parallel sides, can be done with just one piece, so cutting patterns aren’t needed. For tapered cowlings, however, and for those with differently shaped front and rear formers, patterns are needed to get each panel shape right.
With a simple cowling shape, the skins can be done in just two pieces, typically in upper and lower sections.

The pattern is used to cut the bottom skin from file folder paper, and then a round dowel is used to roll in the curvature.

Starting in the center, the skin is aligned and glued in place on the centerline stringer. Apply glue around the formers and side stringer and roll the skin around the frame to secure it in place. Canopy glue works great because it gives adequate working time to allow for easy alignment and sets up quickly enough to hold things in place, often without the need for clamping.
MAKING PAPER PATTERNS
Window Frames and Door Skins
As you progress, the patterns will get easier to make. In this section, I’ll deal with flat panels; the templates can oftentimes be traced directly from the plan’s top and side-view drawings.
There are a couple of alternatives here; one is to cut the template from the plans views—it’s not something I do unless I have two copies of the plans. The other is to photocopy the pertinent areas of the plans then transfer that to the wood or paper that is being used for the finished parts.
In my example, the top of the cabin is done in one piece. The skylight windows will be added after the model has been covered and painted. A paper pattern is made for the base of the rear windshield, transferred to file folder paper, cut into shape, and then glued into place.

With the bottom skin in place, the top skin is aligned and glued to the top centerline stringer, leaving time for the glue to set up. The outer ends of the skin are then rolled around the formers, and the skin is glued in place.

There’s no need to fill the overlaps; most airplanes with this type of cowling will have hinged panels at the top for access to the engine, so the overlap actually should be there. As an added bonus on a Scale model, the paper represents the thickness of the sheet metal that is found on the full-scale counterpart.

Side window frames and door skins are transferred from the plans side view, cut to shape, and glued in place. The top, side, and bottom boot cowling sections are made up in the same fashion as what is described for the engine cowlings. With all of the patterns made, the skins are cut to shape and glued into place, starting at the bottom, followed by the sides, and then the instrument panel hood at the top.