3D-PRINTED RUTAN AIRCRAFT
By Don Slusarczyk | don@slusarczyk.com

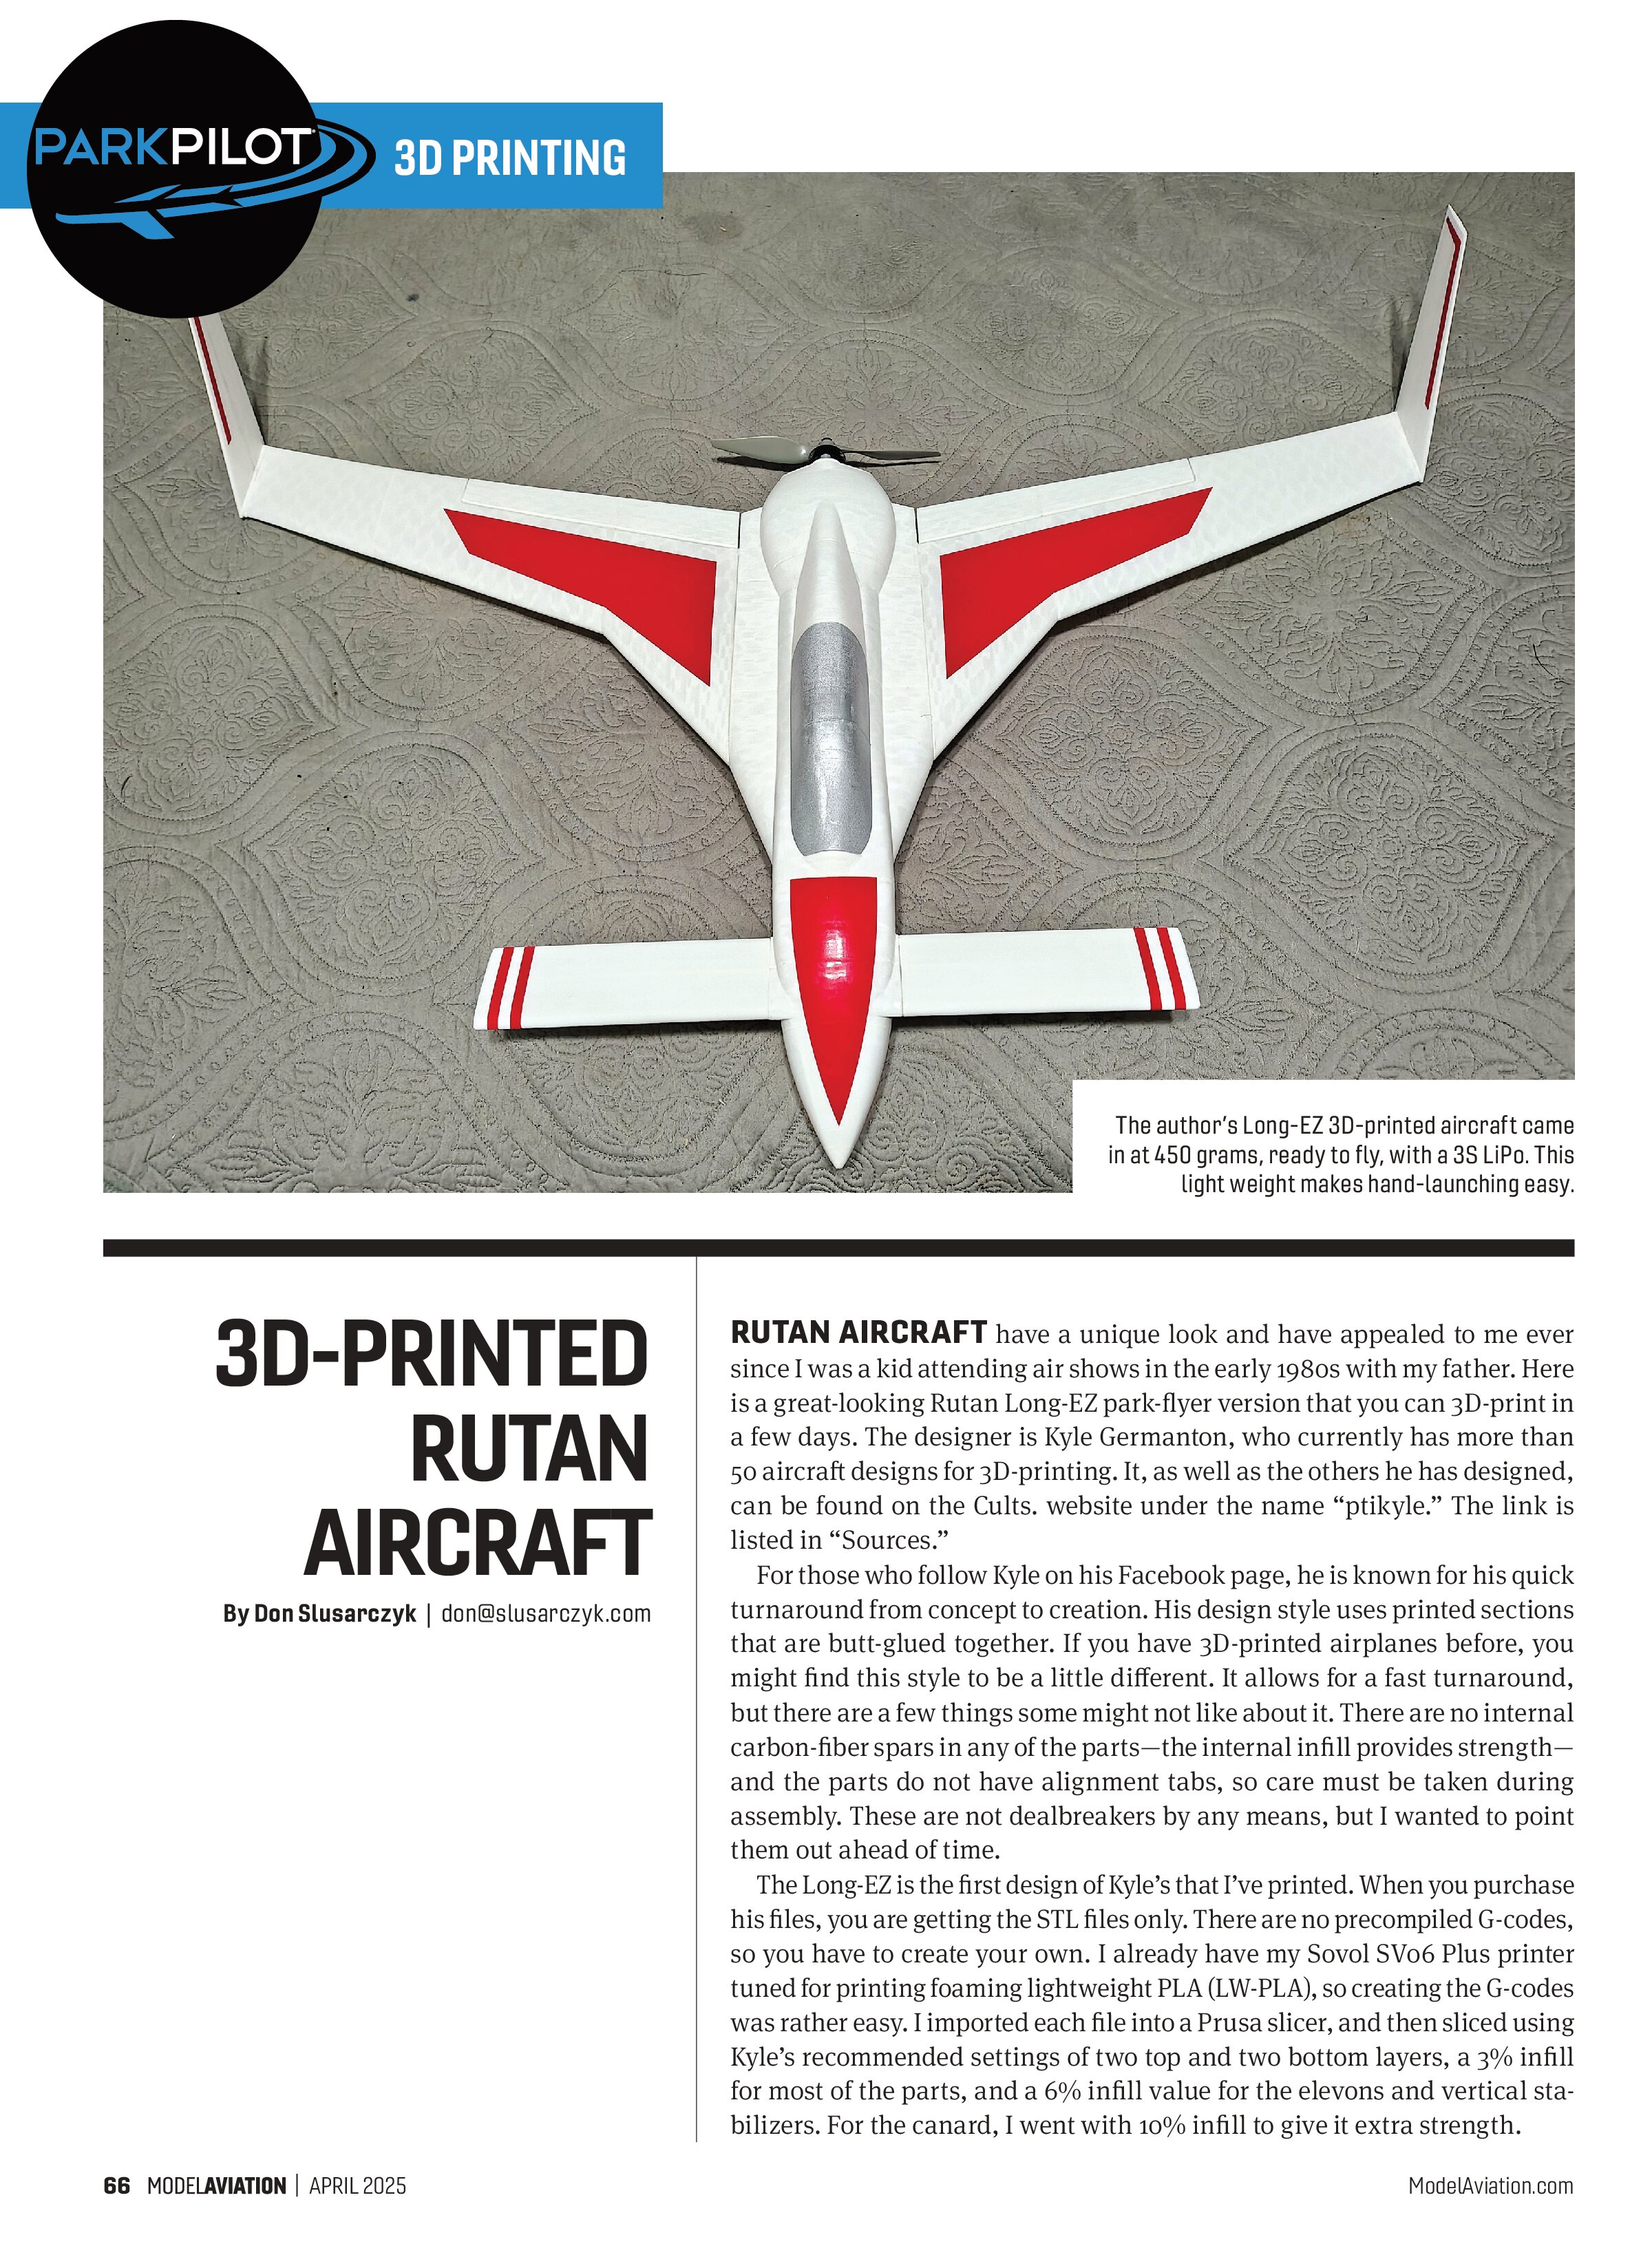
RUTAN AIRCRAFT have a unique look and have appealed to me ever since I was a kid attending air shows in the early 1980s with my father. Here is a great-looking Rutan Long-EZ park-flyer version that you can 3D-print in a few days. The designer is Kyle Germanton, who currently has more than 50 aircraft designs for 3D-printing. It, as well as the others he has designed, can be found on the Cults. website under the name “ptikyle.” The link is listed in “Sources.”
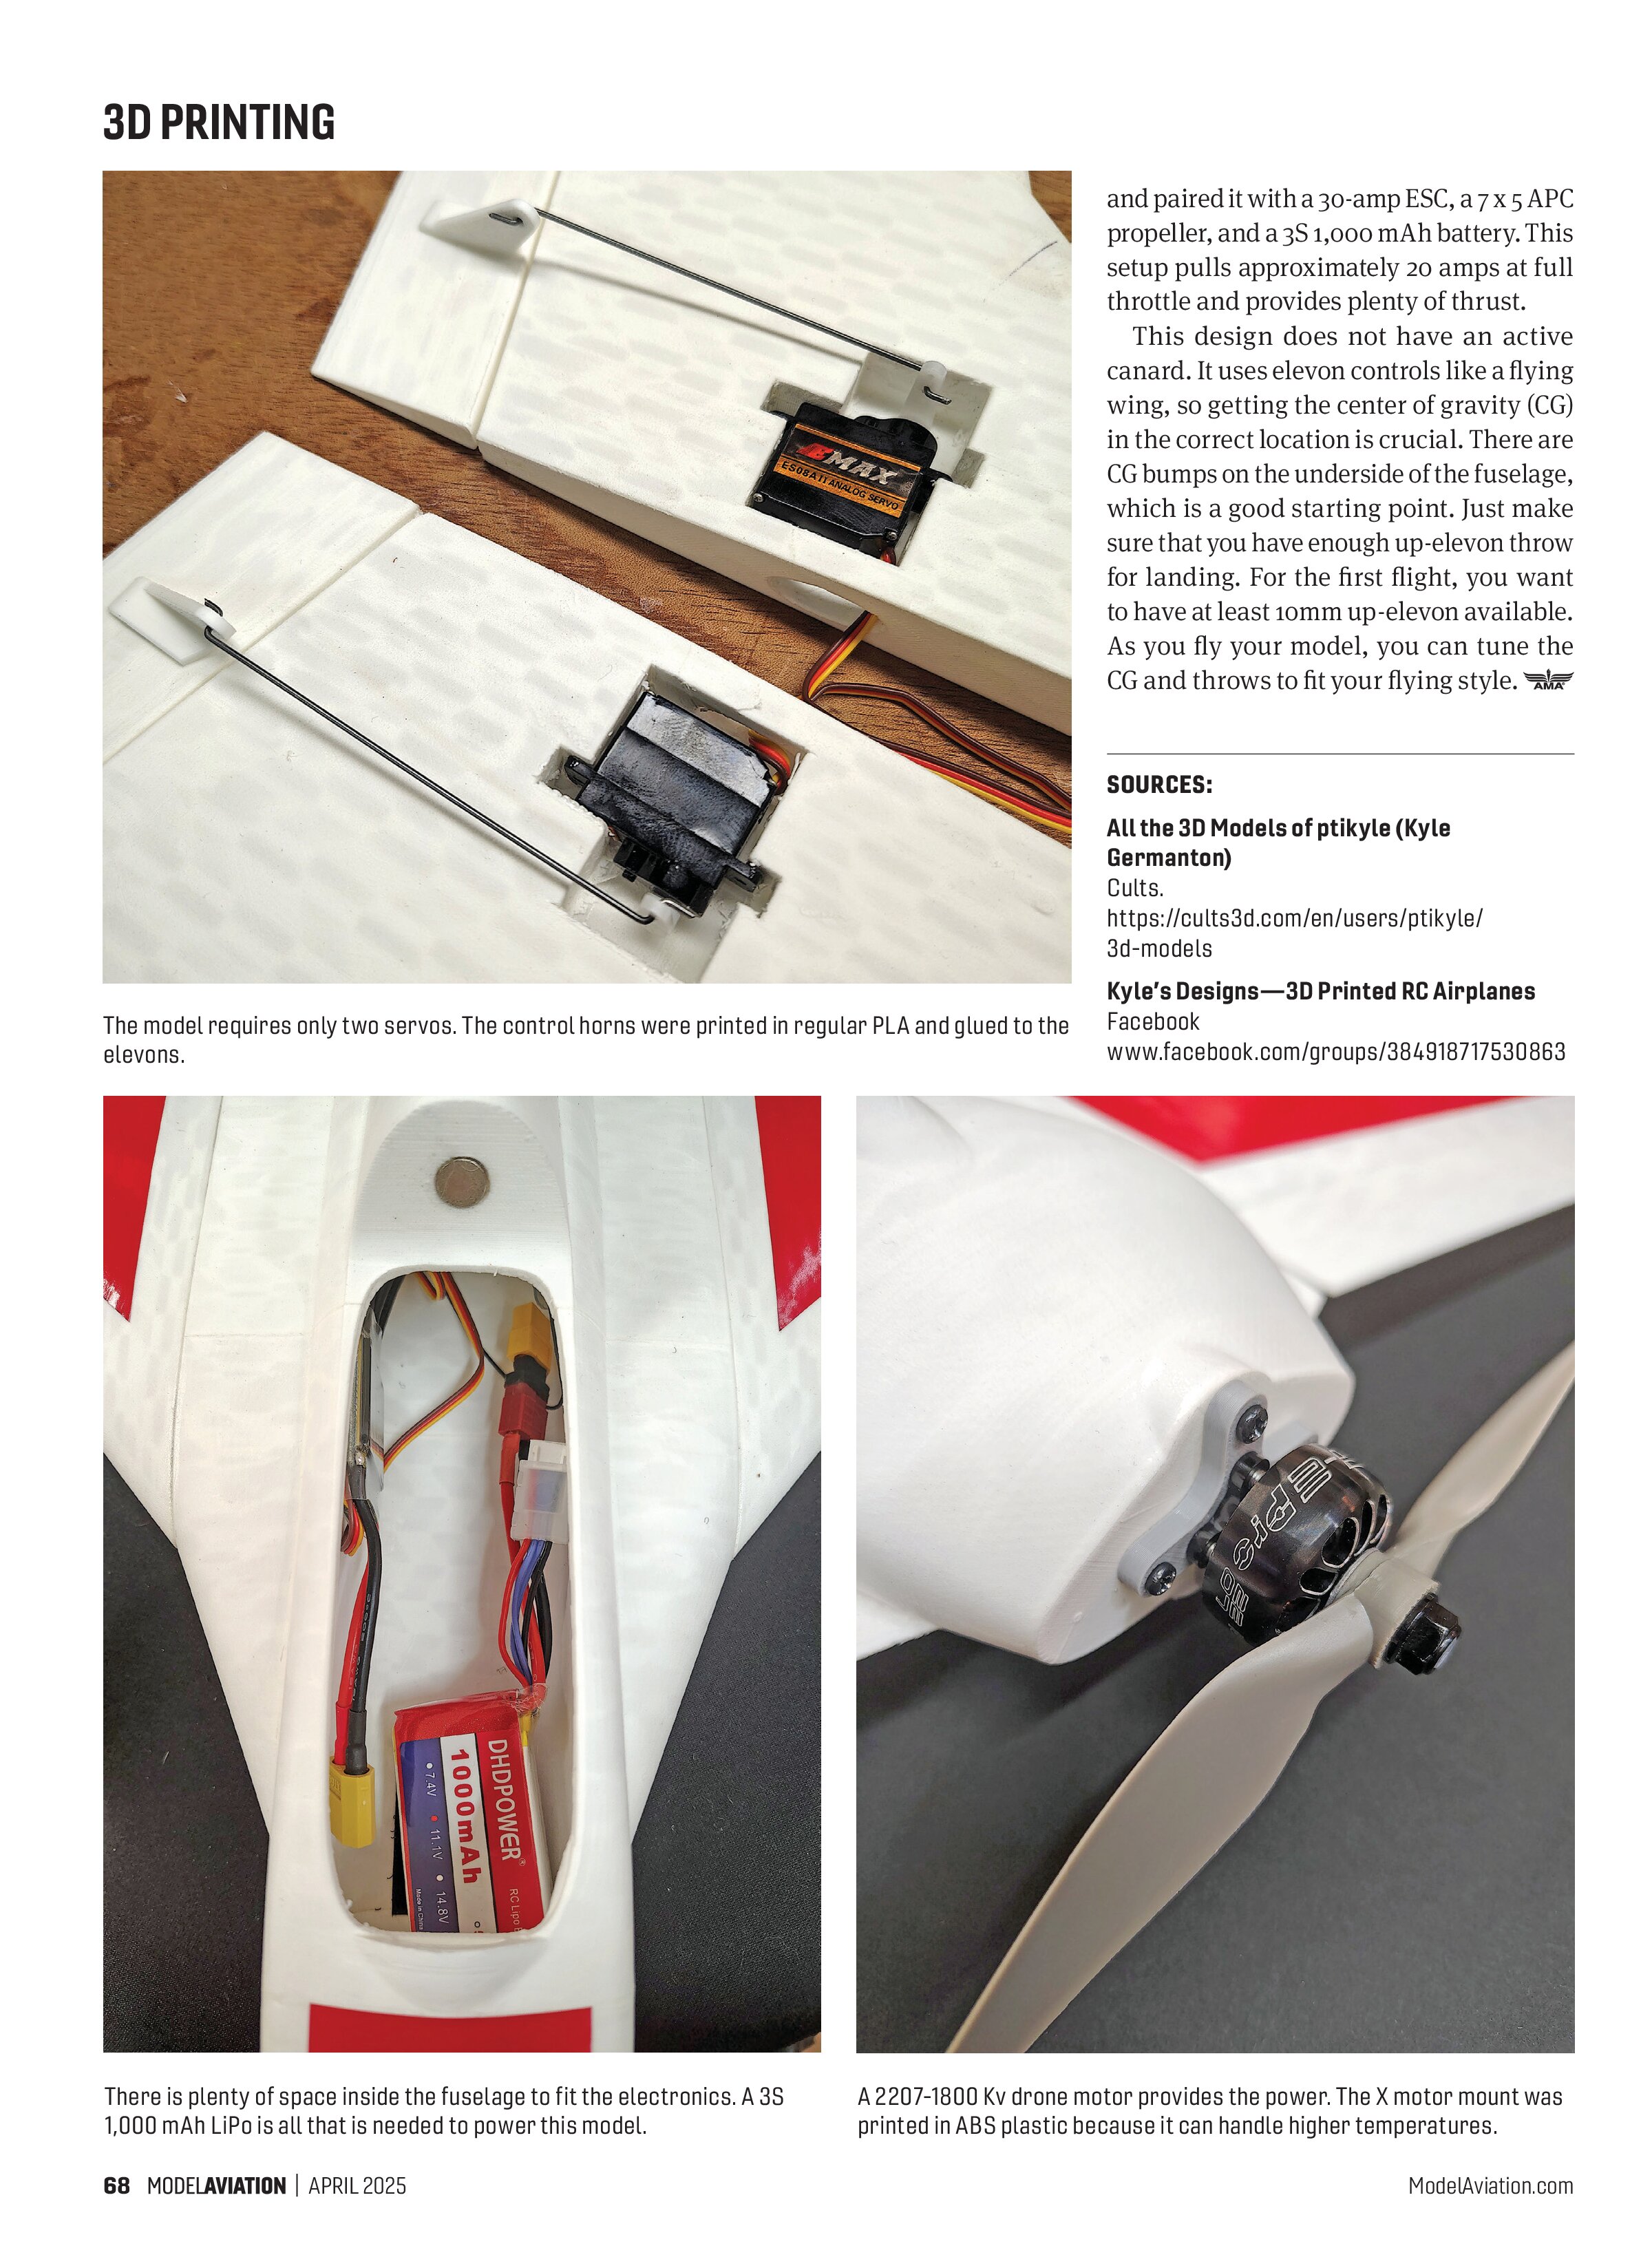
For those who follow Kyle on his Facebook page, he is known for his quick turnaround from concept to creation. His design style uses printed sections that are butt-glued together. If you have 3D-printed airplanes before, you might find this style to be a little different. It allows for a fast turnaround, but there are a few things some might not like about it. There are no internal carbon-fiber spars in any of the parts—the internal infill provides strength—and the parts do not have alignment tabs, so care must be taken during assembly. These are not dealbreakers by any means, but I wanted to point them out ahead of time.
The Long-EZ is the first design of Kyle’s that I’ve printed. When you purchase his files, you are getting the STL files only. There are no precompiled G-codes, so you have to create your own. I already have my Sovol SV06 Plus printer tuned for printing foaming lightweight PLA (LW-PLA), so creating the G-codes was rather easy. I imported each file into a Prusa slicer, and then sliced using Kyle’s recommended settings of two top and two bottom layers, a 3% infill for most of the parts, and a 6% infill value for the elevons and vertical stabilizers. For the canard, I went with 10% infill to give it extra strength.
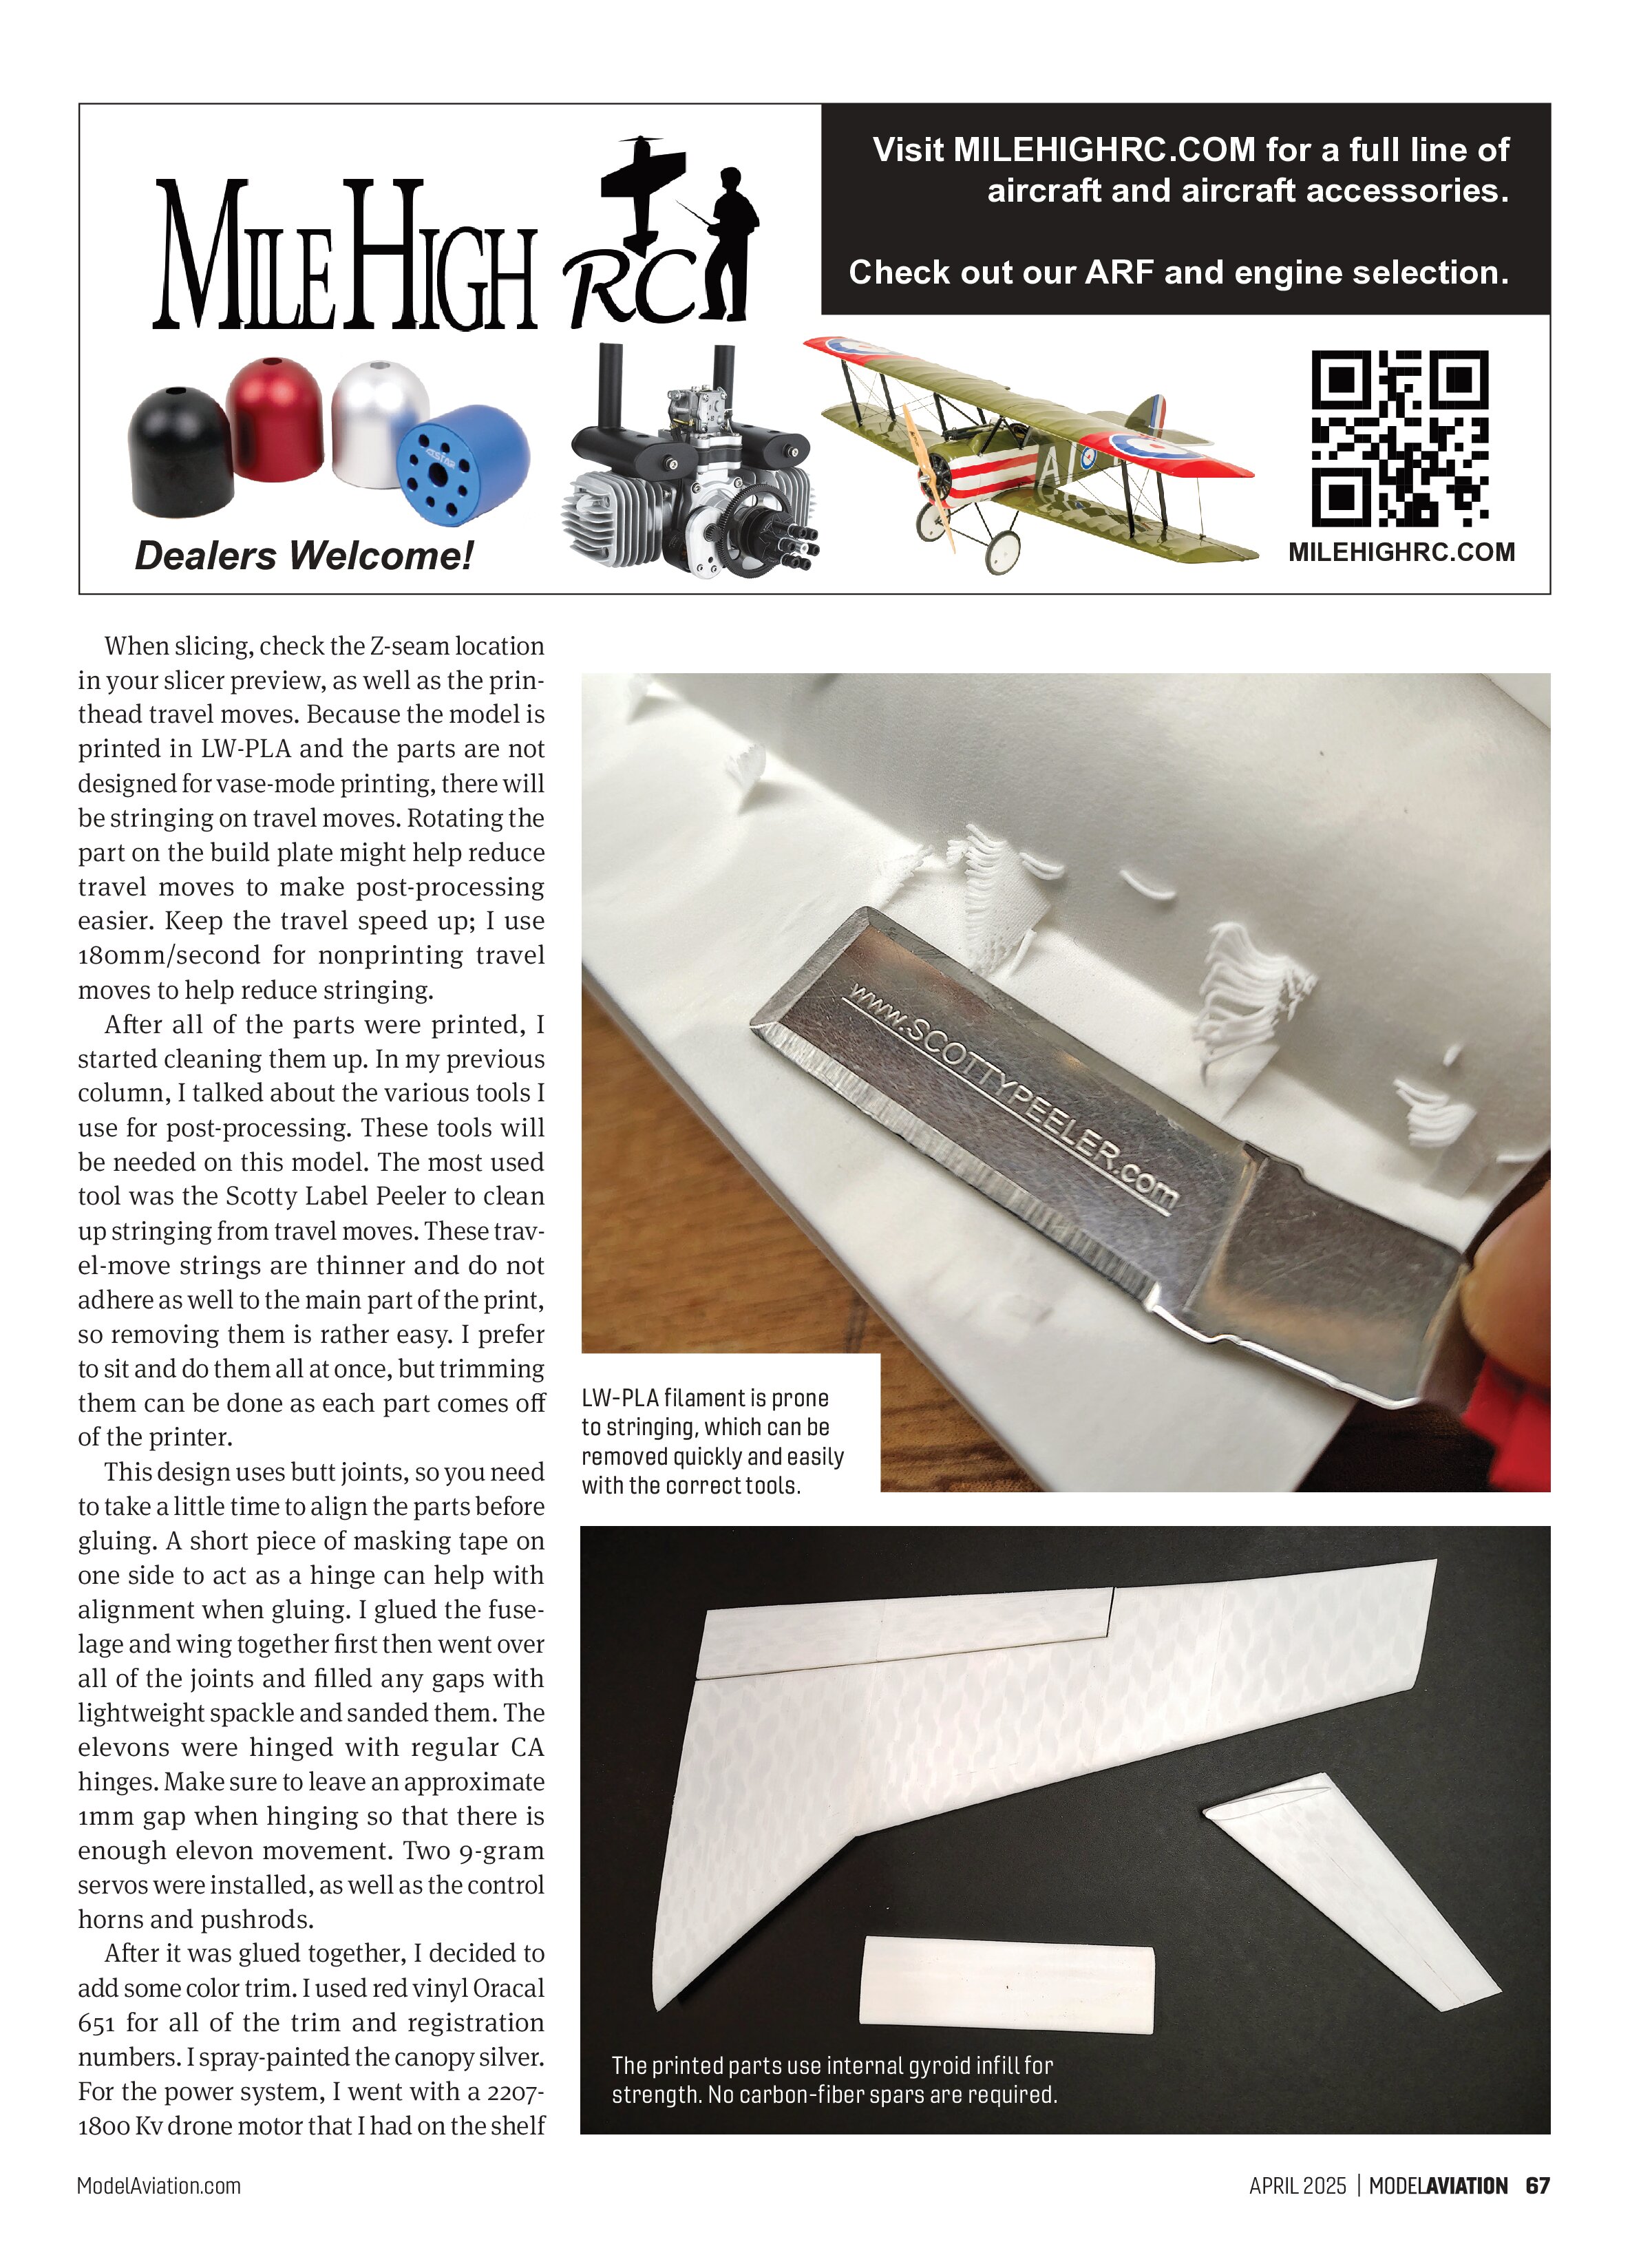
When slicing, check the Z-seam location in your slicer preview, as well as the printhead travel moves. Because the model is printed in LW-PLA and the parts are not designed for vase-mode printing, there will be stringing on travel moves. Rotating the part on the build plate might help reduce travel moves to make post-processing easier. Keep the travel speed up; I use 180mm/second for nonprinting travel moves to help reduce stringing.
After all of the parts were printed, I started cleaning them up. In my previous column, I talked about the various tools I use for post-processing. These tools will be needed on this model. The most used tool was the Scotty Label Peeler to clean up stringing from travel moves. These travel-move strings are thinner and do not adhere as well to the main part of the print, so removing them is rather easy. I prefer to sit and do them all at once, but trimming them can be done as each part comes off of the printer.

This design uses butt joints, so you need to take a little time to align the parts before gluing. A short piece of masking tape on one side to act as a hinge can help with alignment when gluing. I glued the fuselage and wing together first then went over all of the joints and filled any gaps with lightweight spackle and sanded them. The elevons were hinged with regular CA hinges. Make sure to leave an approximate 1mm gap when hinging so that there is enough elevon movement. Two 9-gram servos were installed, as well as the control horns and pushrods.

After it was glued together, I decided to add some color trim. I used red vinyl Oracal 651 for all of the trim and registration numbers. I spray-painted the canopy silver. For the power system, I went with a 2207-1800 Kv drone motor that I had on the shelf

and paired it with a 30-amp ESC, a 7 x 5 APC propeller, and a 3S 1,000 mAh battery. This setup pulls approximately 20 amps at full throttle and provides plenty of thrust.
This design does not have an active canard. It uses elevon controls like a flying wing, so getting the center of gravity (CG) in the correct location is crucial. There are CG bumps on the underside of the fuselage, which is a good starting point. Just make sure that you have enough up-elevon throw for landing. For the first flight, you want to have at least 10mm up-elevon available. As you fly your model, you can tune the CG and throws to fit your flying style.
The model requires only two servos. The control horns were printed in regular PLA and glued to the elevons.


There is plenty of space inside the fuselage to fit the electronics. A 3S 1,000 mAh LiPo is all that is needed to power this model.
A 2207-1800 Kv drone motor provides the power. The X motor mount was printed in ABS plastic because it can handle higher temperatures.
SOURCES:
All the 3D Models of ptikyle (Kyle Germanton)
Cults.
https://cults3d.com/en/users/ptikyle/3d-models
Kyle’s Designs—3D Printed RC Airplanes
Facebook
www.facebook.com/groups/384918717530863