FREEWING F-22 RAPTOR V2
HIGH PERFORMANCE 4S 64MM
EDF JET
This inexpensive jet is a great addition to the hangar
By Ron Hull | ron@rcplanelab.com

I DON’T OFTEN get to be around full-scale airplanes, especially jets, but when my family and I made a trip to EAA’s AirVenture Oshkosh in Oshkosh, Wisconsin, last year, I was really taken by the F-22 flight demonstration. It was at that point that I knew I wanted to find an RC version of that airplane.
After we got home, I couldn’t stop thinking about it. I started doing some internet research to see what model airplanes were available. I knew the airplane had to meet my criteria. I wanted to be able to easily transport it to the field in my trunk without taking it apart, so I knew I didn’t want something that was huge. I wanted something that flew on a common-size battery, and I wanted something inexpensive because I was just starting to fly EDFs.
I came across the Freewing F-22 Raptor V2 High Performance 4S 64mm EDF jet through Motion RC. It met all of the criteria that I was looking for, so I ordered it. A couple of days later, it was on my doorstep.

At a Glance
Specifications
Type: Scale military jet
Wingspan: 27.17 inches
Length: 37.4 inches
Motor: 2,840 to 2,850 Kv
ESC: 40-amp reversing
Servos: Five 9-gram digital plastic
Ducted fan: 64mm EDF
Thrust: 1,350 grams
Weight: 33.76 ounces, no gear, with a Spektrum 4S 2,200 mAh G2 Smart battery
Needed to complete: Receiver; 4S 2,200 mAh battery with XT60; charger
Flight time: 3 to 5 minutes
Price: $179
Pluses
- Looks great in the air.
- Easy to fly.
- Very stable flight.
- Durable.
Minuses
- No rudder.
- No good spot to hold it for hand launch.
- No removable nose cone.
Manufacturer/Distributor
Freewing RC
sales@freewing-model.com
www.freewing-model.com
Motion RC
(224) 663-9090
www.motionrc.com
What’s in the Box?
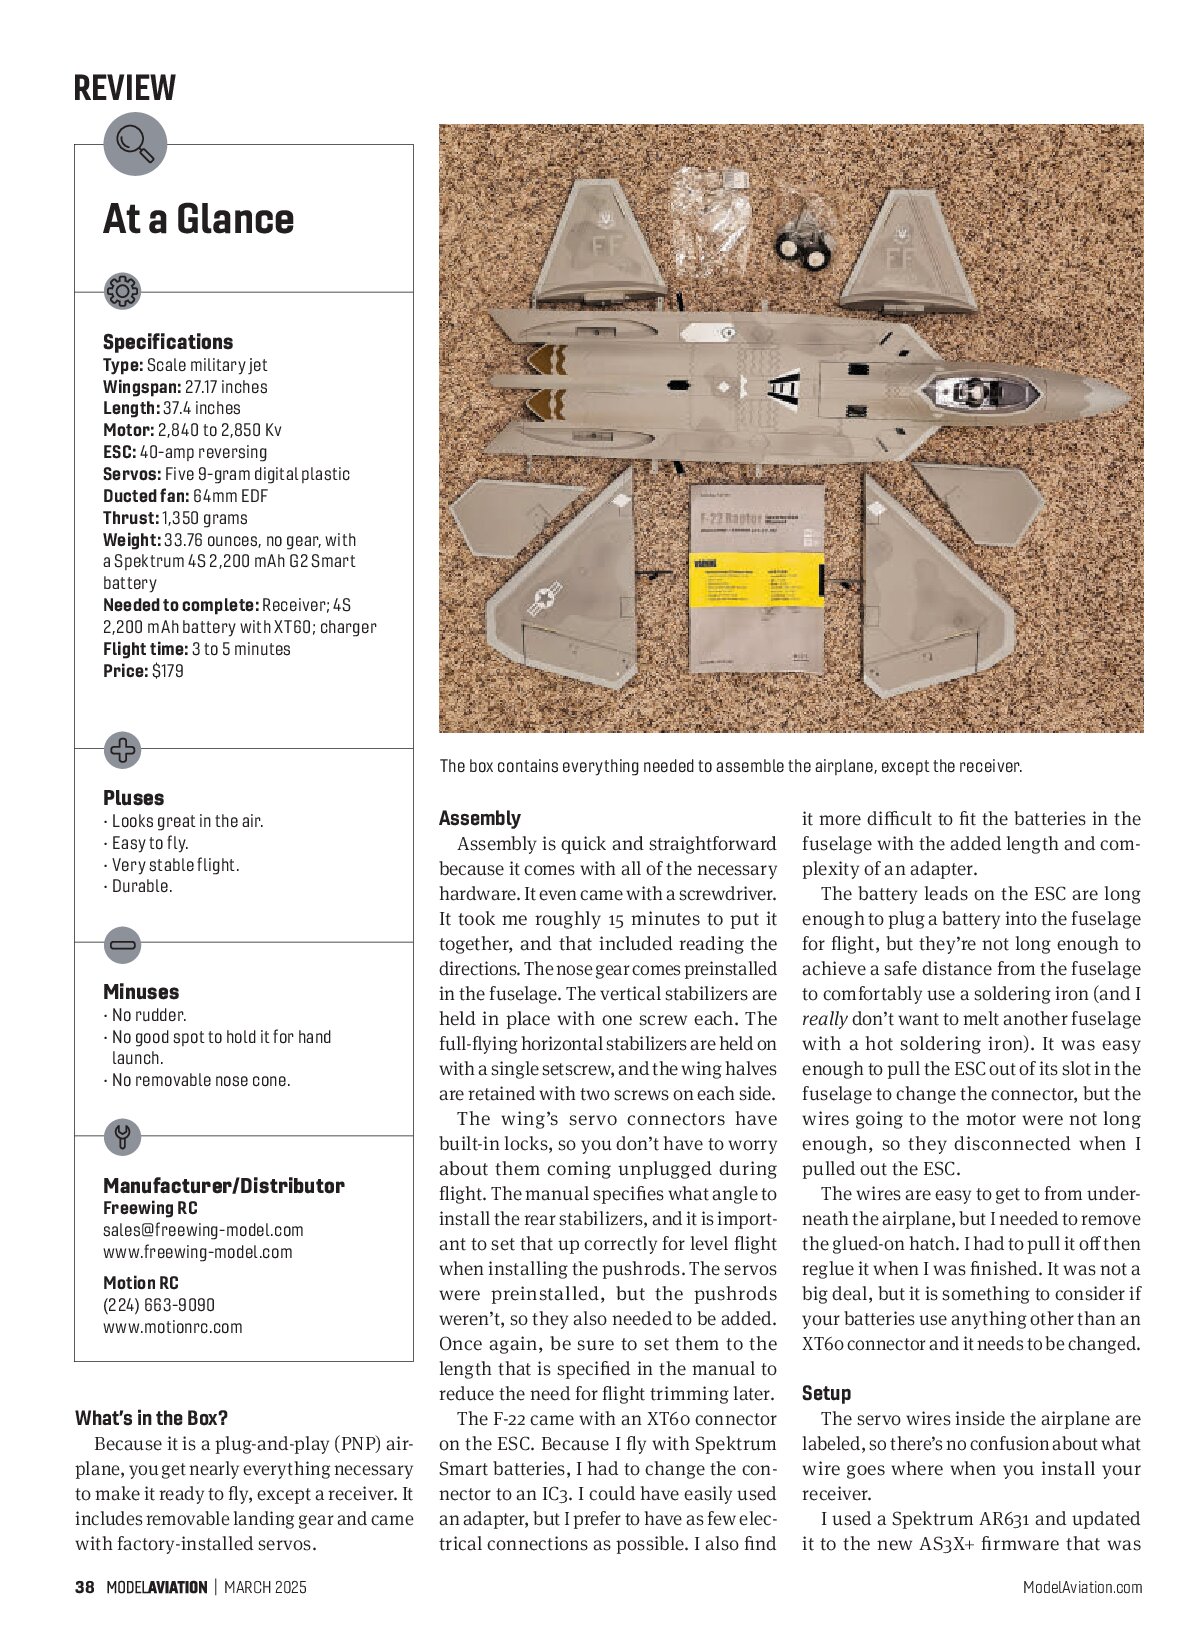
Because it is a plug-and-play (PNP) airplane, you get nearly everything necessary to make it ready to fly, except a receiver. It includes removable landing gear and came with factory-installed servos.

Assembly
Assembly is quick and straightforward because it comes with all of the necessary hardware. It even came with a screwdriver. It took me roughly 15 minutes to put it together, and that included reading the directions. The nose gear comes preinstalled in the fuselage. The vertical stabilizers are held in place with one screw each. The full-flying horizontal stabilizers are held on with a single setscrew, and the wing halves are retained with two screws on each side.
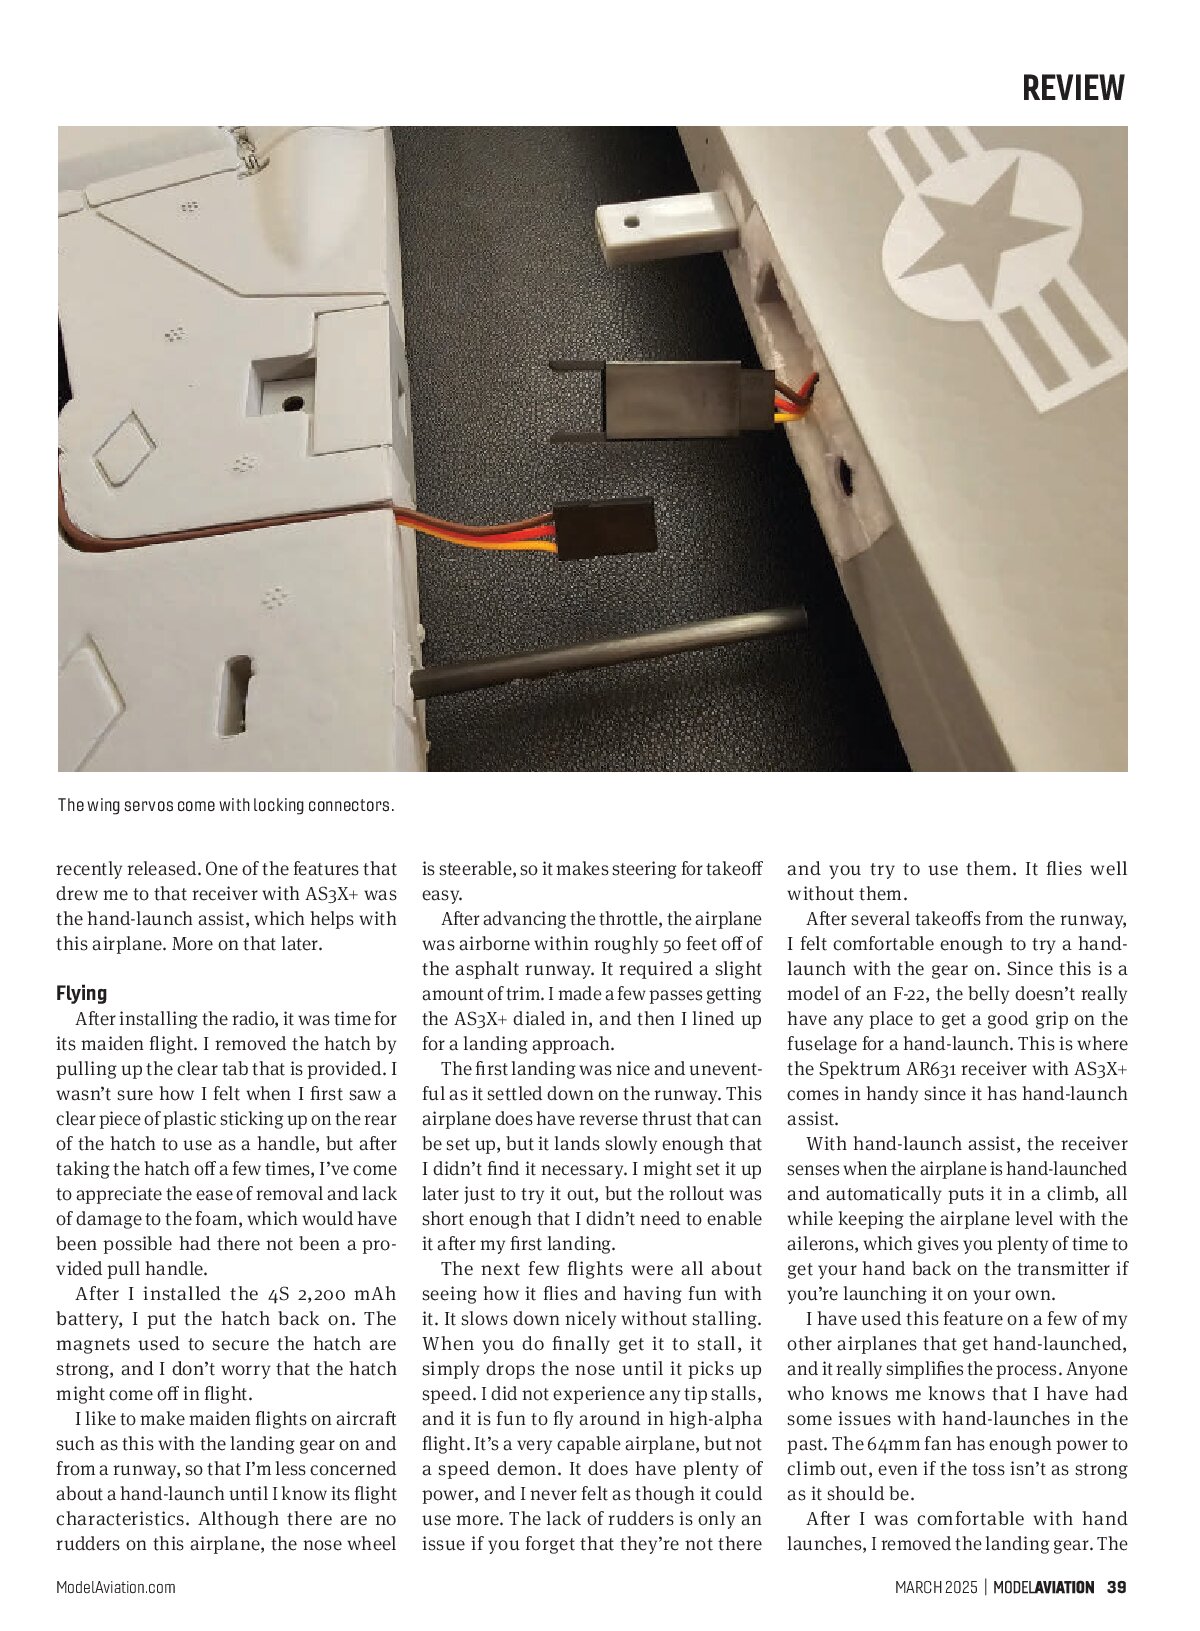
The wing’s servo connectors have built-in locks, so you don’t have to worry about them coming unplugged during flight. The manual specifies what angle to install the rear stabilizers, and it is important to set that up correctly for level flight when installing the pushrods. The servos were preinstalled, but the pushrods weren’t, so they also needed to be added. Once again, be sure to set them to the length that is specified in the manual to reduce the need for flight trimming later.
The F-22 came with an XT60 connector on the ESC. Because I fly with Spektrum Smart batteries, I had to change the connector to an IC3. I could have easily used an adapter, but I prefer to have as few electrical connections as possible. I also find it more difficult to fit the batteries in the fuselage with the added length and complexity of an adapter.
The battery leads on the ESC are long enough to plug a battery into the fuselage for flight, but they’re not long enough to achieve a safe distance from the fuselage to comfortably use a soldering iron (and I really don’t want to melt another fuselage with a hot soldering iron). It was easy enough to pull the ESC out of its slot in the fuselage to change the connector, but the wires going to the motor were not long enough, so they disconnected when I pulled out the ESC.
The wires are easy to get to from underneath the airplane, but I needed to remove the glued-on hatch. I had to pull it off then reglue it when I was finished. It was not a big deal, but it is something to consider if your batteries use anything other than an XT60 connector and it needs to be changed.
Setup
The servo wires inside the airplane are labeled, so there’s no confusion about what wire goes where when you install your receiver. I used a Spektrum AR631 and updated it to the new AS3X+ firmware that was recently released. One of the features that drew me to that receiver with AS3X+ was the hand-launch assist, which helps with this airplane. More on that later.

Flying
After installing the radio, it was time for its maiden flight. I removed the hatch by pulling up the clear tab that is provided. I wasn’t sure how I felt when I first saw a clear piece of plastic sticking up on the rear of the hatch to use as a handle, but after taking the hatch off a few times, I’ve come to appreciate the ease of removal and lack of damage to the foam, which would have been possible had there not been a provided pull handle.
After I installed the 4S 2,200 mAh battery, I put the hatch back on. The magnets used to secure the hatch are strong, and I don’t worry that the hatch might come off in flight.
I like to make maiden flights on aircraft such as this with the landing gear on and from a runway, so that I’m less concerned about a hand-launch until I know its flight characteristics. Although there are no rudders on this airplane, the nose wheel is steerable, so it makes steering for takeoff easy.
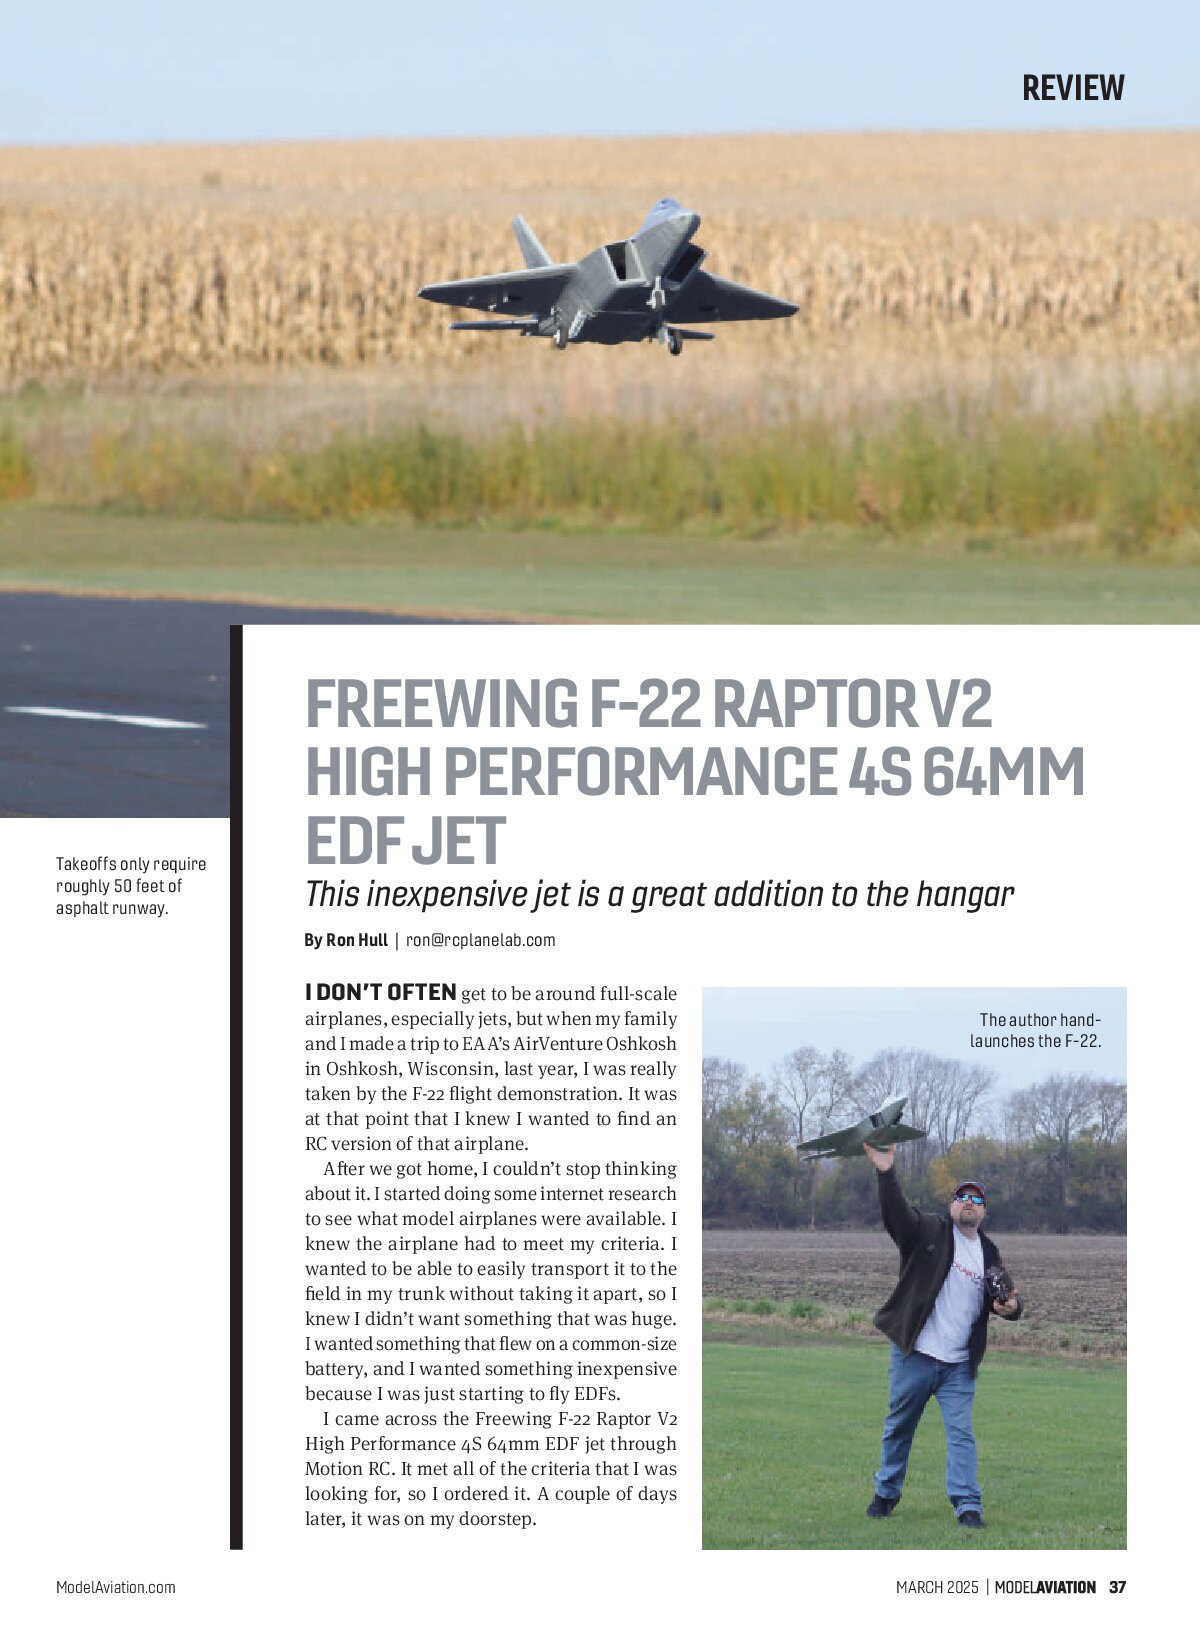
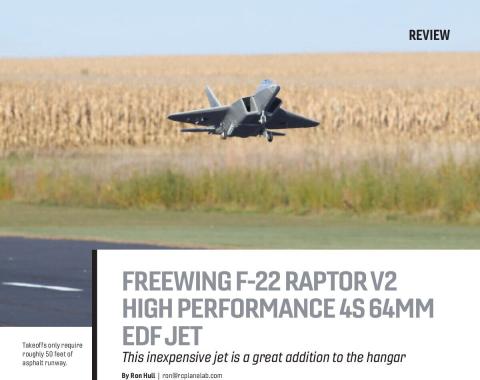
After advancing the throttle, the airplane was airborne within roughly 50 feet off of the asphalt runway. It required a slight amount of trim. I made a few passes getting the AS3X+ dialed in, and then I lined up for a landing approach.
The first landing was nice and uneventful as it settled down on the runway. This airplane does have reverse thrust that can be set up, but it lands slowly enough that I didn’t find it necessary. I might set it up later just to try it out, but the rollout was short enough that I didn’t need to enable it after my first landing.
The next few flights were all about seeing how it flies and having fun with it. It slows down nicely without stalling. When you do finally get it to stall, it simply drops the nose until it picks up speed. I did not experience any tip stalls, and it is fun to fly around in high-alpha flight. It’s a very capable airplane, but not a speed demon. It does have plenty of power, and I never felt as though it could use more. The lack of rudders is only an issue if you forget that they’re not there and you try to use them. It flies well without them.
After several takeoffs from the runway, I felt comfortable enough to try a hand-launch with the gear on. Since this is a model of an F-22, the belly doesn’t really have any place to get a good grip on the fuselage for a hand-launch. This is where the Spektrum AR631 receiver with AS3X+ comes in handy since it has hand-launch assist.
With hand-launch assist, the receiver senses when the airplane is hand-launched and automatically puts it in a climb, all while keeping the airplane level with the ailerons, which gives you plenty of time to get your hand back on the transmitter if you’re launching it on your own.
I have used this feature on a few of my other airplanes that get hand-launched, and it really simplifies the process. Anyone who knows me knows that I have had some issues with hand-launches in the past. The 64mm fan has enough power to climb out, even if the toss isn’t as strong as it should be.
After I was comfortable with hand launches, I removed the landing gear. The
REVIEW


rear gear is held on with a couple of screws and is easy to take off. The nose gear is only held on by a single set screw that must be removed from inside of the fuselage. The airplane looks better during flight without the wheels. Because there is less drag, you get a little bit more speed out of it.
The flat bottom of the F-22 that makes it slightly harder to launch ends up helping a lot during grass landings. Because it is so flat, nothing digs into the ground, and it slides smoothly to a stop. This airplane
slows down nicely during landings, so it doesn’t need to carry a lot of speed, which also helps reduce the distance it slides during a landing.
I found flights without the gear to be more enjoyable because the airplane has such a great presence in the air, and I wasn’t distracted by having the gear hanging down during flight.
Final Thoughts
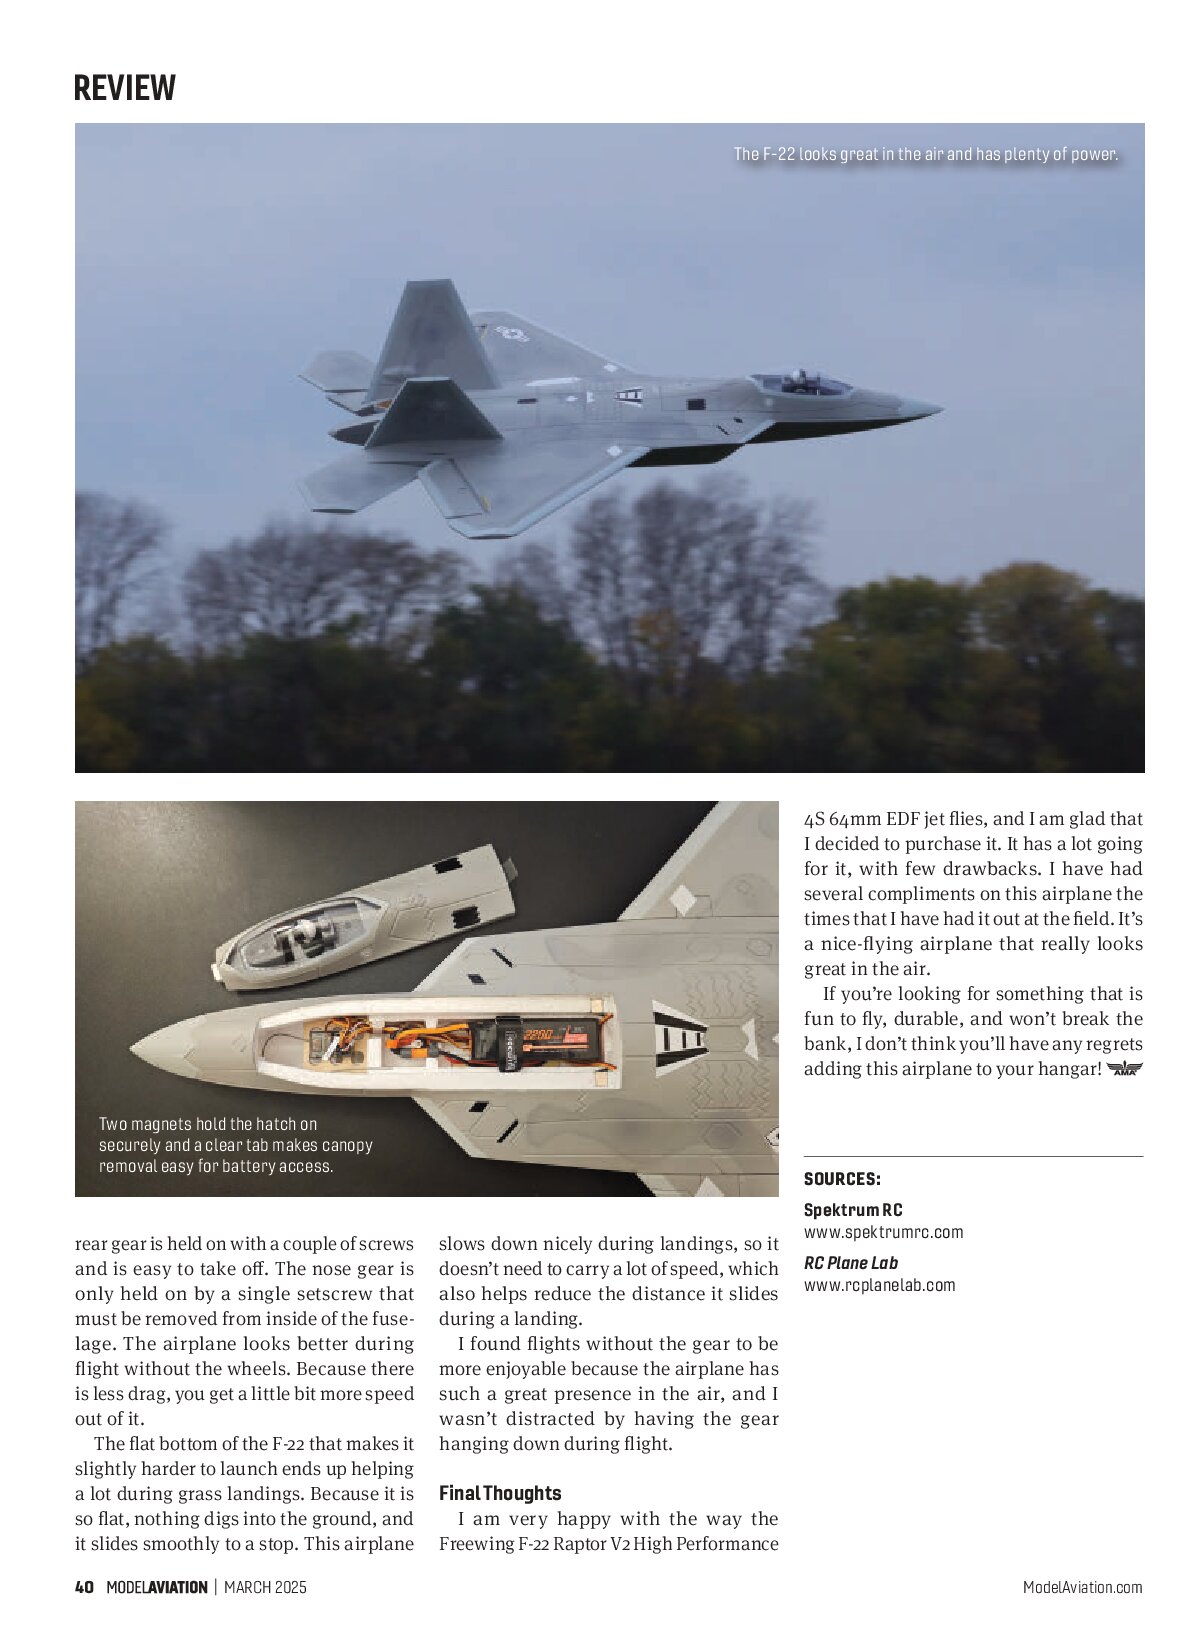
I am very happy with the way the Freewing F-22 Raptor V2 High Performance 4S 64mm EDF jet flies, and I am glad that I decided to purchase it. It has a lot going for it, with few drawbacks. I have had several compliments on this airplane the times that I have had it out at the field. It’s a nice-flying airplane that really looks great in the air.
If you’re looking for something that is fun to fly, durable, and won’t break the bank, I don’t think you’ll have any regrets adding this airplane to your hangar!
SOURCES:
Spektrum RC
www.spektrumrc.com
RC Plane Lab
www.rcplanelab.com