
FINISHING A MODEL WITH AN INSTRUMENT PANEL
By Pat Tritle | patscustommodels@gmail.com
IT’S HARD TO FATHOM that 2024 is already behind us and that we’re nearly a quarter of the way through the 21st century. But, as they say, “Time flies when you’re having fun.” I can honestly say that 2024 was a terrific year in modeling. I was able to complete several projects that I’ve wanted to do for a long time, as well as a couple that, shall we say, took me back to the early days of modeling. In all, it was a great time, and 2025 looks as bright as ever.
With a couple of projects already in the works, along with a few others on the slate as well, 2025 will no doubt prove to be an interesting and productive year.
Where building Scale or even non-scale models is concerned, the instrument panel always plays a big part in the overall look of the finished model, whether the cockpit is completed or not. The simplest way to represent the instrument panel is to look it up via the internet, where there are plenty of images from which to choose, so finding one that will work is usually fairly easy.
The easiest way to set it up is to resize and print the photo then glue the printed panel in place. However, if you can’t find one that’s close enough to your actual panel shape, there are literally hundreds of images online with sheets of dials that can be copied to make a custom panel for your specific project. I won’t go into detail about how to do that here, but there are a number of good videos online about how to do up a simple 3D panel using common modeling materials and techniques.
Readers’ Latest Endeavors
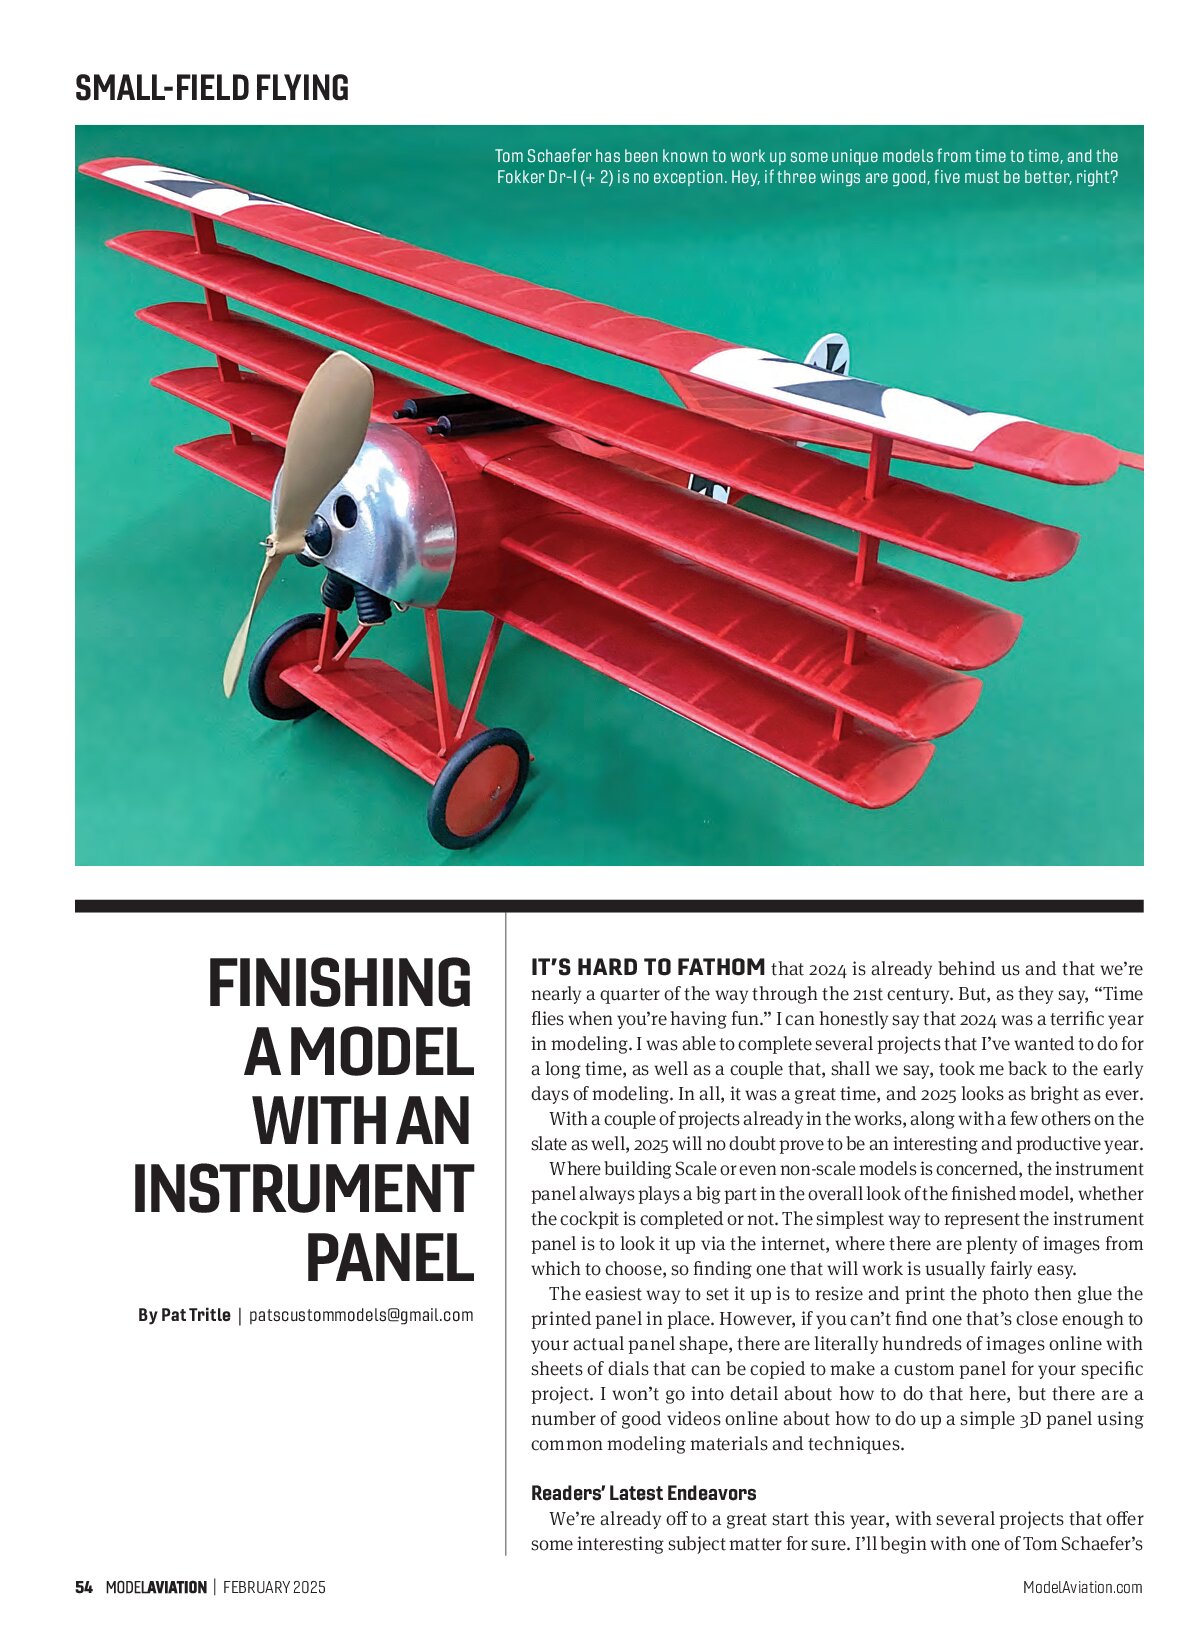
We’re already off to a great start this year, with several projects that offer some interesting subject matter for sure. I’ll begin with one of Tom Schaefer’s
latest endeavors. The project began with a 20-inch wingspan Guillows’s Fokker Dr-1 kit but with a couple of “minor” modifications. It would appear that Tom likes to build wings because he somehow wound up with a couple of extras between those that are supposed to be there. It just goes to show you how important it is to read the instructions, even when you’ve been at this long enough to truly know what you’re doing.
Even though Tom’s Dr-1 (+2) didn’t come out exactly how the plans indicated that it should, the “cool factor” is off the scale. It does make you wonder, as well as the Red Baron did with only three wings, whether he could have done two-thirds better with a couple of extras?
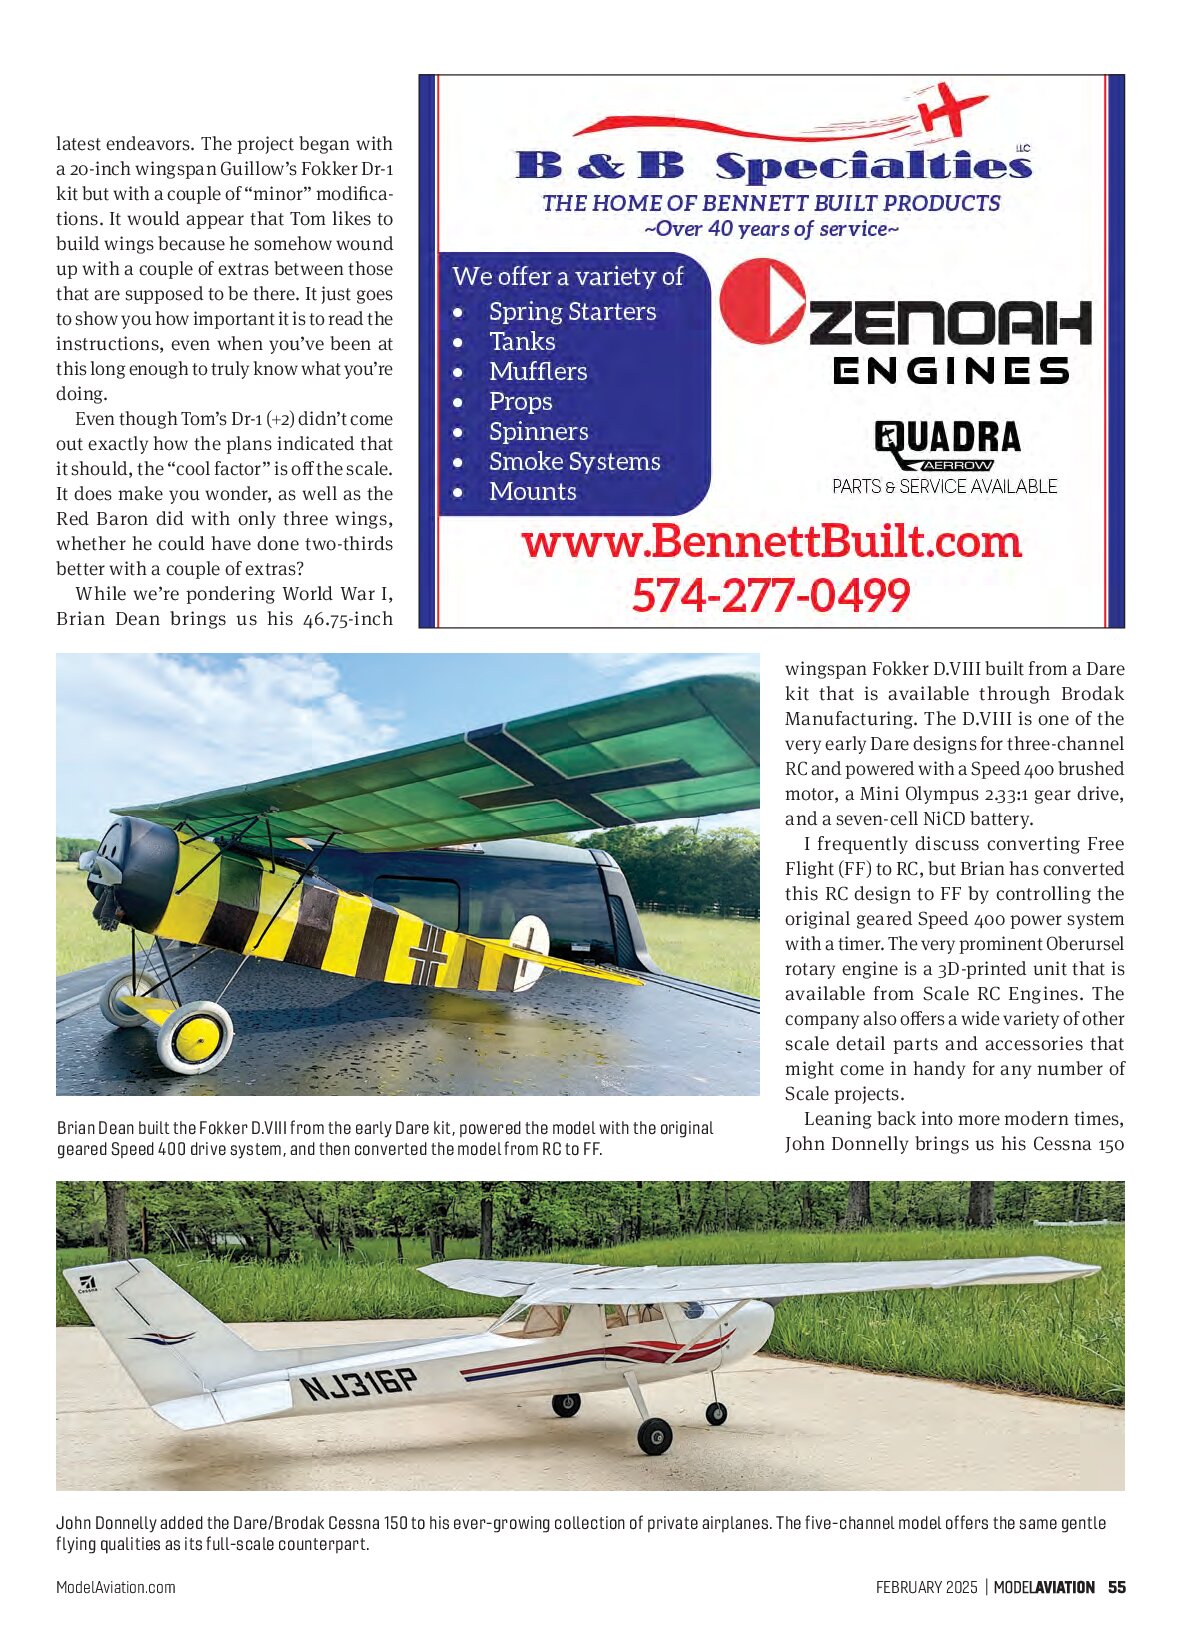
While we’re pondering World War I, Brian Dean brings us his 46.75-inch

wingspan Fokker D.VIII built from a Dare kit that is available through Brodak Manufacturing. The D.VIII is one of the very early Dare designs for three-channel RC and powered with a Speed 400 brushed motor, a Mini Olympus 2.33:1 gear drive, and a seven-cell NiCd battery.
I frequently discuss converting Free Flight (FF) to RC, but Brian has converted this RC design to FF by controlling the original geared Speed 400 power system with a timer. The very prominent Oberursel rotary engine is a 3D-printed unit that is available from Scale RC Engines. The company also offers a wide variety of other scale detail parts and accessories that might come in handy for any number of Scale projects.
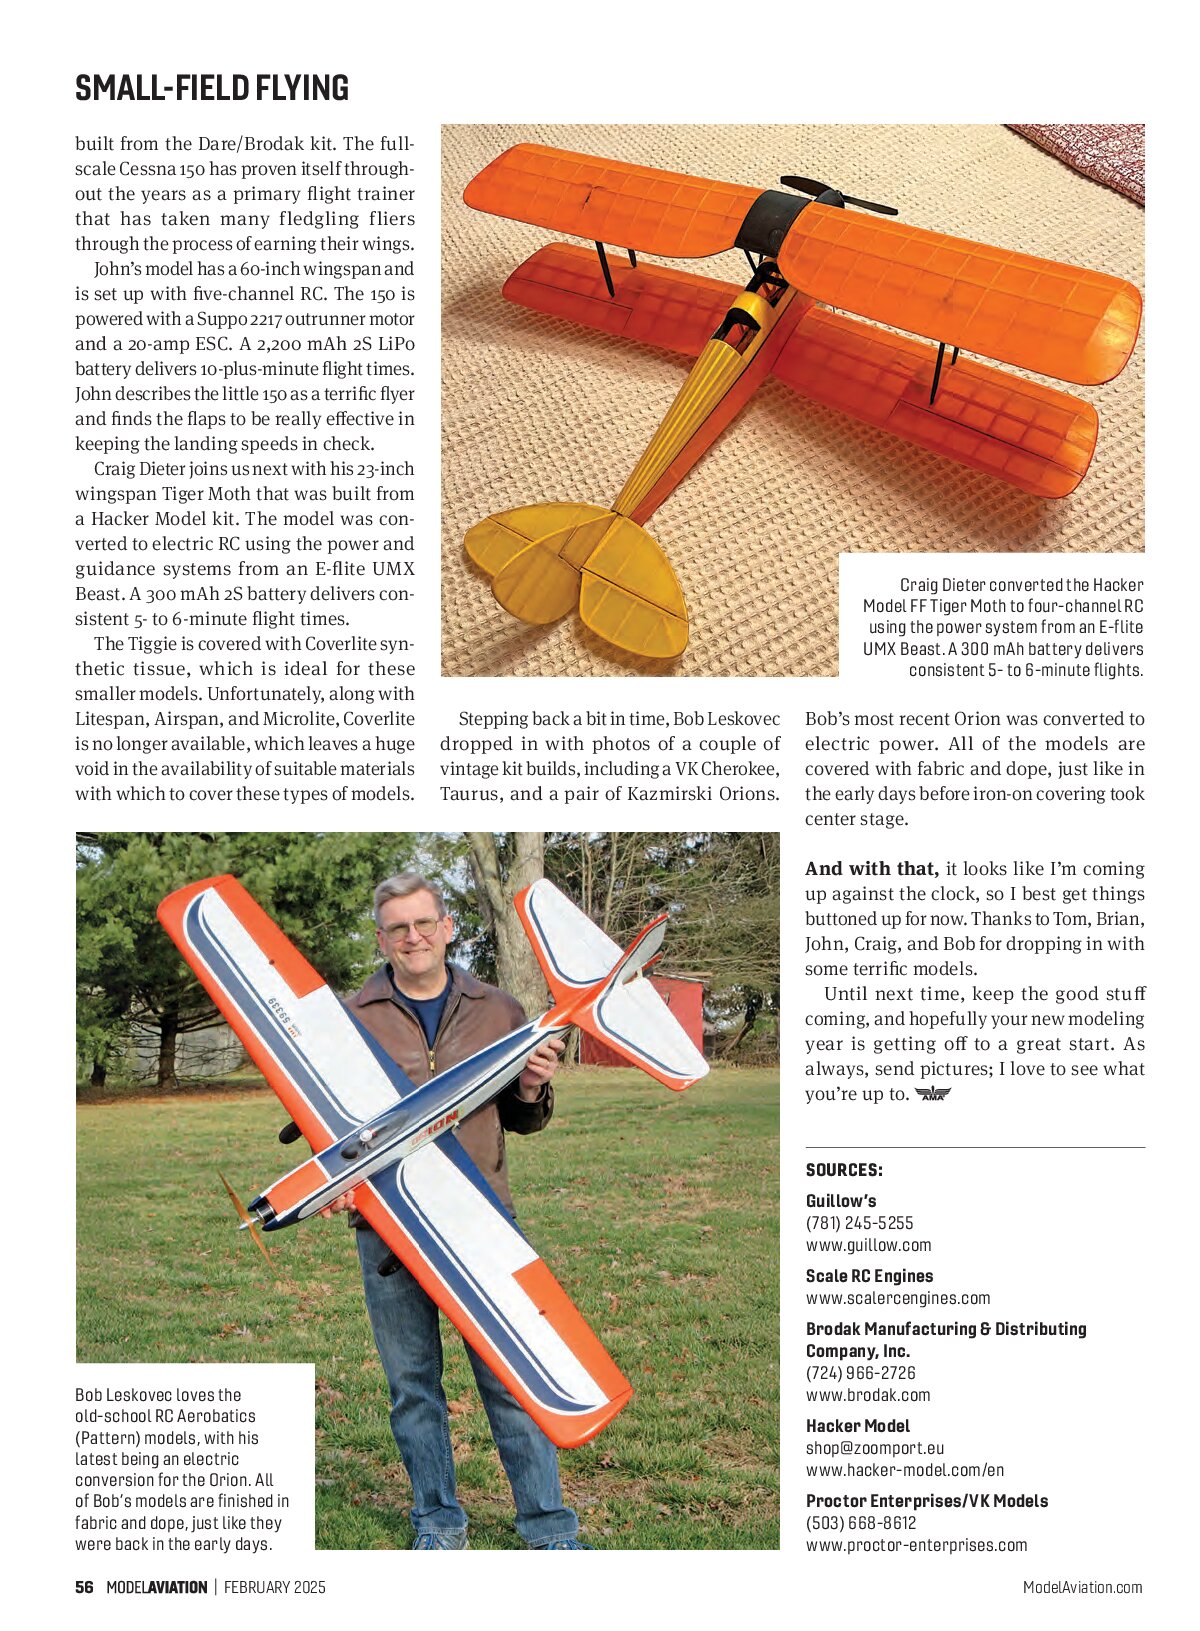
Leaning back into more modern times, John Donnelly brings us his Cessna 150

SMALL-FIELD FLYING
built from the Dare/Brodak kit. The full-scale Cessna 150 has proven itself throughout the years as a primary flight trainer that has taken many fledgling fliers through the process of earning their wings. John’s model has a 60-inch wingspan and is set up with five-channel RC. The 150 is powered with a Suppo 2217 outrunner motor and a 20-amp ESC. A 2,200 mAh 2S LiPo battery delivers 10-plus-minute flight times. John describes the little 150 as a terrific flyer and finds the flaps to be really effective in keeping the landing speeds in check.
Craig Dieter joins us next with his 23-inch wingspan Tiger Moth that was built from a Hacker Model kit. The model was converted to electric RC using the power and guidance systems from an E-flite UMX Beast. A 300 mAh 2S battery delivers consistent 5- to 6-minute flight times.

The Tiggie is covered with Coverlite synthetic tissue, which is ideal for these smaller models. Unfortunately, along with Litespan, Airspan, and Microlite, Coverlite is no longer available, which leaves a huge void in the availability of suitable materials with which to cover these types of models.
Stepping back a bit in time, Bob Leskovec dropped in with photos of a couple of vintage kit builds, including a VK Cherokee, Taurus, and a pair of Kazmirski Orions.

Bob’s most recent Orion was converted to electric power. All of the models are covered with fabric and dope, just like in the early days before iron-on covering took center stage.
And with that, it looks like I’m coming up against the clock, so I best get things buttoned up for now. Thanks to Tom, Brian, John, Craig, and Bob for dropping in with some terrific models.
Until next time, keep the good stuff coming, and hopefully your new modeling year is getting off to a great start. As always, send pictures; I love to see what you’re up to.
SOURCES:
Guillow’s
(781) 245-5255
www.guillow.com
Scale RC Engines
www.scalercengines.com
Brodak Manufacturing & Distributing Company, Inc.
(724) 966-2726
www.brodak.com
Hacker Model
shop@zoomport.eu
www.hacker-model.com/en
Proctor Enterprises/VK Models
(503) 668-8612
www.proctor-enterprises.com