RC SLOPE SOARING

BUILDER’S DILEMMA
By Greg Schutte | gshooty@yahoo.com
ONE OF THE DOWNSIDES to flying Slope Soaring airplanes is that I am always breaking them. Now, I do look at that as an excuse to build another one most of the time, so it is not a complete loss. With the use of foam and other building materials, they can be made to last longer.
My A-10 is a prime example. The elevator is now broken. I have had to fix it multiple times and it broke again the last time I flew. The tail feathers are made from hard balsa, which makes for a strong elevator, but it is not easy to fix. My next build will use different tail feather material.
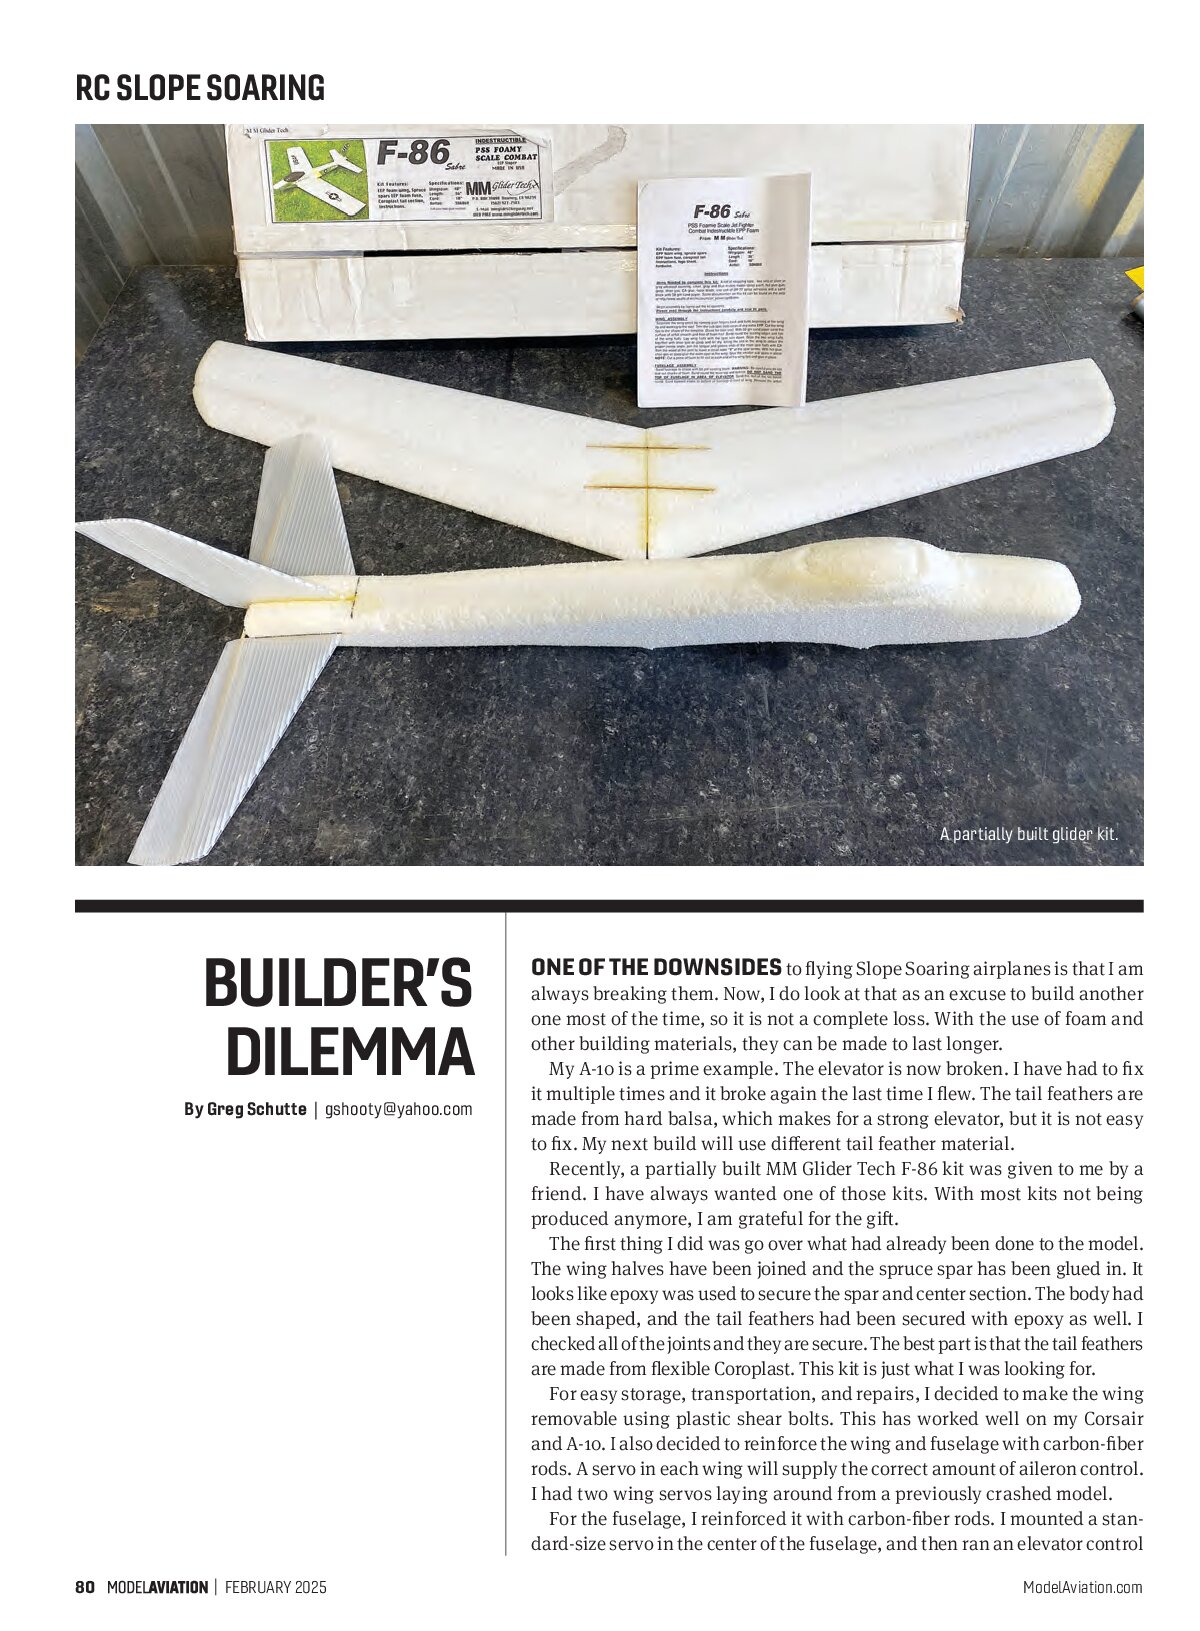
Recently, a partially built MM Glider Tech F-86 kit was given to me by a friend. I have always wanted one of those kits. With most kits not being produced anymore, I am grateful for the gift.
The first thing I did was go over what had already been done to the model. The wing halves have been joined and the spruce spar has been glued in. It looks like epoxy was used to secure the spar and center section. The body had been shaped, and the tail feathers had been secured with epoxy as well. I checked all of the joints and they are secure. The best part is that the tail feathers are made from flexible Coroplast. This kit is just what I was looking for.
For easy storage, transportation, and repairs, I decided to make the wing removable using plastic shear bolts. This has worked well on my Corsair and A-10. I also decided to reinforce the wing and fuselage with carbon-fiber rods. A servo in each wing will supply the correct amount of aileron control. I had two wing servos laying around from a previously crashed model.
For the fuselage, I reinforced it with carbon-fiber rods. I mounted a standard-size servo in the center of the fuselage, and then ran an elevator control
tube through the body. I glued the wing mounting blocks, servo, outer elevator control tube, and the carbon-fiber rods in with Shoe Goo. The tail feathers are clear Coroplast with a fiberglass tape hinge on the elevator. There is a bamboo rod epoxied into the Coroplast to make both elevators work as one.
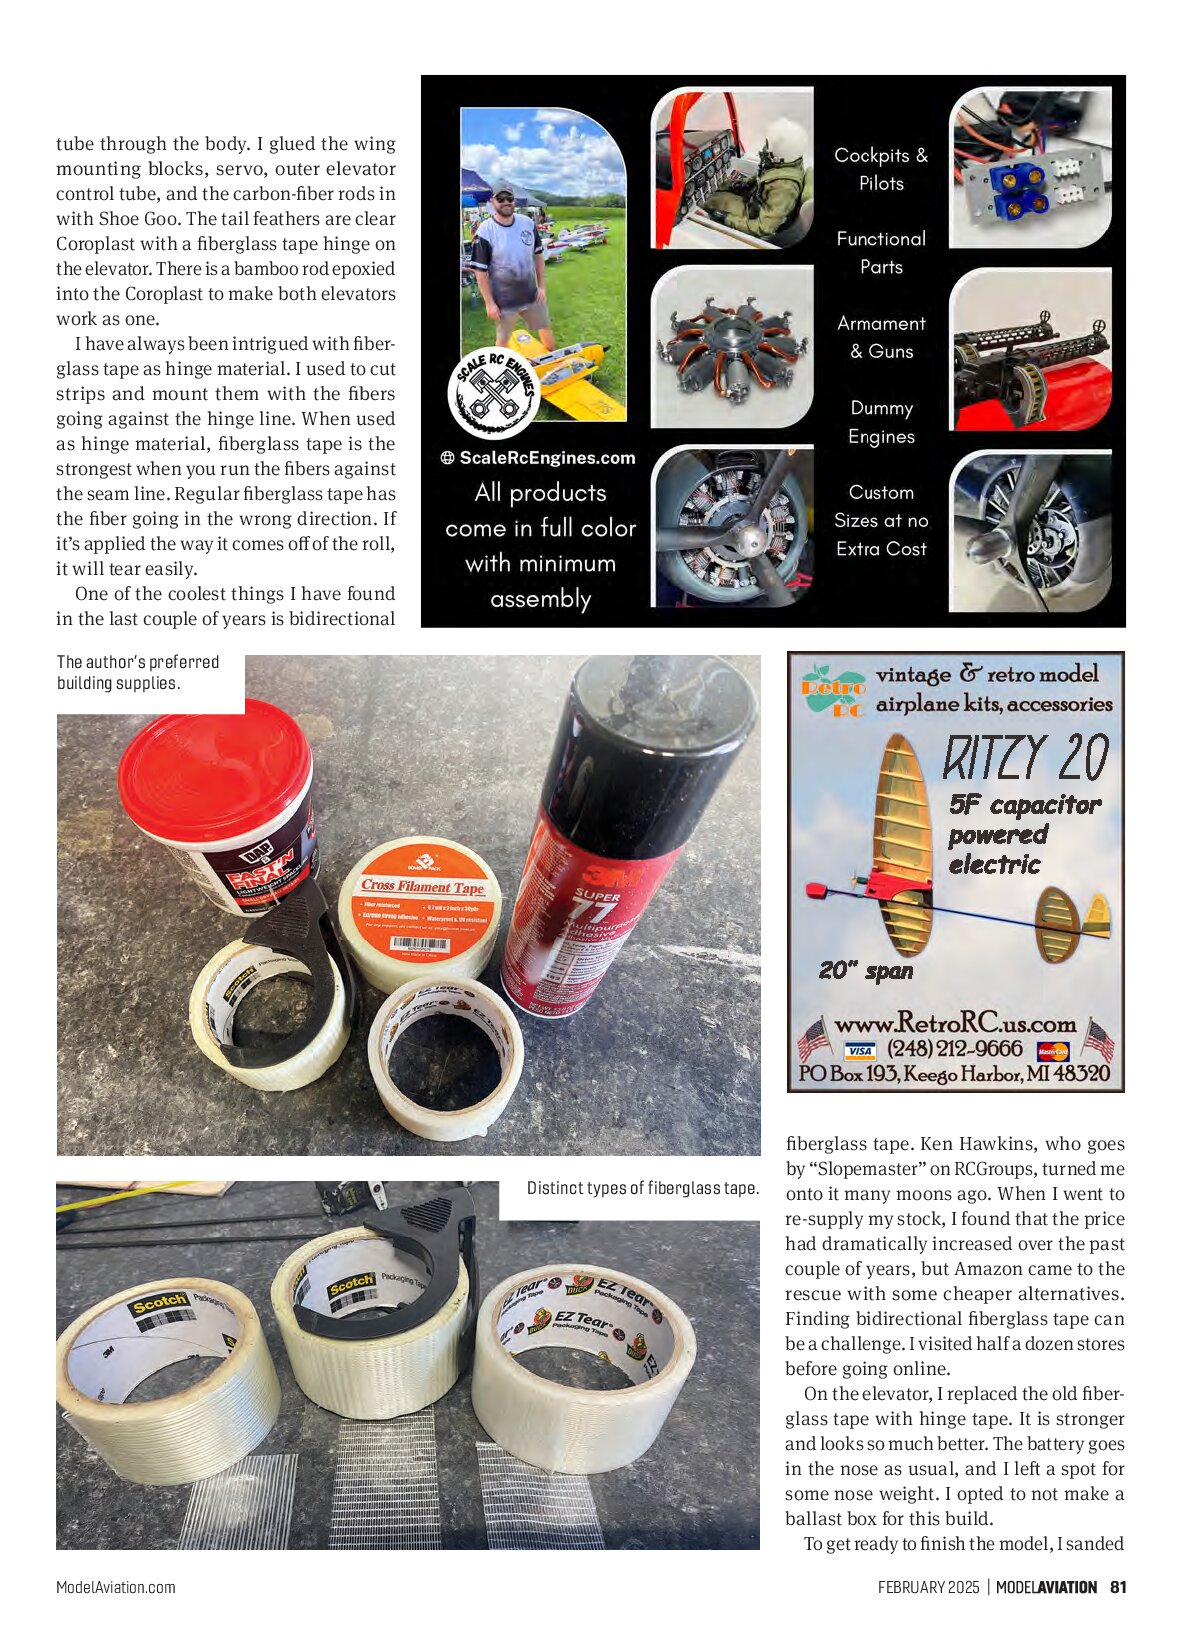
I have always been intrigued with fiberglass tape as hinge material. I used to cut strips and mount them with the fibers going against the hinge line. When used as hinge material, fiberglass tape is the strongest when you run the fibers against the seam line. Regular fiberglass tape has the fiber going in the wrong direction. If it’s applied the way it comes off of the roll, it will tear easily.
One of the coolest things I have found in the last couple of years is bidirectional

fiberglass tape. Ken Hawkins, who goes by “Slopemaster” on RCGroups, turned me onto it many moons ago. When I went to re-supply my stock, I found that the price had dramatically increased over the past couple of years, but Amazon came to the rescue with some cheaper alternatives. Finding bidirectional fiberglass tape can be a challenge. I visited half a dozen stores before going online.
On the elevator, I replaced the old fiberglass tape with hinge tape. It is stronger and looks so much better. The battery goes in the nose as usual, and I left a spot for some nose weight. I opted to not make a ballast box for this build.
To get ready to finish the model, I sanded

RC SLOPE SOARING


it to get rid of any spiderwebs from the cutting process, and then covered the whole thing with lightweight spackle. This trick was also given to me by Ken. I love how it ends up producing a smooth model. The DAP brand of spackle is what I use.
Covering foam with spackle then sanding it off doesn’t seem right to me, but the results speak for themselves. For the best results when sanding, wait at least 24 hours from the time you put it on to the time you sand it off. If you sand it too early, it will come off in little, doughy rolls instead of dust. They will scar and gouge your model and you will have to redo the spackle.
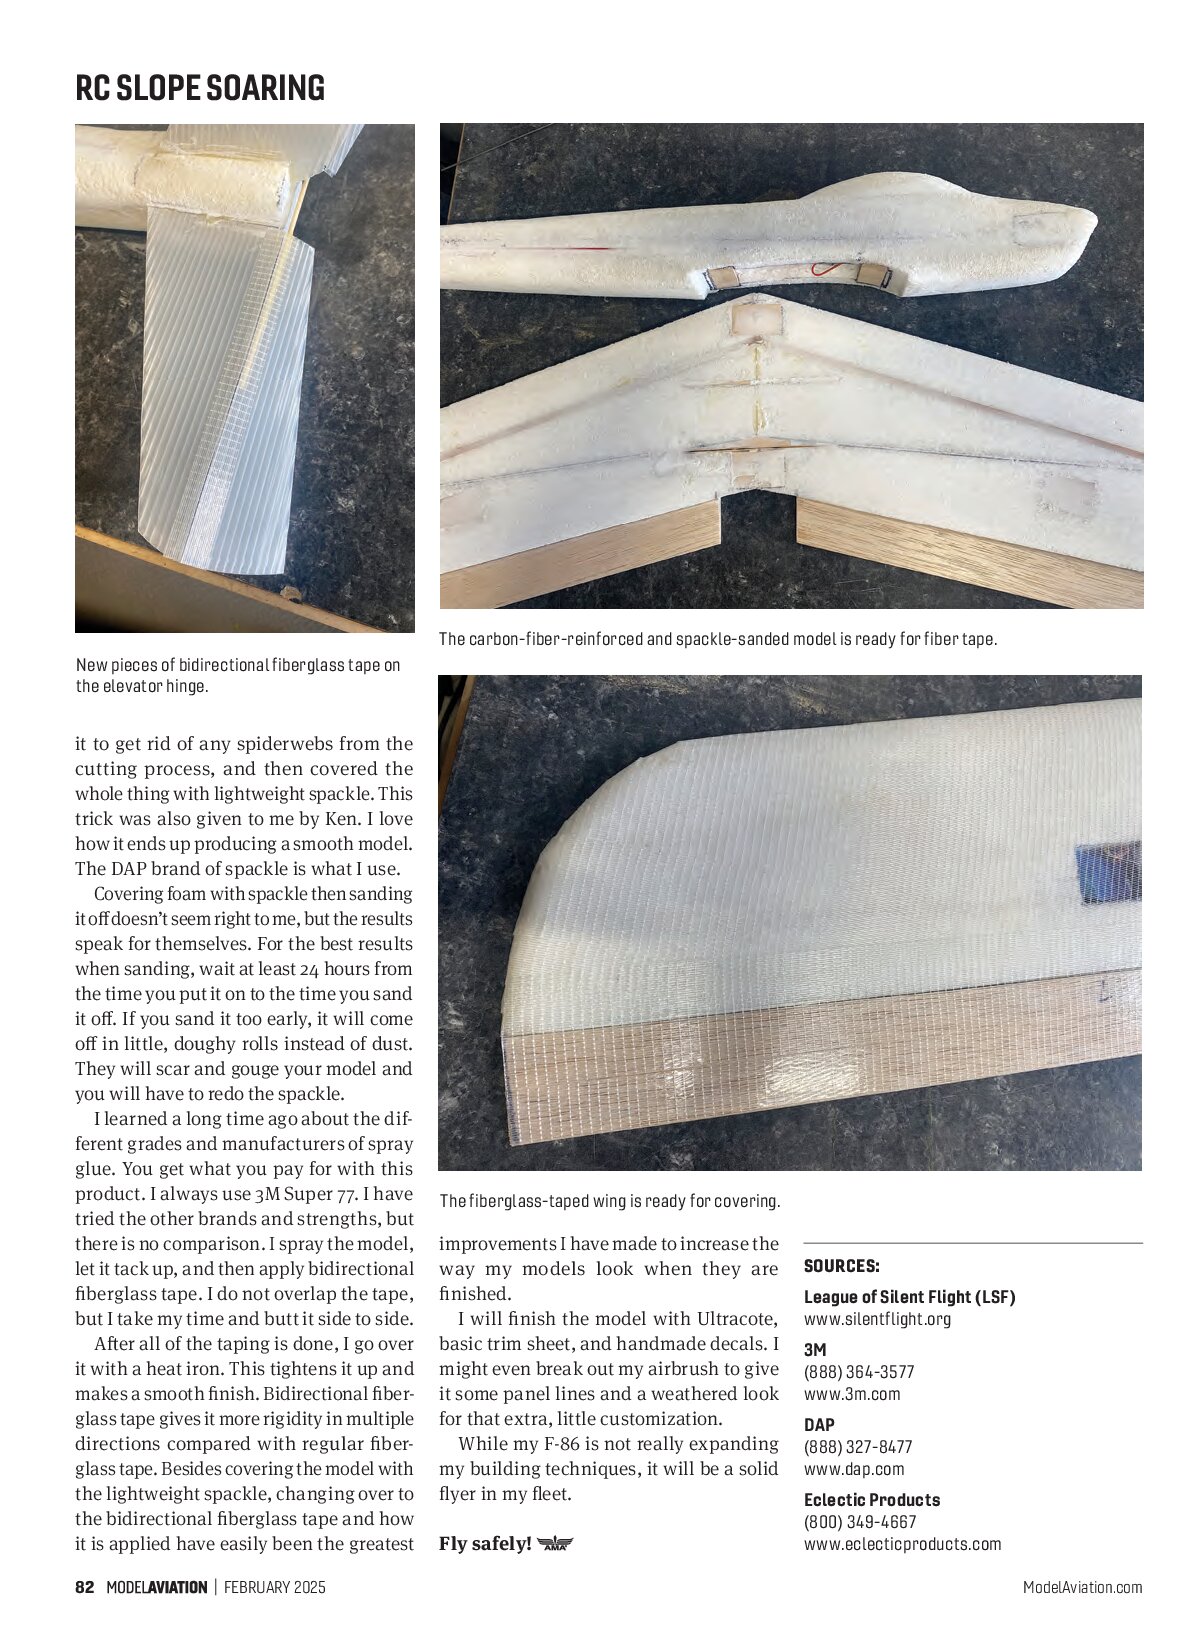
I learned a long time ago about the different grades and manufacturers of spray glue. You get what you pay for with this product. I always use 3M Super 77. I have tried the other brands and strengths, but there is no comparison. I spray the model, let it tack up, and then apply bidirectional fiberglass tape. I do not overlap the tape, but I take my time and butt it side to side.
After all of the taping is done, I go over it with a heat iron. This tightens it up and makes a smooth finish. Bidirectional fiberglass tape gives it more rigidity in multiple directions compared with regular fiberglass tape. Besides covering the model with the lightweight spackle, changing over to the bidirectional fiberglass tape and how it is applied have easily been the greatest improvements I have made to increase the way my models look when they are finished.

I will finish the model with Ultracote, basic trim sheet, and handmade decals. I might even break out my airbrush to give it some panel lines and a weathered look for that extra, little customization.
While my F-86 is not really expanding my building techniques, it will be a solid flyer in my fleet.
Fly safely!
SOURCES:
League of Silent Flight (LSF)
www.silentflight.org
3M
(888) 364-3577
www.3m.com
DAP
(888) 327-8477
www.dap.com
Eclectic Products
(800) 349-4667
www.eclecticproducts.com