RC GIANT SCALE

HORIZON HOBBY KI-43 OSCAR ARF MAKEOVER
By Sal Calvagna | rcgiants@optonline.net
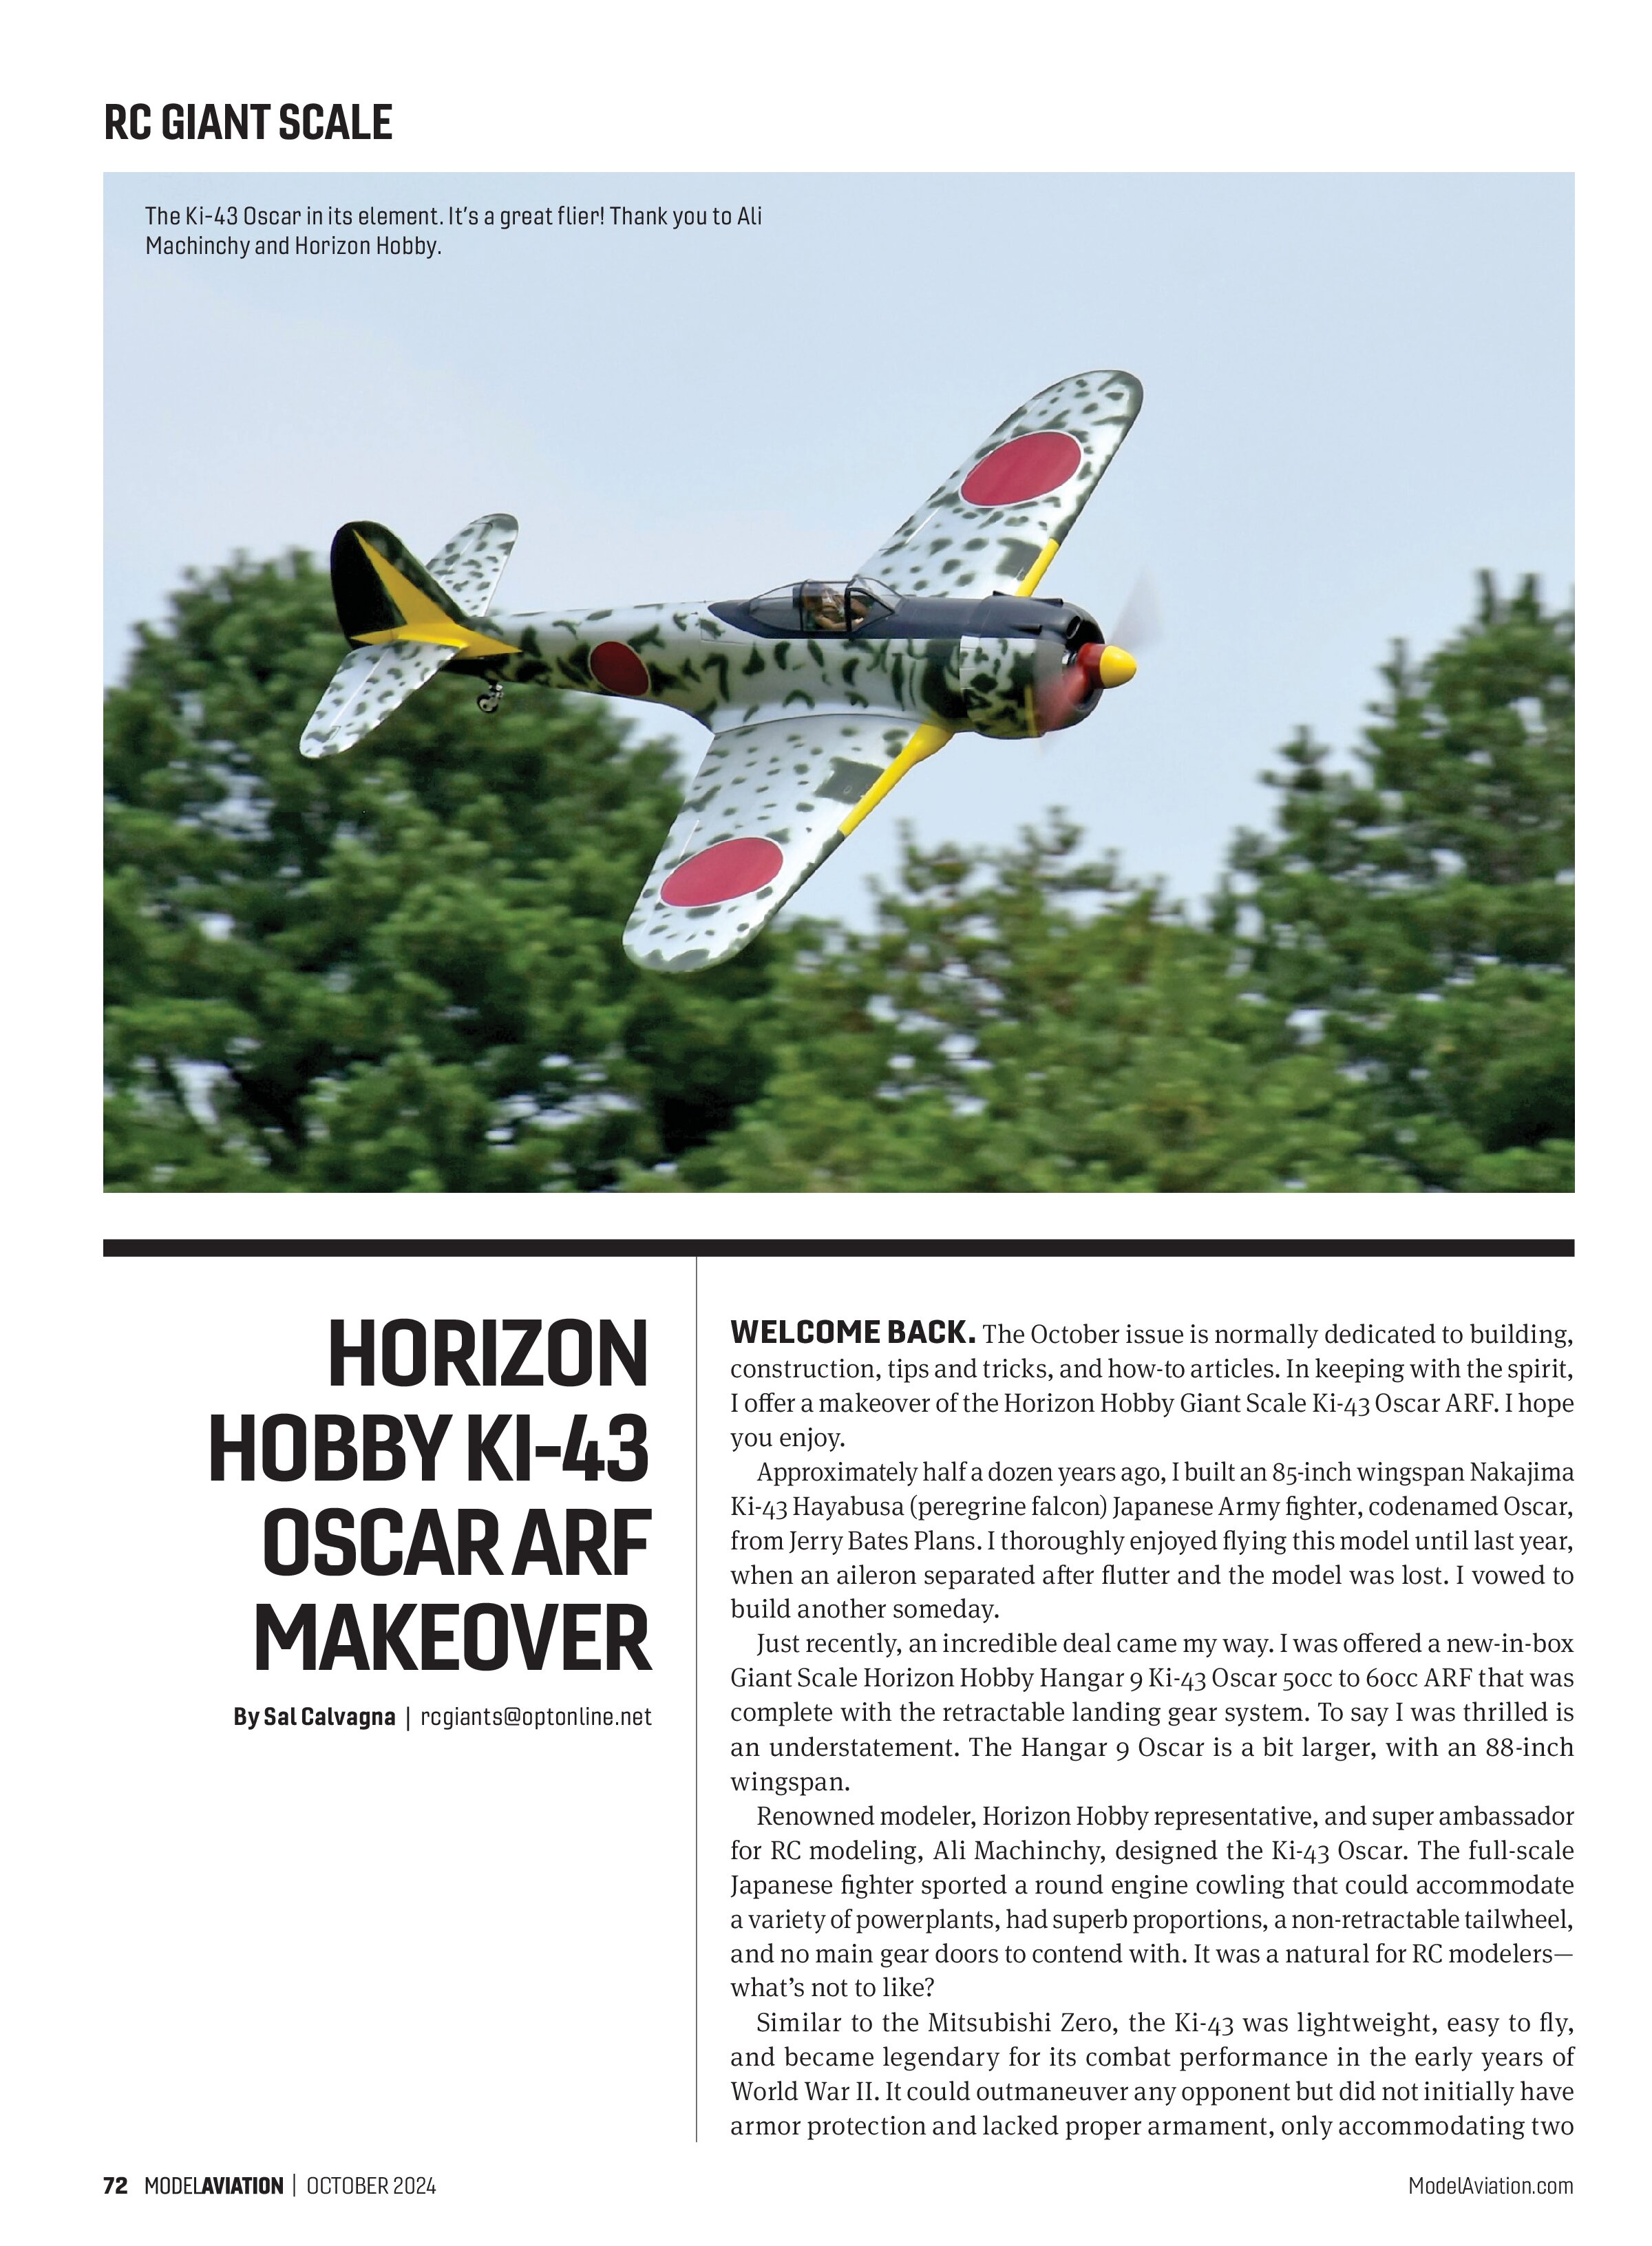
WELCOME BACK. The October issue is normally dedicated to building, construction, tips and tricks, and how-to articles. In keeping with the spirit, I offer a makeover of the Horizon Hobby Giant Scale Ki-43 Oscar ARF. I hope you enjoy.
Approximately half a dozen years ago, I built an 85-inch wingspan Nakajima Ki-43 Hayabusa (peregrine falcon) Japanese Army fighter, codenamed Oscar, from Jerry Bates Plans. I thoroughly enjoyed flying this model until last year, when an aileron separated after flutter and the model was lost. I vowed to build another someday.
Just recently, an incredible deal came my way. I was offered a new-in-box Giant Scale Horizon Hobby Hangar 9 Ki-43 Oscar 50cc to 60cc ARF that was complete with the retractable landing gear system. To say I was thrilled is an understatement. The Hangar 9 Oscar is a bit larger, with an 88-inch wingspan.
Renowned modeler, Horizon Hobby representative, and super ambassador for RC modeling, Ali Machinchy, designed the Ki-43 Oscar. The full-scale Japanese fighter sported a round engine cowling that could accommodate a variety of powerplants, had superb proportions, a non-retractable tailwheel, and no main gear doors to contend with. It was a natural for RC modelers—what’s not to like?
Similar to the Mitsubishi Zero, the Ki-43 was lightweight, easy to fly, and became legendary for its combat performance in the early years of World War II. It could outmaneuver any opponent but did not initially have armor protection and lacked proper armament, only accommodating two 50-caliber machine guns. Nevertheless, the Ki-43 shot down more Allied airplanes during the war than any other Japanese fighter.
The Hangar 9 88-inch wingspan ARF version comes covered with a printed film covering that is similar to shelf liner with a super sticky backing. While I appreciated the finish, complete with panel line, rivet, and camouflage details, I wanted to create my own, unique Oscar.
I could have scuffed and painted the surface, but I decided to strip the covering and fiberglass the whole model. It only took a couple of hours to remove all of the covering, which came off fairly easily without damaging the wood surface underneath.
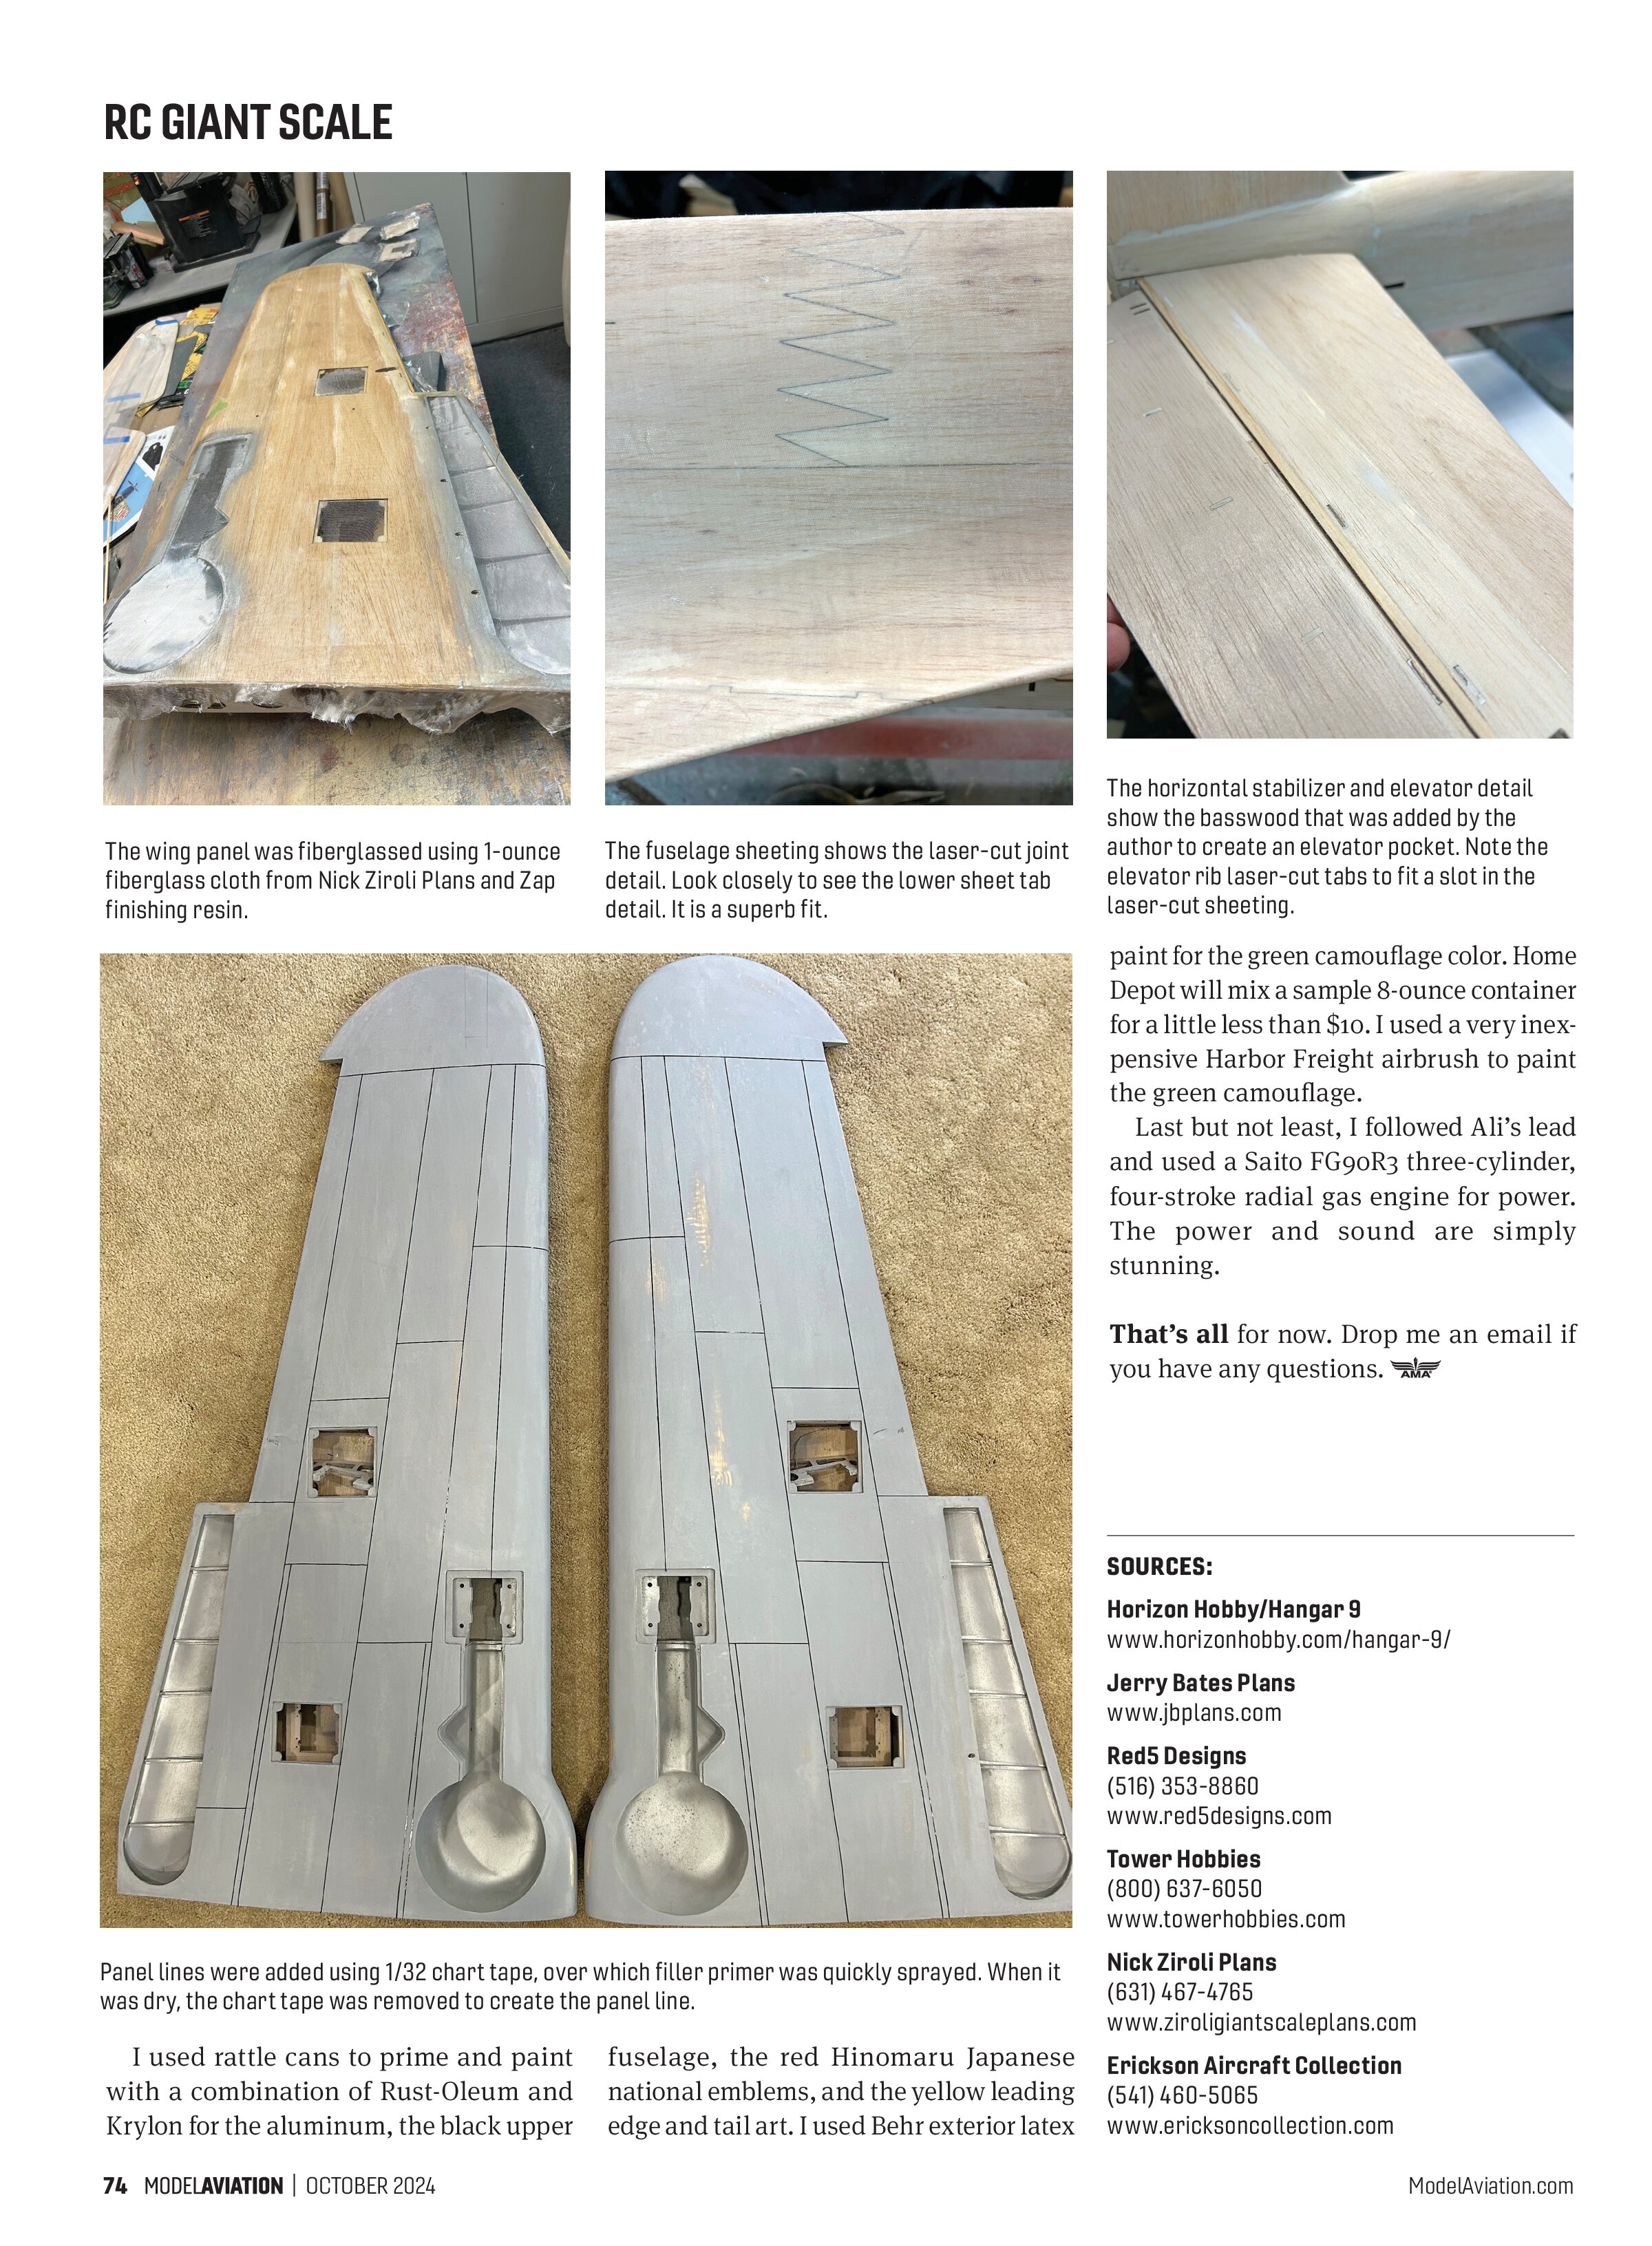
This is where I could see how super the model was designed and built. First, all of the balsa was of high quality, with no soft pieces. All of the parts were laser-cut to fit, even the sheeting. All of the balsa seams were tight. Even the small ribs in the moveable surfaces were tabbed into the sheeting. I was quite impressed.
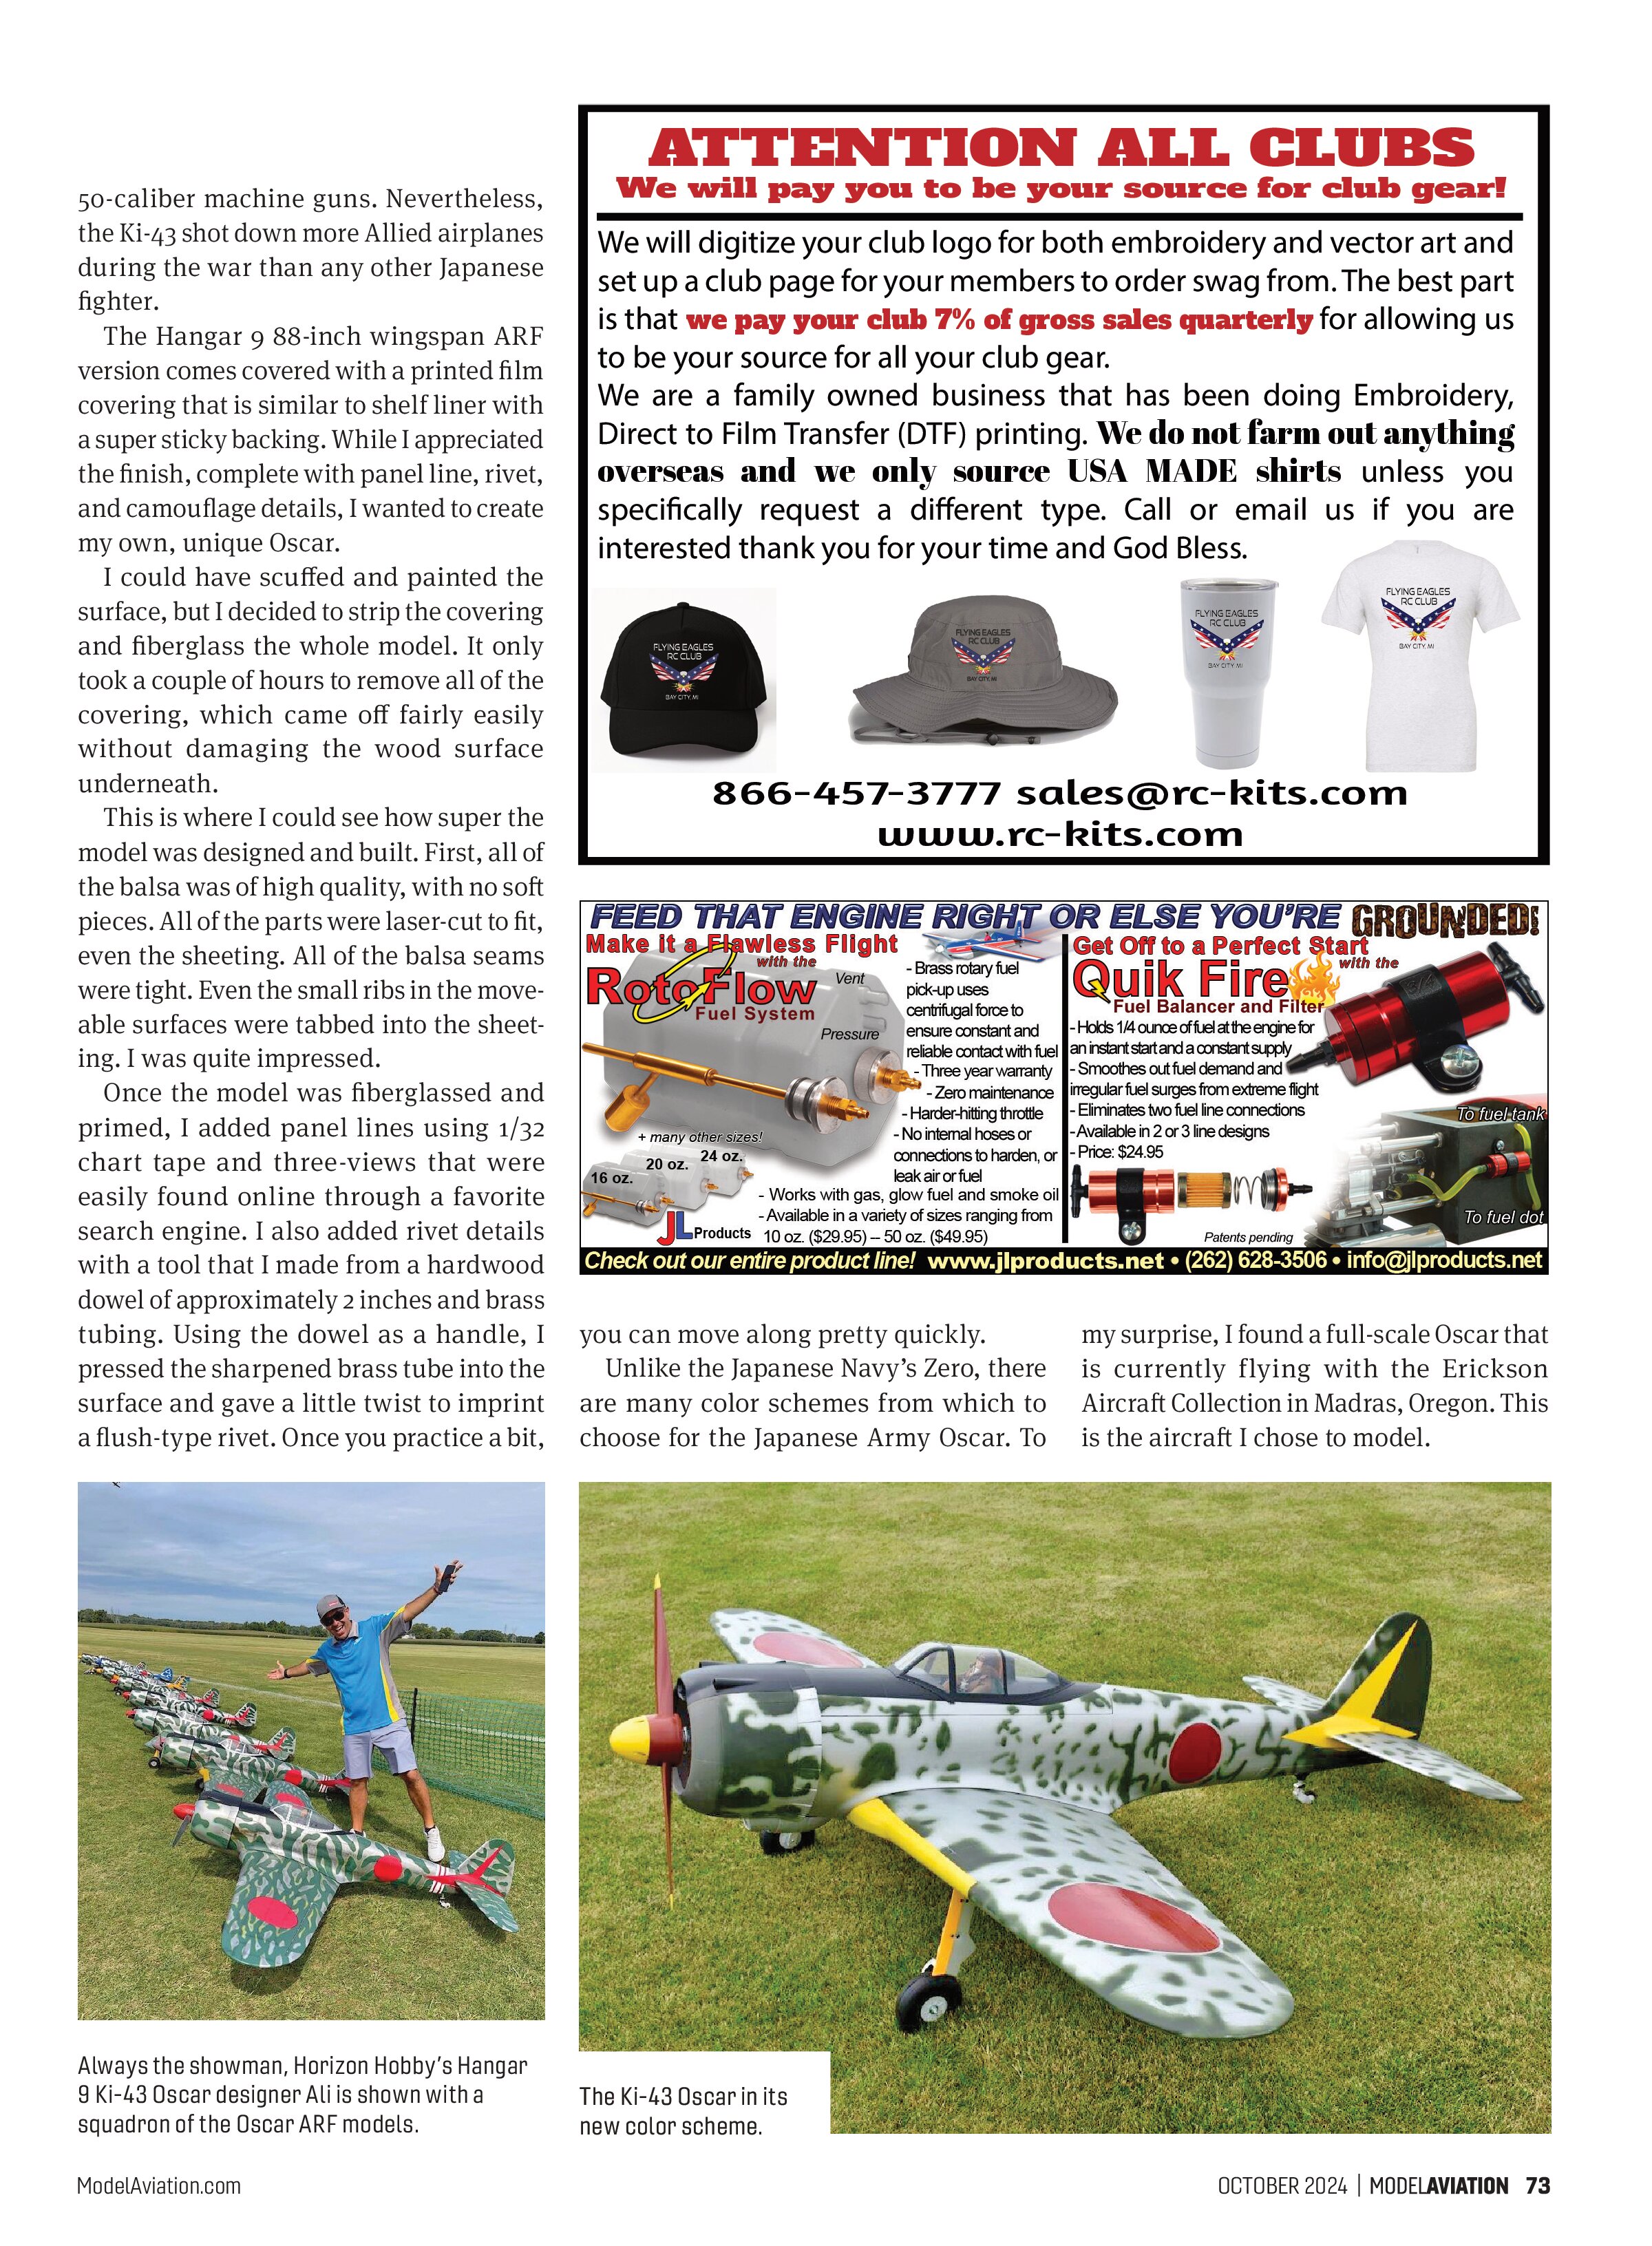
Once the model was fiberglassed and primed, I added panel lines using 1/32 chart tape and three-views that were easily found online through a favorite search engine. I also added rivet details with a tool that I made from a hardwood dowel of approximately 2 inches and brass tubing. Using the dowel as a handle, I pressed the sharpened brass tube into the surface and gave a little twist to imprint a flush-type rivet. Once you practice a bit, you can move along pretty quickly.
Unlike the Japanese Navy’s Zero, there are many color schemes from which to choose for the Japanese Army Oscar. To my surprise, I found a full-scale Oscar that is currently flying with the Erickson Aircraft Collection in Madras, Oregon. This is the aircraft I chose to model.


paint for the green camouflage color. Home Depot will mix a sample 8-ounce container for a little less than $10. I used a very inexpensive Harbor Freight airbrush to paint the green camouflage.
Last but not least, I followed Ali’s lead and used a Saito FG90R3 three-cylinder, four-stroke radial gas engine for power. The power and sound are simply stunning.
That’s all for now. Drop me an email if you have any questions.

I used rattle cans to prime and paint with a combination of Rust-Oleum and Krylon for the aluminum, the black upper fuselage, the red Hinomaru Japanese national emblems, and the yellow leading edge and tail art. I used Behr exterior latex
Panel lines were added using 1/32 chart tape, over which filler primer was quickly sprayed. When it was dry, the chart tape was removed to create the panel line.
SOURCES:
Horizon Hobby/Hangar 9
www.horizonhobby.com/hangar-9/
Jerry Bates Plans
www.jbplans.com
Red5 Designs
(516) 353-8860
www.red5designs.com
Tower Hobbies
(800) 637-6050
www.towerhobbies.com
Nick Ziroli Plans
(631) 467-4765
www.ziroligiantscaleplans.com
Erickson Aircraft Collection
(541) 460-5065
www.ericksoncollection.com