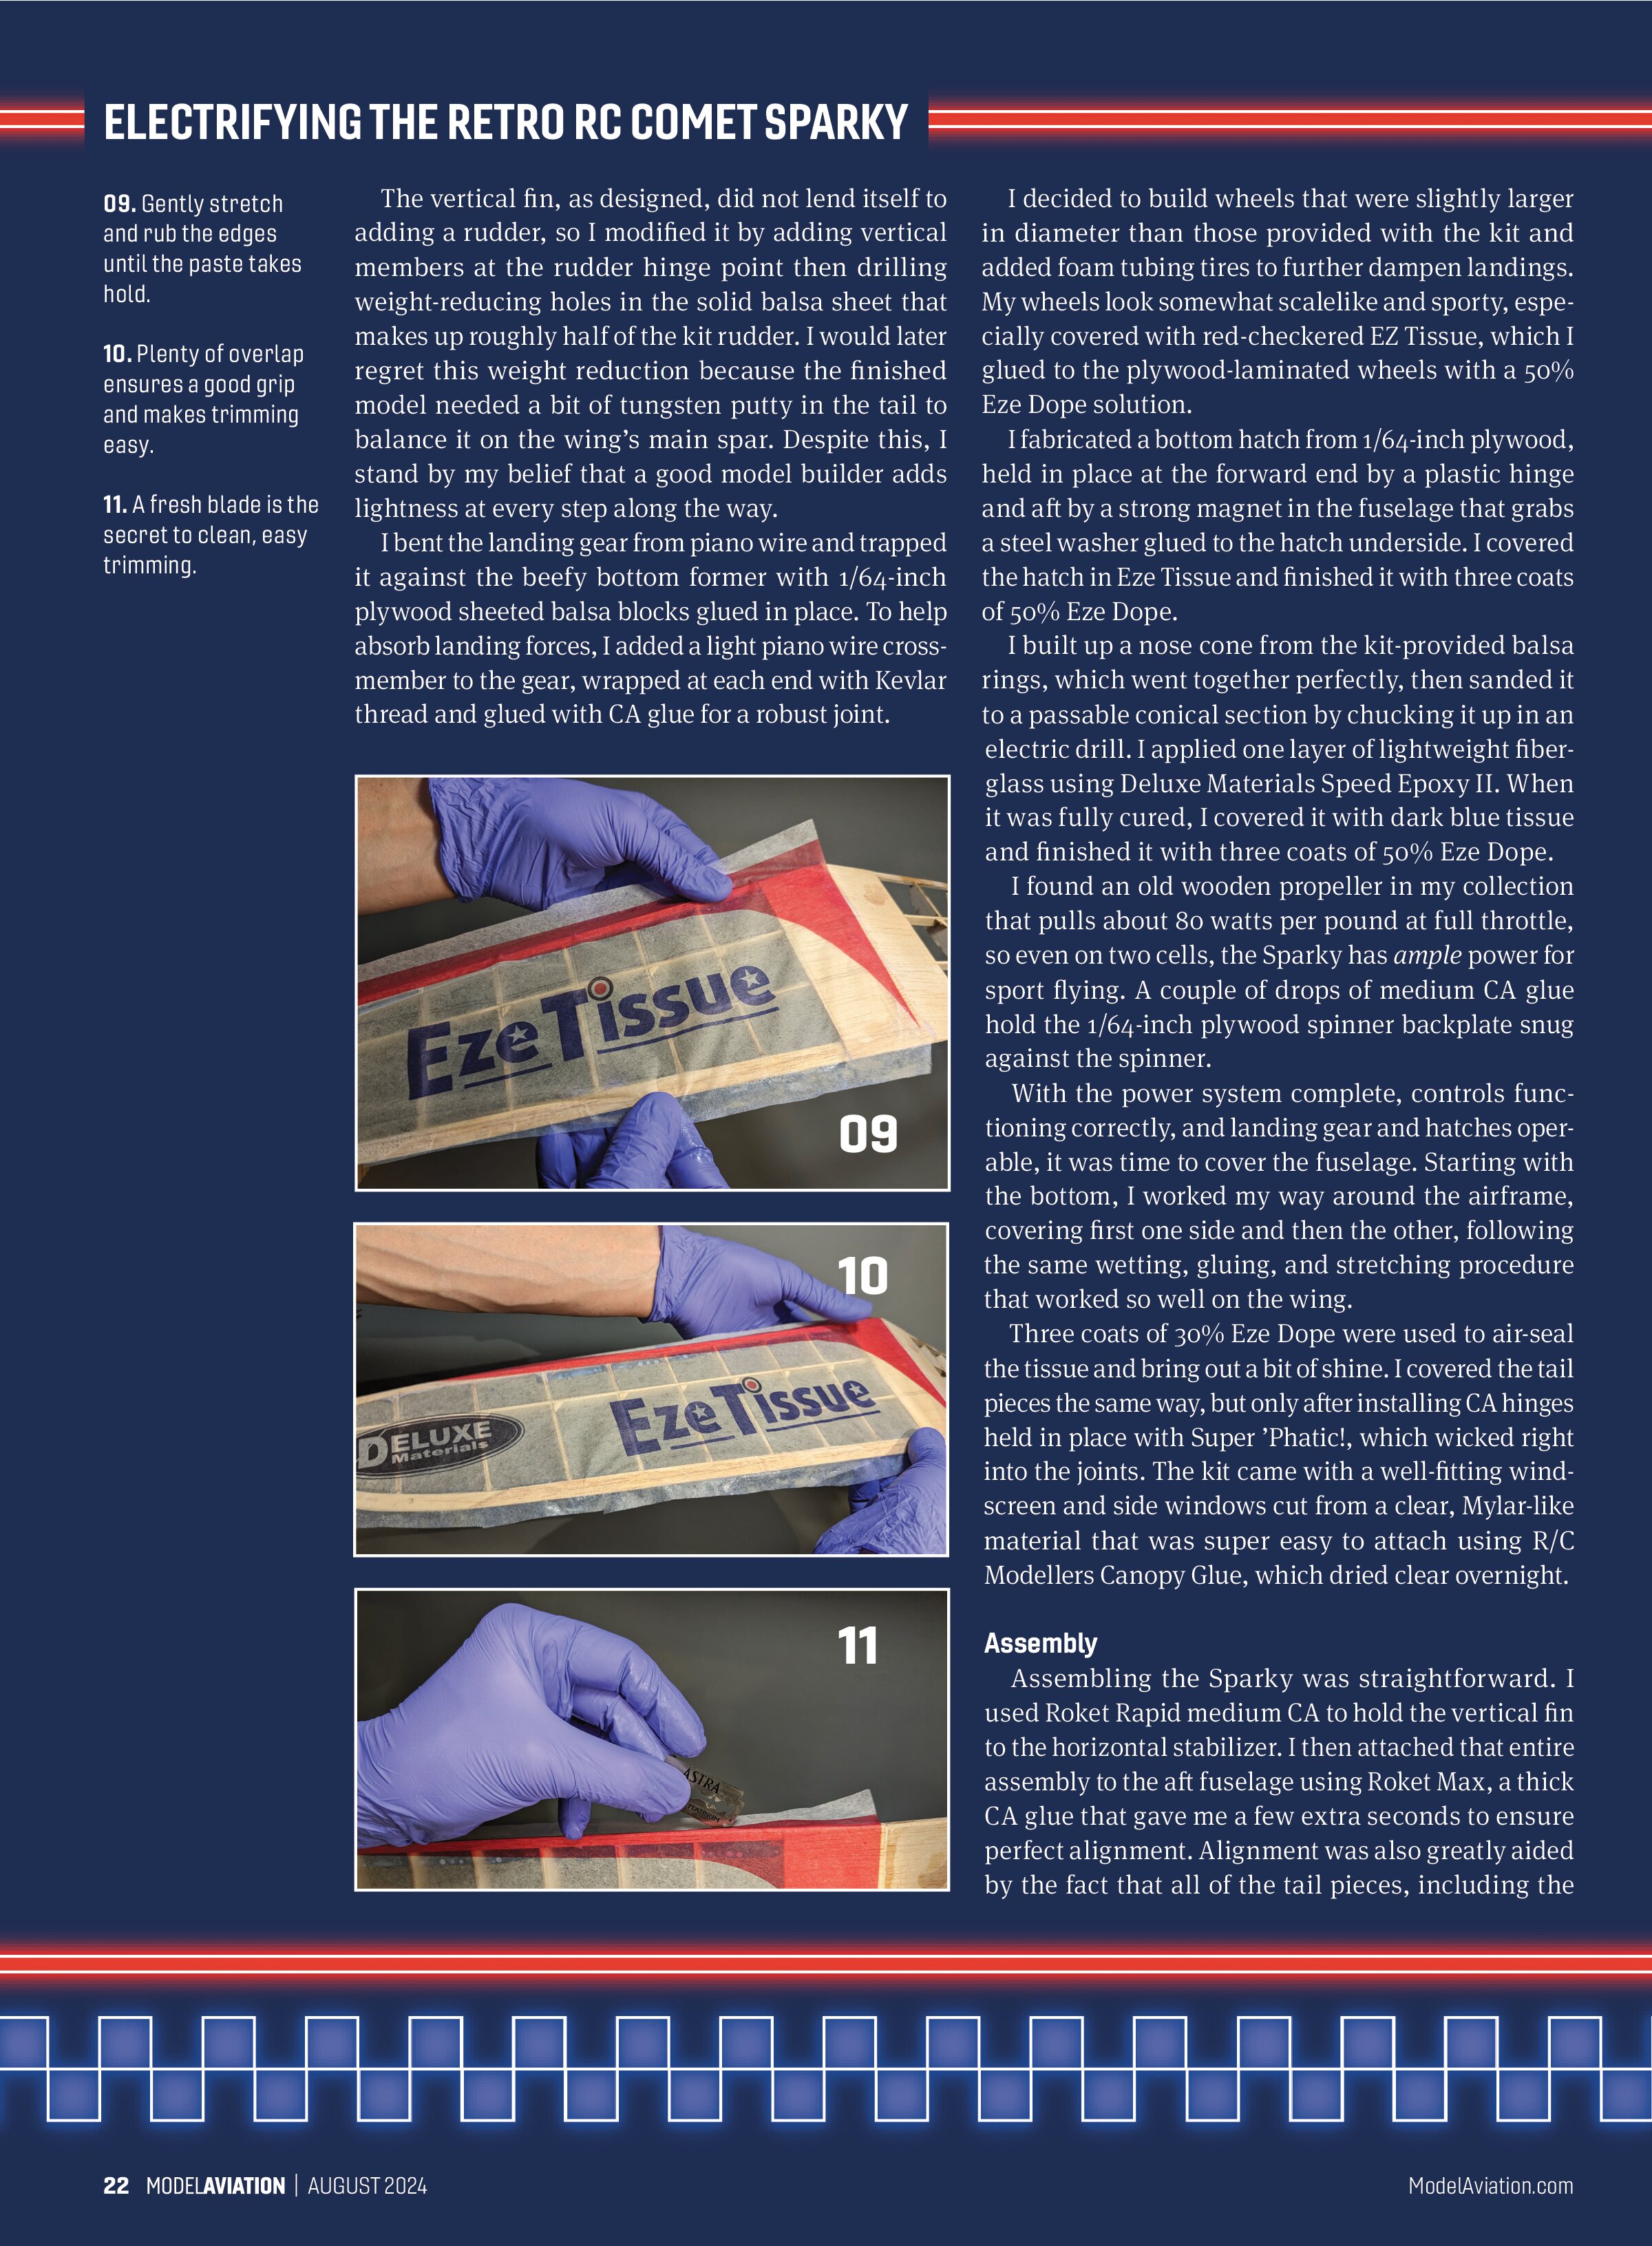
Electrifying the Retro RC Comet Sparky
A new take on an old model
By Matt Haugh
matt.haugh@gmail.com
Photos by the author

The Comet Sparky, an iconic, pre-World War II, rubber-powered, stick-and-tissue model, has inhabited my RC conversion list for years. I recently learned that my friend and mentor, Bob Benjamin, converted an original Comet Sparky kit to an electric RC model in collaboration with Deluxe Materials, a British company that produces a wide range of adhesives and building supplies.
I decided it was time to take the plunge and tackle a Sparky model of my own. Bob kindly introduced me to the Deluxe Materials team that had supplied him with various glues and tissue covering for his build and I expressed interest in doing the same for mine. I agreed to use their products (provided gratis) exclusively on my Sparky, with the provision that any evaluation would remain objective. Fortunately, everything provided by Deluxe Materials met or exceeded my expectations, so no awkwardness ensued.
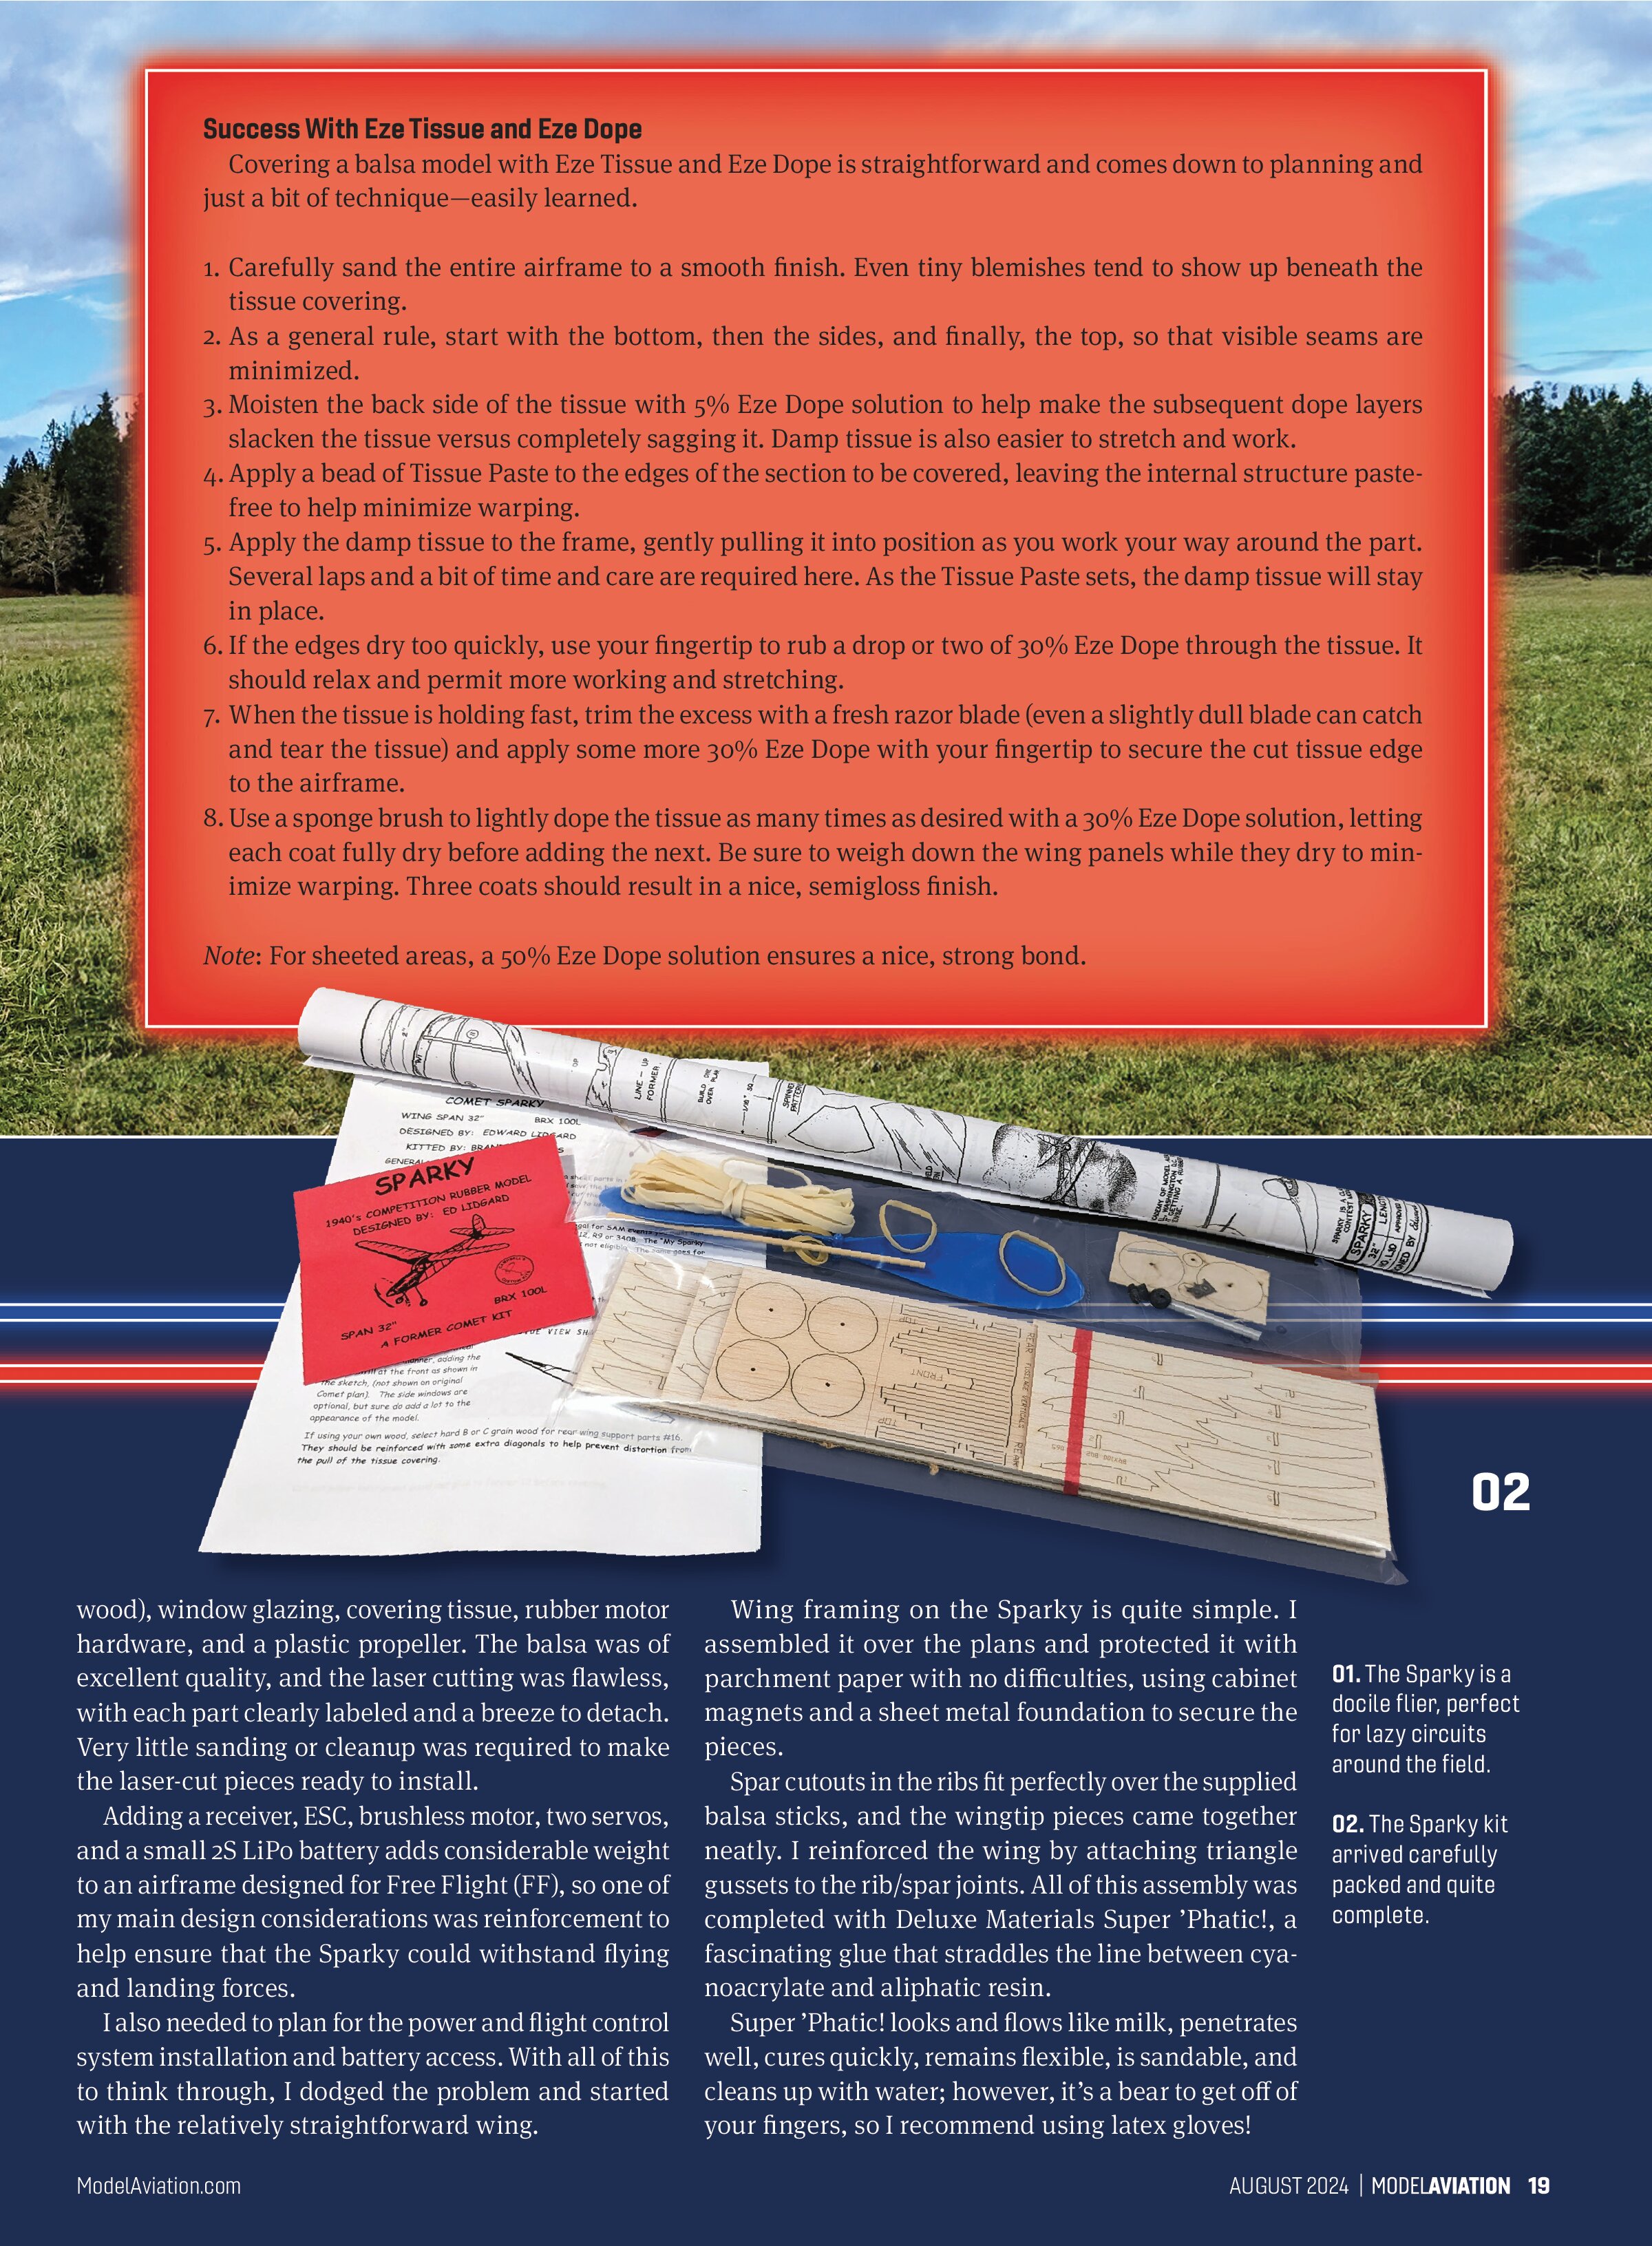
Although original pre-war Comet kits tend to be scarce and expensive (Bob’s Sparky kit was in his impressive archive), Retro RC sells an affordable and quite complete laser-cut kit. That’s the direction I chose, purchasing the kit and a few odds and ends, all of which arrived only a few days after ordering.
The kit came neatly packaged in a heavy-duty, clear, plastic sleeve and included full-size paper plans, printed instructions, all of the required wood parts (even stick
Success With Eze Tissue and Eze Dope
Covering a balsa model with Eze Tissue and Eze Dope is straightforward and comes down to planning and just a bit of technique—easily learned.
- Carefully sand the entire airframe to a smooth finish. Even tiny blemishes tend to show up beneath the tissue covering.
- As a general rule, start with the bottom, then the sides, and finally, the top, so that visible seams are minimized.
- Moisten the back side of the tissue with 5% Eze Dope solution to help make the subsequent dope layers slacken the tissue versus completely sagging it. Damp tissue is also easier to stretch and work.
- Apply a bead of Tissue Paste to the edges of the section to be covered, leaving the internal structure paste-free to help minimize warping.
- Apply the damp tissue to the frame, gently pulling it into position as you work your way around the part. Several laps and a bit of time and care are required here. As the Tissue Paste sets, the damp tissue will stay in place.
- If the edges dry too quickly, use your fingertip to rub a drop or two of 30% Eze Dope through the tissue. It should relax and permit more working and stretching.
- When the tissue is holding fast, trim the excess with a fresh razor blade (even a slightly dull blade can catch and tear the tissue) and apply some more 30% Eze Dope with your fingertip to secure the cut tissue edge to the airframe.
- Use a sponge brush to lightly dope the tissue as many times as desired with a 30% Eze Dope solution, letting each coat fully dry before adding the next. Be sure to weigh down the wing panels while they dry to minimize warping. Three coats should result in a nice, semigloss finish.
Note: For sheeted areas, a 50% Eze Dope solution ensures a nice, strong bond.
wood), window glazing, covering tissue, rubber motor hardware, and a plastic propeller. The balsa was of excellent quality, and the laser cutting was flawless, with each part clearly labeled and a breeze to detach. Very little sanding or cleanup was required to make the laser-cut pieces ready to install.
Adding a receiver, ESC, brushless motor, two servos, and a small 2S LiPo battery adds considerable weight to an airframe designed for Free Flight (FF), so one of my main design considerations was reinforcement to help ensure that the Sparky could withstand flying and landing forces.
I also needed to plan for the power and flight control system installation and battery access. With all of this to think through, I dodged the problem and started with the relatively straightforward wing.
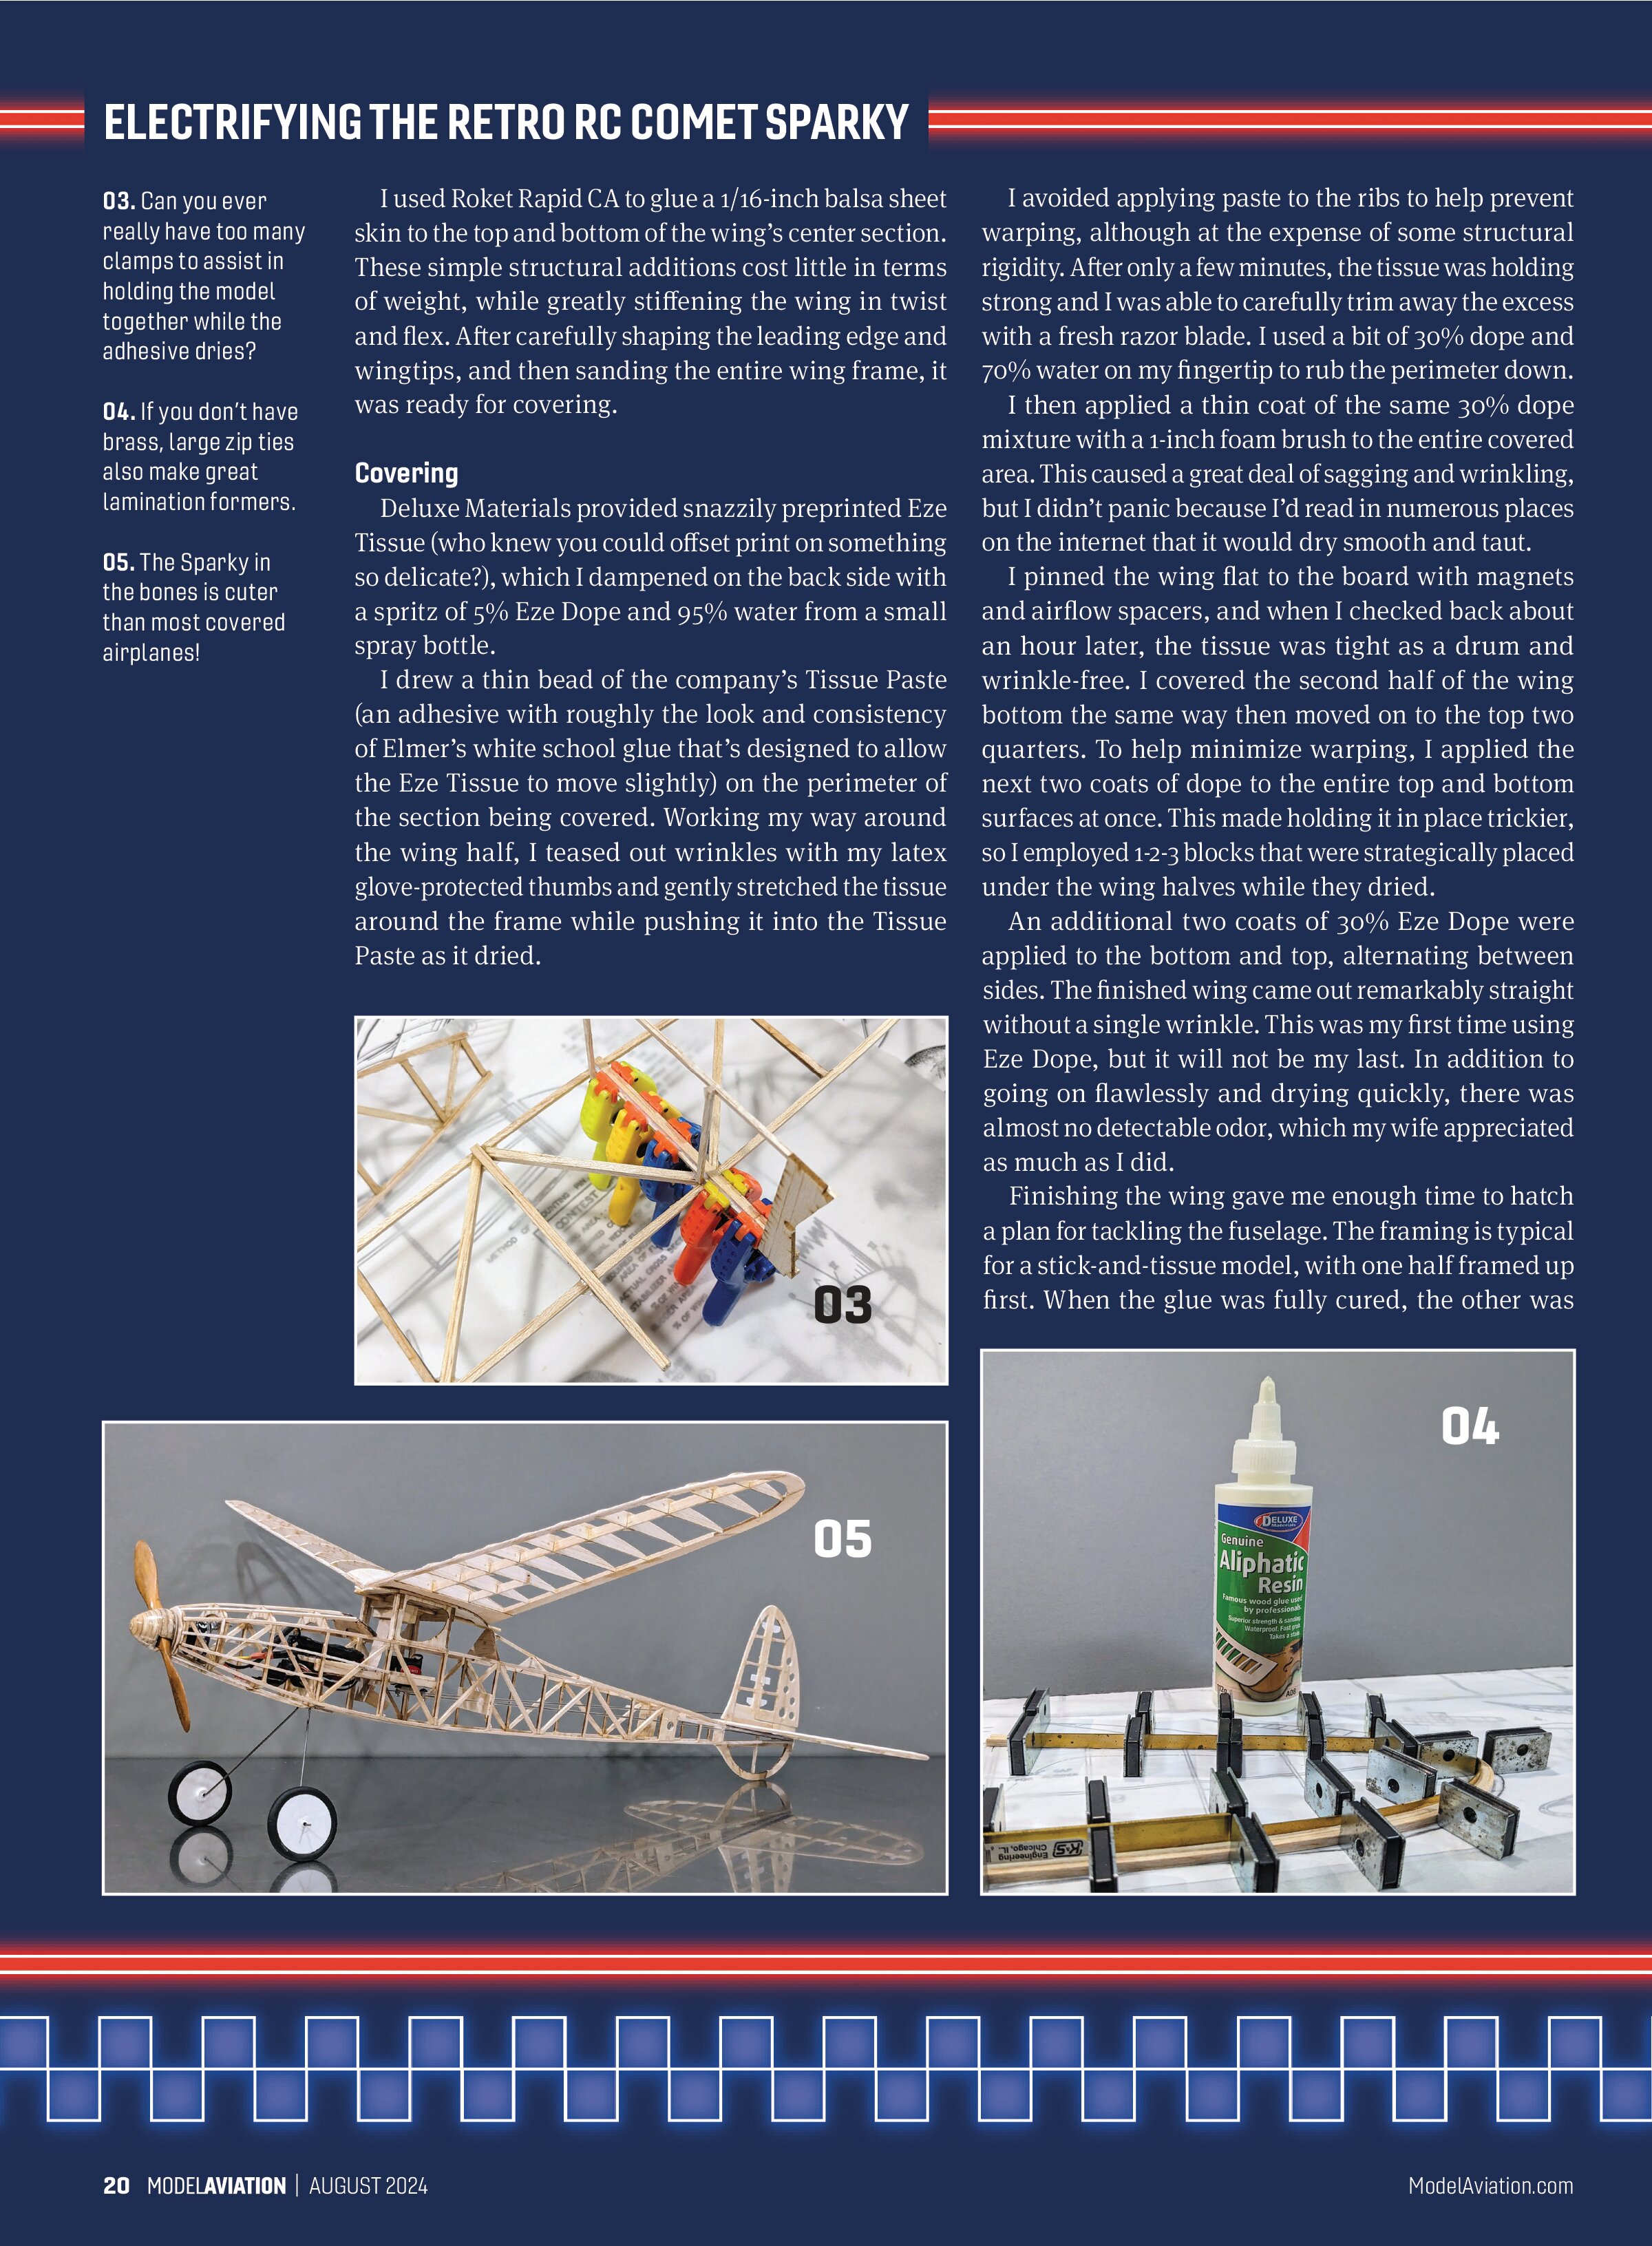
Wing framing on the Sparky is quite simple. I assembled it over the plans and protected it with parchment paper with no difficulties, using cabinet magnets and a sheet metal foundation to secure the pieces.
Spar cutouts in the ribs fit perfectly over the supplied balsa sticks, and the wingtip pieces came together neatly. I reinforced the wing by attaching triangle gussets to the rib/spar joints. All of this assembly was completed with Deluxe Materials Super ’Phatic!, a fascinating glue that straddles the line between cyanoacrylate and aliphatic resin.
Super ’Phatic! looks and flows like milk, penetrates well, cures quickly, remains flexible, is sandable, and cleans up with water; however, it’s a bear to get off of your fingers, so I recommend using latex gloves!
Covering
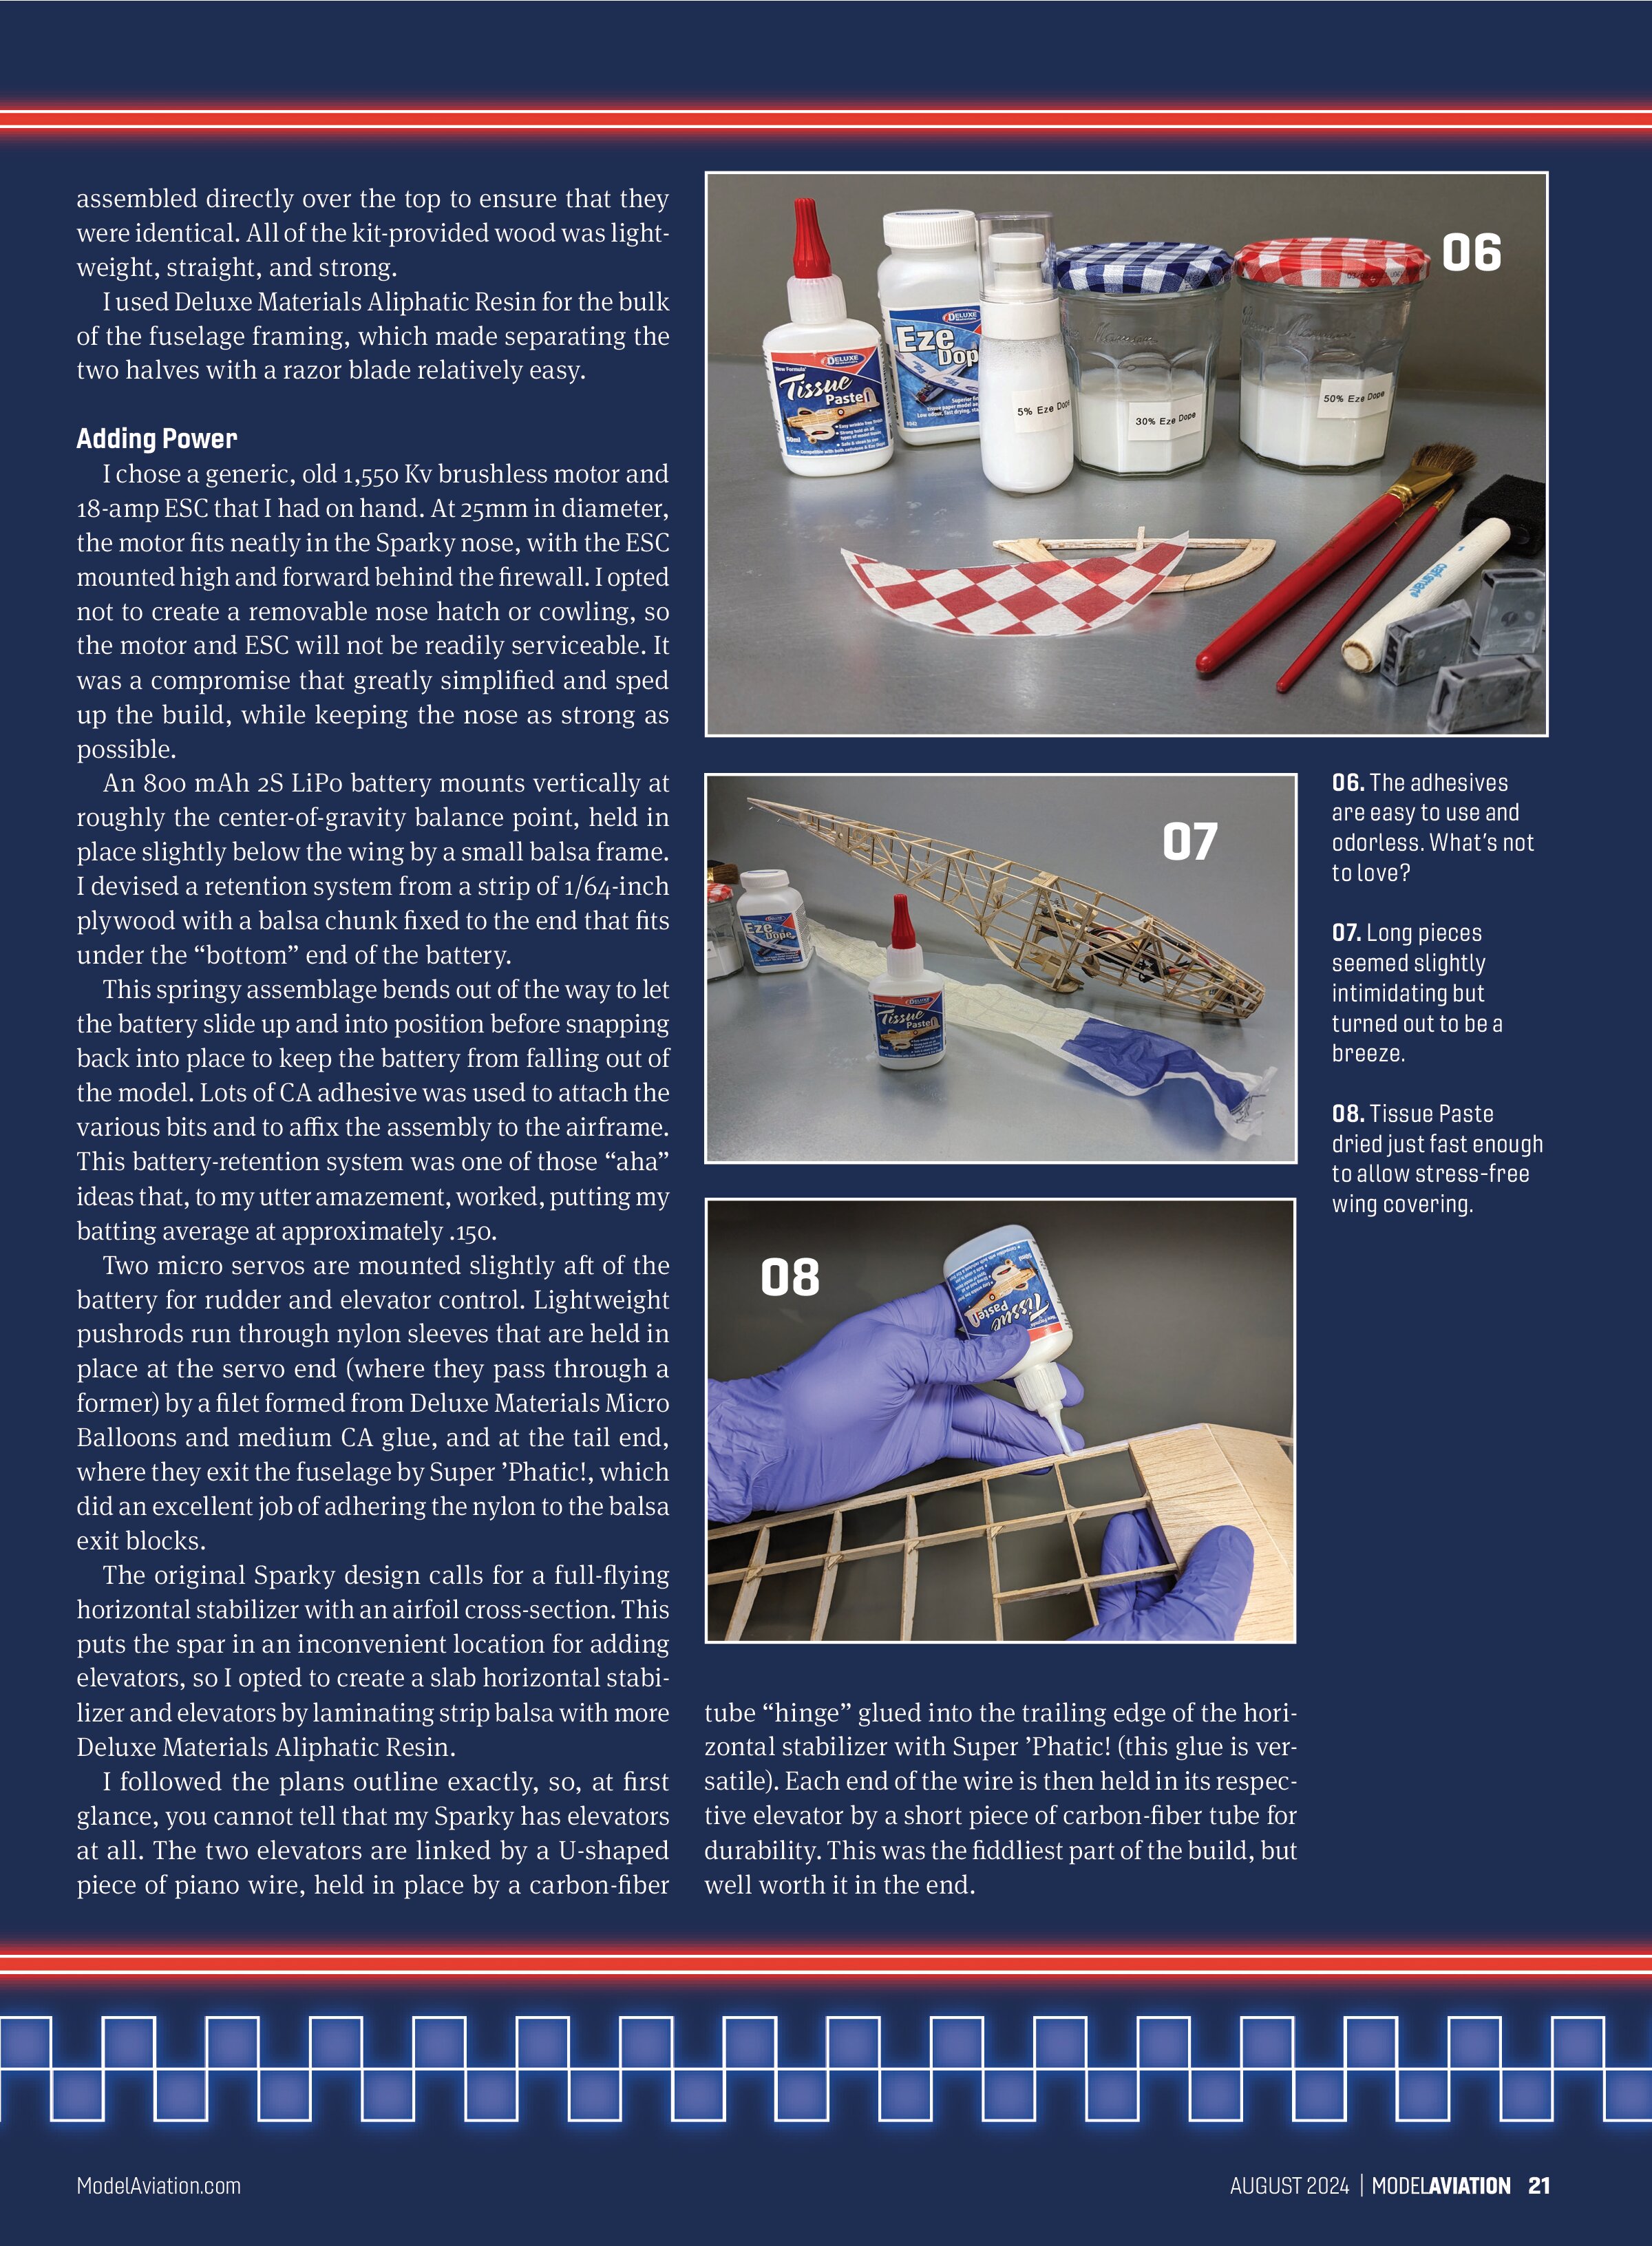
Deluxe Materials provided snazzily preprinted Eze Tissue (who knew you could offset print on something so delicate?), which I dampened on the back side with a spritz of 5% Eze Dope and 95% water from a small spray bottle.
I drew a thin bead of the company’s Tissue Paste (an adhesive with roughly the look and consistency of Elmer’s white school glue that’s designed to allow the Eze Tissue to move slightly) on the perimeter of the section being covered. Working my way around the wing half, I teased out wrinkles with my latex glove-protected thumbs and gently stretched the tissue around the frame while pushing it into the Tissue Paste as it dried.


I avoided applying paste to the ribs to help prevent warping, although at the expense of some structural rigidity. After only a few minutes, the tissue was holding strong and I was able to carefully trim away the excess with a fresh razor blade. I used a bit of 30% dope and 70% water on my fingertip to rub the perimeter down.
I then applied a thin coat of the same 30% dope mixture with a 1-inch foam brush to the entire covered area. This caused a great deal of sagging and wrinkling, but I didn’t panic because I’d read in numerous places on the internet that it would dry smooth and taut.
I pinned the wing flat to the board with magnets and airflow spacers, and when I checked back about an hour later, the tissue was tight as a drum and wrinkle-free. I covered the second half of the wing bottom the same way then moved on to the top two quarters. To help minimize warping, I applied the next two coats of dope to the entire top and bottom surfaces at once. This made holding it in place trickier, so I employed 1-2-3 blocks that were strategically placed under the wing halves while they dried.
An additional two coats of 30% Eze Dope were applied to the bottom and top, alternating between sides. The finished wing came out remarkably straight without a single wrinkle. This was my first time using Eze Dope, but it will not be my last. In addition to going on flawlessly and drying quickly, there was almost no detectable odor, which my wife appreciated as much as I did.
Finishing the wing gave me enough time to hatch a plan for tackling the fuselage. The framing is typical for a stick-and-tissue model, with one half framed up first. When the glue was fully cured, the other was

Adding Power
assembled directly over the top to ensure that they were identical. All of the kit-provided wood was lightweight, straight, and strong.
I used Deluxe Materials Aliphatic Resin for the bulk of the fuselage framing, which made separating the two halves with a razor blade relatively easy.
I chose a generic, old 1,550 Kv brushless motor and 18-amp ESC that I had on hand. At 25mm in diameter, the motor fits neatly in the Sparky nose, with the ESC mounted high and forward behind the firewall. I opted not to create a removable nose hatch or cowling, so the motor and ESC will not be readily serviceable. It was a compromise that greatly simplified and sped up the build, while keeping the nose as strong as possible.
An 800 mAh 2S LiPo battery mounts vertically at roughly the center-of-gravity balance point, held in place slightly below the wing by a small balsa frame. I devised a retention system from a strip of 1/64-inch plywood with a balsa chunk fixed to the end that fits under the “bottom” end of the battery.
This springy assemblage bends out of the way to let the battery slide up and into position before snapping back into place to keep the battery from falling out of the model. Lots of CA adhesive was used to attach the various bits and to affix the assembly to the airframe. This battery-retention system was one of those “aha” ideas that, to my utter amazement, worked, putting my batting average at approximately .150.
Two micro servos are mounted slightly aft of the battery for rudder and elevator control. Lightweight pushrods run through nylon sleeves that are held in place at the servo end (where they pass through a former) by a filet formed from Deluxe Materials Micro Balloons and medium CA glue, and at the tail end, where they exit the fuselage by Super ’Phatic!, which did an excellent job of adhering the nylon to the balsa exit blocks.
The original Sparky design calls for a full-flying horizontal stabilizer with an airfoil cross-section. This puts the spar in an inconvenient location for adding elevators, so I opted to create a slab horizontal stabilizer and elevators by laminating strip balsa with more Deluxe Materials Aliphatic Resin.
I followed the plans outline exactly, so, at first glance, you cannot tell that my Sparky has elevators at all. The two elevators are linked by a U-shaped piece of piano wire, held in place by a carbon-fiber


tube “hinge” glued into the trailing edge of the horizontal stabilizer with Super ’Phatic! (this glue is versatile). Each end of the wire is then held in its respective elevator by a short piece of carbon-fiber tube for durability. This was the fiddliest part of the build, but well worth it in the end.
The vertical fin, as designed, did not lend itself to adding a rudder, so I modified it by adding vertical members at the rudder hinge point then drilling weight-reducing holes in the solid balsa sheet that makes up roughly half of the kit rudder. I would later regret this weight reduction because the finished model needed a bit of tungsten putty in the tail to balance it on the wing’s main spar. Despite this, I stand by my belief that a good model builder adds lightness at every step along the way.
I bent the landing gear from piano wire and trapped it against the beefy bottom former with 1/64-inch plywood sheeted balsa blocks glued in place. To help absorb landing forces, I added a light piano wire cross-member to the gear, wrapped at each end with Kevlar thread and glued with CA glue for a robust joint.


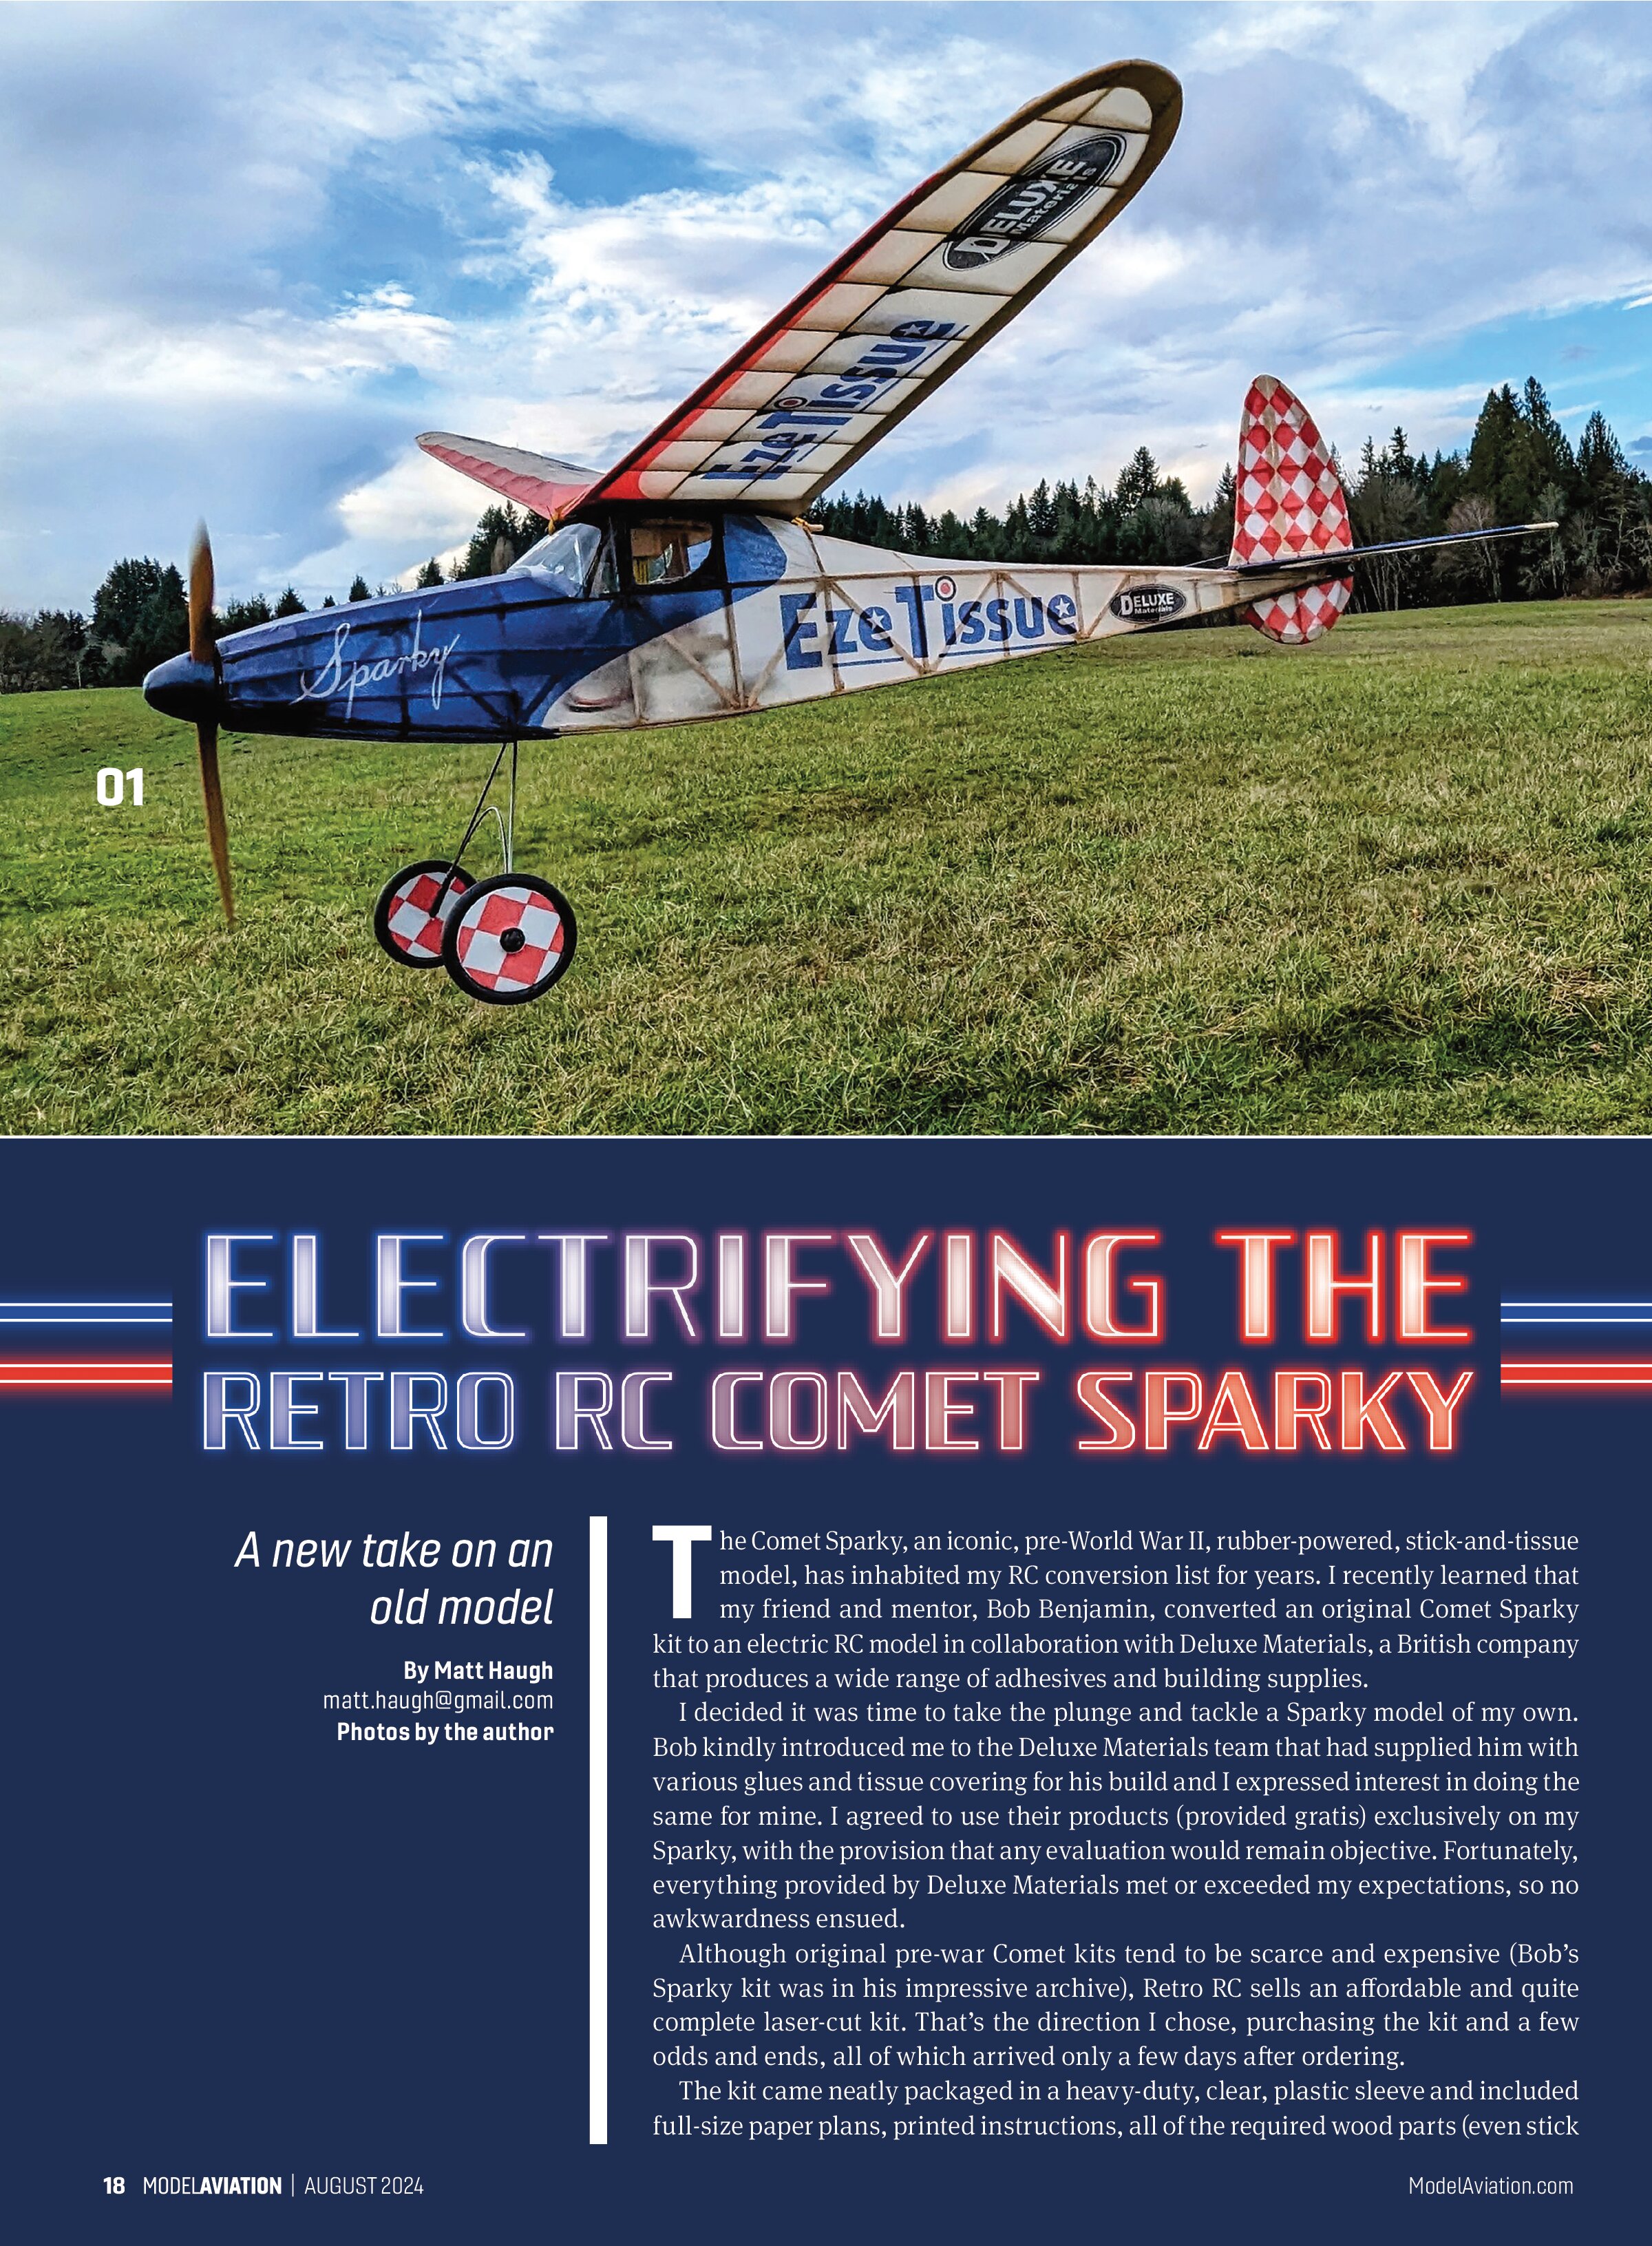
I decided to build wheels that were slightly larger in diameter than those provided with the kit and added foam tubing tires to further dampen landings. My wheels look somewhat scalelike and sporty, especially covered with red-checkered EZ Tissue, which I glued to the plywood-laminated wheels with a 50% Eze Dope solution.
I fabricated a bottom hatch from 1/64-inch plywood, held in place at the forward end by a plastic hinge and aft by a strong magnet in the fuselage that grabs a steel washer glued to the hatch underside. I covered the hatch in Eze Tissue and finished it with three coats of 50% Eze Dope.
I built up a nose cone from the kit-provided balsa rings, which went together perfectly, then sanded it to a passable conical section by chucking it up in an electric drill. I applied one layer of lightweight fiberglass using Deluxe Materials Speed Epoxy II. When it was fully cured, I covered it with dark blue tissue and finished it with three coats of 50% Eze Dope.
I found an old wooden propeller in my collection that pulls about 80 watts per pound at full throttle, so even on two cells, the Sparky has ample power for sport flying. A couple of drops of medium CA glue hold the 1/64-inch plywood spinner backplate snug against the spinner.
With the power system complete, controls functioning correctly, and landing gear and hatches operable, it was time to cover the fuselage. Starting with the bottom, I worked my way around the airframe, covering first one side and then the other, following the same wetting, gluing, and stretching procedure that worked so well on the wing.
Three coats of 30% Eze Dope were used to air-seal the tissue and bring out a bit of shine. I covered the tail pieces the same way, but only after installing CA hinges held in place with Super ’Phatic!, which wicked right into the joints. The kit came with a well-fitting windscreen and side windows cut from a clear, Mylar-like material that was super easy to attach using R/C Modellers Canopy Glue, which dried clear overnight.
Assembly
Assembling the Sparky was straightforward. I used Roket Rapid medium CA to hold the vertical fin to the horizontal stabilizer. I then attached that entire assembly to the aft fuselage using Roket Max, a thick CA glue that gave me a few extra seconds to ensure perfect alignment. Alignment was also greatly aided by the fact that all of the tail pieces, including the lower sub-fin, were keyed into holes in the fuselage formers. That nice touch helped make this kit foolproof.


Tungsten putty was added to the aft tail to balance the model (which weighs 236 grams or 8.3 ounces with a battery) on the main wing spar. I also glued a small balsa block in the aft wing saddle to keep the main wing as far forward as possible, which helped minimize the amount of tungsten putty that was needed in the tail.
Flying the Sparky
A friend hand-launched the Sparky for its maiden flight, and I’m thrilled to report that the aircraft is docile and lovely in the air. It only needed a couple of clicks of elevator trim to make it track straight and true at half throttle. It slows right down for landings and can rise quickly off of the ground with a burst of throttle. What a gem!
I hope companies such as Retro RC can keep producing excellent kits of classic designs for many years to come. Whether you are into FF or RC, they make excellent building projects and are a real treat in the air. Modern adhesives and dopes make the building process easier and more pleasant than ever. Perhaps, most importantly, these old designs and building methods connect us to the past in a fun and tangible way that keeps history alive.
SOURCES:
Retro RC
(248) 212-9666
www.retrorc.us.com
Deluxe Materials
sales@deluxematerials.co.uk
www.deluxematerials.com