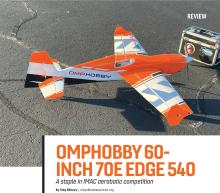
OMPHOBBY 60-INCH 70E EDGE 540
A staple in IMAC aerobatic competition
By Toby Silhavy | tobys@modelaircraft.org
Photos by the author except as noted

THE ZIVKO AERONAUTICS
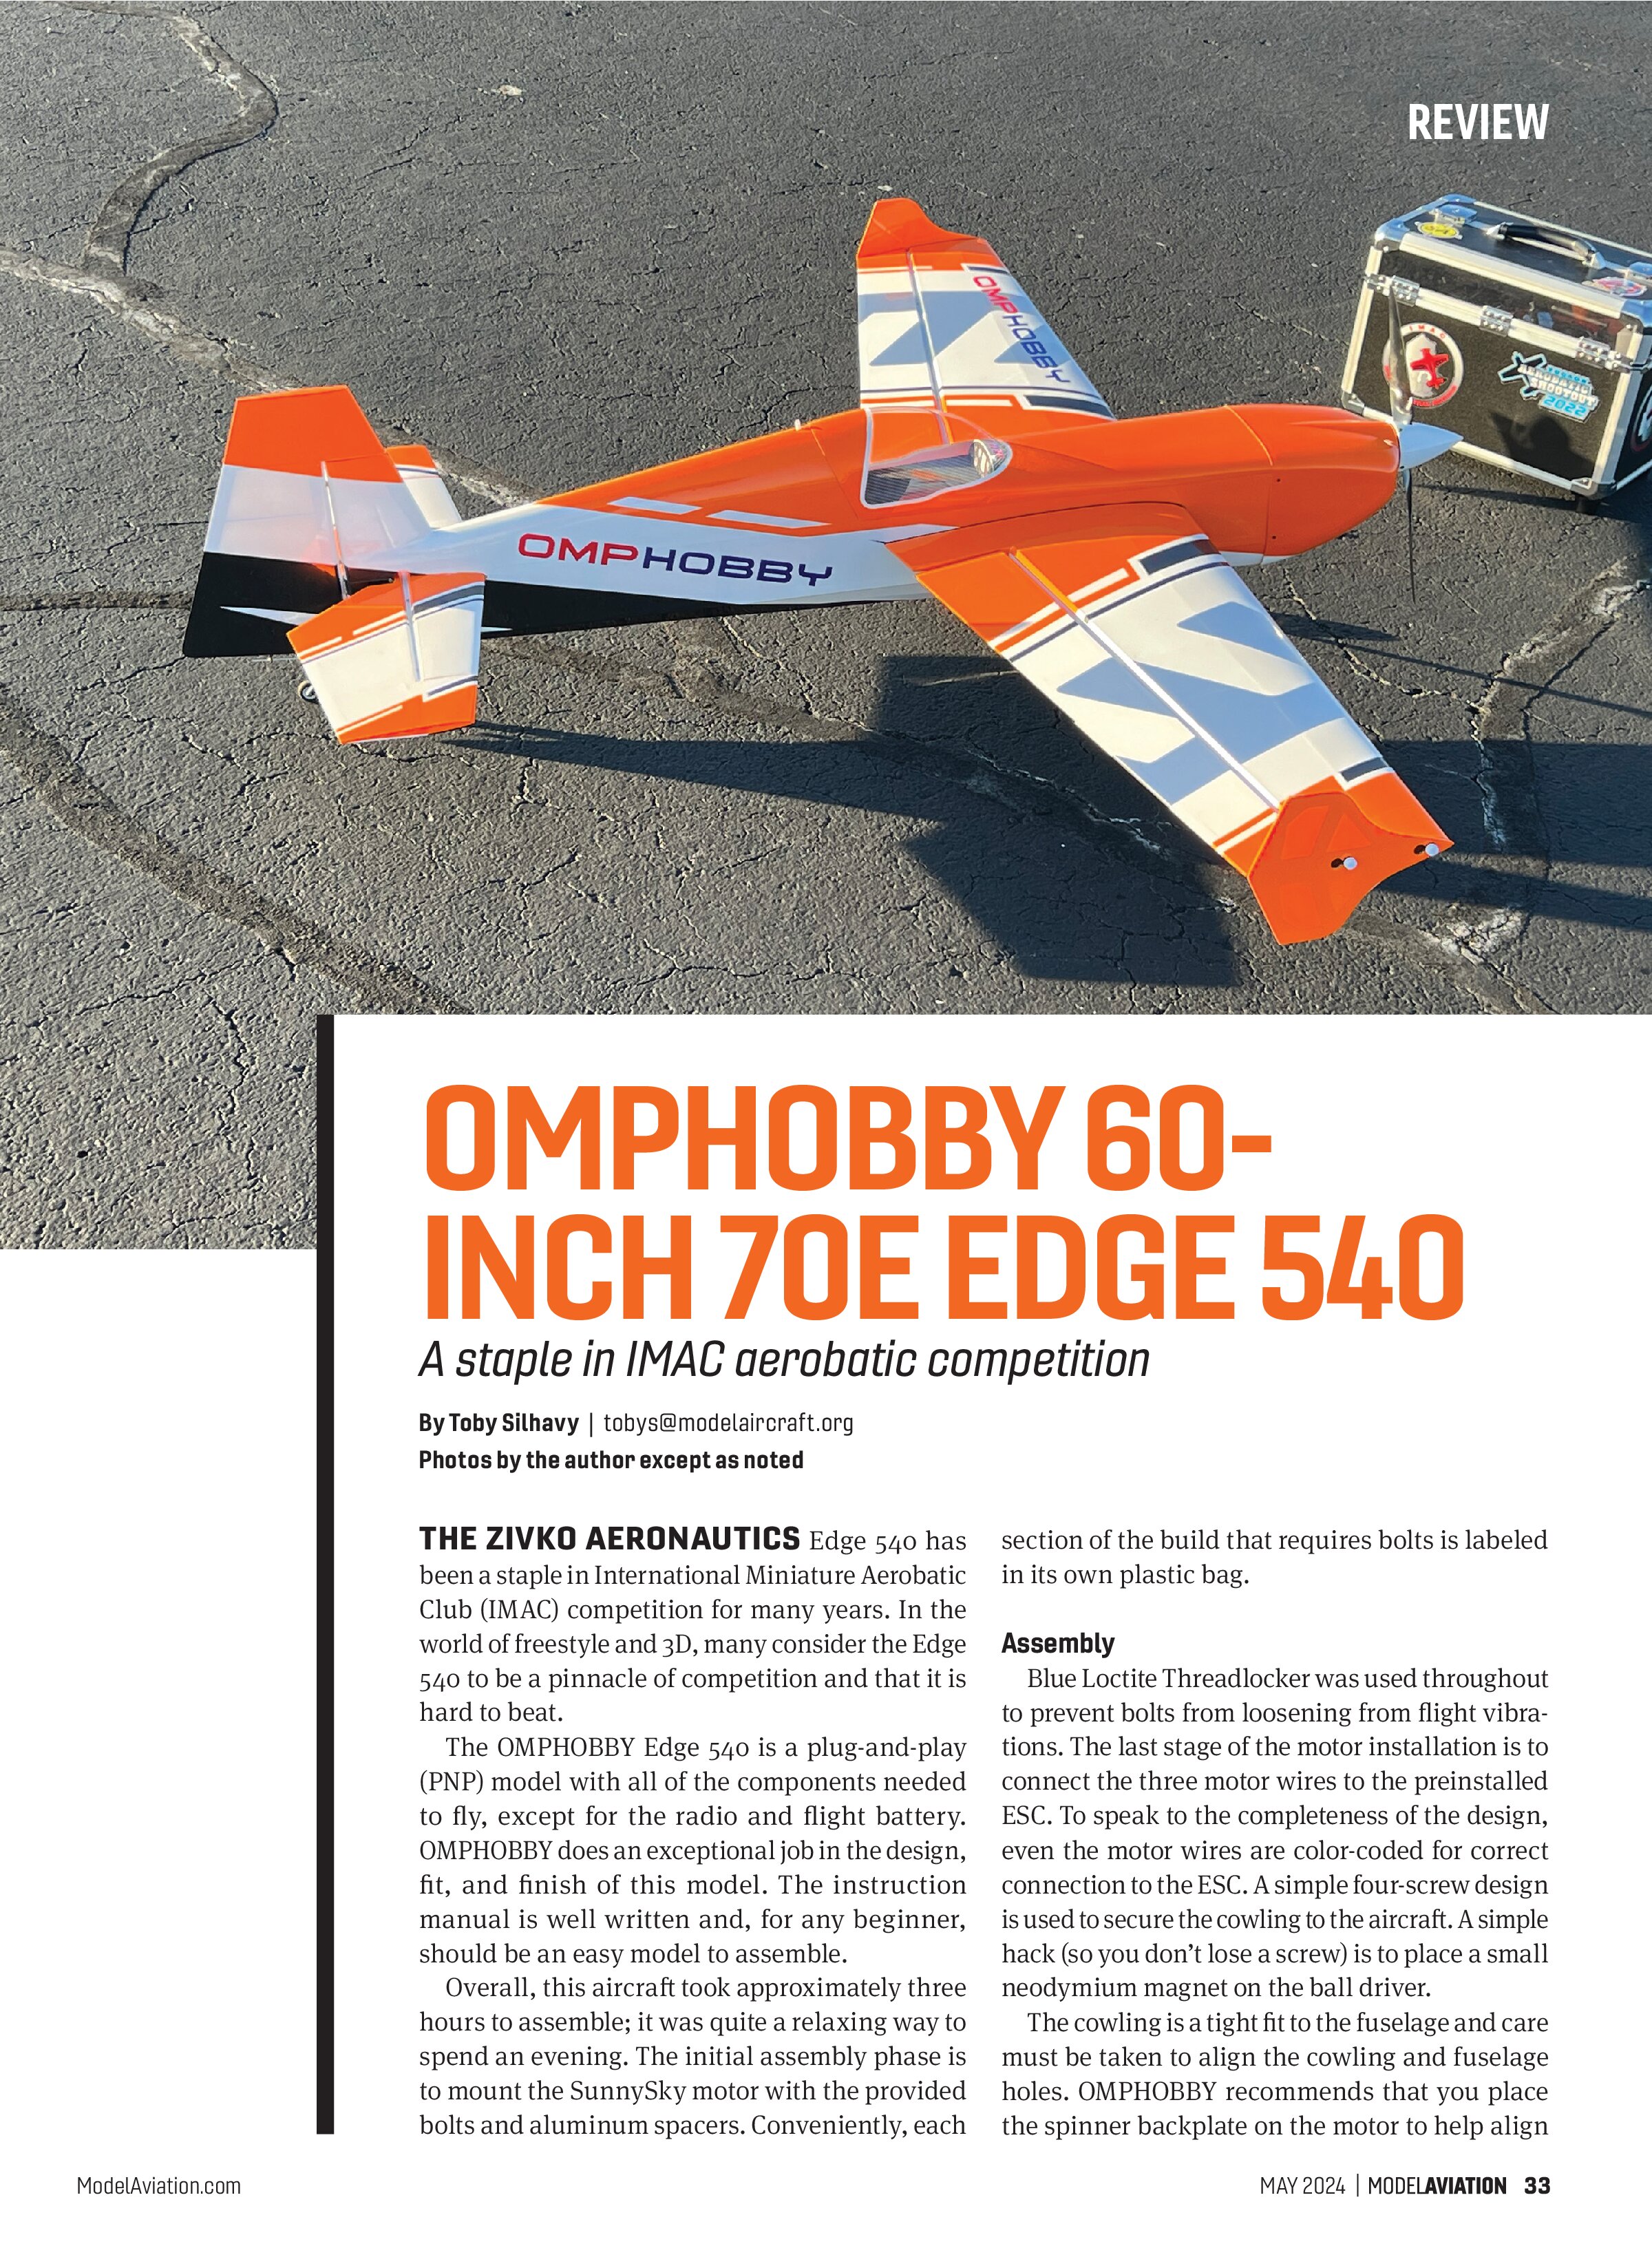
Edge 540 has been a staple in International Miniature Aerobatic Club (IMAC) competition for many years. In the world of freestyle and 3D, many consider the Edge 540 to be a pinnacle of competition and that it is hard to beat.
The OMPHOBBY Edge 540 is a plug-and-play (PNP) model with all of the components needed to fly, except for the radio and flight battery. OMPHOBBY does an exceptional job in the design, fit, and finish of this model. The instruction manual is well written and, for any beginner, should be an easy model to assemble.
Overall, this aircraft took approximately three hours to assemble; it was quite a relaxing way to spend an evening. The initial assembly phase is to mount the SunnySky motor with the provided bolts and aluminum spacers. Conveniently, each section of the build that requires bolts is labeled in its own plastic bag.
Assembly
Blue Loctite Threadlocker was used throughout to prevent bolts from loosening from flight vibrations. The last stage of the motor installation is to connect the three motor wires to the preinstalled ESC. To speak to the completeness of the design, even the motor wires are color-coded for correct connection to the ESC. A simple four-screw design is used to secure the cowling to the aircraft. A simple hack (so you don’t lose a screw) is to place a small neodymium magnet on the ball driver.
The cowling is a tight fit to the fuselage and care must be taken to align the cowling and fuselage holes. OMPHOBBY recommends that you place the spinner backplate on the motor to help align
At a Glance
Specifications
Wingspan: 60 inches
Length: 59 inches
Weight: 3.3 pounds
Motor: SunnySky X4120 550 Kv brushless
ESC: 100 amps
Propeller: Eolo 15 x 8E
Battery recommended: 6S 3,300 to 4,000 mAh
Battery used: E-flite 30C 3,200 mAh
Radio used: JR PROPO ELITE
Pluses
- Ease and speed of assembly; 95% of the build is done.
- Top-notch flight characteristics.
- Final servo connections were done correctly and all bolts, nuts, and screws were tight and flight ready.
- Good ventilation for the motor, ESC, and battery.
Minuses
- The tailwheel connection from the rod to the rudder needs to be 1cm longer for extreme rudder throws.
- The paint on the cowling and wheel pants chips easily.
Manufacturer/Distributor
OMPHOBBY
biz@omphobby.com
www.omphobby.com

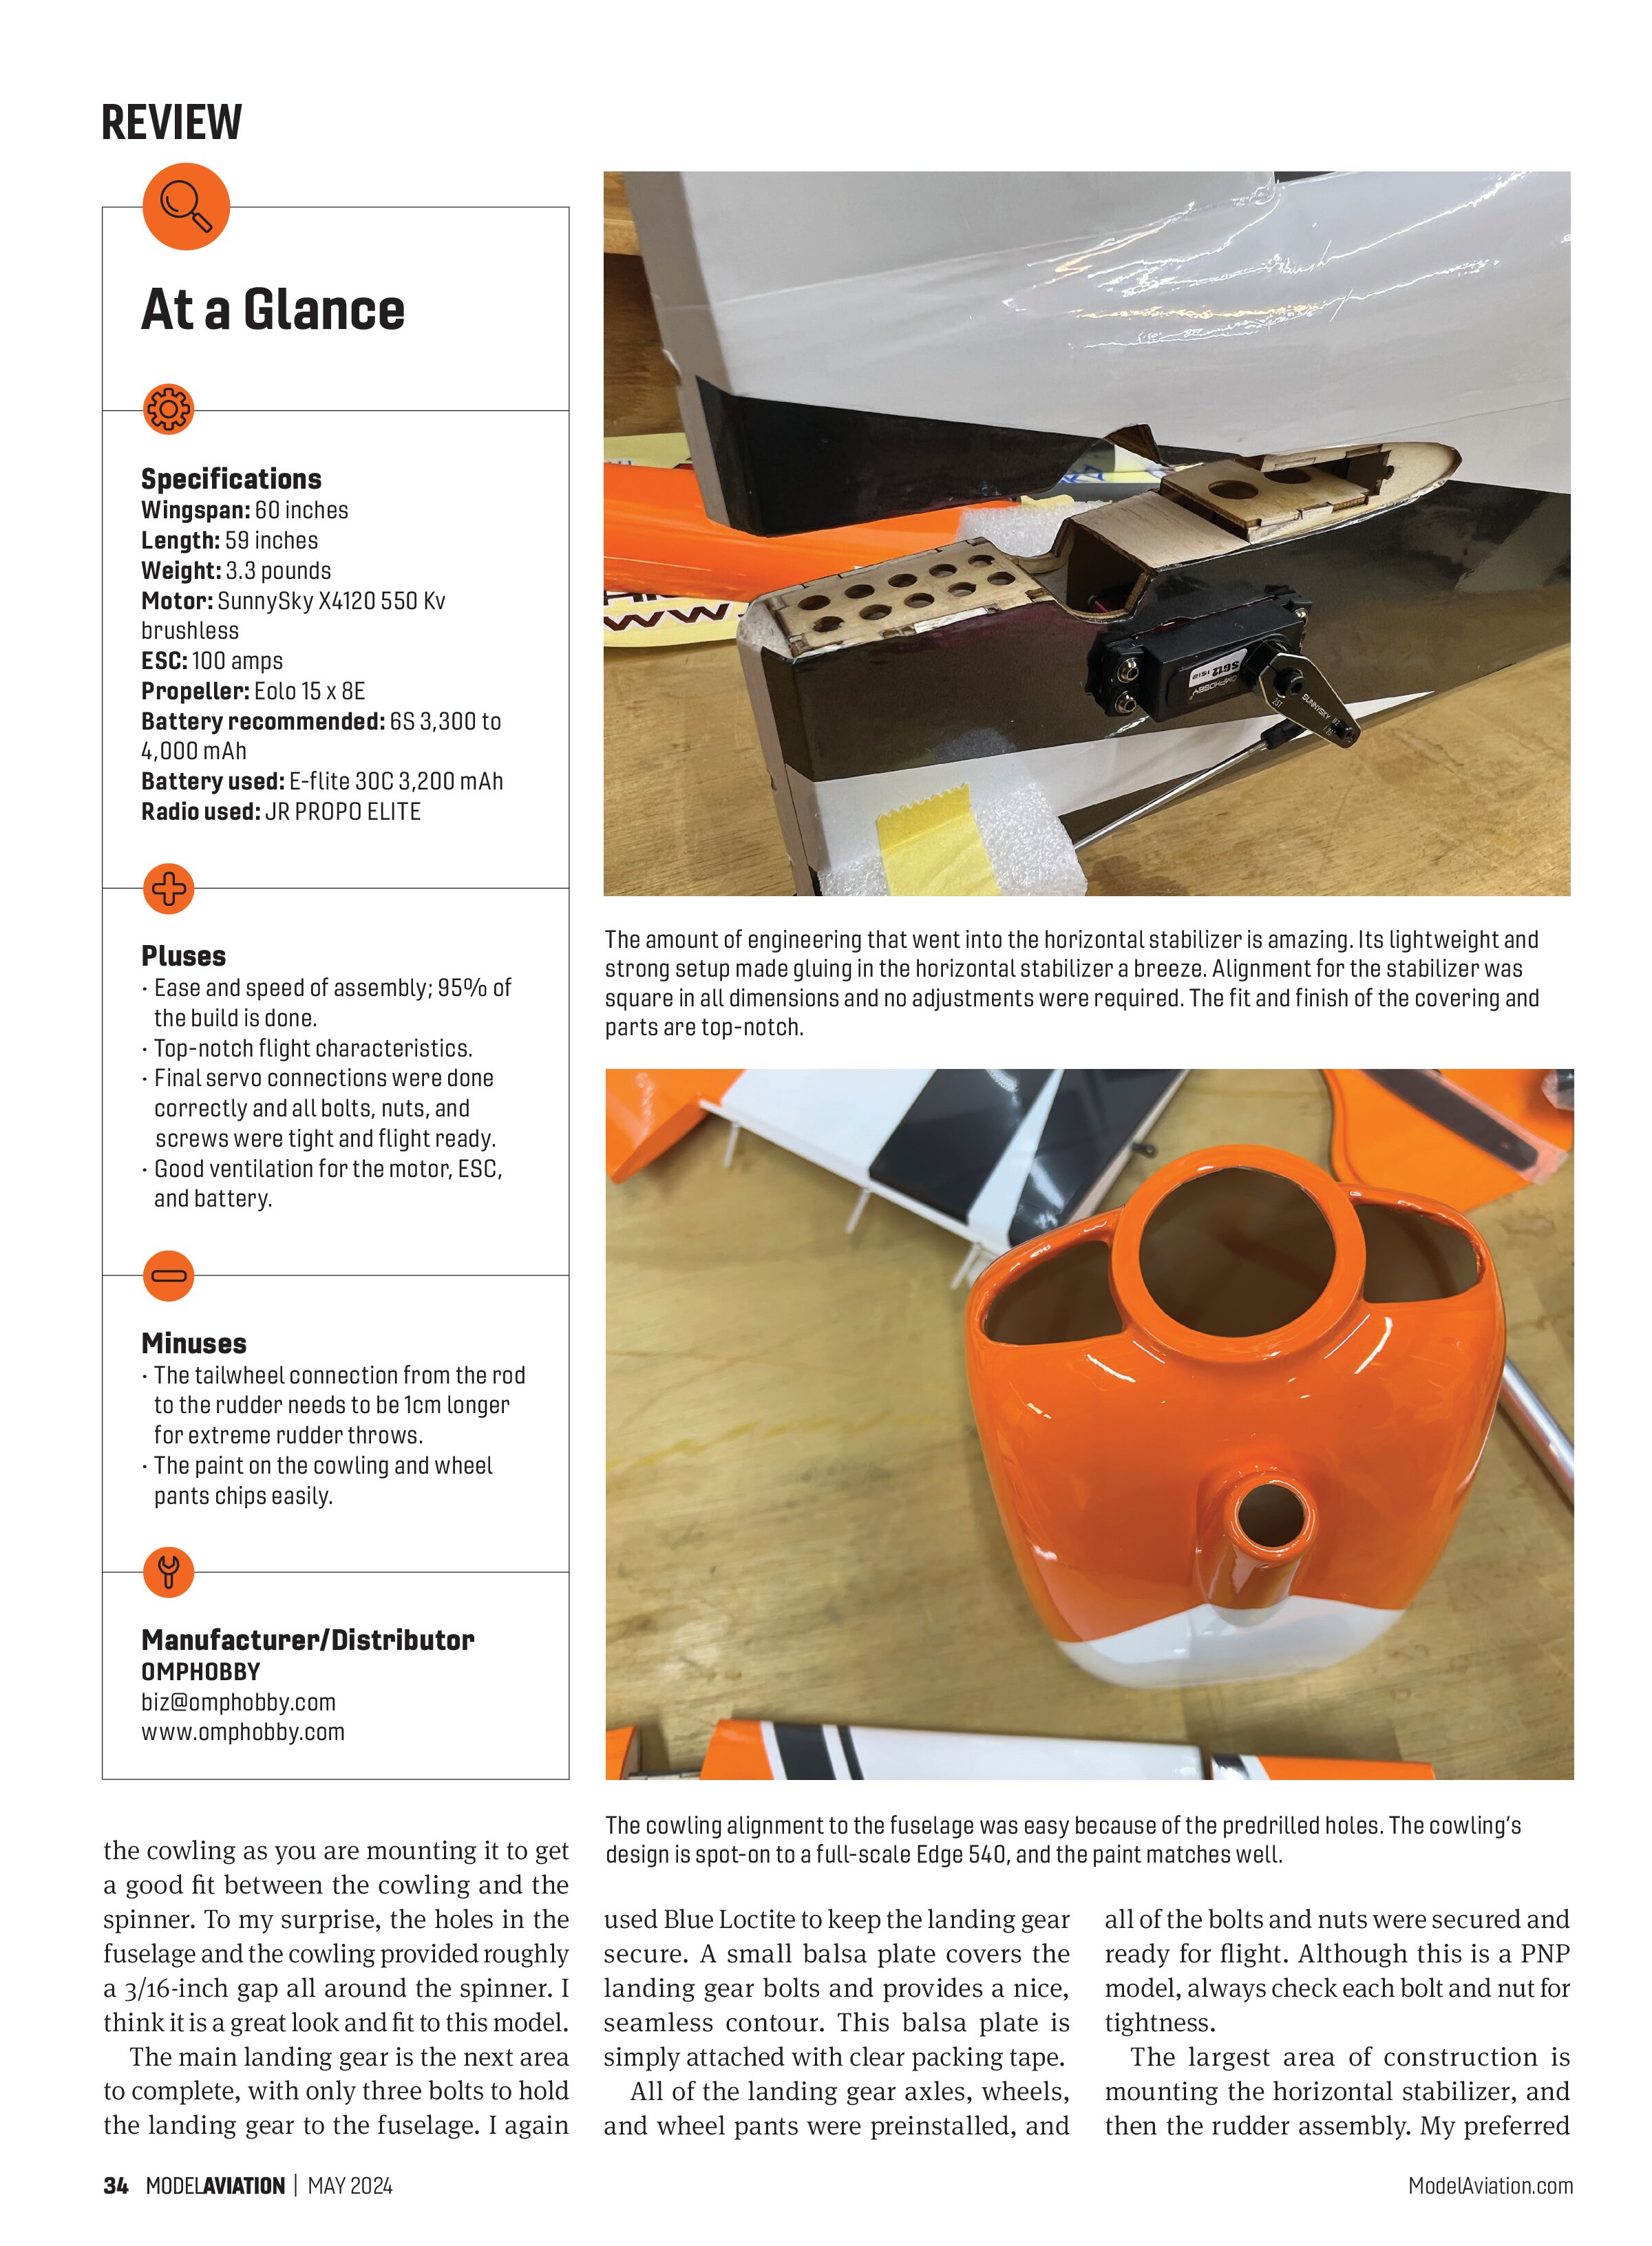
The amount of engineering that went into the horizontal stabilizer is amazing. Its lightweight and strong setup made gluing in the horizontal stabilizer a breeze. Alignment for the stabilizer was square in all dimensions and no adjustments were required. The fit and finish of the covering and parts are top-notch.

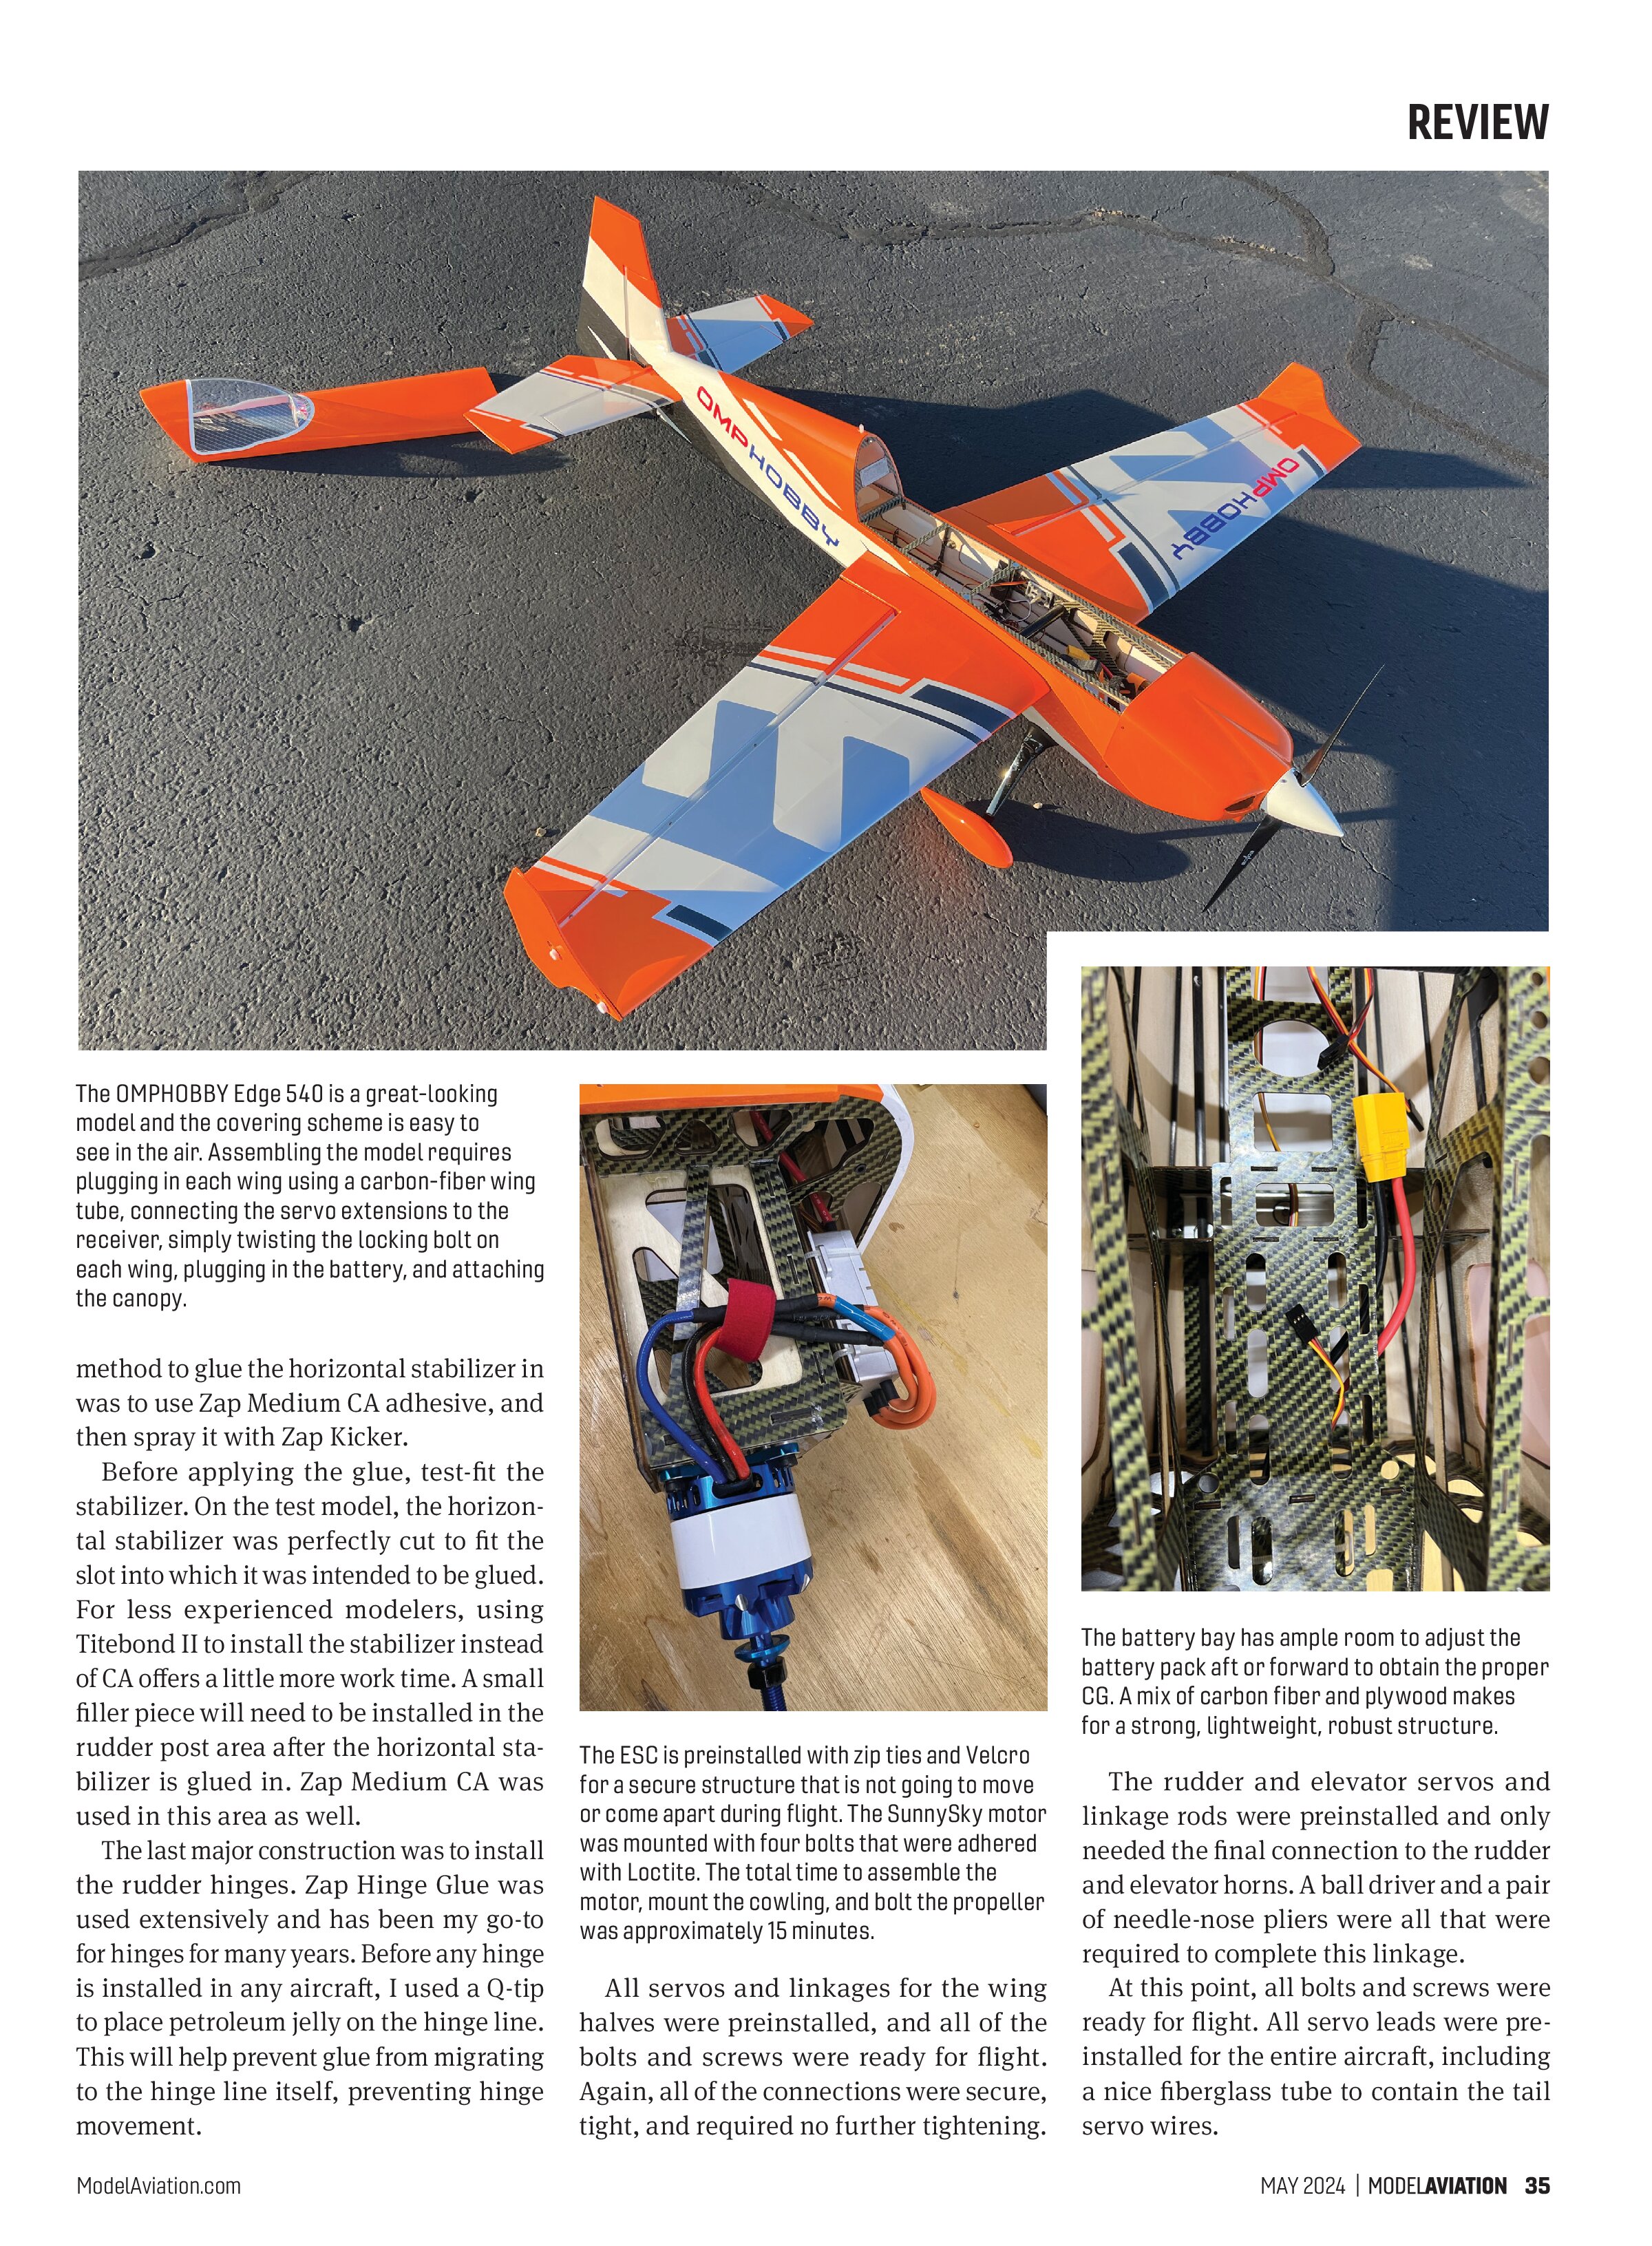
The cowling alignment to the fuselage was easy because of the predrilled holes. The cowling’s design is spot-on to a full-scale Edge 540, and the paint matches well.
the cowling as you are mounting it to get a good fit between the cowling and the spinner. To my surprise, the holes in the fuselage and the cowling provided roughly a 3/16-inch gap all around the spinner. I think it is a great look and fit to this model.
The main landing gear is the next area to complete, with only three bolts to hold the landing gear to the fuselage. I again used Blue Loctite to keep the landing gear secure. A small balsa plate covers the landing gear bolts and provides a nice, seamless contour. This balsa plate is simply attached with clear packing tape.
All of the landing gear axles, wheels, and wheel pants were preinstalled, and all of the bolts and nuts were secured and ready for flight. Although this is a PNP model, always check each bolt and nut for tightness.
The largest area of construction is mounting the horizontal stabilizer, and then the rudder assembly. My preferred method to glue the horizontal stabilizer in was to use Zap Medium CA adhesive, and then spray it with Zap Kicker.

Before applying the glue, test-fit the stabilizer. On the test model, the horizontal stabilizer was perfectly cut to fit the slot into which it was intended to be glued. For less experienced modelers, using Titebond II to install the stabilizer instead of CA offers a little more work time. A small filler piece will need to be installed in the rudder post area after the horizontal stabilizer is glued in. Zap Medium CA was used in this area as well.
The last major construction was to install the rudder hinges. Zap Hinge Glue was used extensively and has been my go-to for hinges for many years. Before any hinge is installed in any aircraft, I used a Q-tip to place petroleum jelly on the hinge line. This will help prevent glue from migrating to the hinge line itself, preventing hinge movement.

The ESC is preinstalled with zip ties and Velcro for a secure structure that is not going to move or come apart during flight. The SunnySky motor was mounted with four bolts that were adhered with Loctite. The total time to assemble the motor, mount the cowling, and bolt the propeller was approximately 15 minutes.
All servos and linkages for the wing halves were preinstalled, and all of the bolts and screws were ready for flight. Again, all of the connections were secure, tight, and required no further tightening.

The rudder and elevator servos and linkage rods were preinstalled and only needed the final connection to the rudder and elevator horns. A ball driver and a pair of needle-nose pliers were all that were required to complete this linkage.
At this point, all bolts and screws were ready for flight. All servo leads were pre-installed for the entire aircraft, including a nice fiberglass tube to contain the tail servo wires.

Now it was time to mount a trusty JR 812 receiver and set up my JR PROPO ELITE transmitter. I generally use triple rates for my IMAC and 3D setups, and the JR ELITE is easy to set up. A generous battery Velcro strap is provided to secure the flight battery in place. With a 3,200 mAh LiPo battery, the center of gravity (CG) was easy to set up on the suggested wing tube area. A nice feature of the battery bay is the ability to easily move the battery forward or aft to achieve your CG. This not only gives you options for different sizes of batteries, but also to move your CG forward to back as you become more proficient in flying this model and testing its 3D limits!

Ready for Flight
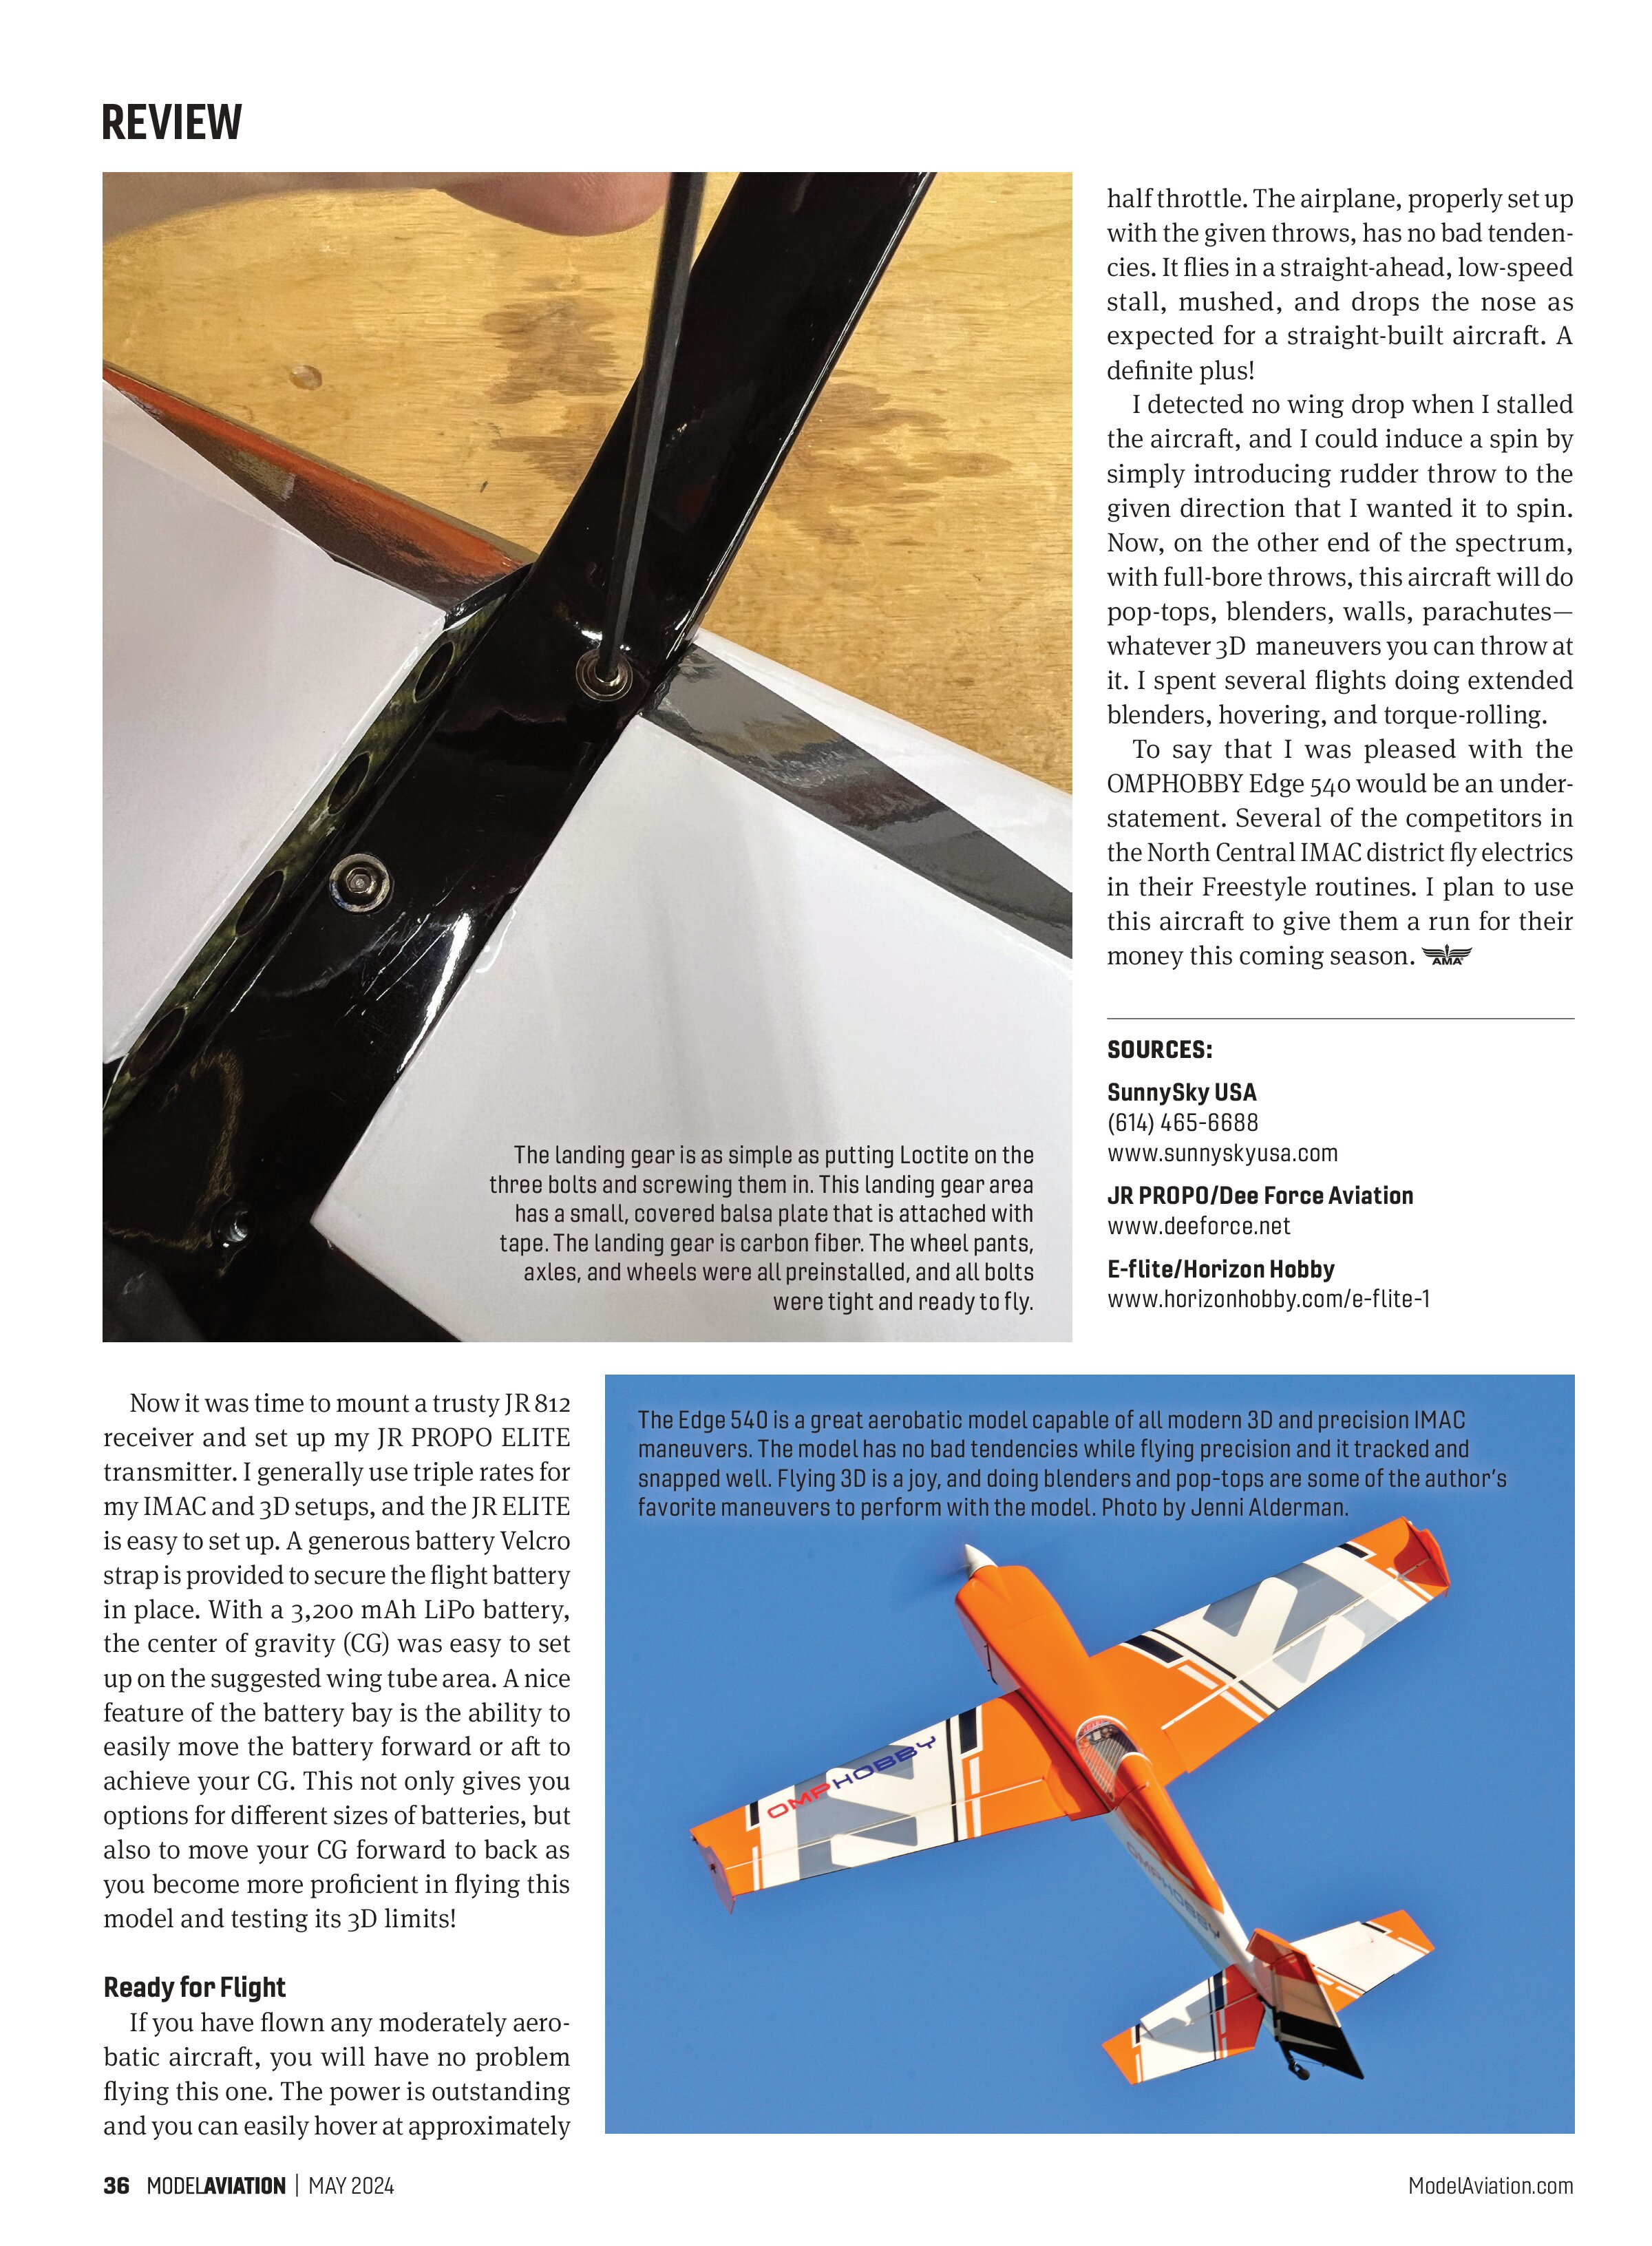
If you have flown any moderately aerobatic aircraft, you will have no problem flying this one. The power is outstanding and you can easily hover at approximately half throttle. The airplane, properly set up with the given throws, has no bad tendencies. It flies in a straight-ahead, low-speed stall, mushed, and drops the nose as expected for a straight-built aircraft. A definite plus!
I detected no wing drop when I stalled the aircraft, and I could induce a spin by simply introducing rudder throw to the given direction that I wanted it to spin. Now, on the other end of the spectrum, with full-bore throws, this aircraft will do pop-tops, blenders, walls, parachutes—whatever 3D maneuvers you can throw at it. I spent several flights doing extended blenders, hovering, and torque-rolling.
To say that I was pleased with the OMPHOBBY Edge 540 would be an understatement. Several of the competitors in the North Central IMAC district fly electrics in their Freestyle routines. I plan to use this aircraft to give them a run for their money this coming season.
SOURCES:
SunnySky USA
(614) 465-6688
www.sunnyskyusa.com
JR PROPO/Dee Force Aviation
www.deeforce.net
E-flite/Horizon Hobby
www.horizonhobby.com/e-flite-1