3D-PRINTING BASICS
By Don Slusarczyk | don@slusarczyk.com
FOR THOSE WHO WERE SUBSCRIBERS to Park Pilot magazine, I wrote the “Jets” column for the past several years, but in the past year or so, I wrote a lot about 3D-printed aircraft. With Park Pilot at an end and the content being merged into Model Aviation, my column is changing to cover the 3D-printing of park flyer models. This will include both EDF and propeller-driven aircraft. I will share with you my latest 3D builds, cover common 3D printer issues that occur, and provide as much information as I can on how to get into 3D-printing model aircraft. For this first column, I will go over some of the basics for 3D printing and what it is all about.
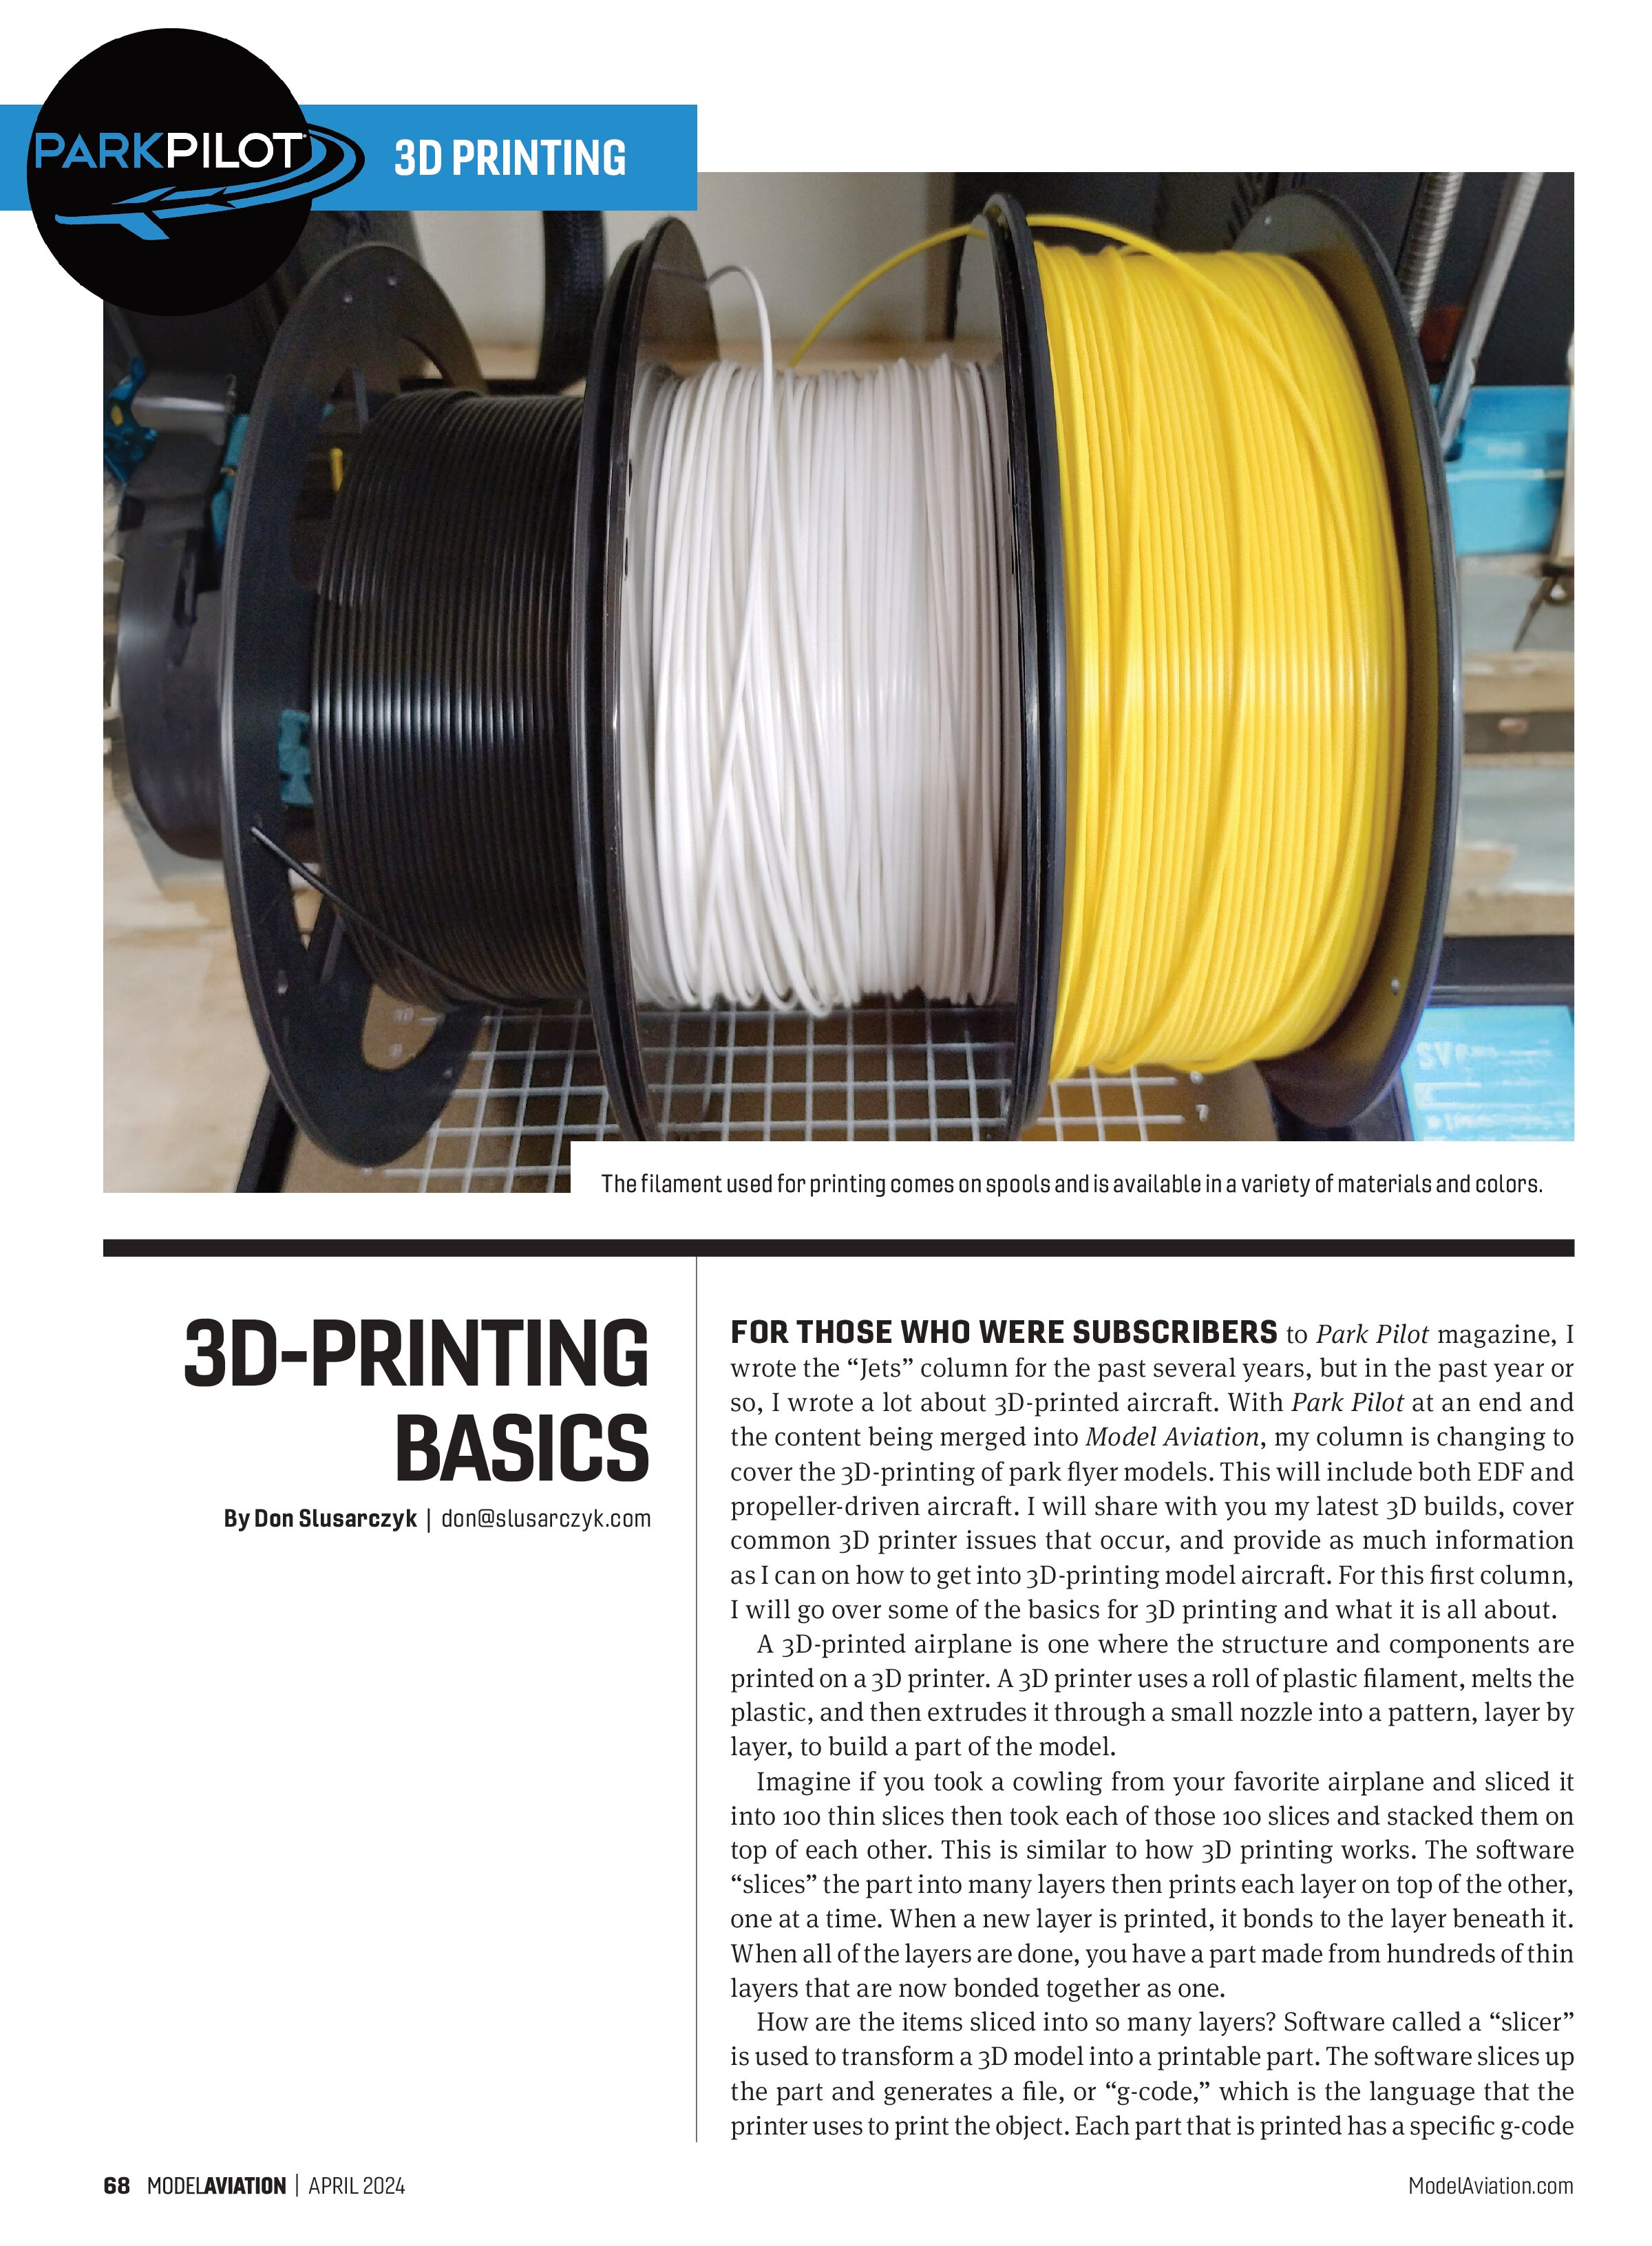
A 3D-printed airplane is one where the structure and components are printed on a 3D printer. A 3D printer uses a roll of plastic filament, melts the plastic, and then extrudes it through a small nozzle into a pattern, layer by layer, to build a part of the model.
Imagine if you took a cowling from your favorite airplane and sliced it into 100 thin slices then took each of those 100 slices and stacked them on top of each other. This is similar to how 3D printing works. The software “slices” the part into many layers then prints each layer on top of the other, one at a time. When a new layer is printed, it bonds to the layer beneath it. When all of the layers are done, you have a part made from hundreds of thin layers that are now bonded together as one.
How are the items sliced into so many layers? Software called a “slicer” is used to transform a 3D model into a printable part. The software slices up the part and generates a file, or “g-code,” which is the language that the printer uses to print the object. Each part that is printed has a specific g-code file that is loaded into the printer.

The good news is that many airplane designers now include g-code when you purchase their designs. For those who are just getting into 3D-printing their airplanes, this is a great benefit because it then becomes as simple as copying files onto an SD memory card and printing them. This is the path that I would recommend for those who want to get into 3D-printing airplanes with quick results.
The one drawback with the g-code method is that you need to have a printer that is the same type as what the designer intended the parts to be printed on. If the designer is using a Prusa i3 printer (which is very common), the g-codes are intended for that printer or printers of that same style.
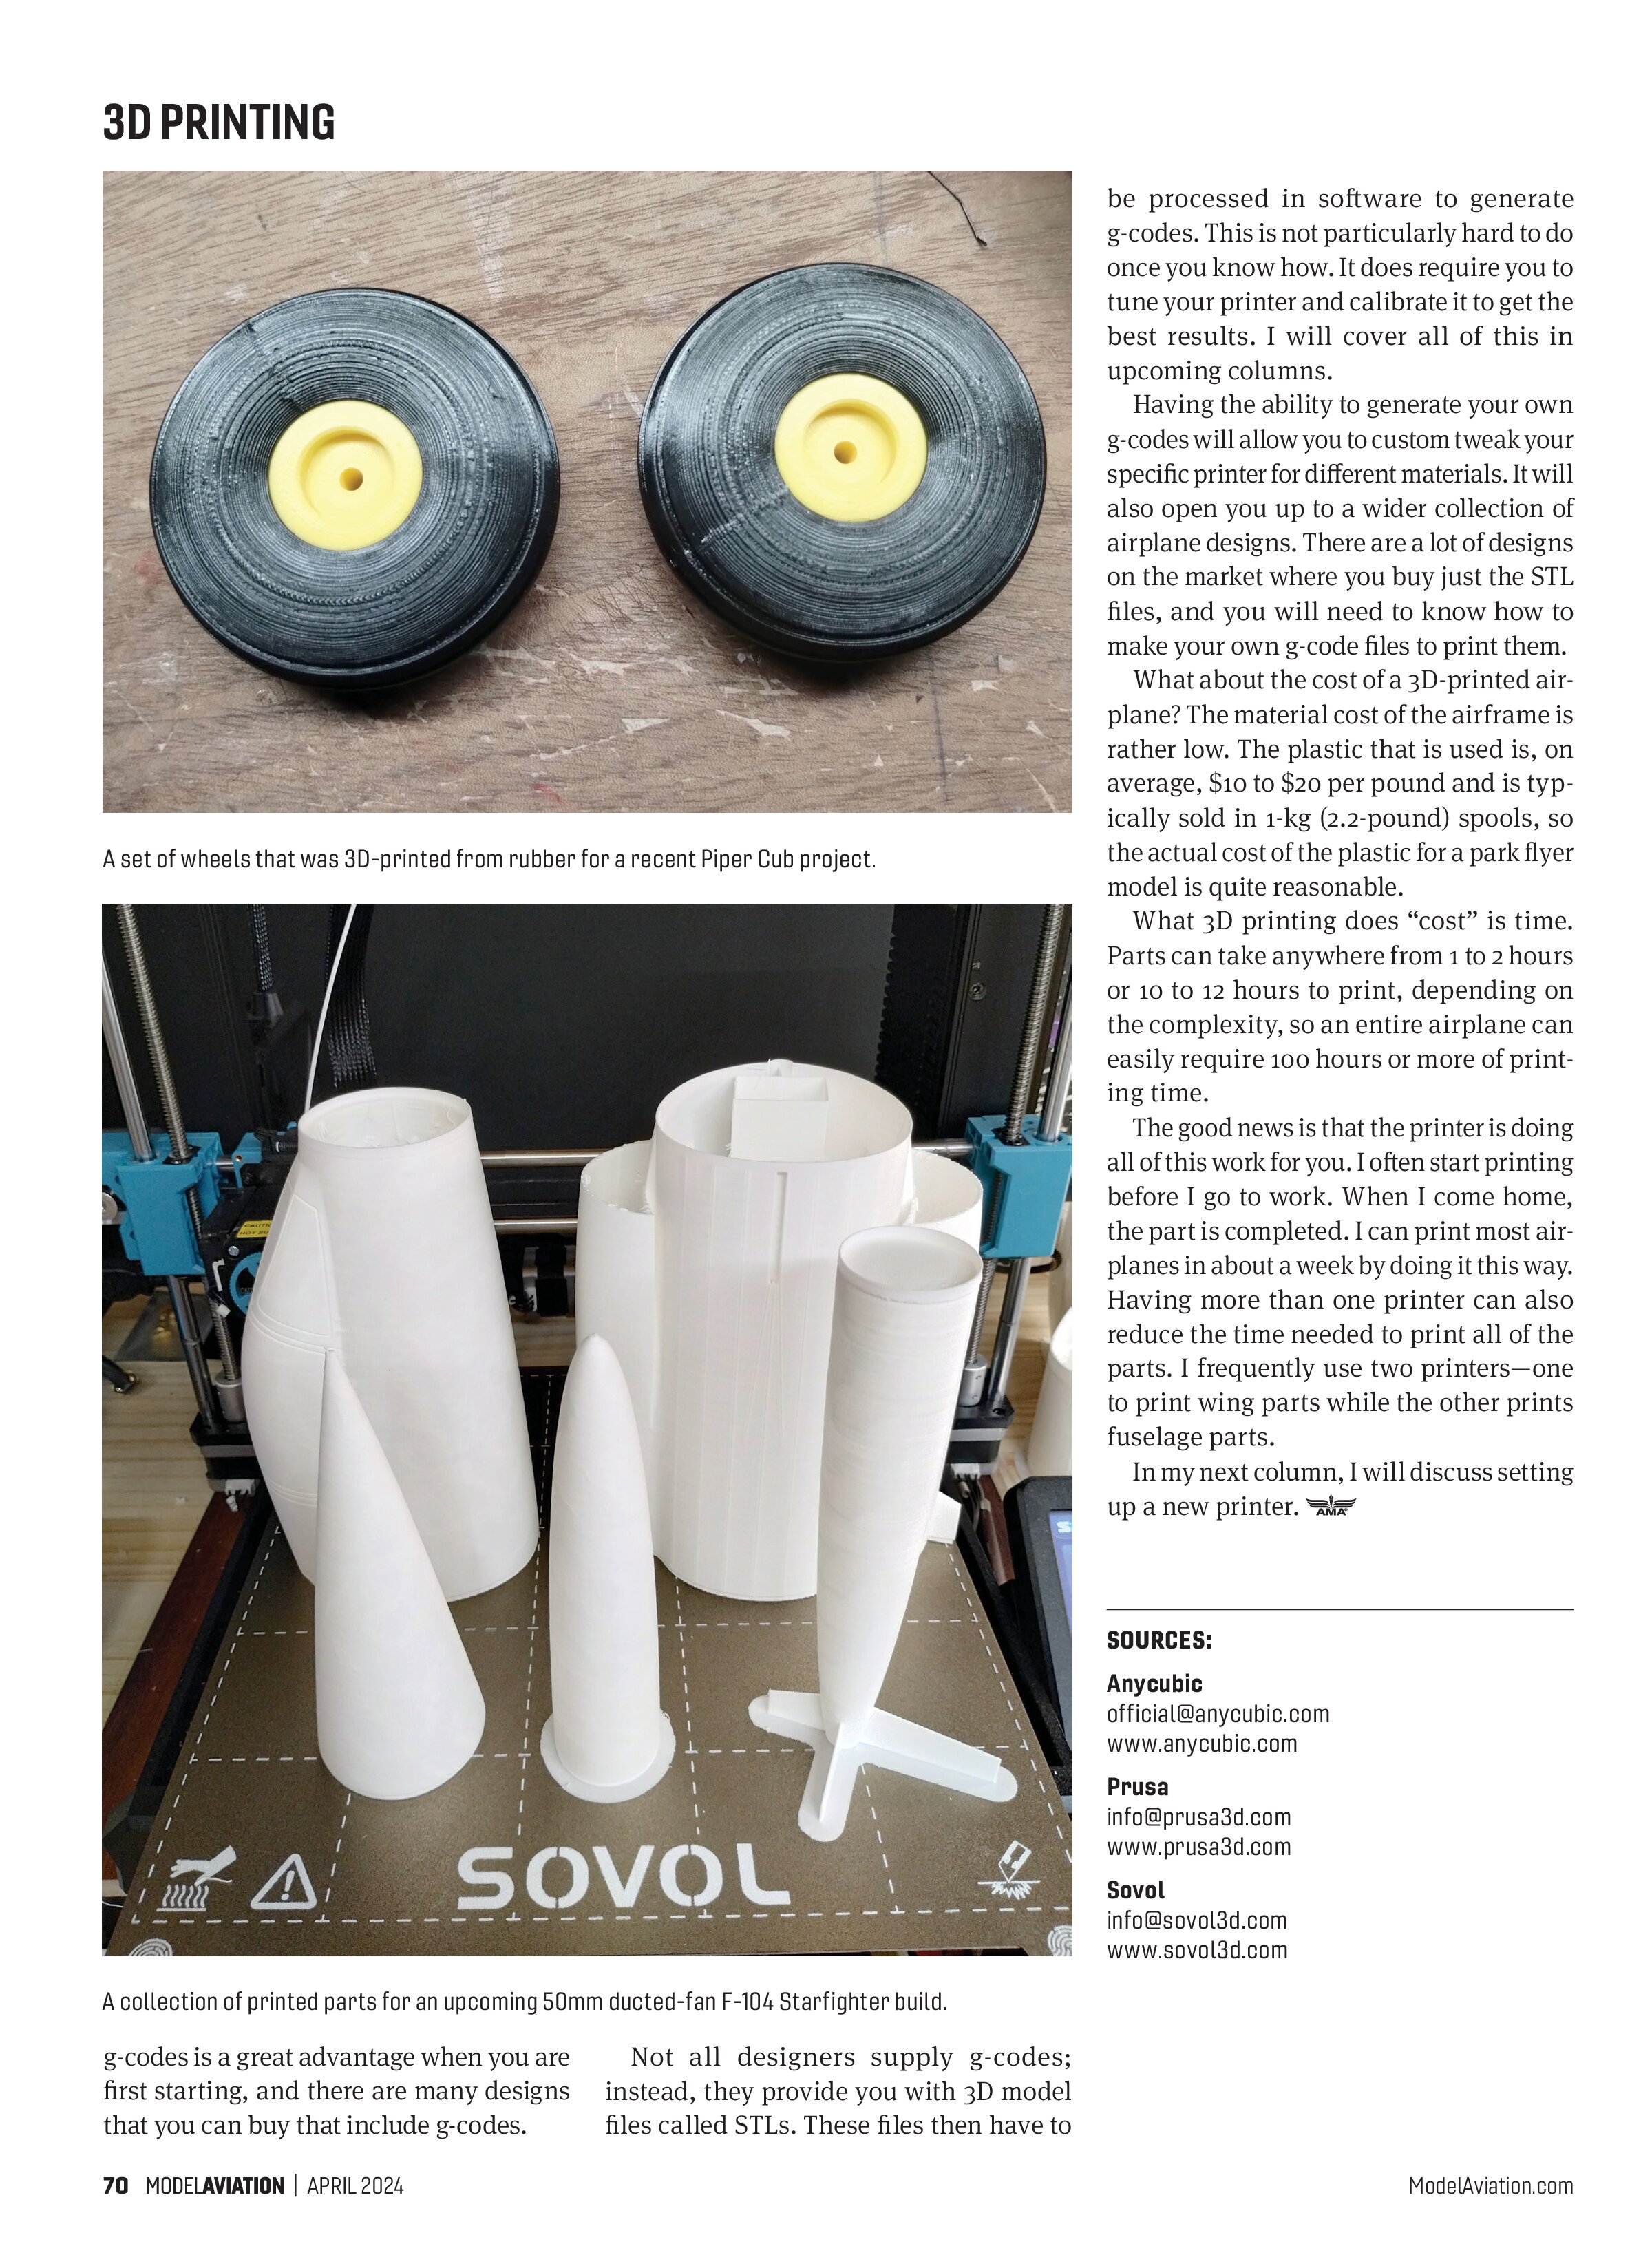
The two main styles of printers are direct-drive and Bowden tube. A direct-drive extruder printer has a stepper motor that feeds the plastic filament directly attached to the hotend. The hotend is where the plastic is melted and extruded though the nozzle to build the part.
A Bowden extruder printer has the feeder motor mounted to the main frame of the printer and the filaments go through an approximately 8- to 12-inch segment of thin Teflon tubing before it enters the hotend. This reduces the mass that moves when printing; however, because of this distance, the filament can flex inside of the Teflon tube, requiring the printer to have slightly different settings. Because of those differences, the g-code for a direct-drive printer might not work with a Bowden tube printer.
When I first started printing airplanes, I owned an Anycubic Vyper, which is a Bowden tube printer. It printed airplanes just fine once I had the settings figured out; however, I was not able to use the supplied g-codes because most codes were made for direct-drive printers. When it was time for me to upgrade to a new printer, I decided to buy a direct-drive printer so that I could use the supplied g-codes. A Prusa i3 was roughly $1,100 at the time, so I decided to try a Sovol SV06 because it was a fraction of the cost (around $230), and so far, I have had no issues printing.
My suggestion would be that if you are looking to buy your first 3D printer for RC aircraft, buy one with a direct-drive extruder. The fact that you can directly print


g-codes is a great advantage when you are first starting, and there are many designs that you can buy that include g-codes.
Not all designers supply g-codes; instead, they provide you with 3D model files called STLs. These files then have to be processed in software to generate g-codes. This is not particularly hard to do once you know how. It does require you to tune your printer and calibrate it to get the best results. I will cover all of this in upcoming columns.
Having the ability to generate your own g-codes will allow you to custom tweak your specific printer for different materials. It will also open you up to a wider collection of airplane designs. There are a lot of designs on the market where you buy just the STL files, and you will need to know how to make your own g-code files to print them.
What about the cost of a 3D-printed airplane? The material cost of the airframe is rather low. The plastic that is used is, on average, $10 to $20 per pound and is typically sold in 1-kg (2.2-pound) spools, so the actual cost of the plastic for a park flyer model is quite reasonable.
What 3D printing does “cost” is time. Parts can take anywhere from 1 to 2 hours or 10 to 12 hours to print, depending on the complexity, so an entire airplane can easily require 100 hours or more of printing time.
The good news is that the printer is doing all of this work for you. I often start printing before I go to work. When I come home, the part is completed. I can print most airplanes in about a week by doing it this way. Having more than one printer can also reduce the time needed to print all of the parts. I frequently use two printers—one to print wing parts while the other prints fuselage parts.
In my next column, I will discuss setting up a new printer.
SOURCES:
Anycubic
official@anycubic.com
www.anycubic.com