HOBBY CLUB
MICRO SINBAD
E-GLIDER COMBO
Building your
own glider is half
of the fun
By Greg Gimlick
maelectrics@gmail.com
Photos provided by the author

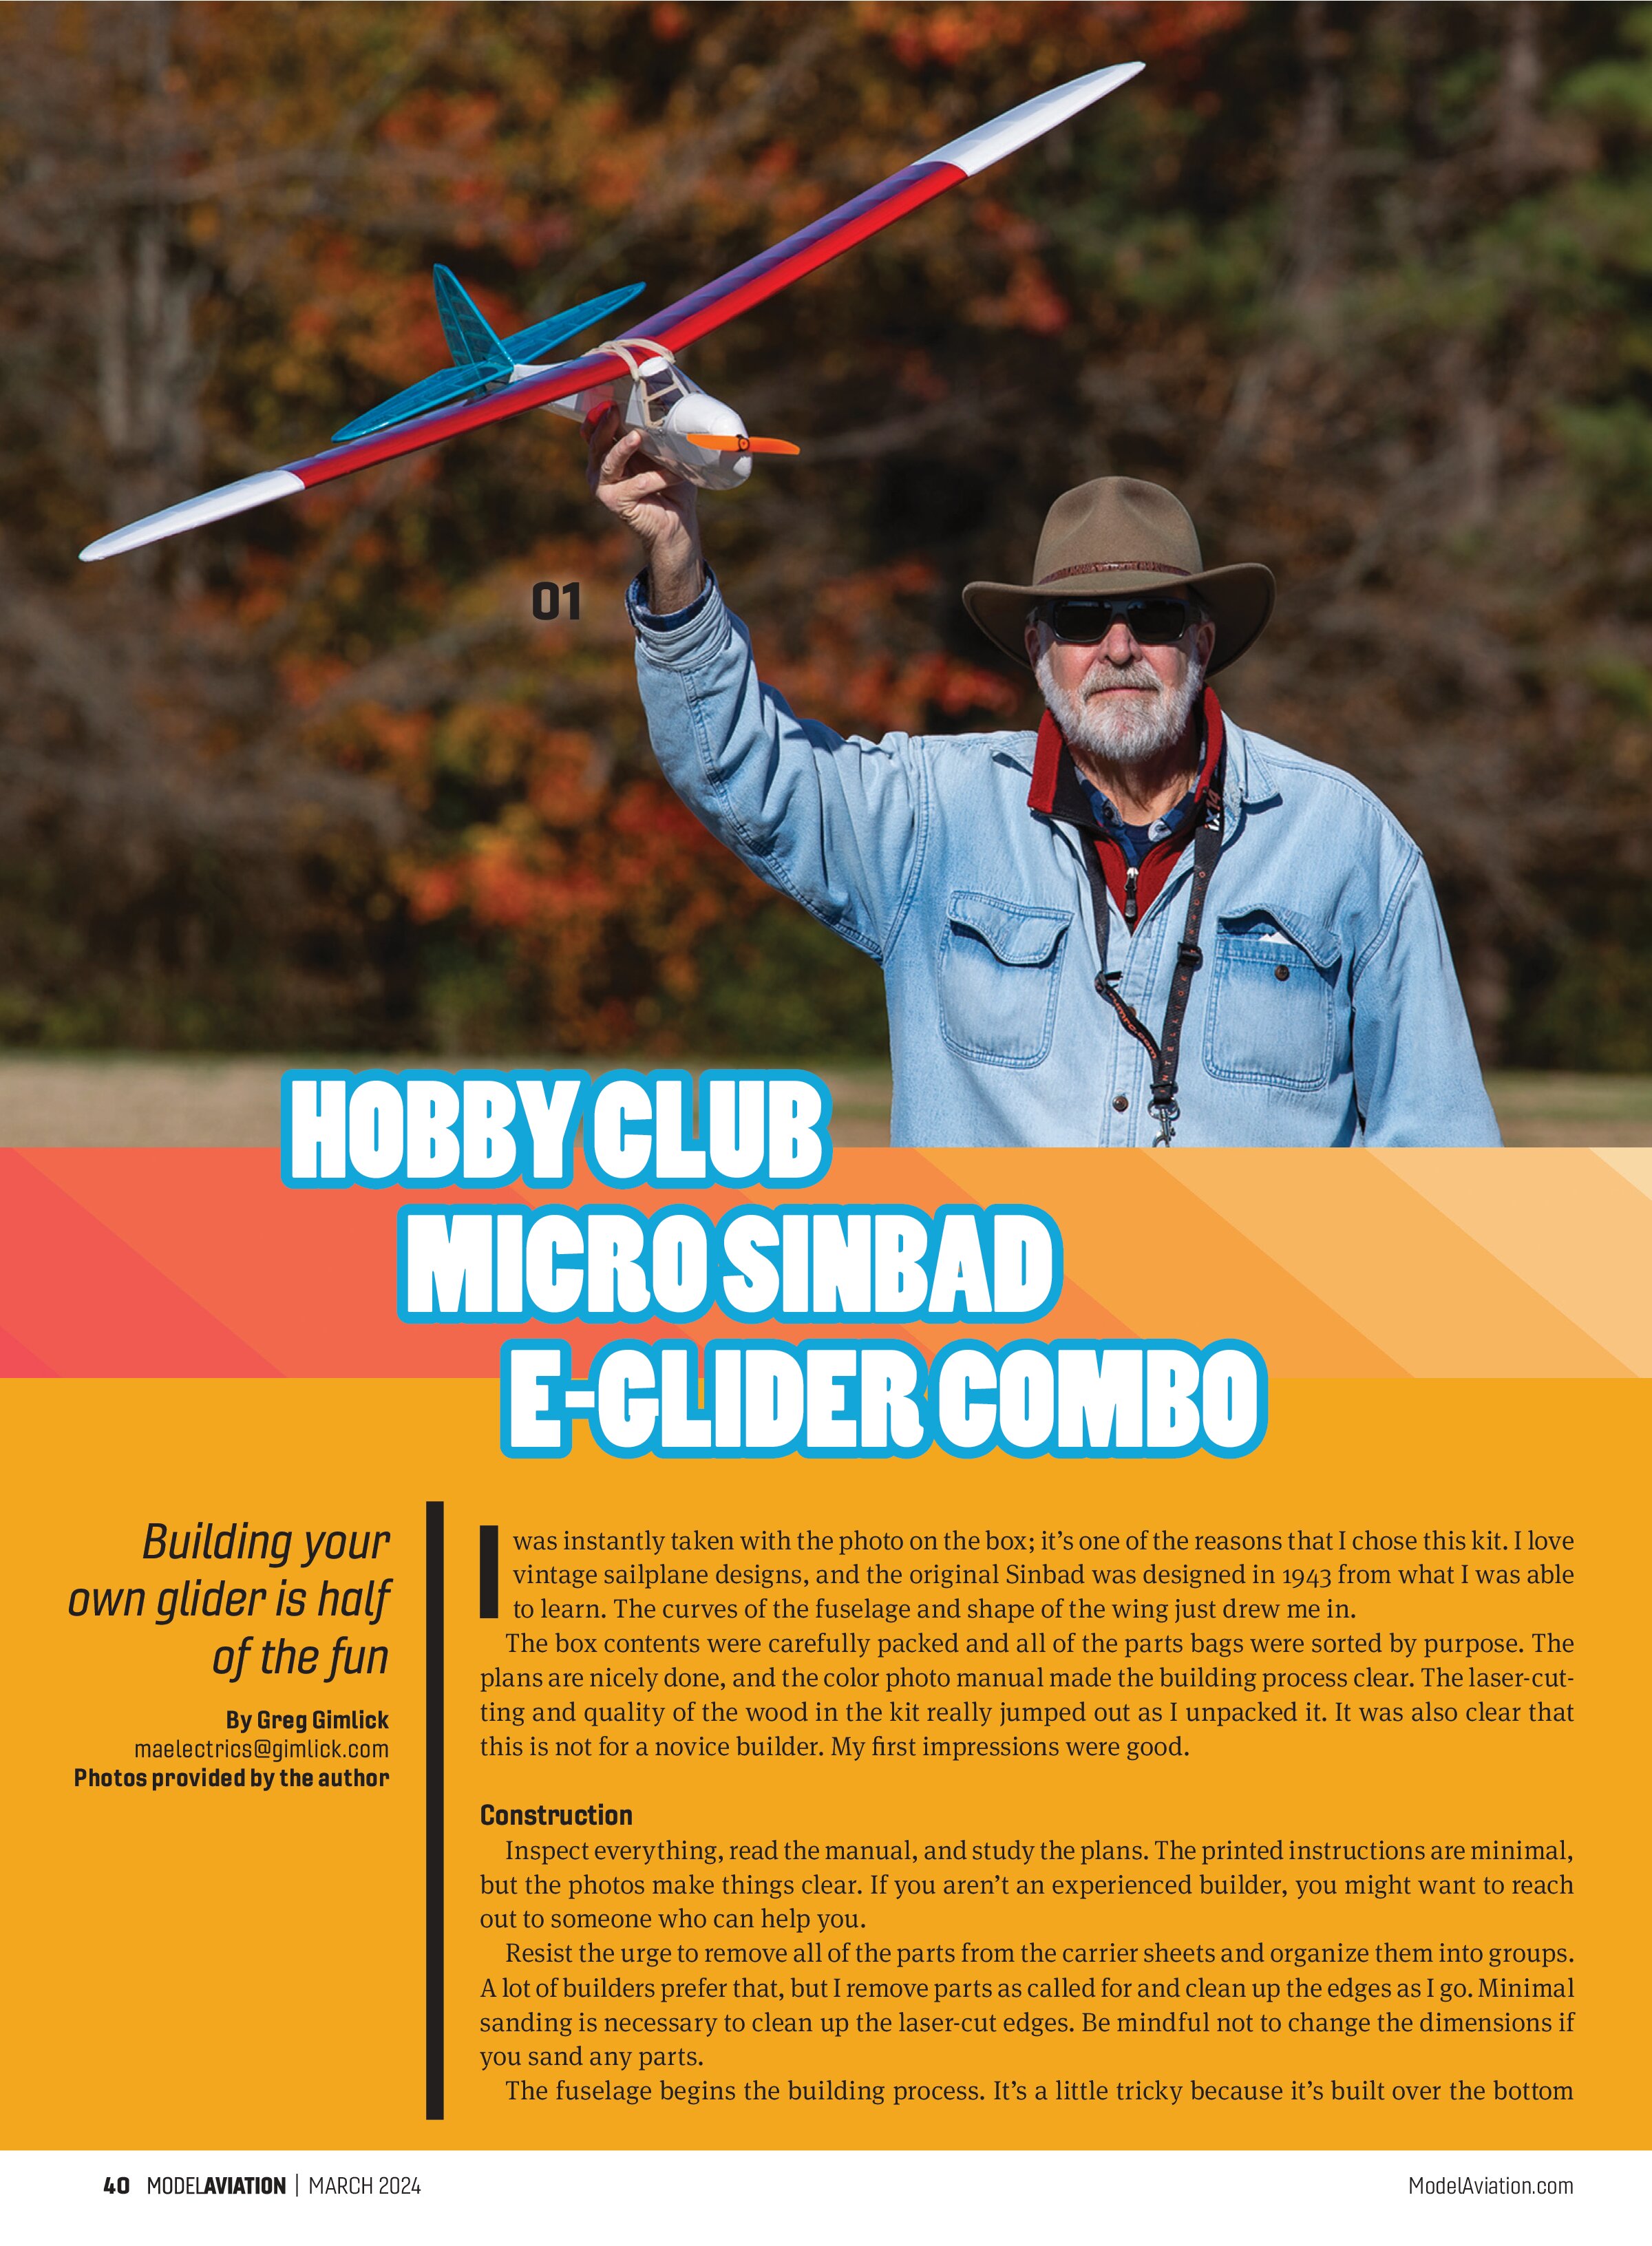
I was instantly taken with the photo on the box; it’s one of the reasons that I chose this kit. I love vintage sailplane designs, and the original Sinbad was designed in 1943 from what I was able to learn. The curves of the fuselage and shape of the wings just drew me in.
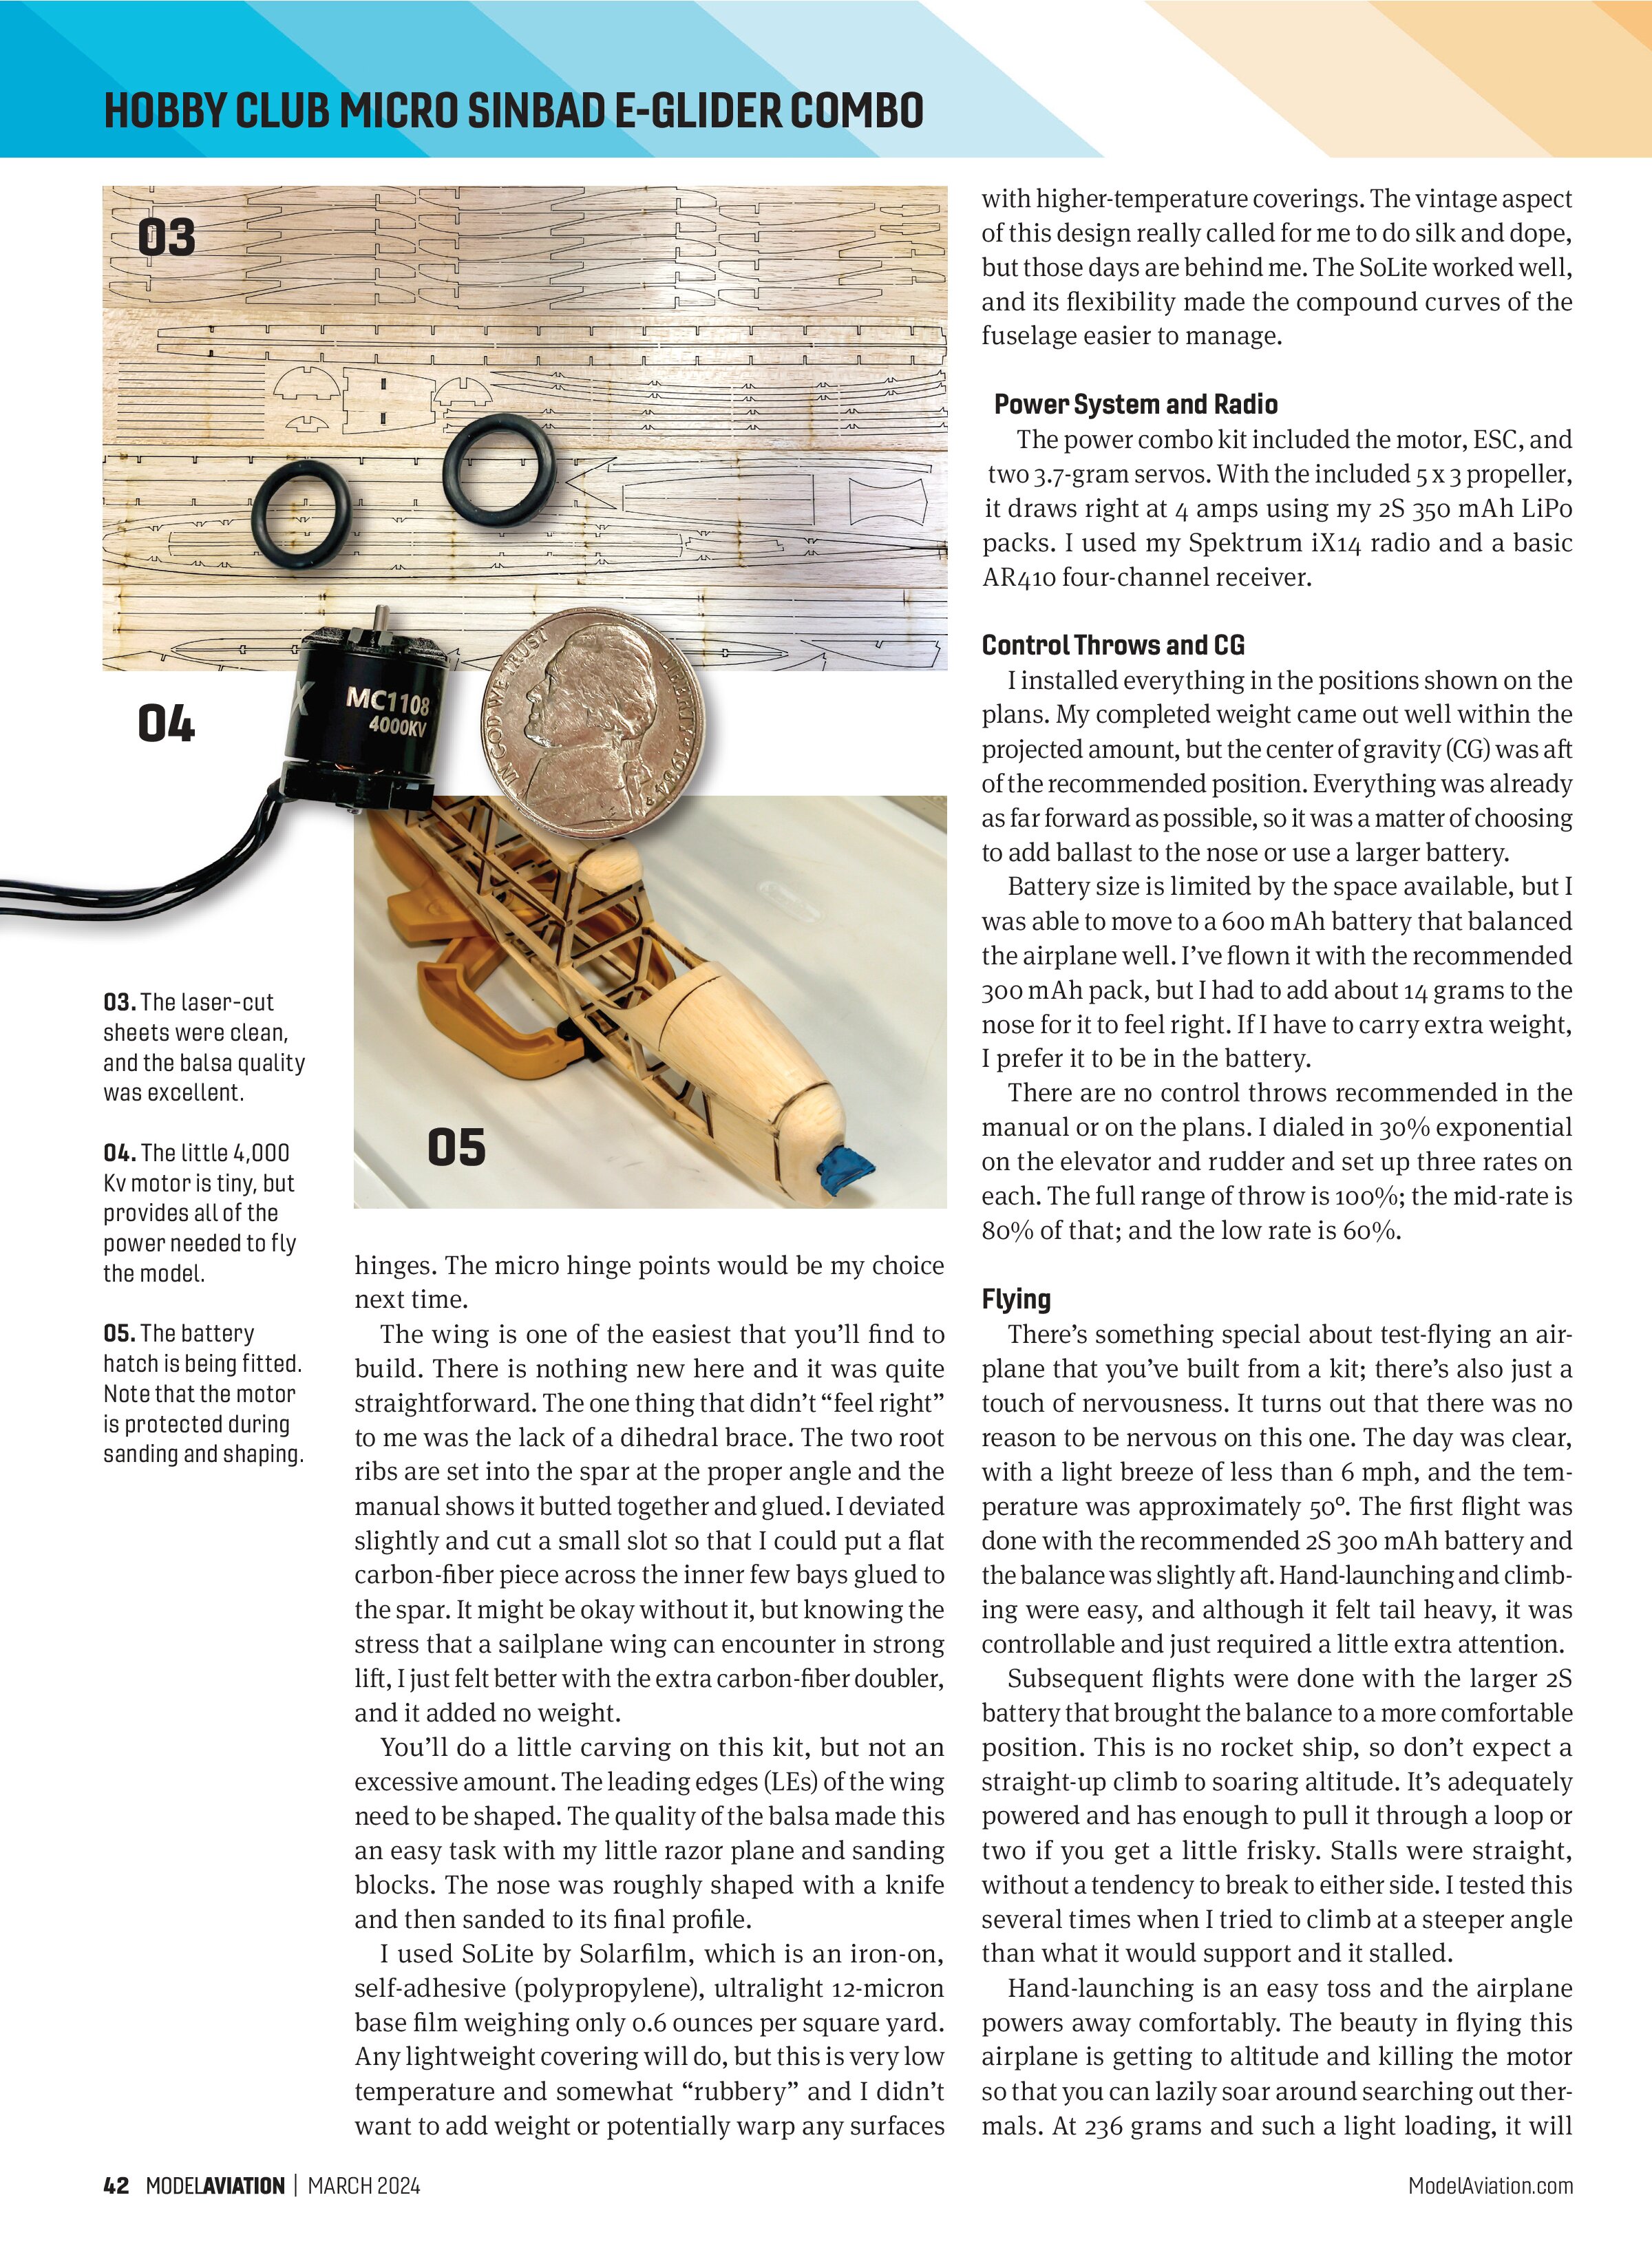
The box contents were carefully packed and all of the parts bags were sorted by purpose. The plans are nicely done, and the color photo manual made the building process clear. The laser-cutting and quality of the wood in the kit really jumped out as I unpacked it. It was also clear that this is not for a novice builder. My first impressions were good.
Construction
Inspect everything, read the manual, and study the plans. The printed instructions are minimal, but the photos make things clear. If you aren’t an experienced builder, you might want to reach out to someone who can help you.
Resist the urge to remove all of the parts from the carrier sheets and organize them into groups. A lot of builders prefer that, but I remove parts as called for and clean up the edges as I go. Minimal sanding is necessary to clean up the laser-cut edges. Be mindful not to change the dimensions if you sand any parts.
The fuselage begins the building process. It’s a little tricky because it’s built over the bottom
crutch and there is no good way to pin it down to build flat on a surface. As you arrange the bulkheads, use the longerons to help line everything up.
I used Super ’Phatic glue throughout most of the process and it worked great. Allergies to CA glue prevent me from using it, but it would quicken the process and keep it straight and true. I went slowly, constantly checking alignment, and managed to build it without it looking like a banana. It’s a beautiful fuselage with wonderful lines.
Here are a couple of things to note as you build the fuselage. There are no suggestions on how to secure the battery hatch once completed. I opted to recess magnets into the framework and that worked well for me, but it can be a little tricky to drill the holes for them.
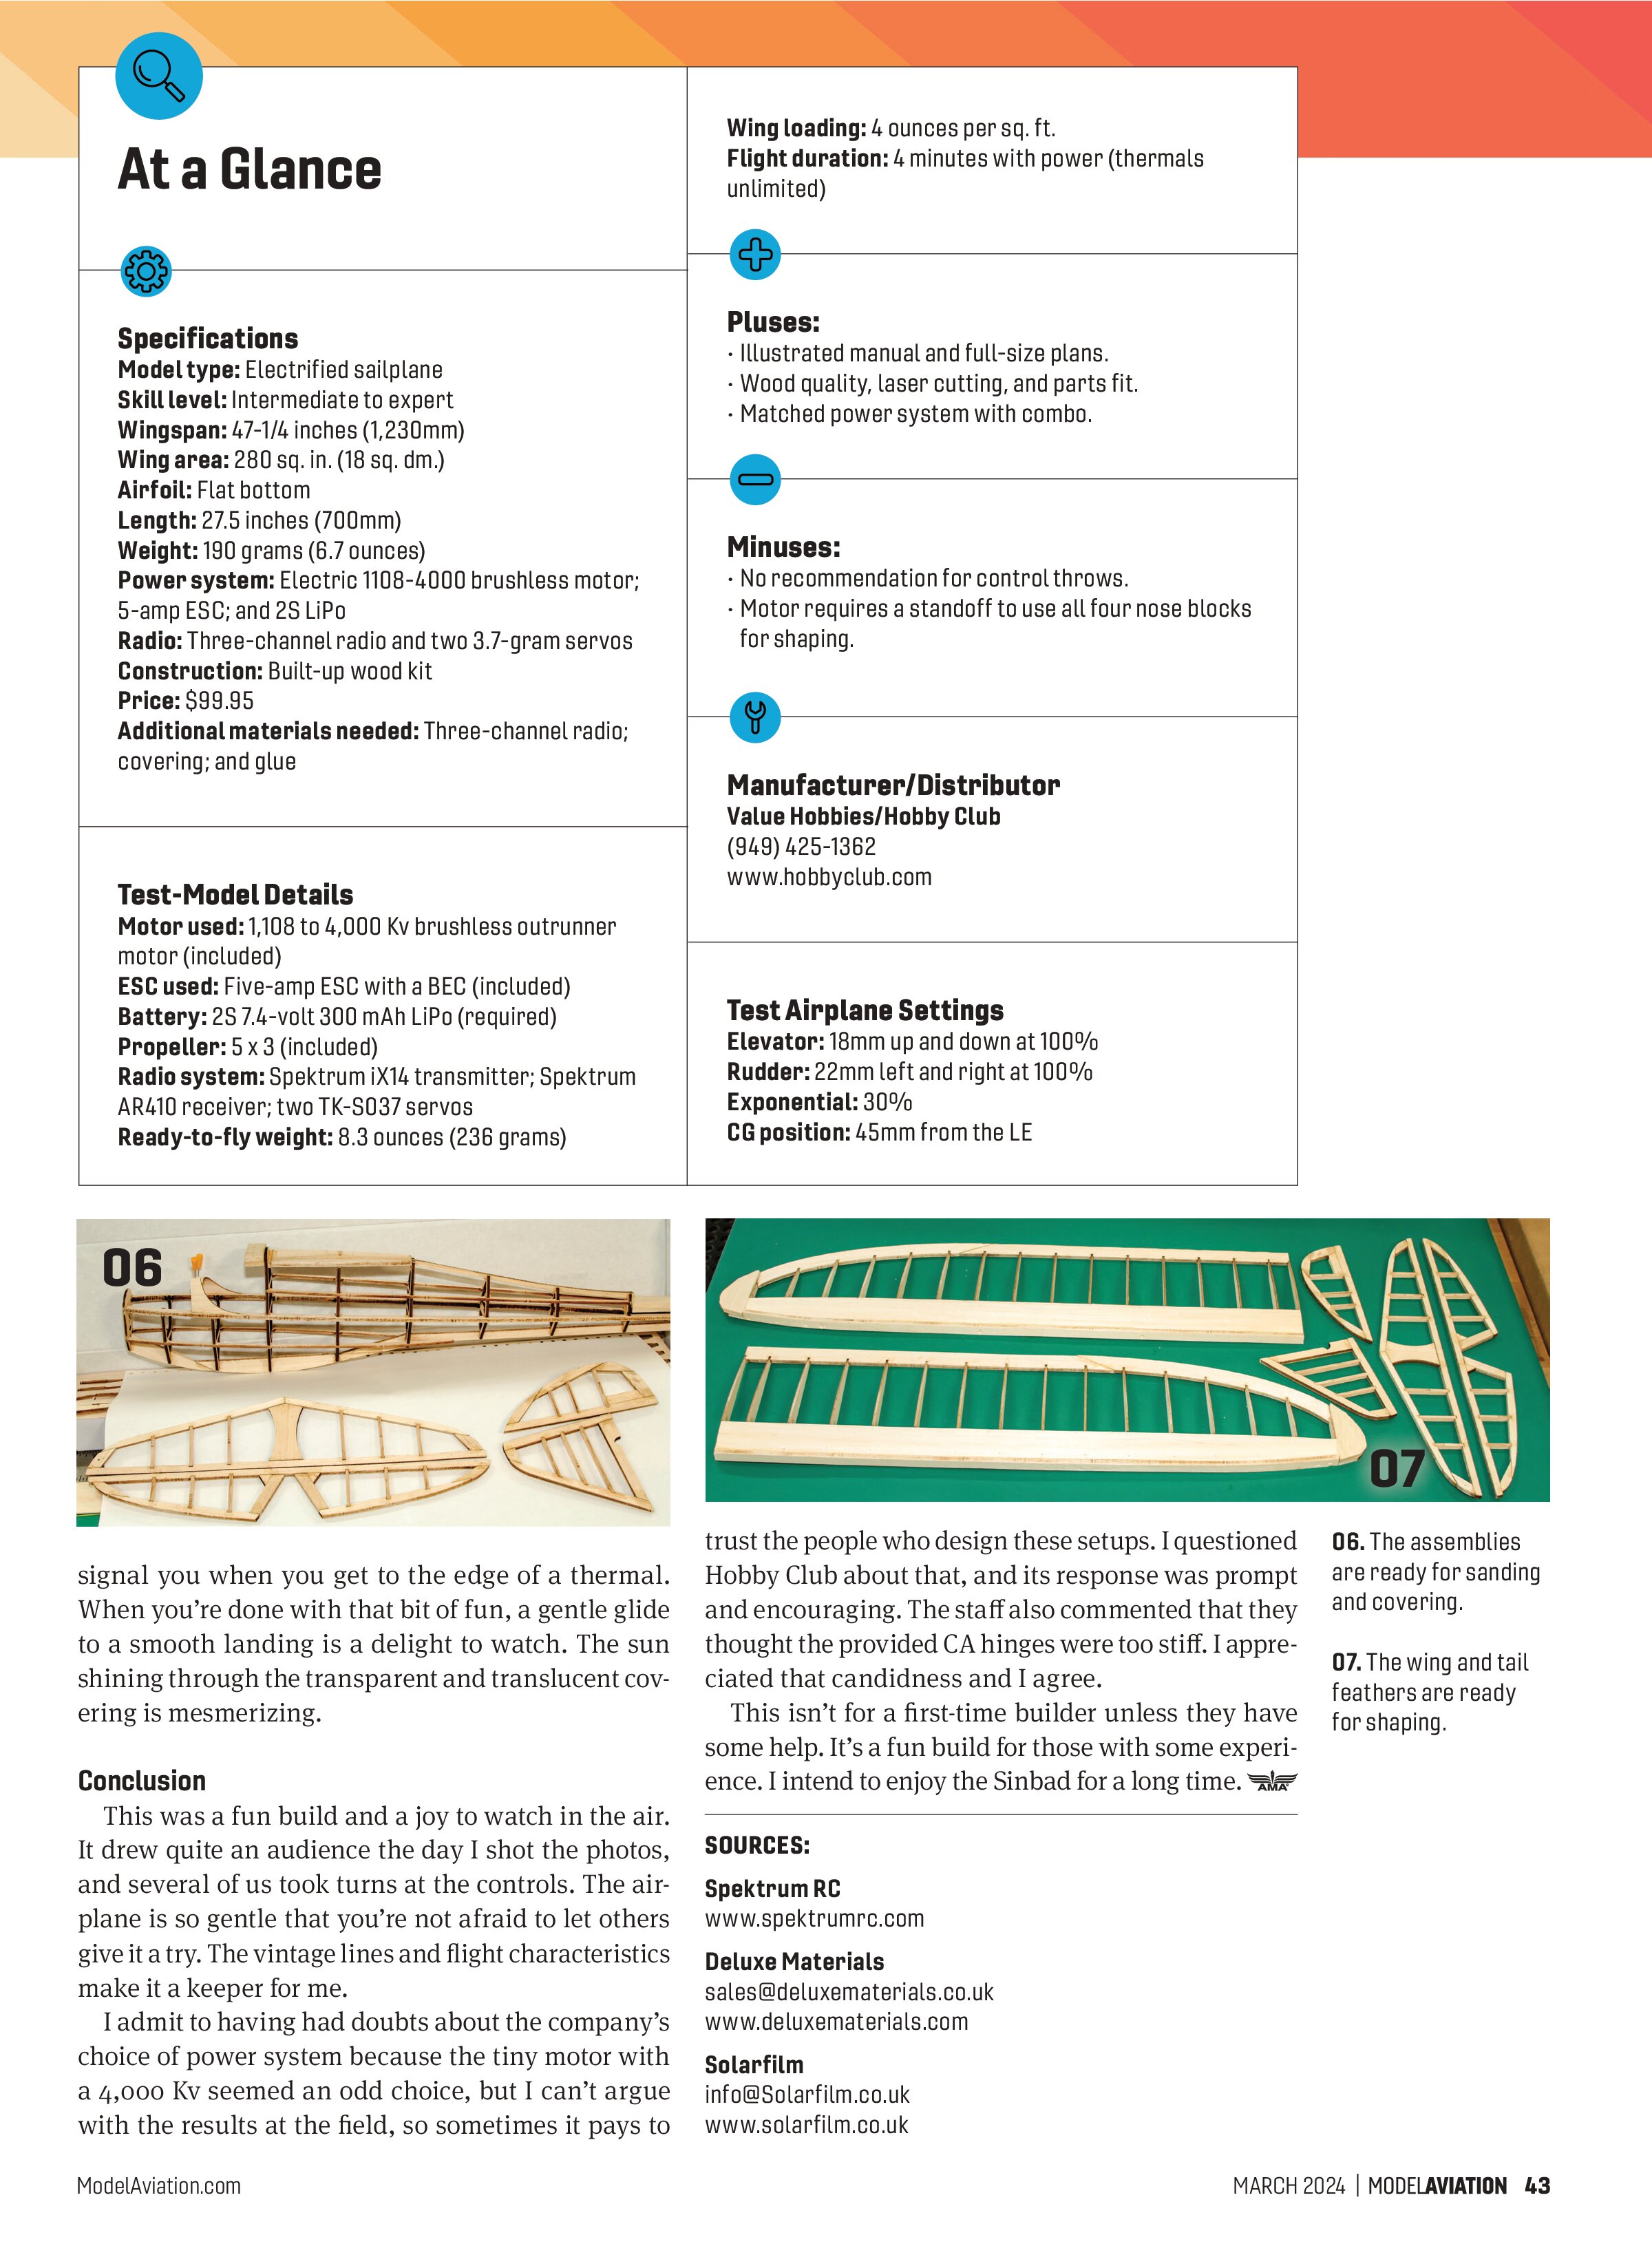
The kit comes with four nose blocks to be laminated together and shaped for the nose. They are drilled for the motor, but the motor must first be mounted to the firewall. There are some potential pitfalls here if you’re not careful. I made a tape cover to slide over the motor
and keep the sawdust from getting into it. It was a little fidgety to get off, but it saved the motor from becoming a dust bucket.
The other thing I ran into was that the motor doesn’t stick out far enough from the firewall to extend past the end of the four stacked balsa blocks. Given the tiny size of the 1108 motor, it would be difficult to extend it out into the structure, and I opted to just use three of the four blocks. This didn’t allow me to get the slimmer nose profile that I might have preferred, but it’s fine too. If I ever wear the motor out, I will redo the nose area.
The tail feathers are straightforward and super easy to build over the plans. The kit includes CA-style hinges, and the people at Hobby Club mentioned that they thought they were a little stiff and that I might consider other options.
They were right, and I substituted some more flexible CA hinges that I had on hand. Another option would be to use micro hinge points or standard pin-style

hinges. The micro hinge points would be my choice next time.
The wing is one of the easiest that you’ll find to build. There is nothing new here and it was quite straightforward. The one thing that didn’t “feel right” to me was the lack of a dihedral brace. The two root ribs are set into the spar at the proper angle and the manual shows it butted together and glued. I deviated slightly and cut a small slot so that I could put a flat carbon-fiber piece across the inner few bays glued to the spar. It might be okay without it, but knowing the stress that a sailplane wing can encounter in strong lift, I just felt better with the extra carbon-fiber doubler, and it added no weight.
You’ll do a little carving on this kit, but not an excessive amount. The leading edges (LEs) of the wing need to be shaped. The quality of the balsa made this an easy task with my little razor plane and sanding blocks. The nose was roughly shaped with a knife and then sanded to its final profile.
I used SoLite by Solarfilm, which is an iron-on, self-adhesive (polypropylene), ultralight 12-micron base film weighing only 0.6 ounces per square yard. Any lightweight covering will do, but this is very low temperature and somewhat “rubbery” and I didn’t want to add weight or potentially warp any surfaces


with higher-temperature coverings. The vintage aspect of this design really called for me to do silk and dope, but those days are behind me. The SoLite worked well, and its flexibility made the compound curves of the fuselage easier to manage.
Power System and Radio
The power combo kit included the motor, ESC, and two 3.7-gram servos. With the included 5 x 3 propeller, it draws right at 4 amps using my 2S 350 mAh LiPo packs. I used my Spektrum iX14 radio and a basic AR410 four-channel receiver.
Control Throws and CG
I installed everything in the positions shown on the plans. My completed weight came out well within the projected amount, but the center of gravity (CG) was aft of the recommended position. Everything was already as far forward as possible, so it was a matter of choosing to add ballast to the nose or use a larger battery.
Battery size is limited by the space available, but I was able to move to a 600 mAh battery that balanced the airplane well. I’ve flown it with the recommended 300 mAh pack, but I had to add about 14 grams to the nose for it to feel right. If I have to carry extra weight, I prefer it to be in the battery.
There are no control throws recommended in the manual or on the plans. I dialed in 30% exponential on the elevator and rudder and set up three rates on each. The full range of throw is 100%; the mid-rate is 80% of that; and the low rate is 60%.
Flying
There’s something special about test-flying an airplane that you’ve built from a kit; there’s also just a touch of nervousness. It turns out that there was no reason to be nervous on this one. The day was clear, with a light breeze of less than 6 mph, and the temperature was approximately 50°. The first flight was done with the recommended 2S 300 mAh battery and the balance was slightly aft. Hand-launching and climbing were easy, and although it felt tail heavy, it was controllable and just required a little extra attention.
Subsequent flights were done with the larger 2S battery that brought the balance to a more comfortable position. This is no rocket ship, so don’t expect a straight-up climb to soaring altitude. It’s adequately powered and has enough to pull it through a loop or two if you get a little frisky. Stalls were straight, without a tendency to break to either side. I tested this several times when I tried to climb at a steeper angle than what it would support and it stalled.
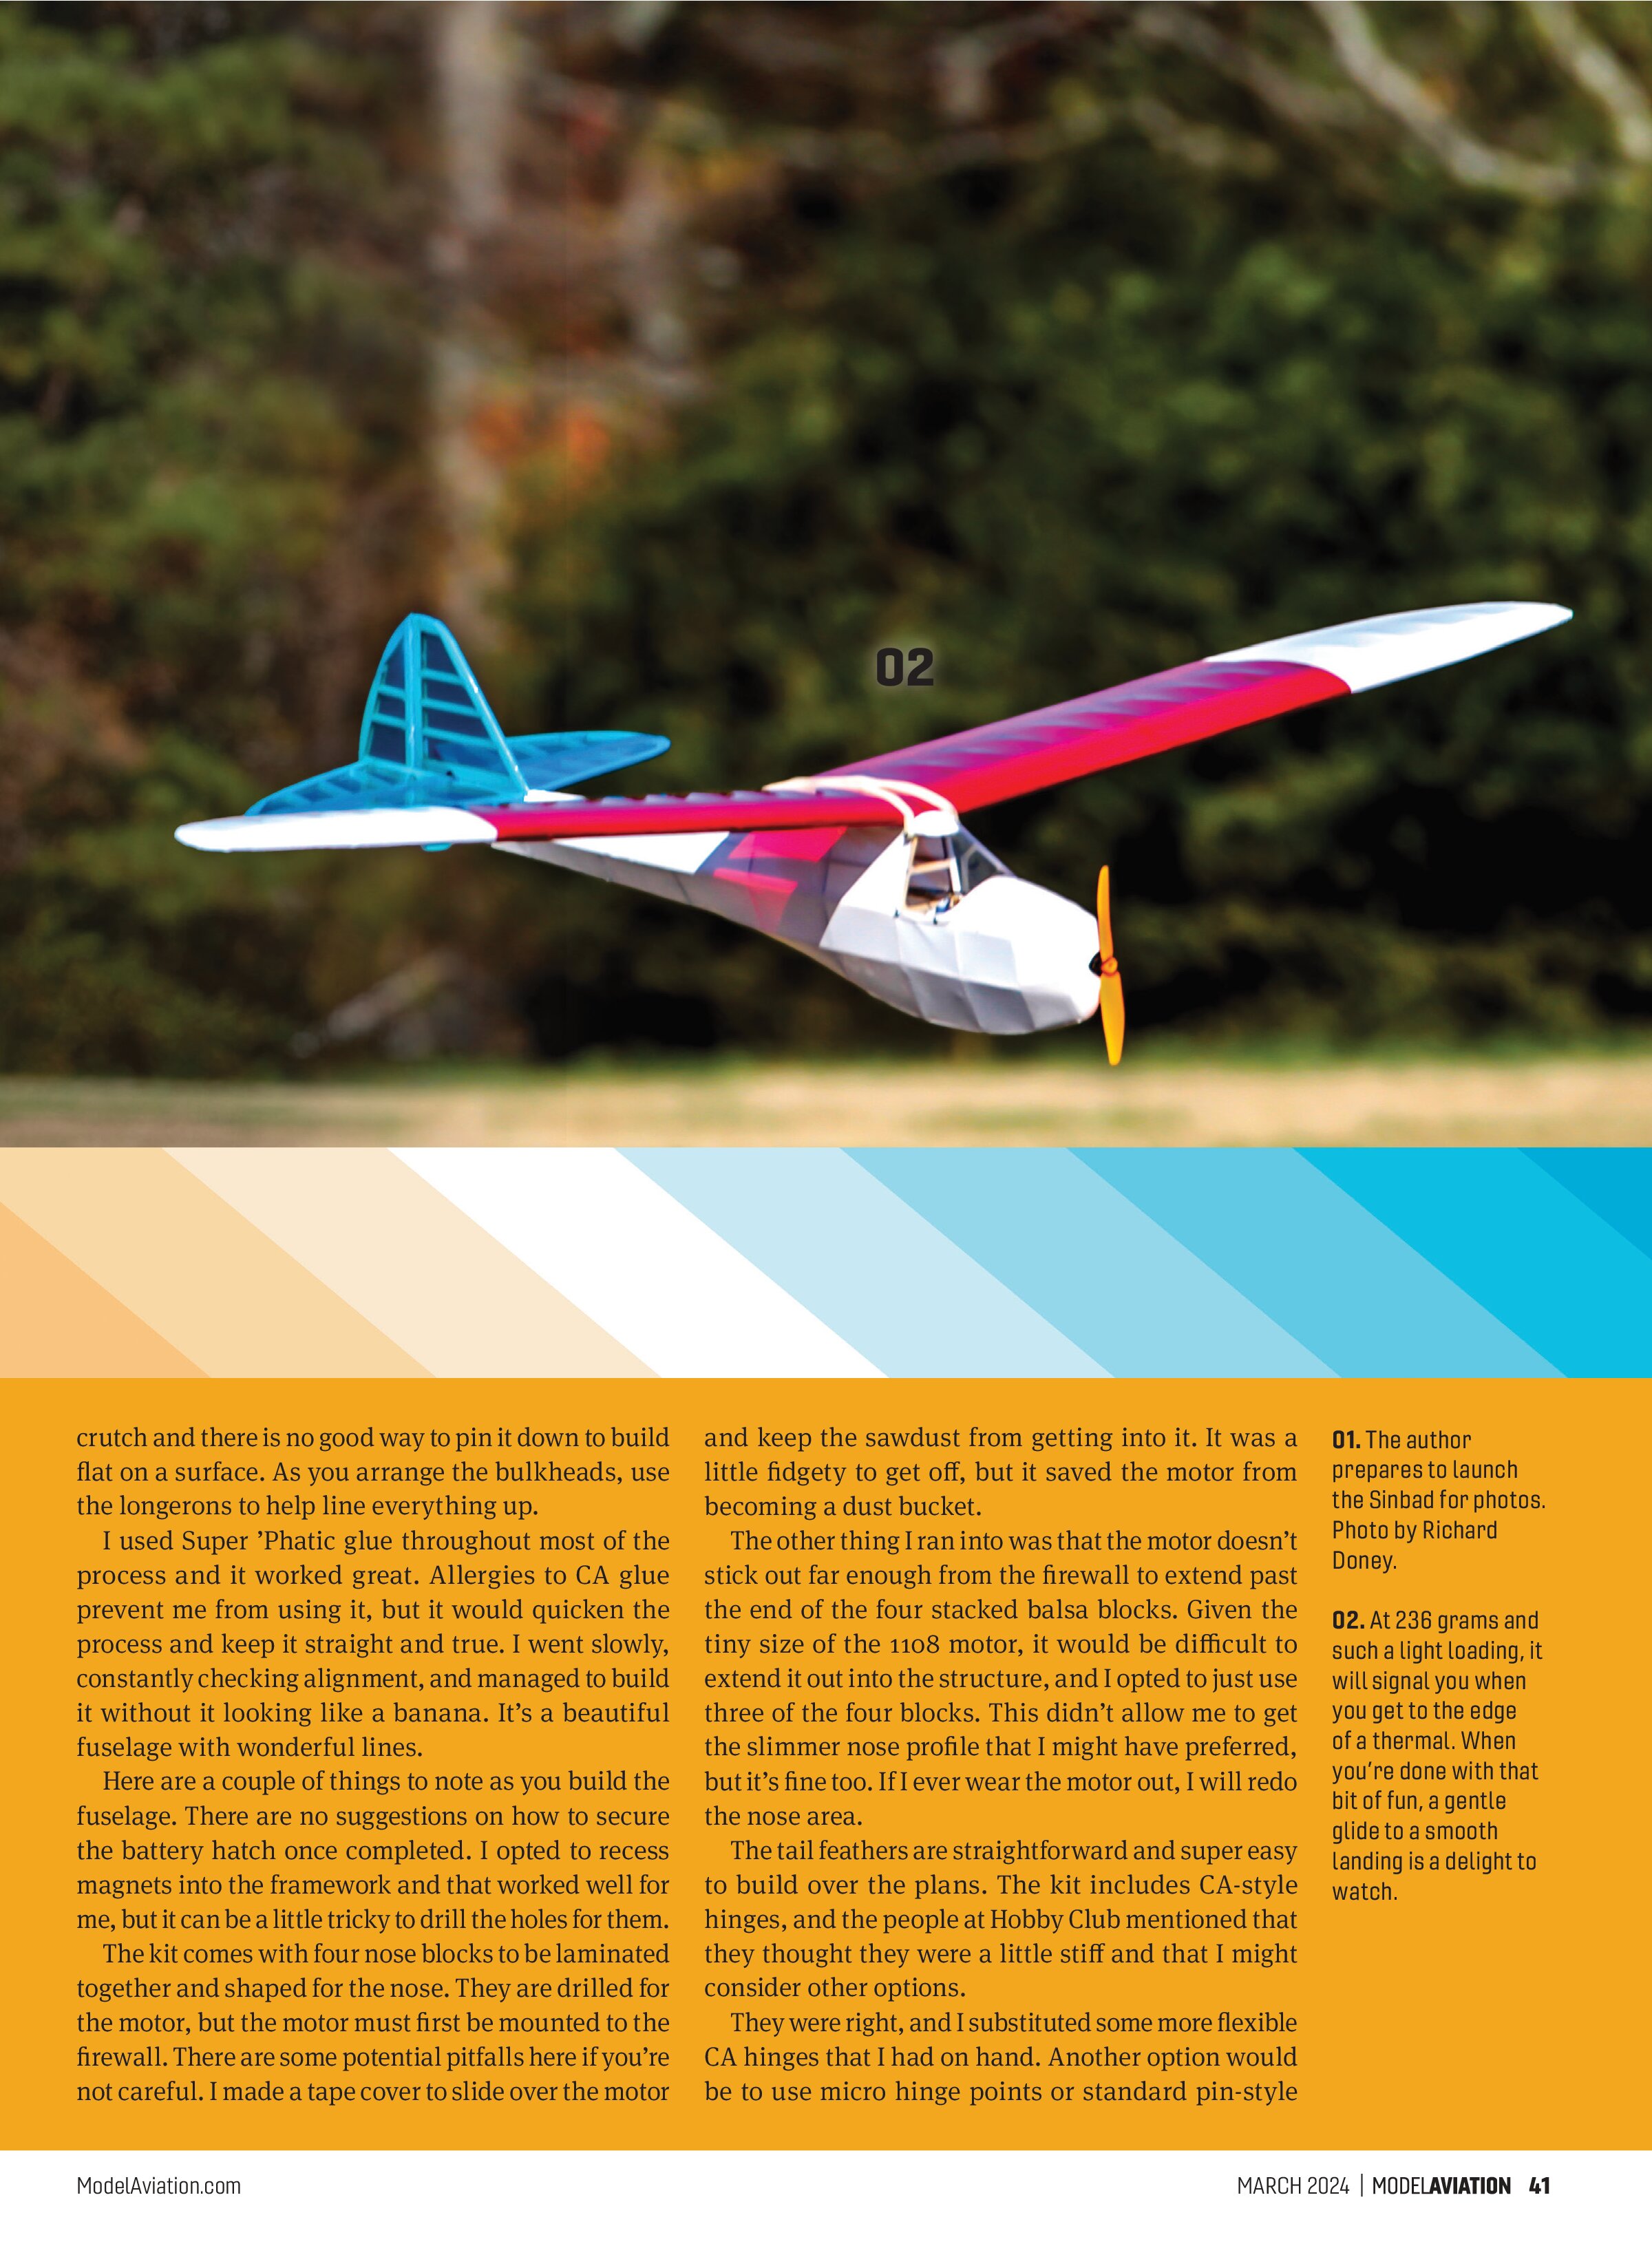
Hand-launching is an easy toss and the airplane powers away comfortably. The beauty in flying this airplane is getting to altitude and killing the motor so that you can lazily soar around searching out thermals. At 236 grams and such a light loading, it will signal you when you get to the edge of a thermal. When you’re done with that bit of fun, a gentle glide to a smooth landing is a delight to watch. The sun shining through the transparent and translucent covering is mesmerizing.
At a Glance
Specifications
Model type: Electrified sailplane
Skill level: Intermediate to expert
Wingspan: 47-1/4 inches (1,230mm)
Wing area: 280 sq. in. (18 sq. dm.)
Airfoil: Flat bottom
Length: 27.5 inches (700mm)
Weight: 190 grams (6.7 ounces)
Power system: Electric 1108-4000 brushless motor; 5-amp ESC; and 2S LiPo
Radio: Three-channel radio and two 3.7-gram servos
Construction: Built-up wood kit
Price: $99.95
Additional materials needed: Three-channel radio; covering; and glue
Test-Model Details
Motor used: 1,108 to 4,000 Kv brushless outrunner motor (included)
ESC used: Five-amp ESC with a BEC (included)
Battery: 2S 7.4-volt 300 mAh LiPo (required)
Propeller: 5 x 3 (included)
Radio system: Spektrum iX14 transmitter; Spektrum AR410 receiver; two TK-S037 servos
Ready-to-fly weight: 8.3 ounces (236 grams)
Wing loading: 4 ounces per sq. ft.
Flight duration: 4 minutes with power (thermals unlimited)
Pluses:
- Illustrated manual and full-size plans.
- Wood quality, laser cutting, and parts fit.
- Matched power system with combo.
Minuses:
- No recommendation for control throws.
- Motor requires a standoff to use all four nose blocks for shaping.
Manufacturer/Distributor
Value Hobbies/Hobby Club
(949) 425-1362
www.hobbyclub.com
Test Airplane Settings
Elevator: 18mm up and down at 100%
Rudder: 22mm left and right at 100%
Exponential: 30%
CG position: 45mm from the LE


Conclusion
This was a fun build and a joy to watch in the air. It drew quite an audience the day I shot the photos, and several of us took turns at the controls. The airplane is so gentle that you’re not afraid to let others give it a try. The vintage lines and flight characteristics make it a keeper for me.
I admit to having had doubts about the company’s choice of power system because the tiny motor with a 4,000 Kv seemed an odd choice, but I can’t argue with the results at the field, so sometimes it pays to trust the people who design these setups. I questioned Hobby Club about that, and its response was prompt and encouraging. The staff also commented that they thought the provided CA hinges were too stiff. I appreciated that candidness and I agree.
This isn’t for a first-time builder unless they have some help. It’s a fun build for those with some experience. I intend to enjoy the Sinbad for a long time.
SOURCES:
Spektrum RC
www.spektrumrc.com
Deluxe Materials
sales@deluxematerials.co.uk
www.deluxematerials.com