
AIRBRUSHING
AND
REFINISHING
AN OLD
MODEL
By Rob Caso | quack916@aol.com
ALLOW ME TO BEGIN with a modeling cliché: Nothing looks like paint, like paint. I will herein be refinishing a worn paint job and, by doing so, going through the steps and equipment I use to airbrush both markings and an overall scheme on a small SBD Dauntless that I designed years ago.
Hand-launched and belly-landing models accumulate wear and tear faster than their wheeled counterparts. Although it didn’t have much airtime, the SBD was looking a bit weary. It had even been caught in the rain at a Northeast Electric Aircraft Technology (NEAT) Fair, which washed off all of my carefully applied panel lines. It was time for a facelift!
Prepping
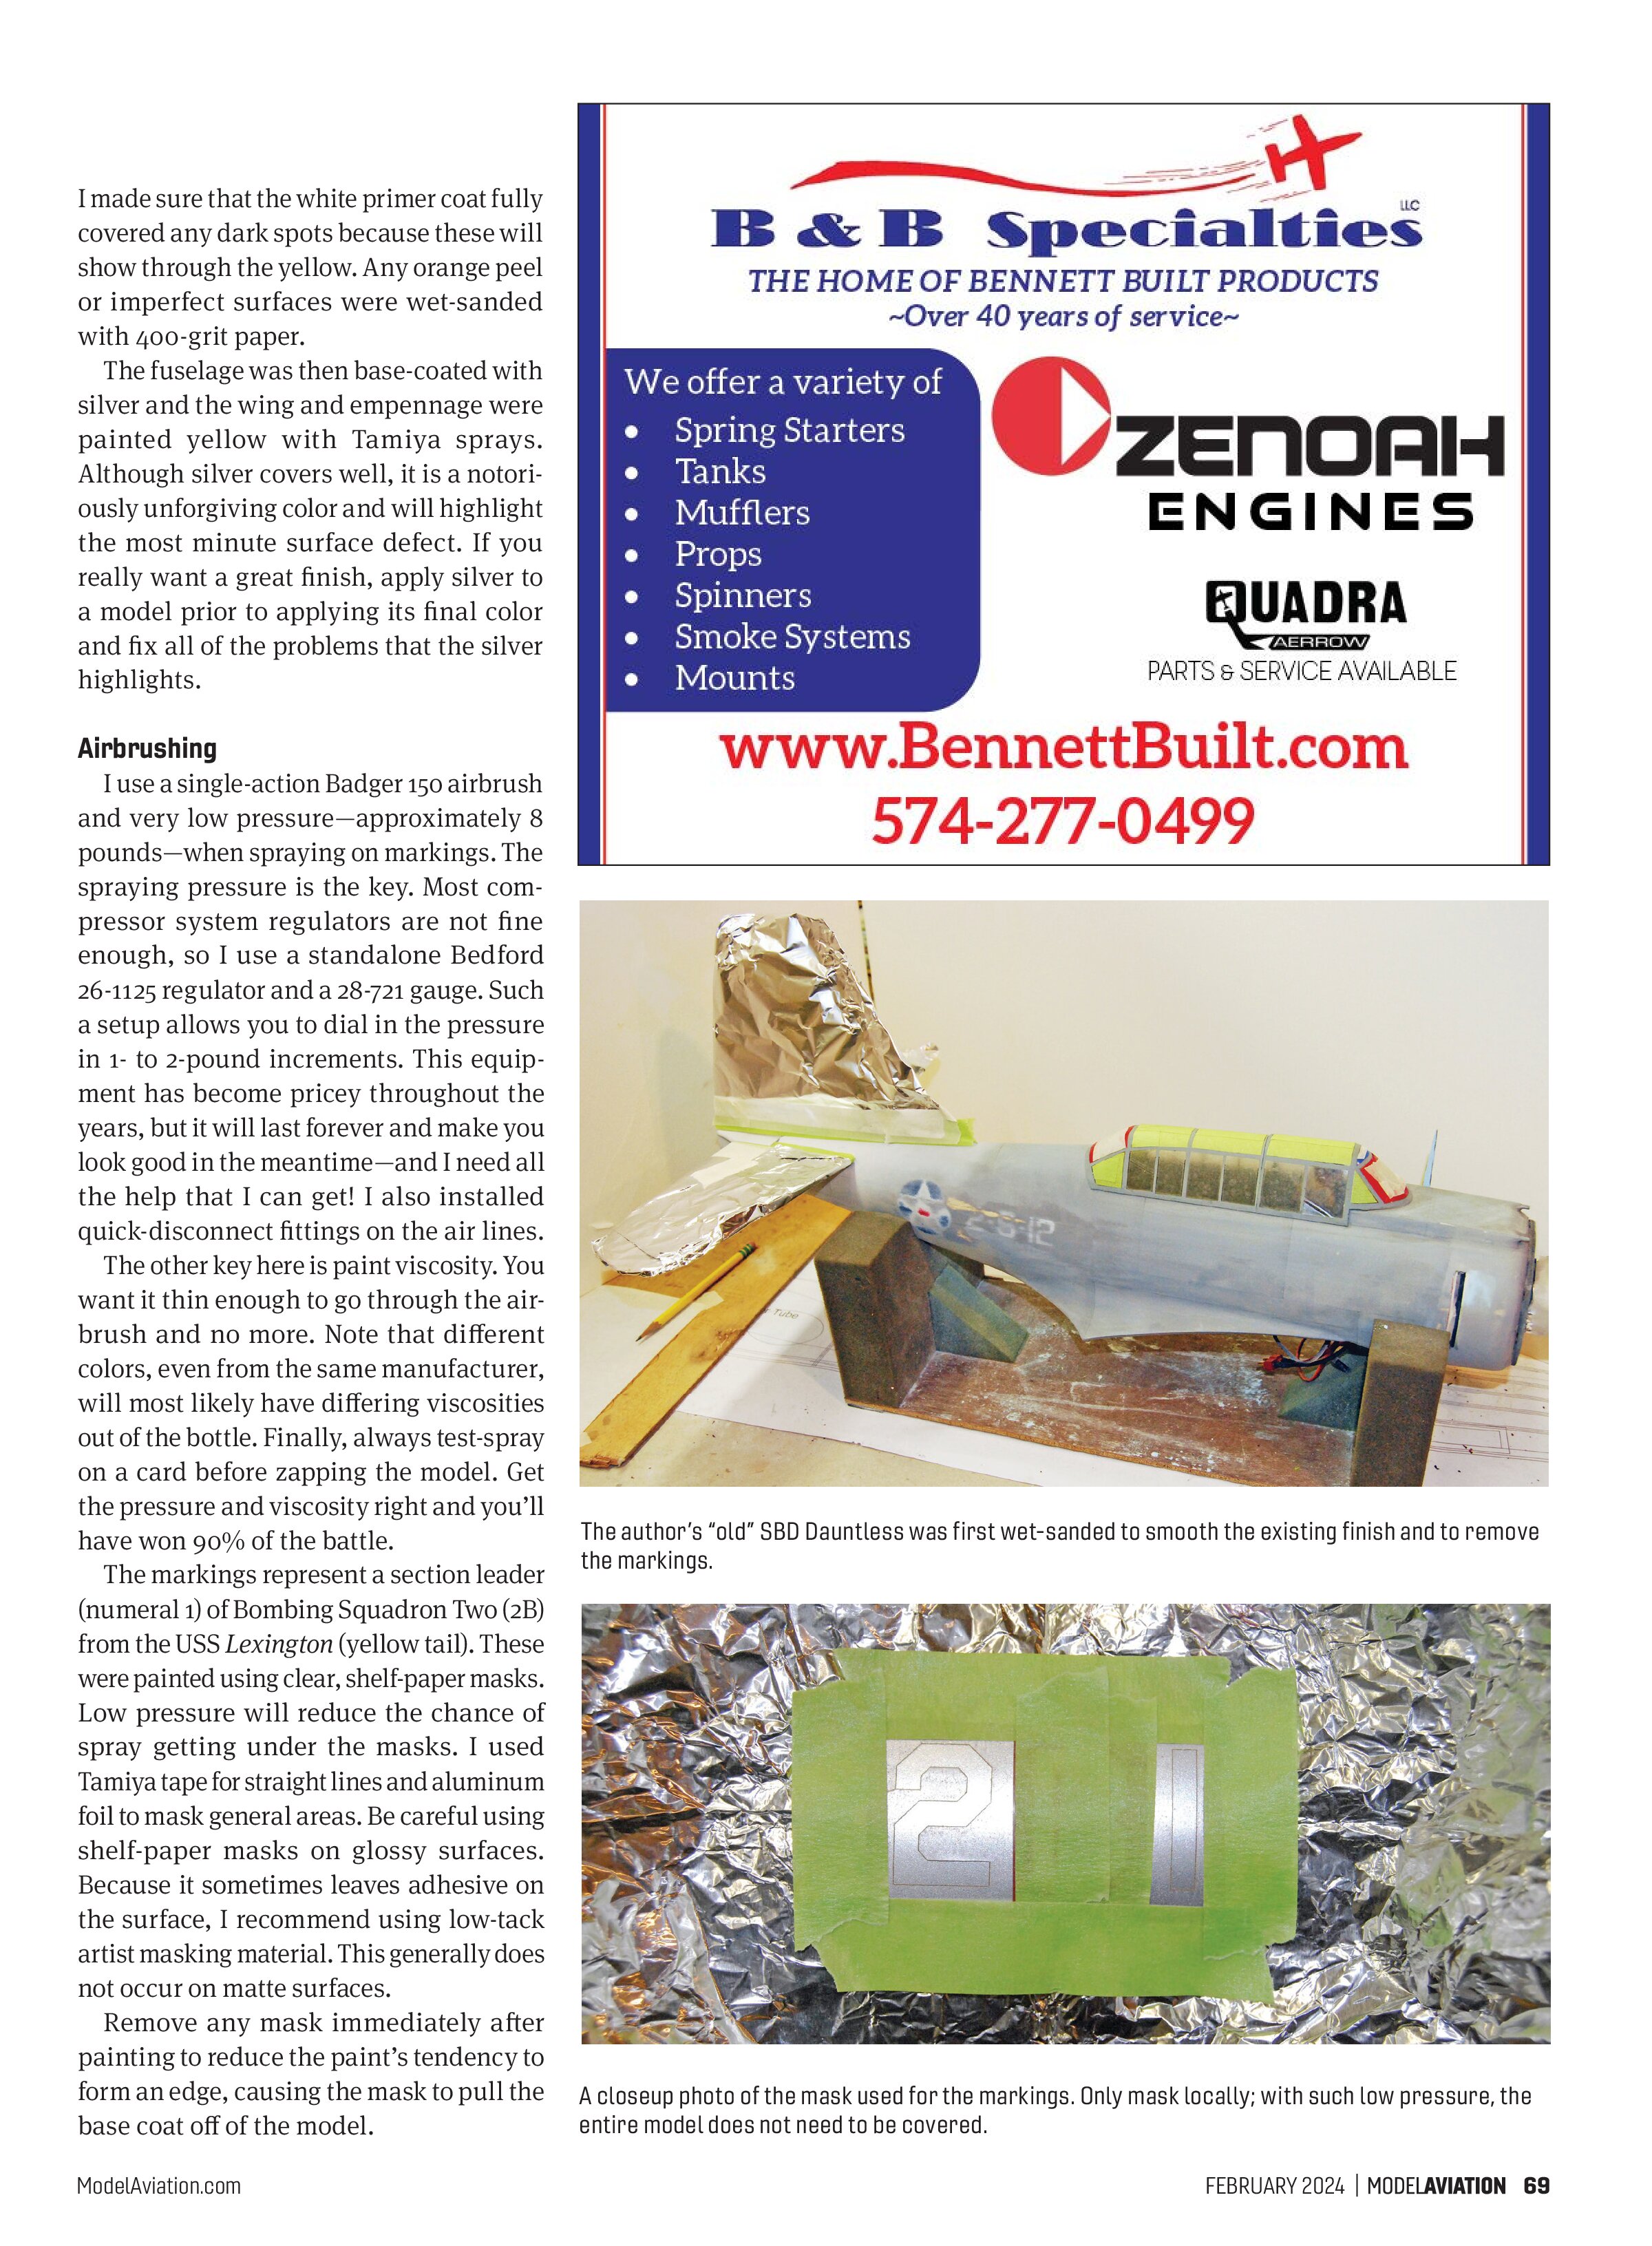
I repaired holes in the covering, filled in cracks in the skin, and gave the model a good cleaning to rid it of grass stains and dirt. Because I originally painted all of the nomenclature, I removed most of it with a good wet sanding using 400-grit then 600-grit sandpaper, which also eliminated the rough spots. Be careful when sanding covered areas because it is easy to sand through the covering. I masked off the canopy rather than removing it.
Repainting
I chose to refinish the model in a pre-World War II “yellow wing” scheme. Although I love yellow, it is somewhat of a weak color and cannot be applied over anything but white. To prime for the yellow, I sprayed Tamiya flat white primer in multiple light coats to avoid building up a lot of paint and weight.
I made sure that the white primer coat fully covered any dark spots because these will show through the yellow. Any orange peel or imperfect surfaces were wet-sanded with 400-grit paper.
The fuselage was then base-coated with silver and the wing and empennage were painted yellow with Tamiya sprays. Although silver covers well, it is a notoriously unforgiving color and will highlight the most minute surface defect. If you really want a great finish, apply silver to a model prior to applying its final color and fix all of the problems that the silver highlights.
Airbrushing
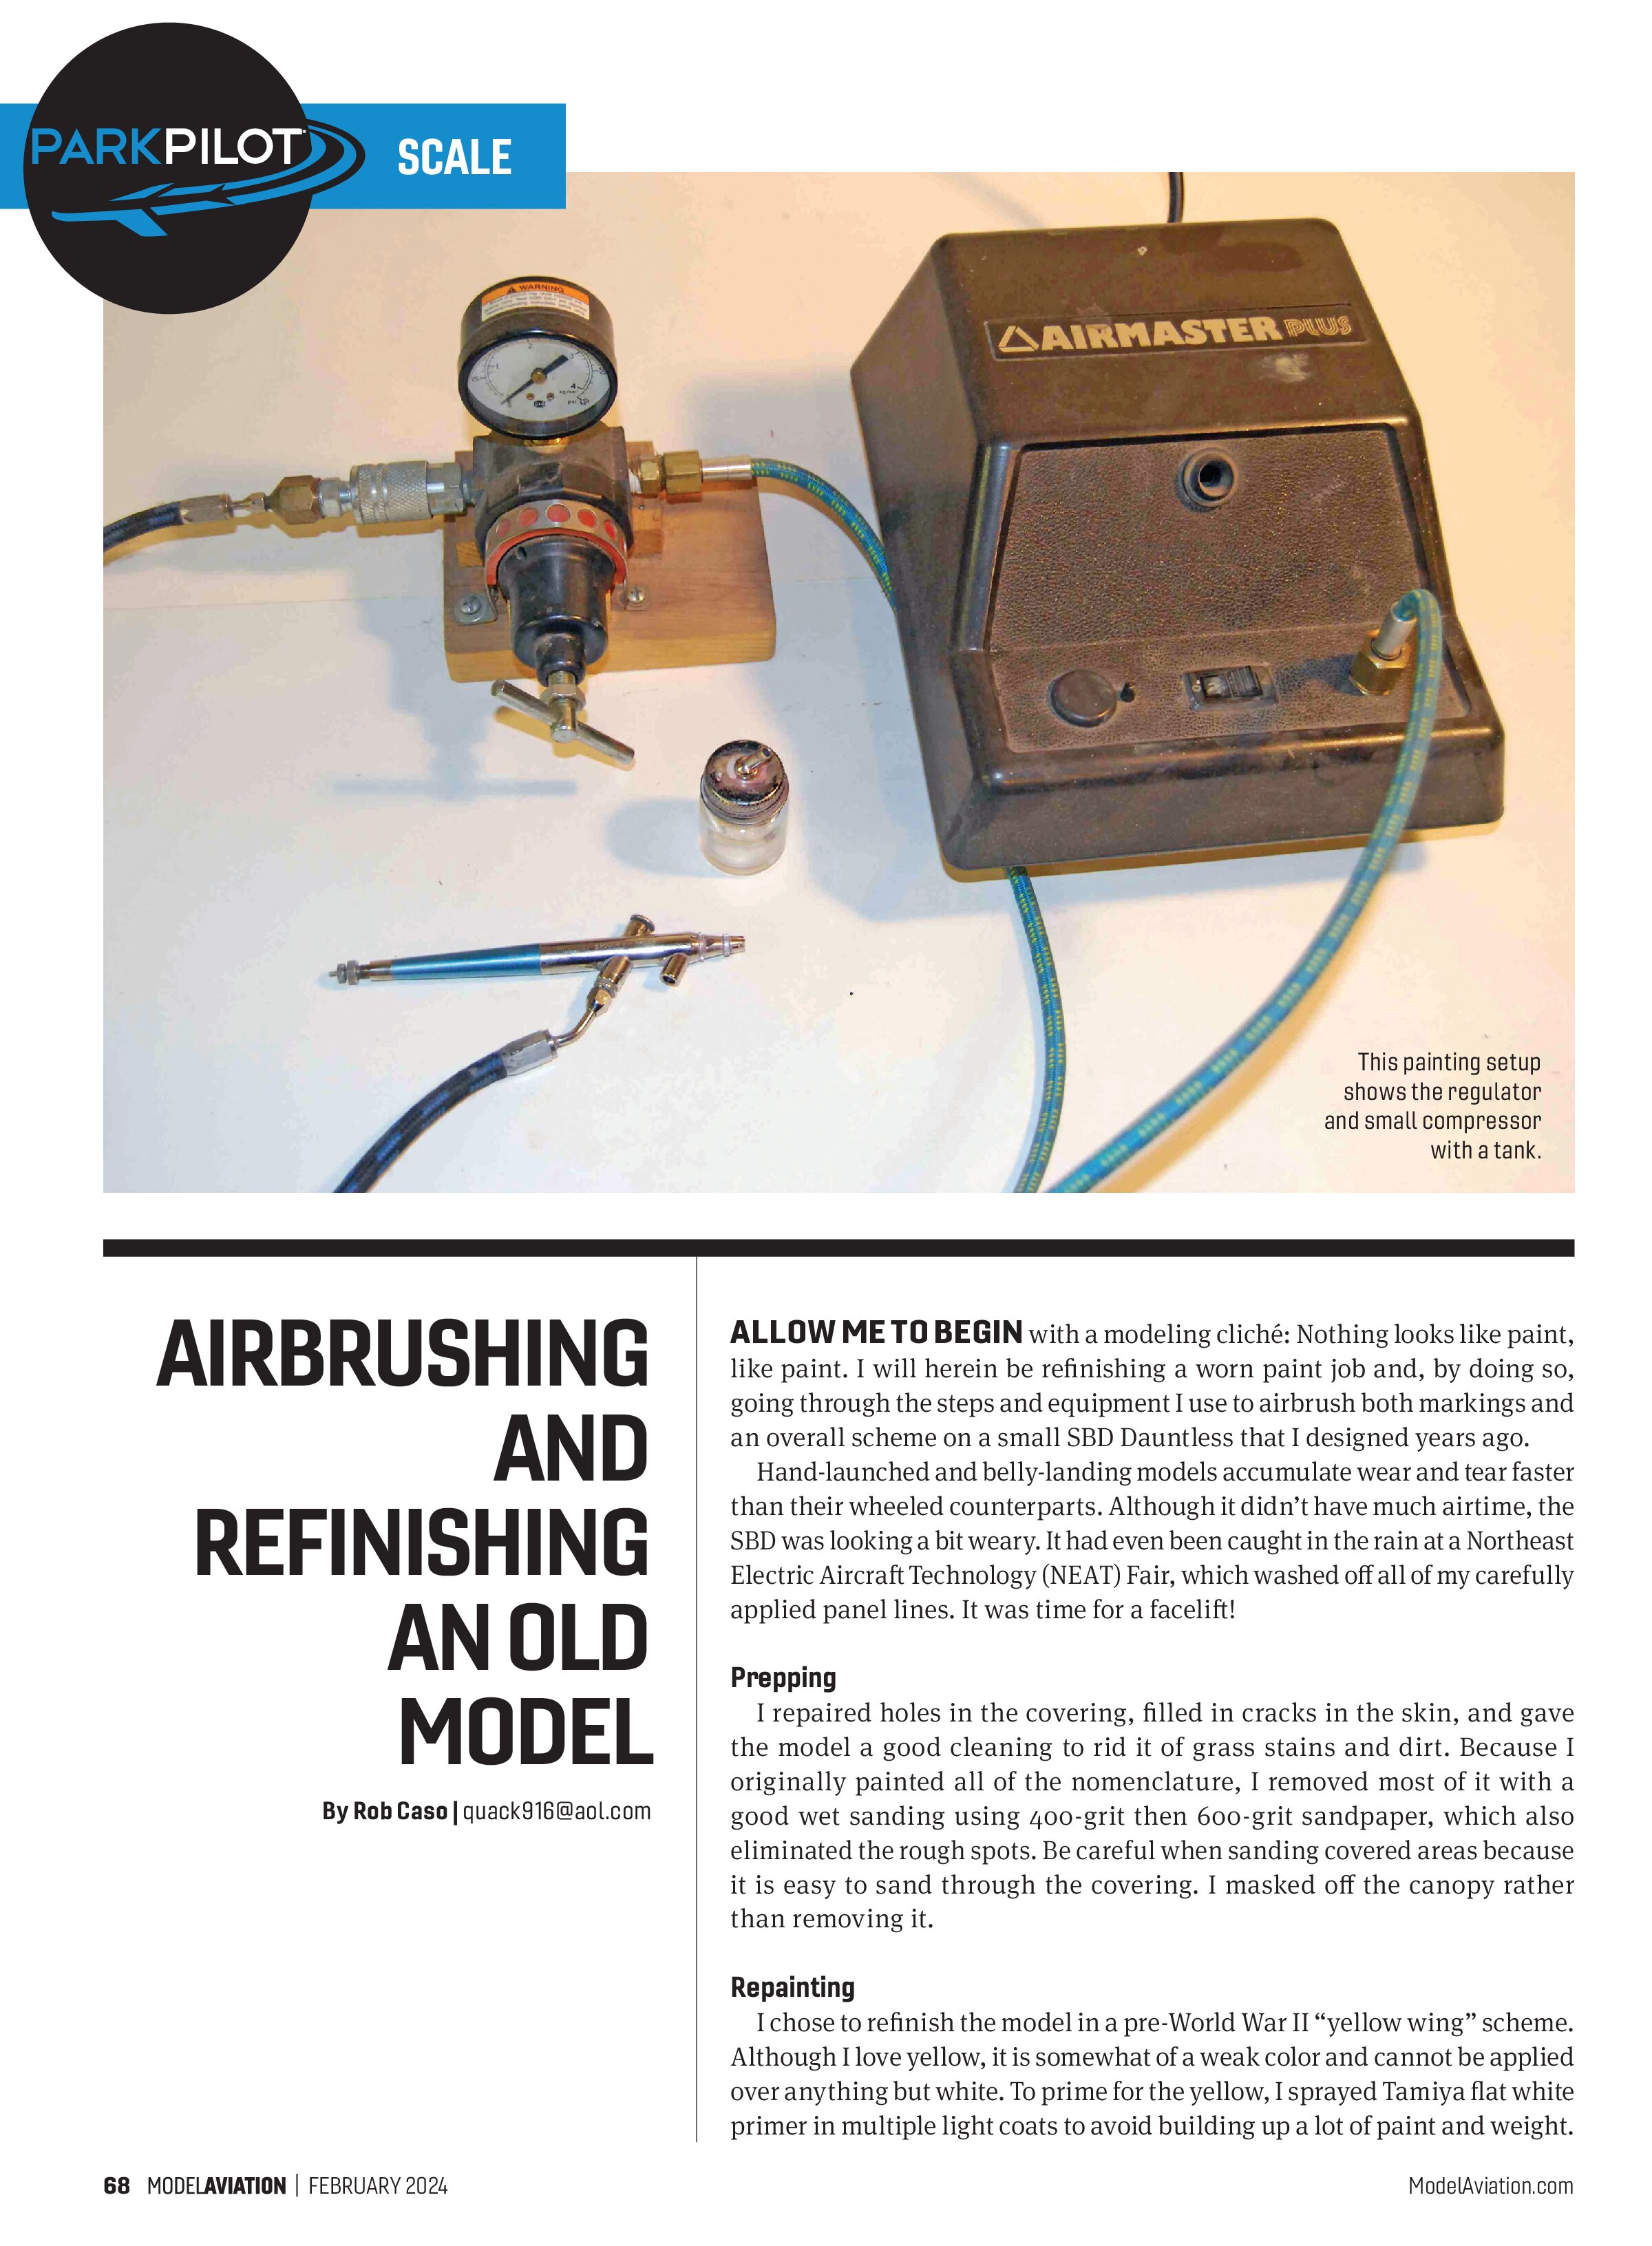
I use a single-action Badger 150 airbrush and very low pressure—approximately 8 pounds—when spraying on markings. The spraying pressure is the key. Most compressor system regulators are not fine enough, so I use a standalone Bedford 26-1125 regulator and a 28-721 gauge. Such a setup allows you to dial in the pressure in 1- to 2-pound increments. This equipment has become pricey throughout the years, but it will last forever and make you look good in the meantime—and I need all the help that I can get! I also installed quick-disconnect fittings on the air lines.
The other key here is paint viscosity. You want it thin enough to go through the airbrush and no more. Note that different colors, even from the same manufacturer, will most likely have differing viscosities out of the bottle. Finally, always test-spray on a card before zapping the model. Get the pressure and viscosity right and you’ll have won 90% of the battle.
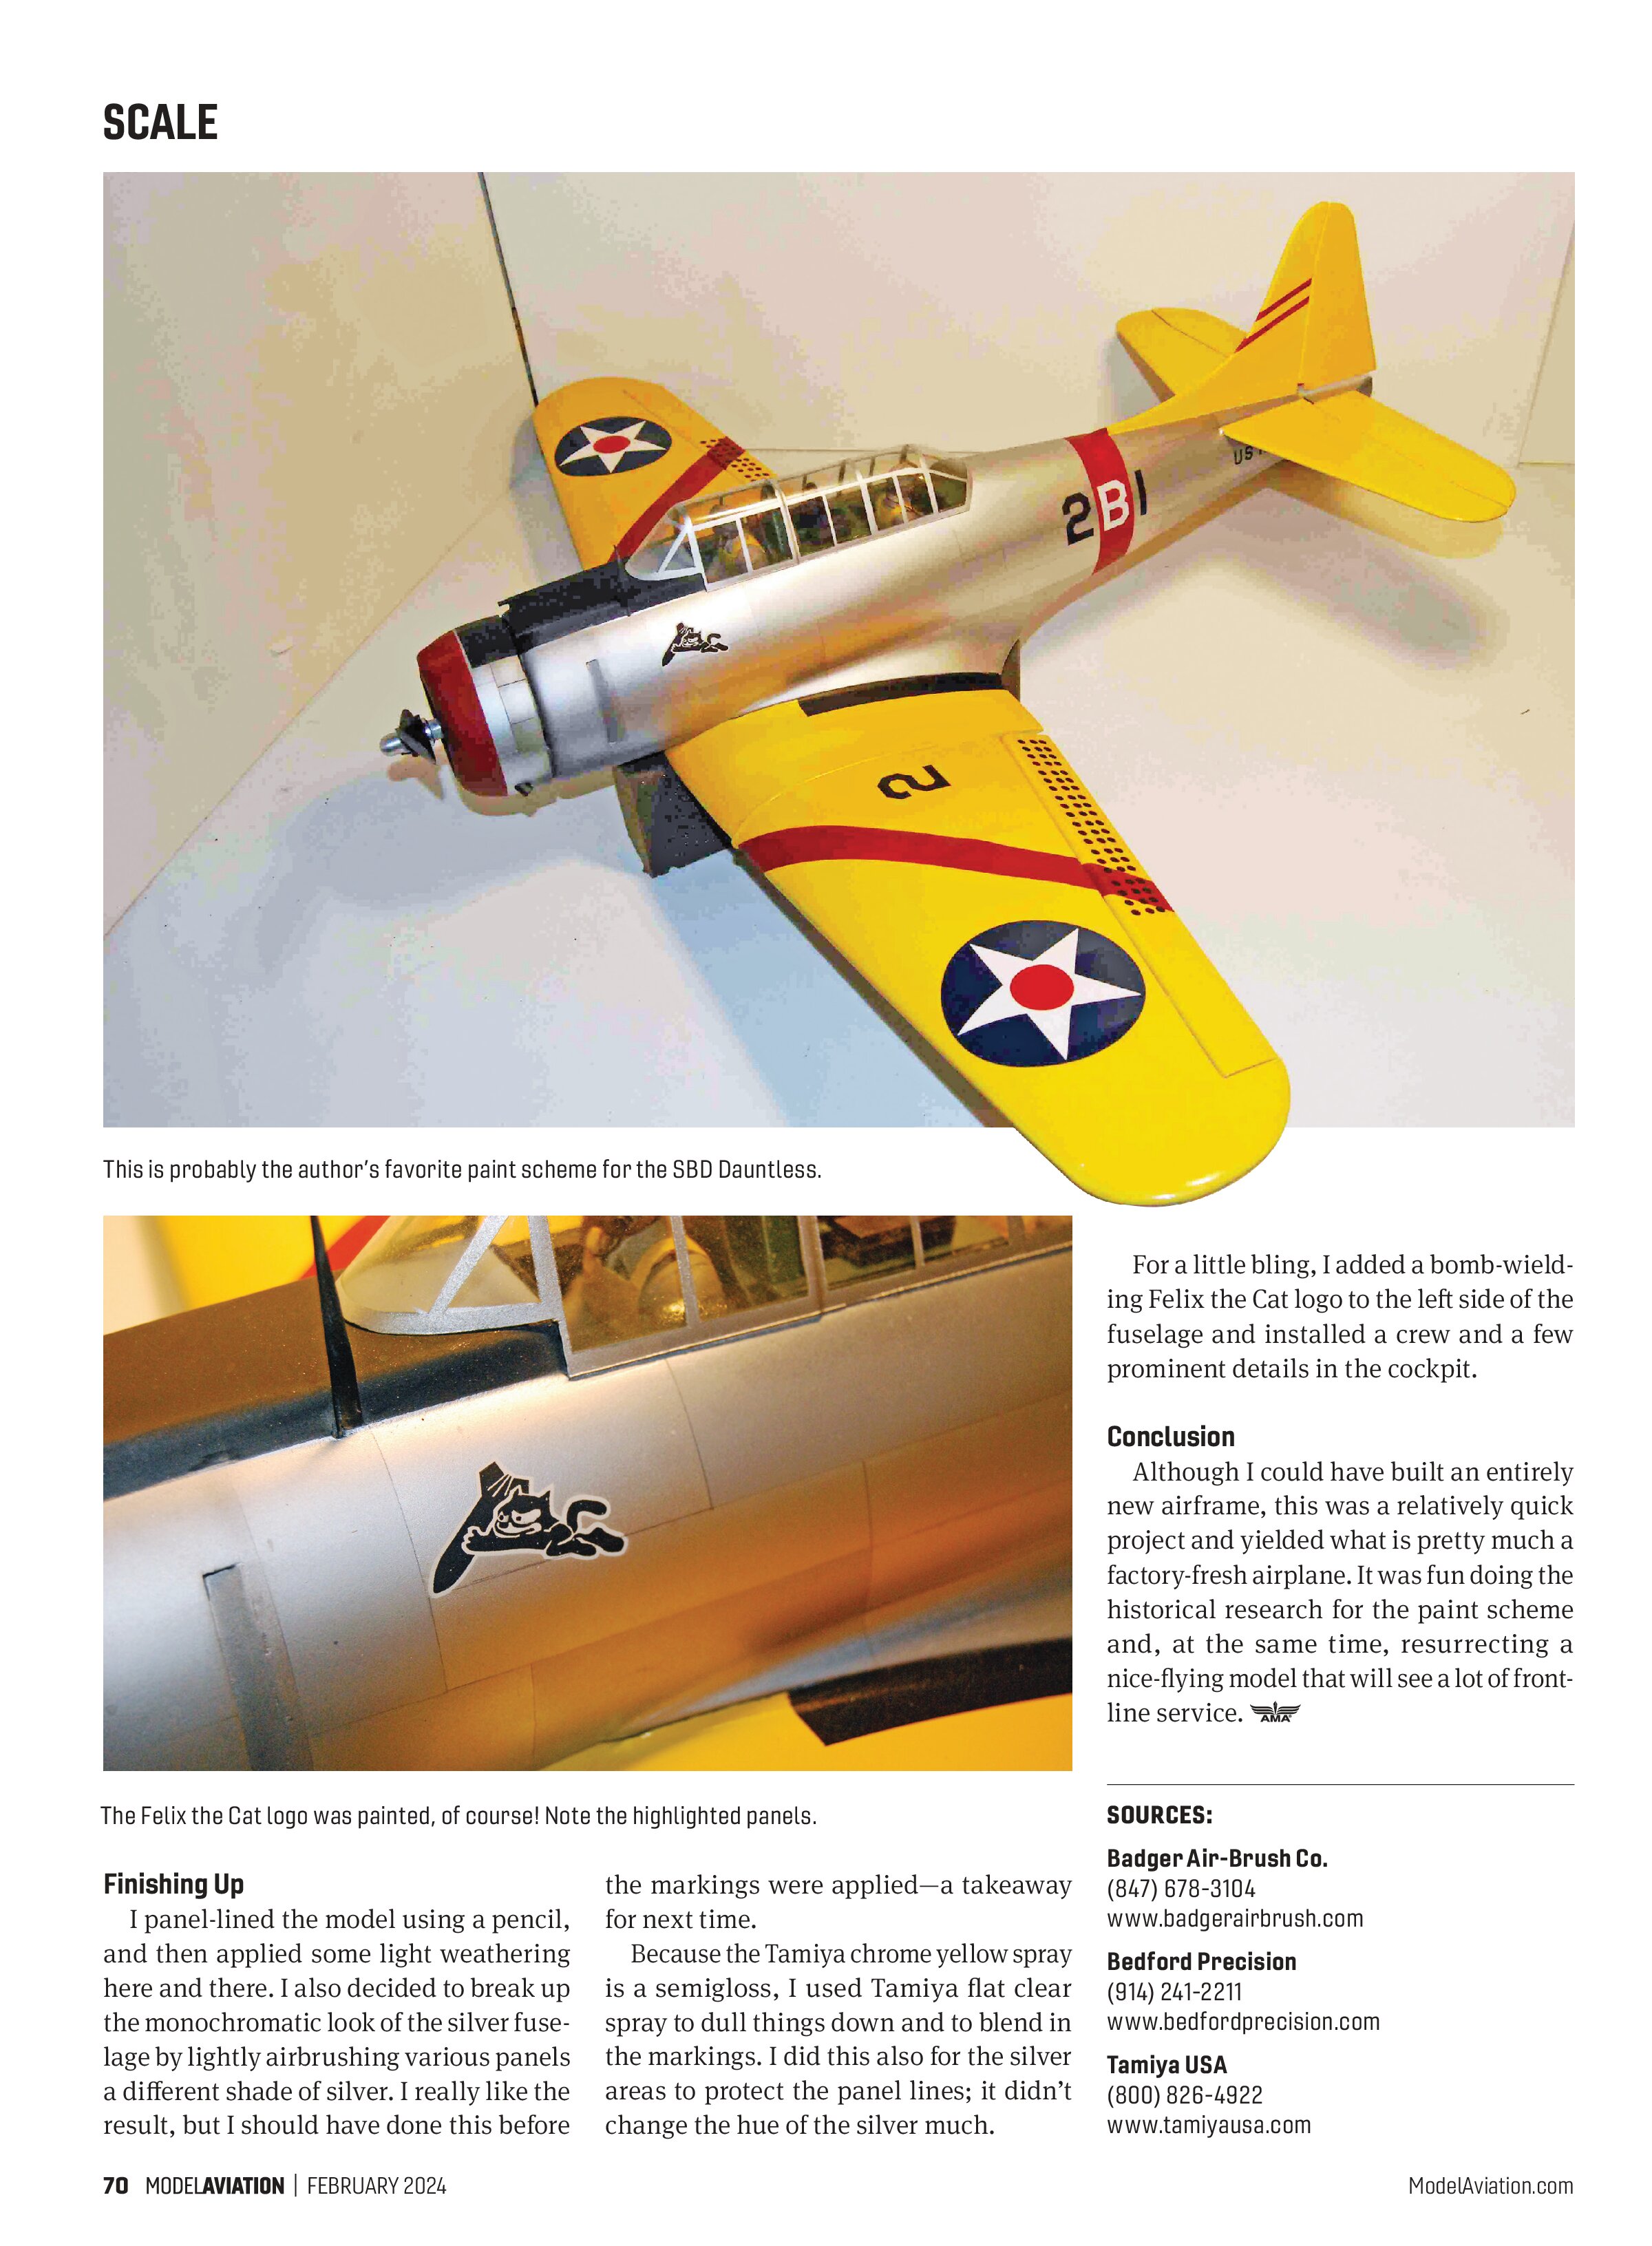
The markings represent a section leader (numeral 1) of Bombing Squadron Two (2B) from the USS Lexington (yellow tail). These were painted using clear, shelf-paper masks. Low pressure will reduce the chance of spray getting under the masks. I used Tamiya tape for straight lines and aluminum foil to mask general areas. Be careful using shelf-paper masks on glossy surfaces. Because it sometimes leaves adhesive on the surface, I recommend using low-tack artist masking material. This generally does not occur on matte surfaces.
Remove any mask immediately after painting to reduce the paint’s tendency to form an edge, causing the mask to pull the base coat off of the model.


Finishing Up
I panel-lined the model using a pencil, and then applied some light weathering here and there. I also decided to break up the monochromatic look of the silver fuselage by lightly airbrushing various panels a different shade of silver. I really like the result, but I should have done this before the markings were applied—a takeaway for next time.
Because the Tamiya chrome yellow spray is a semigloss, I used Tamiya flat clear spray to dull things down and to blend in the markings. I did this also for the silver areas to protect the panel lines; it didn’t change the hue of the silver much.
For a little bling, I added a bomb-wielding Felix the Cat logo to the left side of the fuselage and installed a crew and a few prominent details in the cockpit.
Conclusion
Although I could have built an entirely new airframe, this was a relatively quick project and yielded what is pretty much a factory-fresh airplane. It was fun doing the historical research for the paint scheme and, at the same time, resurrecting a nice-flying model that will see a lot of frontline service.
SOURCES:
Badger Air-Brush Co.
(847) 678-3104
www.badgerairbrush.com
Bedford Precision
(914) 241-2211
www.bedfordprecision.com
Tamiya USA
(800) 826-4922
www.tamiyausa.com