CREATING FUN
RC FLYERS
FROM SIMPLE
CHILDHOOD
FAVORITES
By Tim Bailiff | casurfish@aol.com

WELCOME TO MY COLUMN. Being a new Model Aviation columnist, I’m super excited about this opportunity and anxious to get started. With that said, we are ready for takeoff!
Fantasy to Reality
As a young boy, I frequently pretended to be in control of my little Free Flight (FF) airplanes. What fun I had! Today, tiny electric motors, small LiPo batteries, and micro RC components have helped make my childhood fantasies a reality. Being in full control of those wonderful, little airplanes is not only rewarding for me but also a dream come true! My hope is that by sharing the following, it might inspire you to have fun with your childhood favorites as well.
When Opportunity Knocks
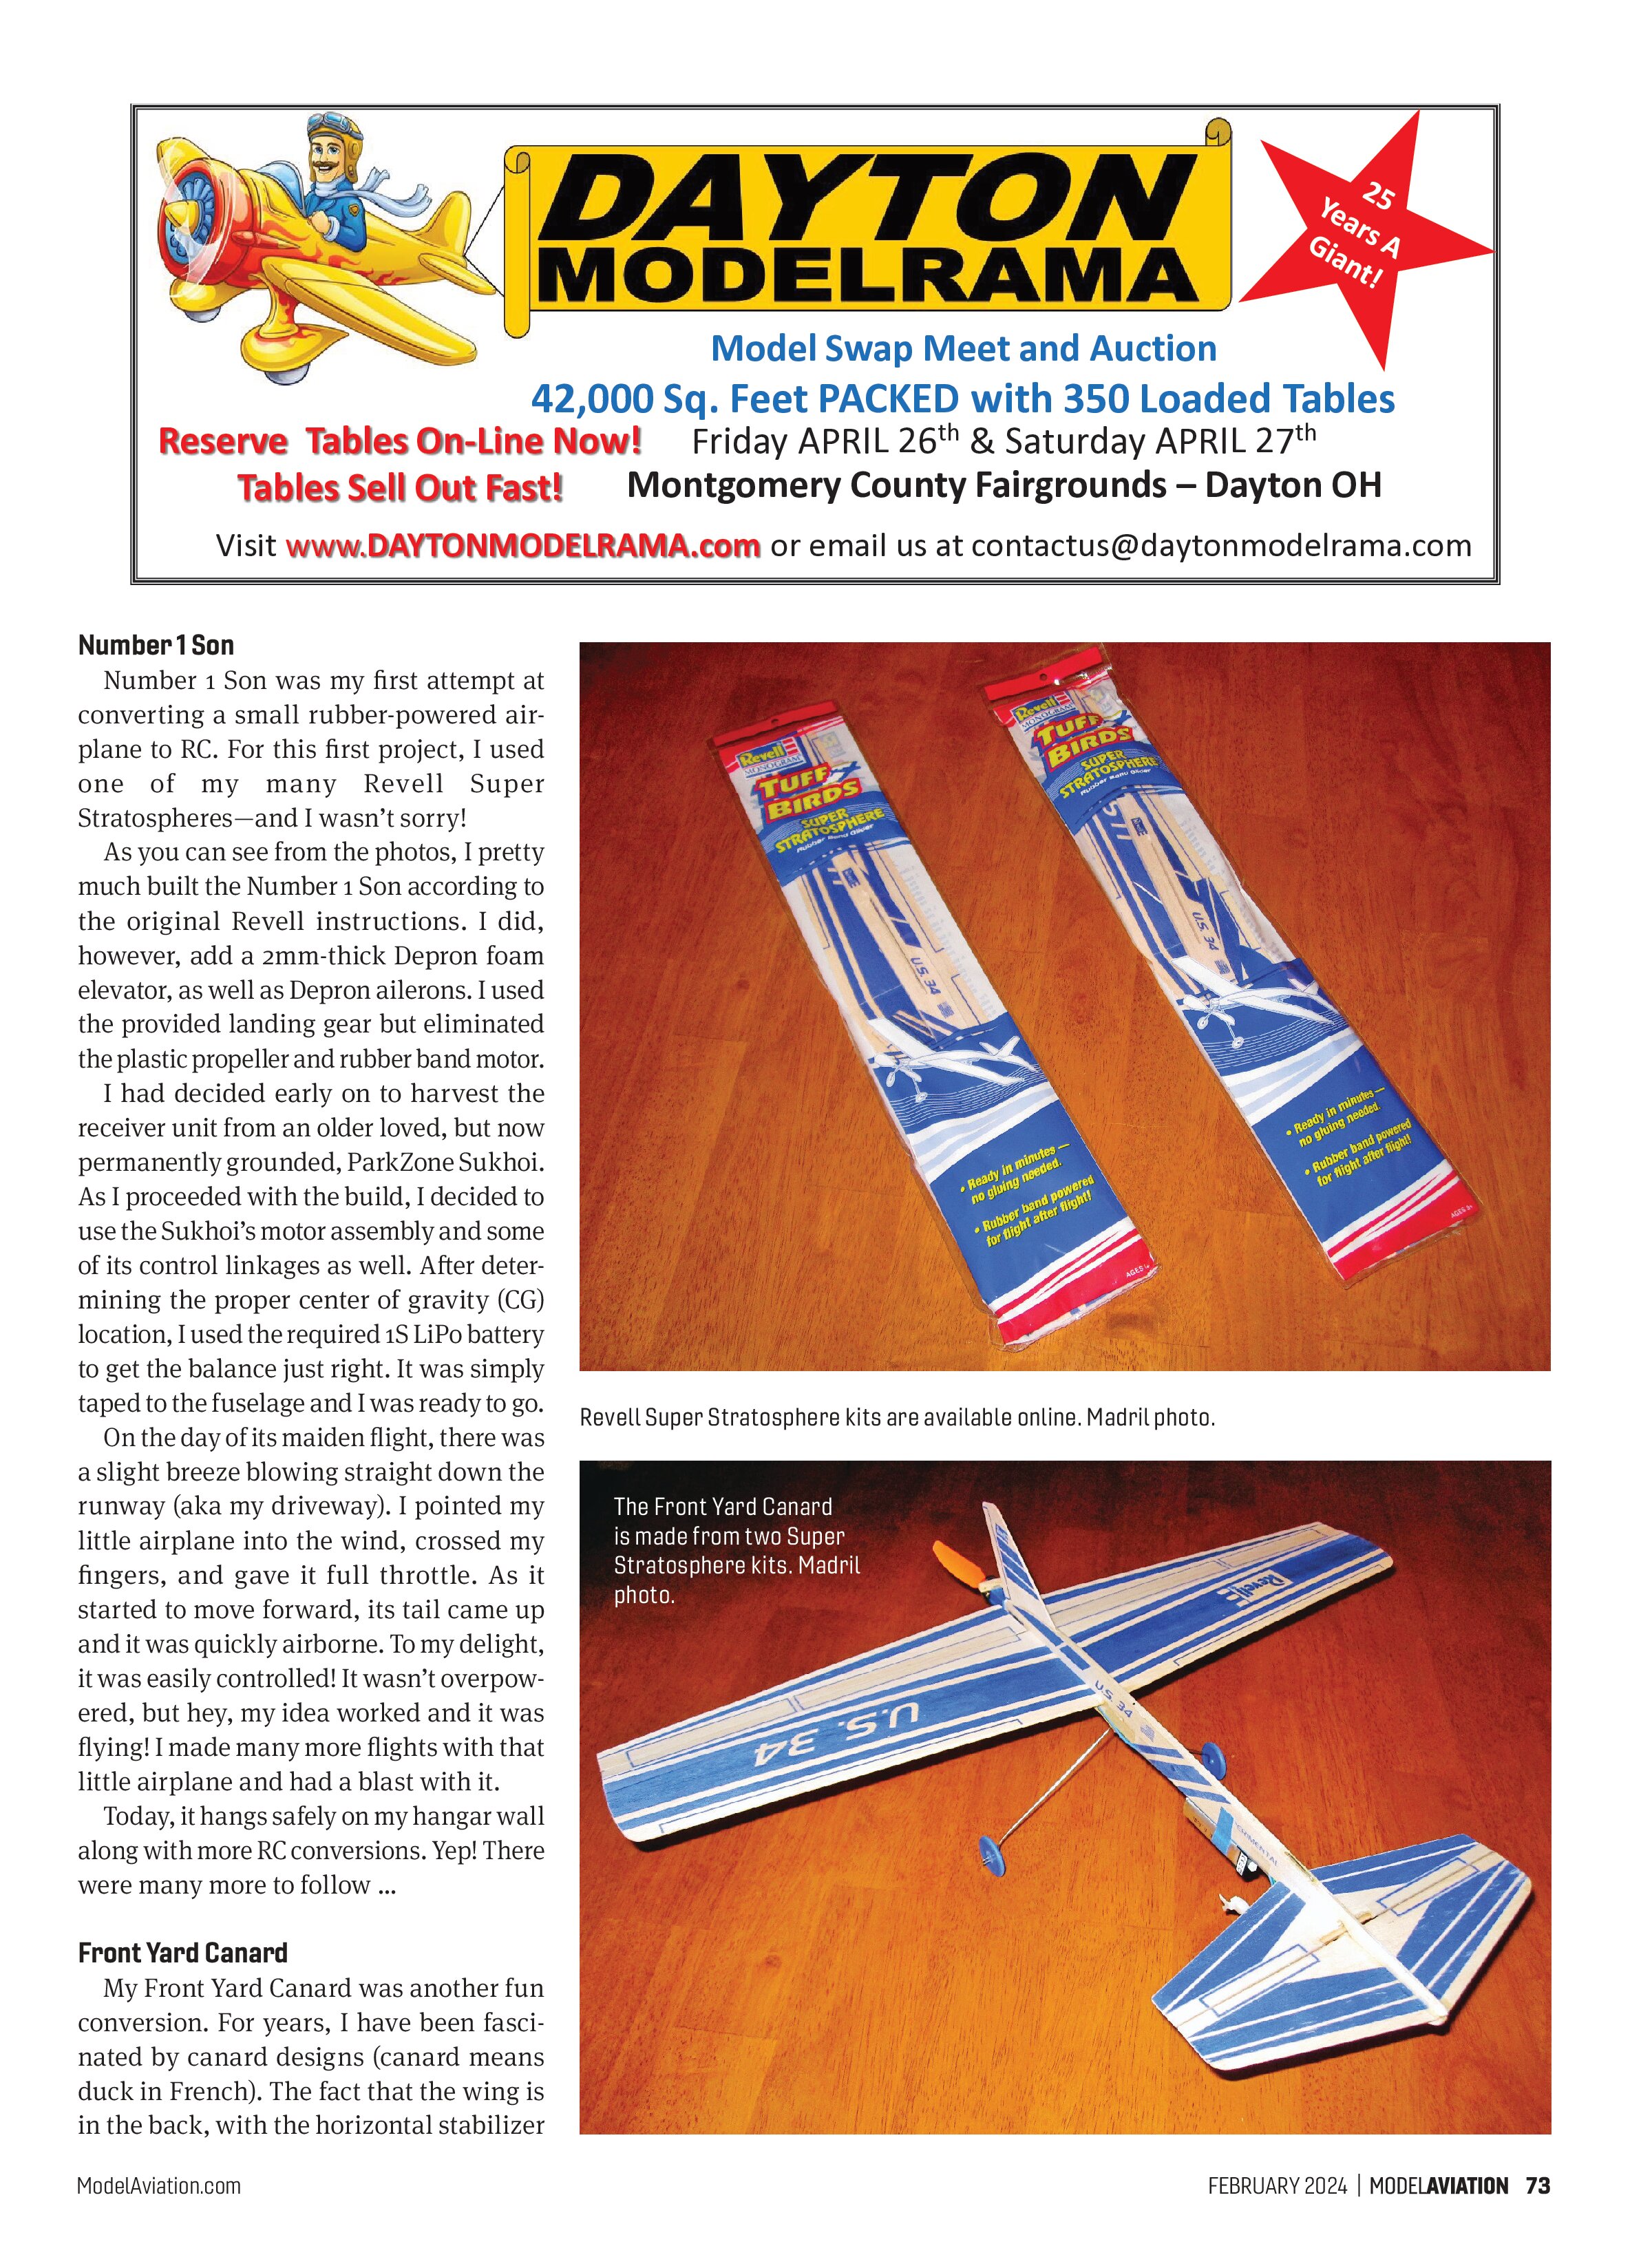
The following RC conversions use the Revell Super Stratosphere kit. Why that particular kit? It was my understanding that these airplanes were no longer being produced, but my wonderful wife came home one day with a surprise for me. In her shopping bag were no fewer than 10 of those great, little airplanes! She said that they were on a clearance table at her favorite craft store and she bought them all! Yay, Laura! With an abundance of Super Stratosphere kits, I allowed my imagination to fly free.
Number 1 Son
Number 1 Son was my first attempt at converting a small rubber-powered airplane to RC. For this first project, I used one of my many Revell Super Stratospheres—and I wasn’t sorry!
As you can see from the photos, I pretty much built the Number 1 Son according to the original Revell instructions. I did, however, add a 2mm-thick Depron foam elevator, as well as Depron ailerons. I used the provided landing gear but eliminated the plastic propeller and rubber band motor.

I had decided early on to harvest the receiver unit from an older loved, but now permanently grounded, ParkZone Sukhoi. As I proceeded with the build, I decided to use the Sukhoi’s motor assembly and some of its control linkages as well. After determining the proper center of gravity (CG) location, I used the required 1S LiPo battery to get the balance just right. It was simply taped to the fuselage and I was ready to go.
On the day of its maiden flight, there was a slight breeze blowing straight down the runway (aka my driveway). I pointed my little airplane into the wind, crossed my fingers, and gave it full throttle. As it started to move forward, its tail came up and it was quickly airborne. To my delight, it was easily controlled! It wasn’t overpowered, but hey, my idea worked and it was flying! I made many more flights with that little airplane and had a blast with it.
Today, it hangs safely on my hangar wall along with more RC conversions. Yep! There were many more to follow ...
Front Yard Canard
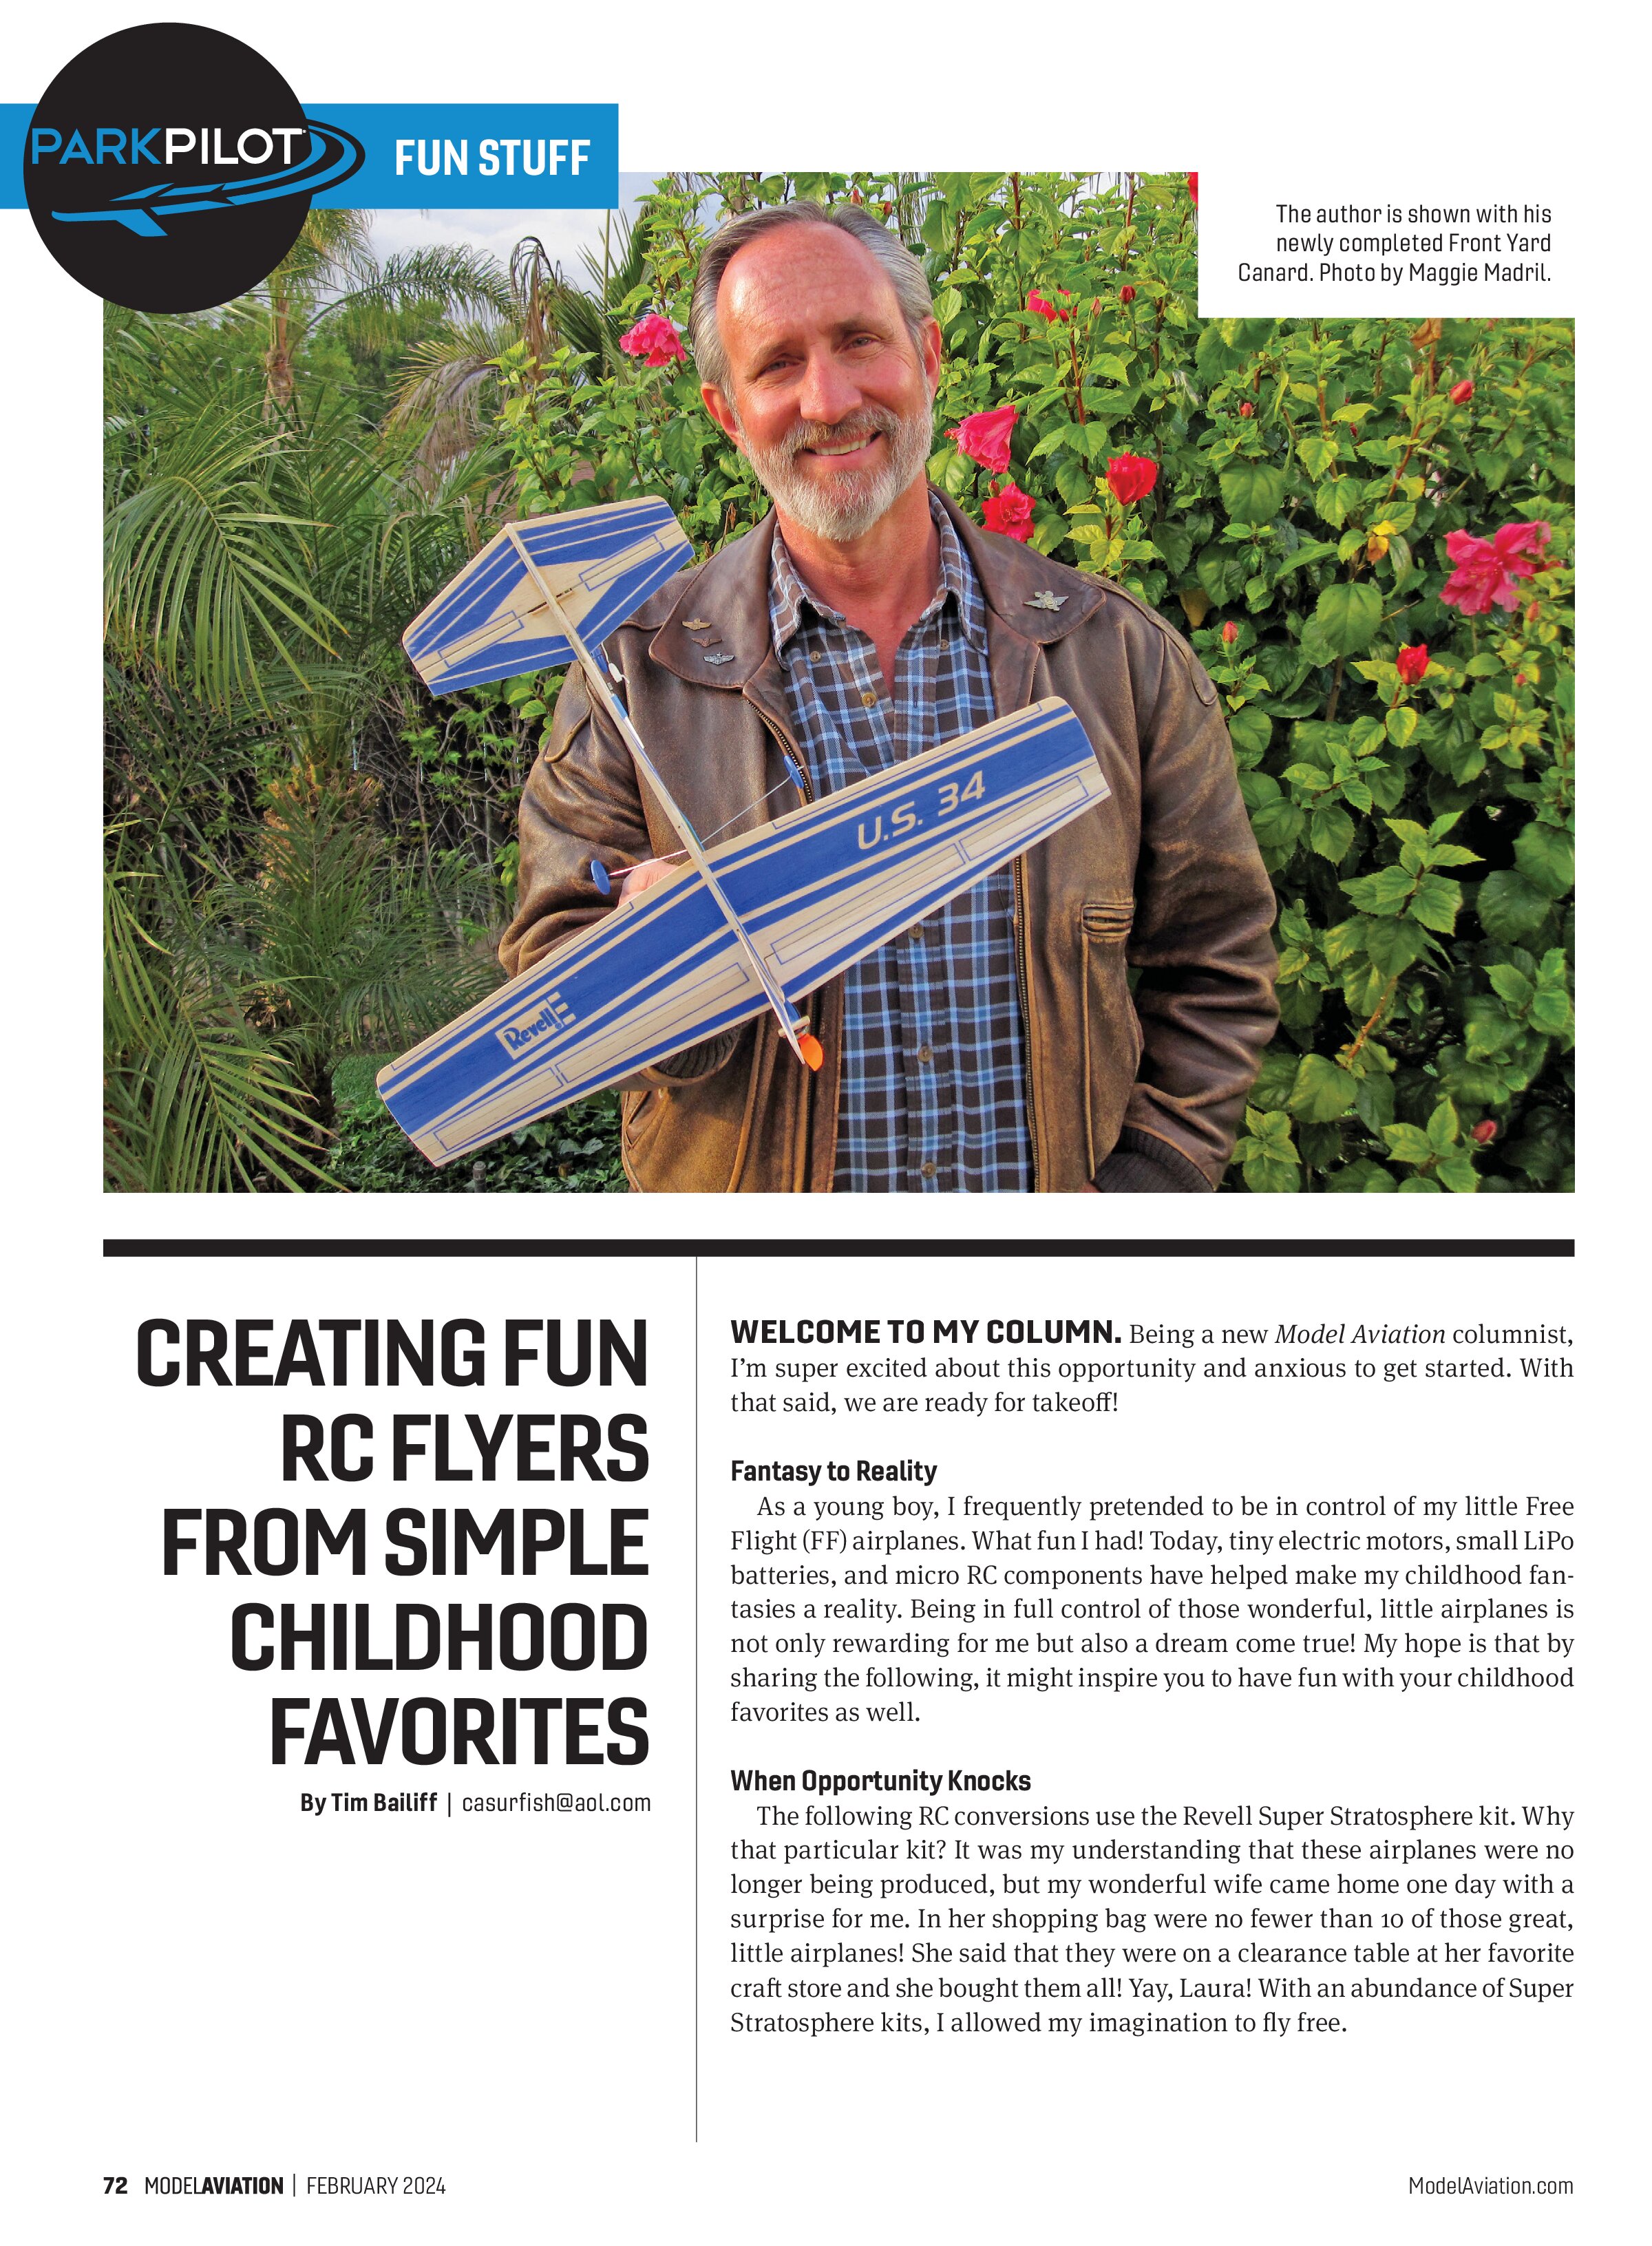
My Front Yard Canard was another fun conversion. For years, I have been fascinated by canard designs (canard means duck in French). The fact that the wing is in the back, with the horizontal stabilizer


up front, is super intriguing to me.
With a little research, I found some interesting canard facts. For instance, unlike conventionally designed aircraft, a canard’s forward stabilizer actually carries some of the airplane’s weight, and its CG isn’t on the wing at all. In fact, it lies somewhere ahead of the wing. Furthermore, it’s vitally important that the forward stabilizer stalls before the aft wing. If it’s balanced incorrectly, a simple stall could be catastrophic. Interesting, right?
Well, once again using a Revell Super Stratosphere, I started my canard RC conversion. This time, I went with a Spektrum AR6400 receiver unit. This little unit is about the size of a postage stamp, yet it incorporates a receiver, brushed ESC, and two linear servos. Because of the software installed within, it also allows the option of using a brushless ESC and motor, which I chose.

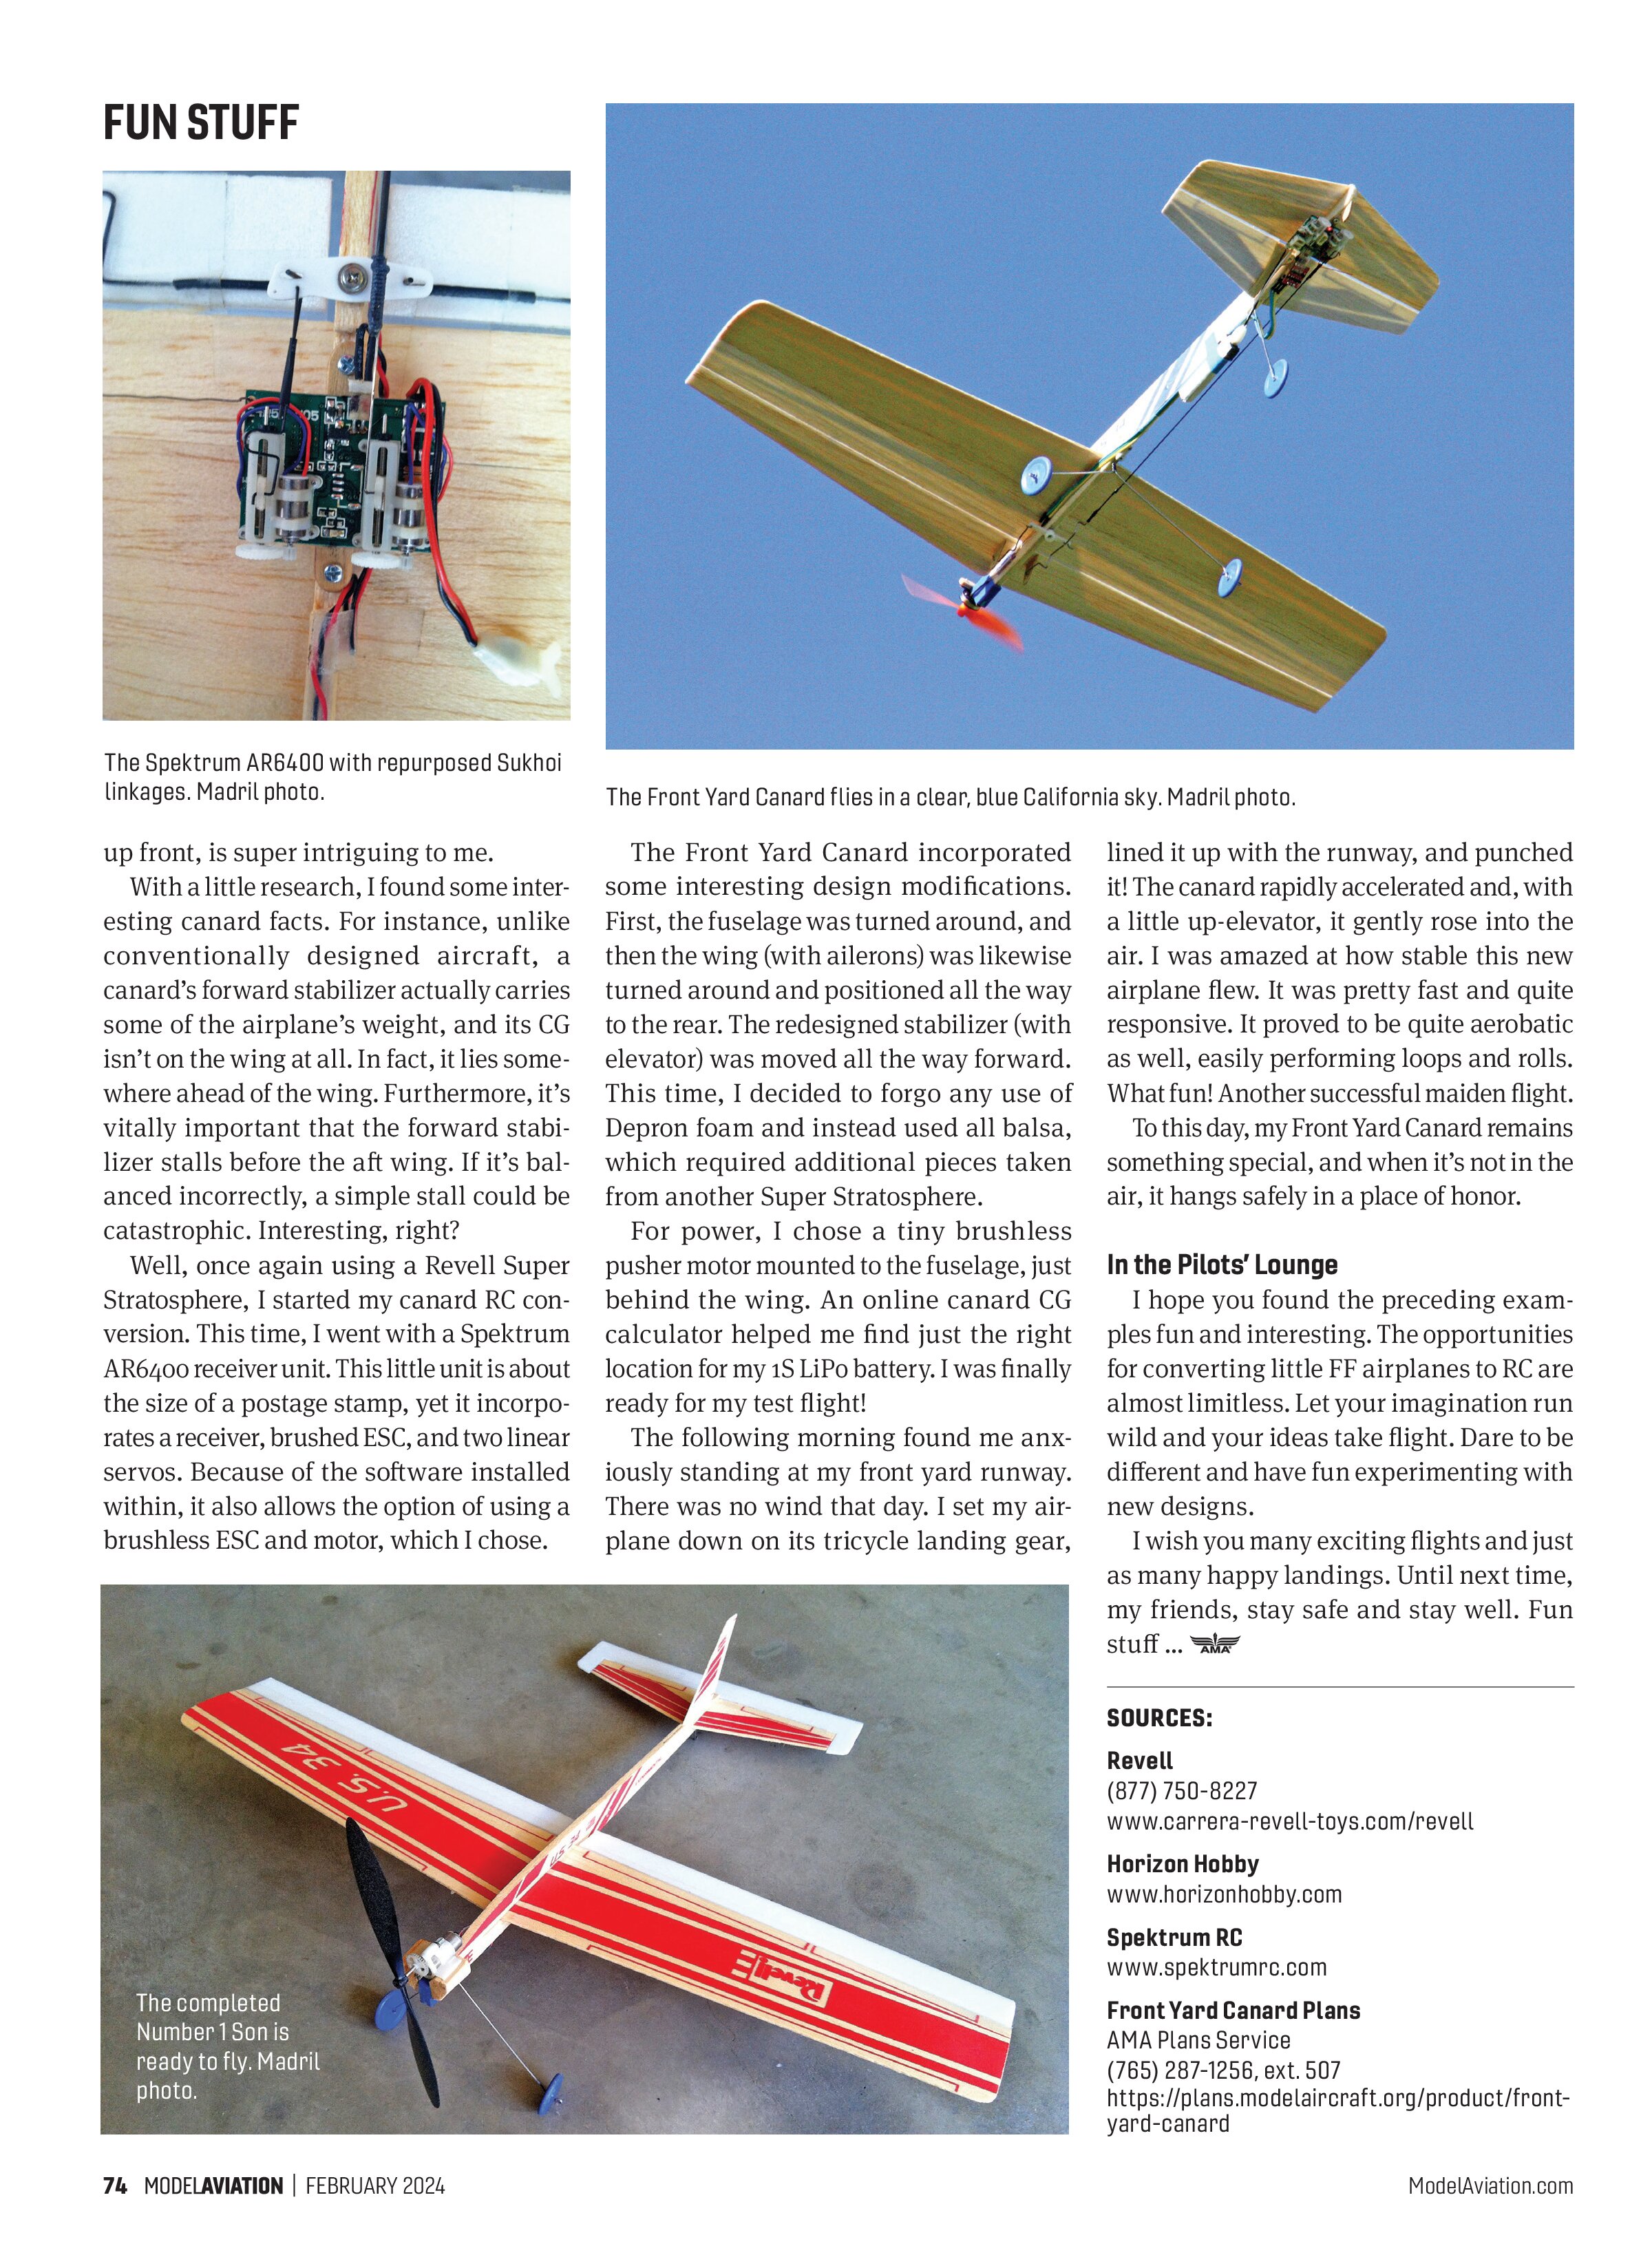
The Front Yard Canard incorporated some interesting design modifications. First, the fuselage was turned around, and then the wing (with ailerons) was likewise turned around and positioned all the way to the rear. The redesigned stabilizer (with elevator) was moved all the way forward. This time, I decided to forgo any use of Depron foam and instead used all balsa, which required additional pieces taken from another Super Stratosphere.
For power, I chose a tiny brushless pusher motor mounted to the fuselage, just behind the wing. An online canard CG calculator helped me find just the right location for my 1S LiPo battery. I was finally ready for my test flight!
The following morning found me anxiously standing at my front yard runway. There was no wind that day. I set my airplane down on its tricycle landing gear,

lined it up with the runway, and punched it! The canard rapidly accelerated and, with a little up-elevator, it gently rose into the air. I was amazed at how stable this new airplane flew. It was pretty fast and quite responsive. It proved to be quite aerobatic as well, easily performing loops and rolls. What fun! Another successful maiden flight.
To this day, my Front Yard Canard remains something special, and when it’s not in the air, it hangs safely in a place of honor.
In the Pilots’ Lounge
I hope you found the preceding examples fun and interesting. The opportunities for converting little FF airplanes to RC are almost limitless. Let your imagination run wild and your ideas take flight. Dare to be different and have fun experimenting with new designs.
I wish you many exciting flights and just as many happy landings. Until next time, my friends, stay safe and stay well. Fun stuff …
SOURCES:
Revell
(877) 750-8227
www.carrera-revell-toys.com/revell
Horizon Hobby
www.horizonhobby.com
Spektrum RC
www.spektrumrc.com
Front Yard Canard Plans
AMA Plans Service
(765) 287-1256, ext. 507
https://plans.modelaircraft.org/product/front-yard-canard