RC PYLON RACING

CO2 LASER CUTTER
By Tim Lampe | tim.lampe@hotmail.com
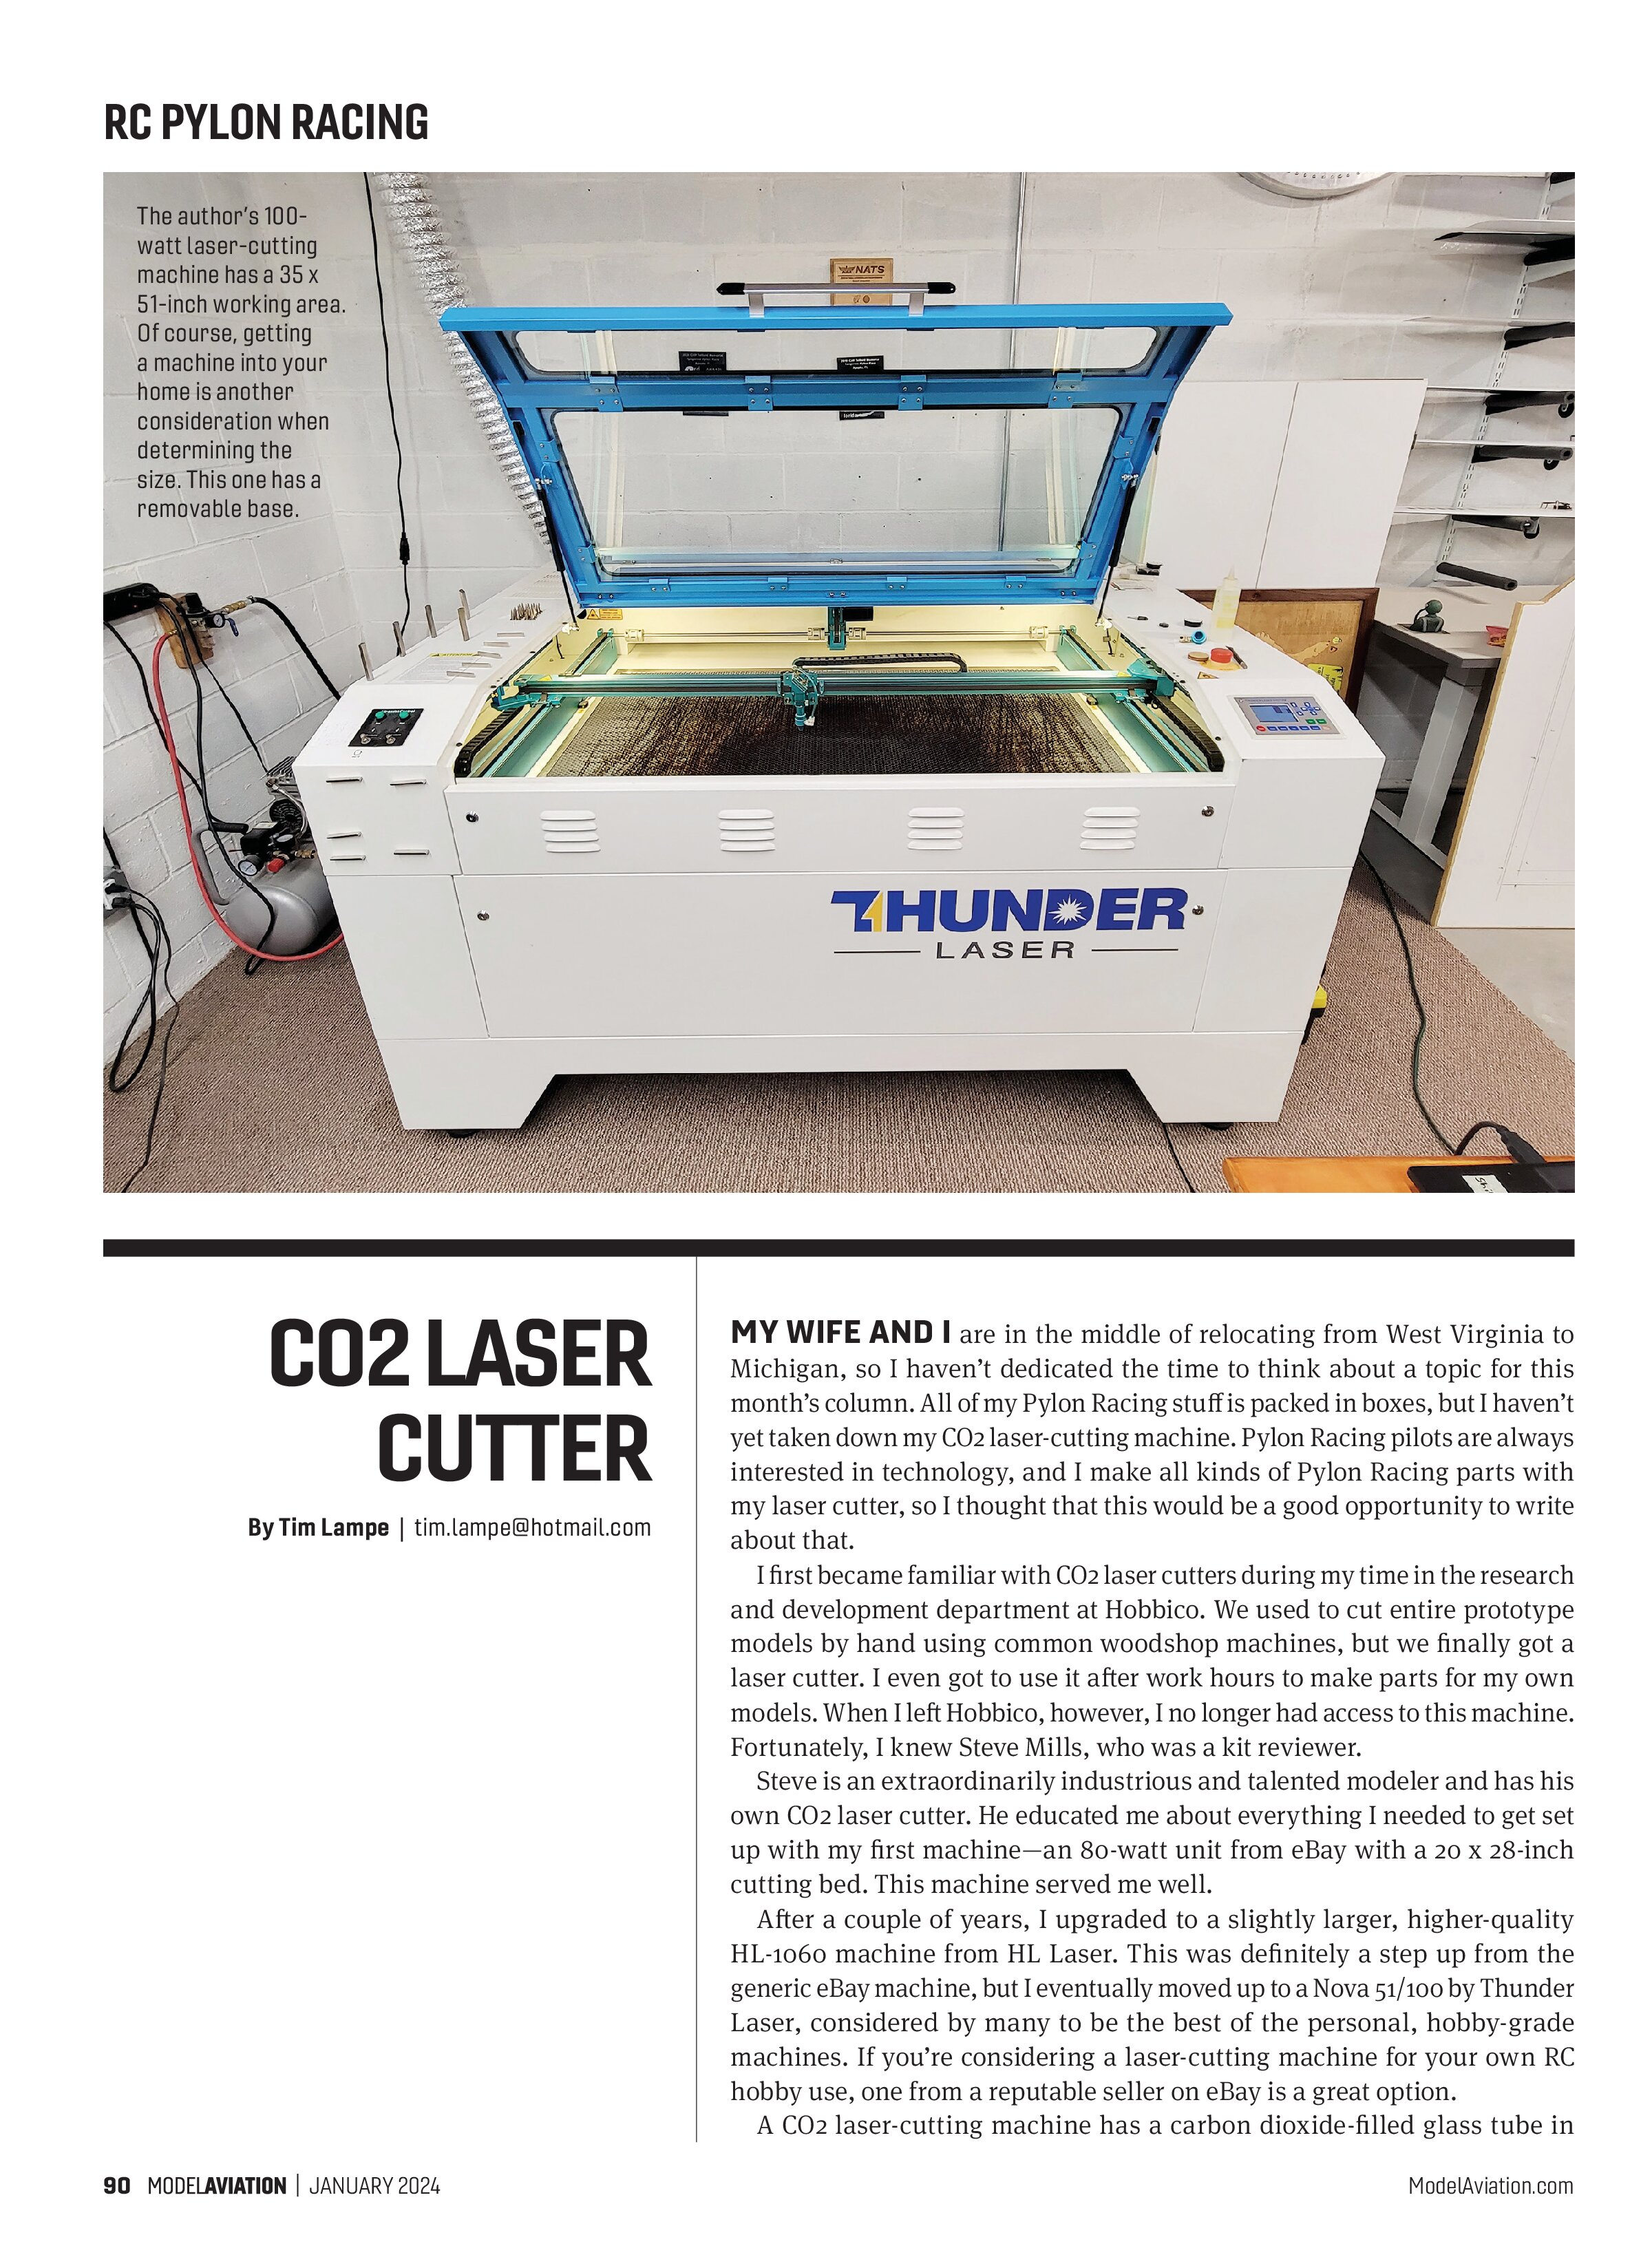
MY WIFE AND I are in the middle of relocating from West Virginia to Michigan, so I haven’t dedicated the time to think about a topic for this month’s column. All of my Pylon Racing stuff is packed in boxes, but I haven’t yet taken down my CO2 laser-cutting machine. Pylon Racing pilots are always interested in technology, and I make all kinds of Pylon Racing parts with my laser cutter, so I thought that this would be a good opportunity to write about that.
I first became familiar with CO2 laser cutters during my time in the research and development department at Hobbico. We used to cut entire prototype models by hand using common woodshop machines, but we finally got a laser cutter. I even got to use it after work hours to make parts for my own models. When I left Hobbico, however, I no longer had access to this machine. Fortunately, I knew Steve Mills, who was a kit reviewer.
Steve is an extraordinarily industrious and talented modeler and has his own CO2 laser cutter. He educated me about everything I needed to get set up with my first machine—an 80-watt unit from eBay with a 20 x 28-inch cutting bed. This machine served me well.
After a couple of years, I upgraded to a slightly larger, higher-quality HL-1060 machine from HL Laser. This was definitely a step up from the generic eBay machine, but I eventually moved up to a Nova 51/100 by Thunder Laser, considered by many to be the best of the personal, hobby-grade machines. If you’re considering a laser-cutting machine for your own RC hobby use, one from a reputable seller on eBay is a great option.
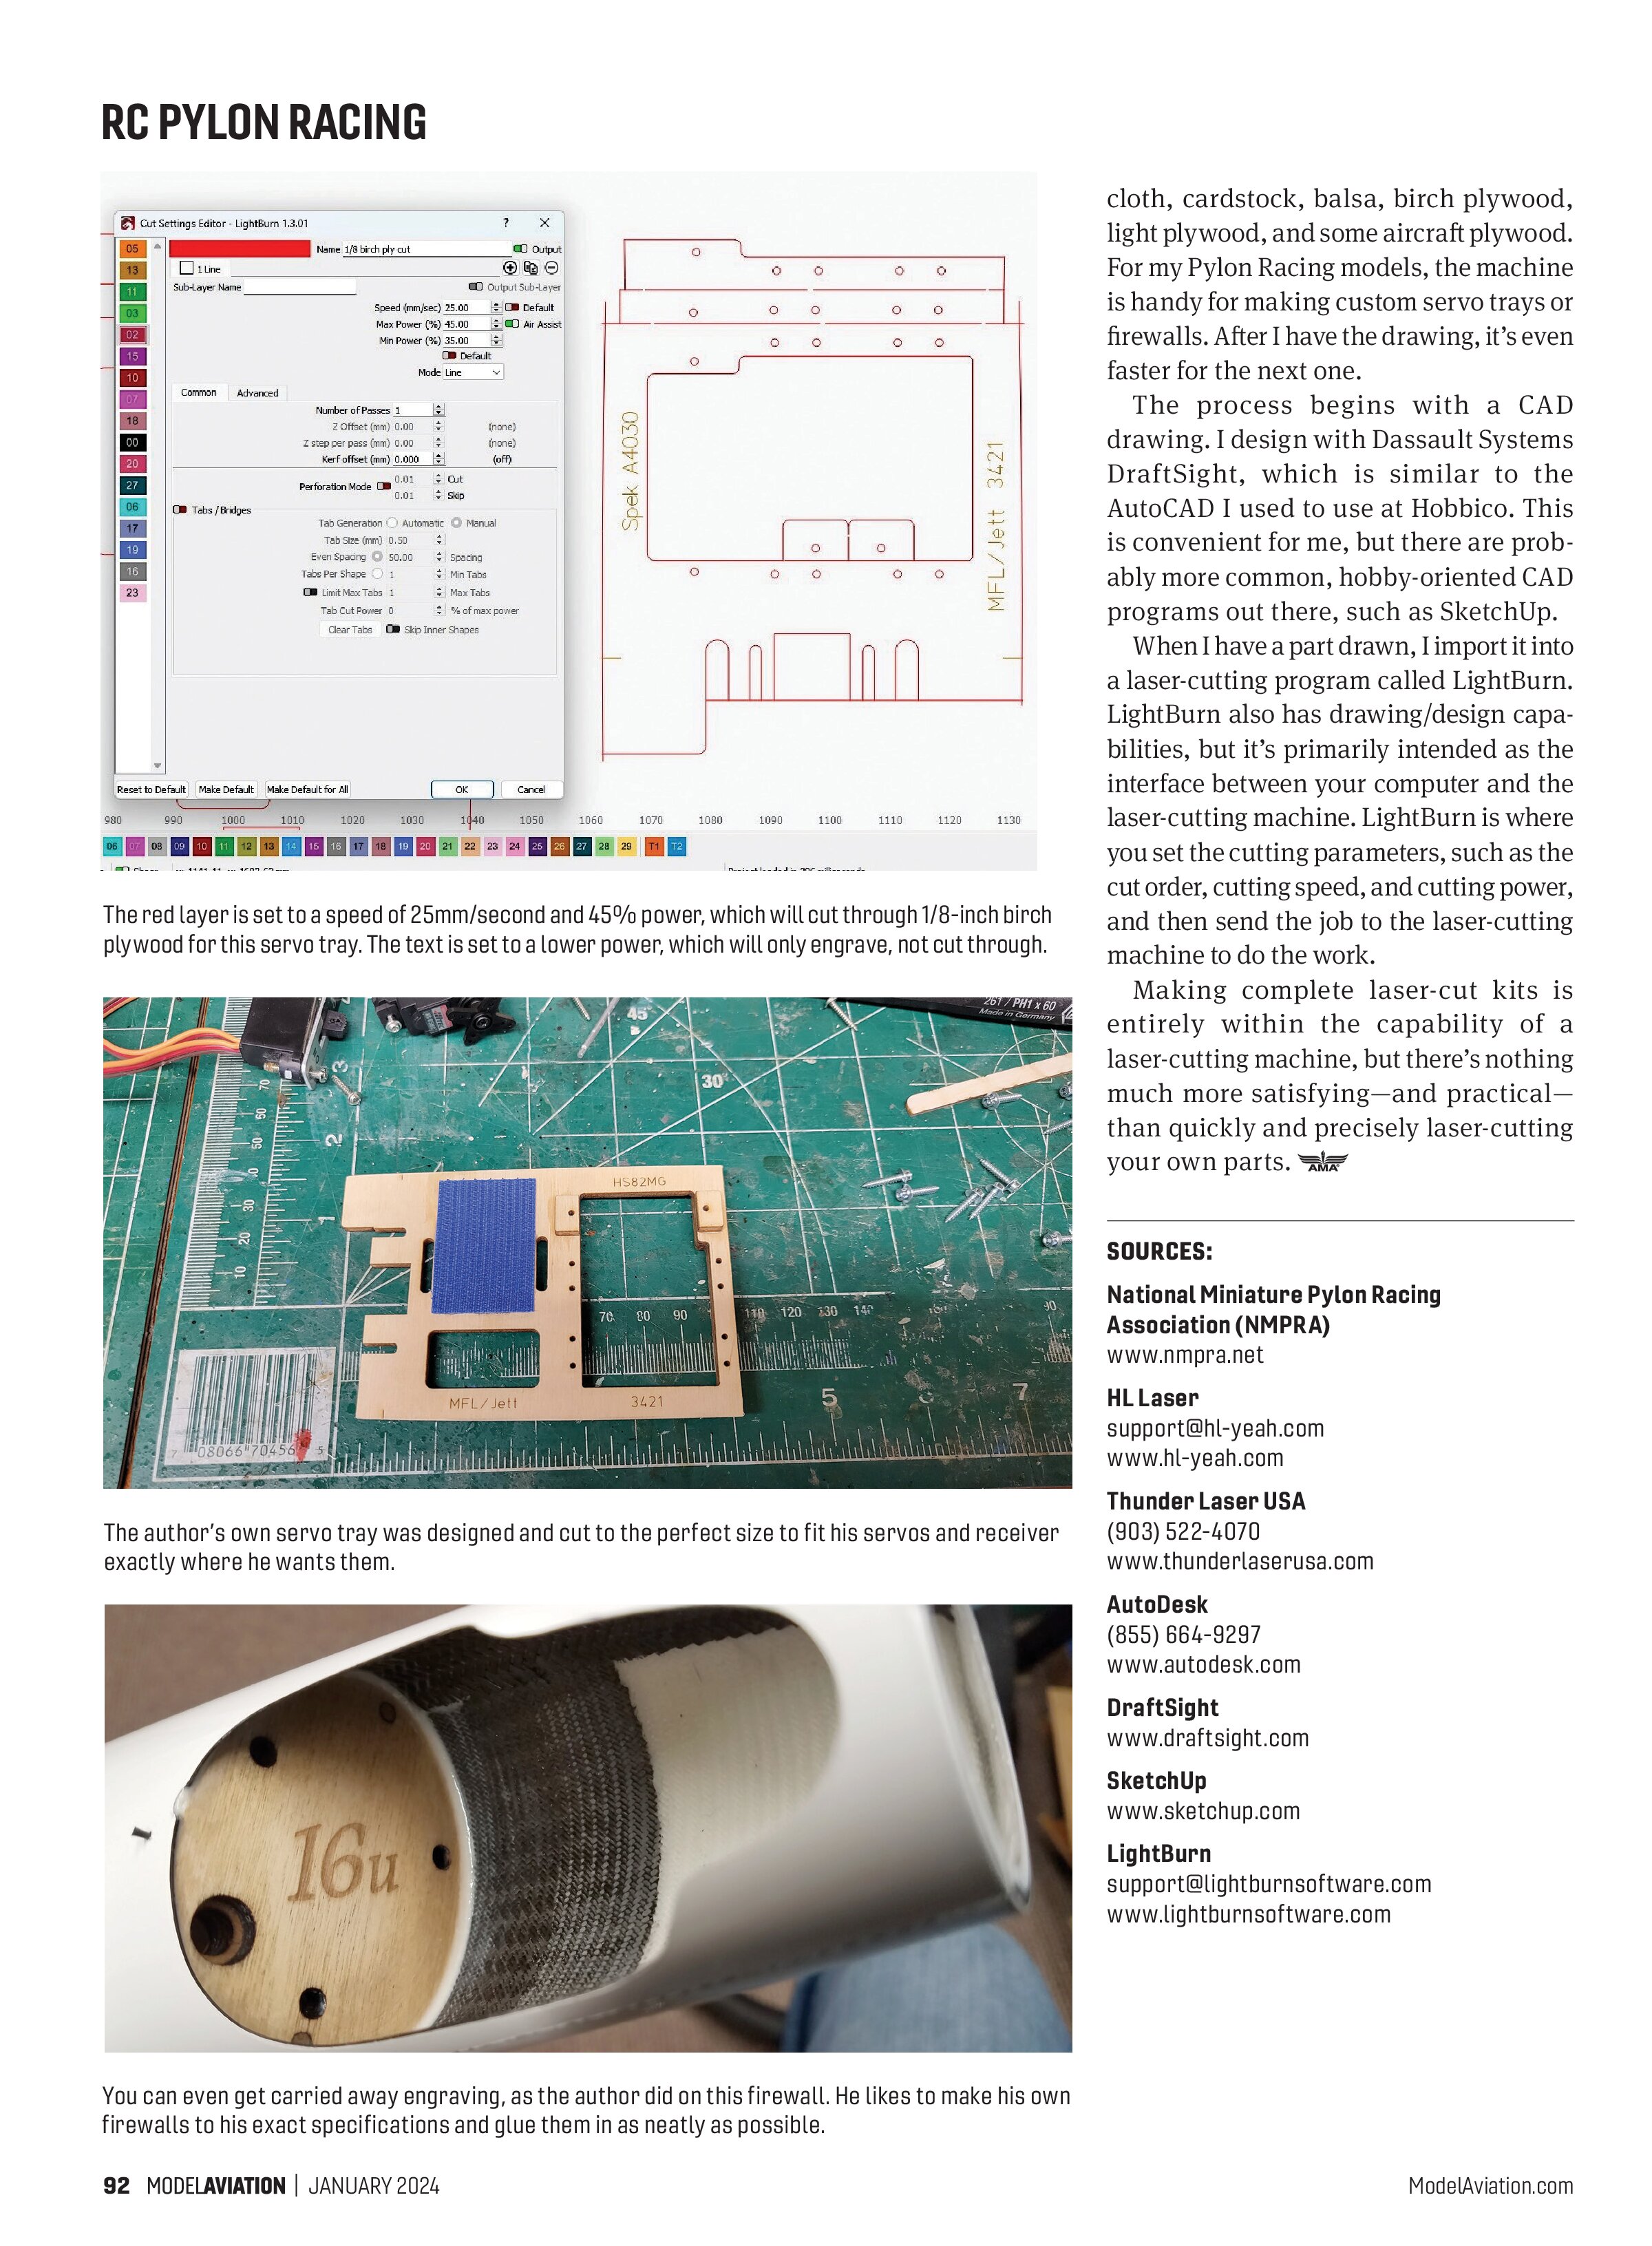
A CO2 laser-cutting machine has a carbon dioxide-filled glass tube in the back. High voltage is introduced to the tube, causing it to emit a powerful but unfocused light beam. A mirror at the end of the tube deflects the beam to another mirror on a movable gantry to another mirror on the moveable head that deflects the beam downward through a focus lens. The lens focuses the beam to a spot powerful enough to engrave or cut wood, acrylic, medium-density fiberboard, leather, and many other materials—but not metal. The cutting kerf is typically approximately .008 inches thick.
In the laser-cutter program, the user sets the power of the beam and the travel speed of the head to determine whether the material will be cut or engraved. Machines typically range from approximately 40 watts up to 130 watts, and the cutting beds range from roughly 12 x 24 inches up to 39 x 63 inches. The more powerful the tube, the thicker the material that the machine can cut, but the downside is that a high-power tube will not fire at lower power settings, which is not good for delicate work such as photo engraving. Photo engraving isn’t something needed for RC aircraft parts though. A machine in the 60- to 80-watt range with at least a 12 x 24-inch cutting bed would be suitable for most RC work, unless you’re cutting kits as a business.

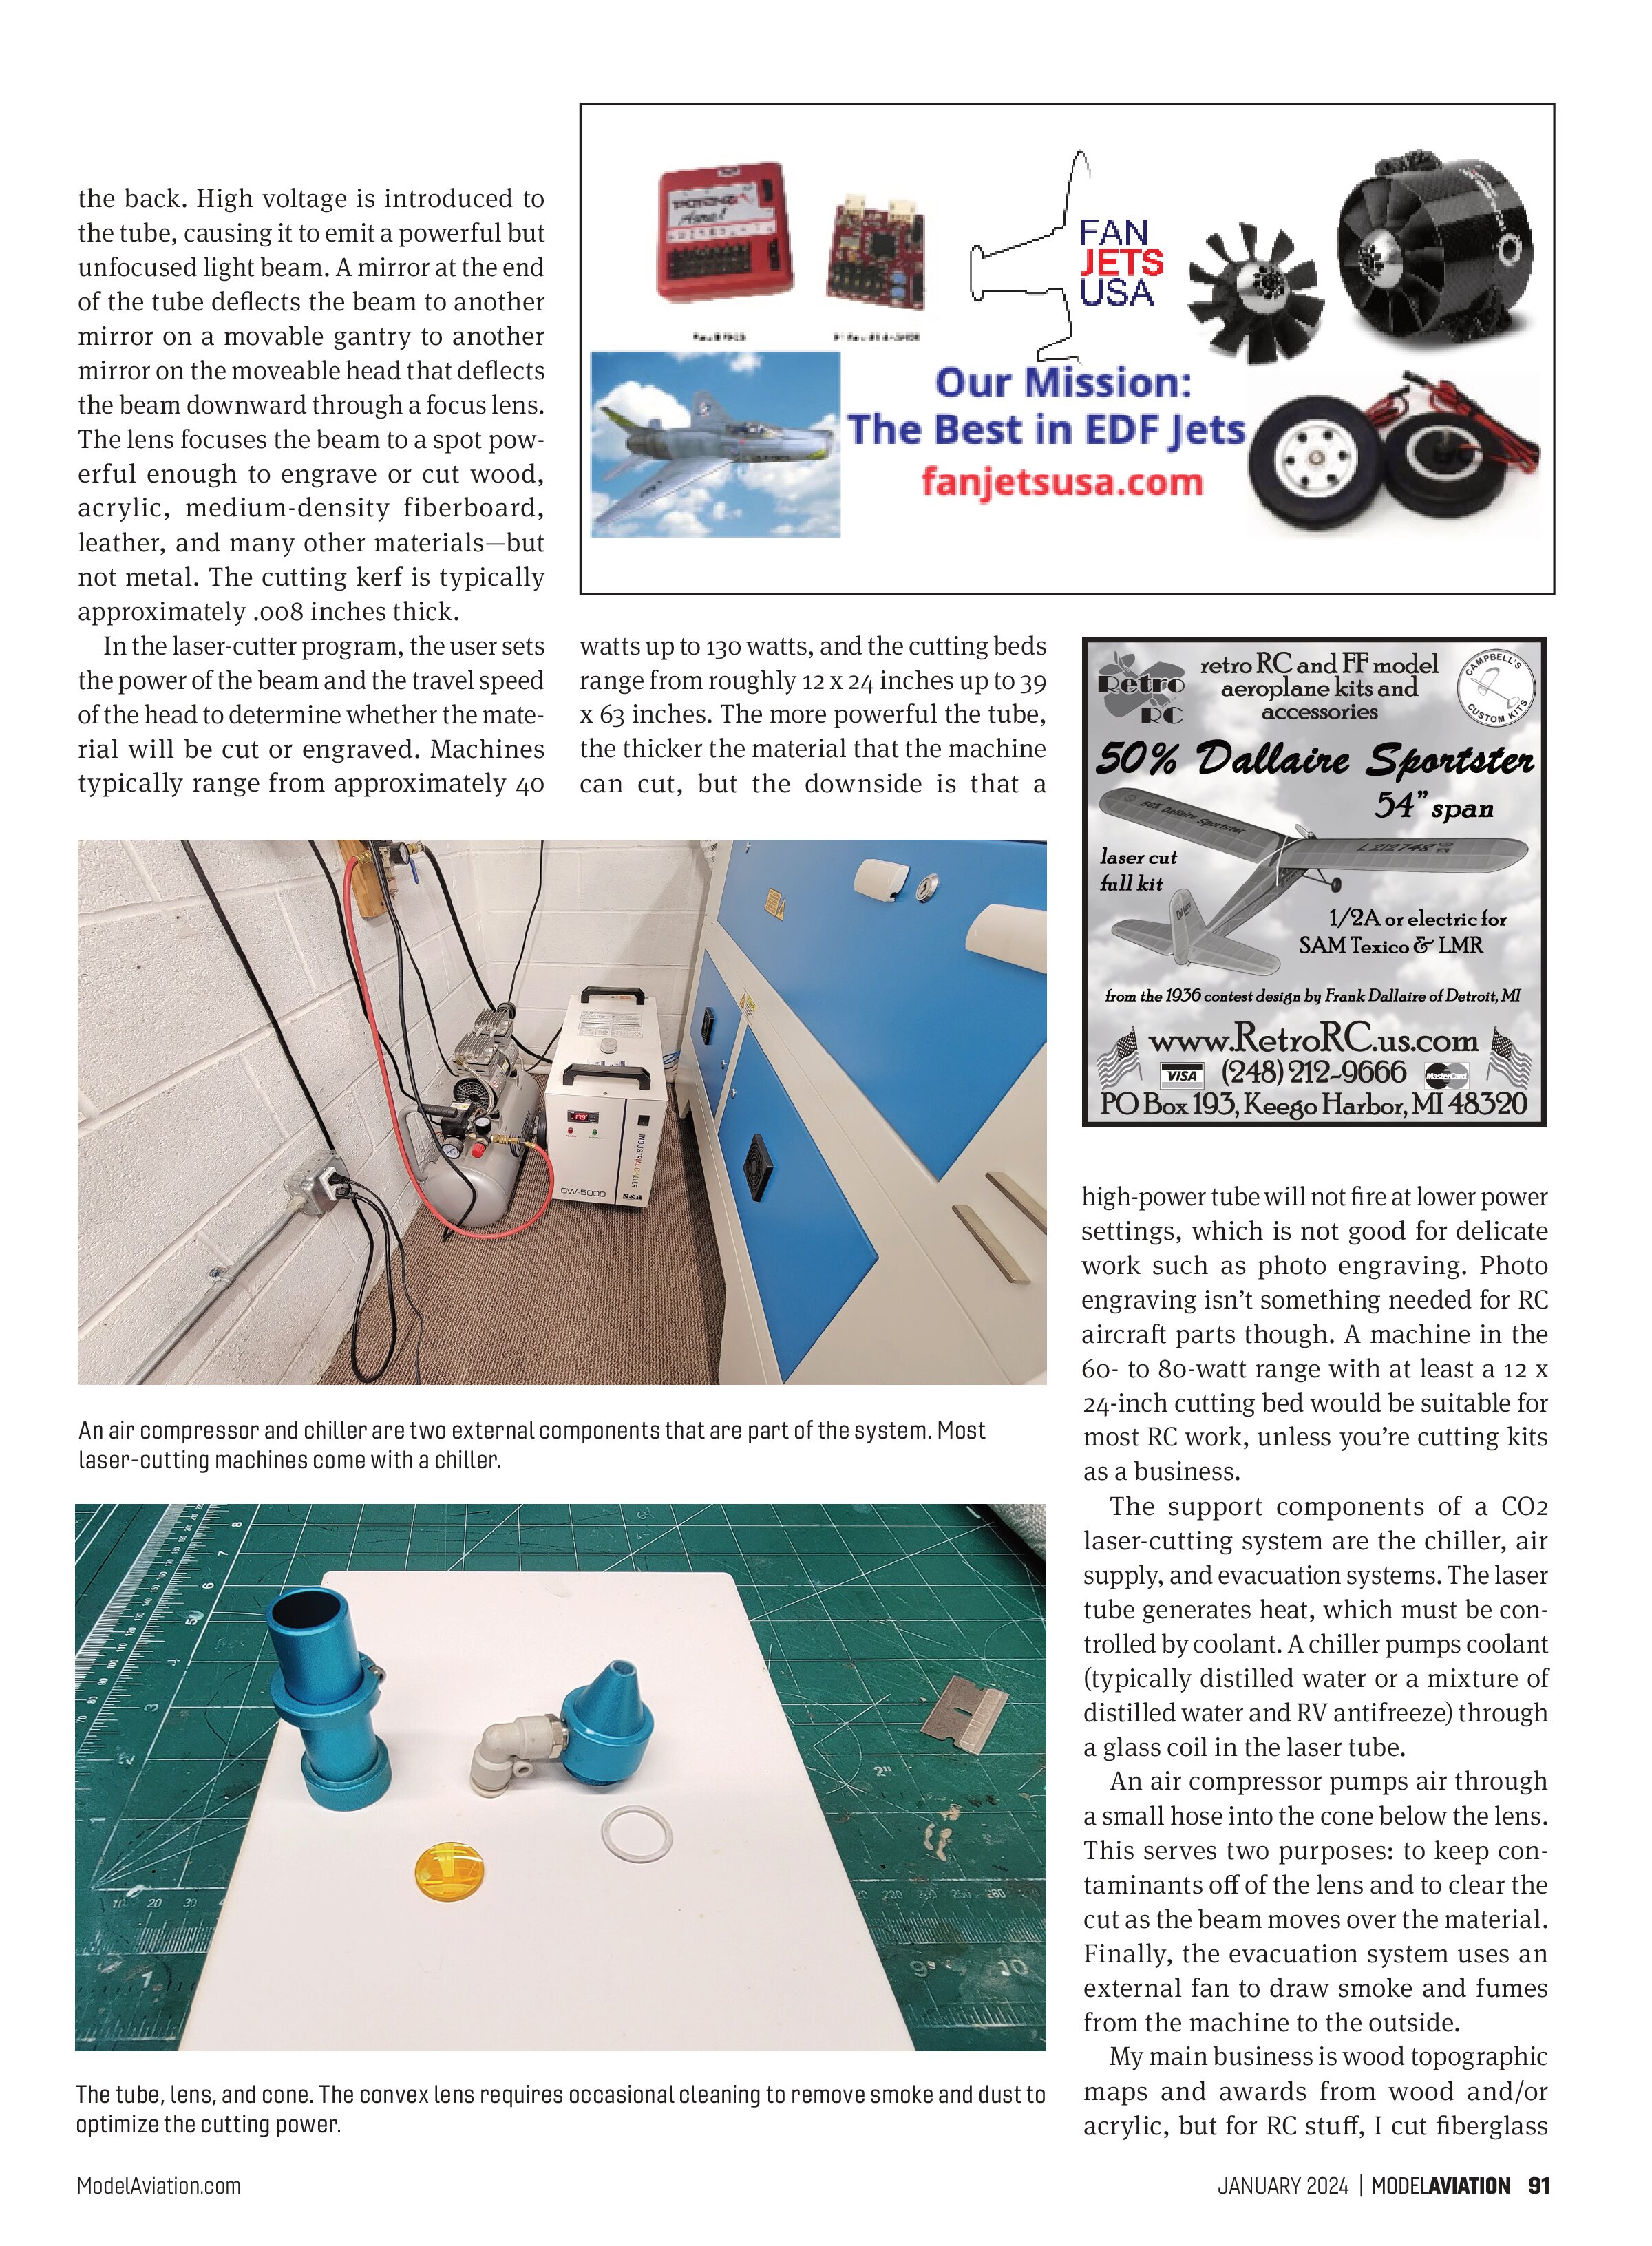
The support components of a CO2 laser-cutting system are the chiller, air supply, and evacuation systems. The laser tube generates heat, which must be controlled by coolant. A chiller pumps coolant (typically distilled water or a mixture of distilled water and RV antifreeze) through a glass coil in the laser tube.
An air compressor pumps air through a small hose into the cone below the lens. This serves two purposes: to keep contaminants off of the lens and to clear the cut as the beam moves over the material. Finally, the evacuation system uses an external fan to draw smoke and fumes from the machine to the outside.

My main business is wood topographic maps and awards from wood and/or acrylic, but for RC stuff, I cut fiberglass
cloth, cardstock, balsa, birch plywood, light plywood, and some aircraft plywood. For my Pylon Racing models, the machine is handy for making custom servo trays or firewalls. After I have the drawing, it’s even faster for the next one.
The process begins with a CAD drawing. I design with Dassault Systems DraftSight, which is similar to the AutoCAD I used to use at Hobbico. This is convenient for me, but there are probably more common, hobby-oriented CAD programs out there, such as SketchUp.
When I have a part drawn, I import it into a laser-cutting program called LightBurn. LightBurn also has drawing/design capabilities, but it’s primarily intended as the interface between your computer and the laser-cutting machine. LightBurn is where you set the cutting parameters, such as the cut order, cutting speed, and cutting power, and then send the job to the laser-cutting machine to do the work.

Making complete laser-cut kits is entirely within the capability of a laser-cutting machine, but there’s nothing much more satisfying—and practical—than quickly and precisely laser-cutting your own parts.
The red layer is set to a speed of 25mm/second and 45% power, which will cut through 1/8-inch birch plywood for this servo tray. The text is set to a lower power, which will only engrave, not cut through.

You can even get carried away engraving, as the author did on this firewall. He likes to make his own firewalls to his exact specifications and glue them in as neatly as possible.

SOURCES:
National Minature Pylon Racing Association (NMPRA)
www.nmpra.net
HL Laser
support@hl-yeah.com
www.hl-yeah.com
Thunder Laser USA
(903) 522-4070
www.thunderlaserusa.com
AutoDesk
(855) 664-9297
www.autodesk.com
DraftSight
www.draftsight.com
SketchUp
www.sketchup.com
LightBurn
support@lightburnsoftware.com
www.lightburnsoftware.com