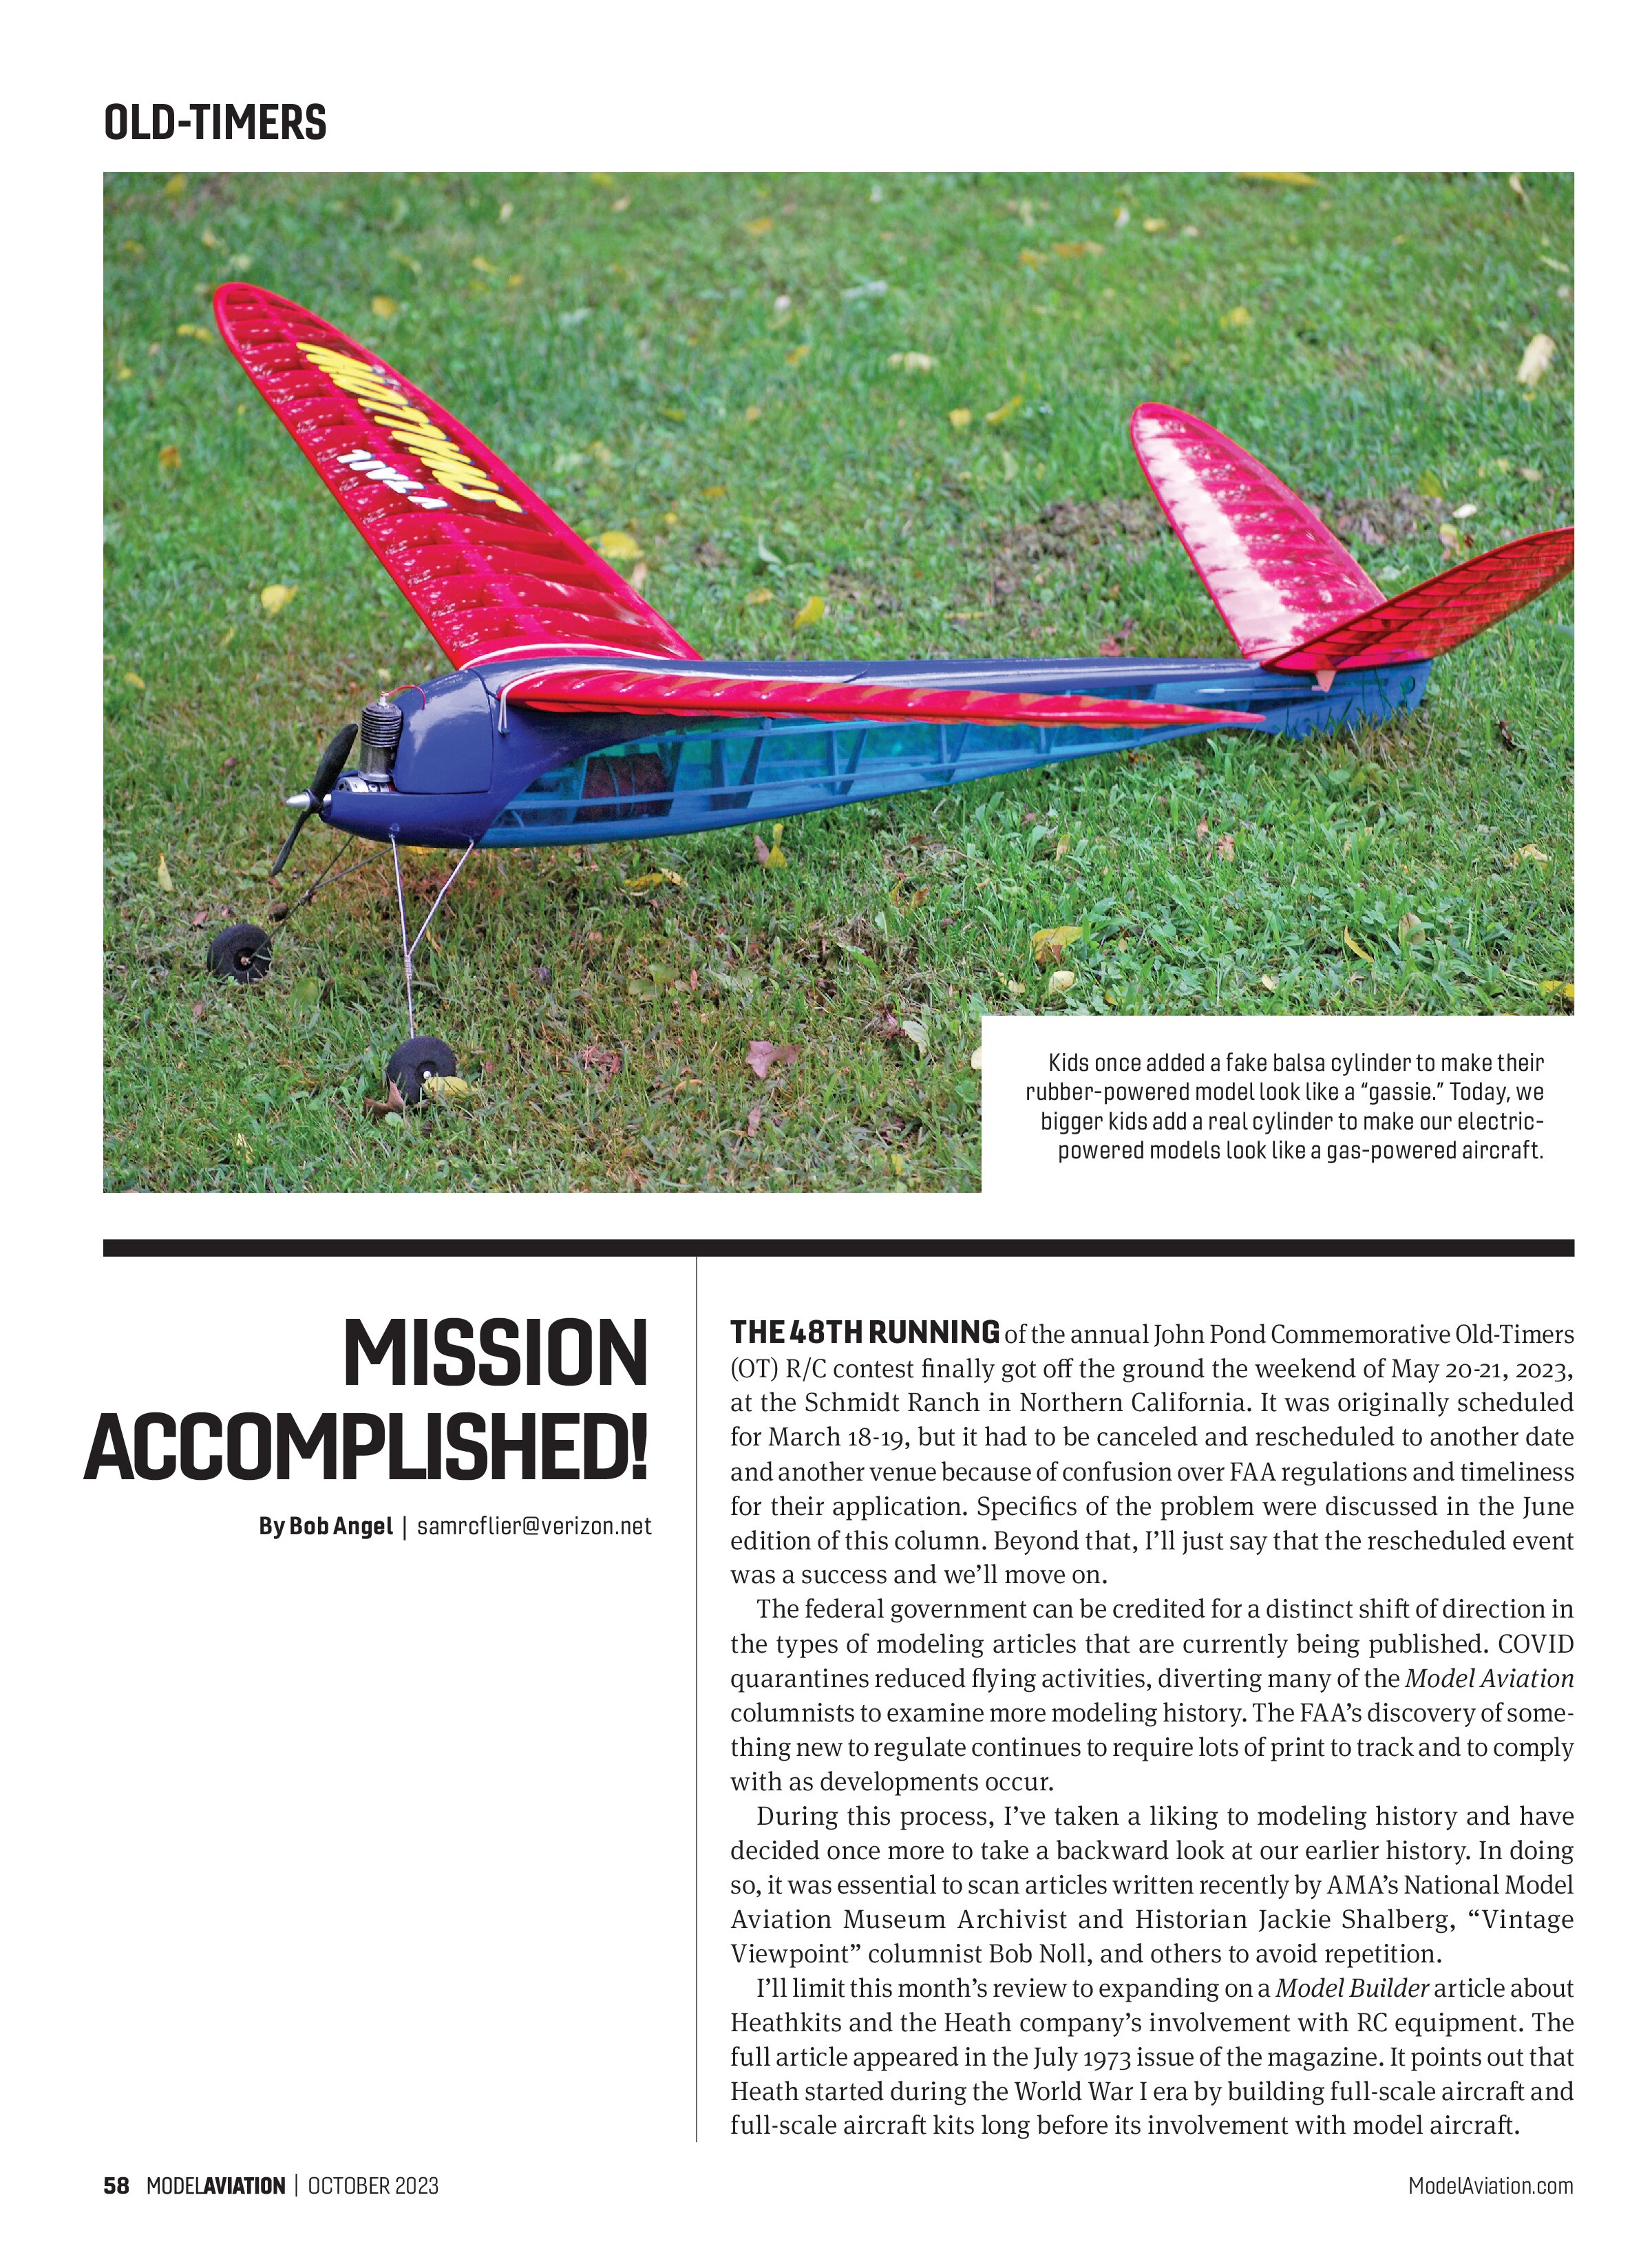
OLD-TIMERS

MISSION ACCOMPLISHED!
By Bob Angel | samrcflier@verizon.net
THE 48TH RUNNING of the annual John Pond Commemorative Old-Timers (OT) R/C contest finally got off the ground the weekend of May 20-21, 2023, at the Schmidt Ranch in Northern California. It was originally scheduled for March 18-19, but it had to be canceled and rescheduled to another date and another venue because of confusion over FAA regulations and timeliness for their application. Specifics of the problem were discussed in the June edition of this column. Beyond that, I’ll just say that the rescheduled event was a success and we’ll move on.
The federal government can be credited for a distinct shift of direction in the types of modeling articles that are currently being published. COVID quarantines reduced flying activities, diverting many of the Model Aviation columnists to examine more modeling history. The FAA’s discovery of something new to regulate continues to require lots of print to track and to comply with as developments occur.
During this process, I’ve taken a liking to modeling history and have decided once more to take a backward look at our earlier history. In doing so, it was essential to scan articles written recently by AMA’s National Model Aviation Museum Archivist and Historian Jackie Shalberg, “Vintage Viewpoint” columnist Bob Noll, and others to avoid repetition.
I’ll limit this month’s review to expanding on a Model Builder article about Heathkits and the Heath company’s involvement with RC equipment. The full article appeared in the July 1973 issue of the magazine. It points out that Heath started during the World War I era by building full-scale aircraft and full-scale aircraft kits long before its involvement with model aircraft.
RC radios had become one of the more than 350 Heathkit products being offered in the company’s 1973 catalog. That was roughly during the time that I reluctantly moved from flying Control Line (CL) to RC—I was one of the last of our CL club members to do so.
RC equipment had become fully proportional by then, and I started with one of the popular Kraft sport radios. Incidentally, Kraft was closely involved in the original design of Heathkit radios, but as the company evolved, so did its staff. The company hired skilled RC modelers and developed its own expertise in electronics and RC equipment design.
I later chose to build a Heath five-channel transmitter (a GDA-505), along with a number of receivers and servos. The choice was based on economics more than anything else, because I probably would have preferred to spend the time building models.
The Model Builder article mentions that you could build a Heathkit radio at a price approximately half that of a fully assembled radio. That was only partially true. Competitive radio manufacturers had begun selling fully assembled radio sets, including transmitters, servos, chargers, etc., in package “deals,” where the total price was little more than buying the Heathkit parts piecemeal.
The kit savings came if you built multiple airplanes because you would normally only need one transmitter. You could buy the needed Heathkit airborne components as kits for a lot less than the price of the same manufactured items. For many of us, kit building also offered some learning experience in electronics and troubleshooting.
My elder son became interested in constructing electronics and built a Heathkit TV set early in high school. That helped develop an interest in electronics, and after working on the space shuttle program, he’s now employed by one of the nation’s largest commercial bakeries, where he keeps the computer-driven production machinery working.
Sadly, the Heath company no longer exists, nor do many of the companies that offered large mail order catalogs. Even fewer companies today offer Heath’s free advice, inspection, and service help with their products, which were sometimes built by enthusiastic people whose competence might have resided in a different field, such as writing poetry.
Construction Nuggets
In my February 2013 column, I listed two dozen quick, little hints and tips. Five were listed as construction tips, while the rest were closely related as operational or maintenance tips. That material can be found on the AMA website in the Model Aviation Archive/Library or by using the link provided in “Sources.”
I haven’t contributed heavily to the annual October build issue for the simple reason that most OT fliers have been building for years and could probably publish their own books on the subject. This time, however, I’ll start with access hatches.
In my CL flying days, many of us young guys simply sealed our complete spark-ignition systems, including batteries, inside of a planked or sheeted fuselage. We knew from practical experience that by using external booster batteries for engine starting, those batteries would last at least until the first good crash, at which time we’d have all of the access we needed.
Later, with more experience, the need for access hatches, or at least for batteries, became more apparent. Today, when flying an OT aircraft with a spark ignition, there’s a recurring need for the replacement of a set of batteries—or two sets if it’s an RC model. Conventional access hatches in an OT competition model add weight, weaken structural integrity, and often allow oil seepage, so I avoid them.
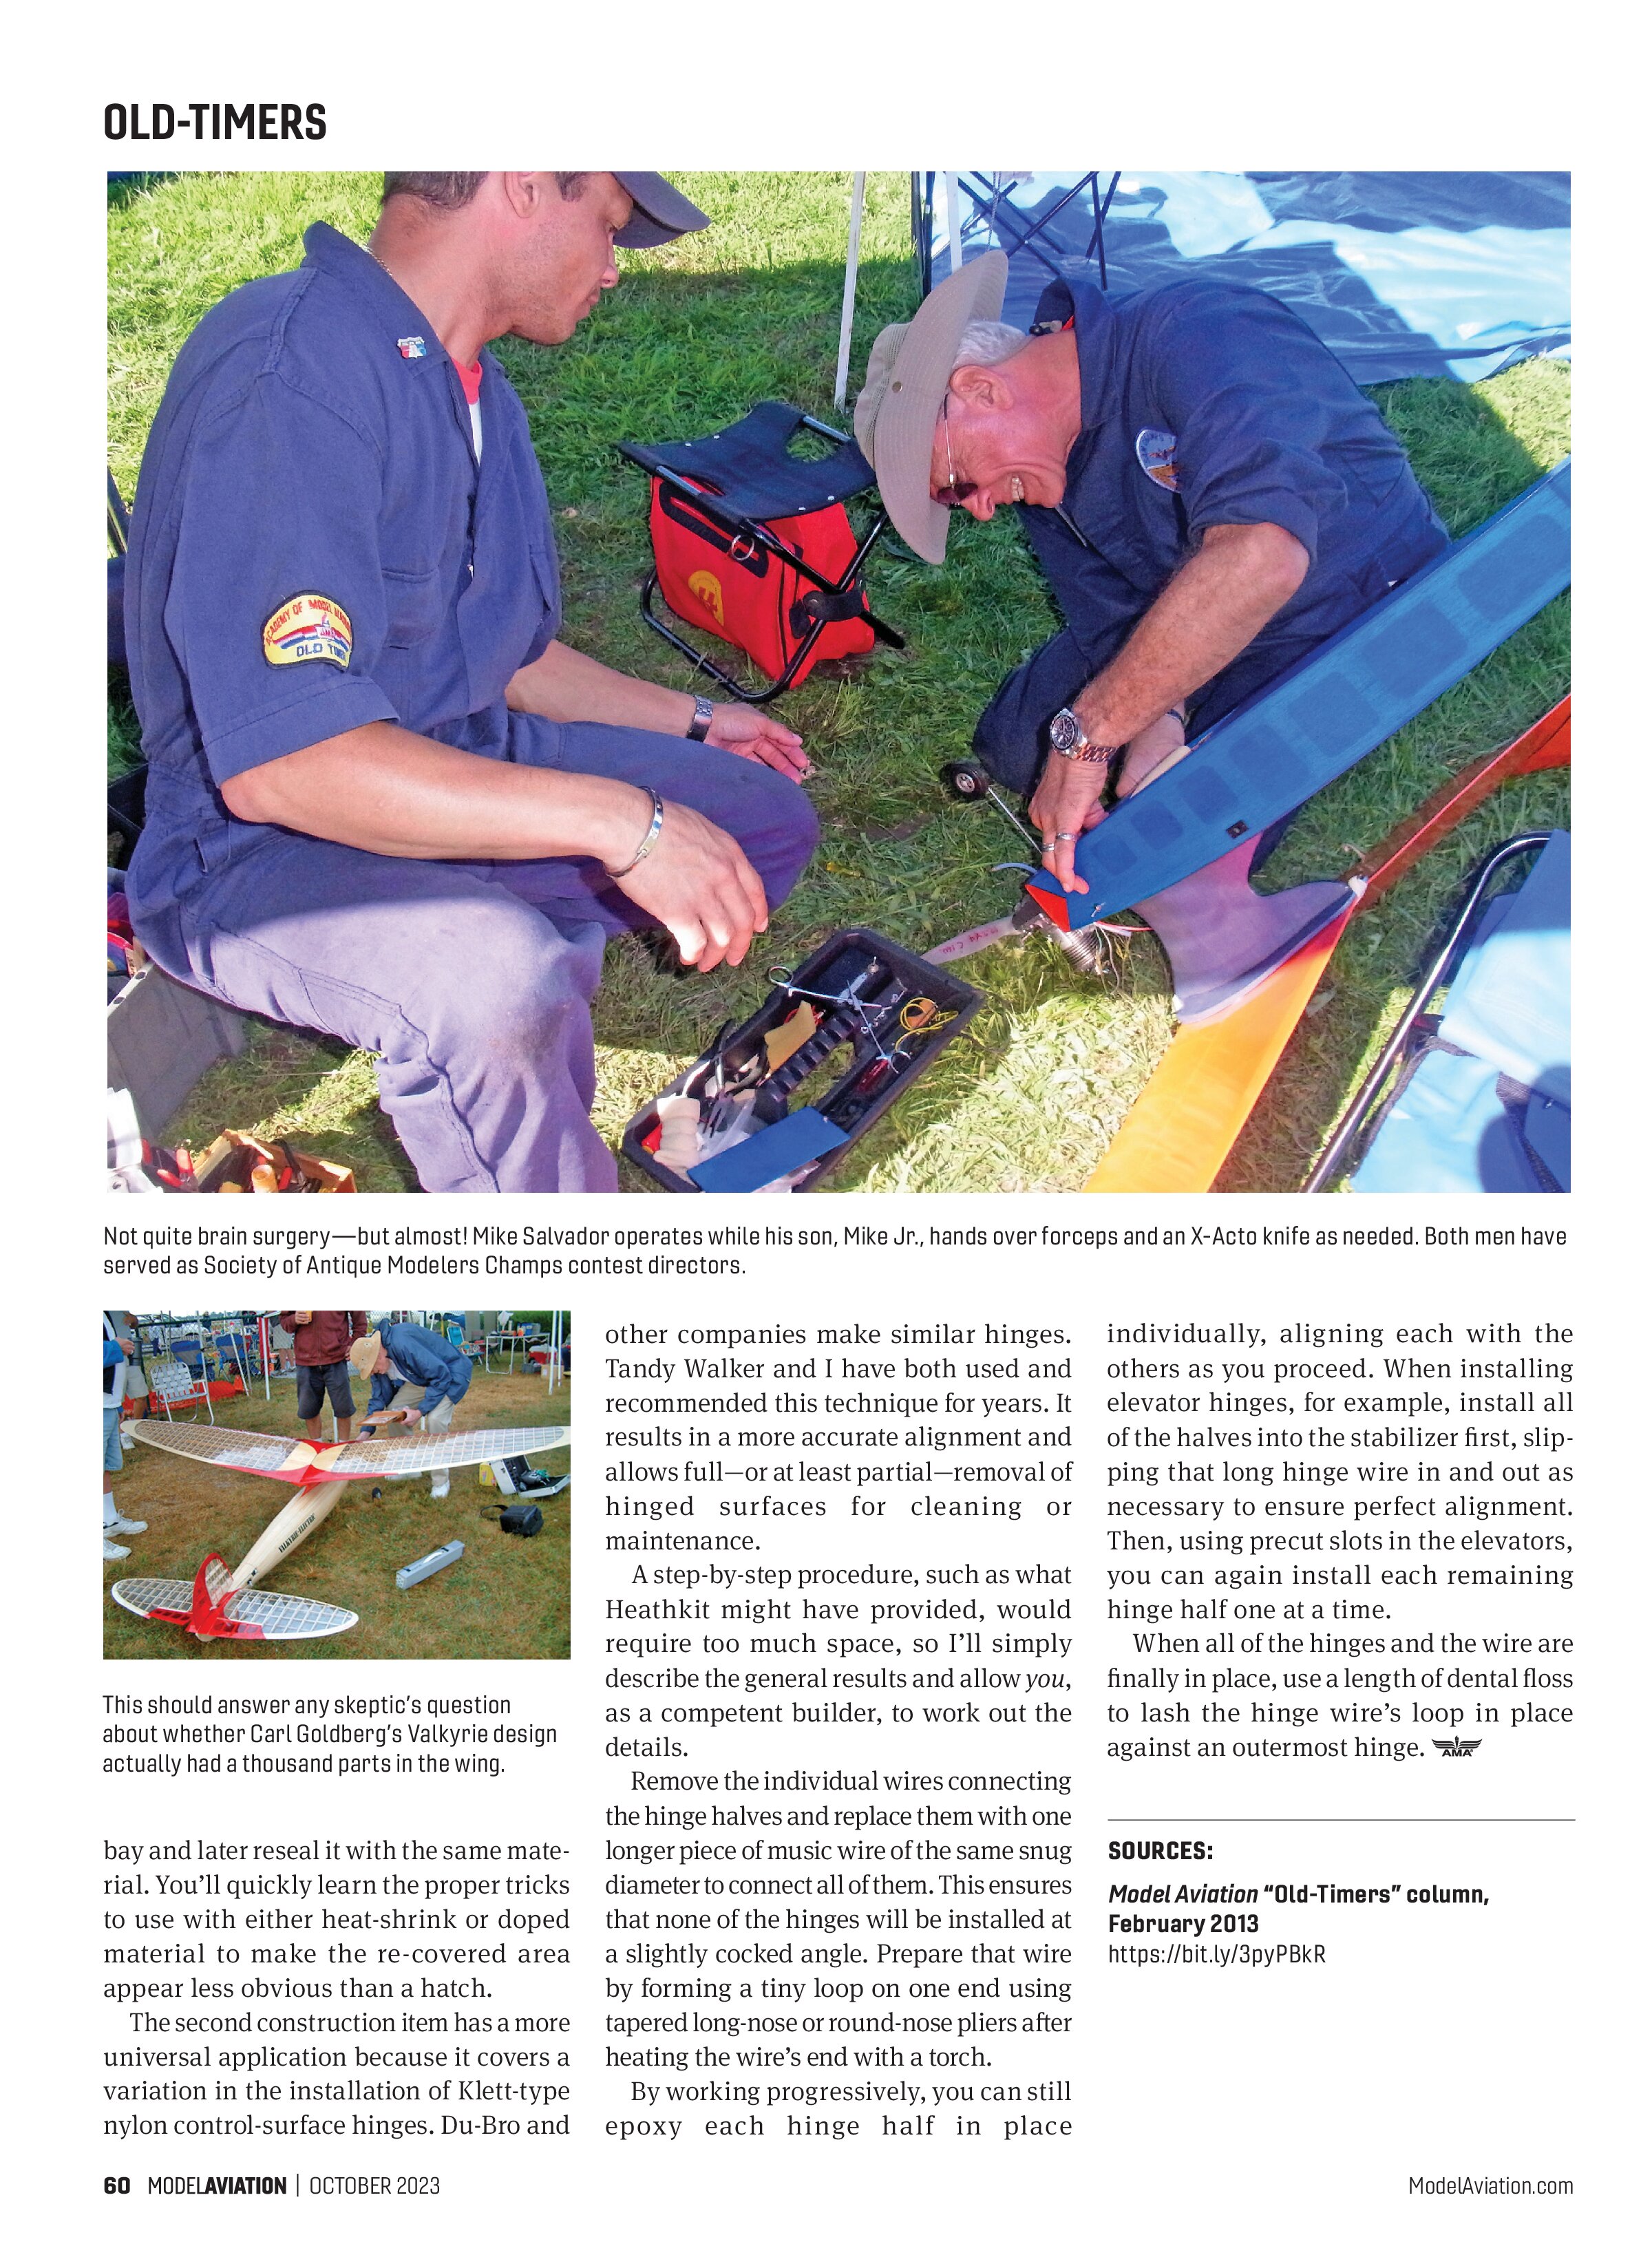
During construction, when the “innards” are all installed before covering, I take photographs of the critical areas and items that might need service later. In a typical fuselage of built-up balsa sticks, this locates the exact bay or bays to be opened for servicing, should that be needed. You can then simply cut away the covering material over the appropriate

bay and later reseal it with the same material. You’ll quickly learn the proper tricks to use with either heat-shrink or doped material to make the re-covered area appear less obvious than a hatch.
The second construction item has a more universal application because it covers a variation in the installation of Klett-type nylon control-surface hinges. Du-Bro and

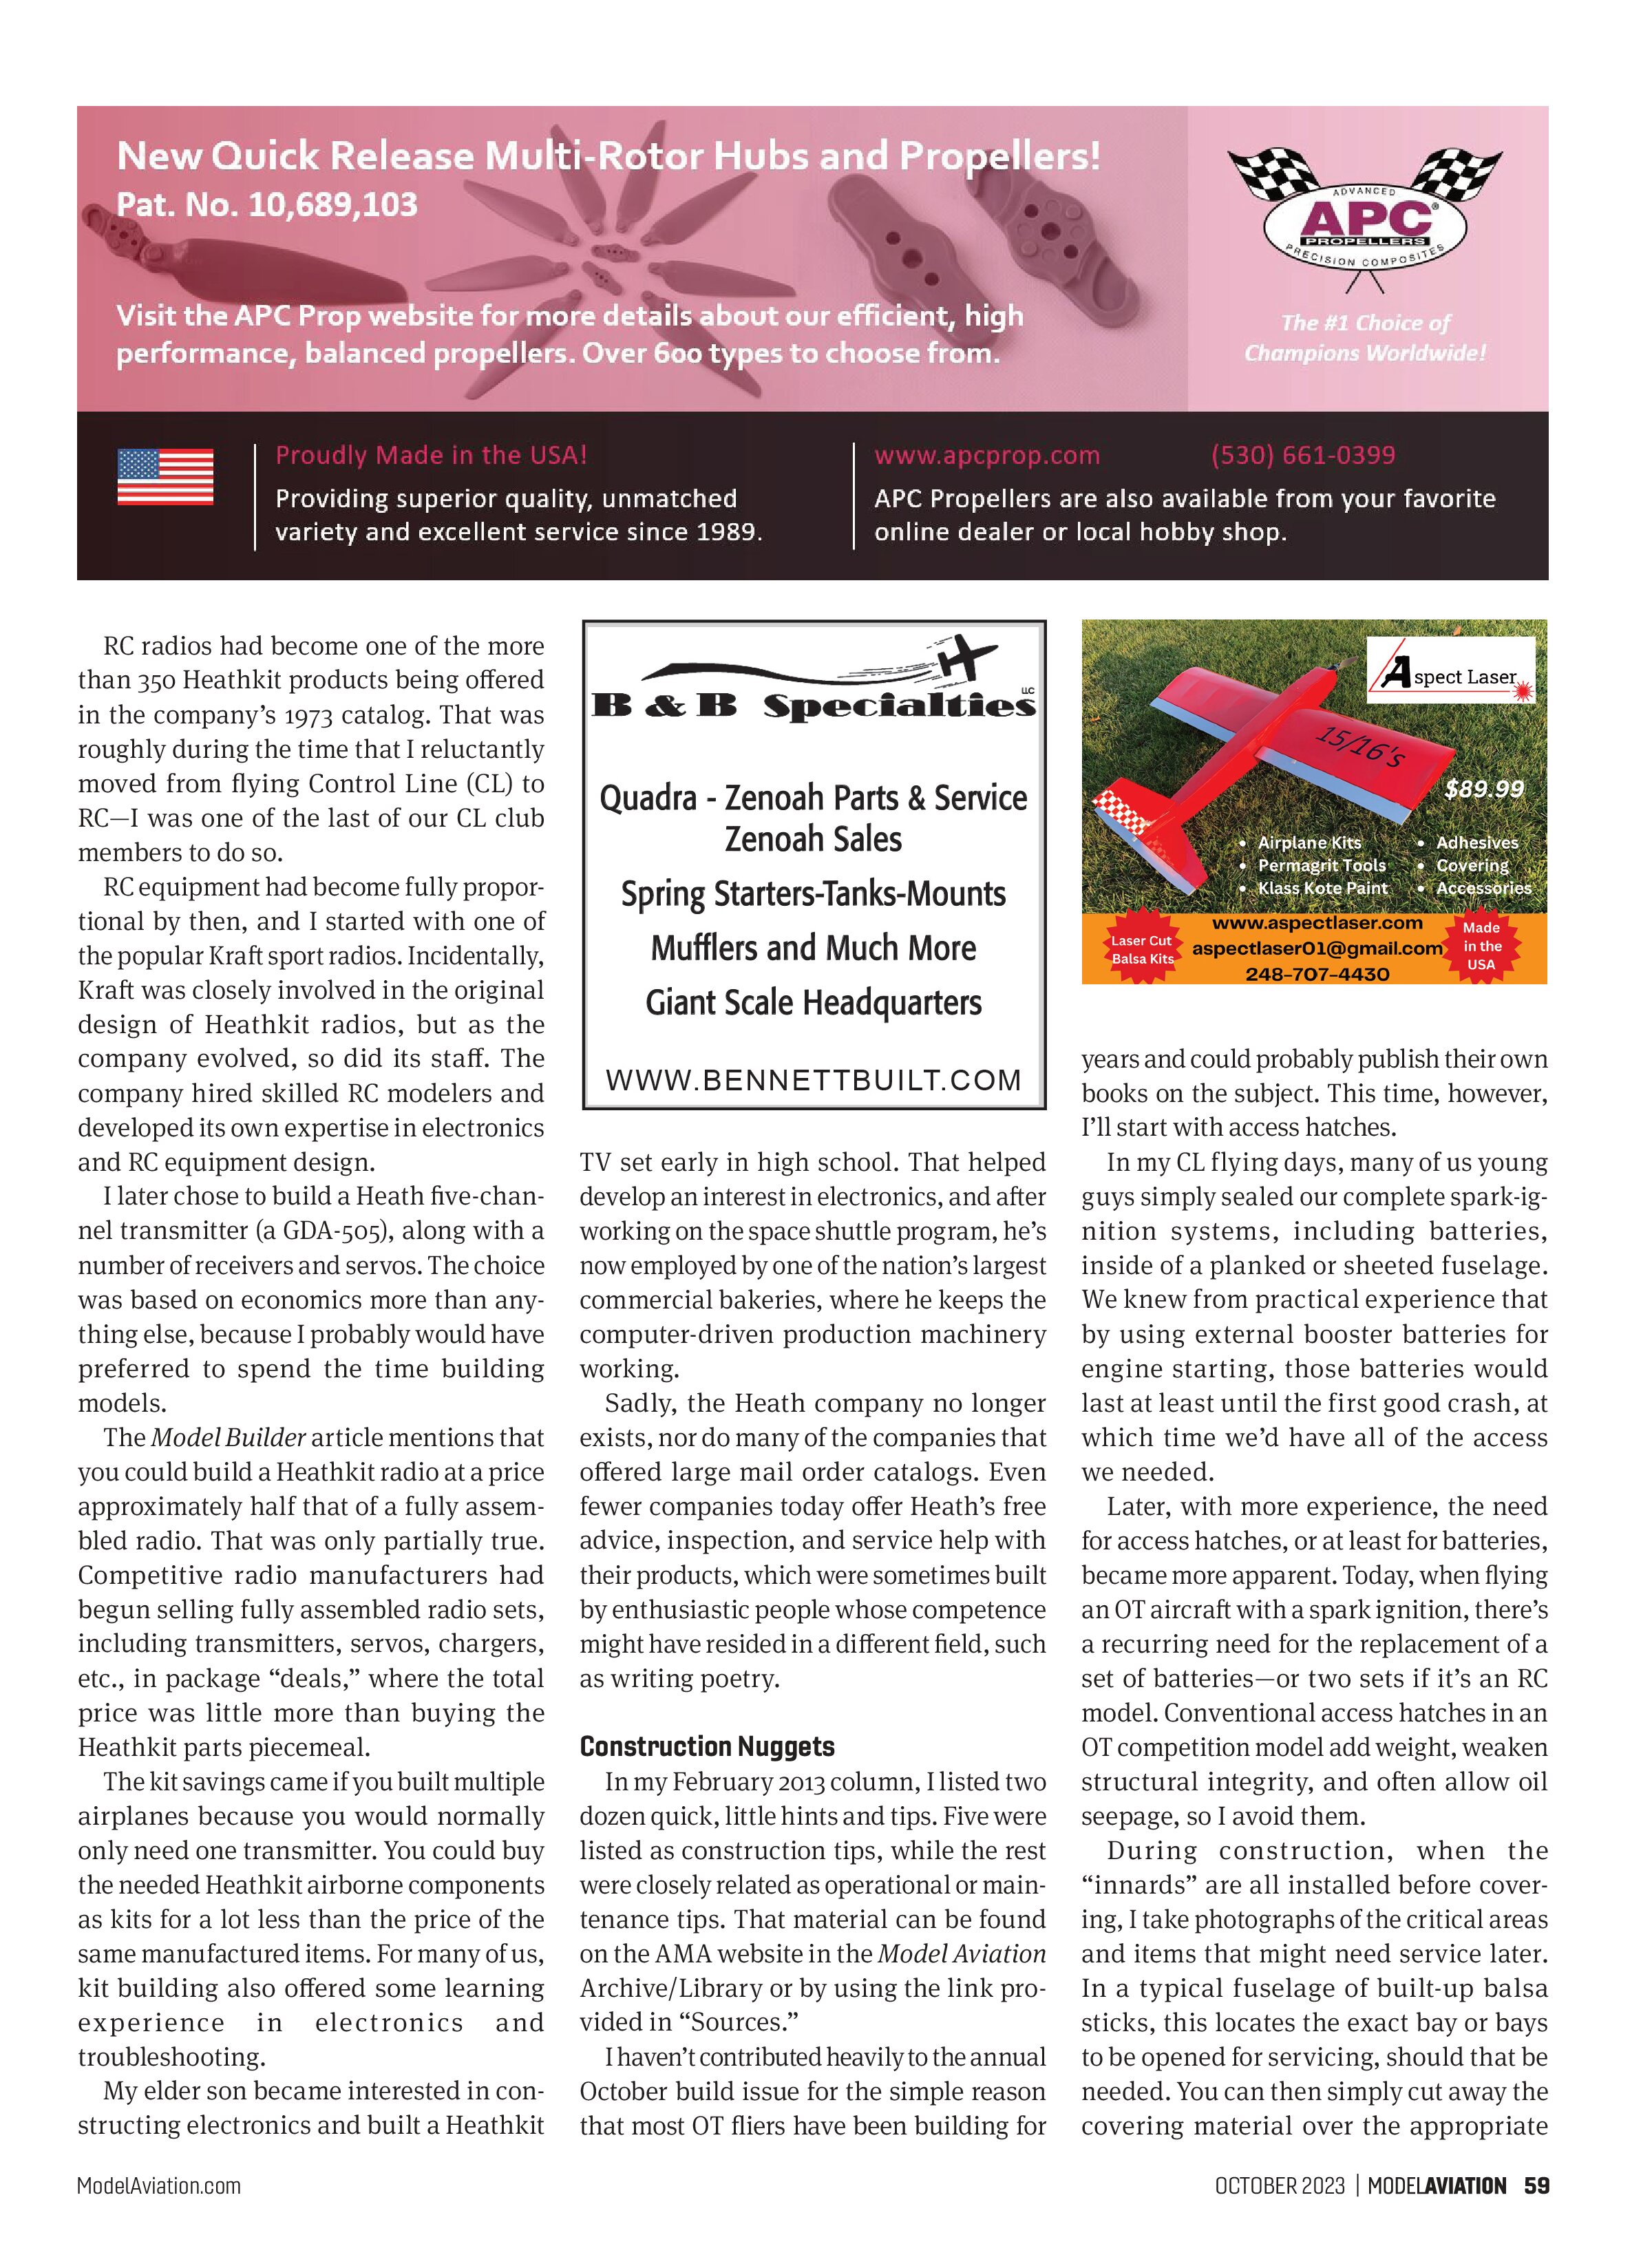
other companies make similar hinges. Tandy Walker and I have both used and recommended this technique for years. It results in a more accurate alignment and allows full—or at least partial—removal of hinged surfaces for cleaning or maintenance.
A step-by-step procedure, such as what Heathkit might have provided, would require too much space, so I’ll simply describe the general results and allow you, as a competent builder, to work out the details.
Remove the individual wires connecting the hinge halves and replace them with one longer piece of music wire of the same snug diameter to connect all of them. This ensures that none of the hinges will be installed at a slightly cocked angle. Prepare that wire by forming a tiny loop on one end using tapered long-nose or round-nose pliers after heating the wire’s end with a torch.
By working progressively, you can still epoxy each hinge half in place individually, aligning each with the others as you proceed. When installing elevator hinges, for example, install all of the halves into the stabilizer first, slipping that long hinge wire in and out as necessary to ensure perfect alignment. Then, using precut slots in the elevators, you can again install each remaining hinge half one at a time.
When all of the hinges and the wire are finally in place, use a length of dental floss to lash the hinge wire’s loop in place against an outermost hinge.
Sources:
Model Aviation “Old-Timers” column,
February 2013
https://bit.ly/3pyPBkR