Repairing Foam Hinges
Get back
in the air quickly
By Terry Dunn
terrydunn74@gmail.com
Photos by the author

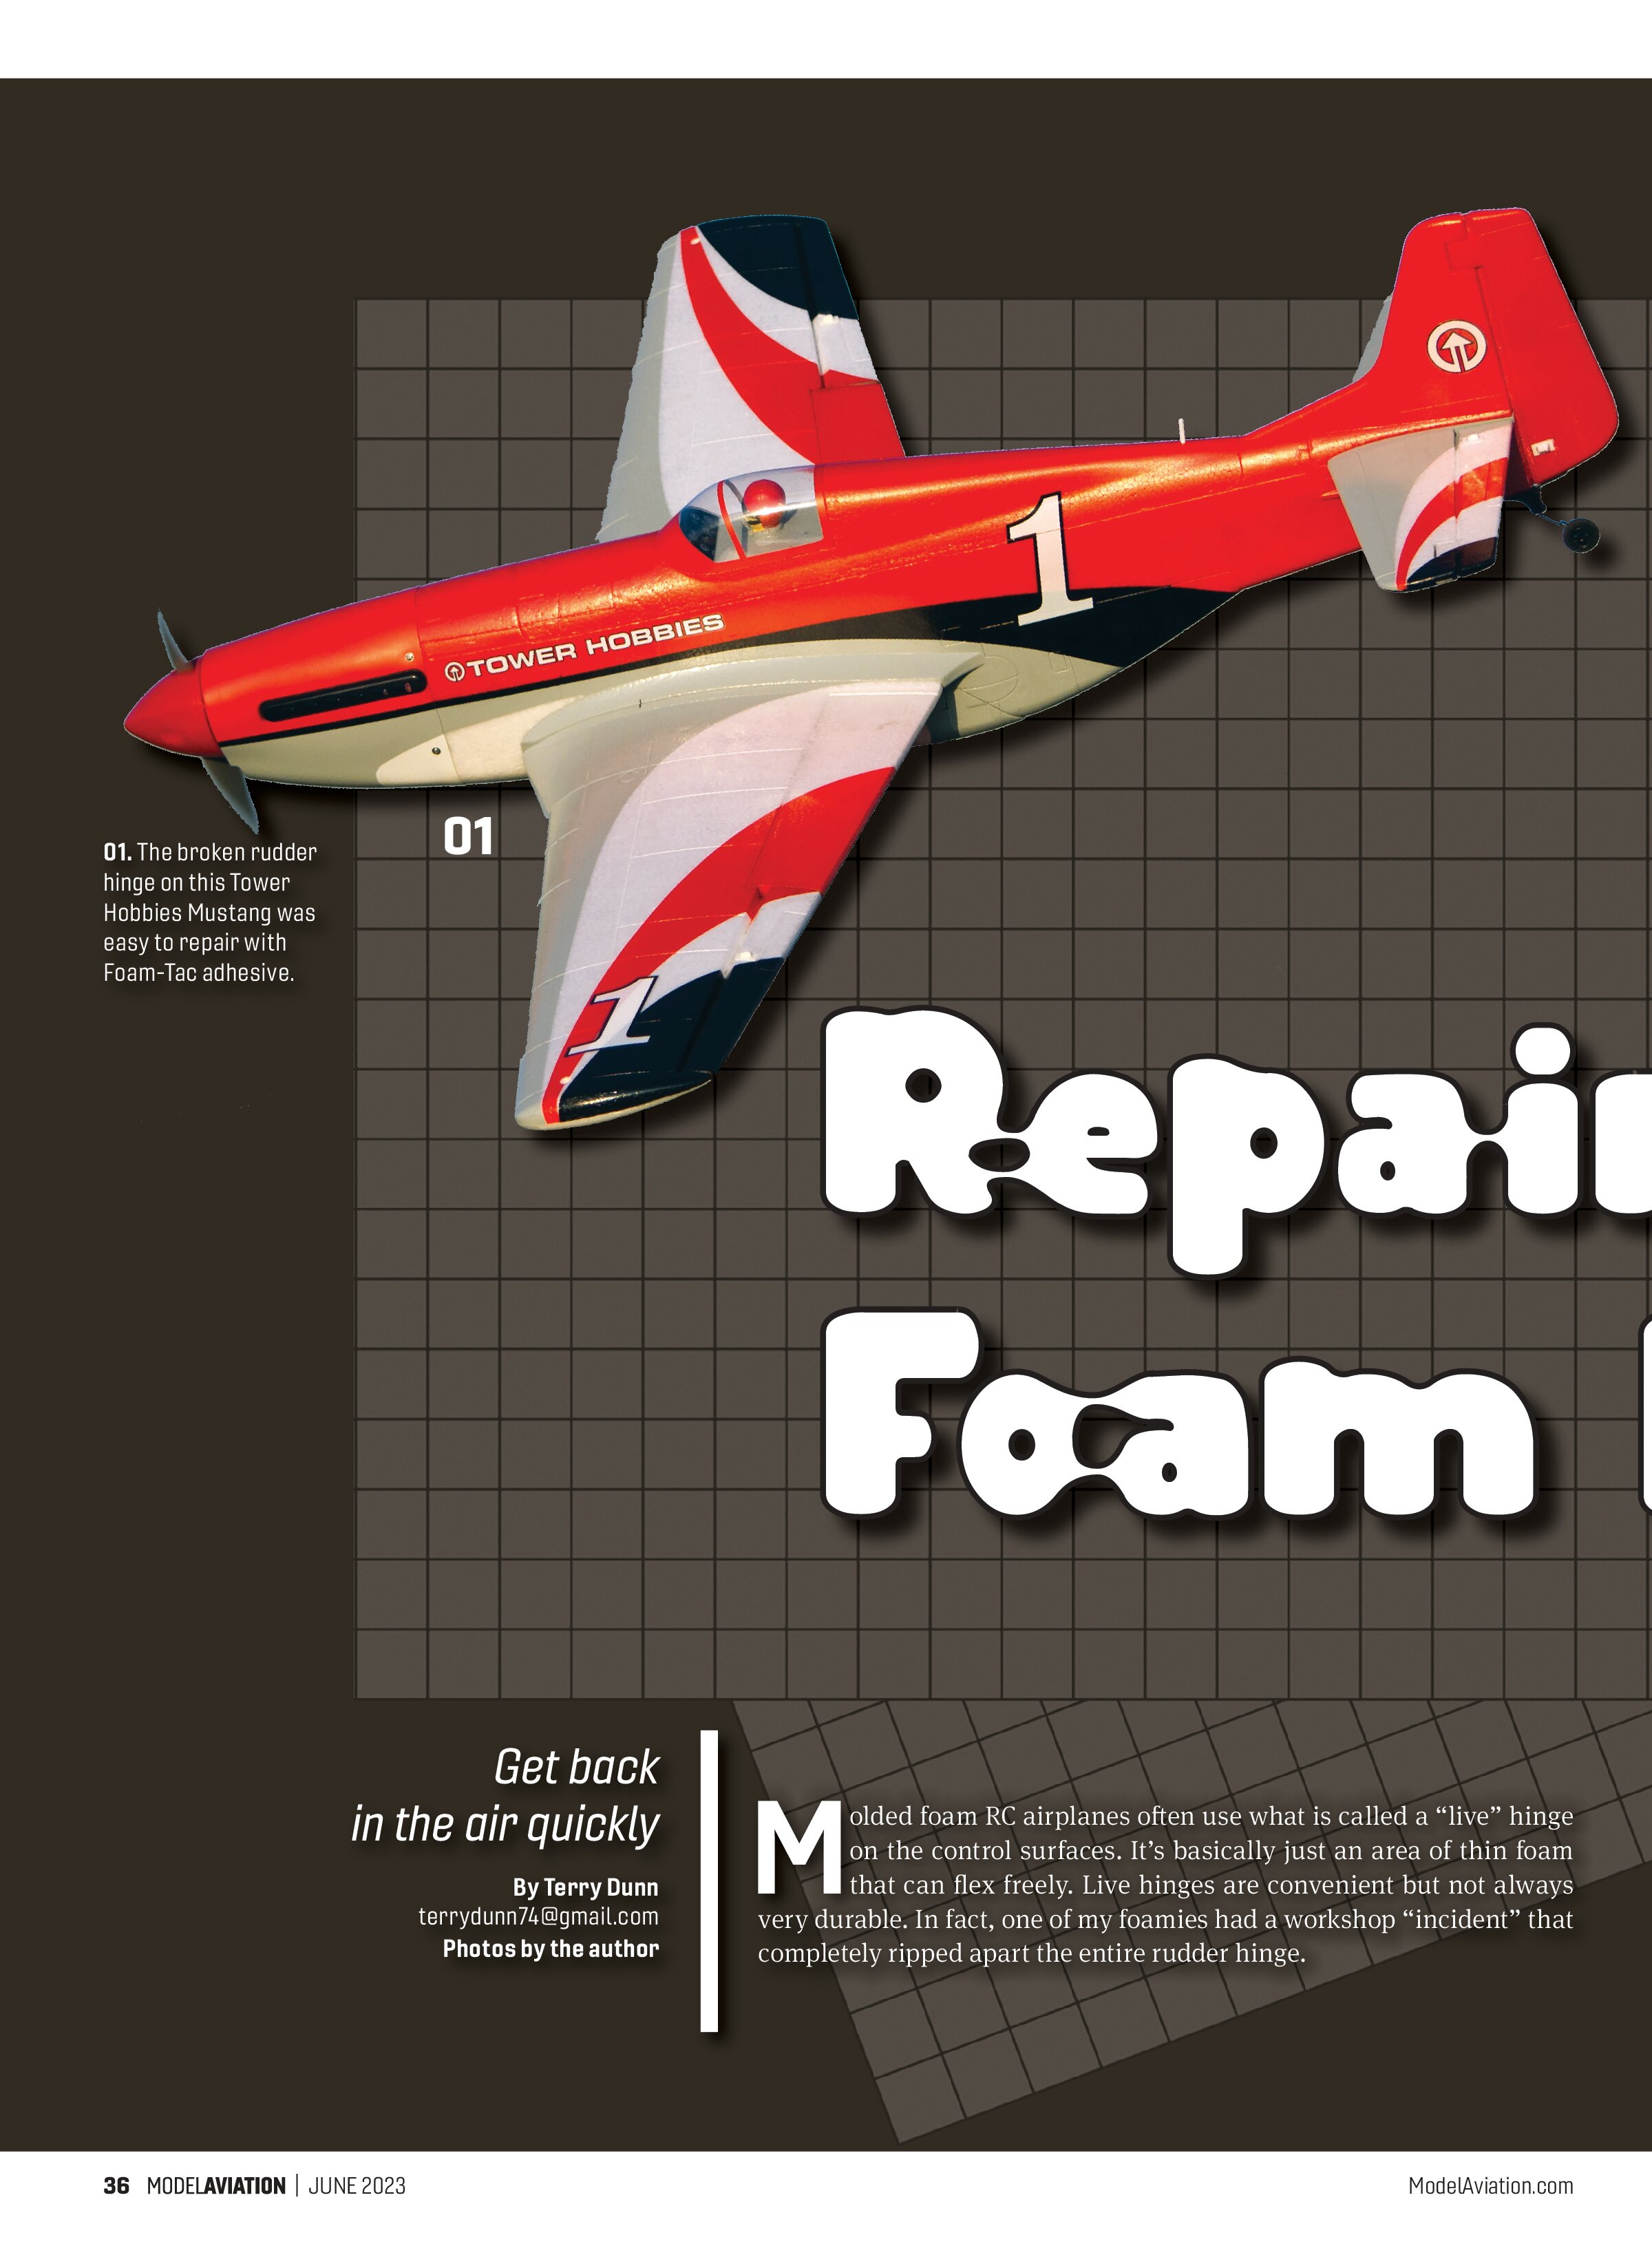
Molded foam RC airplanes often use what is called a “live” hinge on the control surfaces. It’s basically just an area of thin foam that can flex freely. Live hinges are convenient but not always very durable. In fact, one of my foamies had a workshop “incident” that completely ripped apart the entire rudder hinge.
This particular model is made of expanded polyolefin (EPO) foam. My normal process for repairing this kind of damage would have involved several steps. First, I would have trimmed back the jagged parts of the ripped foam with an X-Acto knife and/or sandpaper.
The next step would have been to reattach the rudder using mechanical hinges. This involves cutting aligned slits in both foam parts and gluing the hinges into place with CA or epoxy. Finally, I would have found a decent color match in my paint stash and touched
up the cut/sanded areas of foam. None of these steps are difficult, but it all takes time and effort.
Now I know that there is a faster, easier way to repair foam hinges: Foam-Tac. It does not seem possible that you could simply glue the pieces of foam back together and still have a strong, useful hinge ... but that is exactly what we are going to do!
The Fix
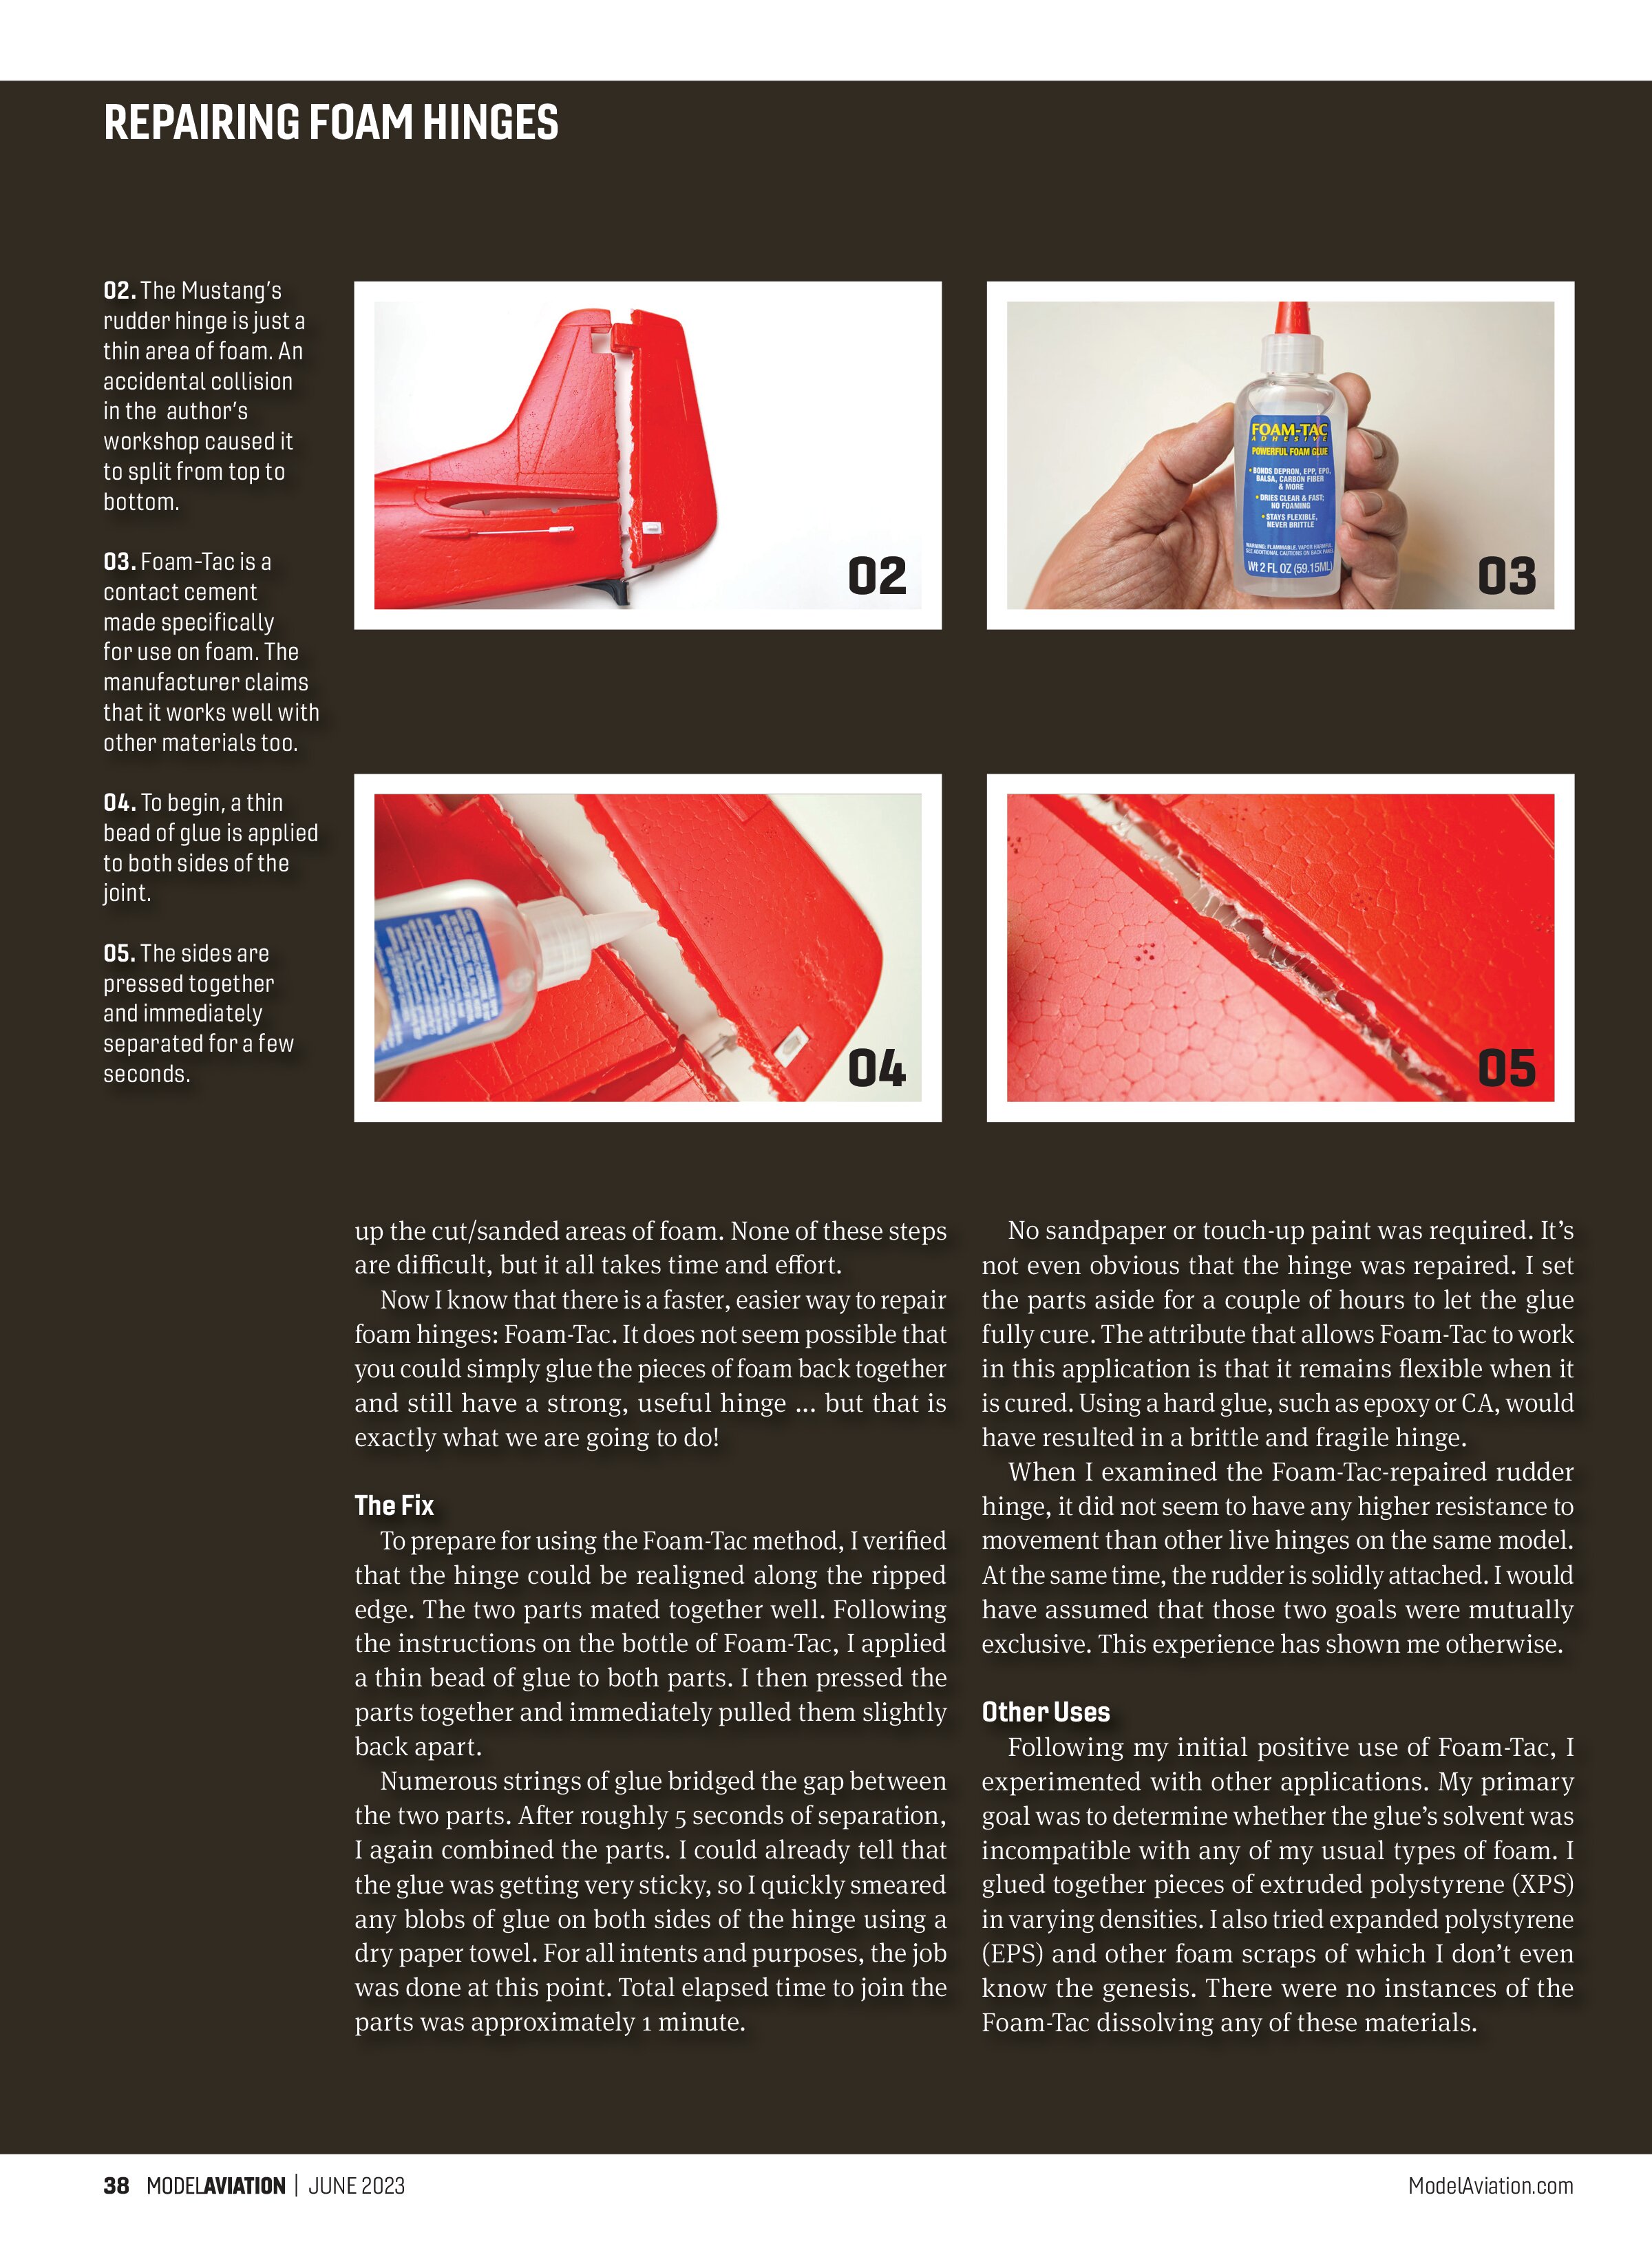
To prepare for using the Foam-Tac method, I verified that the hinge could be realigned along the ripped edge. The two parts mated together well. Following the instructions on the bottle of Foam-Tac, I applied a thin bead of glue to both parts. I then pressed the parts together and immediately pulled them slightly back apart.
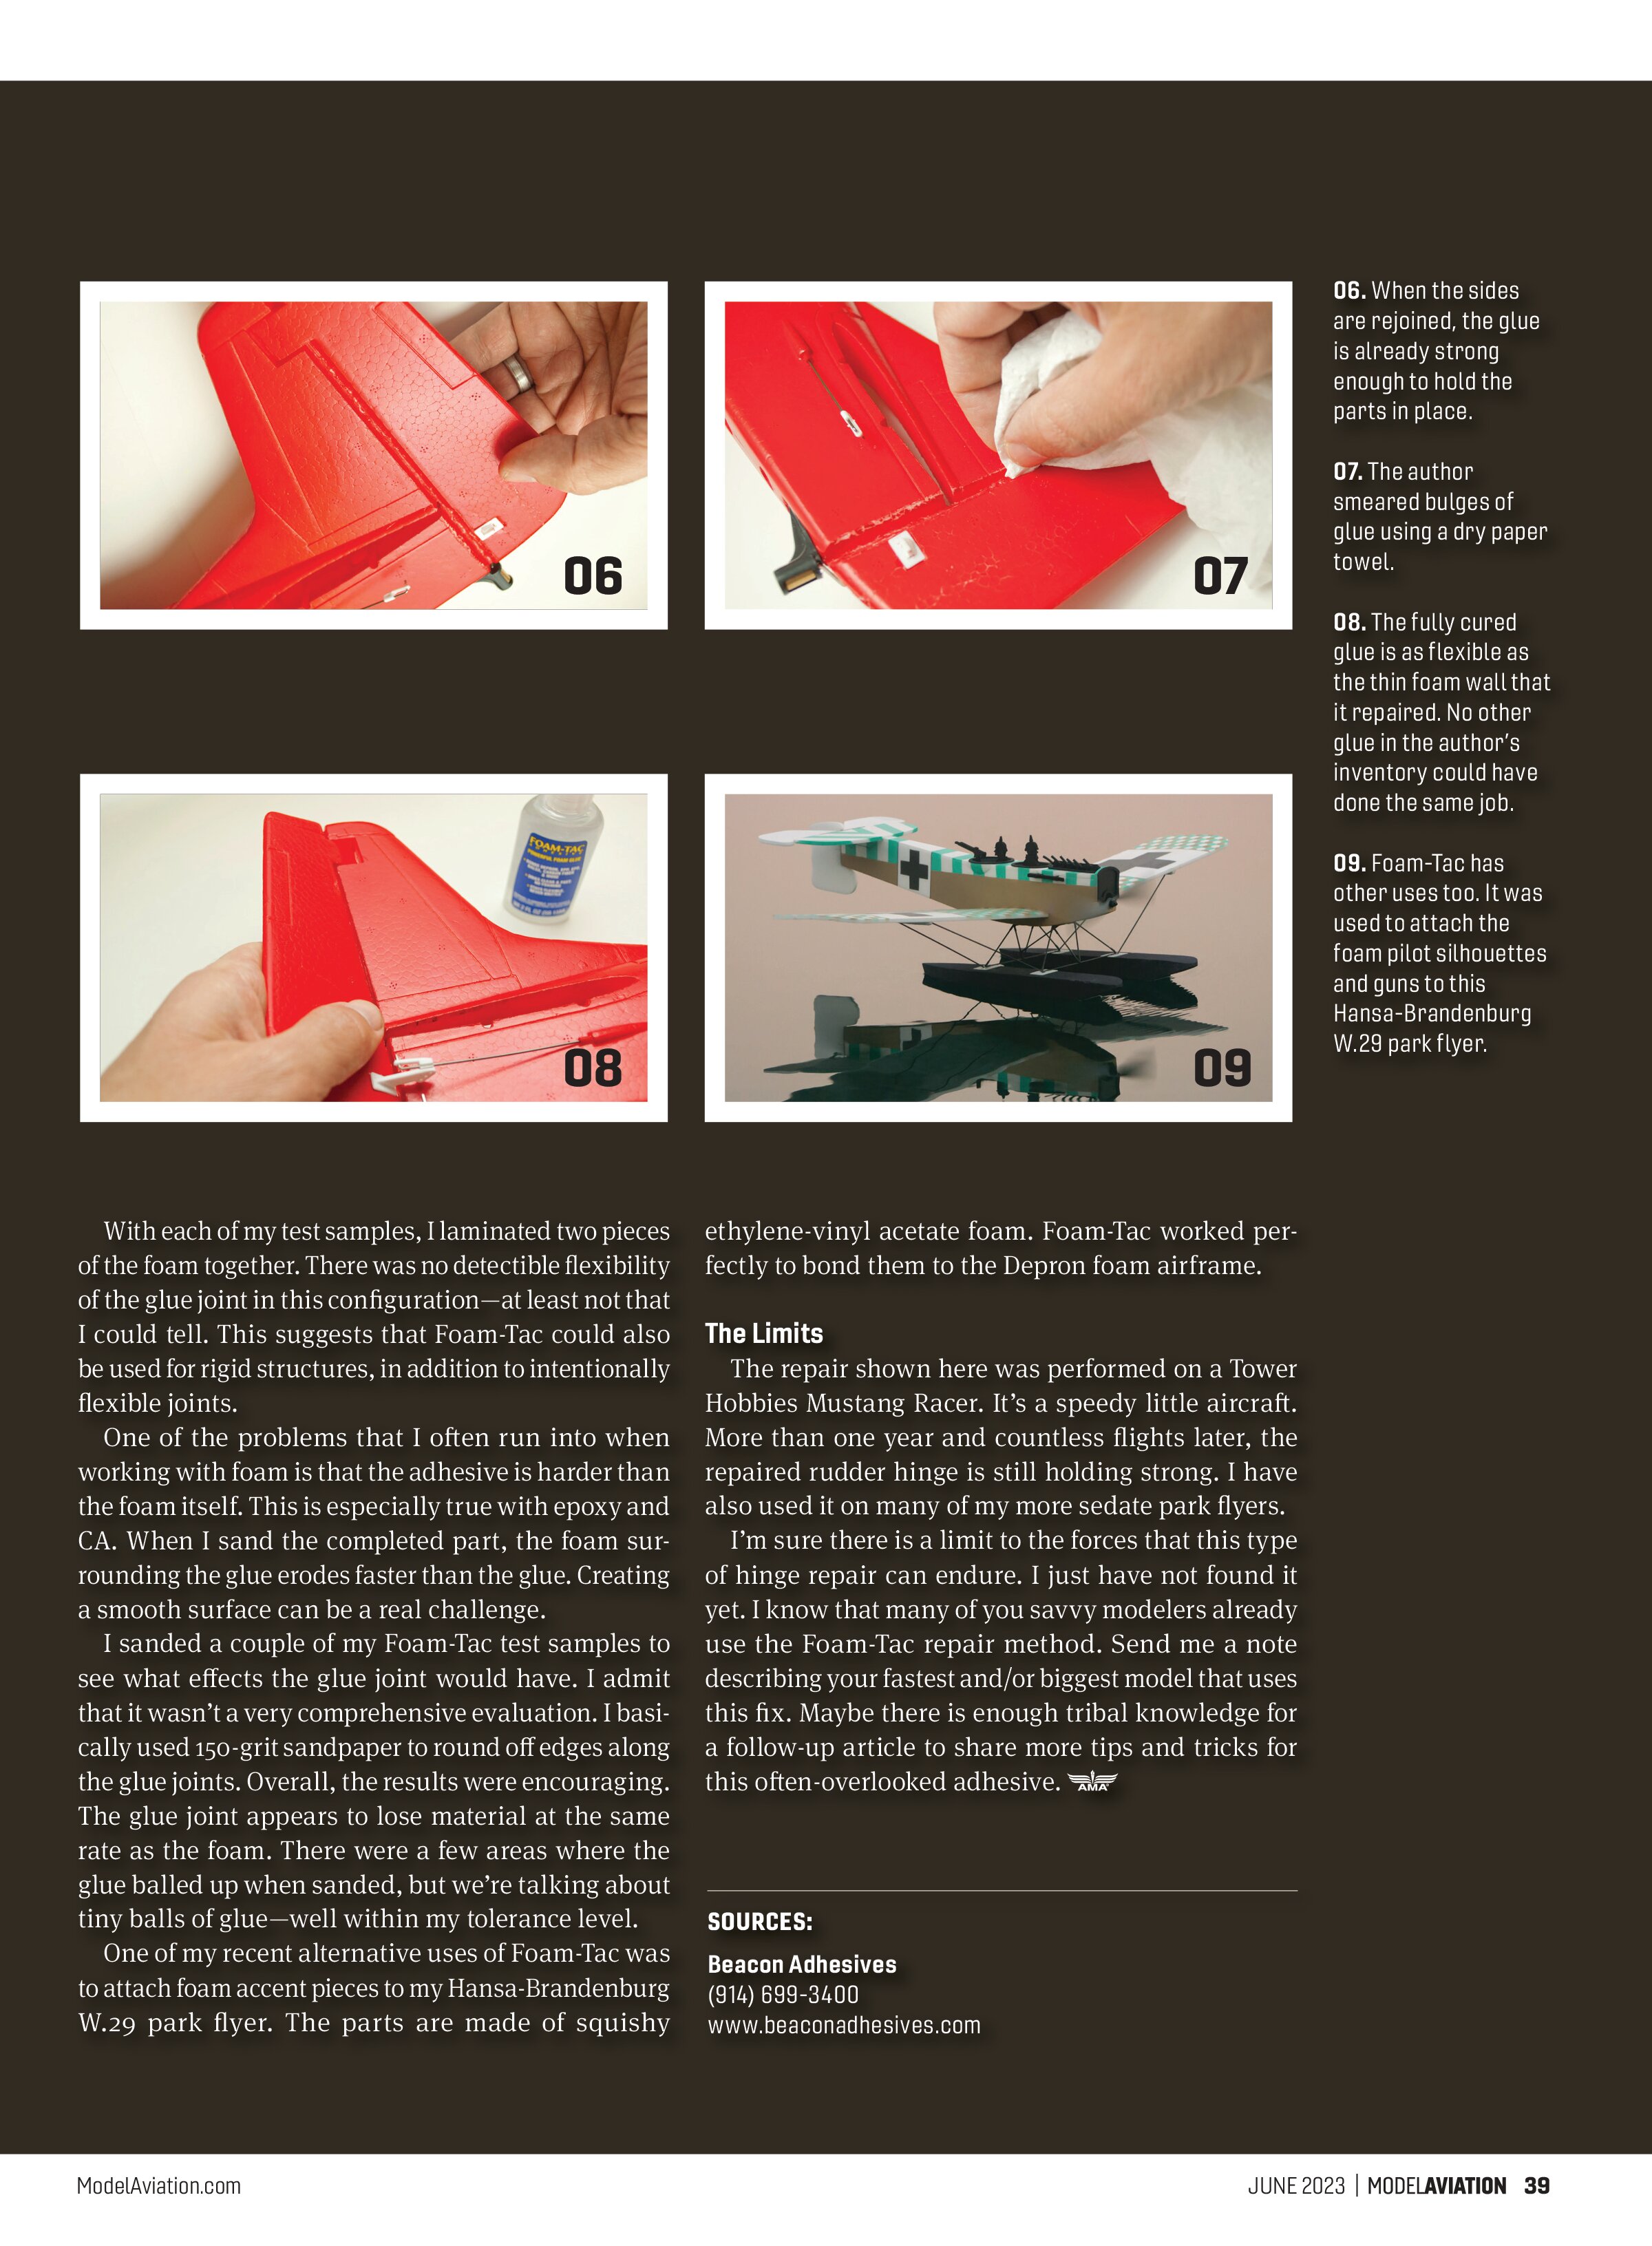
Numerous strings of glue bridged the gap between the two parts. After roughly 5 seconds of separation, I again combined the parts. I could already tell that the glue was getting very sticky, so I quickly smeared any blobs of glue on both sides of the hinge using a dry paper towel. For all intents and purposes, the job was done at this point. Total elapsed time to join the parts was approximately 1 minute.
No sandpaper or touch-up paint was required. It’s not even obvious that the hinge was repaired. I set the parts aside for a couple of hours to let the glue fully cure. The attribute that allows Foam-Tac to work in this application is that it remains flexible when it is cured. Using a hard glue, such as epoxy or CA, would have resulted in a brittle and fragile hinge.
When I examined the Foam-Tac-repaired rudder hinge, it did not seem to have any higher resistance to movement than other live hinges on the same model. At the same time, the rudder is solidly attached. I would have assumed that those two goals were mutually exclusive. This experience has shown me otherwise.
Other Uses
Following my initial positive use of Foam-Tac, I experimented with other applications. My primary goal was to determine whether the glue’s solvent was incompatible with any of my usual types of foam. I glued together pieces of extruded polystyrene (XPS) in varying densities. I also tried expanded polystyrene (EPS) and other foam scraps of which I don’t even know the genesis. There were no instances of the Foam-Tac dissolving any of these materials.


With each of my test samples, I laminated two pieces of the foam together. There was no detectable flexibility of the glue joint in this configuration—at least not that I could tell. This suggests that Foam-Tac could also be used for rigid structures, in addition to intentionally flexible joints.
One of the problems that I often run into when working with foam is that the adhesive is harder than the foam itself. This is especially true with epoxy and CA. When I sand the completed part, the foam surrounding the glue erodes faster than the glue. Creating a smooth surface can be a real challenge.
I sanded a couple of my Foam-Tac test samples to see what effects the glue joint would have. I admit that it wasn’t a very comprehensive evaluation. I basically used 150-grit sandpaper to round off edges along the glue joints. Overall, the results were encouraging. The glue joint appears to lose material at the same rate as the foam. There were a few areas where the glue balled up when sanded, but we’re talking about tiny balls of glue—well within my tolerance level.
One of my recent alternative uses of Foam-Tac was to attach foam accent pieces to my Hansa-Brandenburg W.29 park flyer. The parts are made of squishy ethylene-vinyl acetate foam. Foam-Tac worked perfectly to bond them to the Depron foam airframe.
The Limits
The repair shown here was performed on a Tower Hobbies Mustang Racer. It’s a speedy little aircraft. More than one year and countless flights later, the repaired rudder hinge is still holding strong. I have also used it on many of my more sedate park flyers.
I’m sure there is a limit to the forces that this type of hinge repair can endure. I just have not found it yet. I know that many of you savvy modelers already use the Foam-Tac repair method. Send me a note describing your fastest and/or biggest model that uses this fix. Maybe there is enough tribal knowledge for a follow-up article to share more tips and tricks for this often-overlooked adhesive.
SOURCES:
Beacon Adhesives
(914) 699-3400
www.beaconadhesives.com