RC AEROBATICS
THROTTLE SETUP AND BEST PRACTICES
By Justin Wells | justinwells@mac.com
MANY OF YOU have asked me to write about the best practices for using the throttle. When stepping you through maneuvers in my previous columns, I have always mentioned the throttle inputs that are key to the success of the maneuver. I don’t claim to be an expert on the topic because the theory is much easier to discuss than actually do. Let’s start with the basics and learn something together!
The Basics and Why They Matter
Most of us know two speeds: fast and landing. There are people who joke that throttle is an on-and-off switch for most pilots. As I’ve gotten older, I tend to fly slower instead of faster. My working theory is that it gives my brain time to react. This can be problematic for me because I need to keep the airplane moving in a pattern and I default to going too slow at times.
When flying precision maneuvers, you must use the throttle as you would the aileron, elevator, or rudder—in a linear fashion and not always full speed ahead. It’s a part of keeping the airplane moving and not slowing down.
But why, you ask? A friend of mine uses the phrase, “Coasting is bad!” When we coast, we break the lines we worked so hard to establish when the airplane starts to sink or gets picked up by the wind and blown off track. Coasting also has ill effects on your radii. The idea here is to keep the propeller spinning and the speed of the aircraft constant to manipulate the maneuvers.
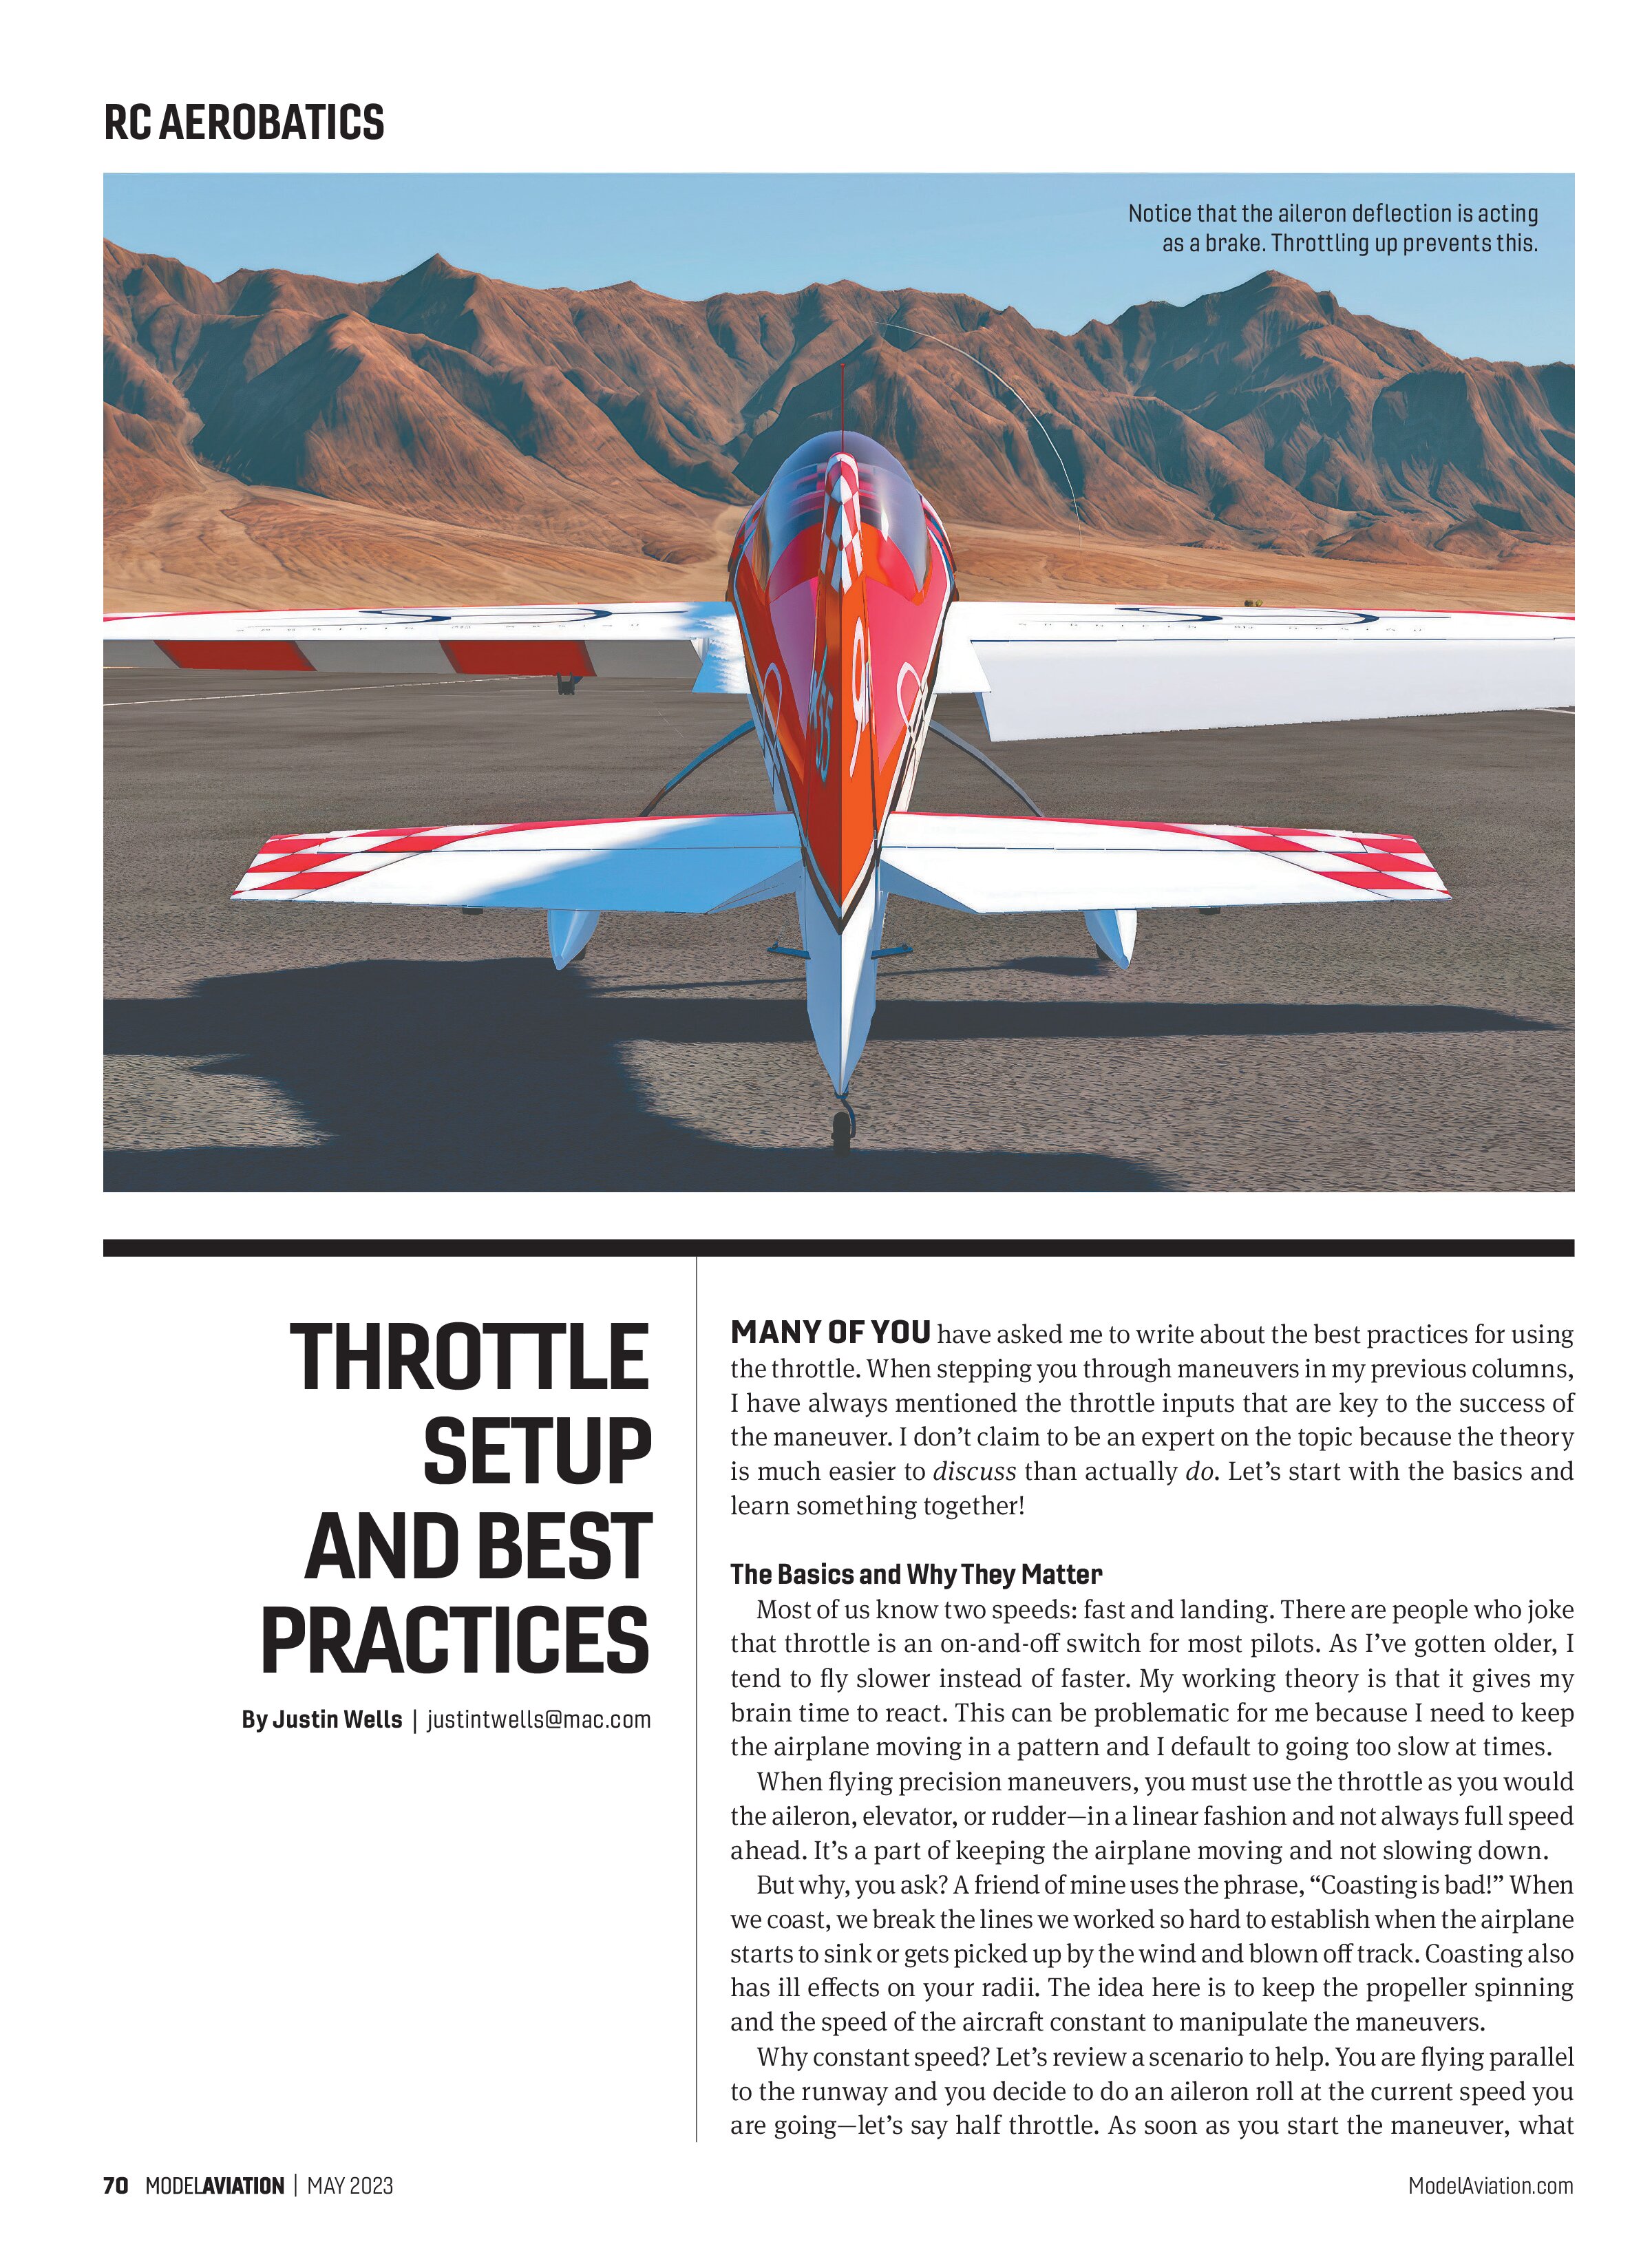
Why constant speed? Let’s review a scenario to help. You are flying parallel to the runway and you decide to do an aileron roll at the current speed you are going—let’s say half throttle. As soon as you start the maneuver, what happens? The airplane slows down because you are deflecting your control surfaces and creating drag. In this case, you want to add throttle before you start your roll then reduce the throttle back to your flying speed afterward. This is the idea of constant speed. It’s like adding flaps. Surface deflection slows the airplane down. The idea is not to fly slowly, but to fly with a constant speed.
If you are flying at full throttle, this scenario is not an issue, but you really shouldn’t be at full throttle for precision aerobatics. You want your flight to look intentional, and this starts with your pace and cruising speed.
Cruising Speed
It’s a good idea to take some time and establish the cruising speed for your aircraft of choice. The modern electric-powered and glow-powered aerobatic airplanes have more power than we really know what to do with, but it’s required for the number of verticals and odd maneuvers that we do. The discipline is to harness the power when you need it most and to be efficient when it’s not required.
The idea behind cruising speed is to find the speed at which the airplane flies well, is confident, and is in good trim. This is your baseline speed. It might change depending on wind conditions, but overall, you need to identify where your airplane is the best in straight-and-level flight.

I have made several passes with a new airplane back and forth and parallel to the runway, trying to determine where its best cruising speed is. I might settle on something then decide to change it later. This is something I do throughout multiple sessions—not just one outing. It takes time, and try not to overthink it as I sometimes do. After you determine the best cruising speed for your airplane, you’ll want to make some adjustments to your throttle position.
Throttle-Stick Position
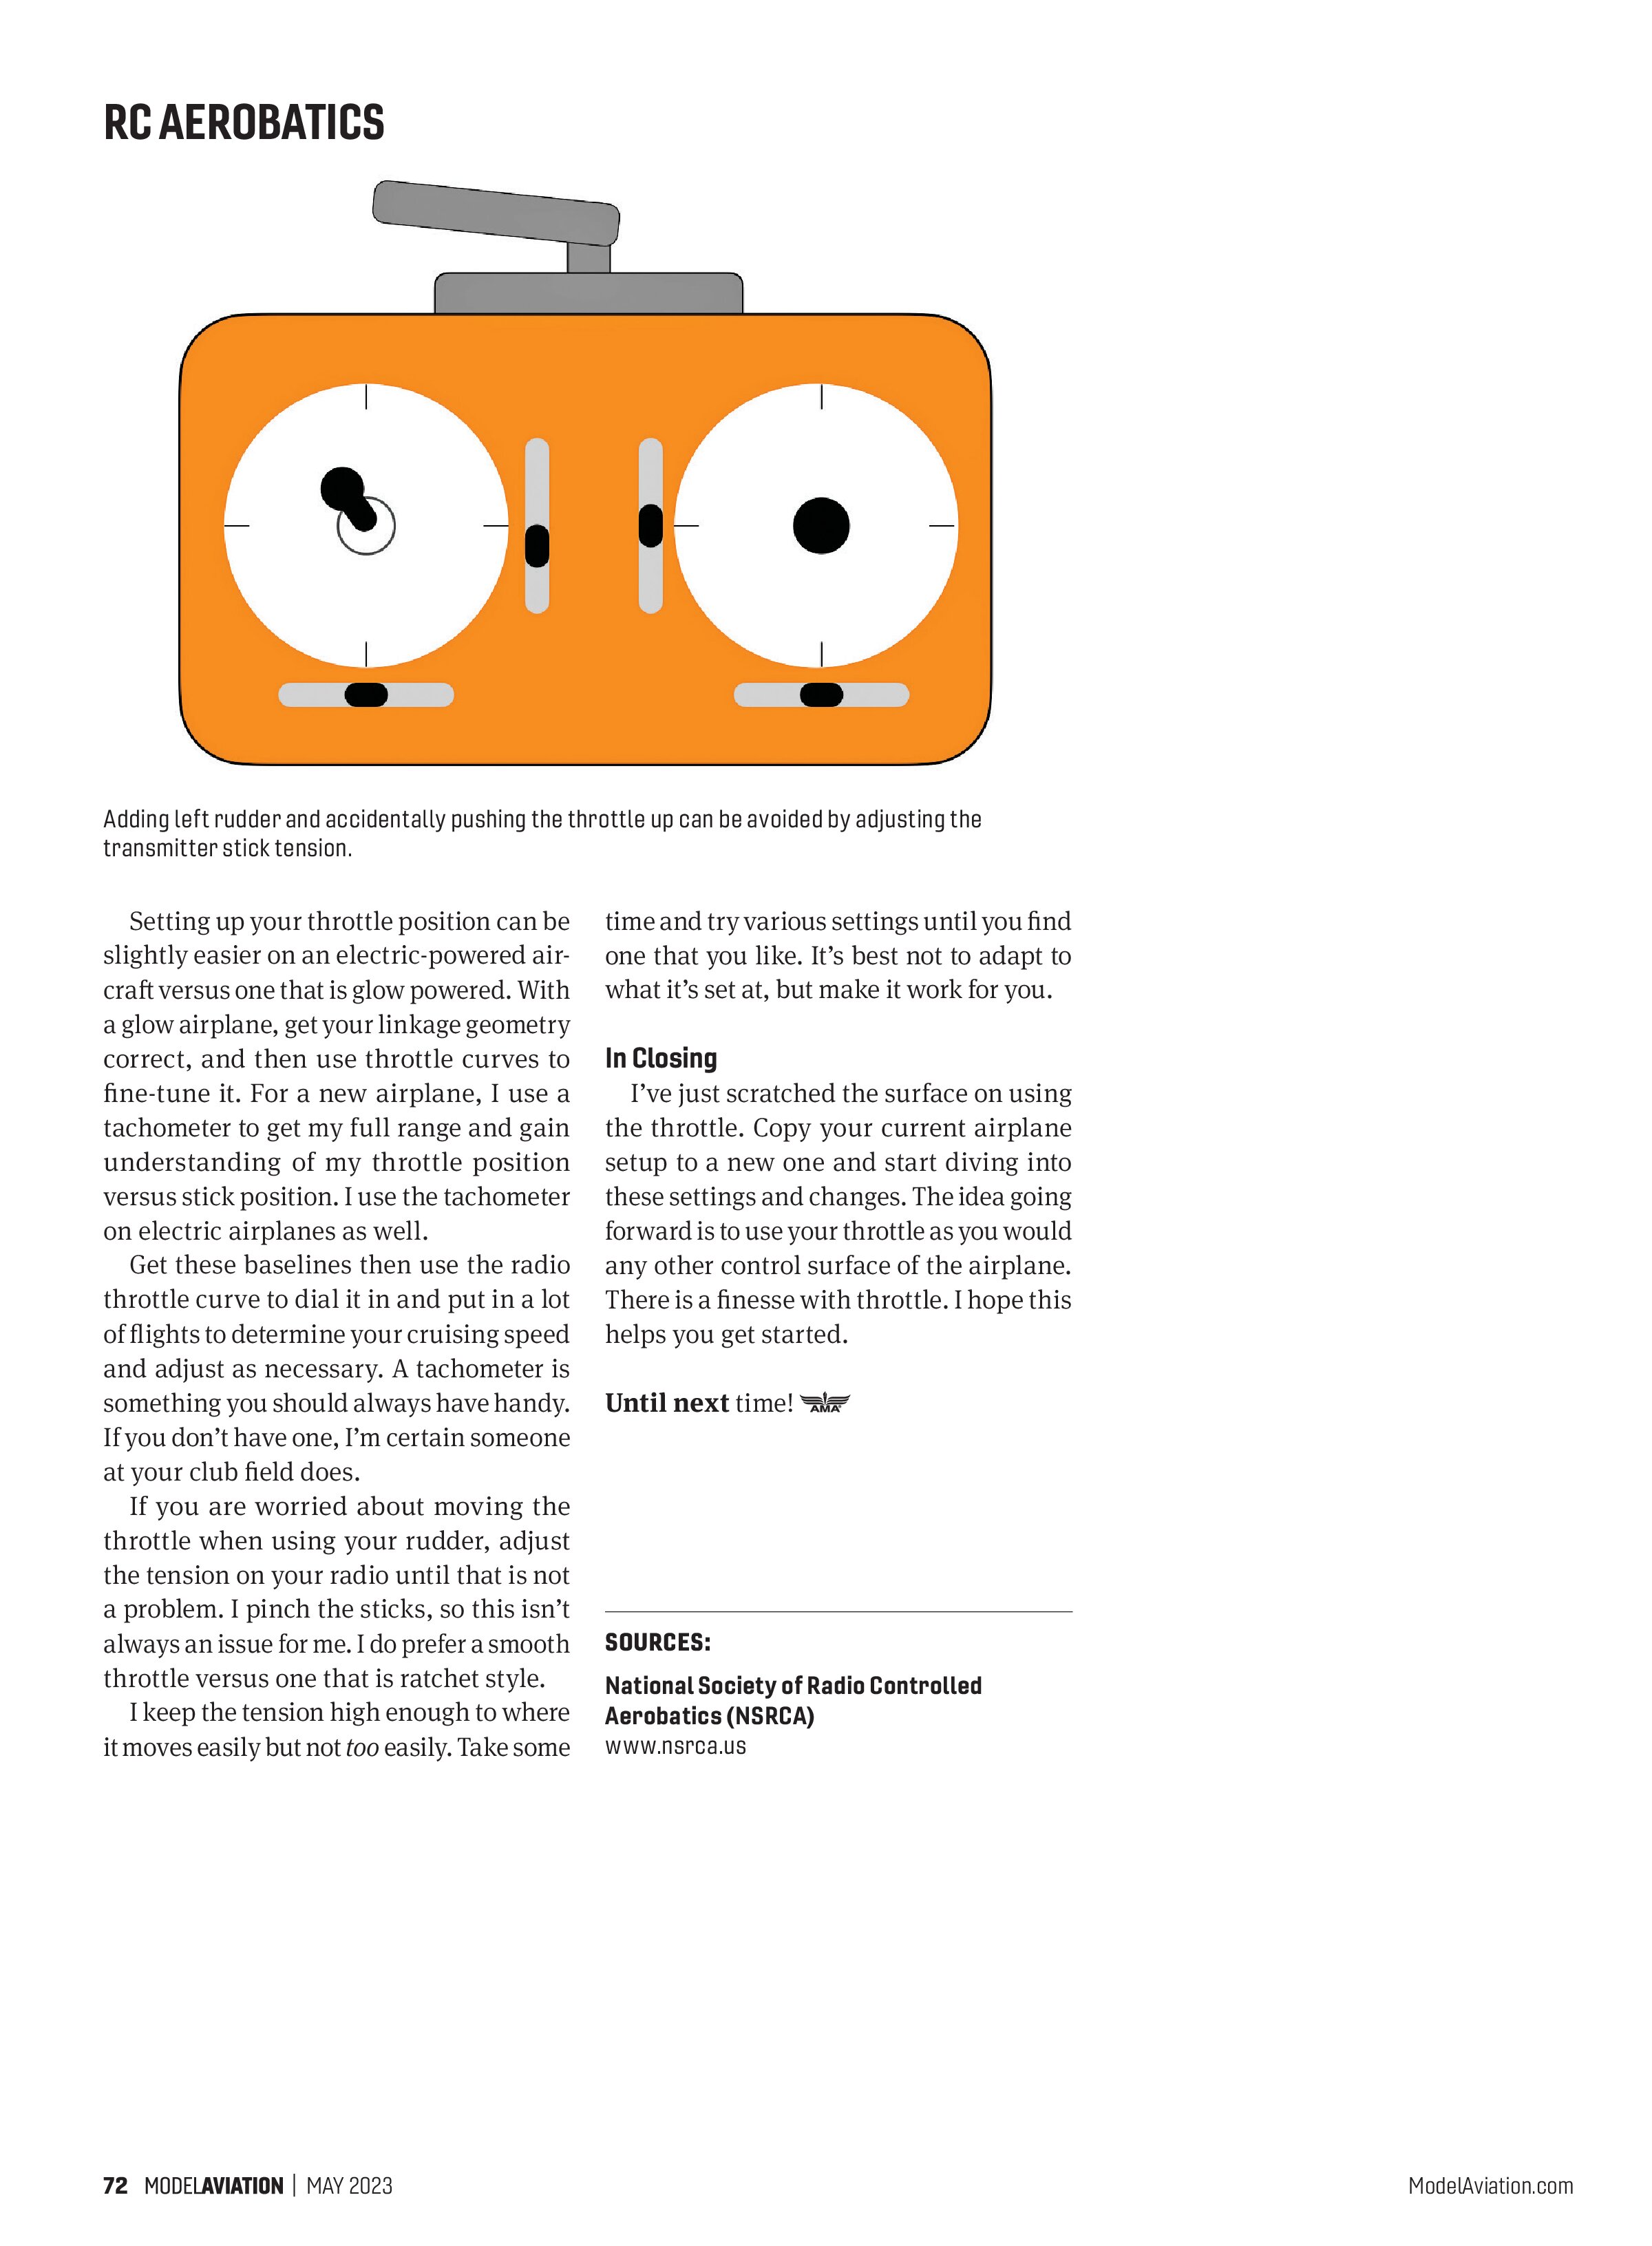
After you determine your cruising speed, you want to get your throttle position tuned to where it’s your mid-throttle stick position. This helps you know where your ideal cruising speed is without having to hunt for it. Keep in mind that, on a windy day, you might find yourself flying above mid-stick because that is what is required to keep the airplane moving based on the conditions. You’ll always know your baseline is mid-stick regardless—it’s your starting point. I try to keep my throttle as linear as possible, but I prefer it to ramp up fairly quickly above half-stick.


Setting up your throttle position can be slightly easier on an electric-powered aircraft versus one that is glow powered. With a glow airplane, get your linkage geometry correct, and then use throttle curves to fine-tune it. For a new airplane, I use a tachometer to get my full range and gain understanding of my throttle position versus stick position. I use the tachometer on electric airplanes as well.
Get these baselines then use the radio throttle curve to dial it in and put in a lot of flights to determine your cruising speed and adjust as necessary. A tachometer is something you should always have handy. If you don’t have one, I’m certain someone at your club field does.
If you are worried about moving the throttle when using your rudder, adjust the tension on your radio until that is not a problem. I pinch the sticks, so this isn’t always an issue for me. I do prefer a smooth throttle versus one that is ratchet style.
I keep the tension high enough to where it moves easily but not too easily. Take some time and try various settings until you find one that you like. It’s best not to adapt to what it’s set at, but make it work for you.
In Closing
I’ve just scratched the surface on using the throttle. Copy your current airplane setup to a new one and start diving into these settings and changes. The idea going forward is to use your throttle as you would any other control surface of the airplane. There is a finesse with throttle. I hope this helps you get started.
Until next time!
SOURCES:
National Society of Radio Controlled Aerobatics (NSRCA)
www.nsrca.us