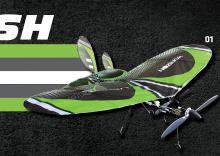
Vapor Bash Part II
More fun bashing a proven indoor favorite
By Tim Bailiff
casurfish@aol.com
Photos courtesy of Maggie Madril
In the first “Vapor Bash” article that appeared in the February 2023 issue of Model Aviation, I explored four interesting Vapor modifications. My hope now is, by sharing four additional projects, you will be further inspired to build something unique and fun.
As you read this article and view the photos, some of the airplanes might seem familiar. That’s because several have appeared previously as construction articles in Model Aviation and Park Pilot. All are fun and interesting builds, so once again, I invite you to join me in “bashing” a terrific little indoor flyer. Okay, let’s do this!
The Enduring Vapor
There’s no question that the various E-flite Vapors are great fun to fly! As with most RC models though, they aren’t designed to crash. They might even be described as fragile. With that being said, most pilots soon realize the Vapor’s limitations and have fun flying them accordingly. However, crashes still occur and, when that happens, Vapors provide some great material with which to work. By simply adding a little imagination, they can rise from the “ashes,” like the mythological Phoenix, and again take to the sky.
Float'n-A-Round
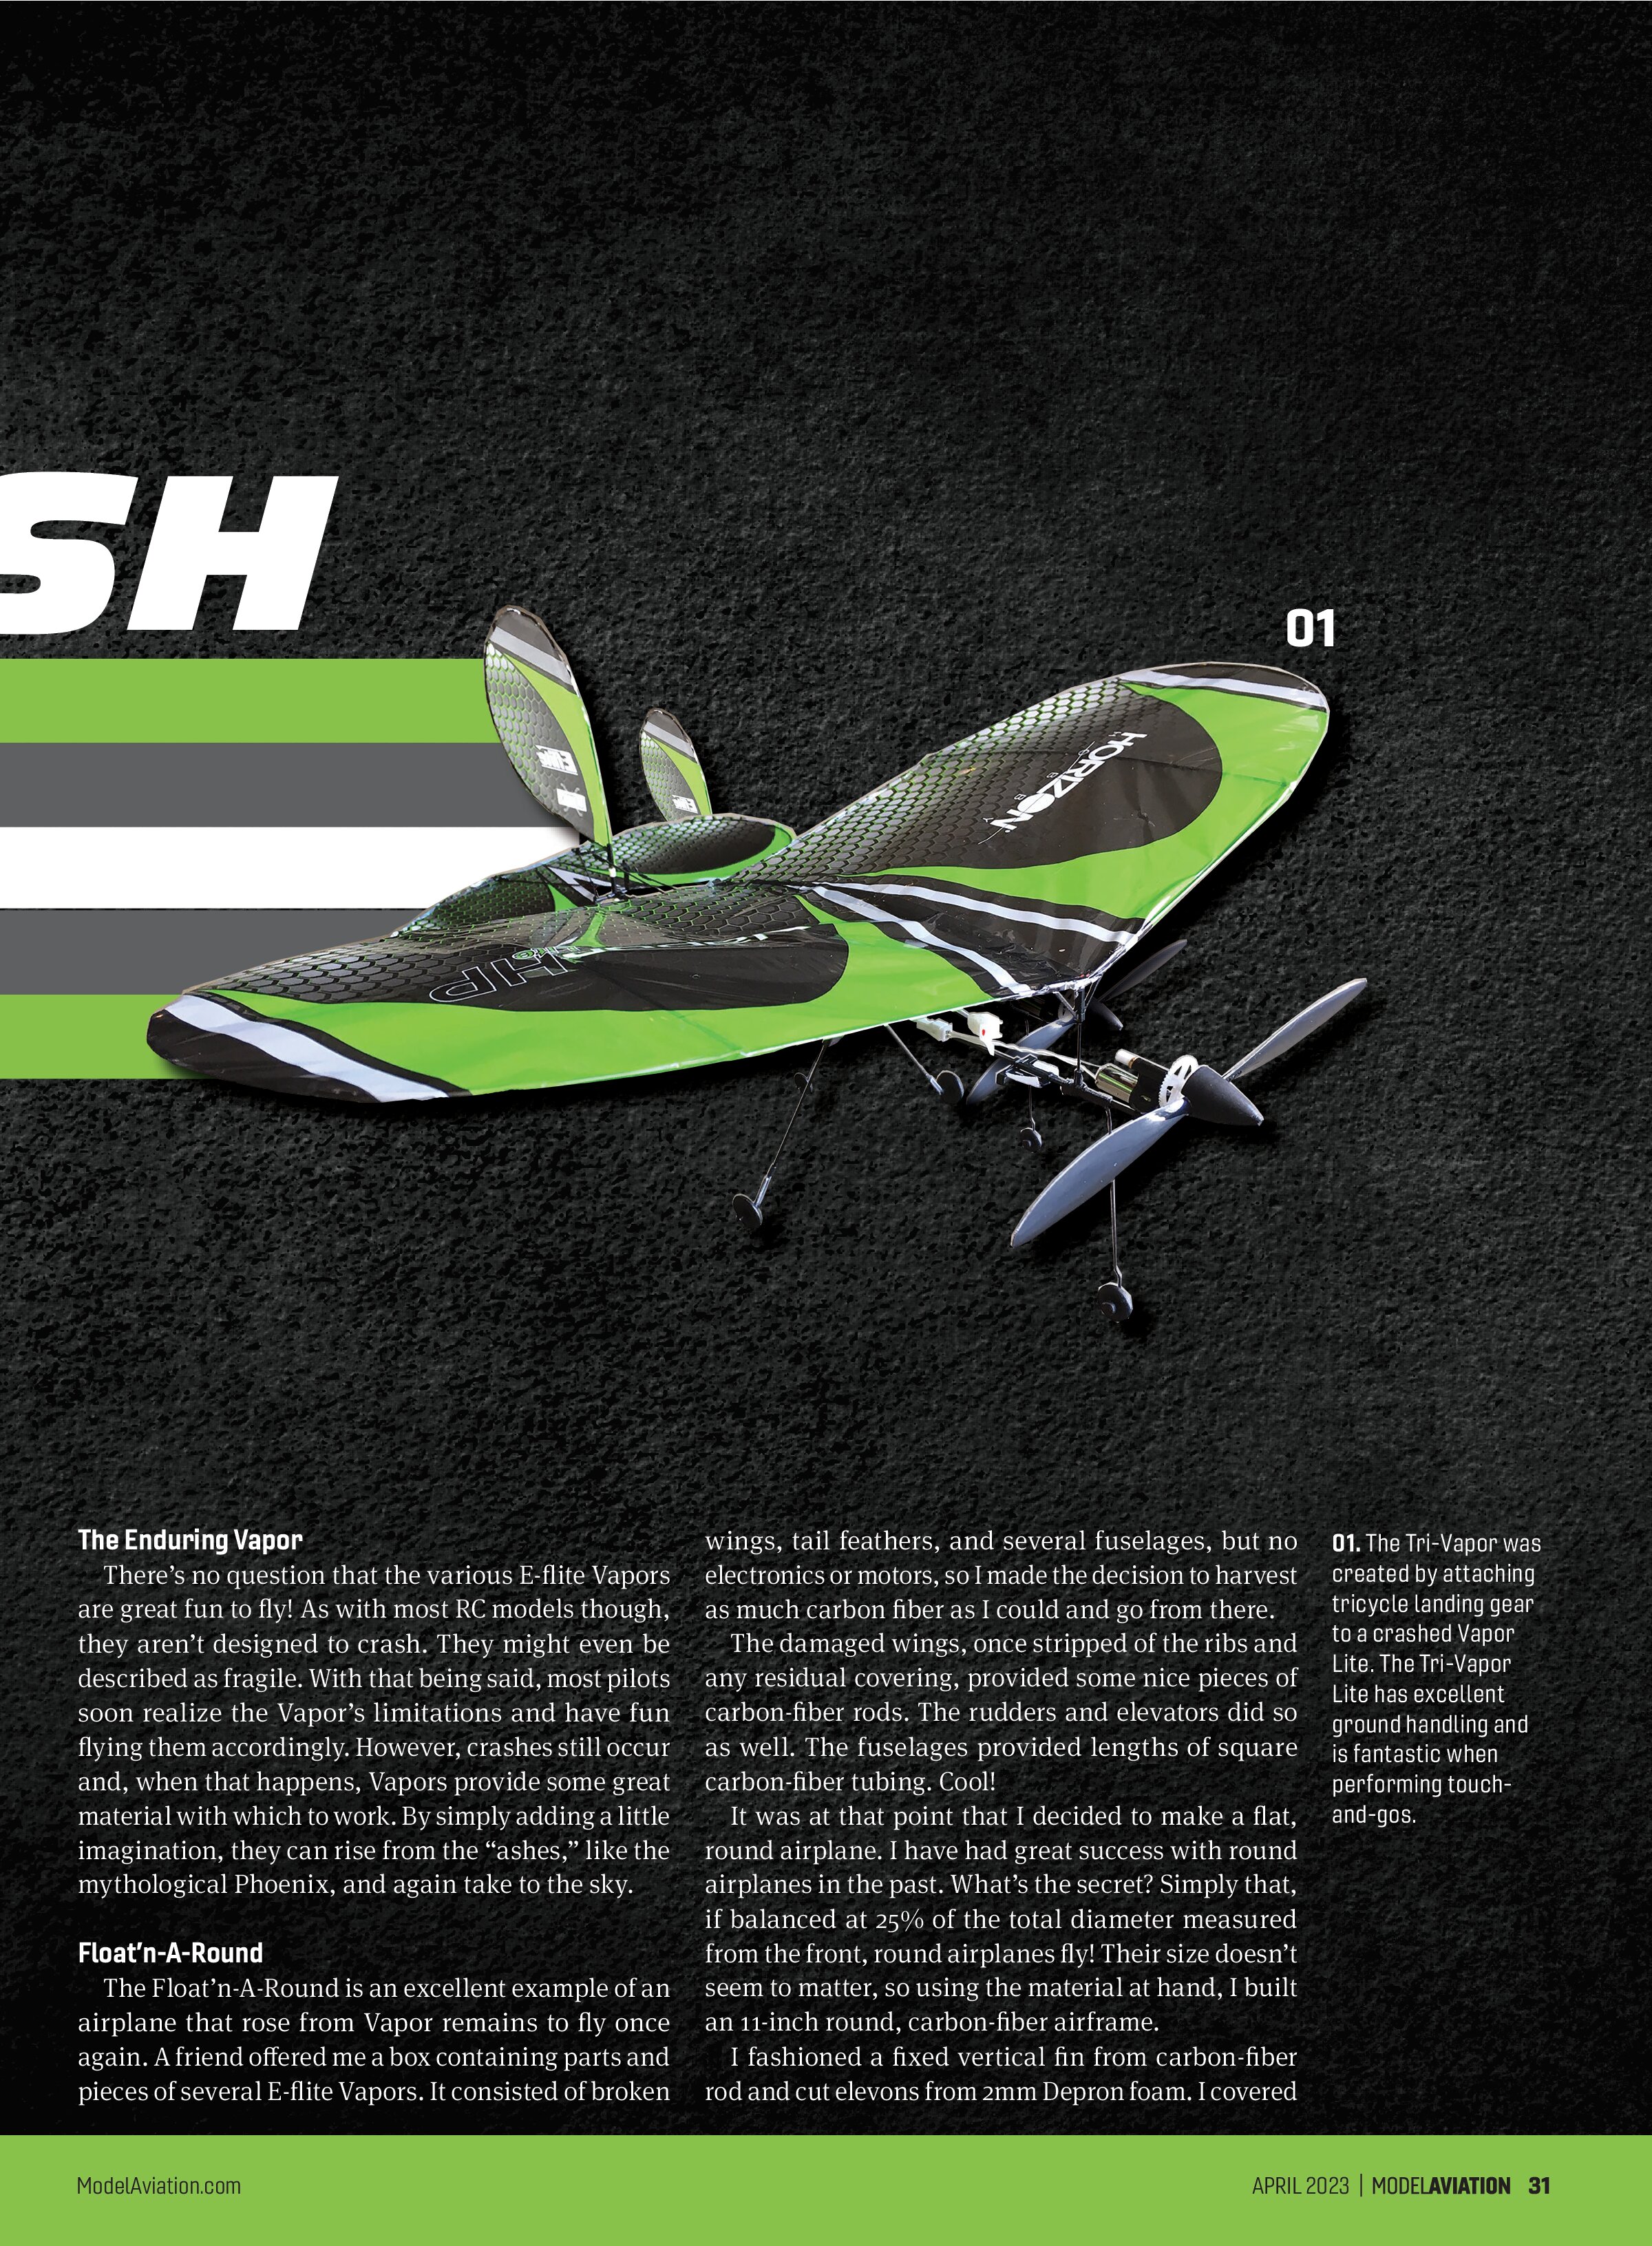
The Float’n-A-Round is an excellent example of an airplane that rose from Vapor remains to fly once again. A friend offered me a box containing parts and pieces of several E-flite Vapors. It consisted of broken wings, tail feathers, and several fuselages, but no electronics or motors, so I made the decision to harvest as much carbon fiber as I could and go from there. The damaged wings, once stripped of the ribs and any residual covering, provided some nice pieces of carbon-fiber rods. The rudders and elevators did so as well. The fuselages provided lengths of square carbon-fiber tubing. Cool!
It was at that point that I decided to make a flat, round airplane. I have had great success with round airplanes in the past. What’s the secret? Simply that, if balanced at 25% of the total diameter measured from the front, round airplanes fly! Their size doesn’t seem to matter, so using the material at hand, I built an 11-inch round, carbon-fiber airframe.
I fashioned a fixed vertical fin from carbon-fiber rod and cut elevons from 2mm Depron foam. I covered

the round wing and vertical fin with produce bag material to keep it lightweight. An on-hand E-flite Vapor Lite provided the receiver unit, as well as the motor assembly. Because I wanted to rise off the ground at takeoff, I added landing gear. When all was said and done, my Float’n-A-Round balanced at 2-3/4 inches from the front.
For the maiden flight, I chose to fly at my RC club’s inside venue. When the time came, I set it down, gradually gave it throttle, and hoped for the best. Well, I wasn’t disappointed. It practically hopped off the ground and flew amazingly well. Very little trim was required because it floated around almost effortlessly. The elevons worked perfectly and the motor provided plenty of power. To this day, my Float’n-A-Round is one of my all-time favorite indoor flyers.

Tri-Vapor
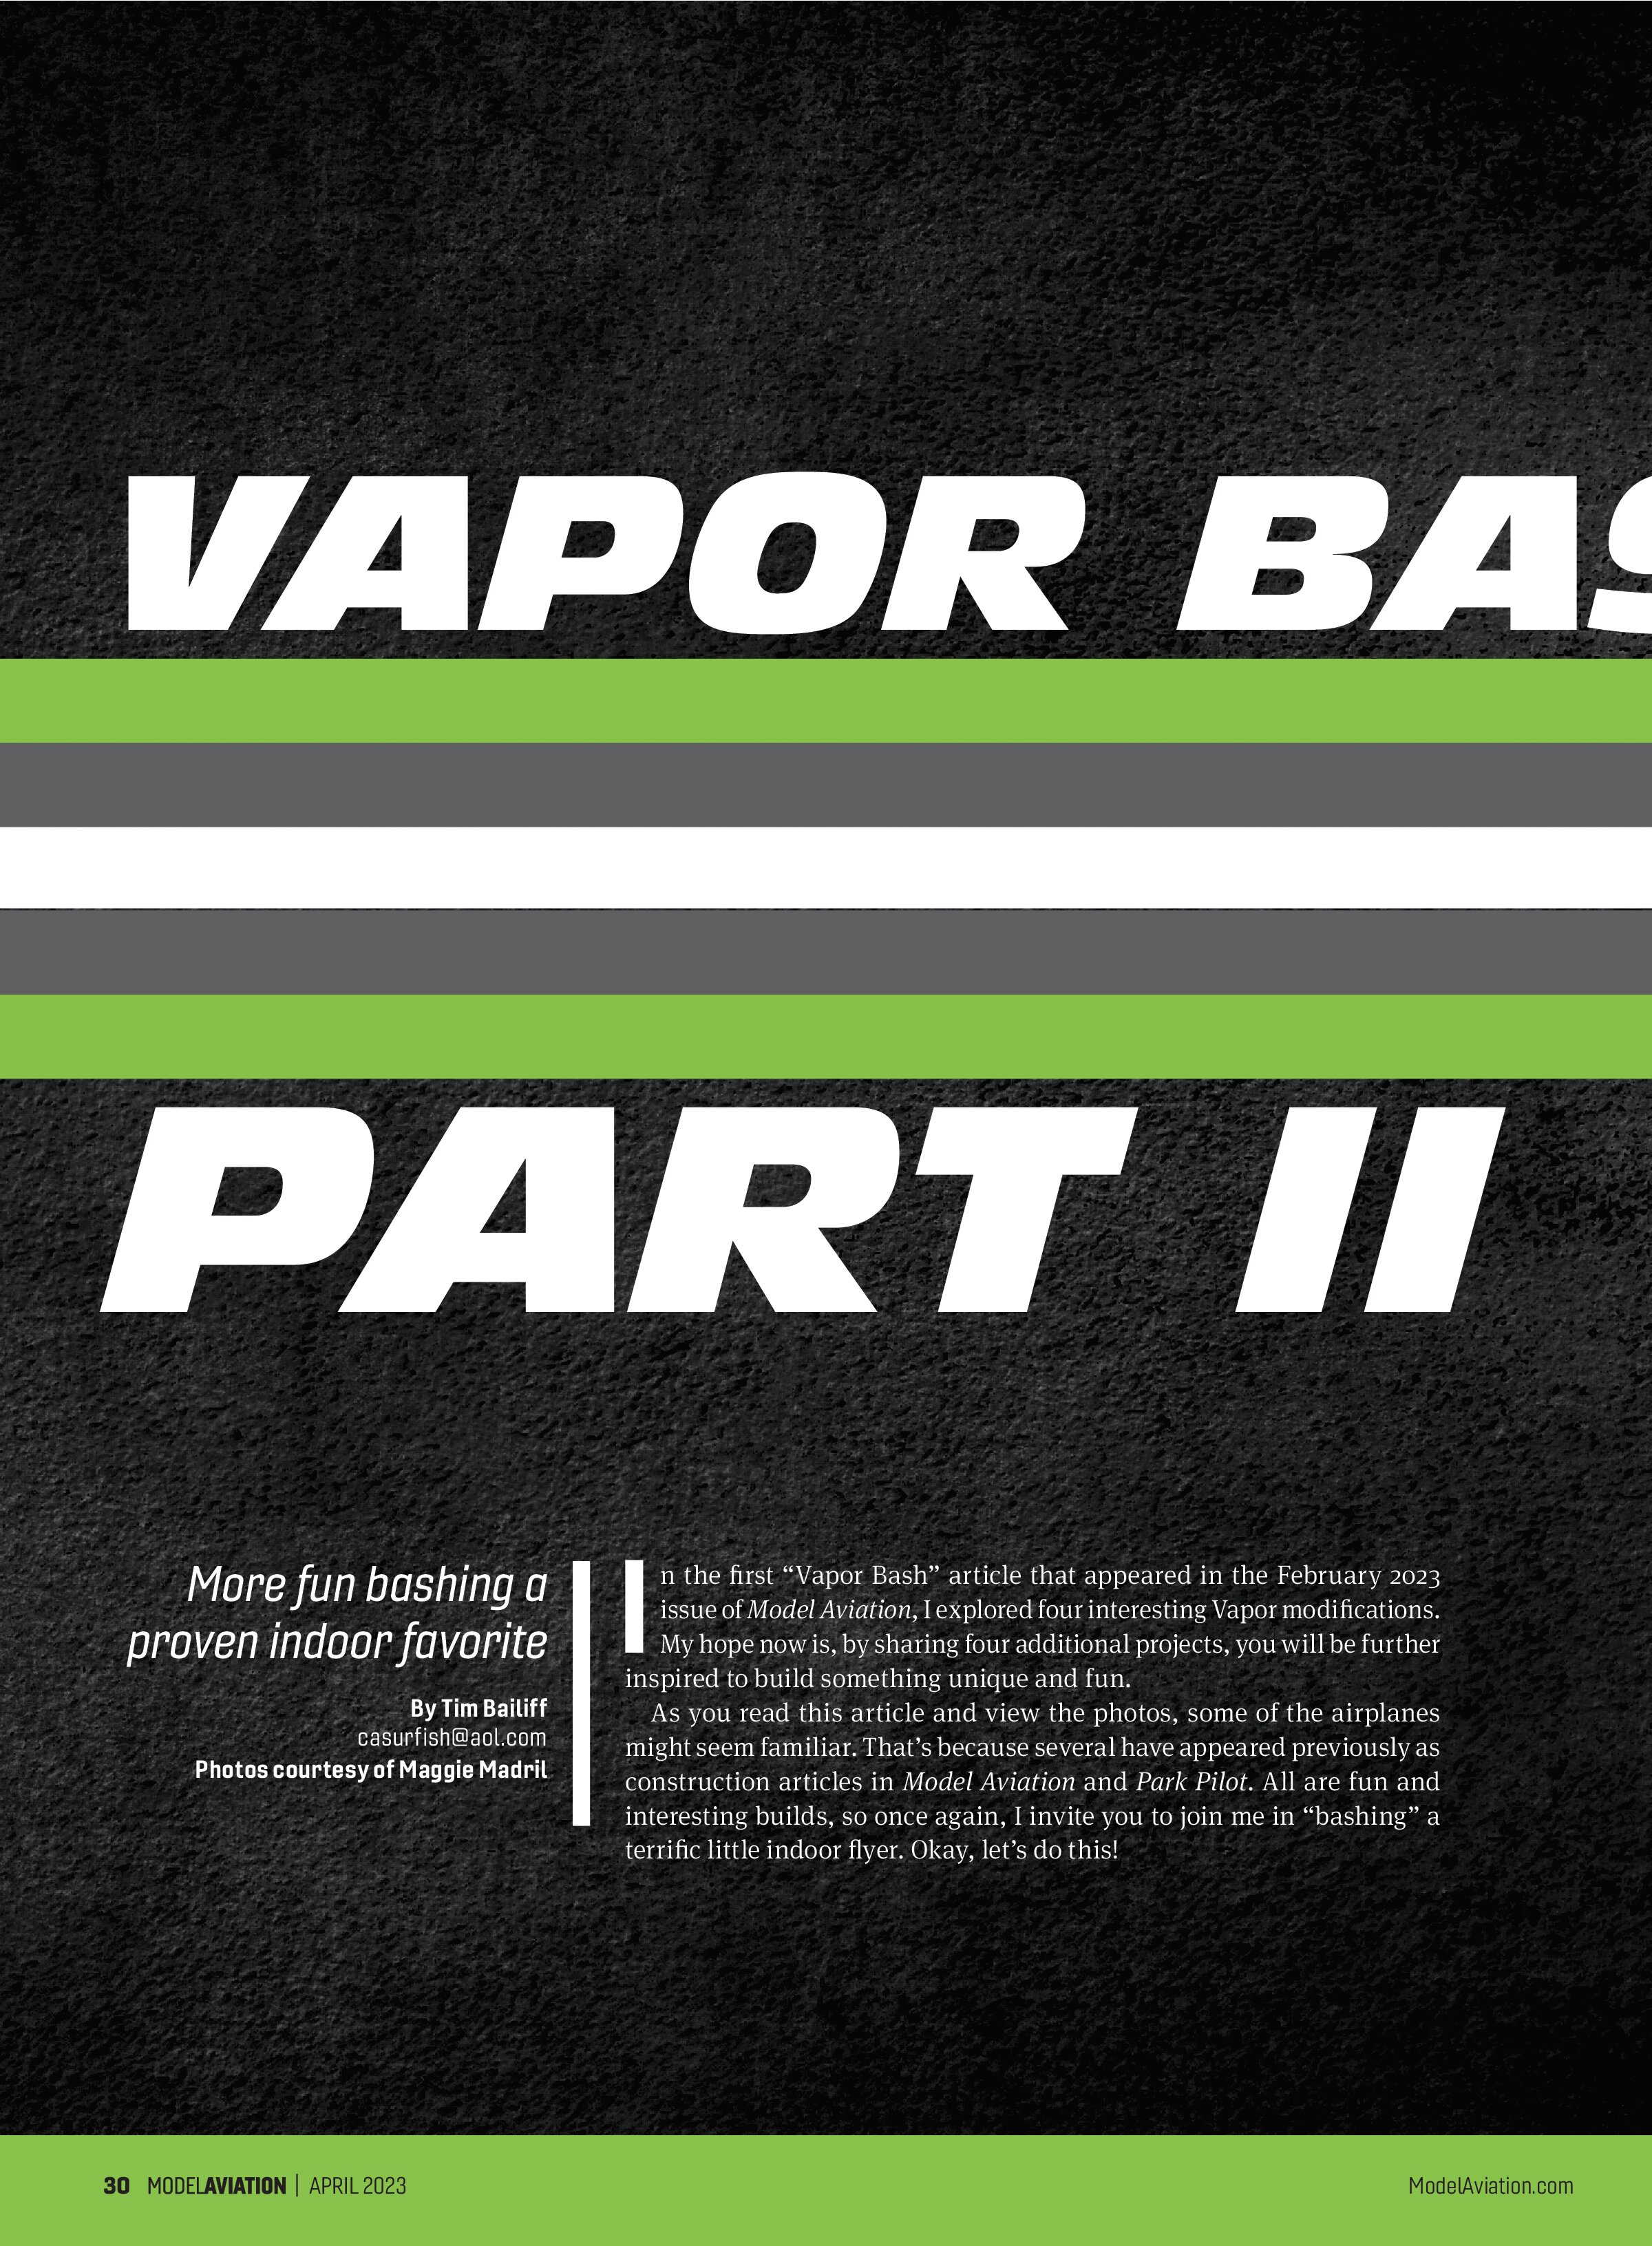
It’s interesting how small changes can make a big difference in the fun factor of an airplane. The Tri-Vapor bash is such an airplane. It began when my Vapor Lite had an unexpected encounter with a curb. Sadly, it snapped off one of its landing gear. Rather than simply repairing it, I decided to try something different.
Tricycle landing gear has long been a pilot favorite. Although a little heavier than conventional landing gear, it offers a number of ground handling advantages.
One huge advantage is that, unlike a tail-dragger, once an airplane with tricycle landing gear touches down, it wants to continue pointing in the direction it’s traveling. The reason for this is that most of the airplane’s weight/mass is ahead of the main gear. This greatly reduces and, in fact, almost eliminates the chance of a ground loop during the landing rollout.
With that being said, main gear placement on an airplane’s fuselage is all-important. Too far forward and it will tip onto its tail and stay there. Too far back and the airplane will have trouble rotating on takeoff. With that in mind, after adding the nose wheel, it didn’t take long to find that perfect position. Achieving the proper center of gravity was then simply a matter of positioning the battery properly. Done.
What a difference it made! I discovered how fun it was to taxi with the nose wheel held off the ground. Even without a steerable nose wheel, talk about nice ground handling! Nose-high approaches during landings were interesting as well. Doing touch-and-gos, while only allowing the main landing gear to contact the ground, were also great fun. Not to mention, a Vapor Lite with tricycle gear just looks cool!

Vapor Rogallo
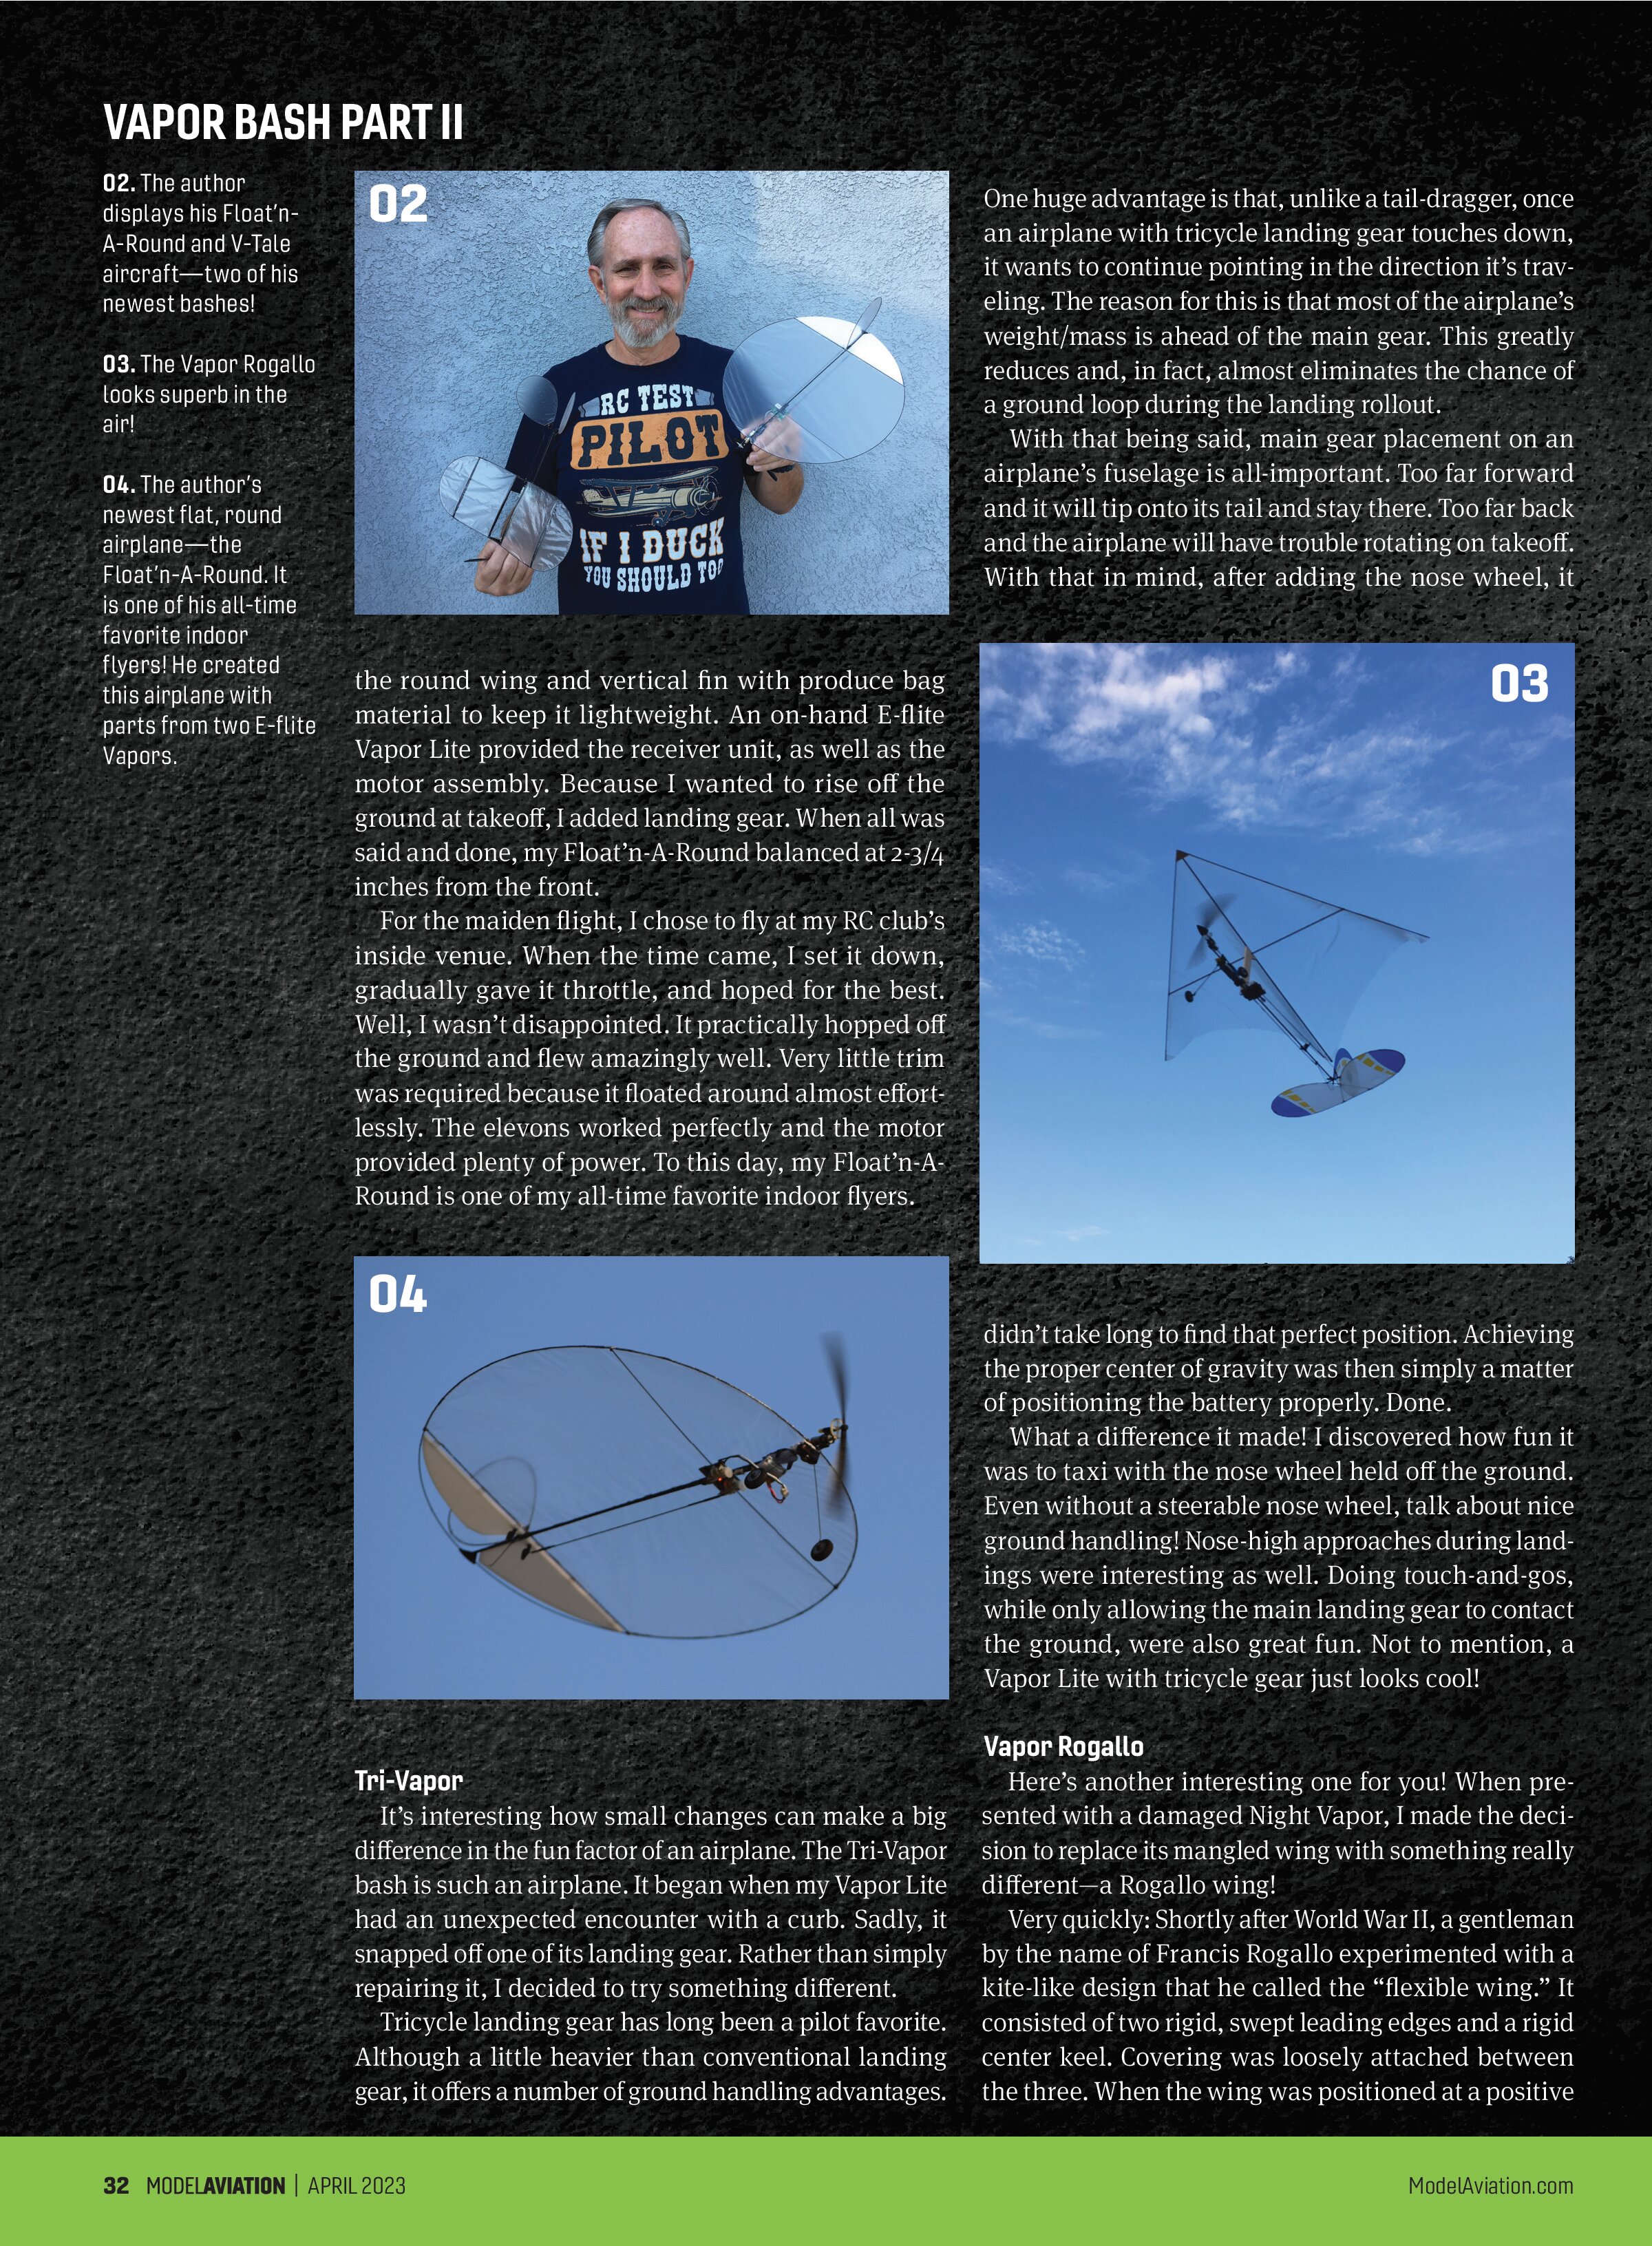
Here’s another interesting one for you! When presented with a damaged Night Vapor, I made the decision to replace its mangled wing with something really different—a Rogallo wing!
Very quickly: Shortly after World War II, a gentleman by the name of Francis Rogallo experimented with a kite-like design that he called the “flexible wing.” It consisted of two rigid, swept leading edges and a rigid center keel. Covering was loosely attached between the three. When the wing was positioned at a positive angle of attack and propelled forward, the covering “inflated” into two semi-conical surfaces. As speed increased, these surfaces produced lift.
It’s a cool design, and NASA actually considered using it in its space program in the 1960s. I figured that if it’s good enough for NASA, why not give it a try? With its ample wing area and simple, lightweight structure, I felt it would lend itself perfectly to the Vapor Rogallo bash.
I used carbon-fiber rods for the basic wing framework and again covered it with produce bag material. I then used a balsa mast to attach it to the Vapor’s fuselage. My only real concern was whether the Vapor motor assembly would provide enough power for it to successfully fly. You see, Rogallo wings produce quite a bit of drag.

My initial test occurred from my own front yard. I aimed the Vapor Rogallo down my driveway and, with fingers crossed, gave it full throttle. To my delight, as it accelerated forward, I saw the wing inflate. With a touch of up-elevator, it lifted easily off the ground. It was no powerhouse, but it climbed nicely and was soon at a comfortable height. As I powered back, it settled into level flight and was extremely stable. In fact, it was downright easy to fly while remaining very responsive.
As time has passed, it has proven to be one of the most docile and relaxing airplanes to fly in my squadron. There have never been any surprises with this one. Its gentle flying characteristics and predictable handling make it an enjoyable indoor airplane as well. The Vapor Rogallo is a proven winner!
V-Tail
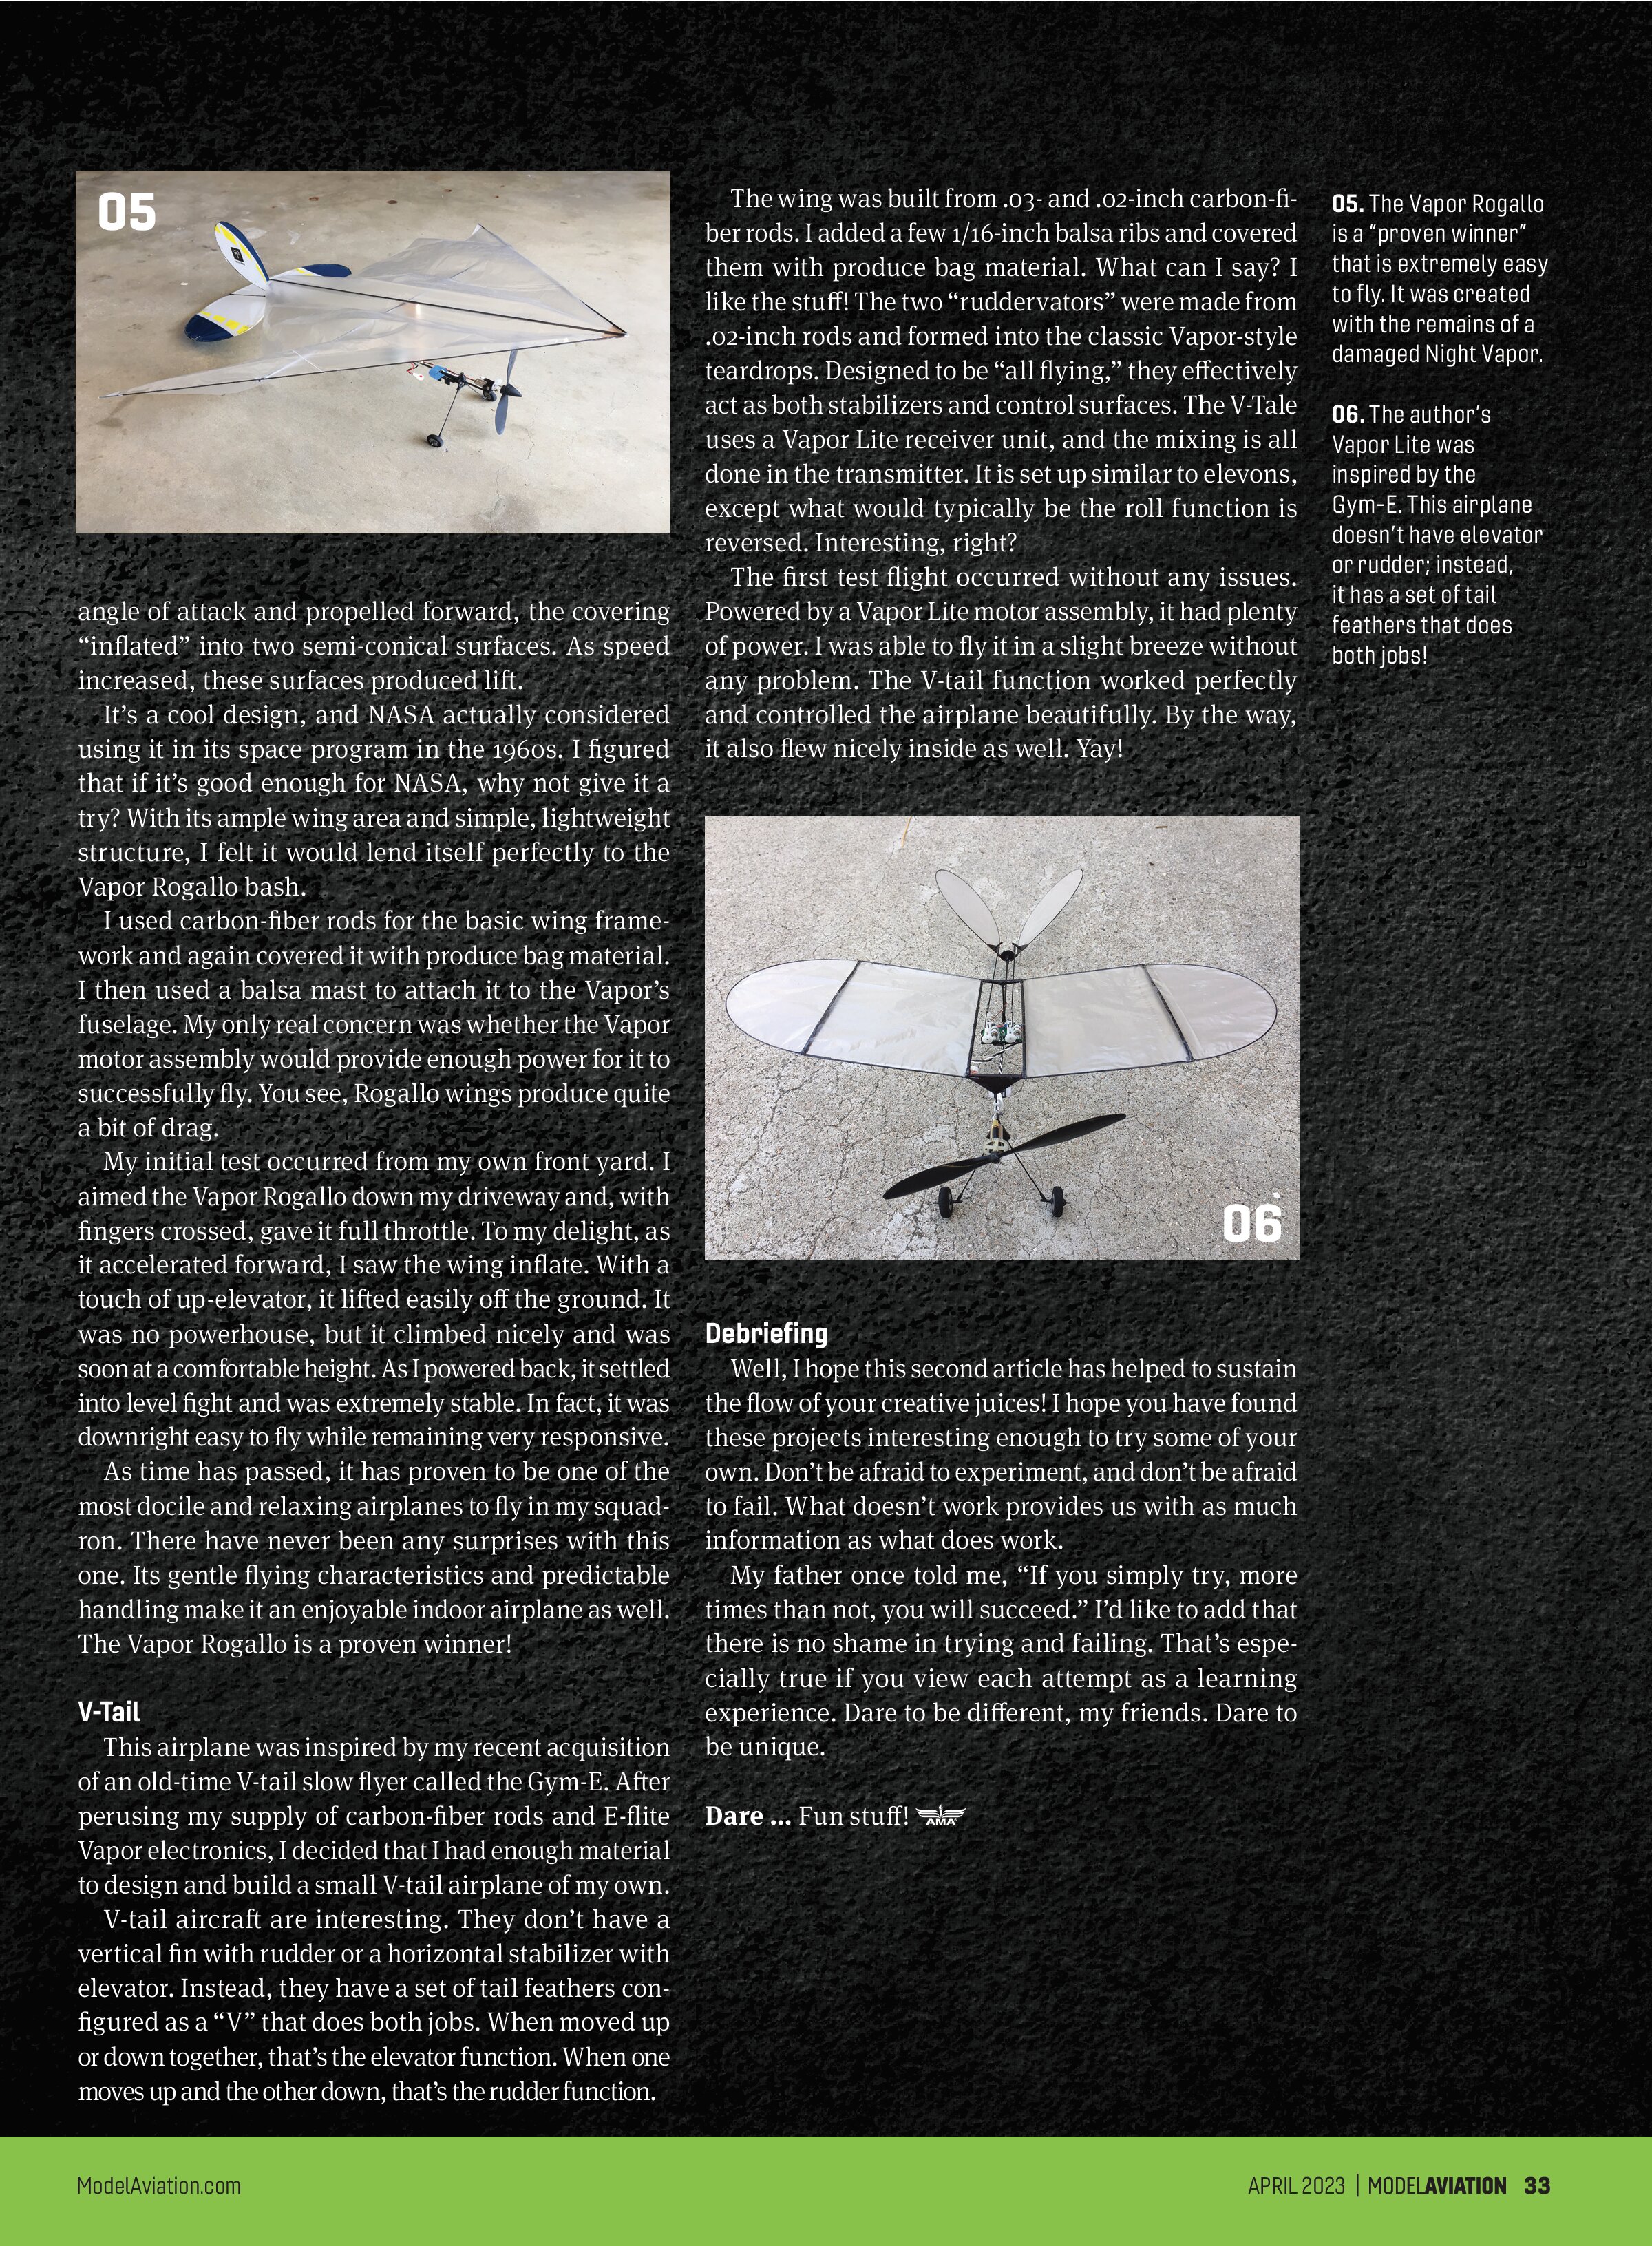
This airplane was inspired by my recent acquisition of an old-time V-tail slow flyer called the Gym-E. After perusing my supply of carbon-fiber rods and E-flite Vapor electronics, I decided that I had enough material to design and build a small V-tail airplane of my own.
V-tail aircraft are interesting. They don’t have a vertical fin with rudder or a horizontal stabilizer with elevator. Instead, they have a set of tail feathers configured as a “V” that does both jobs. When moved up or down together, that’s the elevator function. When one moves up and the other down, that’s the rudder function.

The wing was built from .03- and .02-inch carbon-fiber rods. I added a few 1/16-inch balsa ribs and covered them with produce bag material. What can I say? I like the stuff! The two “ruddervators” were made from .02-inch rods and formed into the classic Vapor-style teardrops. Designed to be “all flying,” they effectively act as both stabilizers and control surfaces. The V-Tale uses a Vapor Lite receiver unit, and the mixing is all done in the transmitter. It is set up similar to elevons, except what would typically be the roll function is reversed. Interesting, right?
The first test flight occurred without any issues. Powered by a Vapor Lite motor assembly, it had plenty of power. I was able to fly it in a slight breeze without any problem. The V-tail function worked perfectly and controlled the airplane beautifully. By the way, it also flew nicely inside as well. Yay!

Debriefing
Well, I hope this second article has helped to sustain the flow of your creative juices! I hope you have found these projects interesting enough to try some of your own. Don’t be afraid to experiment, and don’t be afraid to fail. What doesn’t work provides us with as much information as what does work.
My father once told me, “If you simply try, more times than not, you will succeed.” I’d like to add that there is no shame in trying and failing. That’s especially true if you view each attempt as a learning experience. Dare to be different, my friends. Dare to be unique.