SMALL-FIELD FLYING

SPENDING MORE TIME IN THE WORKSHOP
By Pat Tritle | patscustommodels@gmail.com
I CAN’T BELIEVE how fast this past summer flying season whizzed by. The summer here in the desert Southwest turned out to be the wettest that we’ve seen in a good many years. Wind was the dominant factor early in the days, but we still gathered up at the field quite often, even when we couldn’t actually fly, to swap ideas and show off our latest endeavors. After all, flying model airplanes is only part of the equation. The best part is the camaraderie with like-minded friends.
Because of the less frequent and often shorter flying days, I’ve been spending more time in my shop than usual. With winter knocking on the door, it looks as though it’s going to be a productive next couple of months at the bench. There are a lot of things that still need done, but because my shop has been exceptionally active, the accumulation of clutter was unusually high throughout the past summer. Before I dive into the winter season, I’ll take some time to clean, straighten, and reorganize my shop.
I can handle a little dirt, but there’s nothing worse than having to trip over, crawl around, or hunt for things when, with a couple of hours spent, everything can be put in its place and you know where to find it when you need it. The time spent will return tenfold in time saved, which is not a bad return on the investment.
Returning to the Roots
Because building season is upon us and we’re in the shop anyway, it might be a good time to pull out that old relic that’s been hanging around for more years than you can remember and bring it back to life. Building a model is one thing; restoring one is “a whole other ball game.” Having done a few throughout the years, I can say that it brings a satisfaction that nothing else can provide. Anyone who has been into modeling for a long time no doubt has an old favorite hanging around that could use a bit of TLC.
Restoring is different from building new, and the age and condition of the model will determine how much work will be required to bring it back. Another factor in the degree of repair is whether it’ll be a flying or nonflying restoration.
The first step is to remove the covering to access any internal deterioration or damage that needs attention. If the model was built “way back when,” all of the glue joints will need to be touched up, and if there are broken parts, they will need to be replaced or repaired as well. The big challenge will be fabricating new parts to replace the missing ones, especially if you no longer have the plans. In that case, the parts will need to be fabricated using dimensions from what is there. That part really isn’t as hard as it sounds, but it does require close attention to get it right.
After the internals are repaired, the surface is prepared for the new covering. A good bit of careful sanding comes into play here, with the goal being a fresh, clean surface that’s ready to accept the new covering. If the model is really old, traditional covering, such as silkspan, silk, or tissue, will provide an authentic period-correct surface. Iron-on covering can also be used, but either way, covering the old at this

point is just like that of new construction. When it’s finished, you’ll be rewarded with a model that takes you back to your roots and inspiration that will go a long way in motivating your future endeavors.
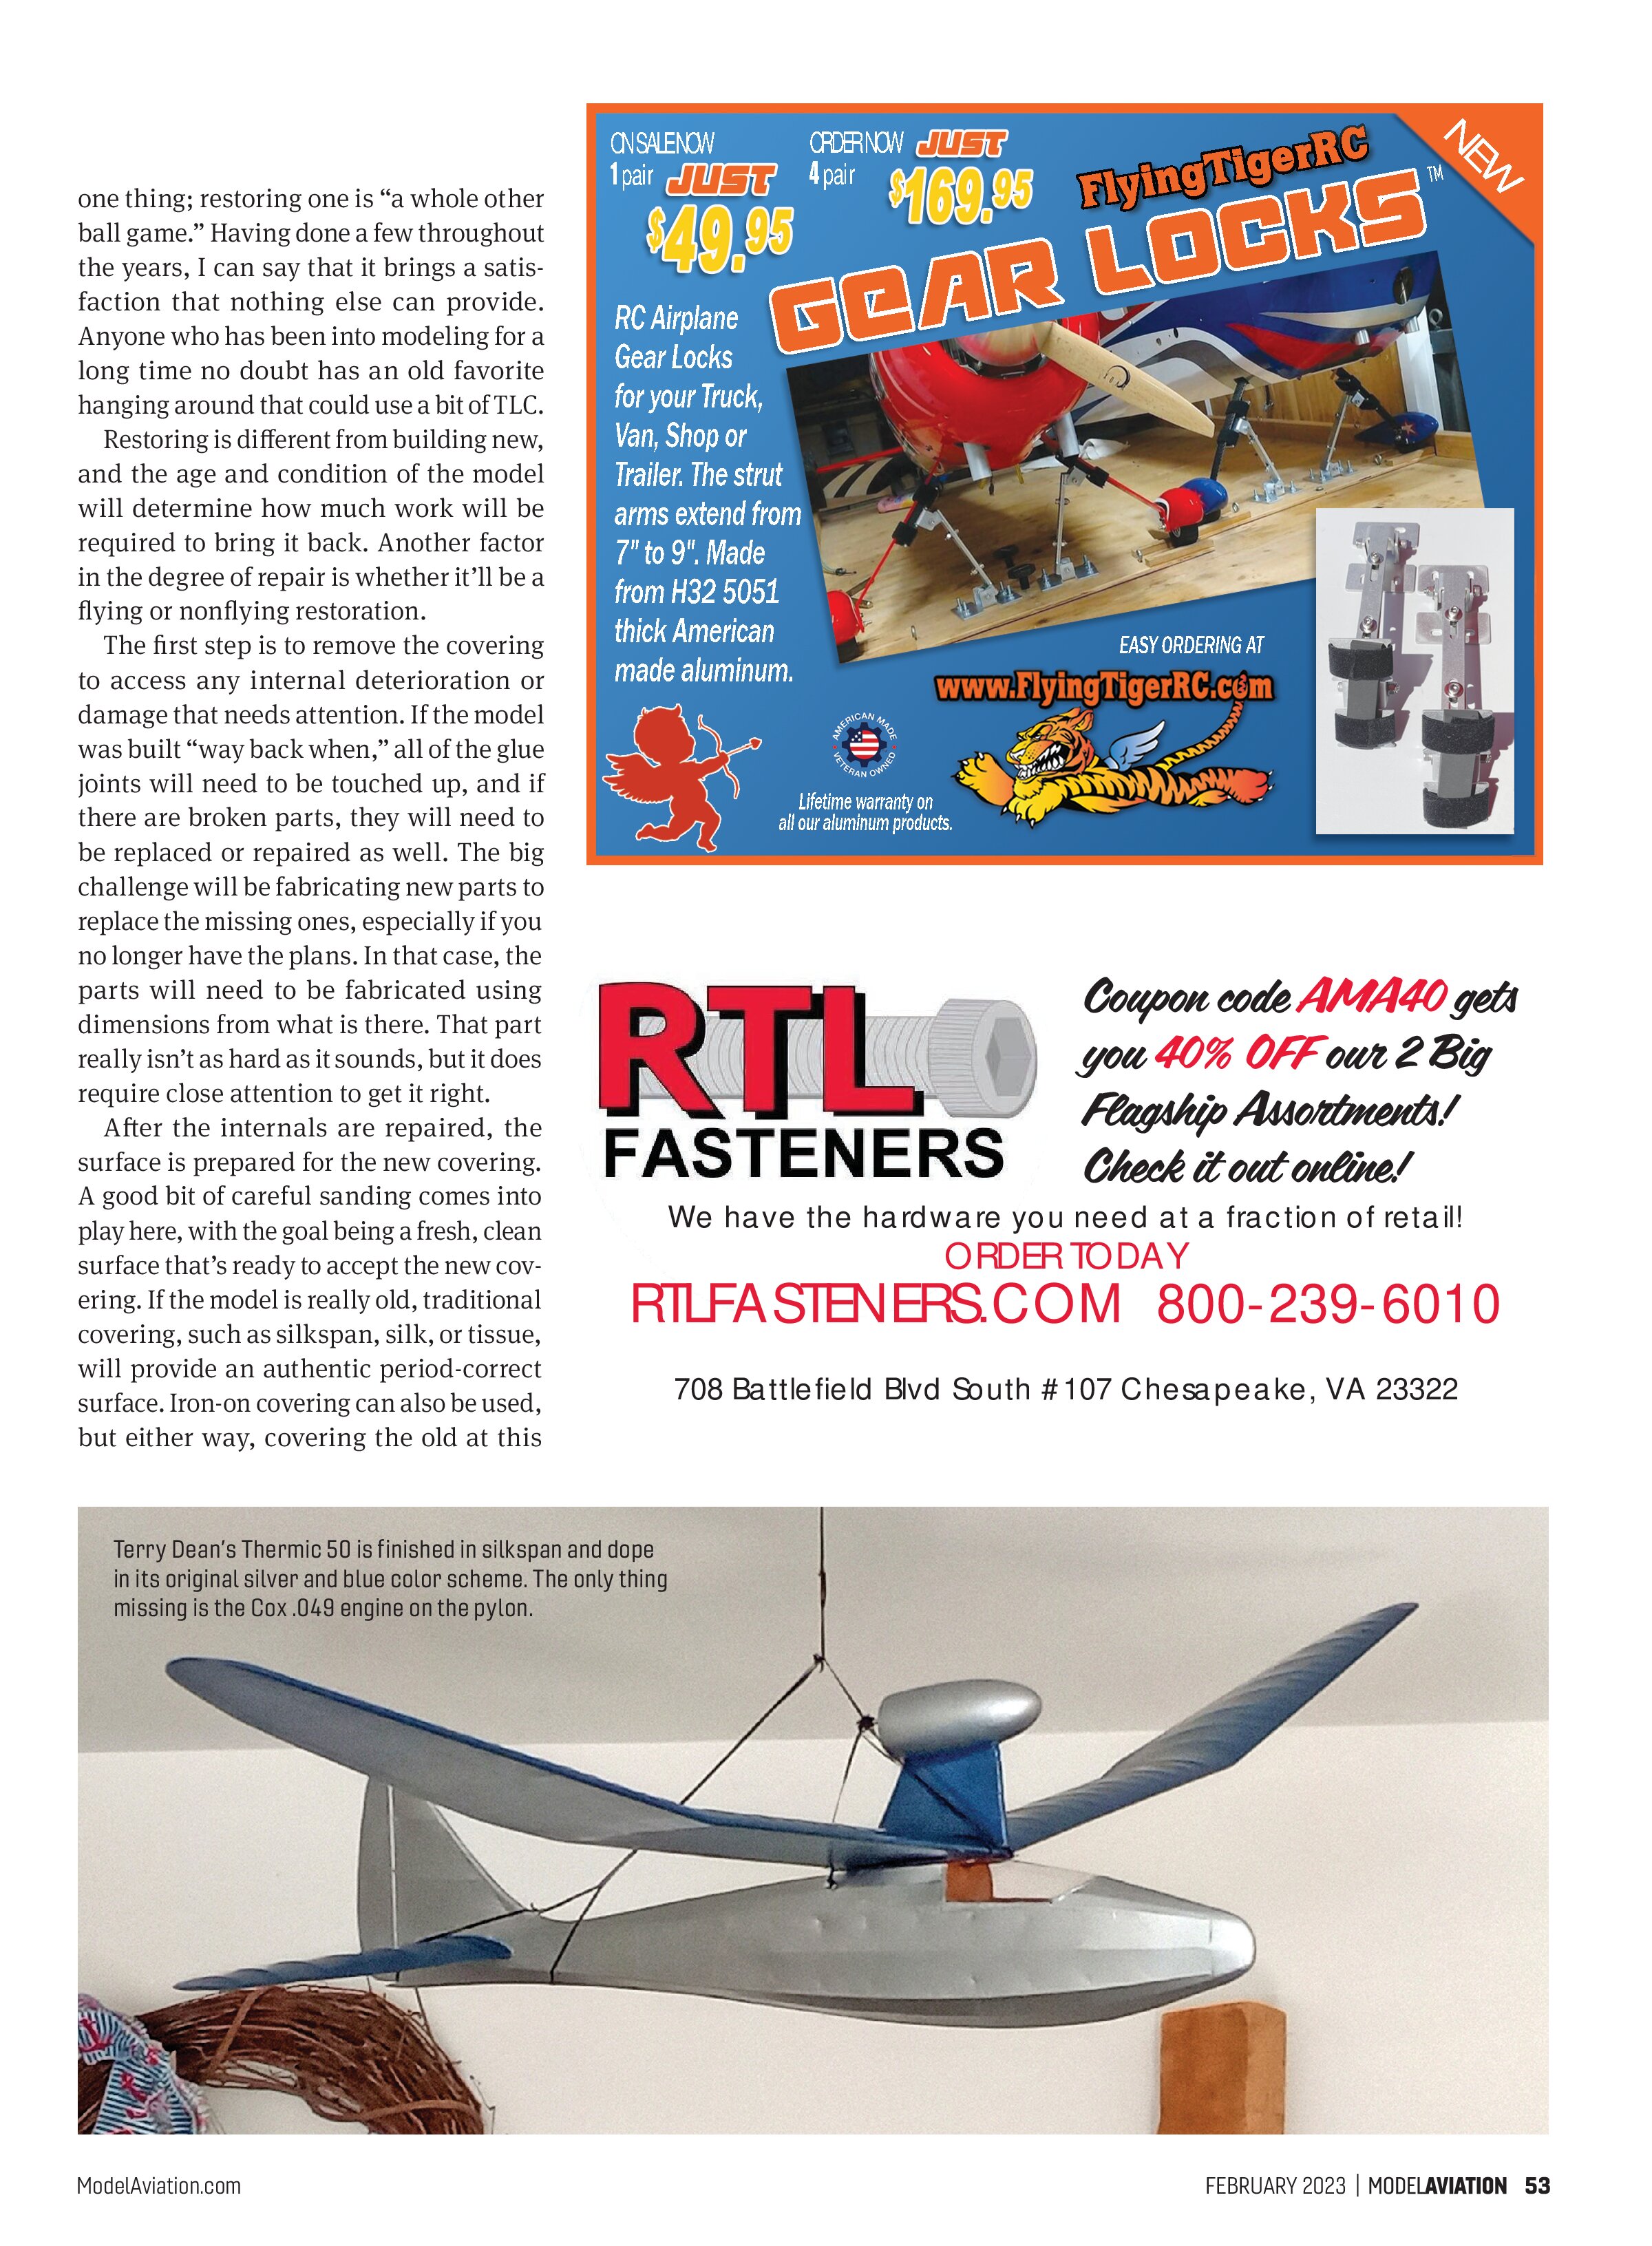
What brought this to mind is a project that Terry Dean recently completed. The model is the old Jetco Thermic 50 Towline Glider with a power pod for a Cox .049 engine. Jasco also kitted the Thermic 50, and it’s still available today in a laser-cut kit from BMJR Models.
Terry’s brother, Jim Dean, originally built the model, and Terry decided to restore it as a tribute to him. The model was stripped of all of the original covering, badly deteriorated glue joints were retouched with CA glue, and all of the internal damage was repaired. The model was then sanded to remove all of the surface residue from the original covering, re-covered in silkspan and dope, and finished in the original silver and blue color scheme.
The only thing missing is the Cox Babe Bee on the pylon. If I know Terry, though, it won’t take him long to scrounge one up and complete the project.

Stepping Back in Time
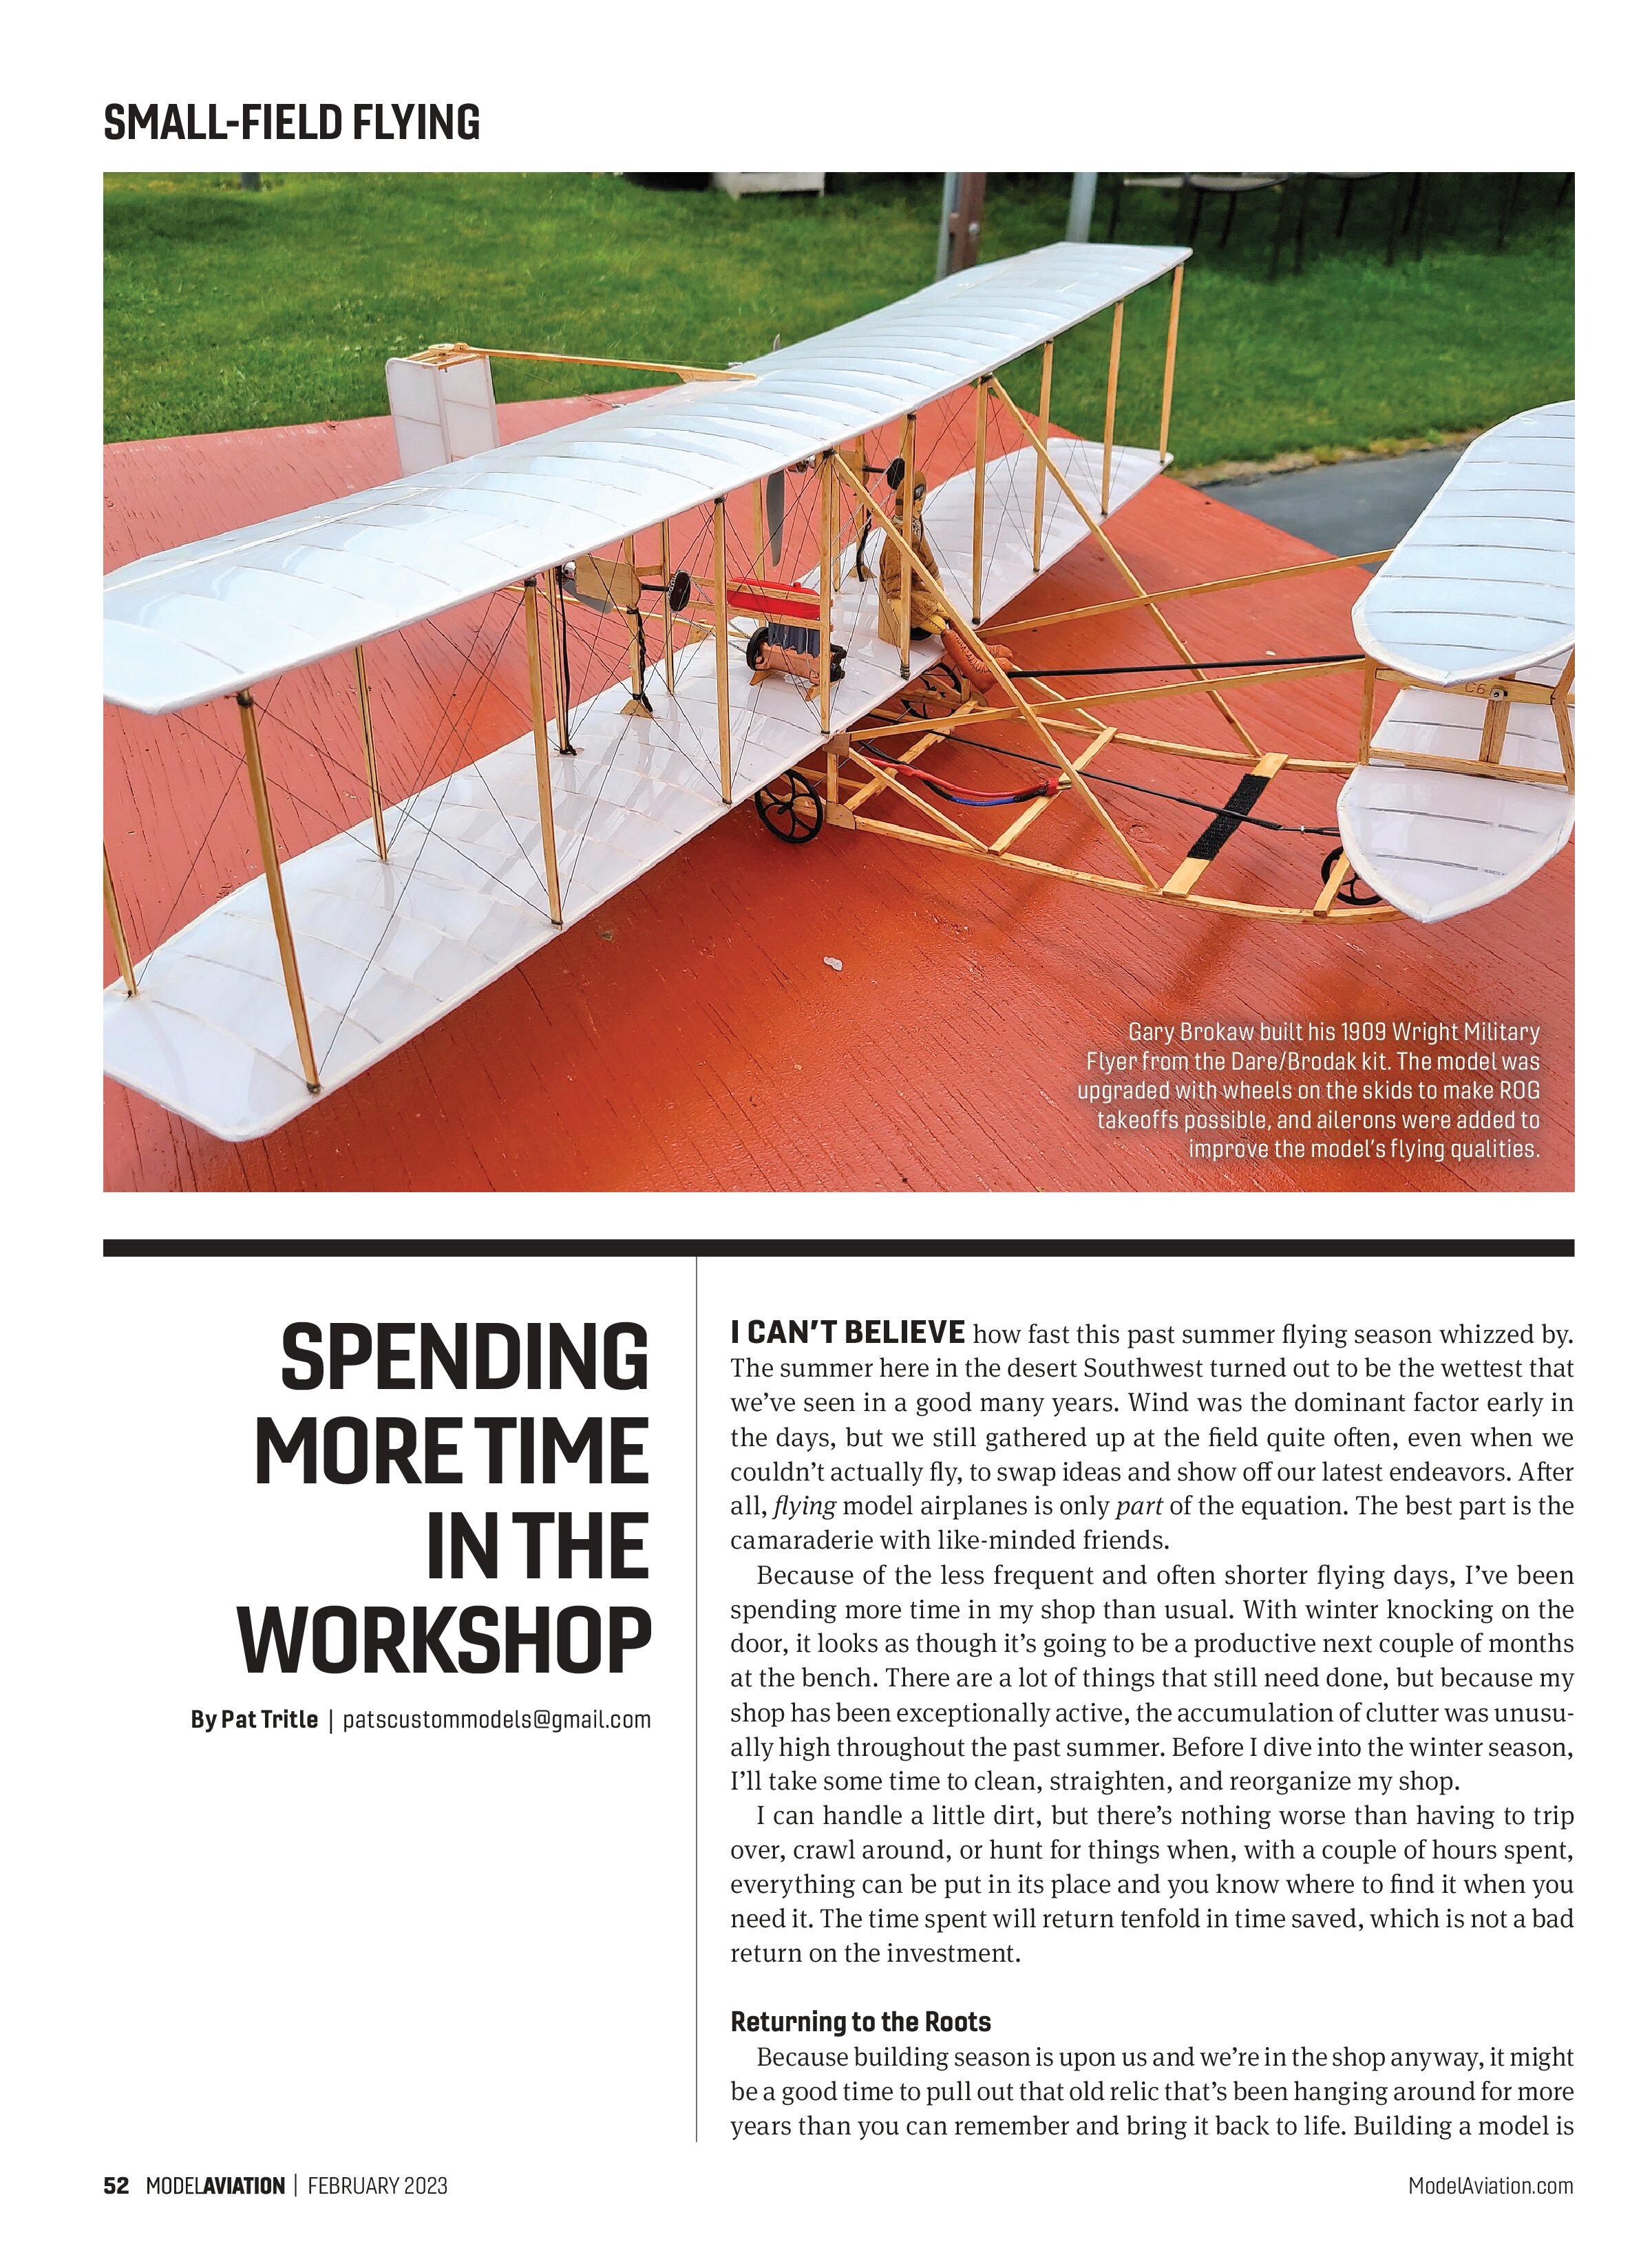
Gary Brokaw stepped way back with his 1909 Wright Military Flyer. The model was built from a Brodak Manufacturing kit. The aircraft is powered by a pair of 16-gram outrunner motors with 7 x 4 propellers and an 1,800 mAh 2S LiPo battery. Gary added wheels to the skids to make rise-off-ground (ROG) possible and also added ailerons to the top wing, which you won’t notice unless you’re really paying attention. Had Wilber and Orville only known ...
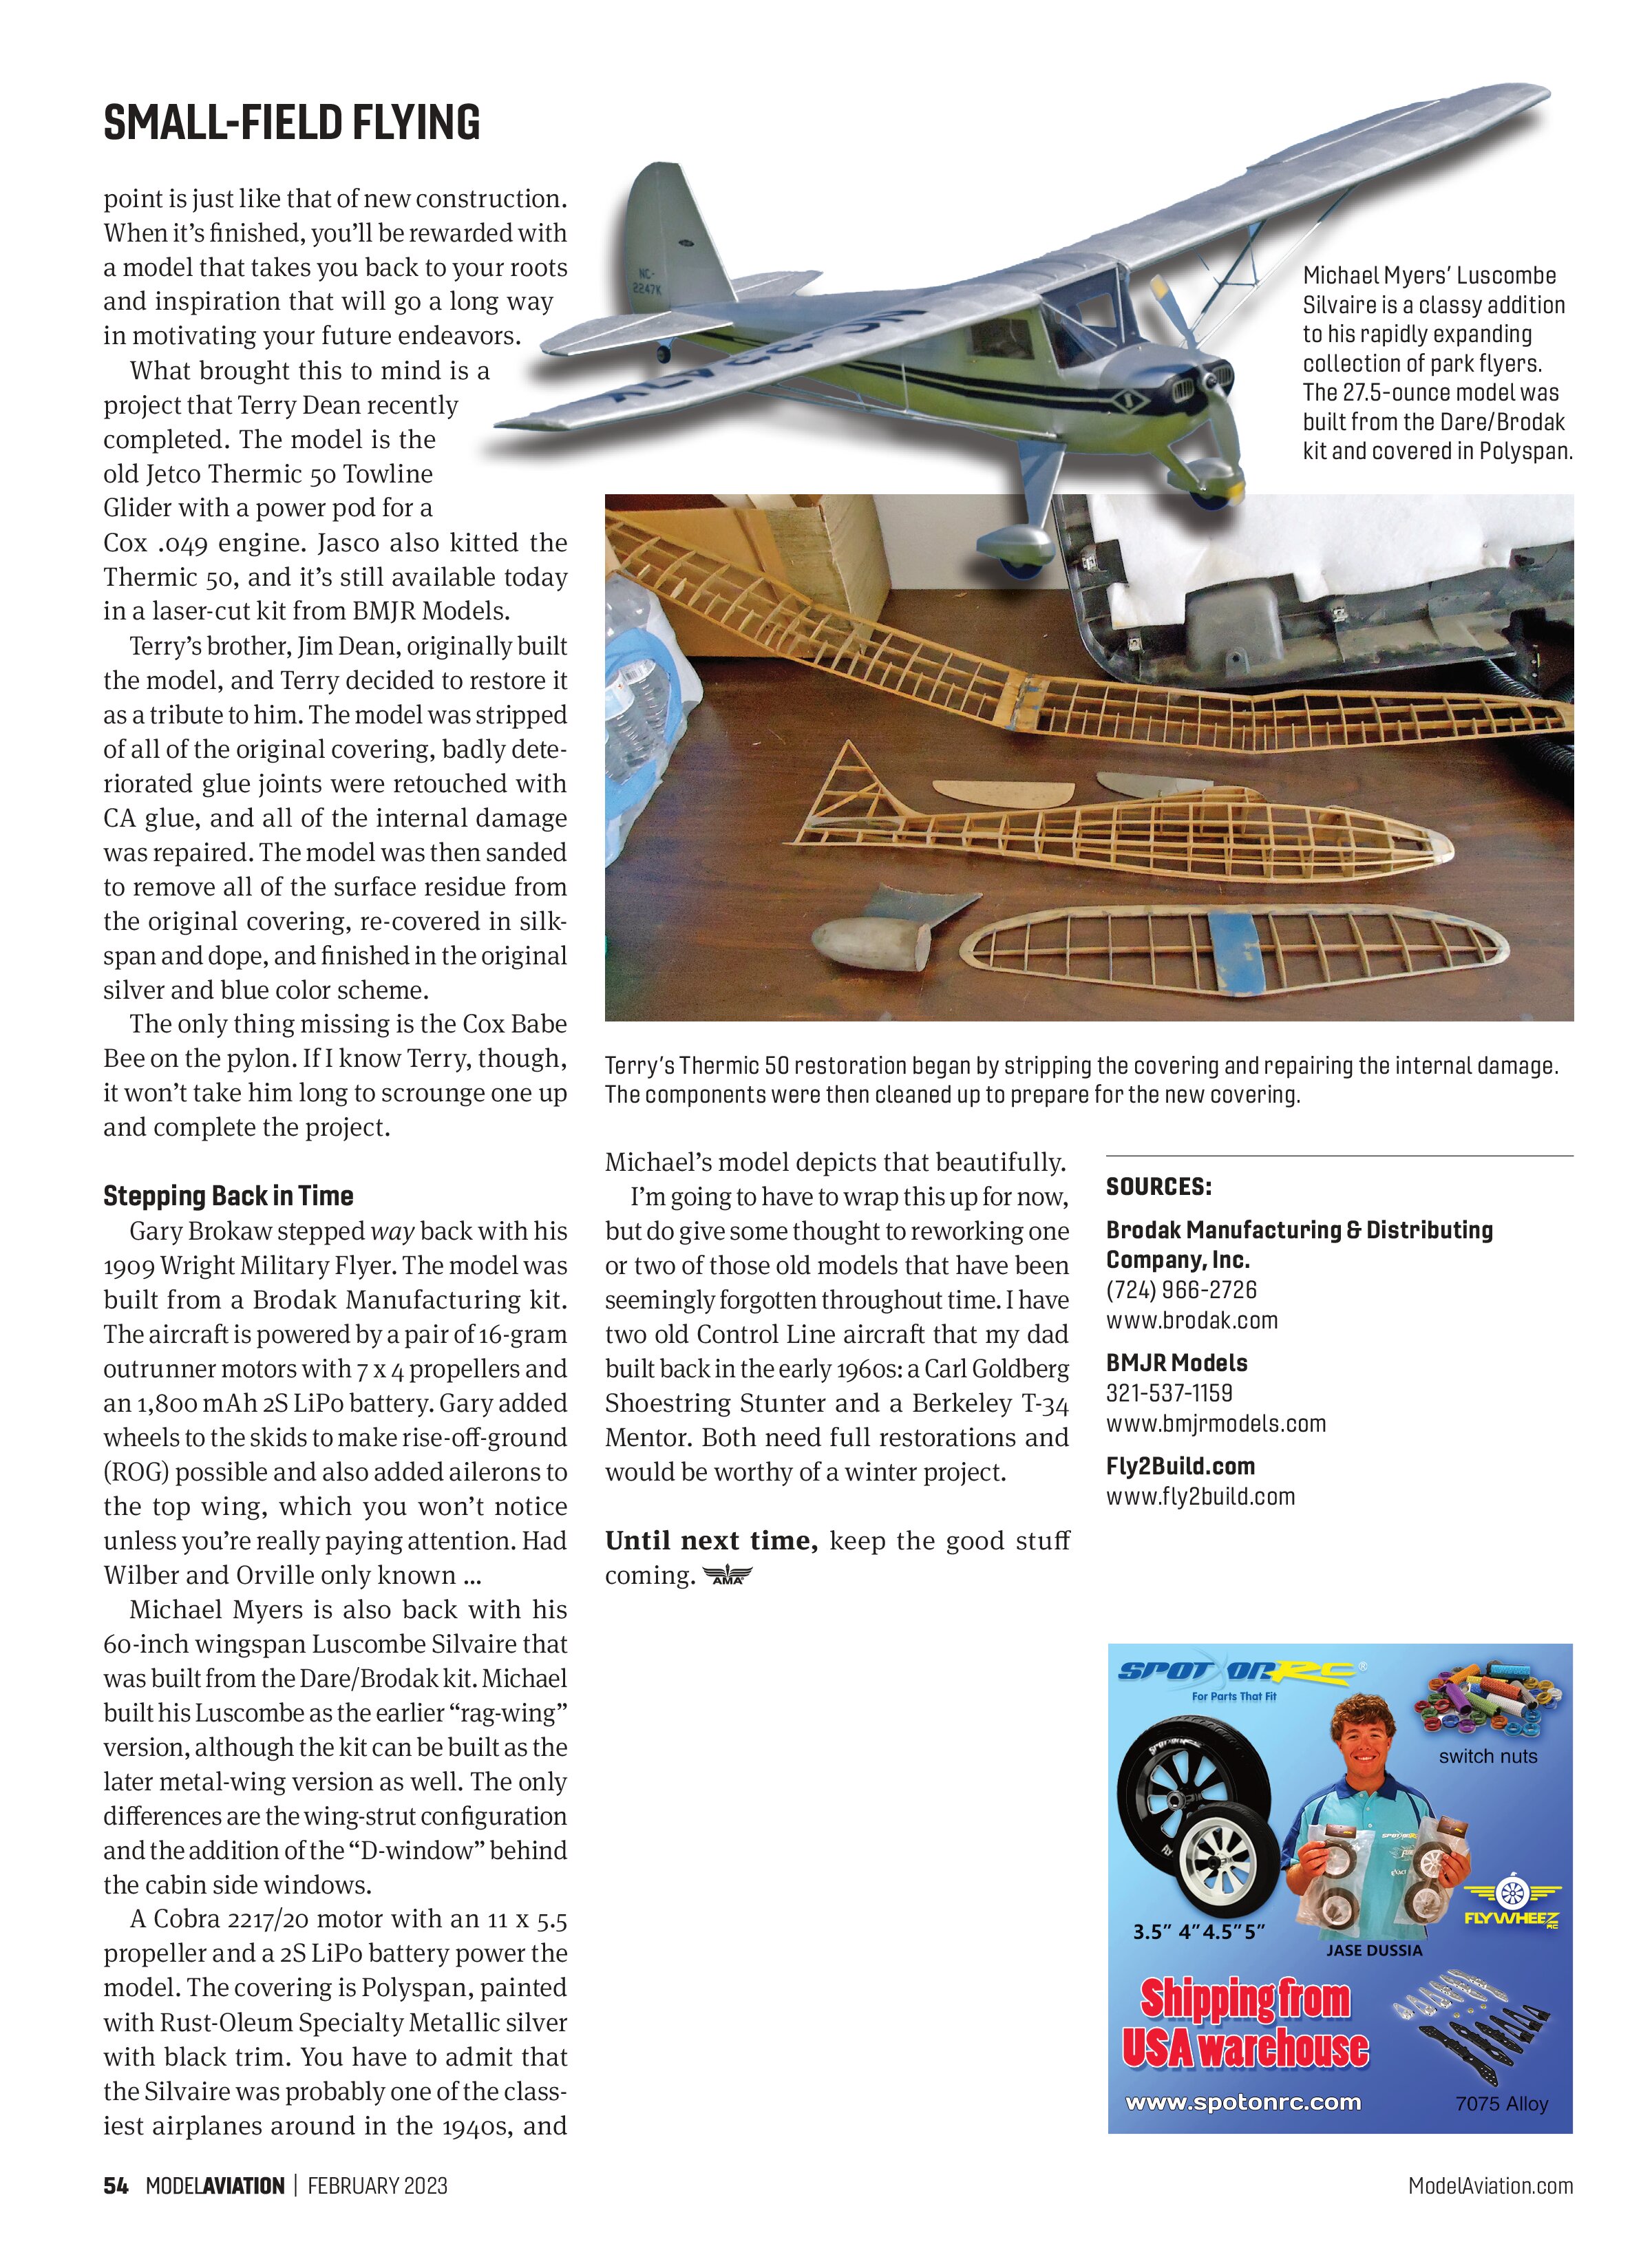
Michael Myers is also back with his 60-inch wingspan Luscombe Silvaire that was built from the Dare/Brodak kit. Michael built his Luscombe as the earlier “rag-wing” version, although the kit can be built as the later metal-wing version as well. The only differences are the wing-strut configuration and the addition of the “D-window” behind the cabin side windows.
A Cobra 2217/20 motor with an 11 x 5.5 propeller and a 2S LiPo battery power the model. The covering is Polyspan, painted with Rust-Oleum Specialty Metallic silver with black trim. You have to admit that the Silvaire was probably one of the classiest airplanes around in the 1940s, and Michael’s model depicts that beautifully.

I’m going to have to wrap this up for now, but do give some thought to reworking one or two of those old models that have been seemingly forgotten throughout time. I have two old Control Line aircraft that my dad built back in the early 1960s: a Carl Goldberg Shoestring Stunter and a Berkeley T-34 Mentor. Both need full restorations and would be worthy of a winter project.
Until next time, keep the good stuff coming.
SOURCES:
Brodak Manufacturing & Distributing Company, Inc.
(724) 966-2726
www.brodak.com
BMJR Models
321-537-1159
www.bmj rmodels.com
Fly2Build.com
www.fly2build.com