FREE FLIGHT DURATION
BUILDING A FF KIT
By Louis Joyner | joynerduration@gmail.com

IF YOU WANT to give Free Flight (FF) a try or get back into the sport after a long break, a kit might be the best place to start. Building from a kit is easier than building a model from scratch. A kit will provide the plans, instructions, and parts to get a model in the air.
Cottage-industry suppliers offer a variety of kit types. A short kit typically consists of full-size plans and laser-cut wing and stabilizer ribs. Some also include other laser-cut parts, such as wingtips and rudders. You have to supply the needed stick and sheet balsa, as well as hardware and covering material.
A standard kit includes most of the needed parts. Deluxe kits often provide some preassembled components and even electronics. Most of the cottage-industry kit manufacturers have websites that detail what is and what is not included in their kits.
Vintage kits that were produced 40 to 80 years ago, but were never built, are hard to find and are often priced much higher than the original cost. The condition can vary depending on how the kit was stored and whether or not all of the parts are there. If you are looking for a specific kit, check with older local modelers, including RC pilots who might have flown FF in the past. Swap meets are always worth a try. The internet offers additional search options.
If you are interested in competition FF, take a look at what events you might like to fly, and then see what models are winning those events. Consider starting with a simpler model, such as a Catapult Glider, a Rubber P-30, or an Electric E-20 or E-36. Each year, the National Free Flight Society (NFFS) Digest lists the winning models at the Nats. Last year, more than 40% of the first-place models were built from kits. For Vintage and Nostalgia Power models, check the rules for the allowed engine size, make, and model. AMA’s Outdoor FF Competition Regulations are available on the AMA website, and NFFS event rules can be found on the NFFS website. The links are listed in “Sources.”
After you have received a kit, resist the temptation to immediately start building. Study the plans, read the instructions, and take notes. Do you need any special tools, adhesives, or covering materials? Make sure that all of the parts are there and undamaged, especially if you are building a vintage kit. Do you need to replace some of the wood?

A kit from the past might need to be updated. Older designs typically used a fuse determalizer (DT). Tracking radios, electronic timers, GPS locators, and remote DT systems were unknown. If you want to use any of these features, you will have to figure out how to incorporate them into the model.
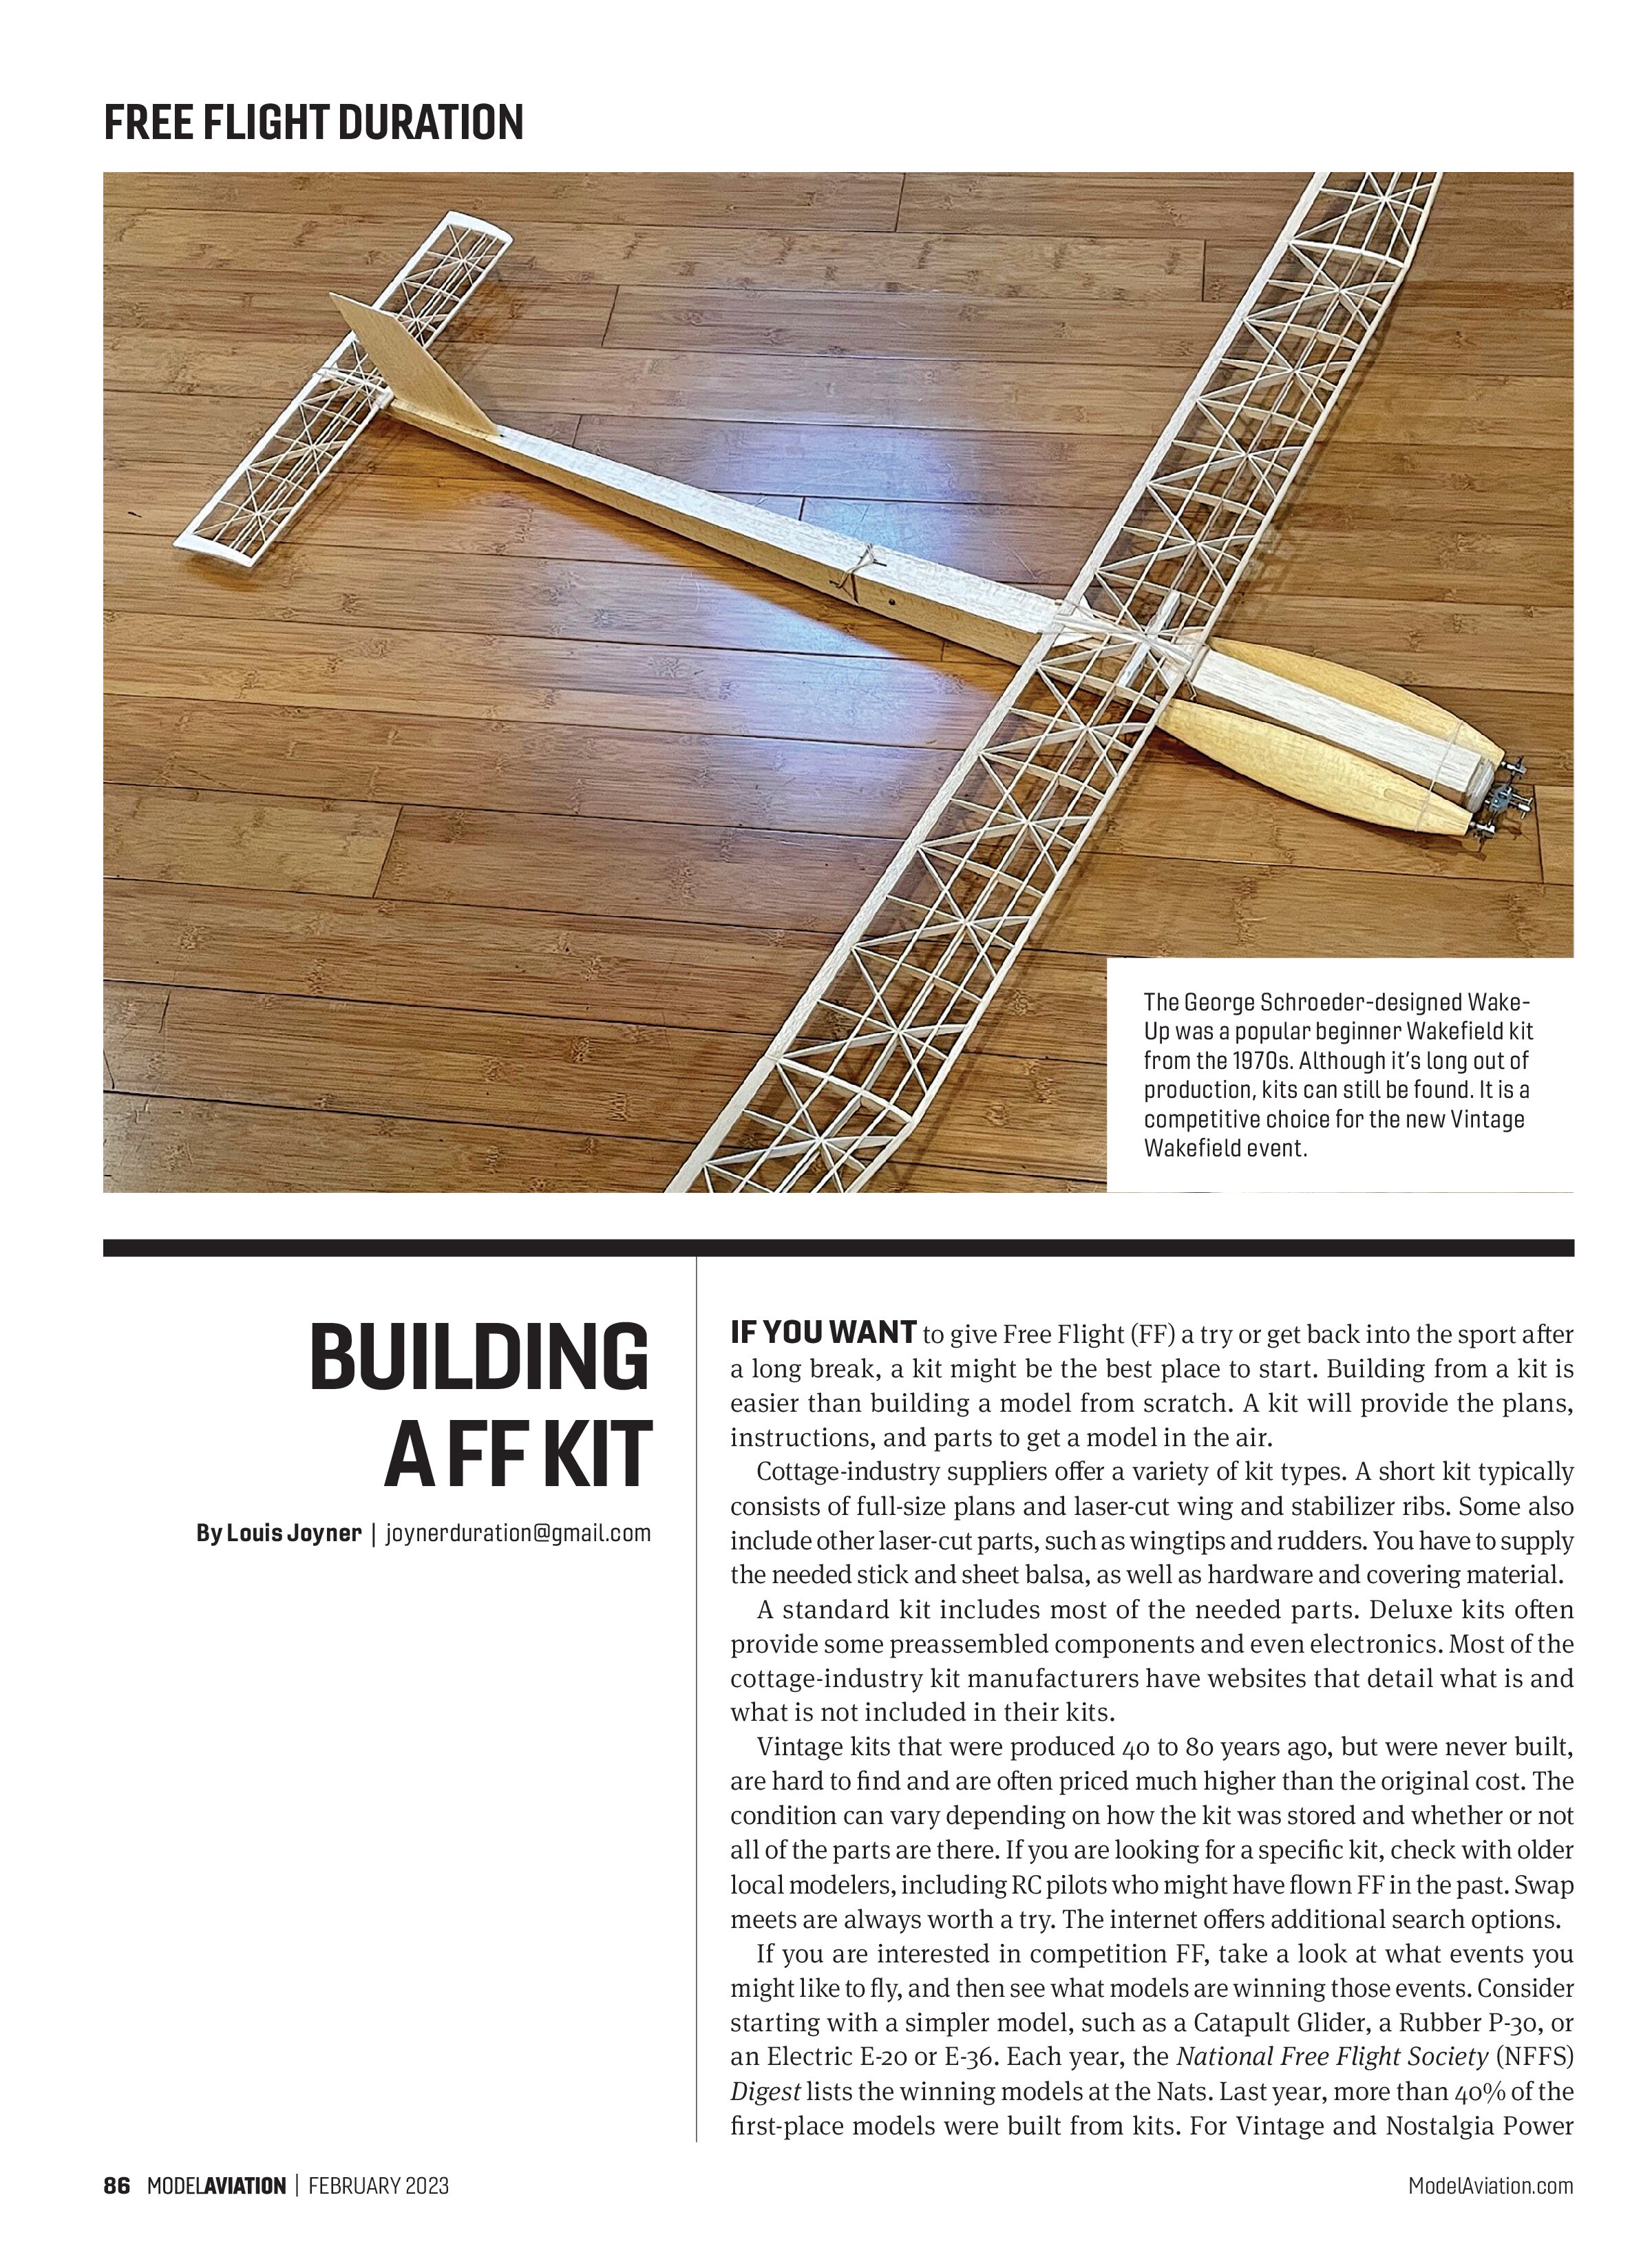
You might also want to make some changes in the construction. For example, the Wake-Up Vintage kit that I am building calls for a single rib at the wing dihedral break. I felt that this didn’t provide enough area for attaching the covering. I used one of the provided ribs as a pattern to cut a few extra ribs. Each wing panel was built separately, with the end ribs angled to allow for the dihedral angle. When the panels were joined, an extra in-notched rib was added between the end ribs. In case of a crash, the tip panel will usually break off with minimal damage.
The sheet balsa fuselage went together quickly, but the pre-profiled balsa blocks for the two-blade propeller required a lot of whittling and sanding. Each blade weighed 10 grams before finishing, so I replaced them with a pair of laminated

balsa and fiberglass cloth blades of the same diameter and similar shape that I had made several years earlier. This pair of blades weighed 9 grams total. Instead of using the wire front end that came with the kit, I substituted a Simplex SimpleTorque reverse Montreal front end.
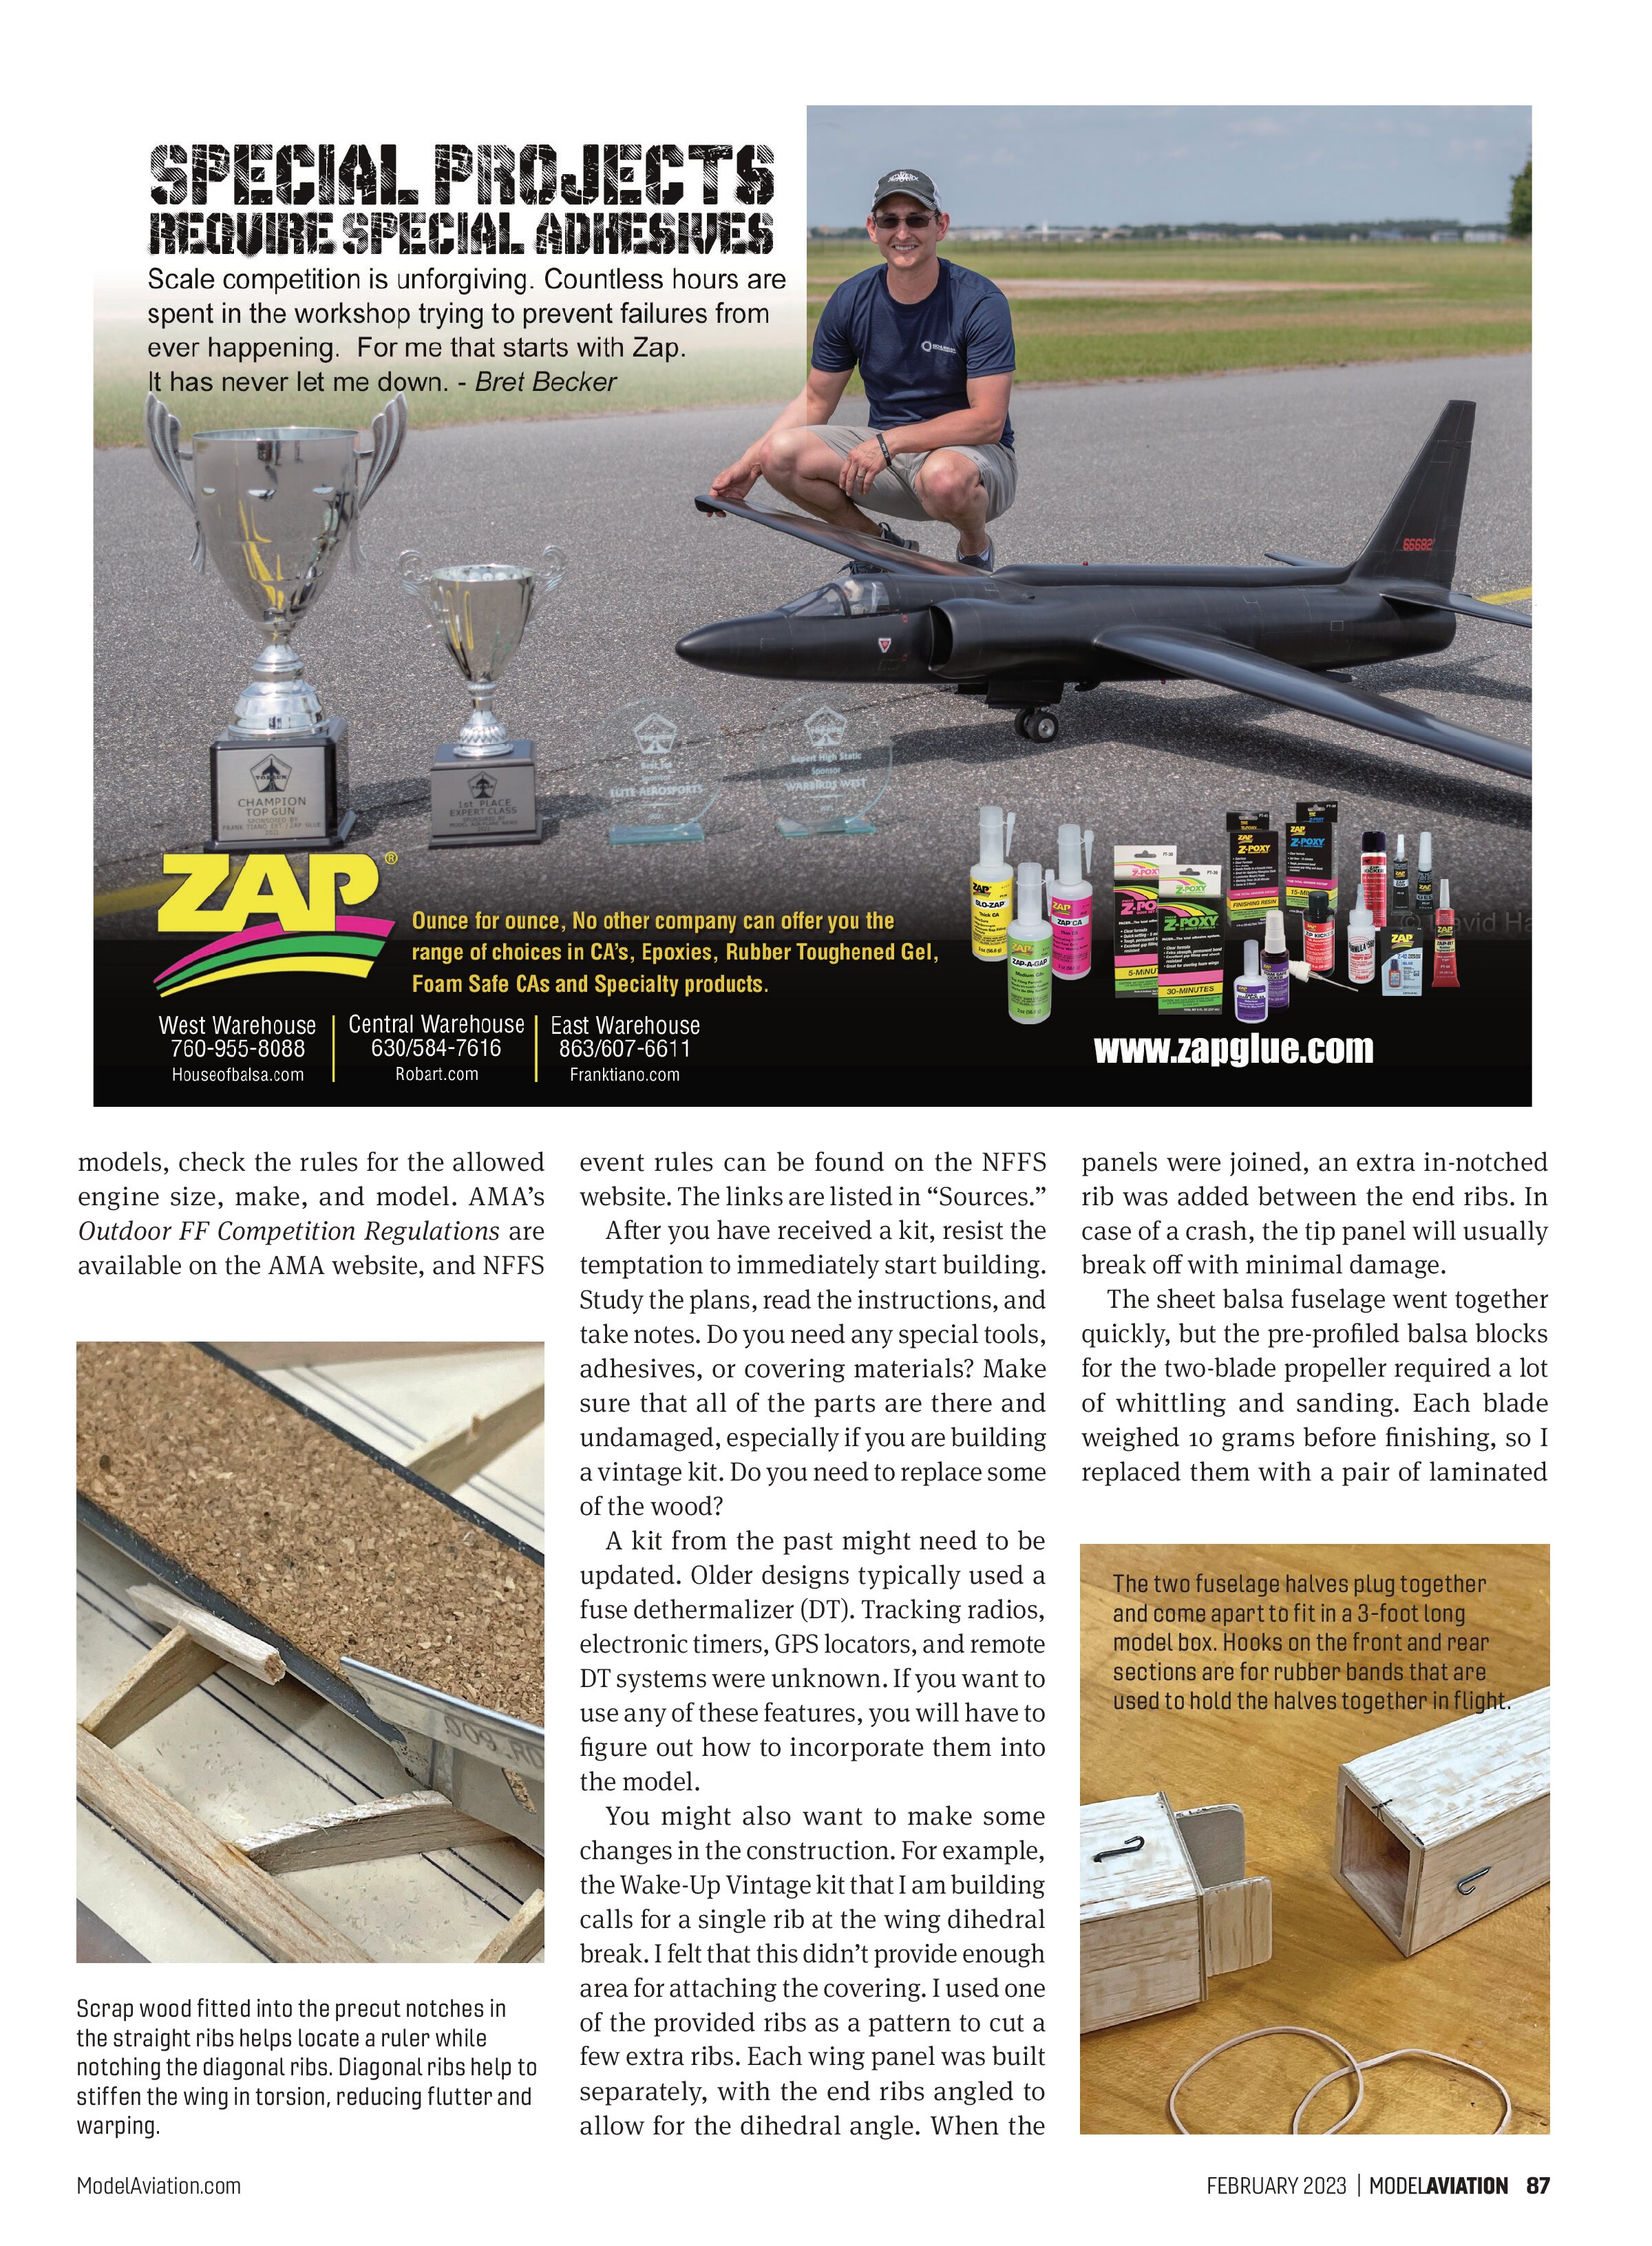
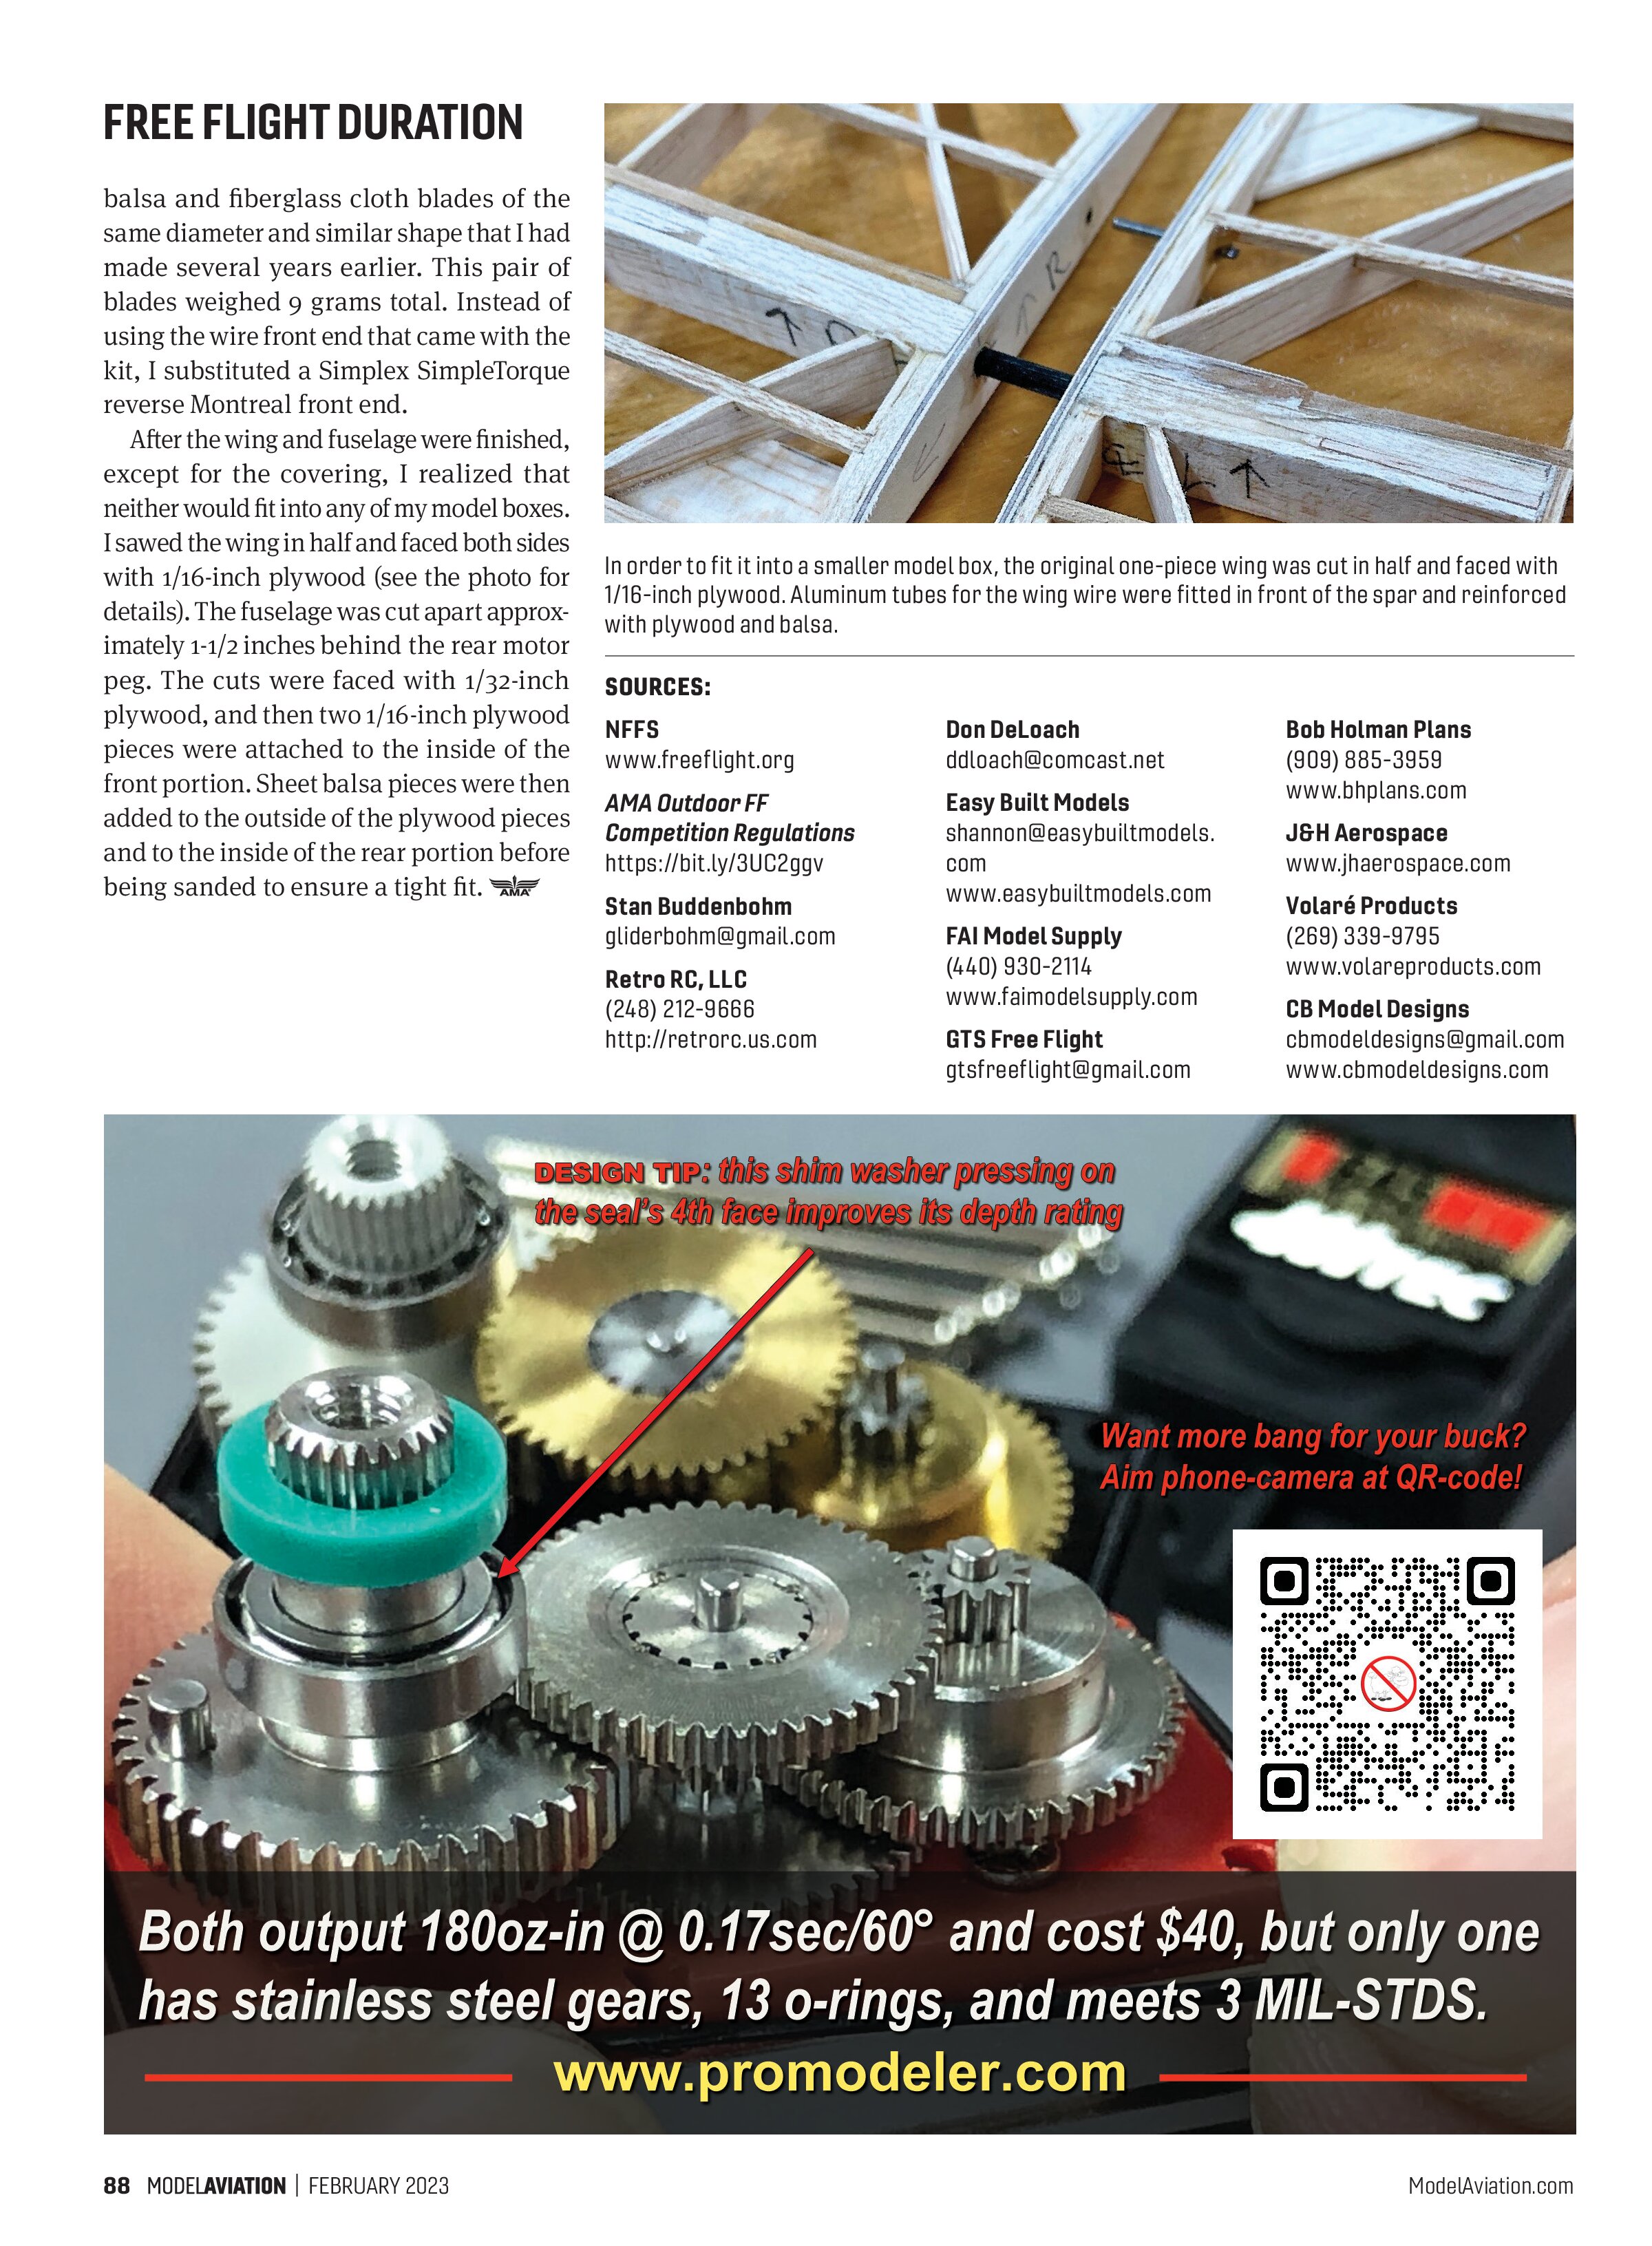
After the wing and fuselage were finished, except for the covering, I realized that neither would fit into any of my model boxes. I sawed the wing in half and faced both sides with 1/16-inch plywood (see the photo for details). The fuselage was cut apart approximately 1-1/2 inches behind the rear motor peg. The cuts were faced with 1/32-inch plywood, and then two 1/16-inch plywood pieces were attached to the inside of the front portion. Sheet balsa pieces were then added to the outside of the plywood pieces and to the inside of the rear portion before being sanded to ensure a tight fit.

SOURCES:
AMA Outdoor FF
Competition Regulations
https://bit.ly/3UC2g9v
Stan Buddenbohm
gliderbohm@gmail.com
Retro RC, LLC
(248) 212-9666
http://retrorc.us.com
Don DeLoach
ddloach@comcast.net
Easy Built Models
shannon@easybuiltmodels.com
www.easybuiltmodels.com
FAI Model Supply
(440) 930-2114
www.faimodelsupply.com
GTS Free Flight
gtsfreeflight@gmail.com
Bob Holman Plans
(909) 885-3959
www.bhplans.com
J&H Aerospace
www.jhaerospace.com
Volaré Products
(269) 339-9795
www.volareproducts.com
CB Model Designs
cbmodeldesigns@gmail.com
www.cbmodeldesigns.com