RC SLOPE SOARING
OLD WITH NEW SKILLS
By Greg Schutte | gshooty@yahoo.com

ONE OF THE SKILLS I have always wanted to learn on my journey of becoming an aeromodeler is the ability to make my own fiberglass fuselages. I remember when I first started Slope Soaring and my envy when a fellow pilot would show up to fly one of these models. I thought of him or her as a serious pilot. The airplanes were strong, fast, and impressive to look at. Building first with balsa, and then with EPP foam, I have always been in awe of those models.
A couple of years ago, a fellow Slope Soaring pilot (“rcsoar4fun” on RCGroups.com) took me under his wing to teach me the art of laying up fiberglass. The agreement was that I would design and build the plug and he would lay up the mold and produce a fiberglass fuselage for me. I was all sorts of excited!
I bought some blue foam and started carving. I remember the cheap polyester resin that I bought stank to high heaven and was hard to work with. The key to the whole fiberglass game seems to be the waxing. I was told to put on 10 coats of wax, then, just for fun, to put on four more coats. Between each coat, I would let the layer dry then rub it off to a smooth finish. There is a reason why people get tired of waxing. That was where I passed off the plug to rcsoar4fun.
A couple of weeks later, we met and he handed me a pretty fiberglass fuselage of the plug that I had made. I built the airplane rather beefy, and it took a good amount of wind to fly. Landing it was a nervous balance between a stall and going Mach 10. I flew the airplane a couple of times and hung it up.
This past summer, I decided to revisit learning to lay up a fiberglass fuselage. Rcsoar4fun was once again a valuable resource, but this time, I wanted to learn the whole process.
The first sailplane I decided to build was one of my own designs. I broke out the blue foam and started carving again. This new airplane was based on my Sparrow platform. I wanted to see if I could make a fiberglass sailplane that flew just as well as my all-EPP-foam Sparrow.
In addition to building the plug, I also learned how to lay up both sides of the mold, and I finally laid up my very own fiberglass fuselage. I used actual epoxy resin—not polyester—this time. I call this new sailplane the Pug.
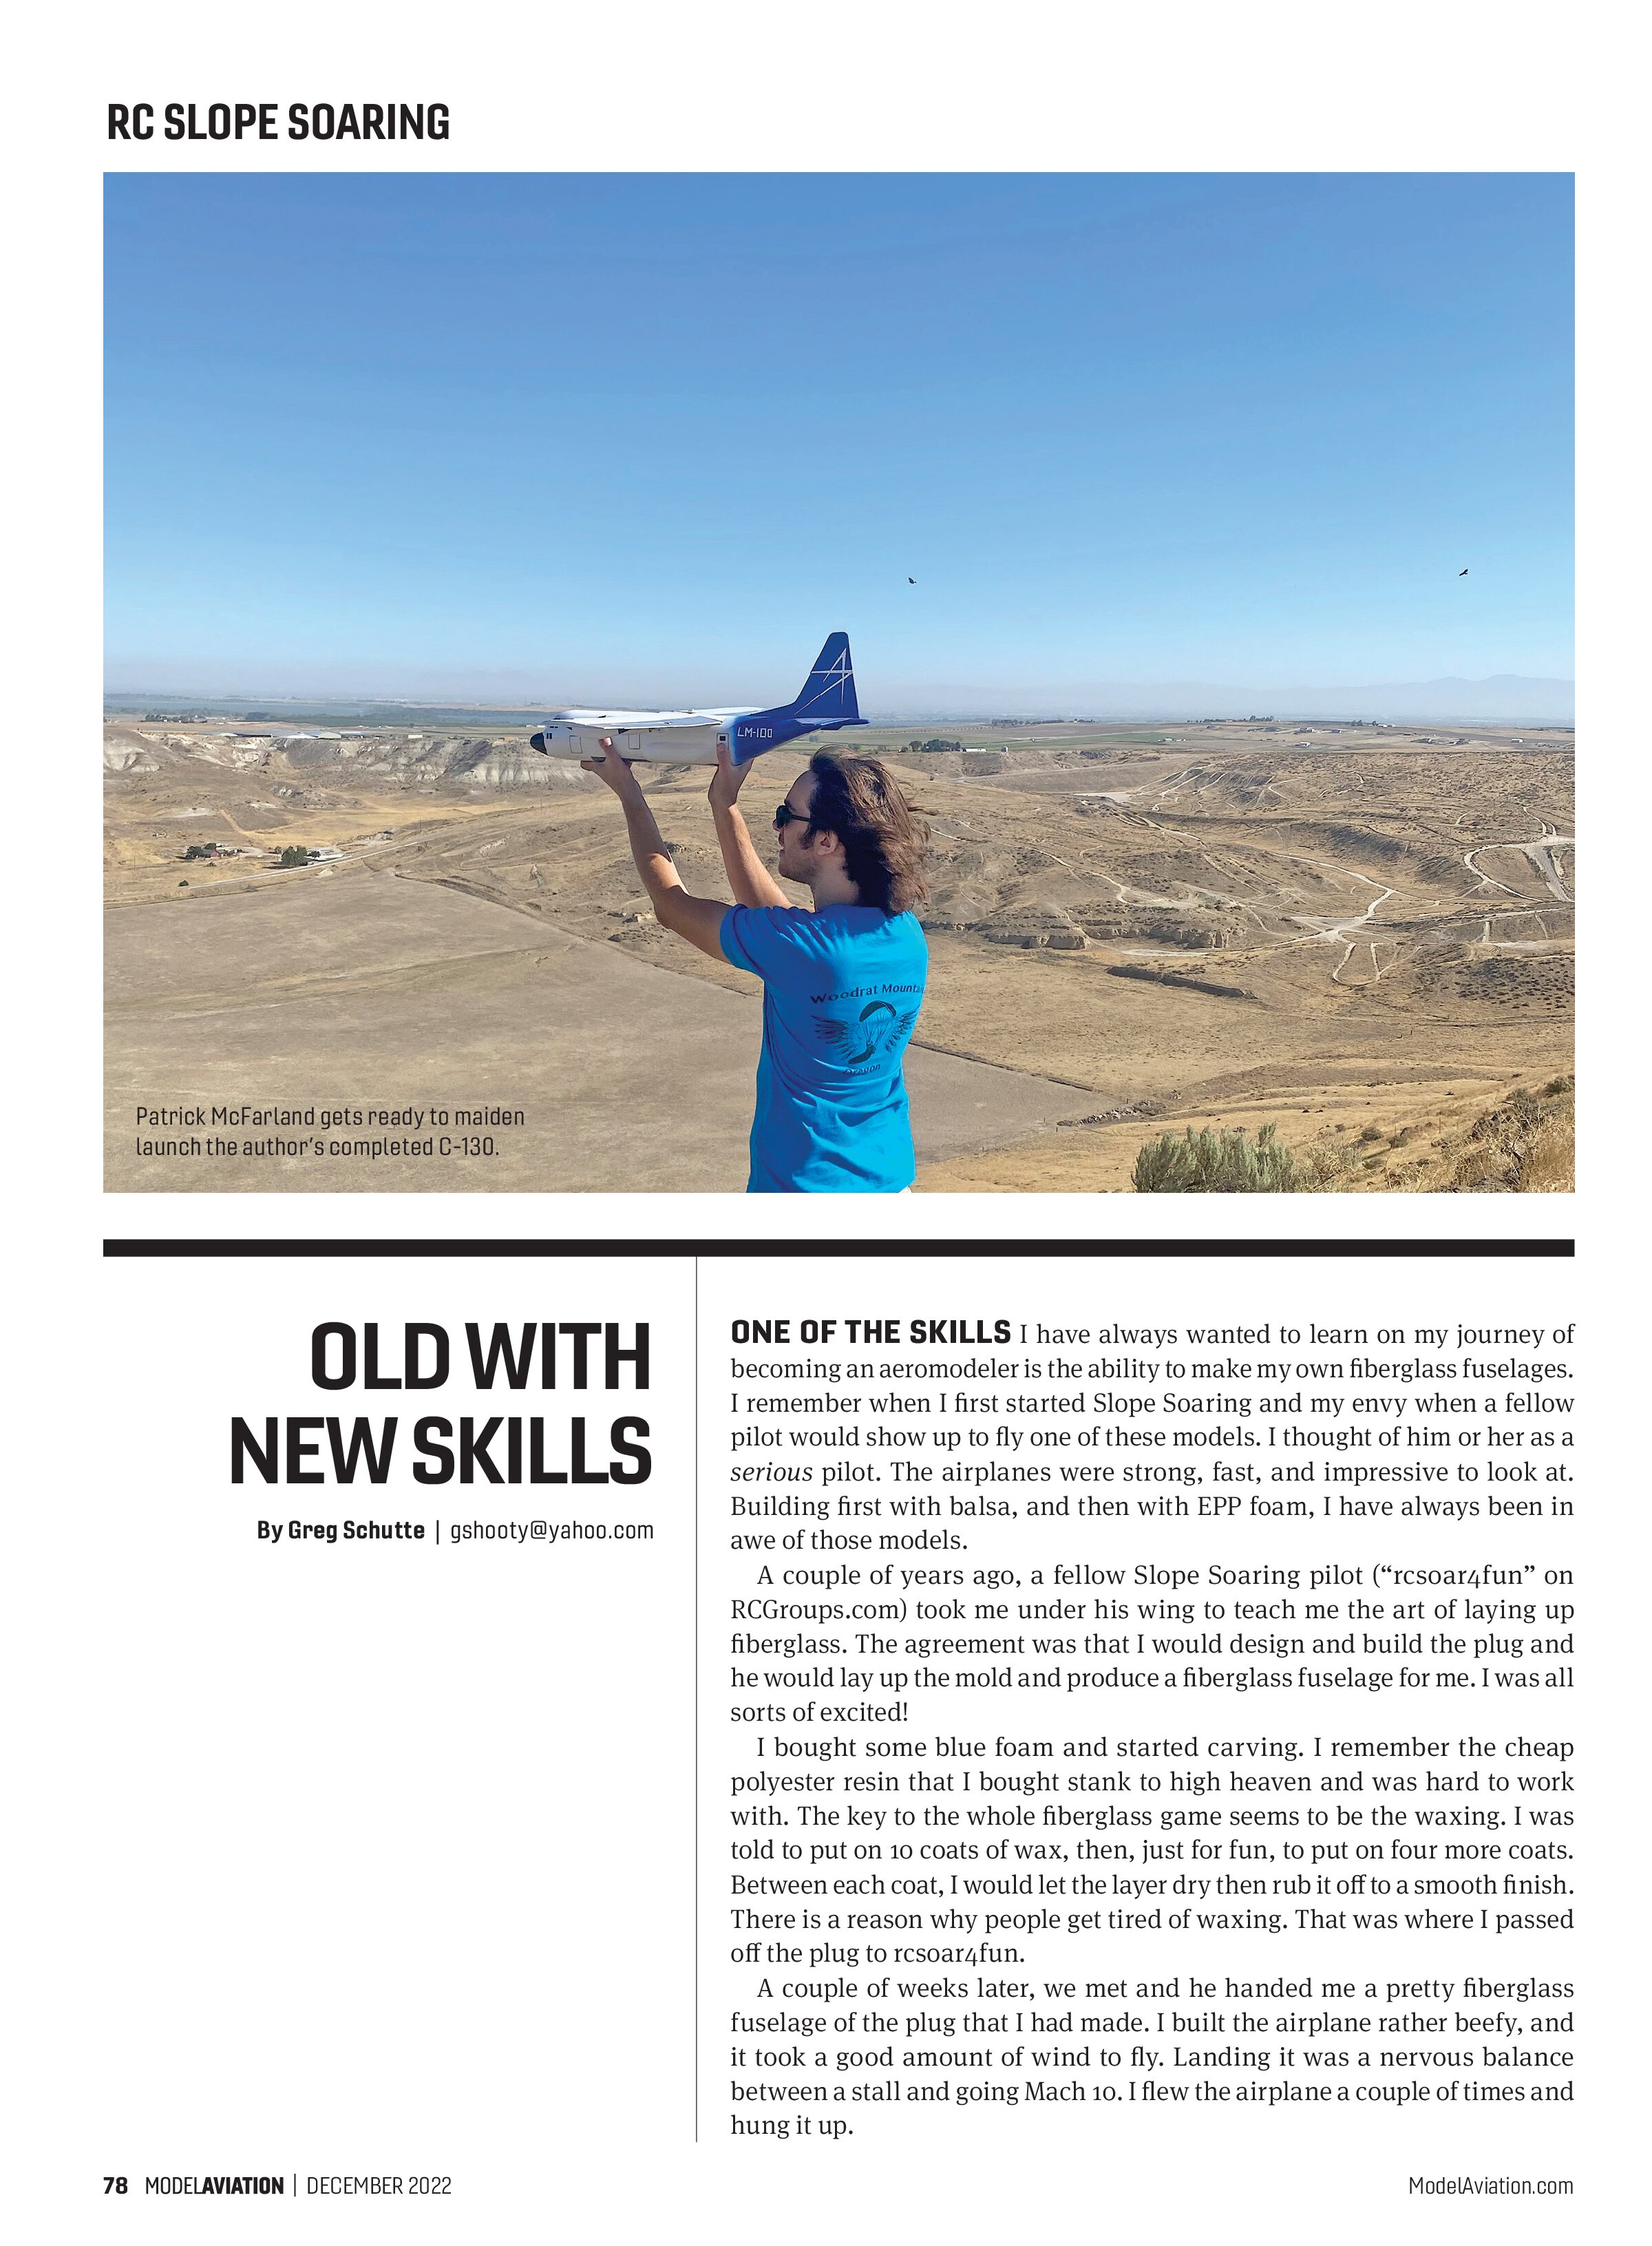
Having jumped into the world of 3D printing, I have realized that there are a lot of free airplane models that I can print. One such airplane I found was a C-130 Hercules. To my delight, the model I found was designed for powered RC. I scaled it up and stretched the wing to 48 inches. The process to print and finish the body and to have a working plug was less than 20 hours.
The body was scale with all of the correct proportions. I was absolutely amazed at how easy it was. My Pug fuselage plug had taken me more than 80 hours to make. Making both sides of the fuselage the same is harder than it looks. I made a mold and laid up the C-130 fuselage in record time.
I realized, after creating the C-130, that I can use nearly every 3D model I can find to make a plug. I have now reworked an F2G Super Corsair, Airbus A220, and a Mirage 2000. All of the models are one solid piece when downloaded. I found a free program on the internet to edit the STL files. You simply chop off the control


surfaces, slice the fuselage into different sections, and scale them to fit the 3D printer bed. I can just use the 3D-printed fuselages for the actual RC airplane and probably will try that in the future.
I have arrived at the conclusion of just how easy it is to lay up another fiberglass fuselage and build another model. With the ability to freely download and 3D-print the extra pieces, such as the engine, nacelle, guns, winglets, pilots, center sections, and nose cones, the integration of the 3D printer’s ability and laying up fiberglass fuselages have made it easier for me to make those formerly hard and complex models a reality.

Fly safely!


SOURCES:
League of Silent Flight (LSF)
www.silentflight.org
RCGroups
Build Log: Confederate Fighter
www.rcgroups.com/forums/showthread.php?2888425-confederate-fighter
RCGroups
Build Log: C-130 Hercules
www.rcgroups.com/forums/showthread.php?4184571-C-130-Hercules
Autodesk Meshmixer
www.meshmixer.com
Thingaverse
Micror C-130 Hercules RC model by tahustvedt
www.thingiverse.com/thing:3411464
Thingaverse
Dassault Mirage 2000-C 1:12 Scale by ElMi0808
www.thingiverse.com/thing:4097575
Thingaverse
Super Corsair F2G for microarmor by Captain_Ahab_62
www.thingiverse.com/thing:3642049