THE PERFECT BALANCE OF COMPACT SIZE AND 3D PERFORMANCE
OMPHobby M1 RC Helicopter RTF
By Greg Gimlick | maeloctinics@gimlick.com
Photos by the author
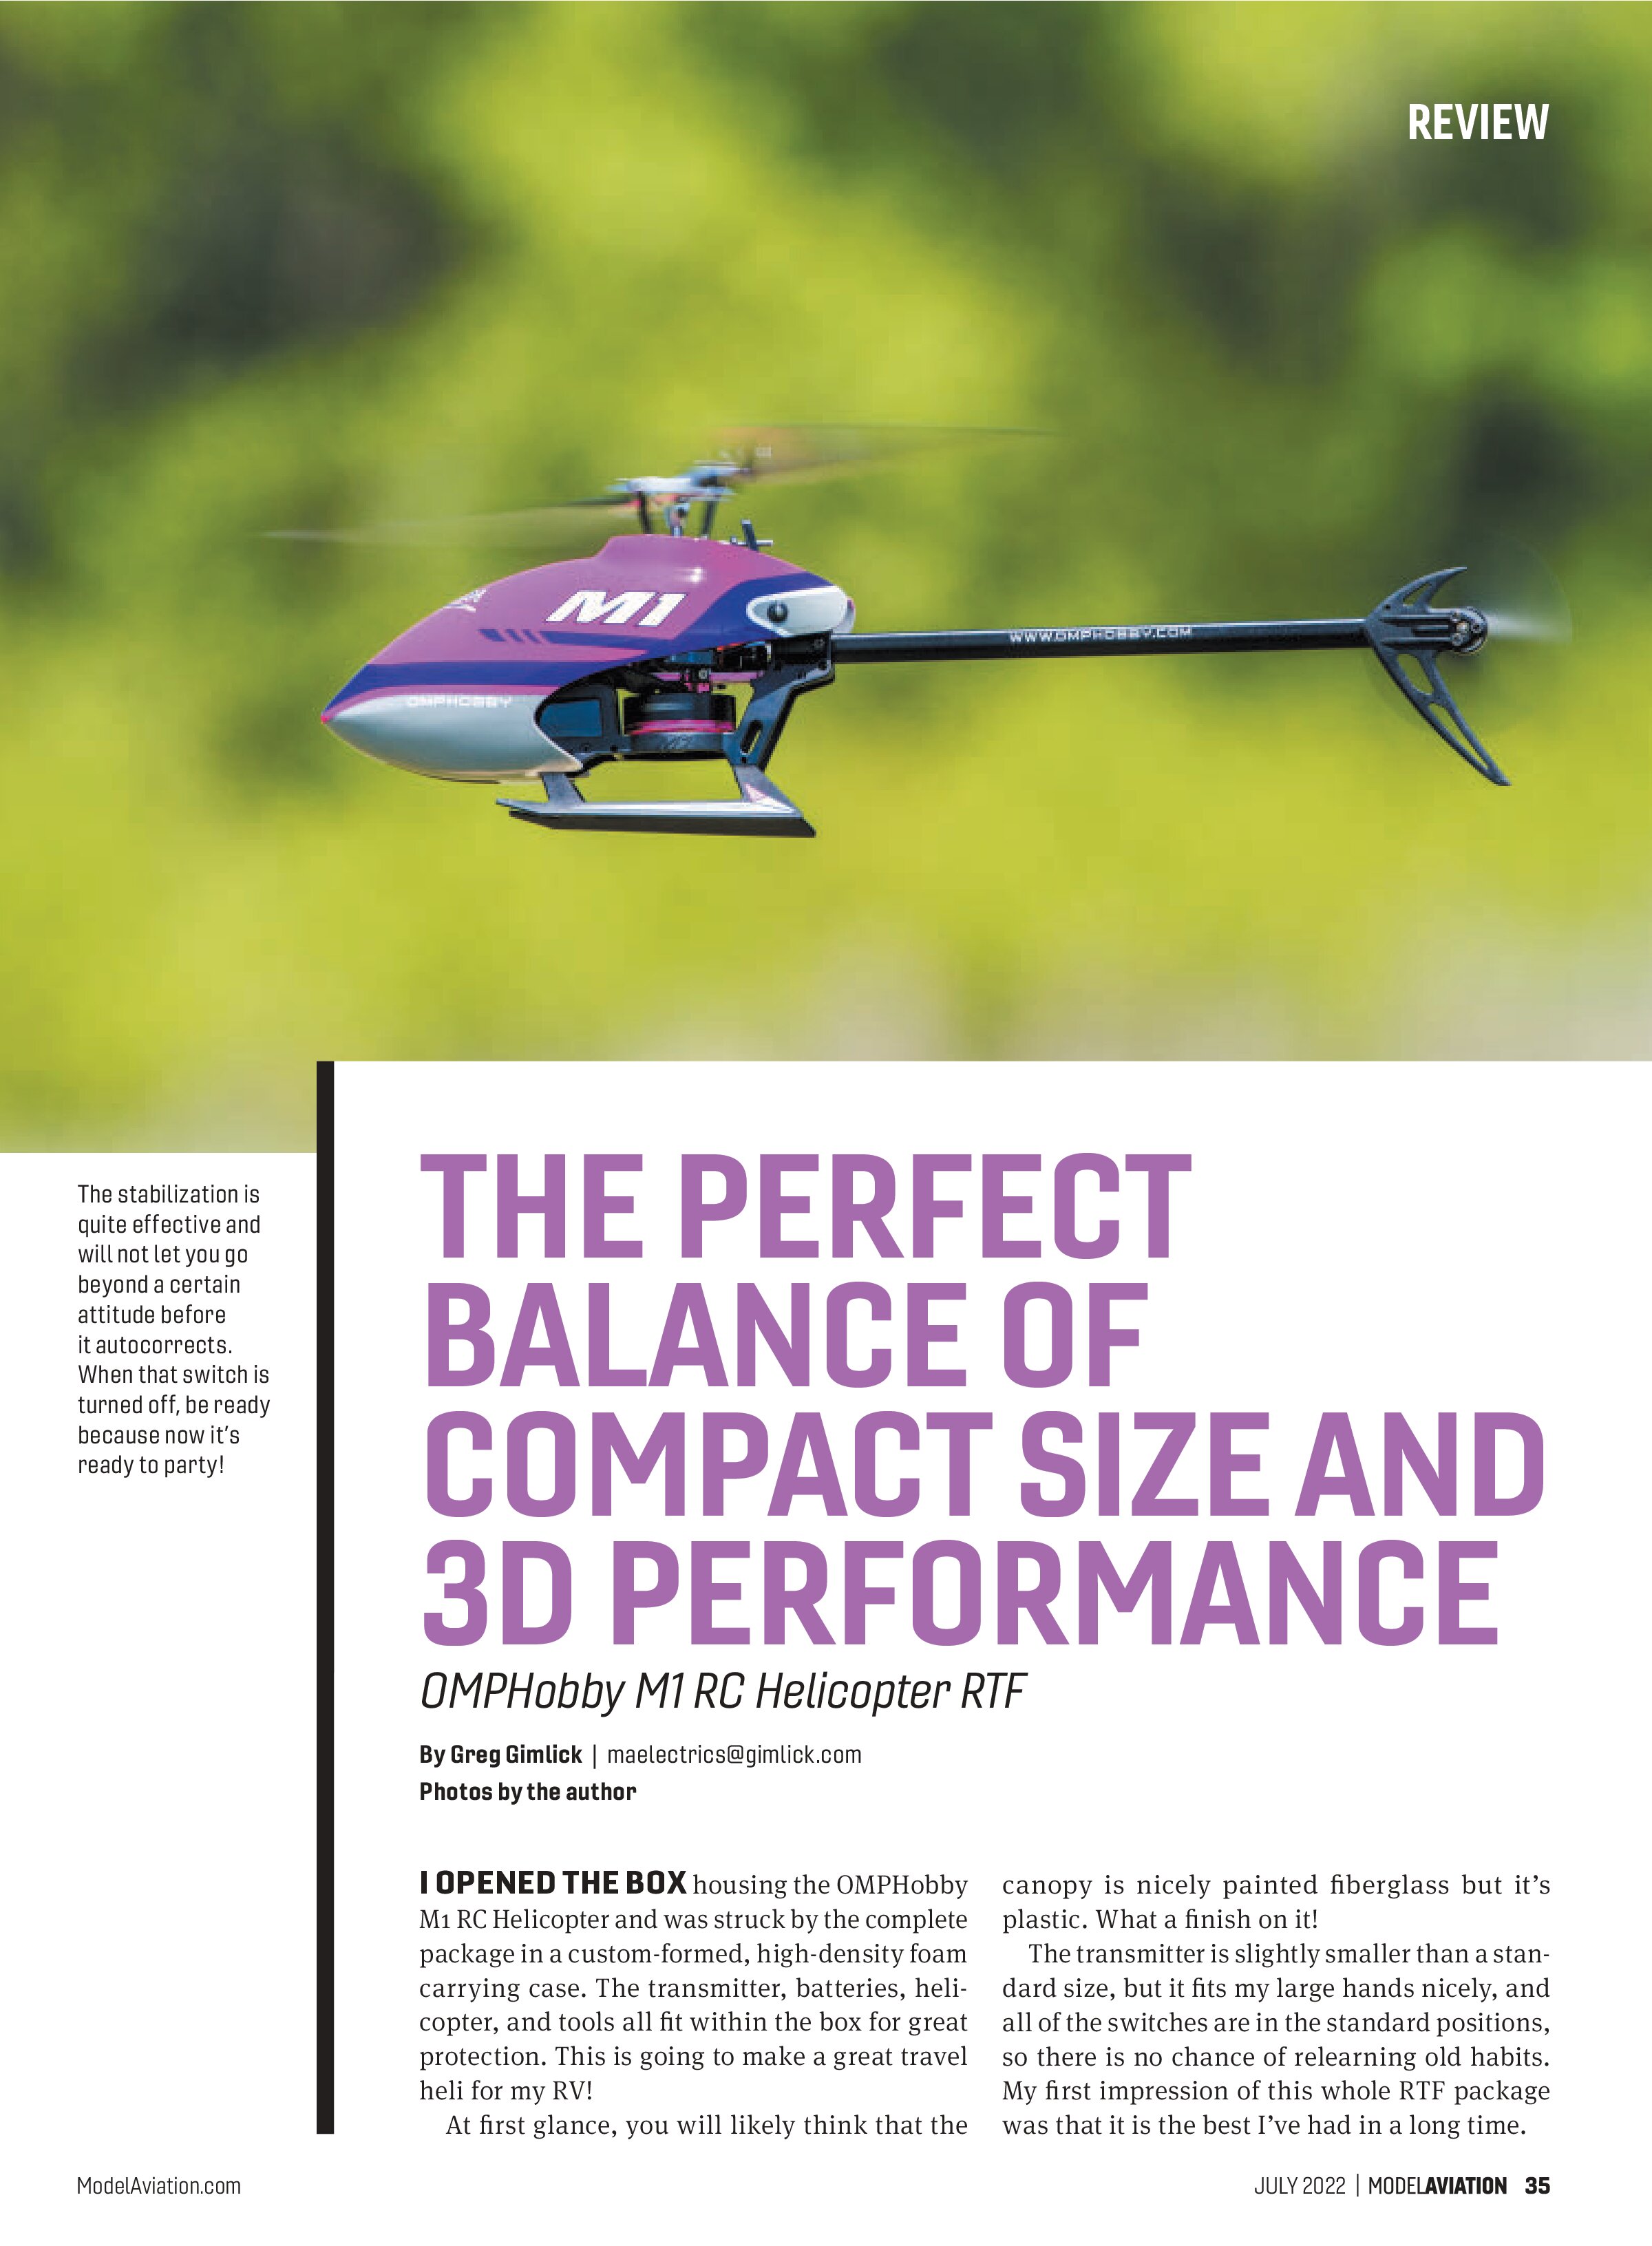
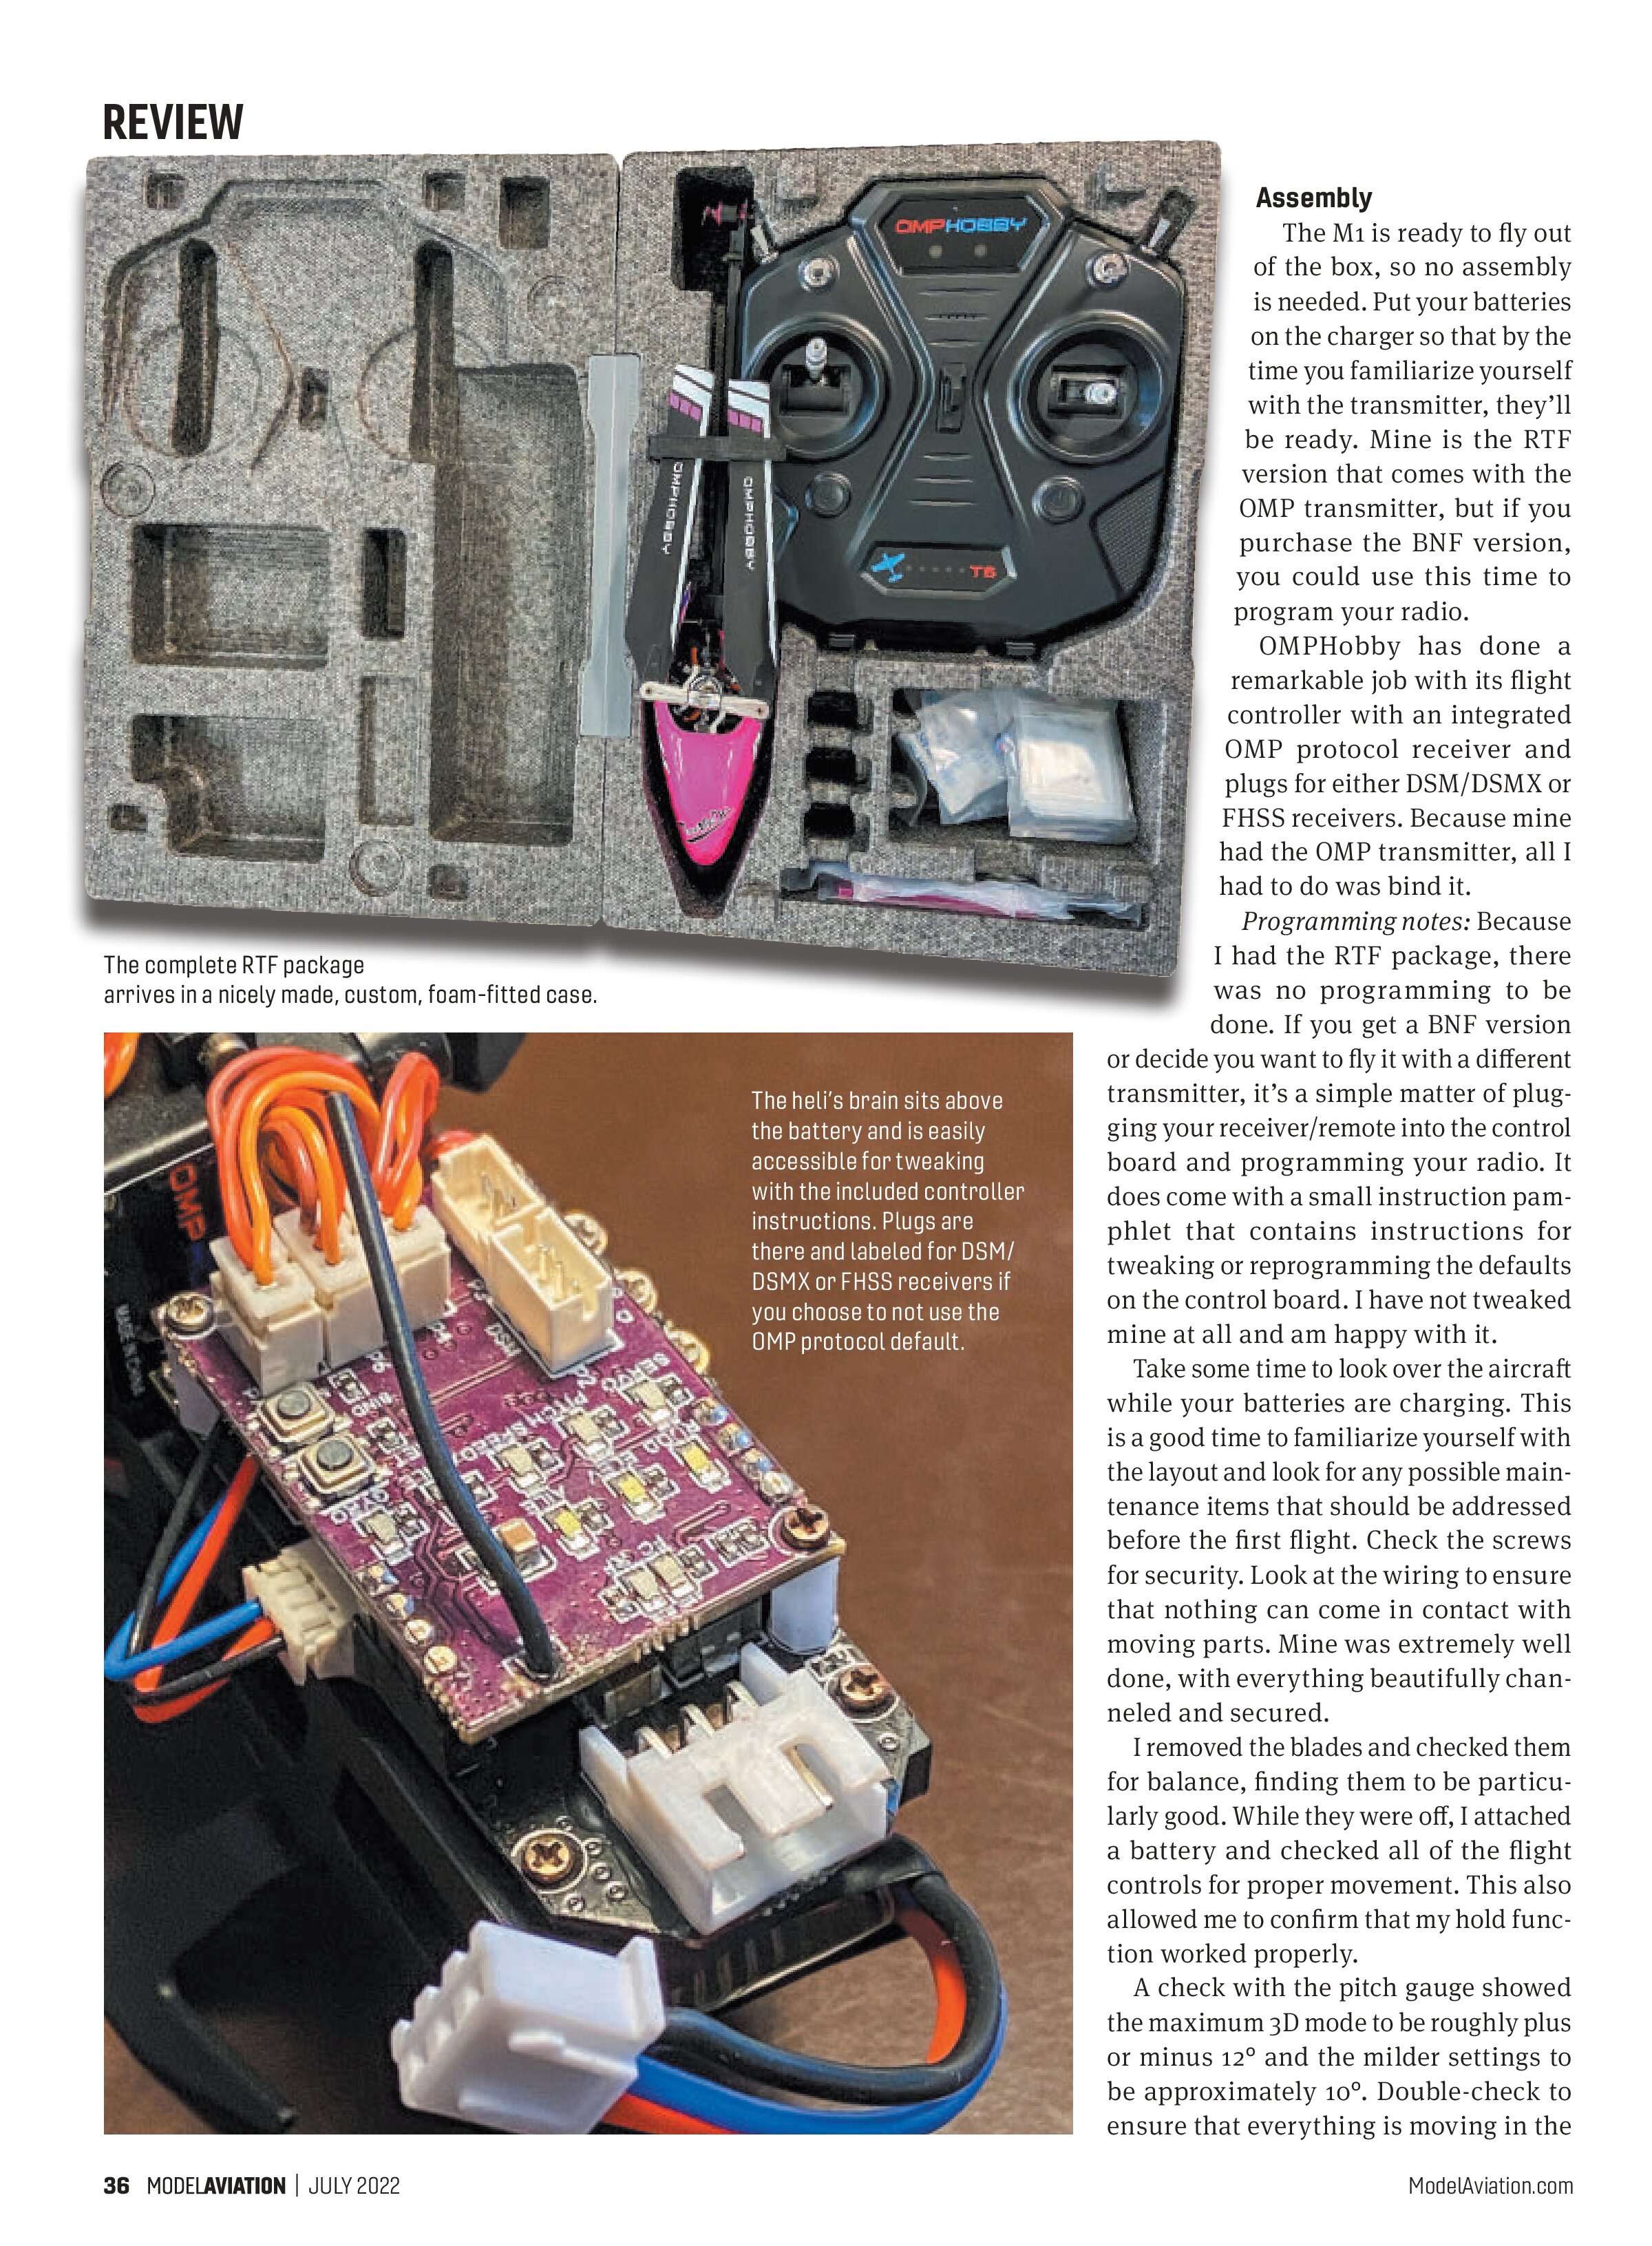
I OPENED THE BOX housing the OMPHobby M1 RC Helicopter and was struck by the complete package in a custom-formed, high-density foam carrying case. The transmitter, batteries, helicopter, and tools all fit within the box for great protection. This is going to make a great travel heli for my RV!
At first glance, you will likely think that the canopy is nicely painted fiberglass but it’s plastic. What a finish on it!
The transmitter is slightly smaller than a standard size, but it fits my large hands nicely, and all of the switches are in the standard positions, so there is no chance of relearning old habits. My first impression of this whole RTF package was that it is the best I’ve had in a long time.
Assembly
The M1 is ready to fly out of the box, so no assembly is needed. Put your batteries on the charger so that by the time you familiarize yourself with the transmitter, they’ll be ready. Mine is the RTF version that comes with the OMP transmitter, but if you purchase the BNF version, you could use this time to program your radio.
OMPHobby has done a remarkable job with its flight controller with an integrated OMP protocol receiver and plugs for either DSM/DSMX or FHSS receivers. Because mine had the OMP transmitter, all I had to do was bind it.
Programming notes: Because I had the RTF package, there was no programming to be done. If you get a BNF version or decide you want to fly it with a different transmitter, it’s a simple matter of plugging your receiver/remote into the control board and programming your radio. It does come with a small instruction pamphlet that contains instructions for tweaking or reprogramming the defaults on the control board. I have not tweaked mine at all and am happy with it.
Take some time to look over the aircraft while your batteries are charging. This is a good time to familiarize yourself with the layout and look for any possible maintenance items that should be addressed before the first flight. Check the screws for security. Look at the wiring to ensure that nothing can come in contact with moving parts. Mine was extremely well done, with everything beautifully channeled and secured.
I removed the blades and checked them for balance, finding them to be particularly good. While they were off, I attached a battery and checked all of the flight controls for proper movement. This also allowed me to confirm that my hold function worked properly.
A check with the pitch gauge showed the maximum 3D mode to be roughly plus or minus 12° and the milder settings to be approximately 10°. Double-check to ensure that everything is moving in the proper direction. I didn’t find anything that needed changing, but it’s good to know that ahead of the first test flight.

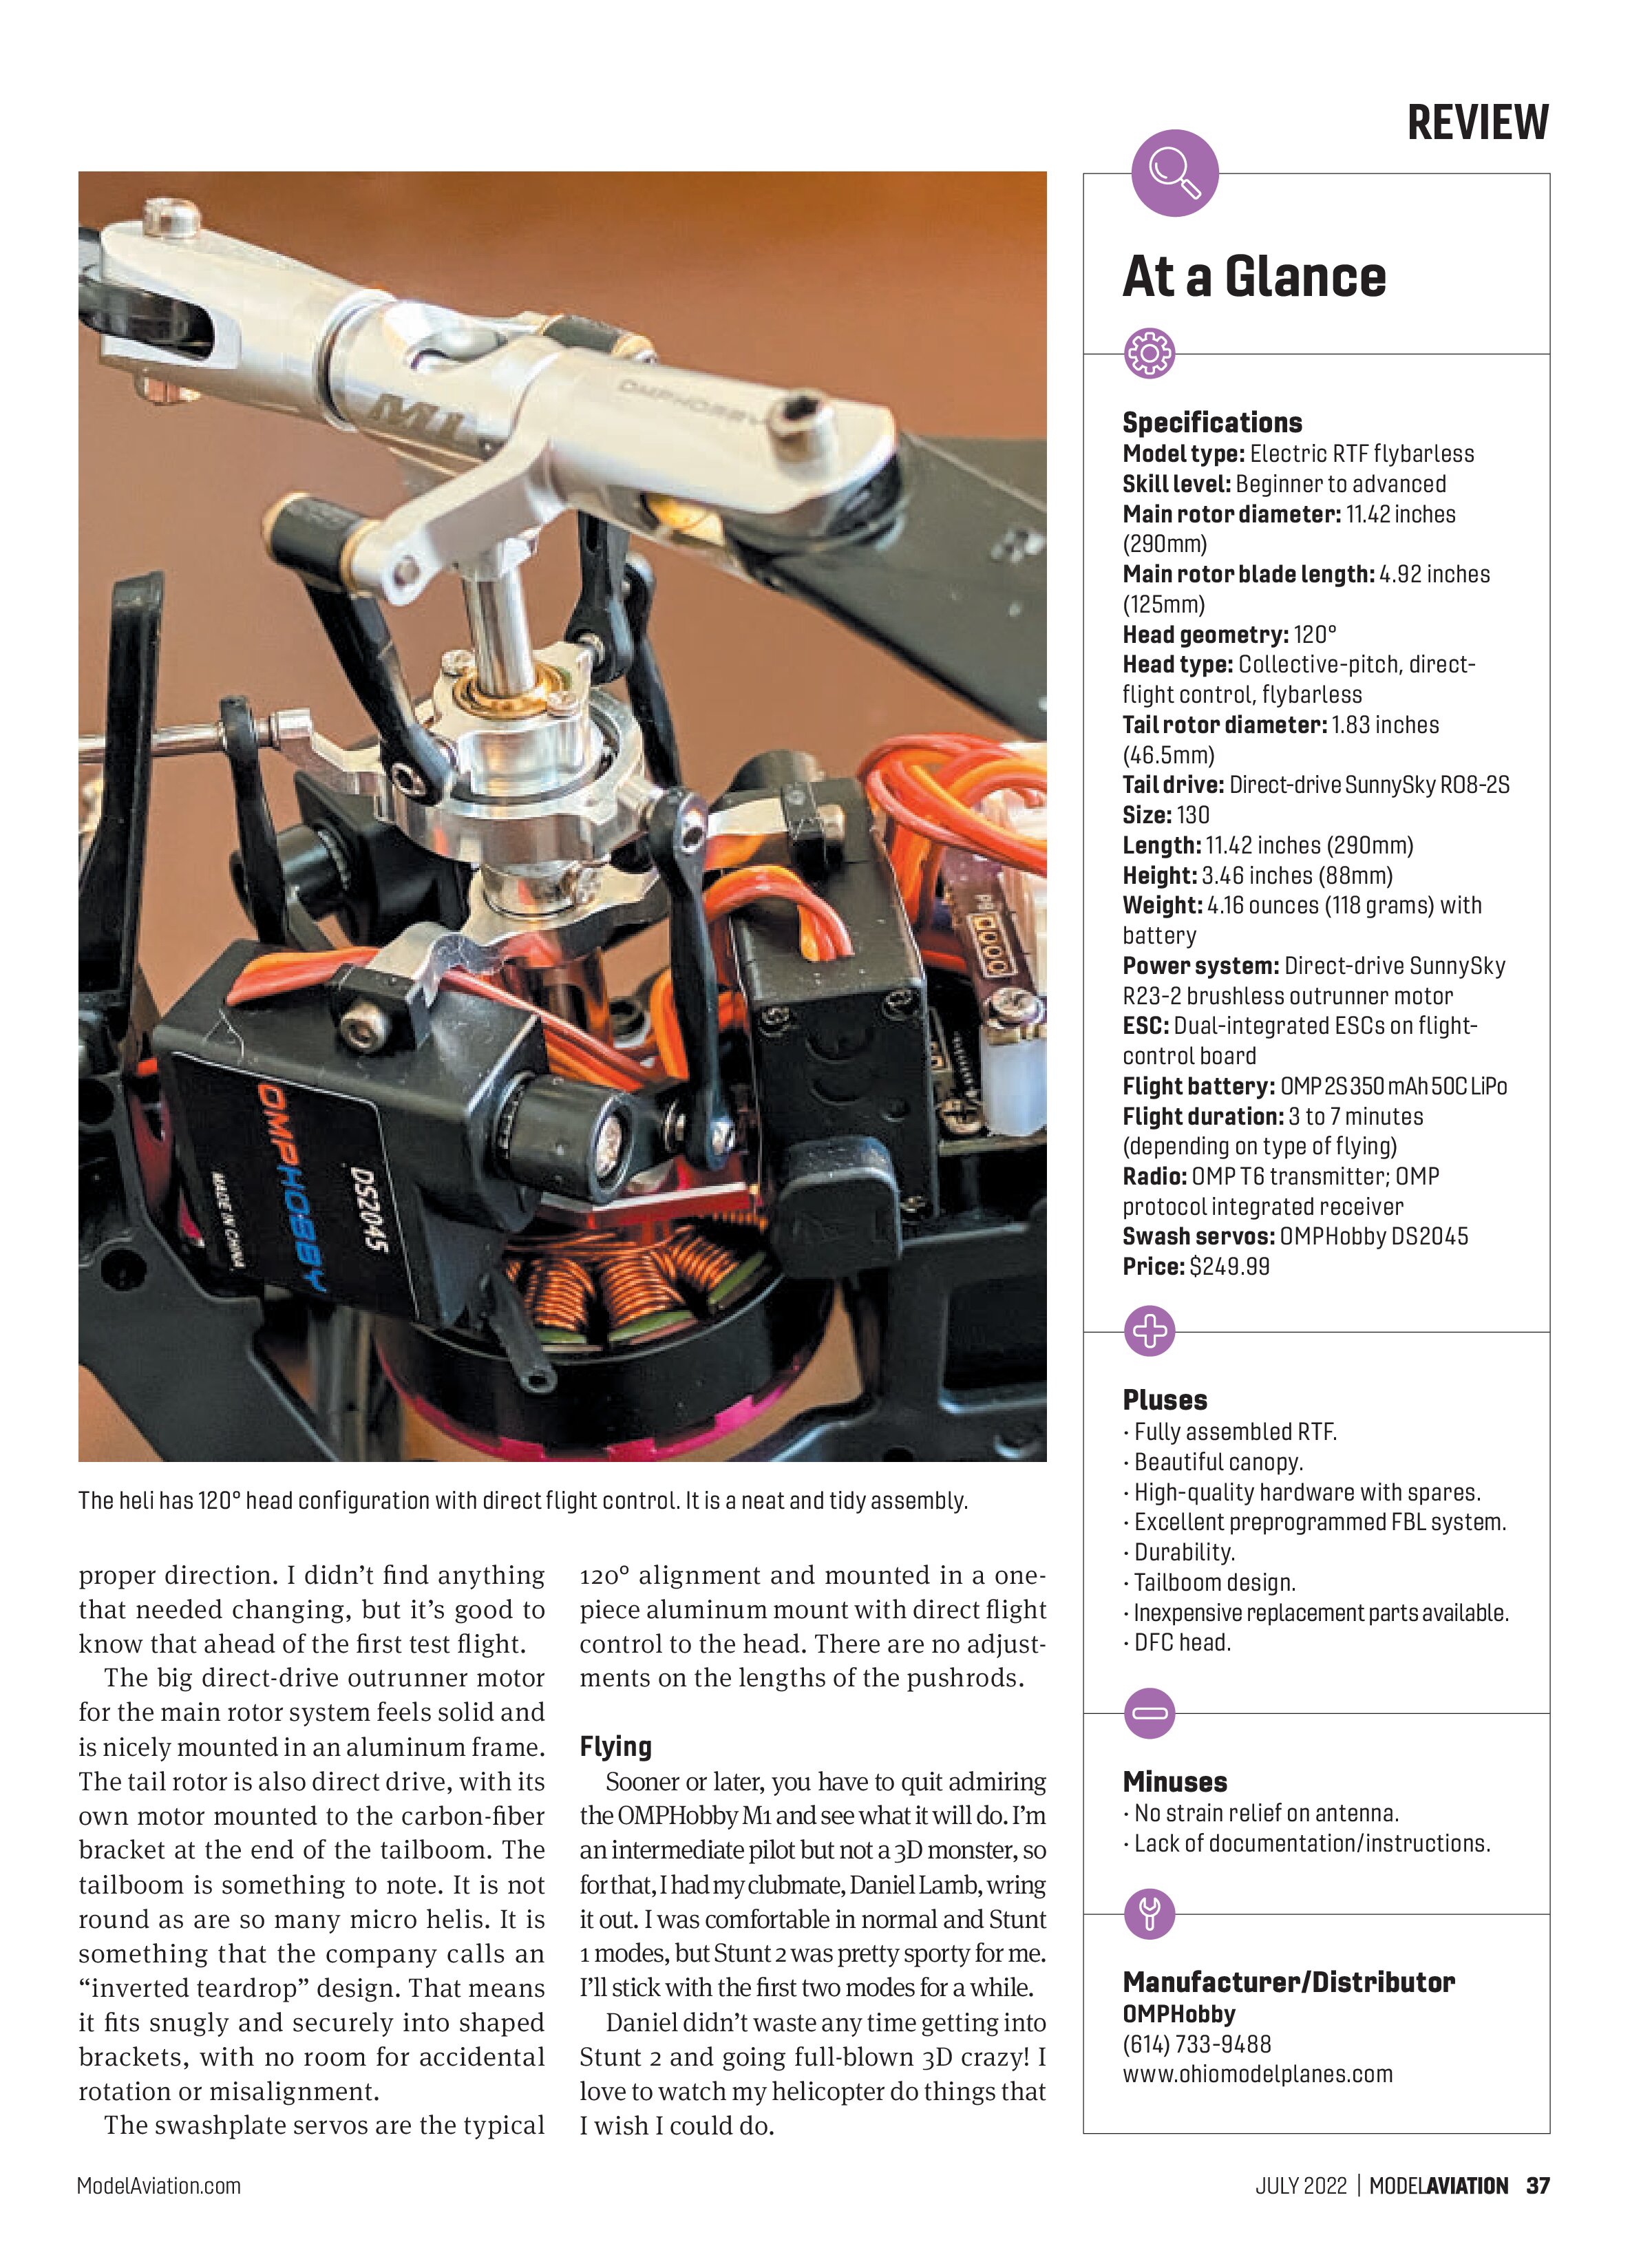
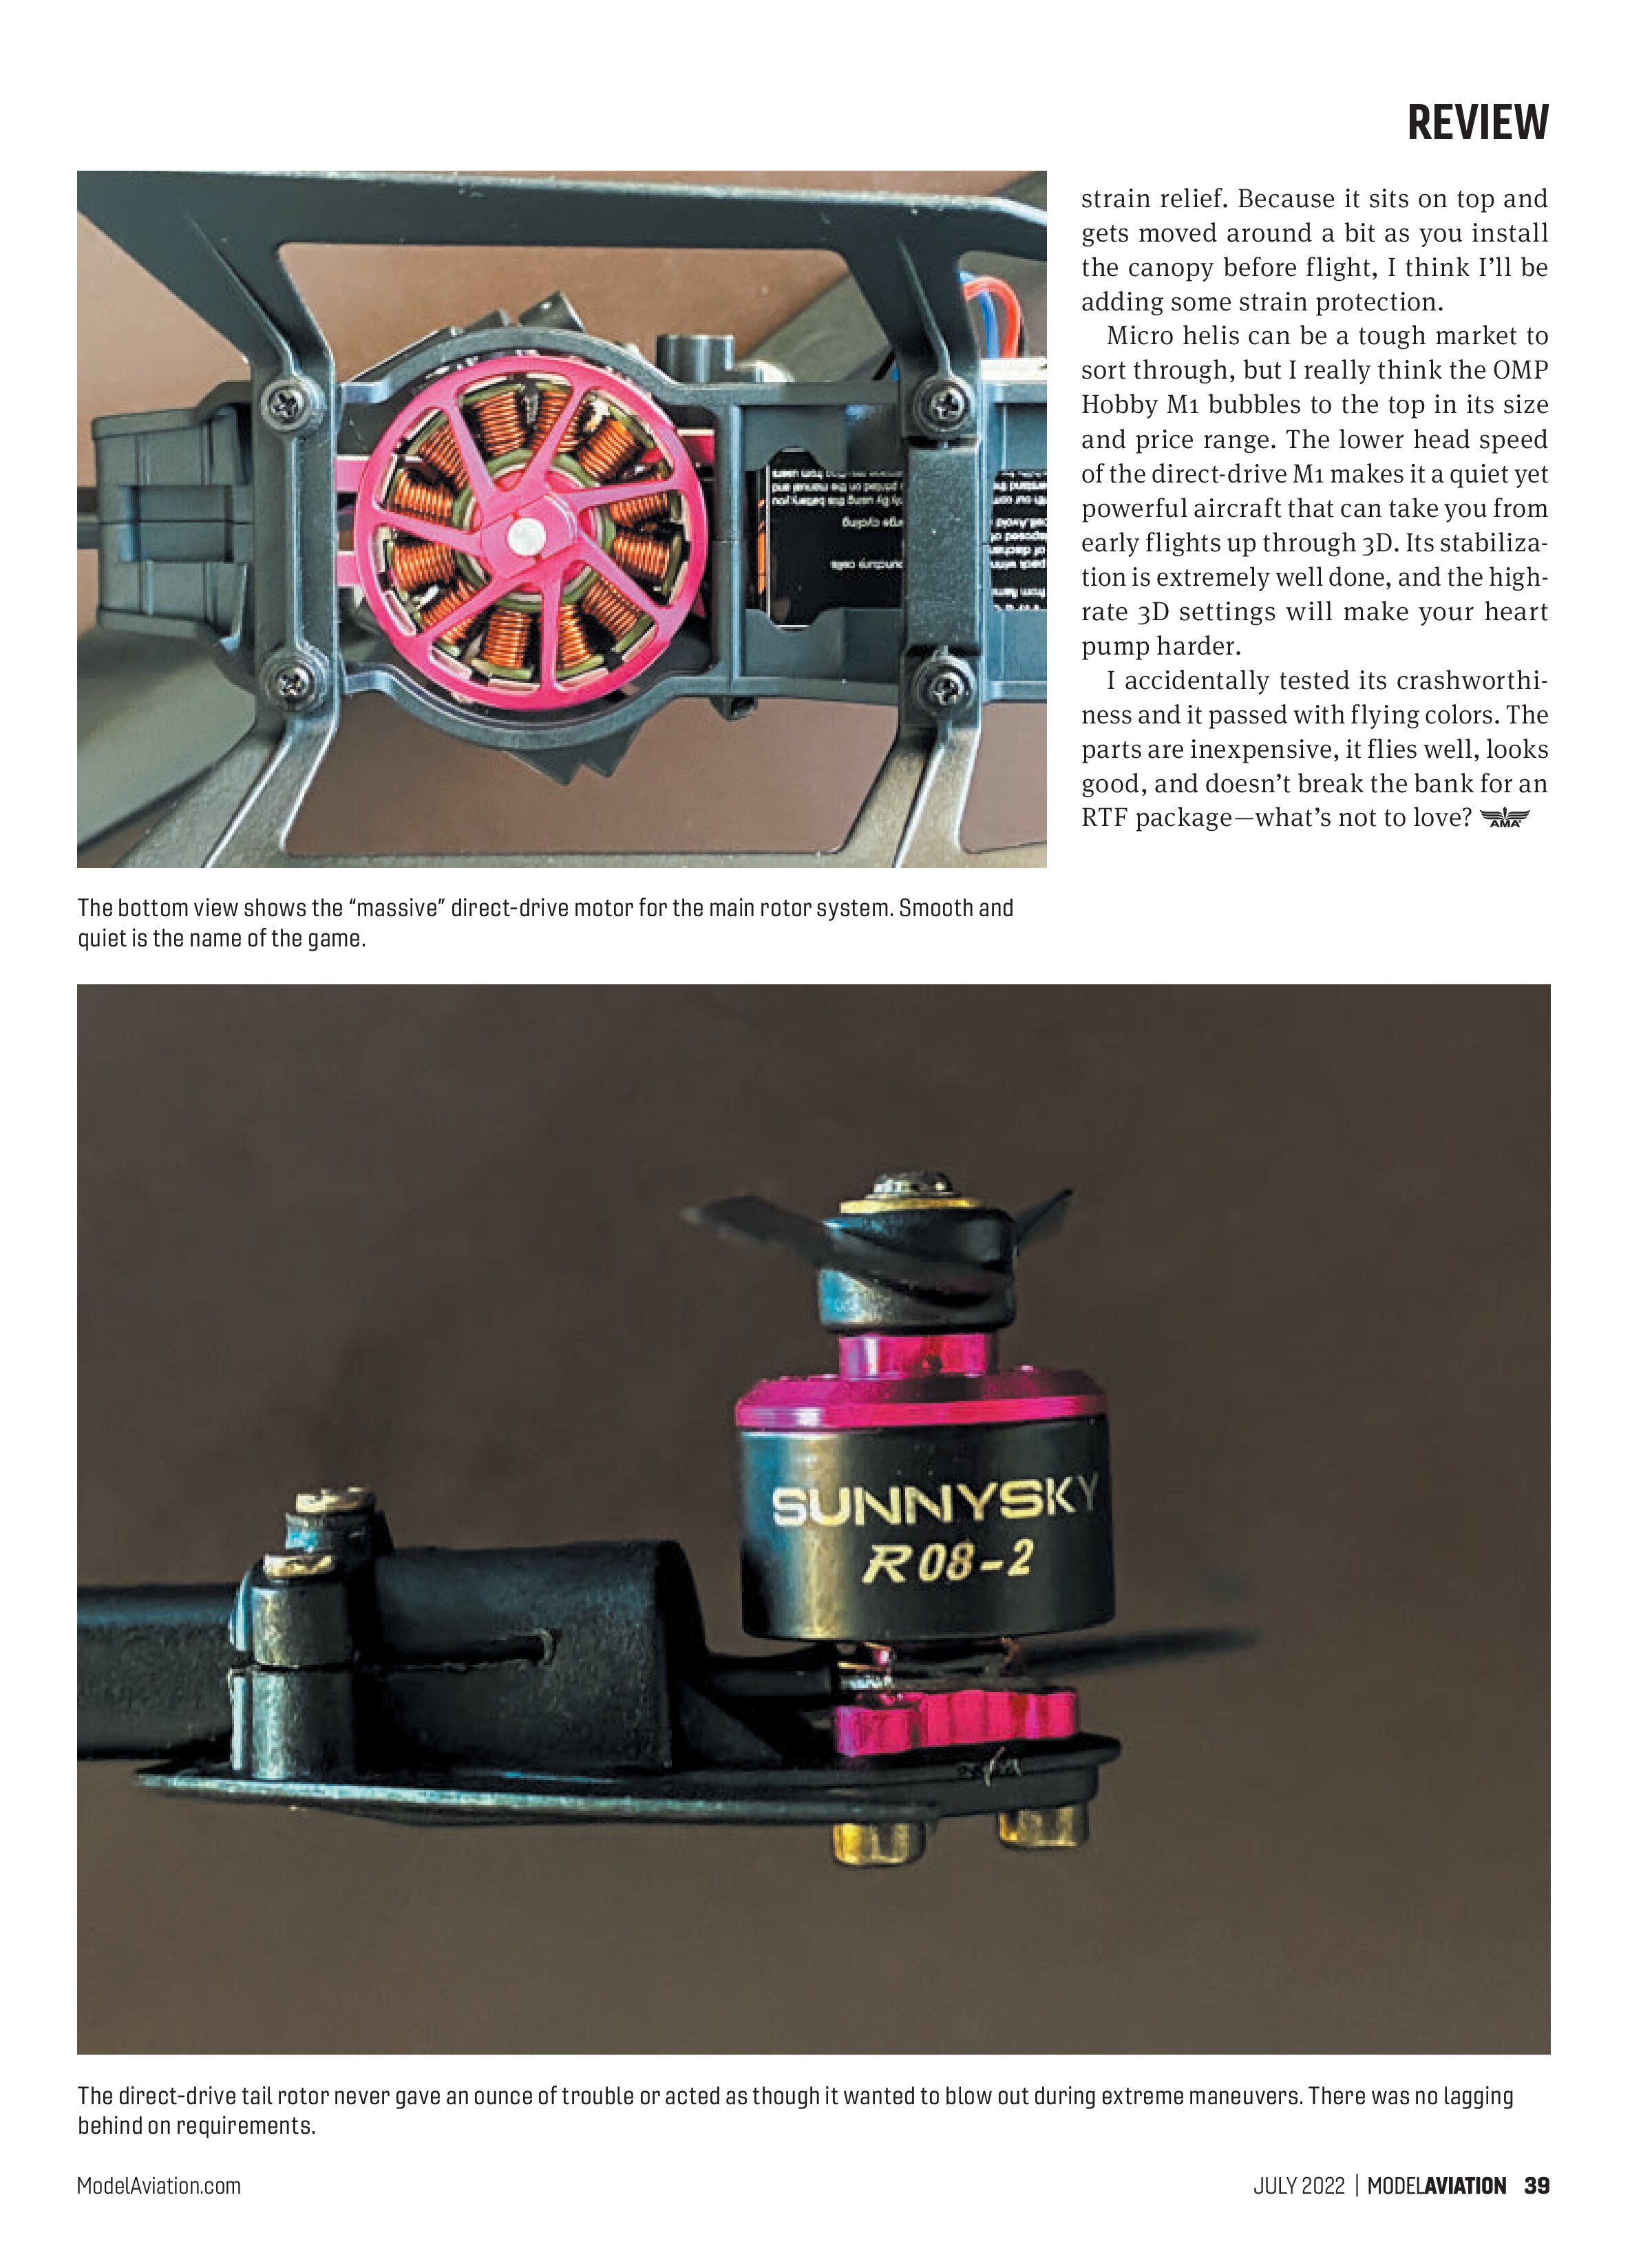
The big direct-drive outrunner motor for the main rotor system feels solid and is nicely mounted in an aluminum frame. The tail rotor is also direct drive, with its own motor mounted to the carbon-fiber bracket at the end of the tailboom. The tailboom is something to note. It is not round as are so many micro helis. It is something that the company calls an “inverted teardrop” design. That means it fits snugly and securely into shaped brackets, with no room for accidental rotation or misalignment.
The swashplate servos are the typical 120° alignment and mounted in a one-piece aluminum mount with direct flight control to the head. There are no adjustments on the lengths of the pushrods.

proper direction. I didn’t find anything that needed changing, but it’s good to know that ahead of the first test flight.
The big direct-drive outrunner motor for the main rotor system feels solid and is nicely mounted in an aluminum frame. The tail rotor is also direct drive, with its own motor mounted to the carbon-fiber bracket at the end of the tailboom. The tailboom is something to note. It is not round as are so many micro helis. It is something that the company calls an “inverted teardrop” design. That means it fits snugly and securely into shaped brackets, with no room for accidental rotation or misalignment.
The swashplate servos are the typical 120° alignment and mounted in a one-piece aluminum mount with direct flight control to the head. There are no adjustments on the lengths of the pushrods.
Flying
Sooner or later, you have to quit admiring the OMPHobby M1 and see what it will do. I’m an intermediate pilot but not a 3D monster, so for that, I had my clubmate, Daniel Lamb, wring it out. I was comfortable in normal and Stunt 1 modes, but Stunt 2 was pretty sporty for me. I’ll stick with the first two modes for a while.
Daniel didn’t waste any time getting into Stunt 2 and going full-blown 3D crazy! I love to watch my helicopter do things that I wish I could do.
At a Glance
Specifications
Model type: Electric RTF flybarless
Skill level: Beginner to advanced
Main rotor diameter: 11.42 inches (290mm)
Main rotor blade length: 4.92 inches (125mm)
Head geometry: 120°
Head type: Collective-pitch, direct-flight control, flybarless
Tail rotor diameter: 1.83 inches (46.5mm)
Tail drive: Direct-drive SunnySky R08-2S
Size: 130
Length: 11.42 inches (290mm)
Height: 3.46 inches (88mm)
Weight: 4.16 ounces (118 grams) with battery
Power system: Direct-drive SunnySky R23-2 brushless outrunner motor
ESC: Dual-integrated ESCs on flight-control board
Flight battery: OMP 2S 350 mAh 50C LiPo
Flight duration: 3 to 7 minutes (depending on type of flying)
Radio: OMP T6 transmitter; OMP protocol integrated receiver
Swash servos: OMPHobby DS2045
Price: $249.99
Pluses
- Fully assembled RTF.
- Beautiful canopy.
- High-quality hardware with spares.
- Excellent preprogrammed FBL system.
- Durability.
- Tailboom design.
- Inexpensive replacement parts available.
- DFC head.
Minuses
- No strain relief on antenna.
- Lack of documentation/instructions.
Manufacturer/Distributor
OMPHobby
(614) 733-9488
www.ohiomodelplanes.com


If you’re not comfortable flying a 3D-capable aircraft, it might be prudent to have an experienced pilot make the initial test flight. Nothing needed to be tweaked on mine and there were no surprises. For my flying style, I found all of the factory-set parameters to be more than sufficient.
For Daniel’s 3D work and awareness of the “feel” of the heli, he experimented with combinations of modes and rates and tuned it to his liking. The stock aircraft provides solid initial programming that does everything well.
There is more than enough power to perform any maneuver you can think of, and the tail held well throughout the routines. My flights go a little longer because I’m not demanding as much from the battery as Daniel does flying 3D, but duration for both flying styles is more than adequate. I didn’t encounter any tail wag or blowouts during my flights, and Daniel was impressed with it despite his much higher demands on the system.
One thing that stood out after flying my other helis of this size is that the head speed is significantly lower. I like the lower head speeds that some of the newer helis are using, although you might first think that it’s not spooling up the way it needs to. The sound is different—this is a quiet heli! The power is there though, and it will impress you with its capabilities in all modes.
The stabilization is quite effective and will not let you go beyond a certain attitude before it autocorrects. When that switch is turned off, be ready because now it’s ready to party!
Takeoff Tip
Many of the micro helis are touchy to get off the ground and if you don’t do an incredibly positive popup, they often “chicken dance” themselves over on their sides. The M1 didn’t really exhibit this tendency to that extreme, but it could be challenging to do a smooth, easy lift to a hover. We found this method to be effective for smooth takeoffs:
- Set the throttle hold on.
- Move the throttle/collective close to mid-stick position.
- Turn the throttle hold off.
- Flip to Idle-1 and allow it to spool up.
- Increase collective for a smooth liftoff.
It might sound odd, but by being in the mid-stick position with little to no negative pitch in the blades, it skipped the chicken dance and smoothly lifted to a hover.
Crash Tested
Ugh, nobody wants to crash—especially a new helicopter—but eventually we all do. The good news is that replacement parts are readily available and inexpensive—I mean really inexpensive. On one of our video flights, Daniel was doing Tic-Tocs and was so low to the ground that he managed to back it into the turf. It hit on the tail fin and blades and flopped over to the side before he could hit the hold switch.
We wandered up to the heli, discussing what damage we expected to find and what parts to order. Low and behold, we picked it up and looked it all over and didn’t see any damage. There was some dirt and such, but nothing was bent or broken. After a thorough going-over, Daniel set it on the ground and took off for a rousing 3D beating. It was dead on, with no vibrations or anything. Amazing!
Conclusion
I was a little frustrated at not having any instructions for the transmitter, but some searching online found that OMP’s website has some videos to help. It still doesn’t quite explain everything, but it was enough to get going.
There is a small manual for the flight controller that takes a bit of study to decipher, but the information is there. Better manuals for the package would have been appreciated. The antenna on the flight control board doesn’t have any sort of strain relief. Because it sits on top and gets moved around a bit as you install the canopy before flight, I think I’ll be adding some strain protection.
Micro helis can be a tough market to sort through, but I really think the OMP Hobby M1 bubbles to the top in its size and price range. The lower head speed of the direct-drive M1 makes it a quiet yet powerful aircraft that can take you from early flights up through 3D. Its stabilization is extremely well done, and the high-rate 3D settings will make your heart pump harder.
I accidentally tested its crashworthiness and it passed with flying colors. The parts are inexpensive, it flies well, looks good, and doesn’t break the bank for an RTF package—what’s not to love?
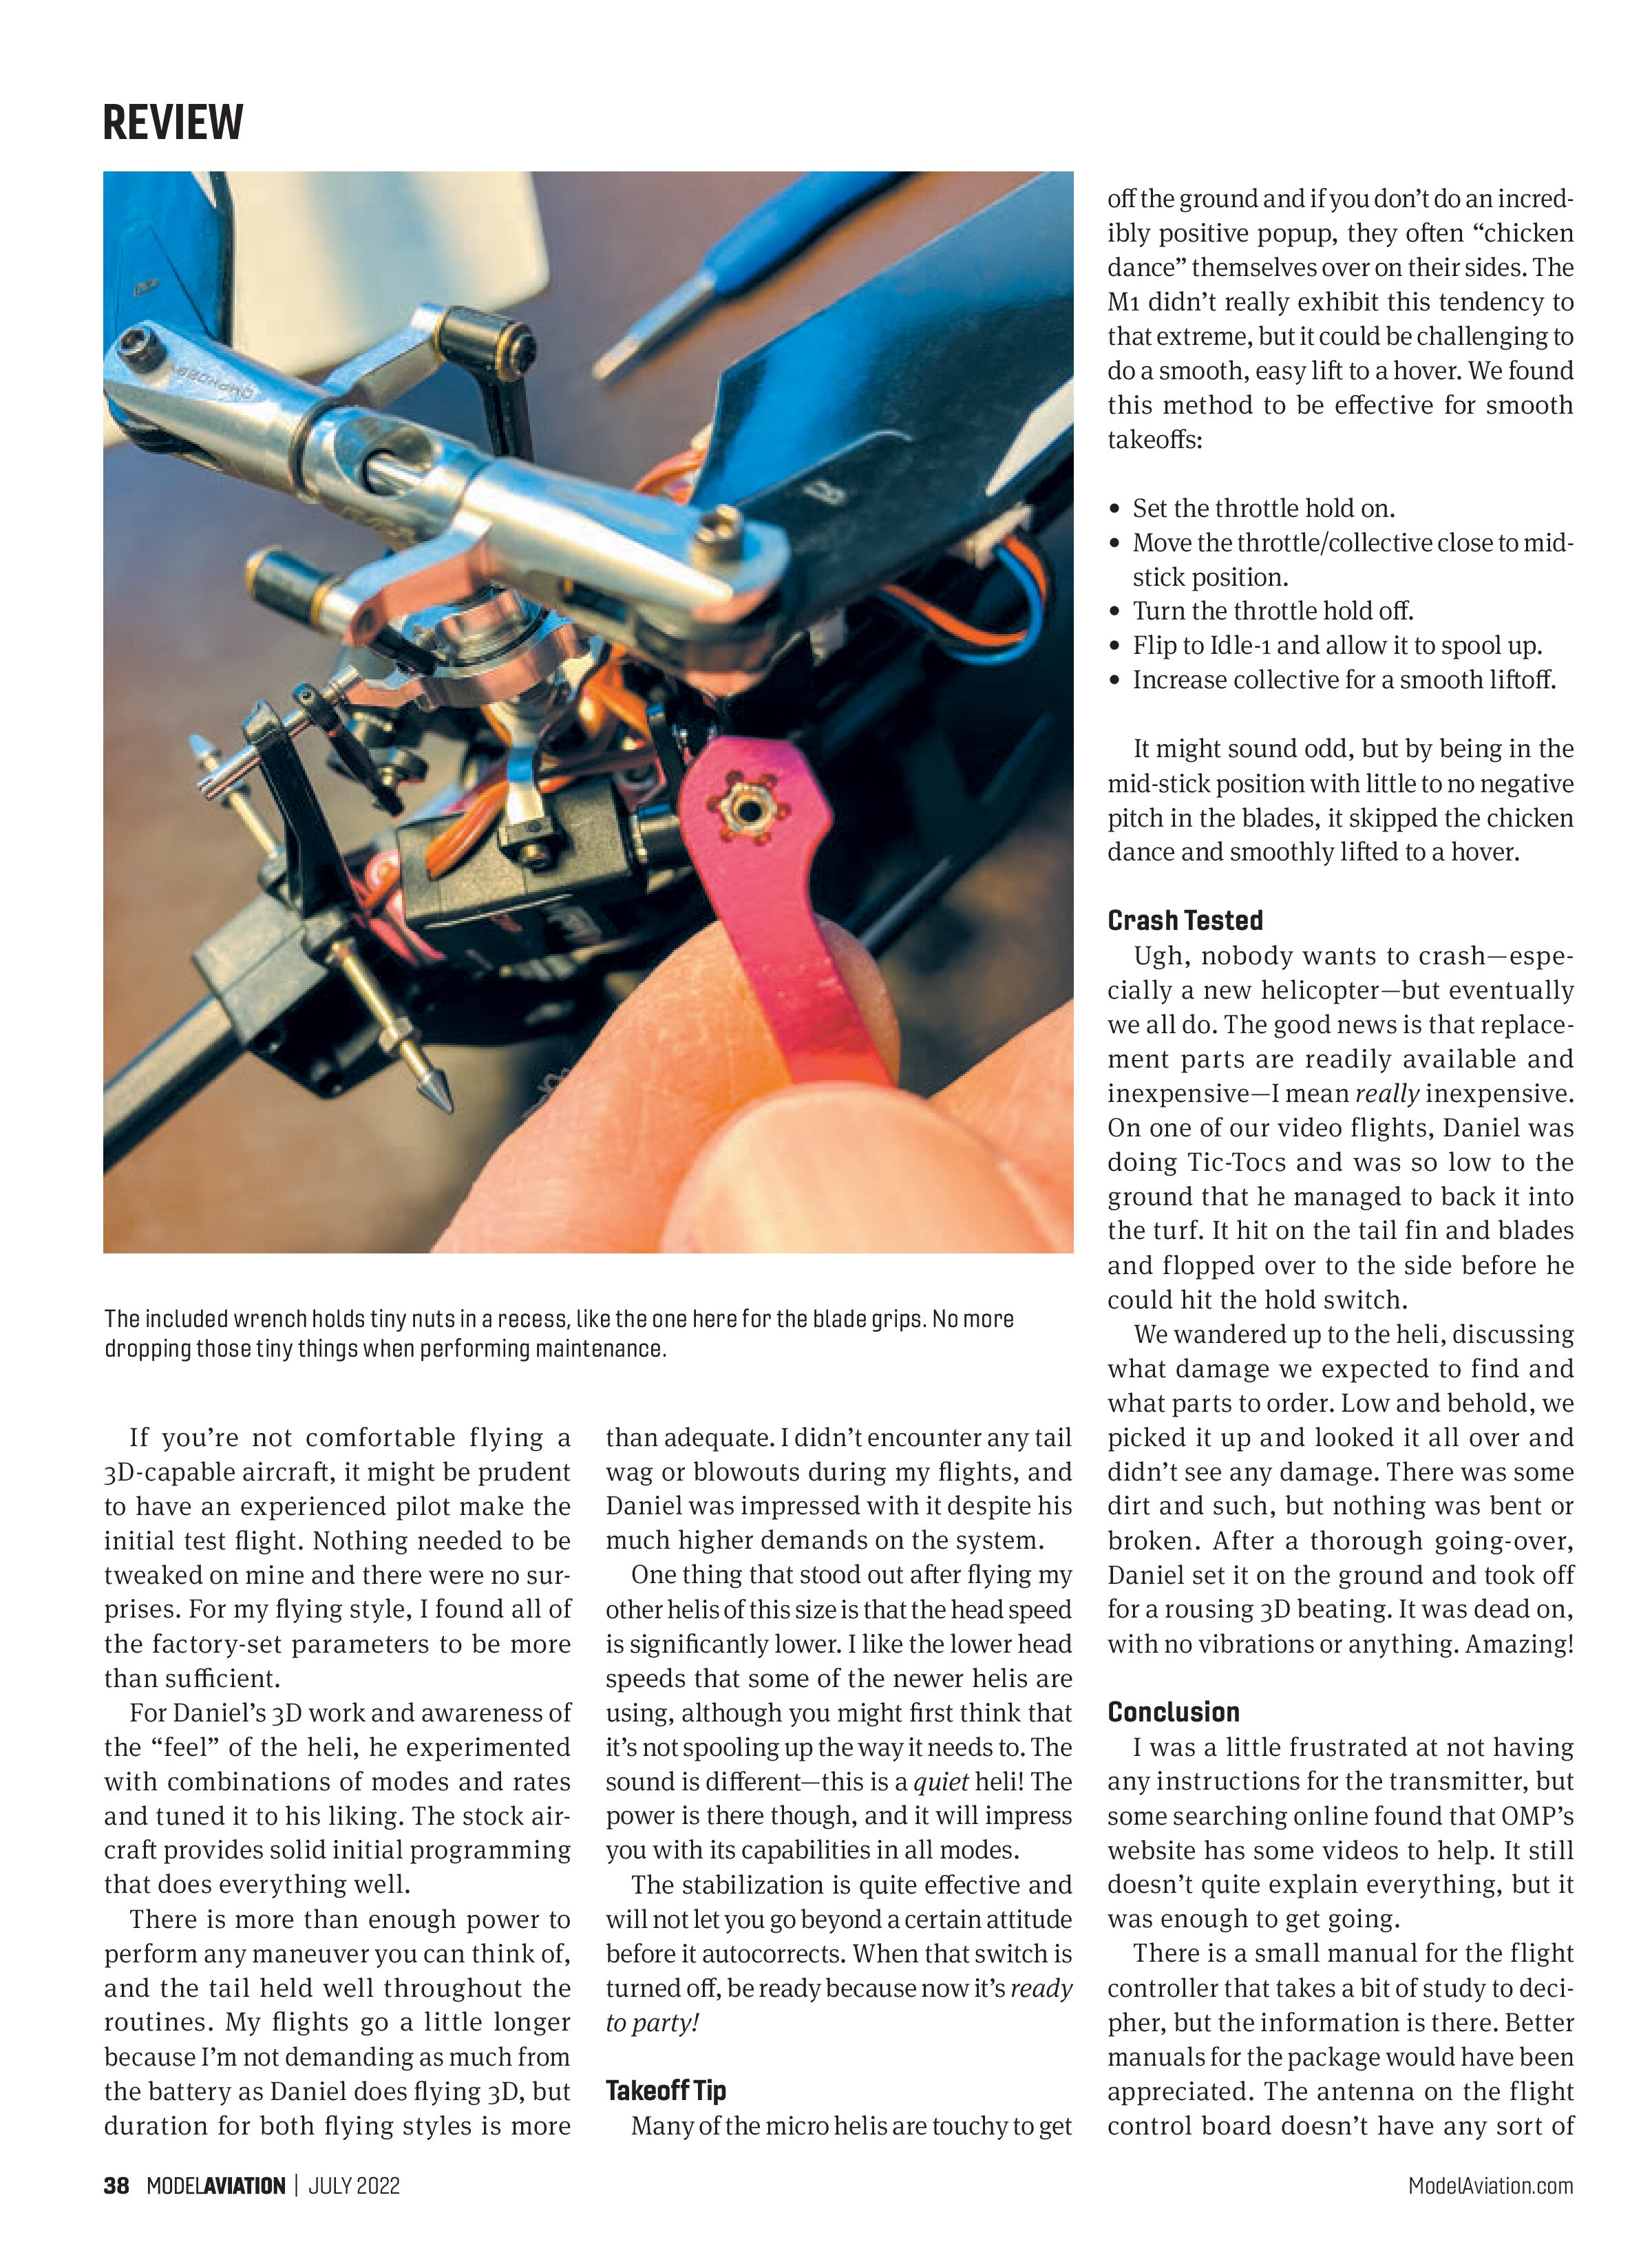
The included wrench holds tiny nuts in a recess, like the one here for the blade grips. No more dropping those tiny things when performing maintenance.