SMALL-FIELD FLYING
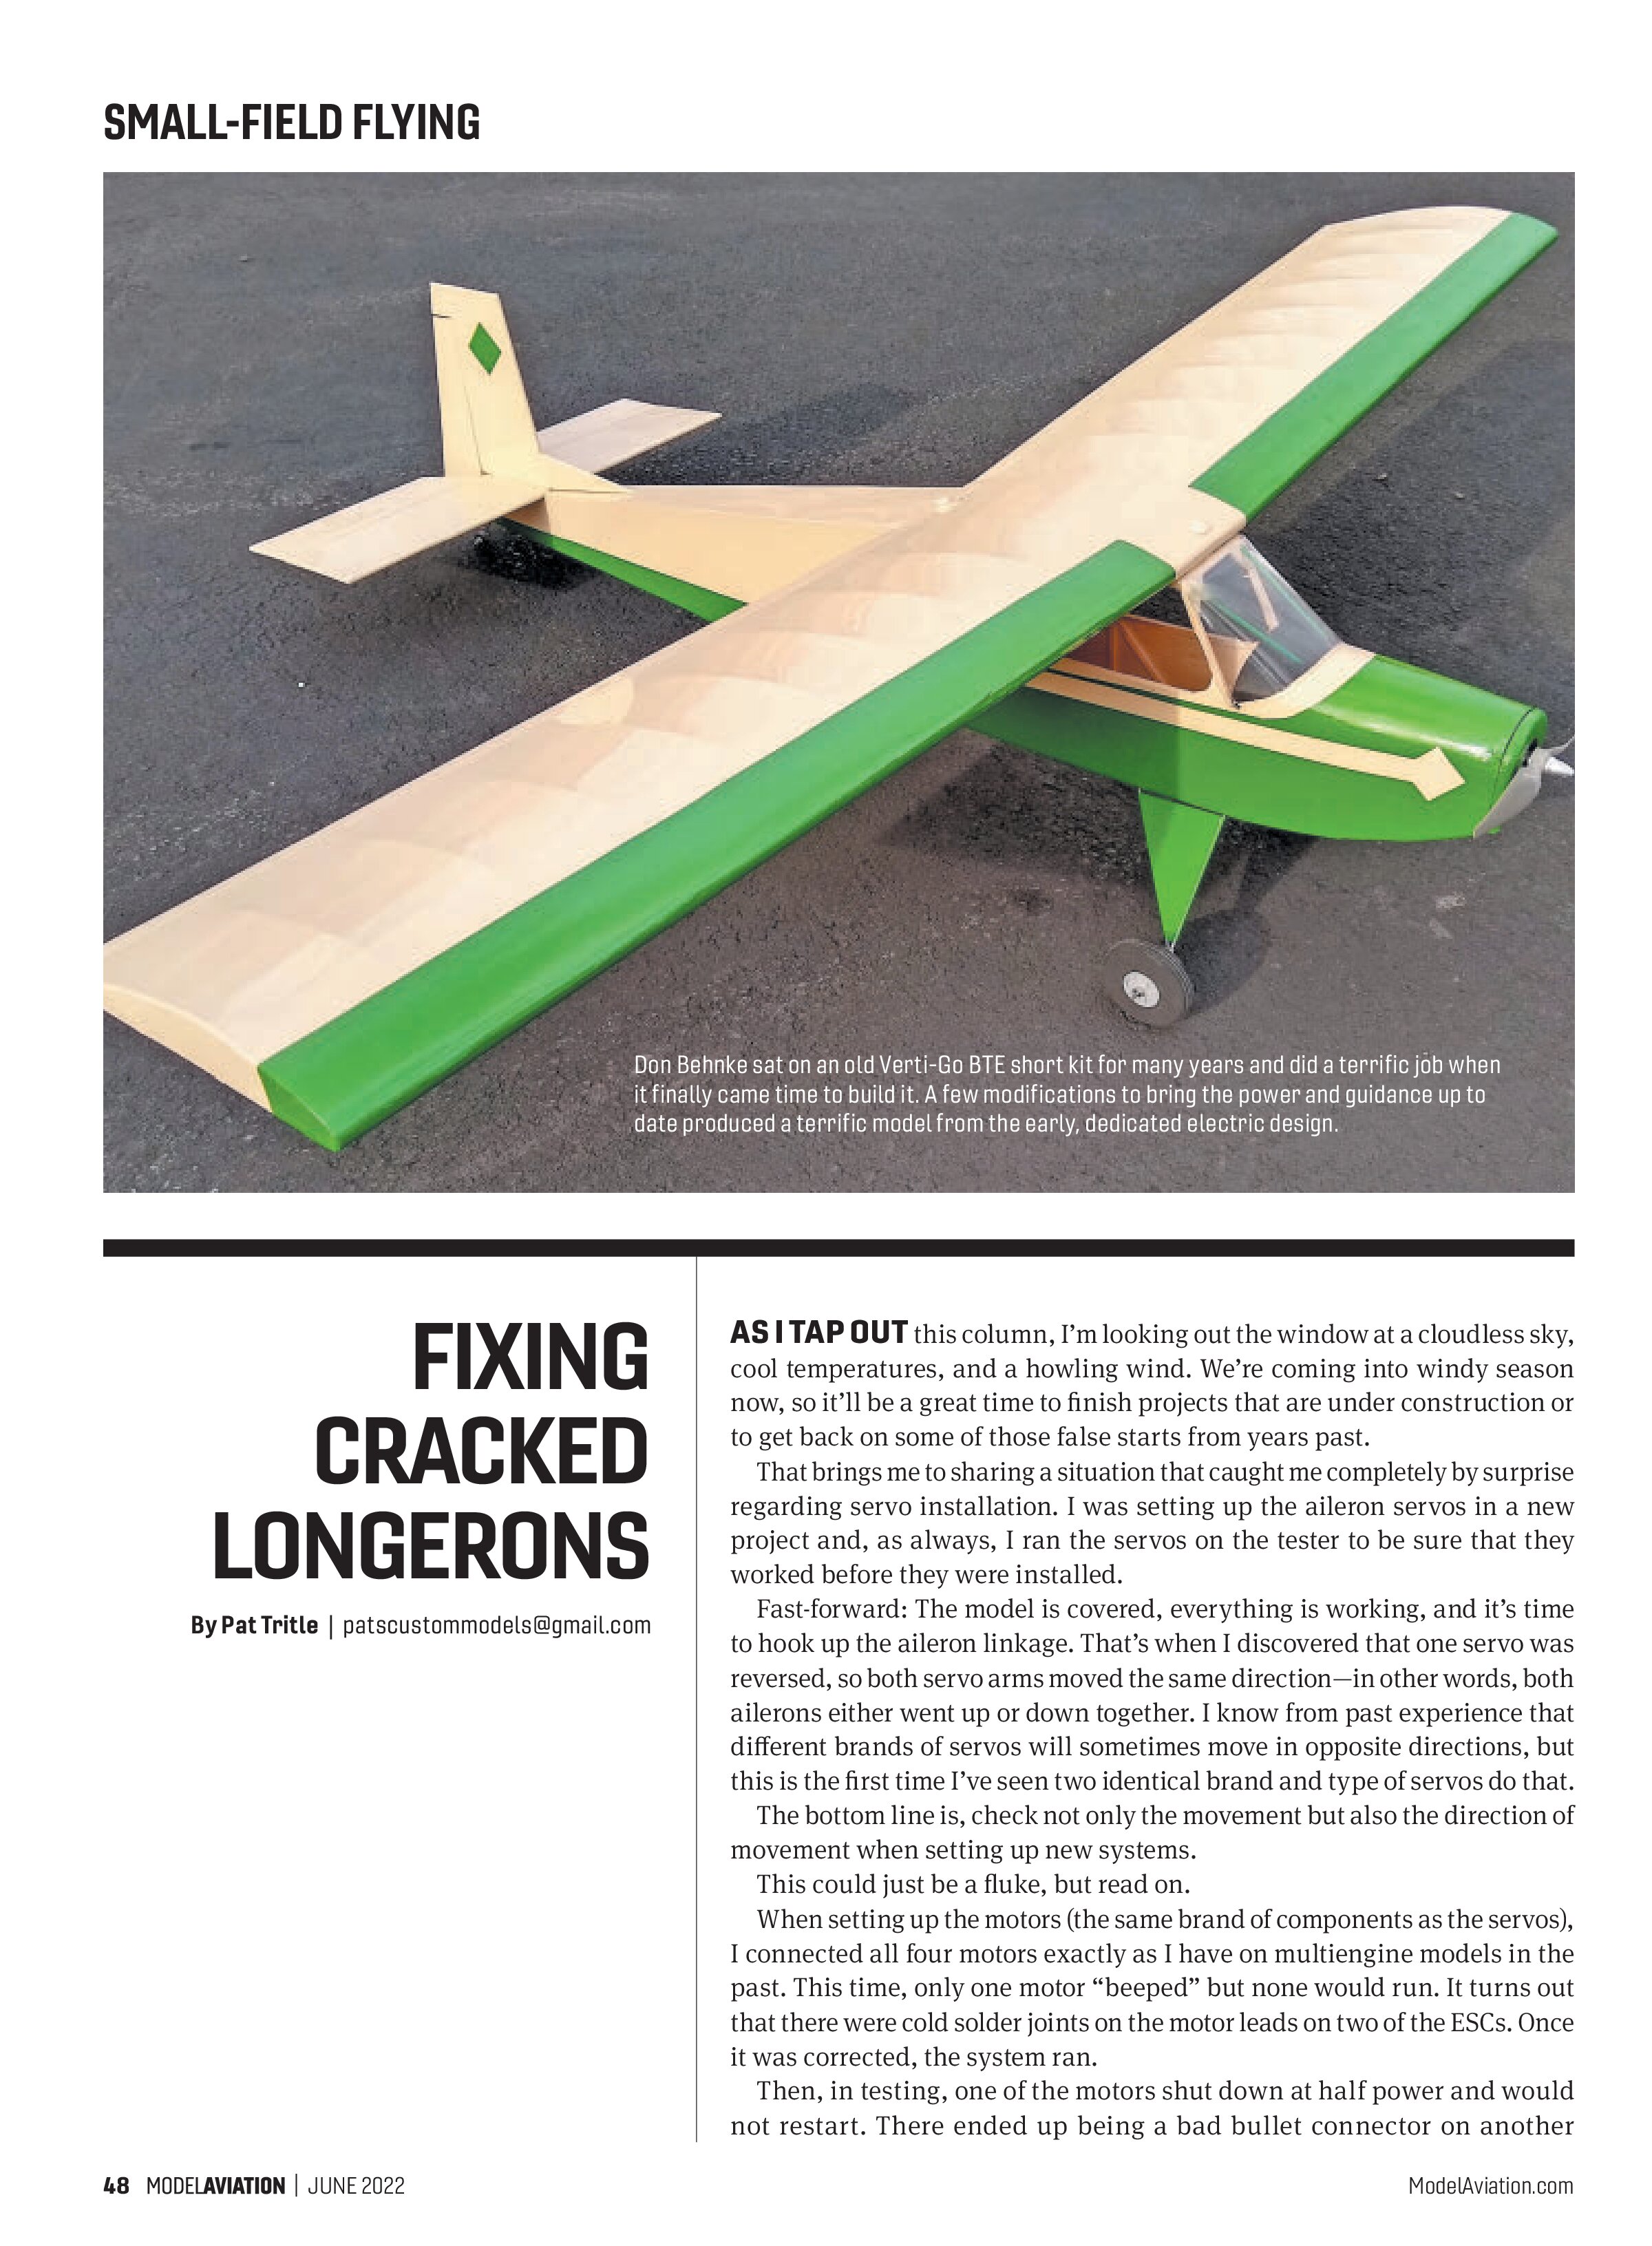
Don Behnke sat on an old Verti-Go BTE short kit for many years and did a terrific job when it finally came time to build it. A few modifications to bring the power and guidance up to date produced a terrific model from the early, dedicated electric design.
FIXING
CRACKED
LONGERONS
By Pat Tritle | patscustommodels@gmail.com
AS IT AP OUT this column, I’m looking out the window at a cloudless sky, cool temperatures, and a howling wind. We’re coming into windy season now, so it’ll be a great time to finish projects that are under construction or to get back on some of those false starts from years past.
That brings me to sharing a situation that caught me completely by surprise regarding servo installation. I was setting up the aileron servos in a new project and, as always, I ran the servos on the tester to be sure that they worked before they were installed.
Fast-forward: The model is covered, everything is working, and it’s time to hook up the aileron linkage. That’s when I discovered that one servo was reversed, so both servo arms moved the same direction—in other words, both ailerons either went up or down together. I know from past experience that different brands of servos will sometimes move in opposite directions, but this is the first time I’ve seen two identical brand and type of servos do that.
The bottom line is, check not only the movement but also the direction of movement when setting up new systems.
This could just be a fluke, but read on.
When setting up the motors (the same brand of components as the servos), I connected all four motors exactly as I have on multiengine models in the past. This time, only one motor “beeped” but none would run. It turns out that there were cold solder joints on the motor leads on two of the ESCs. Once it was corrected, the system ran.
Then, in testing, one of the motors shut down at half power and would not restart. There ended up being a bad bullet connector on another ESC—that’s three out of four now.
At this point, I’m not going to mention the manufacturer, but if the trend toward sloppy manufacturing, poor quality control, and substandard components continues, I definitely will to prevent others from having similar frustrations and possibly the loss of a model because of equipment failure.
On a Positive Note
I have a terrific variety of models this time around, so let’s get started.
Tom and Gretchen Schaefer have been dabbling in small Free Flight (FF) models for some time now and have achieved success—so much so that Gretchen dubbed the lineup as “Butternut Scale.”
For many of us, our FF fields are shrinking, so limited duration is necessary. Reducing the size of their models has served Tom and Gretchen well. The models span 14 inches and are built as either

full-bodied or profile. They don’t even need to be scale models to qualify. All use the same propeller size and rubber loads, making simplicity a key to success.
Construction is primarily 1/16-inch balsa covered with domestic tissue. The propellers are the old 5.5-inch “Sleek Streek” style. The full-bodied aircraft use a propeller bearing in the nose block, and the propeller on the profile aircraft is attached to the motor stick with a plastic clip. Power for all is a loop of 3/32-inch rubber.
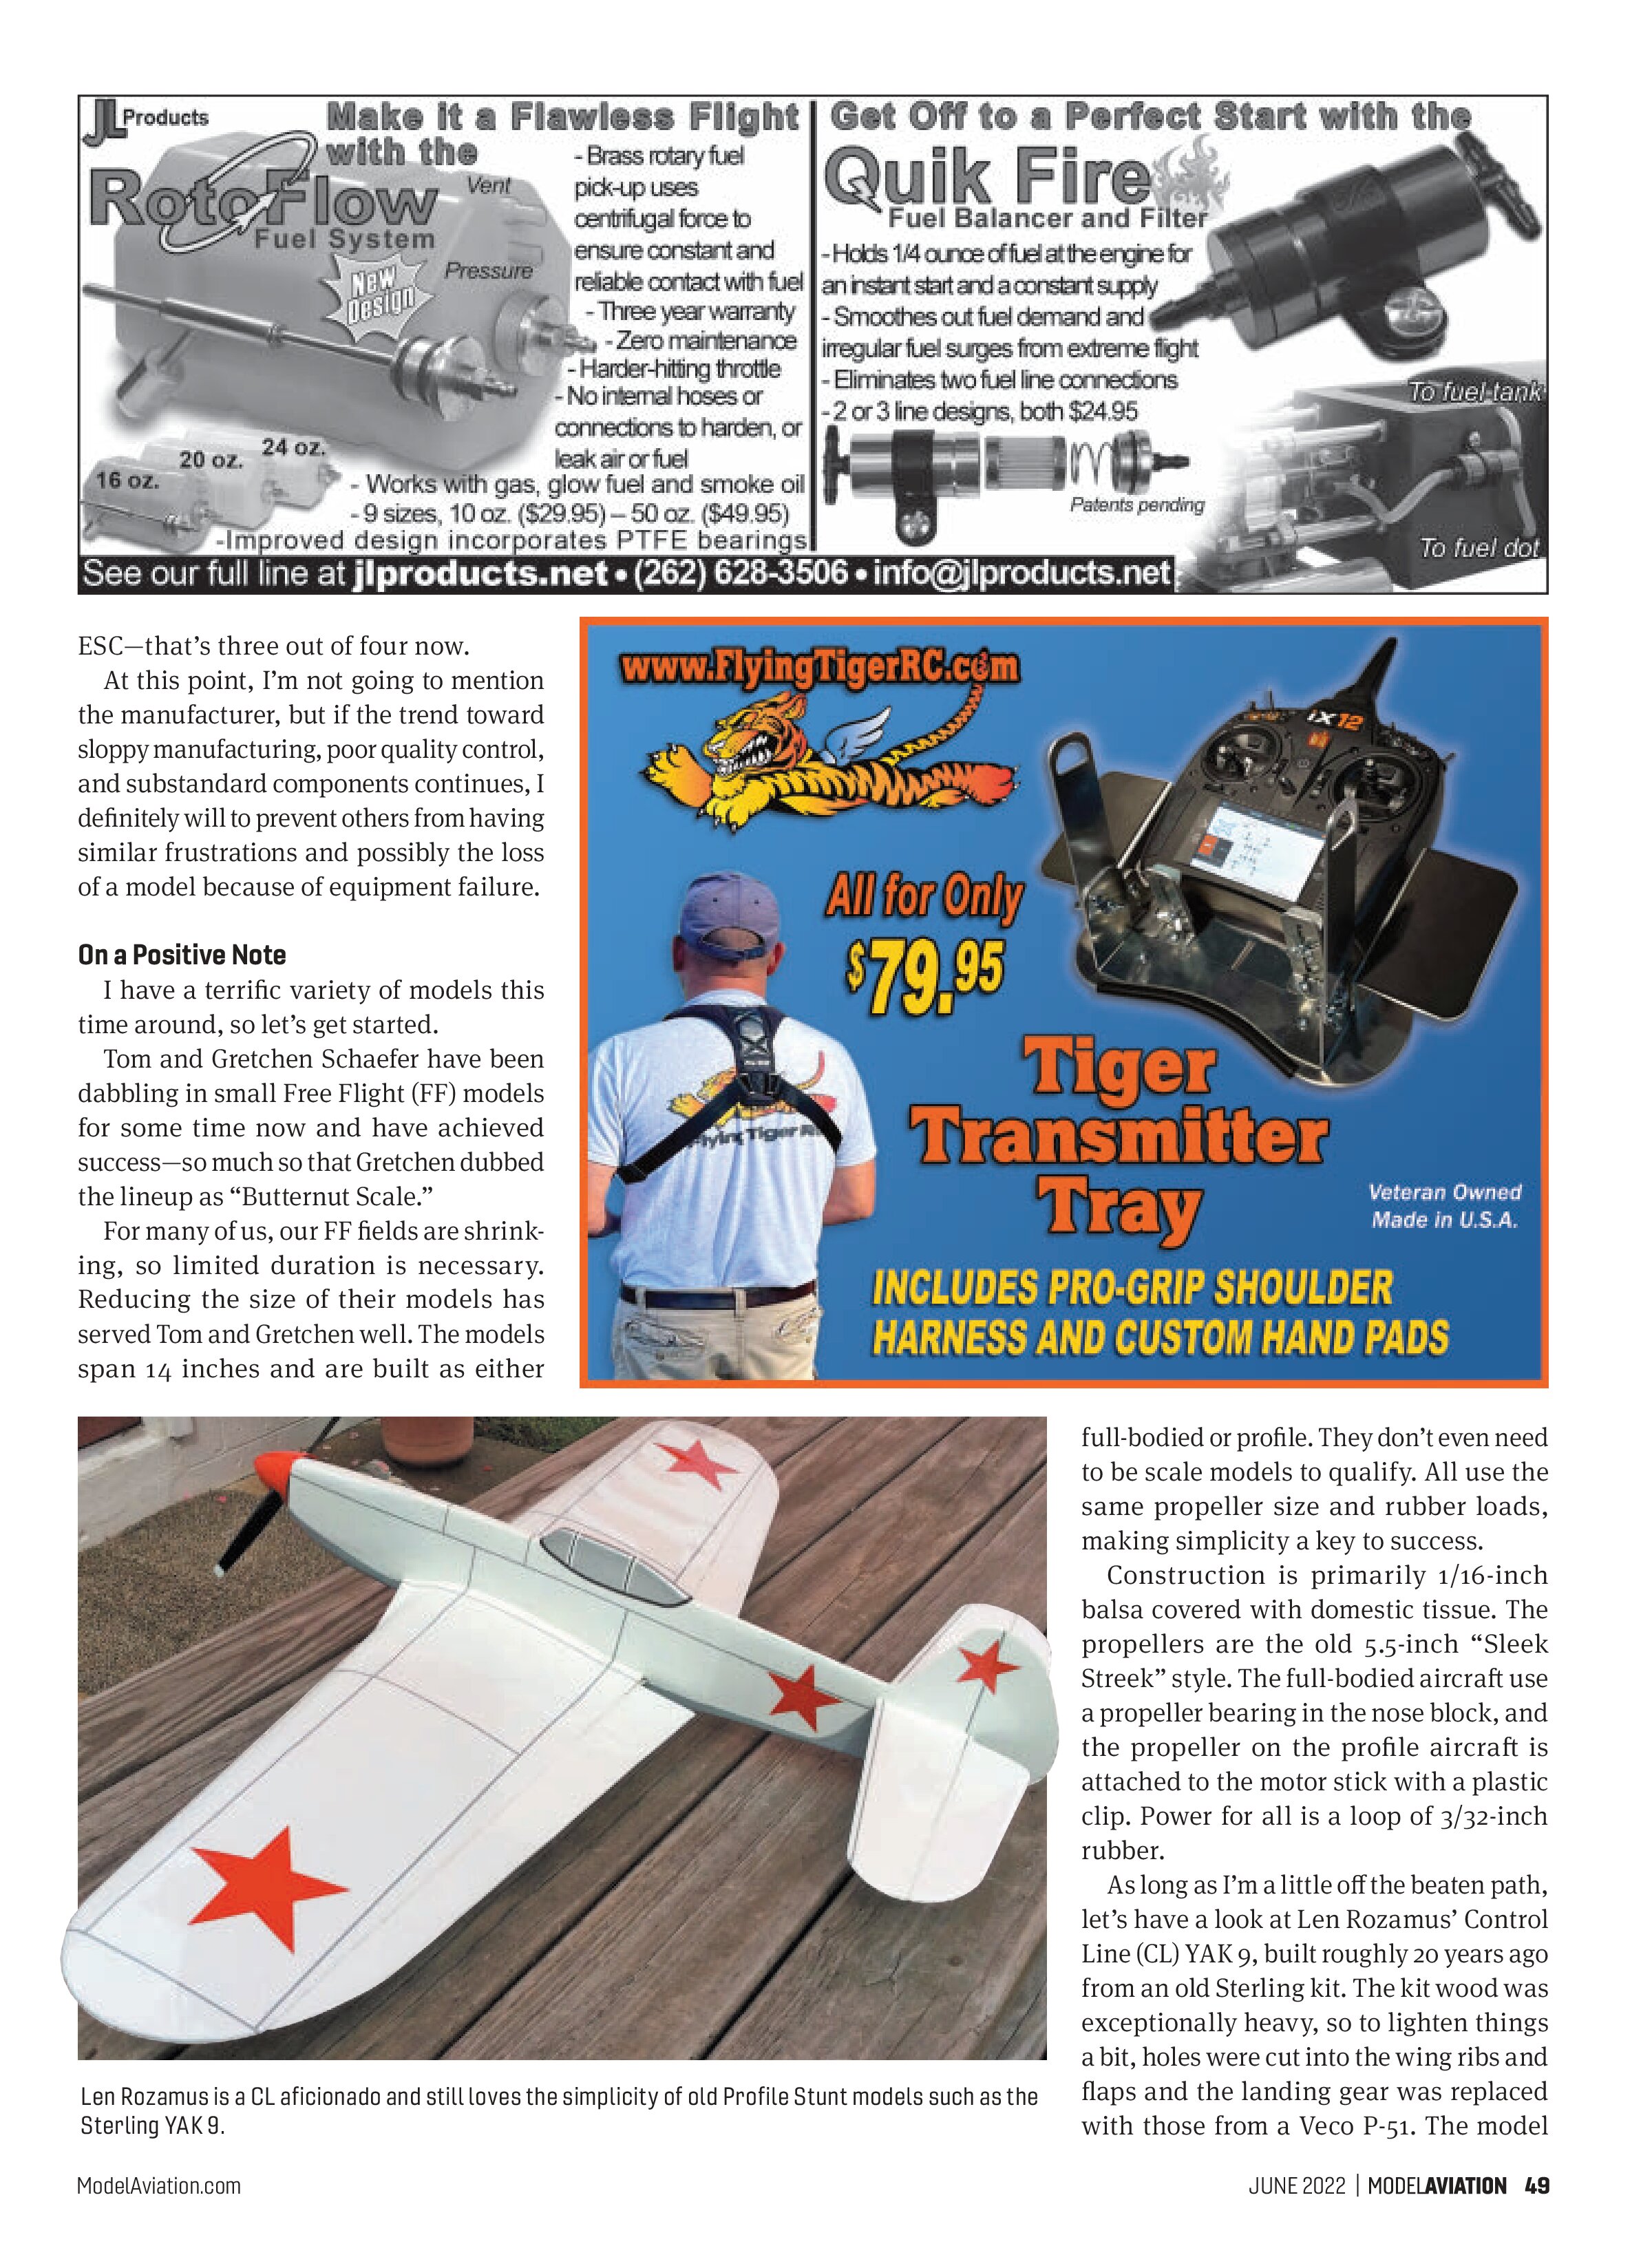
As long as I’m a little off the beaten path, let’s have a look at Len Rozamus’ Control Line (CL) YAK 9, built roughly 20 years ago from an old Sterling kit. The kit wood was exceptionally heavy, so to lighten things a bit, holes were cut into the wing ribs and flaps and the landing gear was replaced with those from a Veco P-51. The model


was covered with MonoKote. A Thunder Tiger .25 engine provides power.
Len describes the model as a good flyer, although there was a lag in the control response because of an eccentric flap connector. As Len stated, “I saw that coming in the build but didn’t know how to correct it with the profile fuselage.” It’s still a terrific model from “days gone by.”
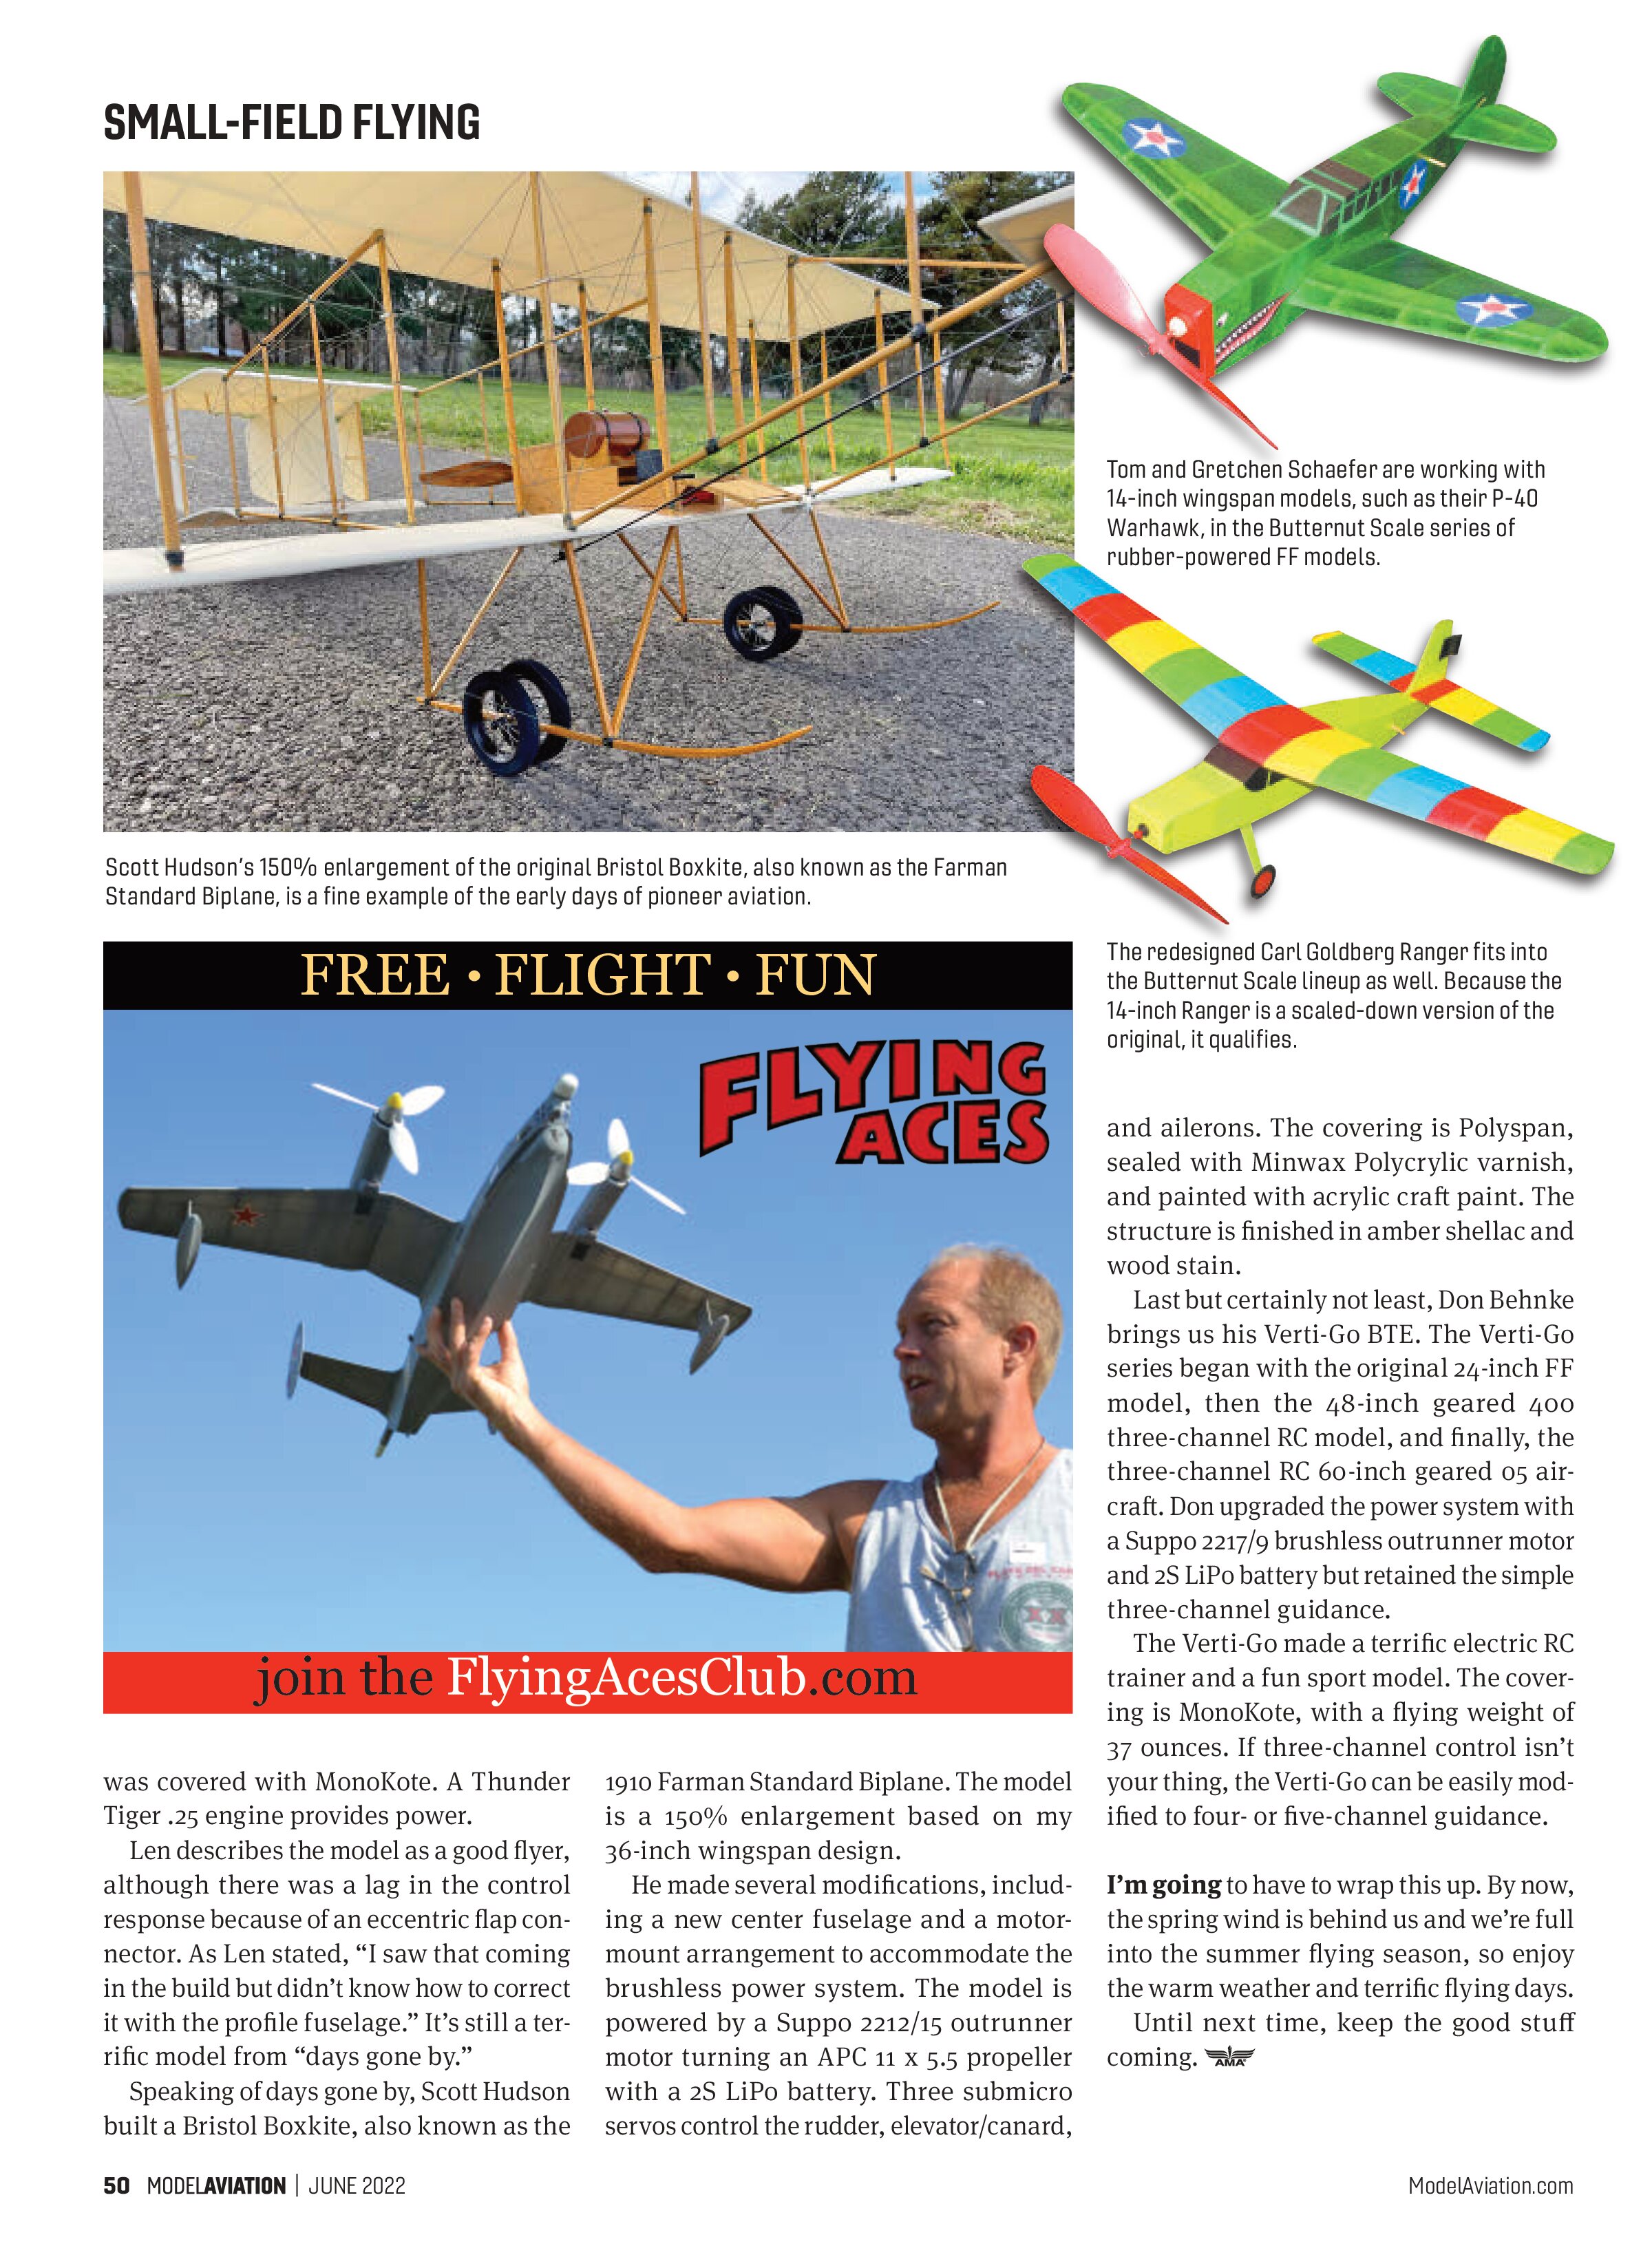
Speaking of days gone by, Scott Hudson built a Bristol Boxkite, also known as the 1910 Farman Standard Biplane. The model is a 150% enlargement based on my 36-inch wingspan design.
He made several modifications, including a new center fuselage and a motor-mount arrangement to accommodate the brushless power system. The model is powered by a Suppo 2212/15 outrunner motor turning an APC 11 x 5.5 propeller with a 2S LiPo battery. Three submicro servos control the rudder, elevator/canard, and ailerons. The covering is Polyspan, sealed with Minwax Polycrylic varnish, and painted with acrylic craft paint. The structure is finished in amber shellac and wood stain.
Last but certainly not least, Don Behnke brings us his Verti-Go BTE. The Verti-Go series began with the original 24-inch FF model, then the 48-inch geared 400 three-channel RC model, and finally, the three-channel RC 60-inch geared 05 aircraft. Don upgraded the power system with a Suppo 2217/9 brushless outrunner motor and 2S LiPo battery but retained the simple three-channel guidance.
The Verti-Go made a terrific electric RC trainer and a fun sport model. The covering is MonoKote, with a flying weight of 37 ounces. If three-channel control isn’t your thing, the Verti-Go can be easily modified to four- or five-channel guidance.
I’m going to have to wrap this up. By now, the spring wind is behind us and we’re full into the summer flying season, so enjoy the warm weather and terrific flying days.
Until next time, keep the good stuff coming.