RUBBER CUTTERS
By Don Slusarczyzk | don@slusarczyzk.com
ONE OF THE THINGS that I like about model airplane builders is their ability to find solutions to problems that they encounter. We likely all have, at one time, built a special jig or fixture for assembling our models or to make a building task easier. At an Indoor Free Flight (FF) event, I always like to look to see what kinds of tools modelers bring with them and what their solutions are to common modeling problems.
When I first started Indoor FF as a kid, my dad and I were fortunate enough to get some modeling supplies from a man who was getting out of the hobby. In that lot of items were many cut rubber sizes to get us going; however, we had no way to get cut rubber strip other than buying it precut from Micro-X in little bags. In my dad’s youth, rubber was on precut spools at the local hobby shop and you just bought a variety of the sizes that you thought you might need.
Throughout the years, I have seen various rubber-stripper designs come to market: Harlan, Leeson, and Oppegard, with the best being the one designed by Wayne Johnson. They all felt a need to come up with their own solutions to solve a problem.
With Indoor modelers having the ability to communicate on an international basis via online forums and social media, I get to see many other people’s approaches to the same modeling issues. One that often comes up is the ability to cut rubber for Indoor-size aircraft.
When the pandemic first started, there was an online Postal Contest for the Scraps, a small model that can be flown in your living room. The first issue that fliers had was getting rubber that was thin enough to fly the model with. One of the first methods used by some was with a fixed razor blade and a special holder and block. The rubber was then pulled through to cut it into smaller sizes. Some were made from wood, but some were 3D printed. I had a 3D printer, so I tried some of the pull-through cutters with limited success. It was possible, and for some, it was the only available option.
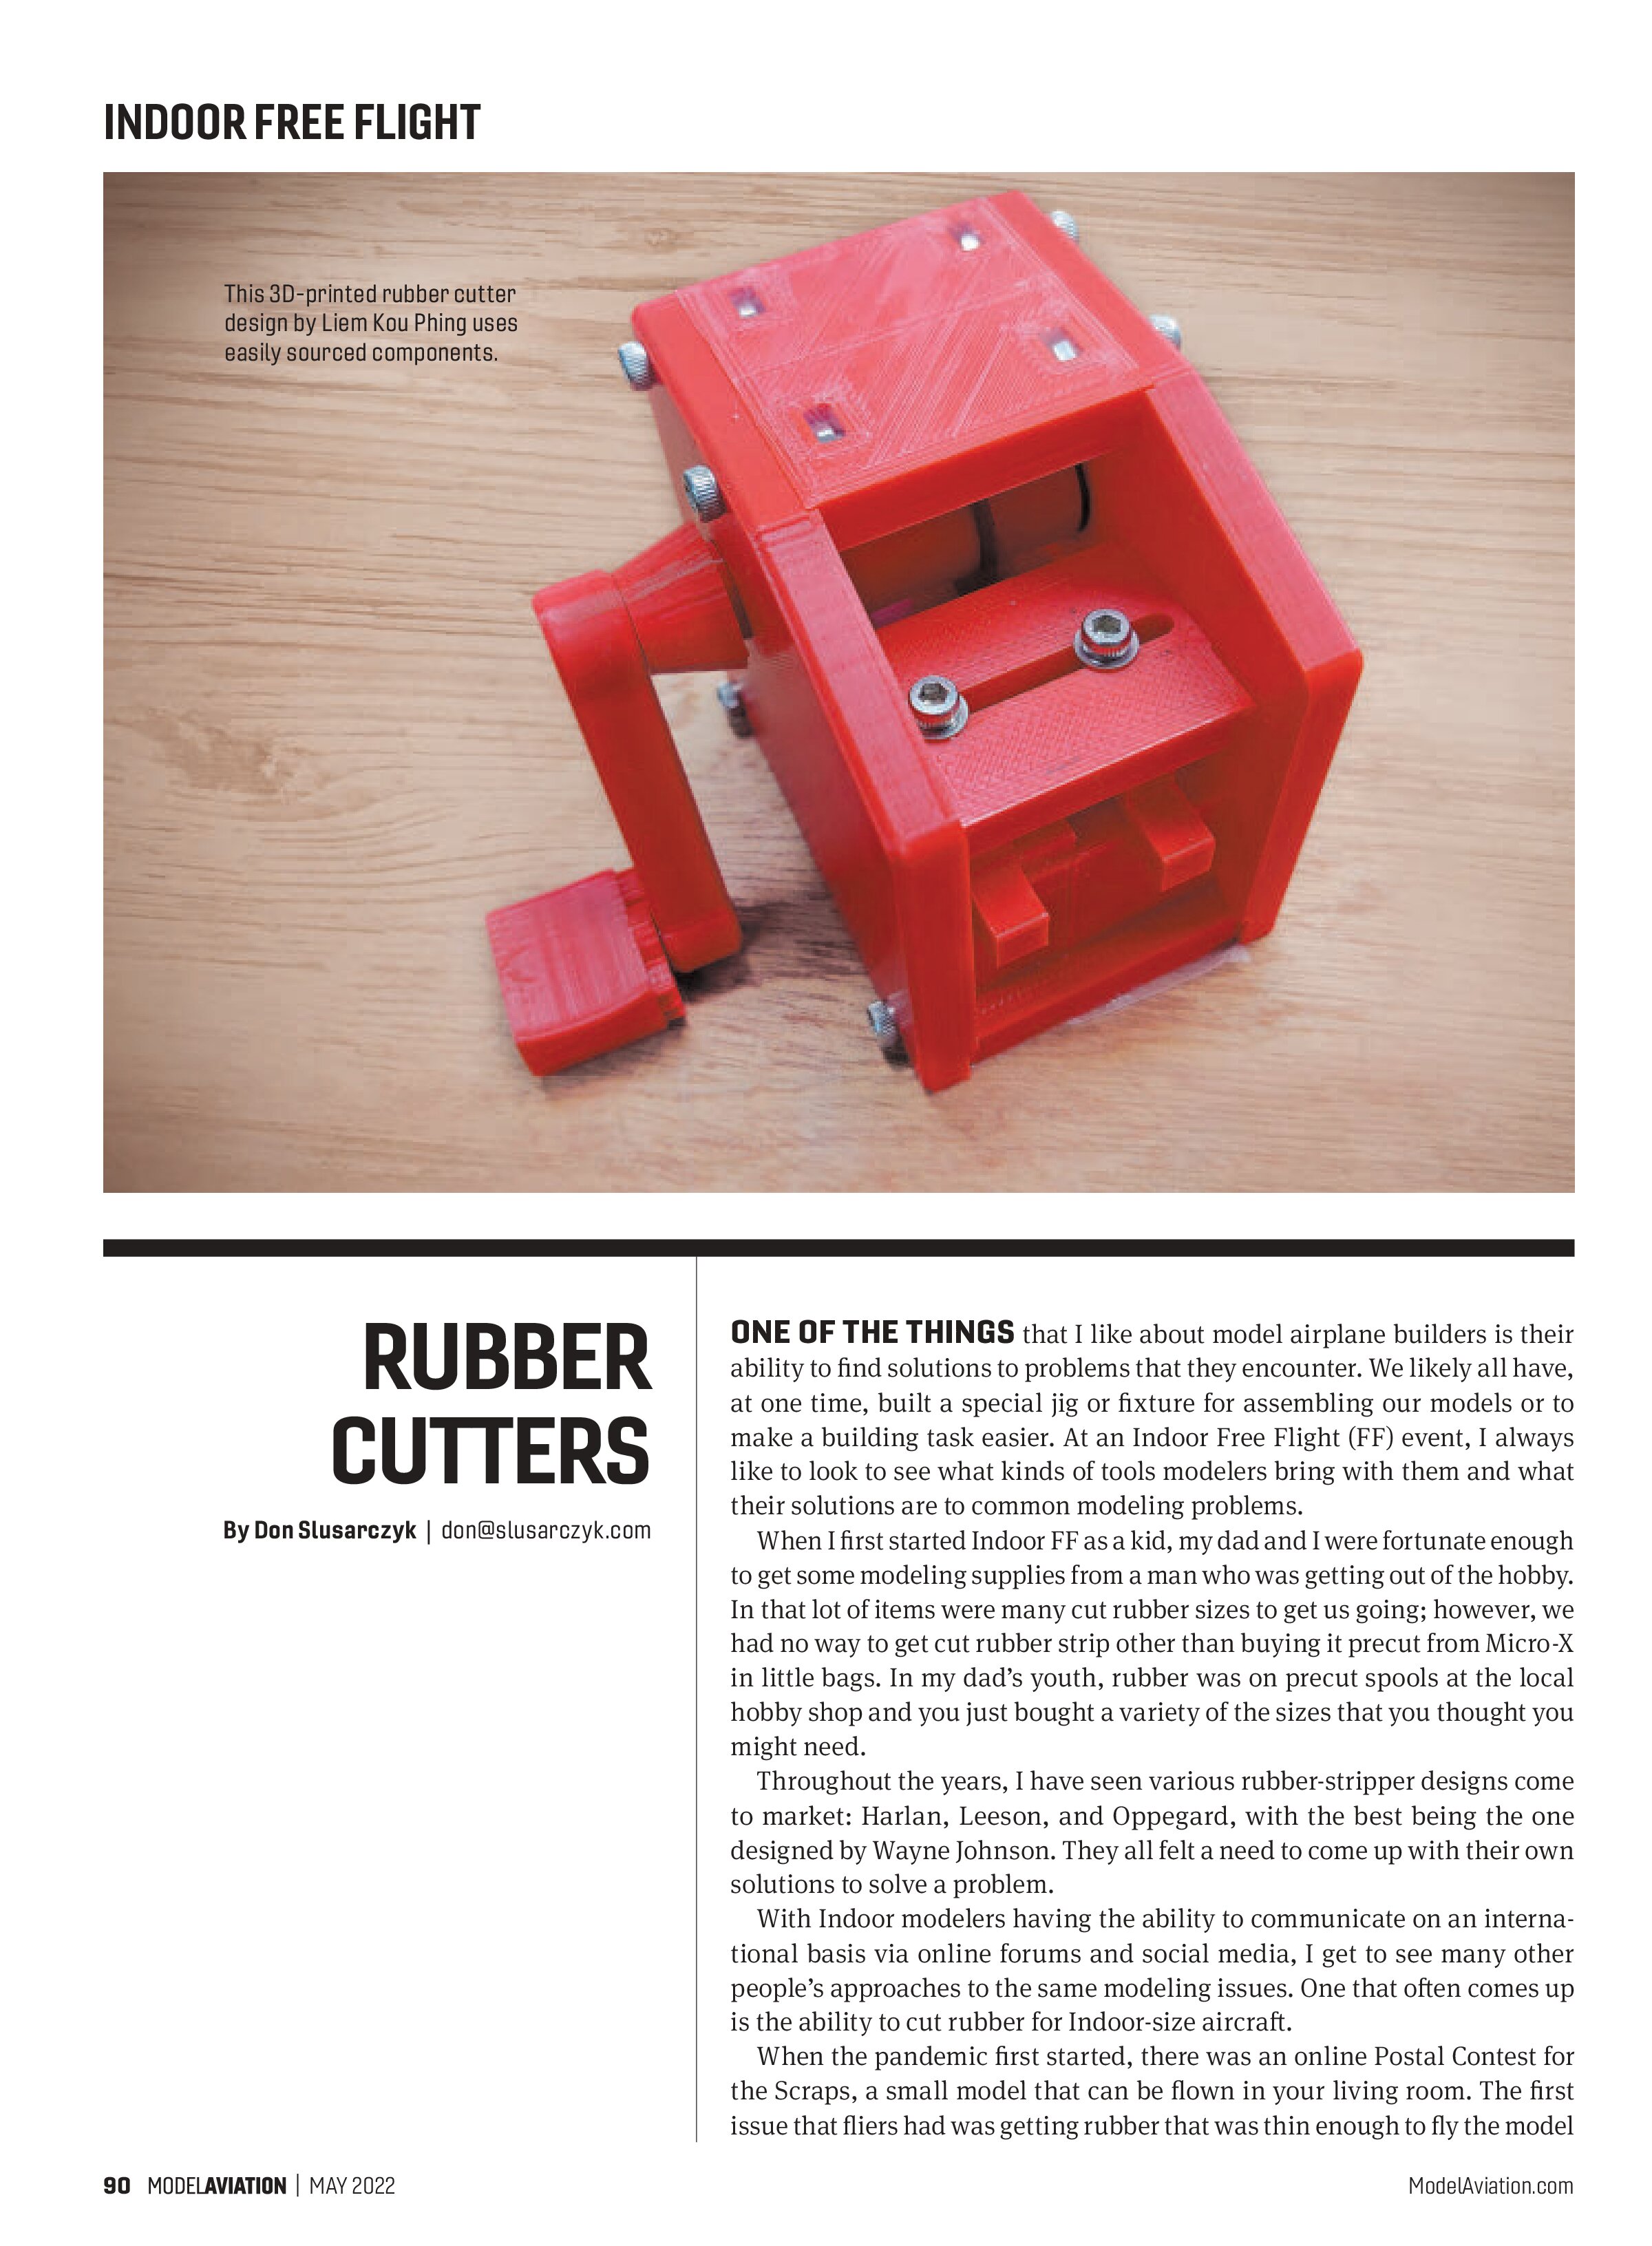
This past year, I saw a post on a Facebook group called Rubber Powered Aeromodeling. The group’s owner is Liem Kou Phing, who lives in Indonesia. He was developing a 3D-printed rubber cutter that uses a standard 28mm rotary cutting blade. I was immediately drawn to his efforts because, if it worked, it would be a great step for those who are unable to get a typical Indoor rubber cutter. After a few iterations, he was able to get one that worked. I contacted him and obtained the files for his design so that I could print my own.

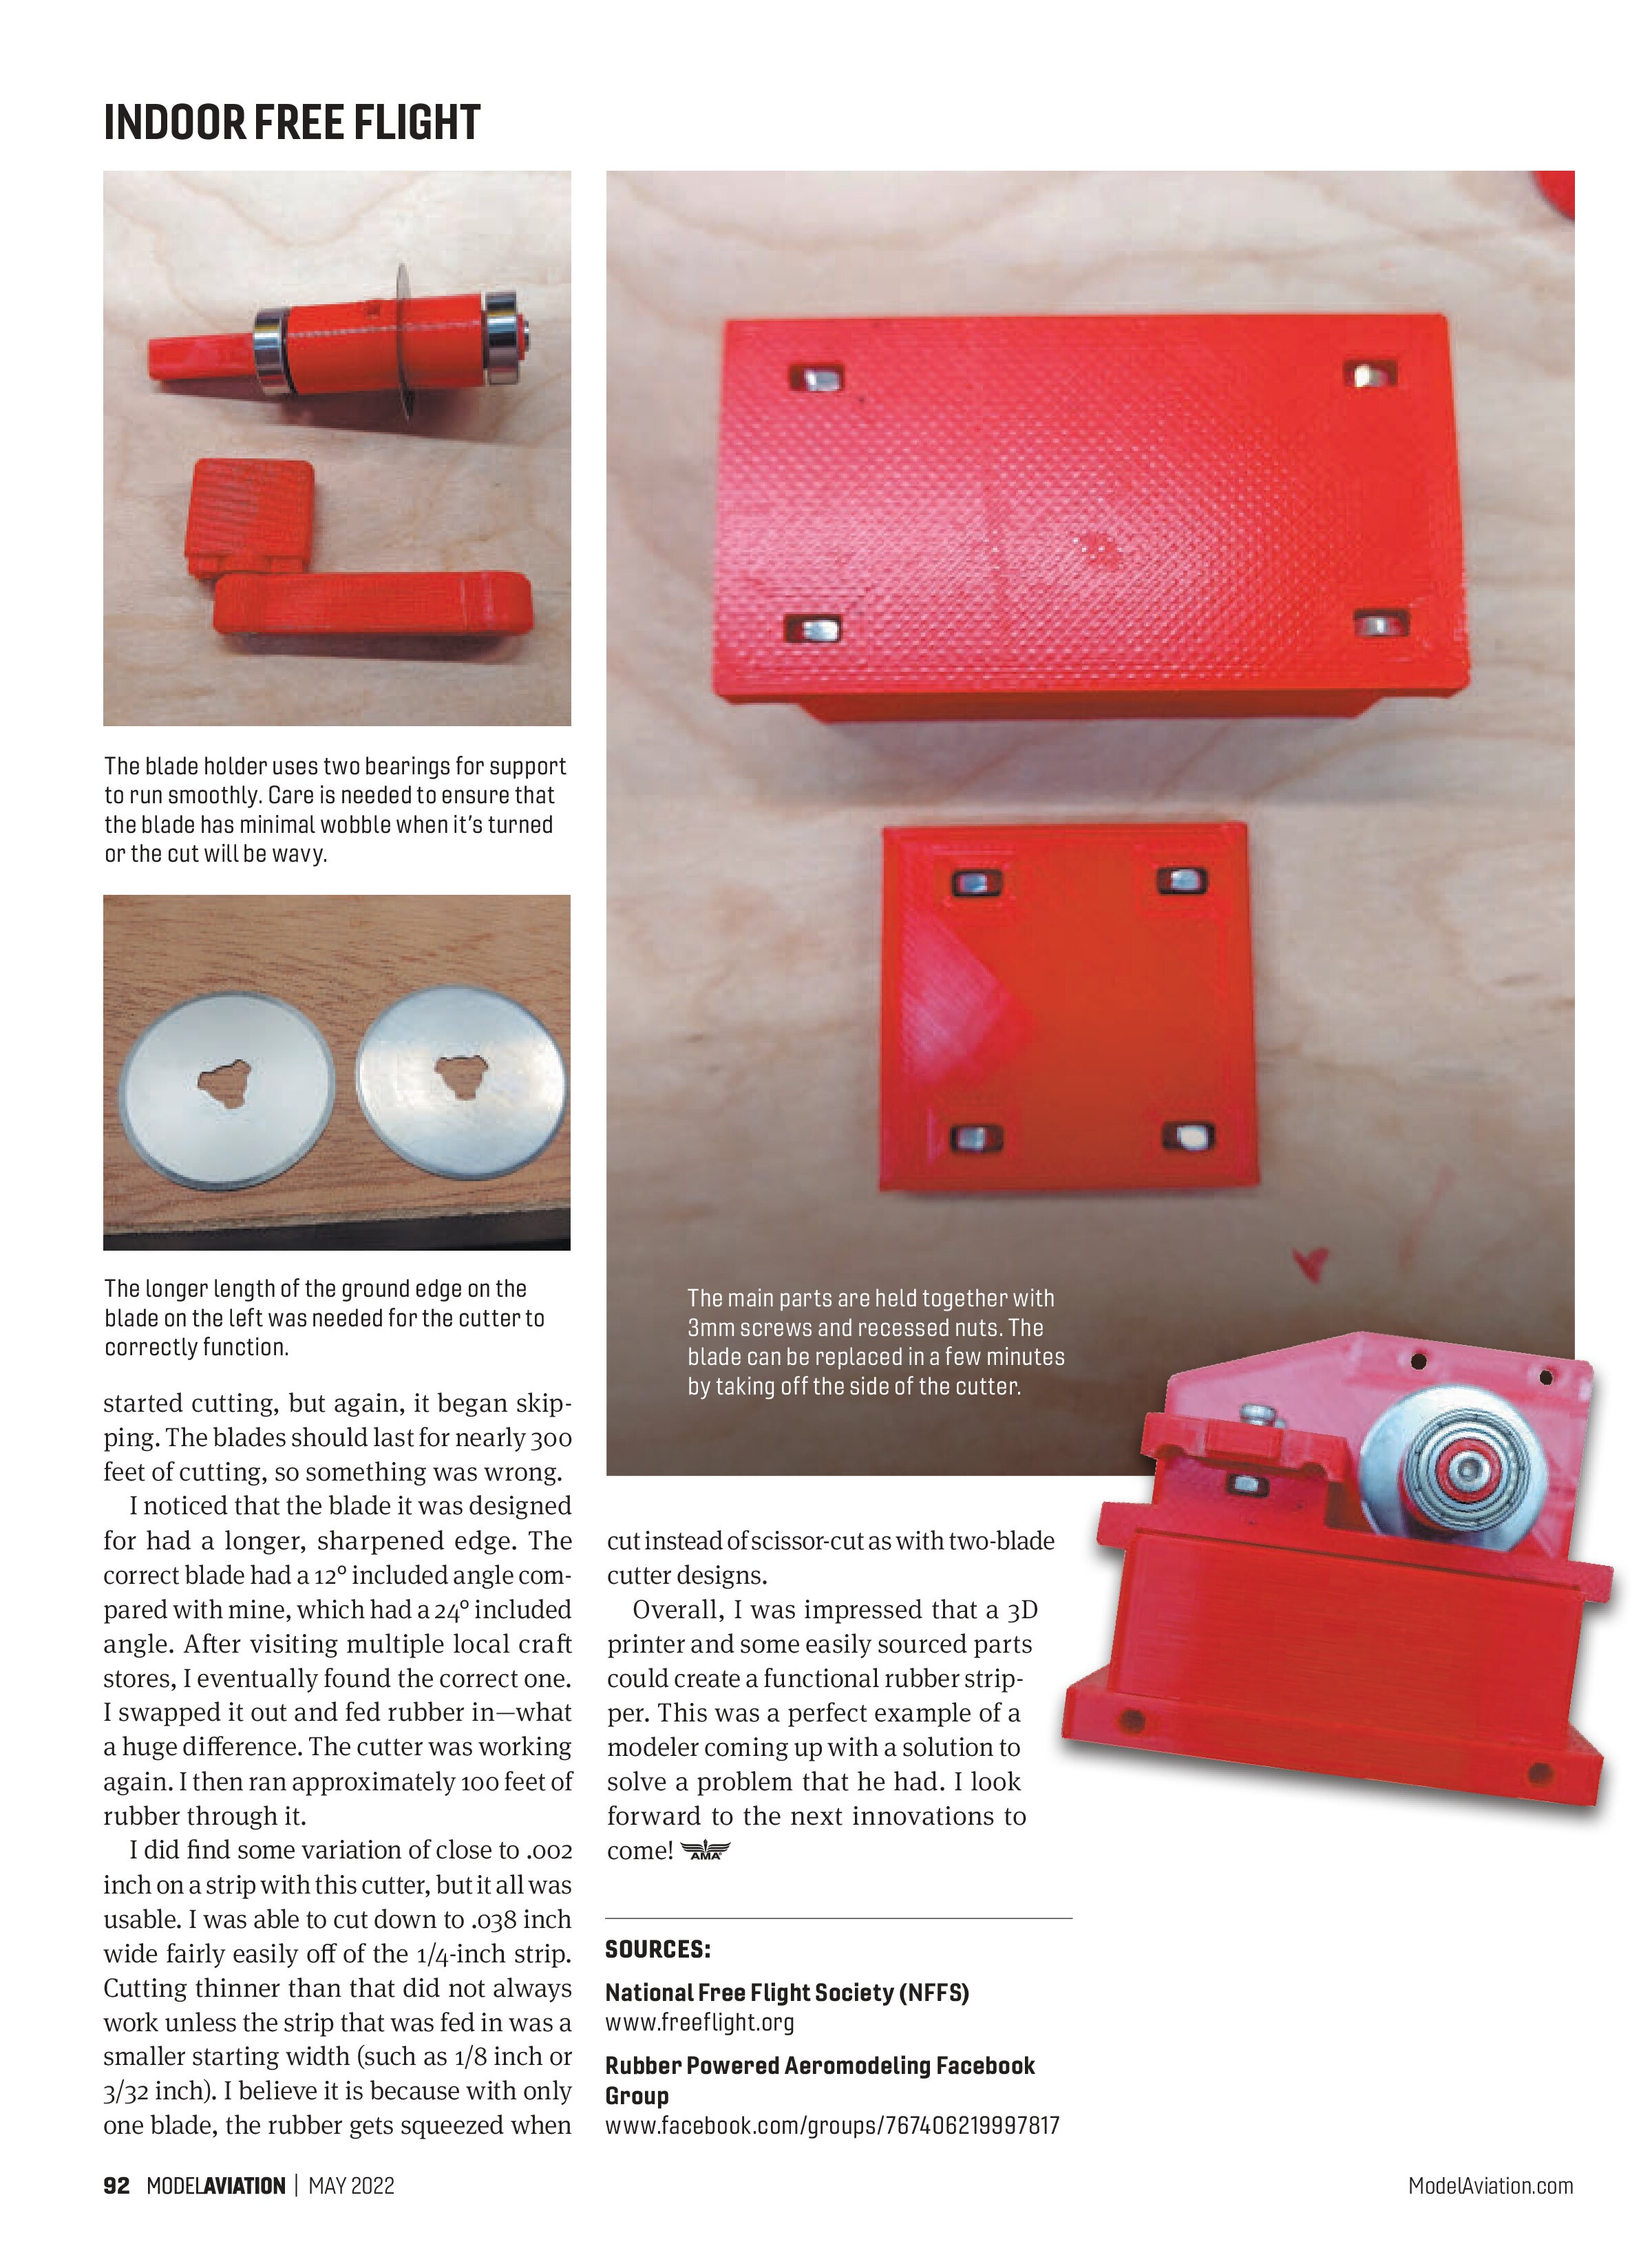
The printing was fairly straightforward, and I printed the parts in PLA. This design uses two bearings; your printer needs to be well calibrated so that there is no slop in the counterbores for the bearings. This was an issue that I had at first because my printer tends to print undersized holes, but I made a few adjustments to my slicer software and that corrected the issue. The rotary cutter blades required bearings, and I ordered 3mm screws from Amazon.

The parts went together easily and are held together with various lengths of 3mm bolts and nuts. The rotary blade has a special center hole shape, and care needs to be taken to make sure that these parts go together well with no slop. The rotary blade needs to rotate true to get a good cut. The blade cannot wobble from side to side or up and down when the handle is turned. I found it useful to assemble and test, sand if needed, then retest until it ran true when I cranked the handle.
With the cutter all assembled, it was time to test it! I grabbed some 1/4-inch Tan rubber, fed it into the guide, and started turning the handle. I had the cutter set to basically split it in half. As I cranked the handle, two strips came out the other end. It worked! I cut roughly a 10-foot section then tried to split the cut strips into half again. I adjusted the guides and started cutting. This time, it went approximately 5 feet then started to cut only part of the way through. I put a new blade in and it

started cutting, but again, it began skipping. The blades should last for nearly 300 feet of cutting, so something was wrong.
I noticed that the blade it was designed for had a longer, sharpened edge. The correct blade had a 12° included angle compared with mine, which had a 24° included angle. After visiting multiple local craft stores, I eventually found the correct one. I swapped it out and fed rubber in—what a huge difference. The cutter was working again. I then ran approximately 100 feet of rubber through it.
I did find some variation of close to .002 inch on a strip with this cutter, but it all was usable. I was able to cut down to .038 inch wide fairly easily off of the 1/4-inch strip. Cutting thinner than that did not always work unless the strip that was fed in was a smaller starting width (such as 1/8 inch or 3/32 inch). I believe it is because with only one blade, the rubber gets squeezed when


cut instead of scissor-cut as with two-blade cutter designs.
Overall, I was impressed that a 3D printer and some easily sourced parts could create a functional rubber stripper. This was a perfect example of a modeler coming up with a solution to solve a problem that he had. I look forward to the next innovations to come!

SOURCES:
National Free Flight Society (NFFS)
www.freeflight.org
Ruhrer Powered Aeromodeling Facebook Group
www.facebook.com/groups/767406219997817