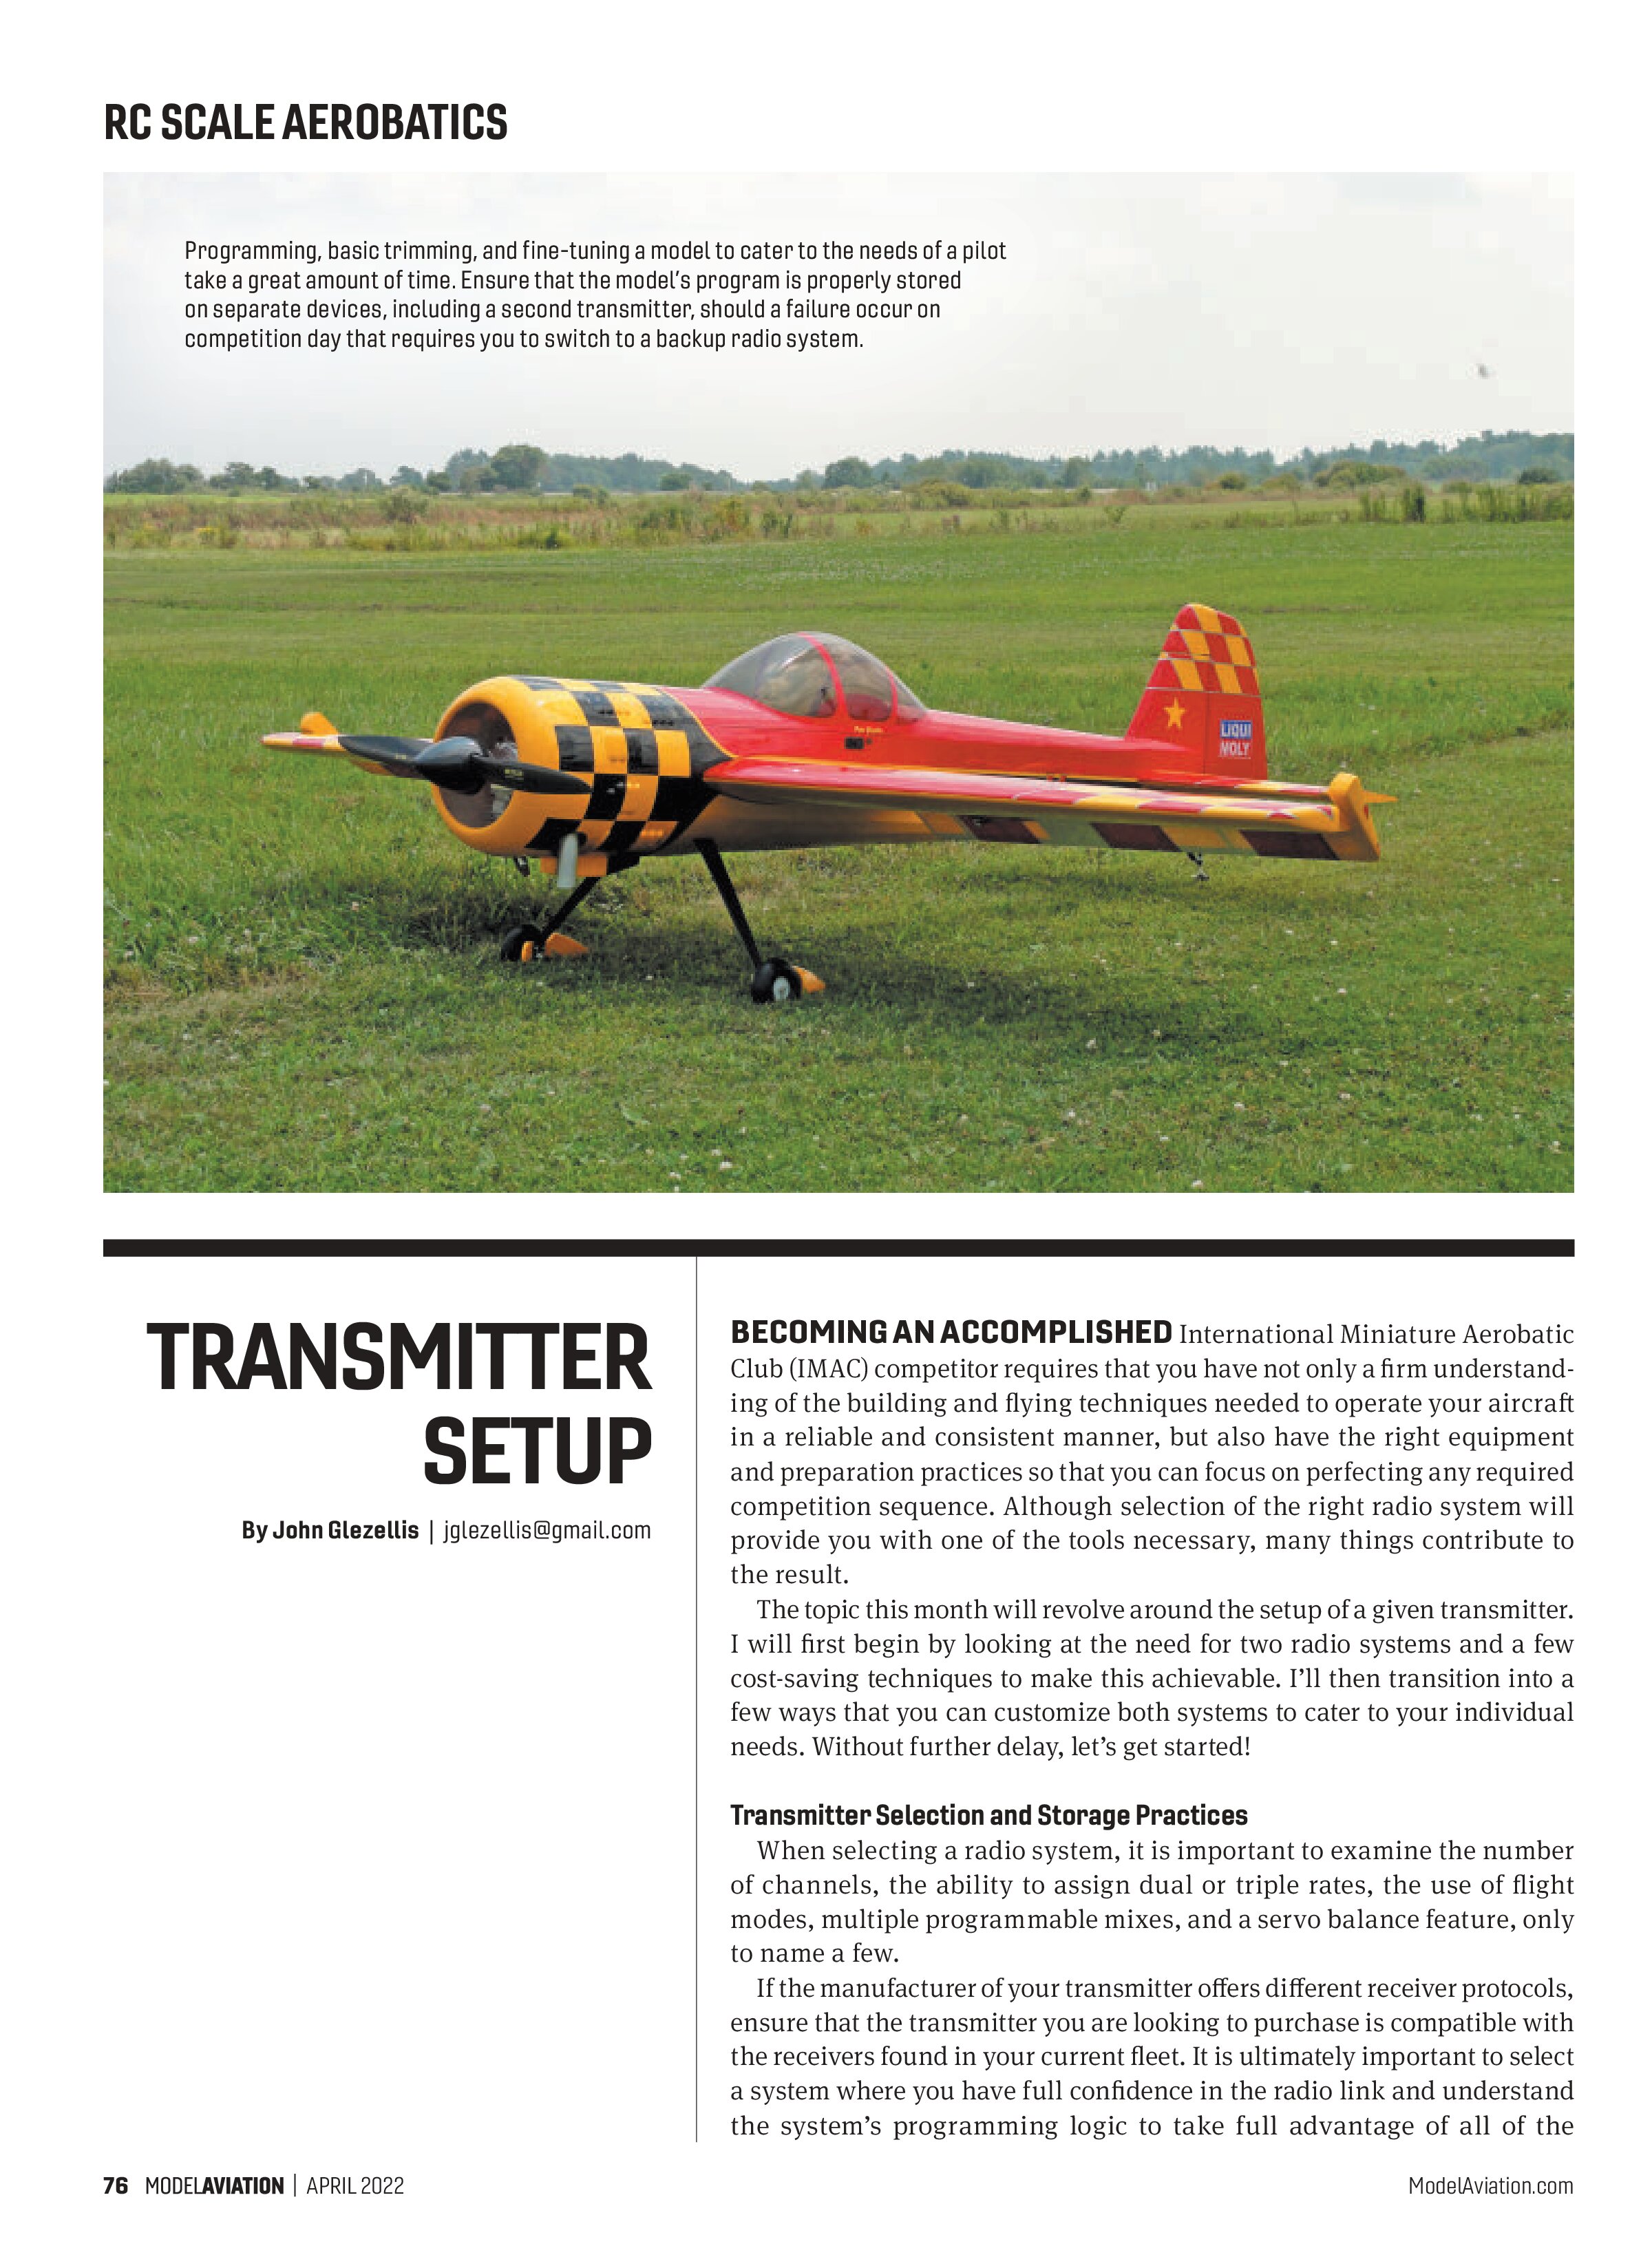
RC SCALE AEROBATICS

TRANSMITTER SETUP
By John Glezellis | jglezellis@gmail.com
BECOMING AN ACCOMPLISHED
International Miniature Aerobatic Club (IMAC) competitor requires that you have not only a firm understanding of the building and flying techniques needed to operate your aircraft in a reliable and consistent manner, but also have the right equipment and preparation practices so that you can focus on perfecting any required competition sequence. Although selection of the right radio system will provide you with one of the tools necessary, many things contribute to the result.
The topic this month will revolve around the setup of a given transmitter. I will first begin by looking at the need for two radio systems and a few cost-saving techniques to make this achievable. I’ll then transition into a few ways that you can customize both systems to cater to your individual needs. Without further delay, let’s get started!
Transmitter Selection and Storage Practices
When selecting a radio system, it is important to examine the number of channels, the ability to assign dual or triple rates, the use of flight modes, multiple programmable mixes, and a servo balance feature, only to name a few.
If the manufacturer of your transmitter offers different receiver protocols, ensure that the transmitter you are looking to purchase is compatible with the receivers found in your current fleet. It is ultimately important to select a system where you have full confidence in the radio link and understand the system’s programming logic to take full advantage of all of the capabilities found within it, and that you select a radio that has general feel that is to your liking.
Throughout the past year, my transmitter of choice has been the Spektrum iX20 because of some of the other projects found in my current fleet that require more channels compared with my standard IMAC models. However, my current backup transmitter—and primary transmitter for some aircraft—is a Spektrum NX10.
Manufacturers have tried to increase the sharing of model programs between different models, and that is the case between the iX20 and NX10. I like that both systems share certain two- and three-position switch locations, as well as the right dial location that I prefer to use. It allows me to switch between both systems rather seamlessly.
For example, I use switch G to control my flight modes, the right dial to control the ignition cutoff, and, if flying a Freestyle model, switch A for the smoke system. Being a “thumb” pilot, my right index finger is always near switch G during a flight, and using this switch to activate flight modes feels natural.
Regarding dial use for the ignition cutoff, I prefer to have that device assigned to a knob to prevent accidental activation. Although some pilots prefer to have this assigned to a slider or a two-position switch, it can easily be activated at the wrong time. If both radios have different switch locations, confusion could exist when switching to the backup radio because additional thought would be required and a maneuver could be performed on the wrong flight mode.
When you are satisfied with the programming, trimming, and fine-tuning of an aircraft, transfer that model to a storage device. Remember, it takes a great amount of time to fine-tune all rates to cater to the liking of the pilot and the sequence at hand, as well as programming in any required rudder-to-elevator, rudder-to-aileron, or differential amounts, only to name a few.
On the topic of storage, some manufacturers have realized the need to transfer between different transmitters and to save a model file. Some might require you to connect the radio to a computer, while others utilize storage devices, such as an SD card, to both store and transfer information from one transmitter to another.
No matter what the method is, ensure that each model has a backup file and monitor any changes made to a program.

If any changes are made, ensure that all model files where that aircraft is saved are updated accordingly to prevent any undesired confusion during the heat of a competition!
Customization
While I’m on the topic of radio systems and have discussed overall comfort, I’ve yet to discuss stick tension! When I first started competing in 1995, many of the top pilots preferred high stick tension. I have that preference to this day because I know precisely the inputs that are being given. If tension is loose and far too soft, you might find that it is difficult to locate the center position.
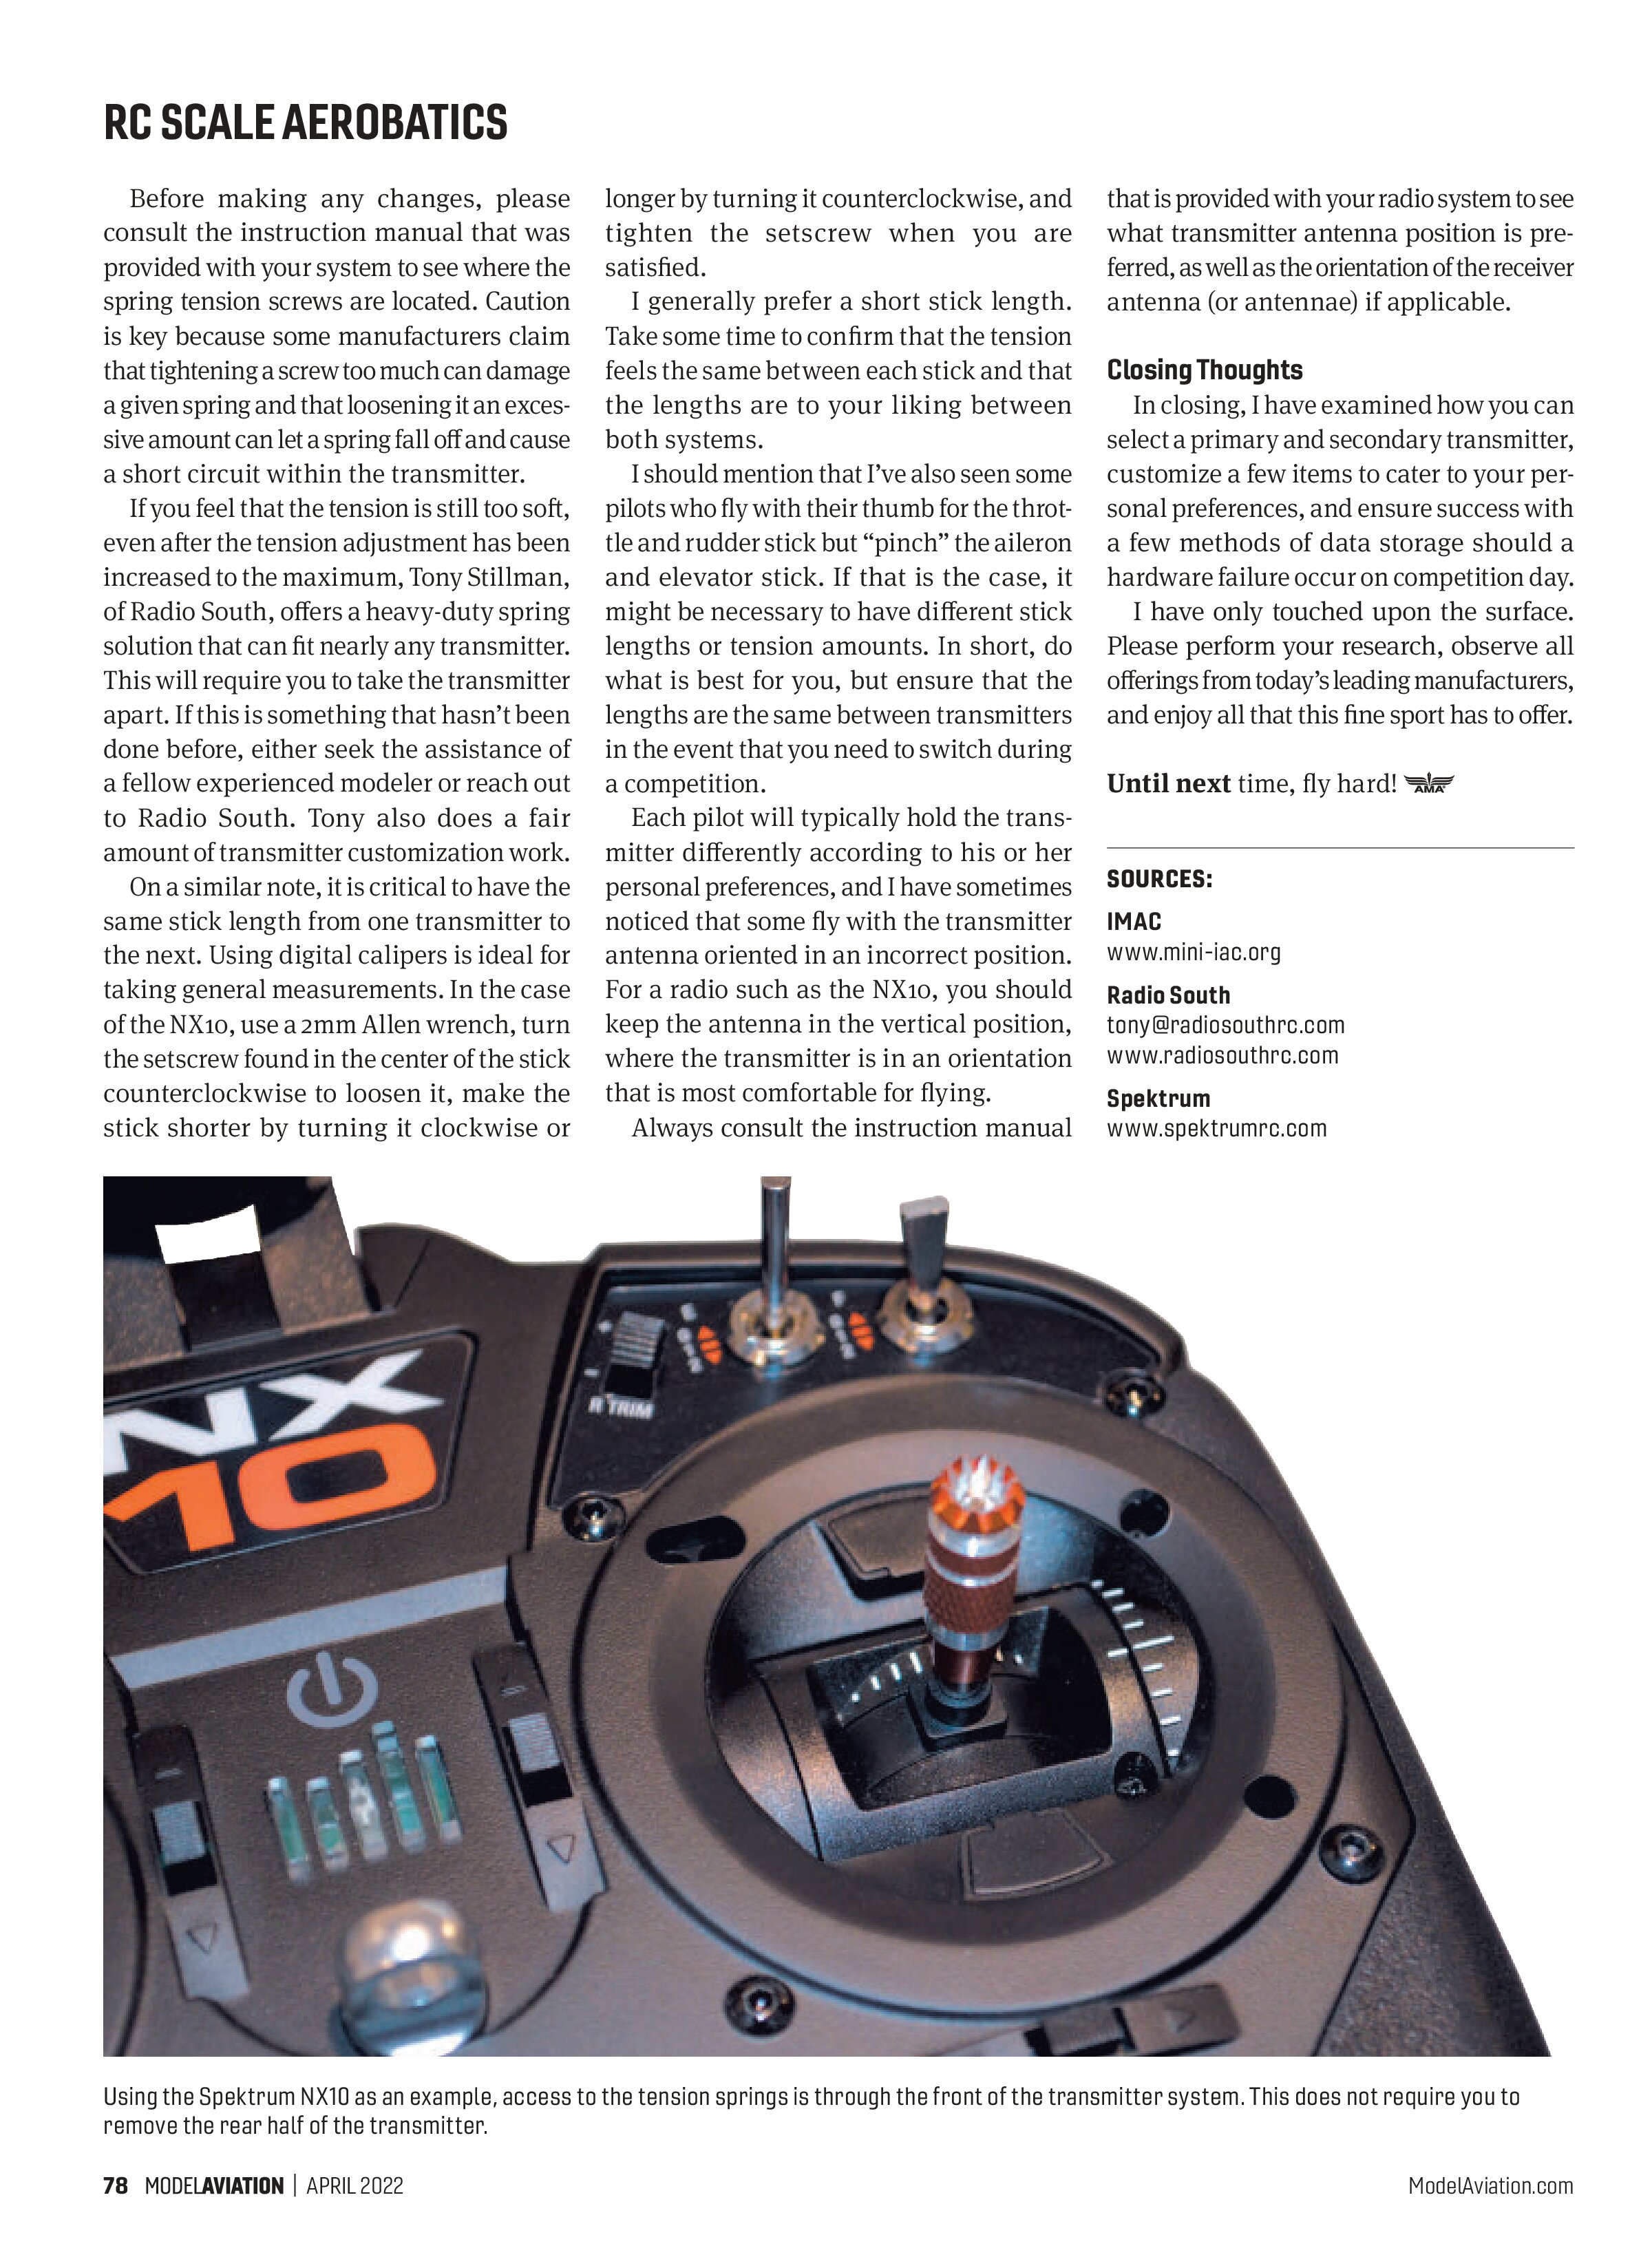
Before making any changes, please consult the instruction manual that was provided with your system to see where the spring tension screws are located. Caution is key because some manufacturers claim that tightening a screw too much can damage a given spring and that loosening it an excessive amount can let a spring fall off and cause a short circuit within the transmitter.
If you feel that the tension is still too soft, even after the tension adjustment has been increased to the maximum, Tony Stillman, of Radio South, offers a heavy-duty spring solution that can fit nearly any transmitter. This will require you to take the transmitter apart. If this is something that hasn’t been done before, either seek the assistance of a fellow experienced modeler or reach out to Radio South. Tony also does a fair amount of transmitter customization work.
On a similar note, it is critical to have the same stick length from one transmitter to the next. Using digital calipers is ideal for taking general measurements. In the case of the NX10, use a 2mm Allen wrench, turn the setscrew found in the center of the stick counterclockwise to loosen it, make the stick shorter by turning it clockwise or
longer by turning it counterclockwise, and tighten the setscrew when you are satisfied.
I generally prefer a short stick length. Take some time to confirm that the tension feels the same between each stick and that the lengths are to your liking between both systems.
I should mention that I’ve also seen some pilots who fly with their thumb for the throttle and rudder stick but “pinch” the aileron and elevator stick. If that is the case, it might be necessary to have different stick lengths or tension amounts. In short, do what is best for you, but ensure that the lengths are the same between transmitters in the event that you need to switch during a competition.
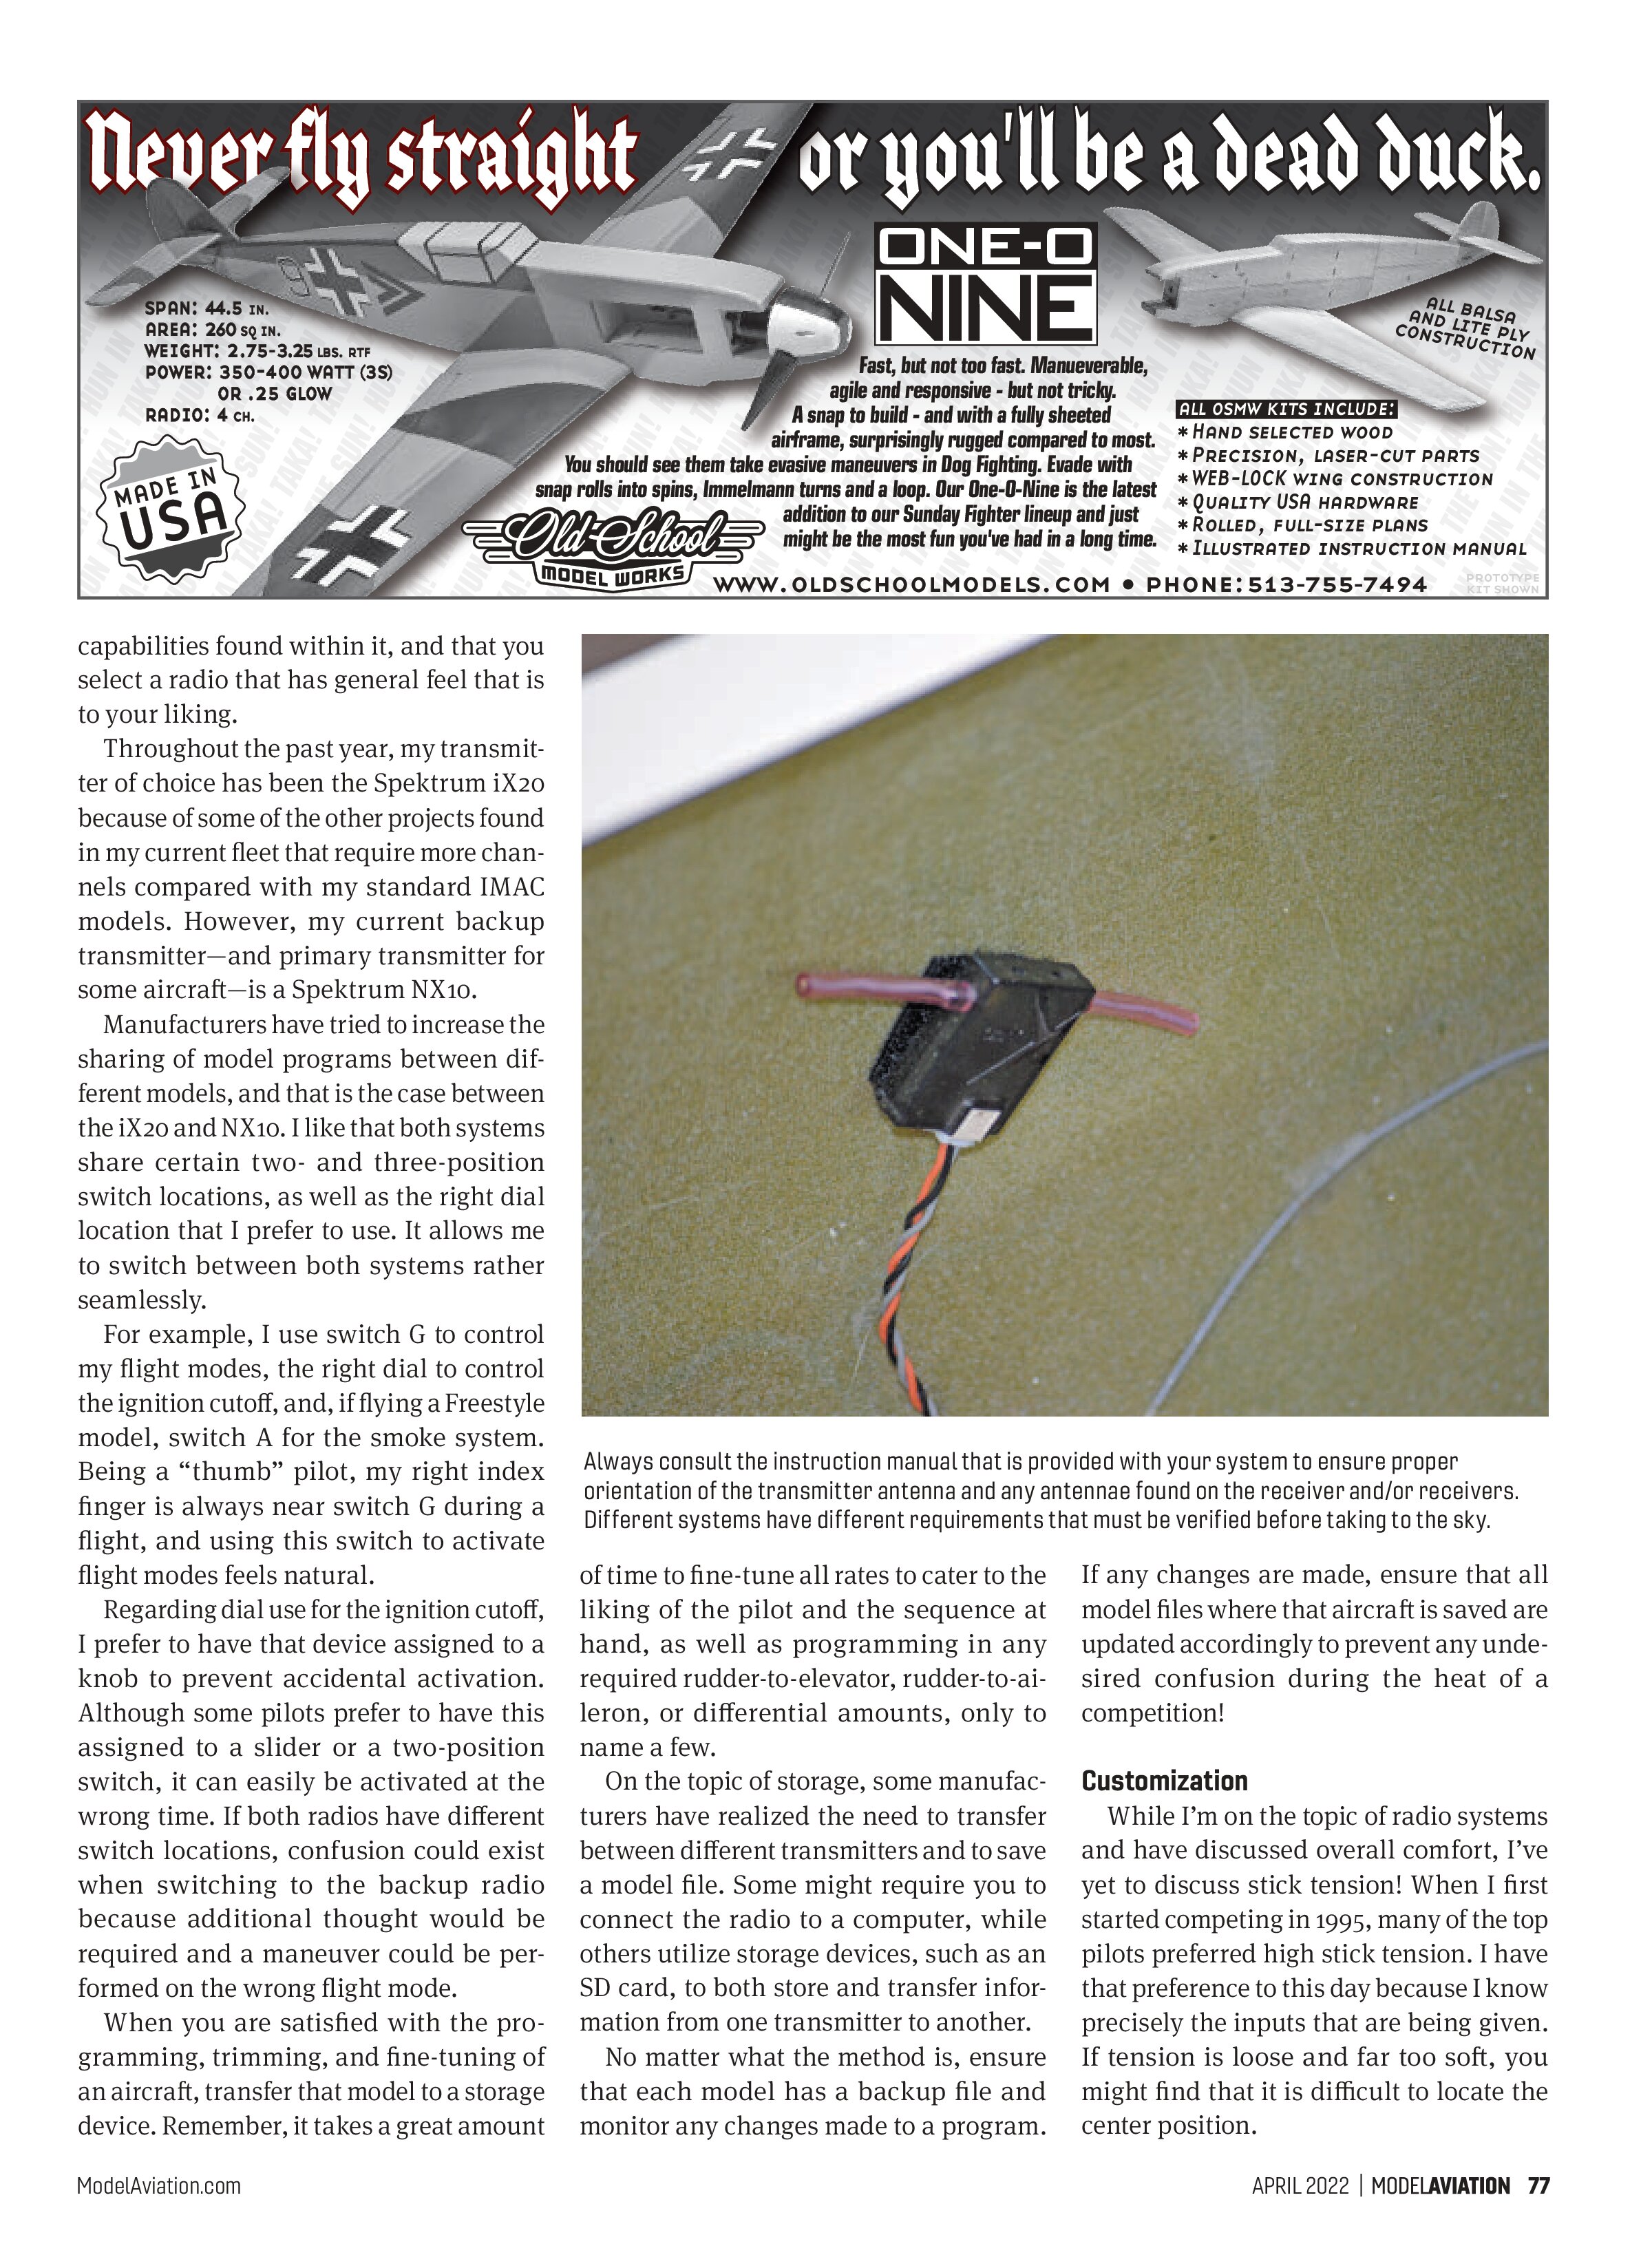
Each pilot will typically hold the transmitter differently according to his or her personal preferences, and I have sometimes noticed that some fly with the transmitter antenna oriented in an incorrect position. For a radio such as the NX10, you should keep the antenna in the vertical position, where the transmitter is in an orientation that is most comfortable for flying.
Always consult the instruction manual that is provided with your radio system to see what transmitter antenna position is preferred, as well as the orientation of the receiver antenna (or antennae) if applicable.
Closing Thoughts
In closing, I have examined how you can select a primary and secondary transmitter, customize a few items to cater to your personal preferences, and ensure success with a few methods of data storage should a hardware failure occur on competition day.
I have only touched upon the surface. Please perform your research, observe all offerings from today’s leading manufacturers, and enjoy all that this fine sport has to offer.
Until next time, fly hard!
SOURCES:
IMAC
www.mini-iac.org
Radio South
tony@radiosouthrc.com
www.radiosouthrc.com
Spektrum
www.spektrumrc.com