RC SCALE
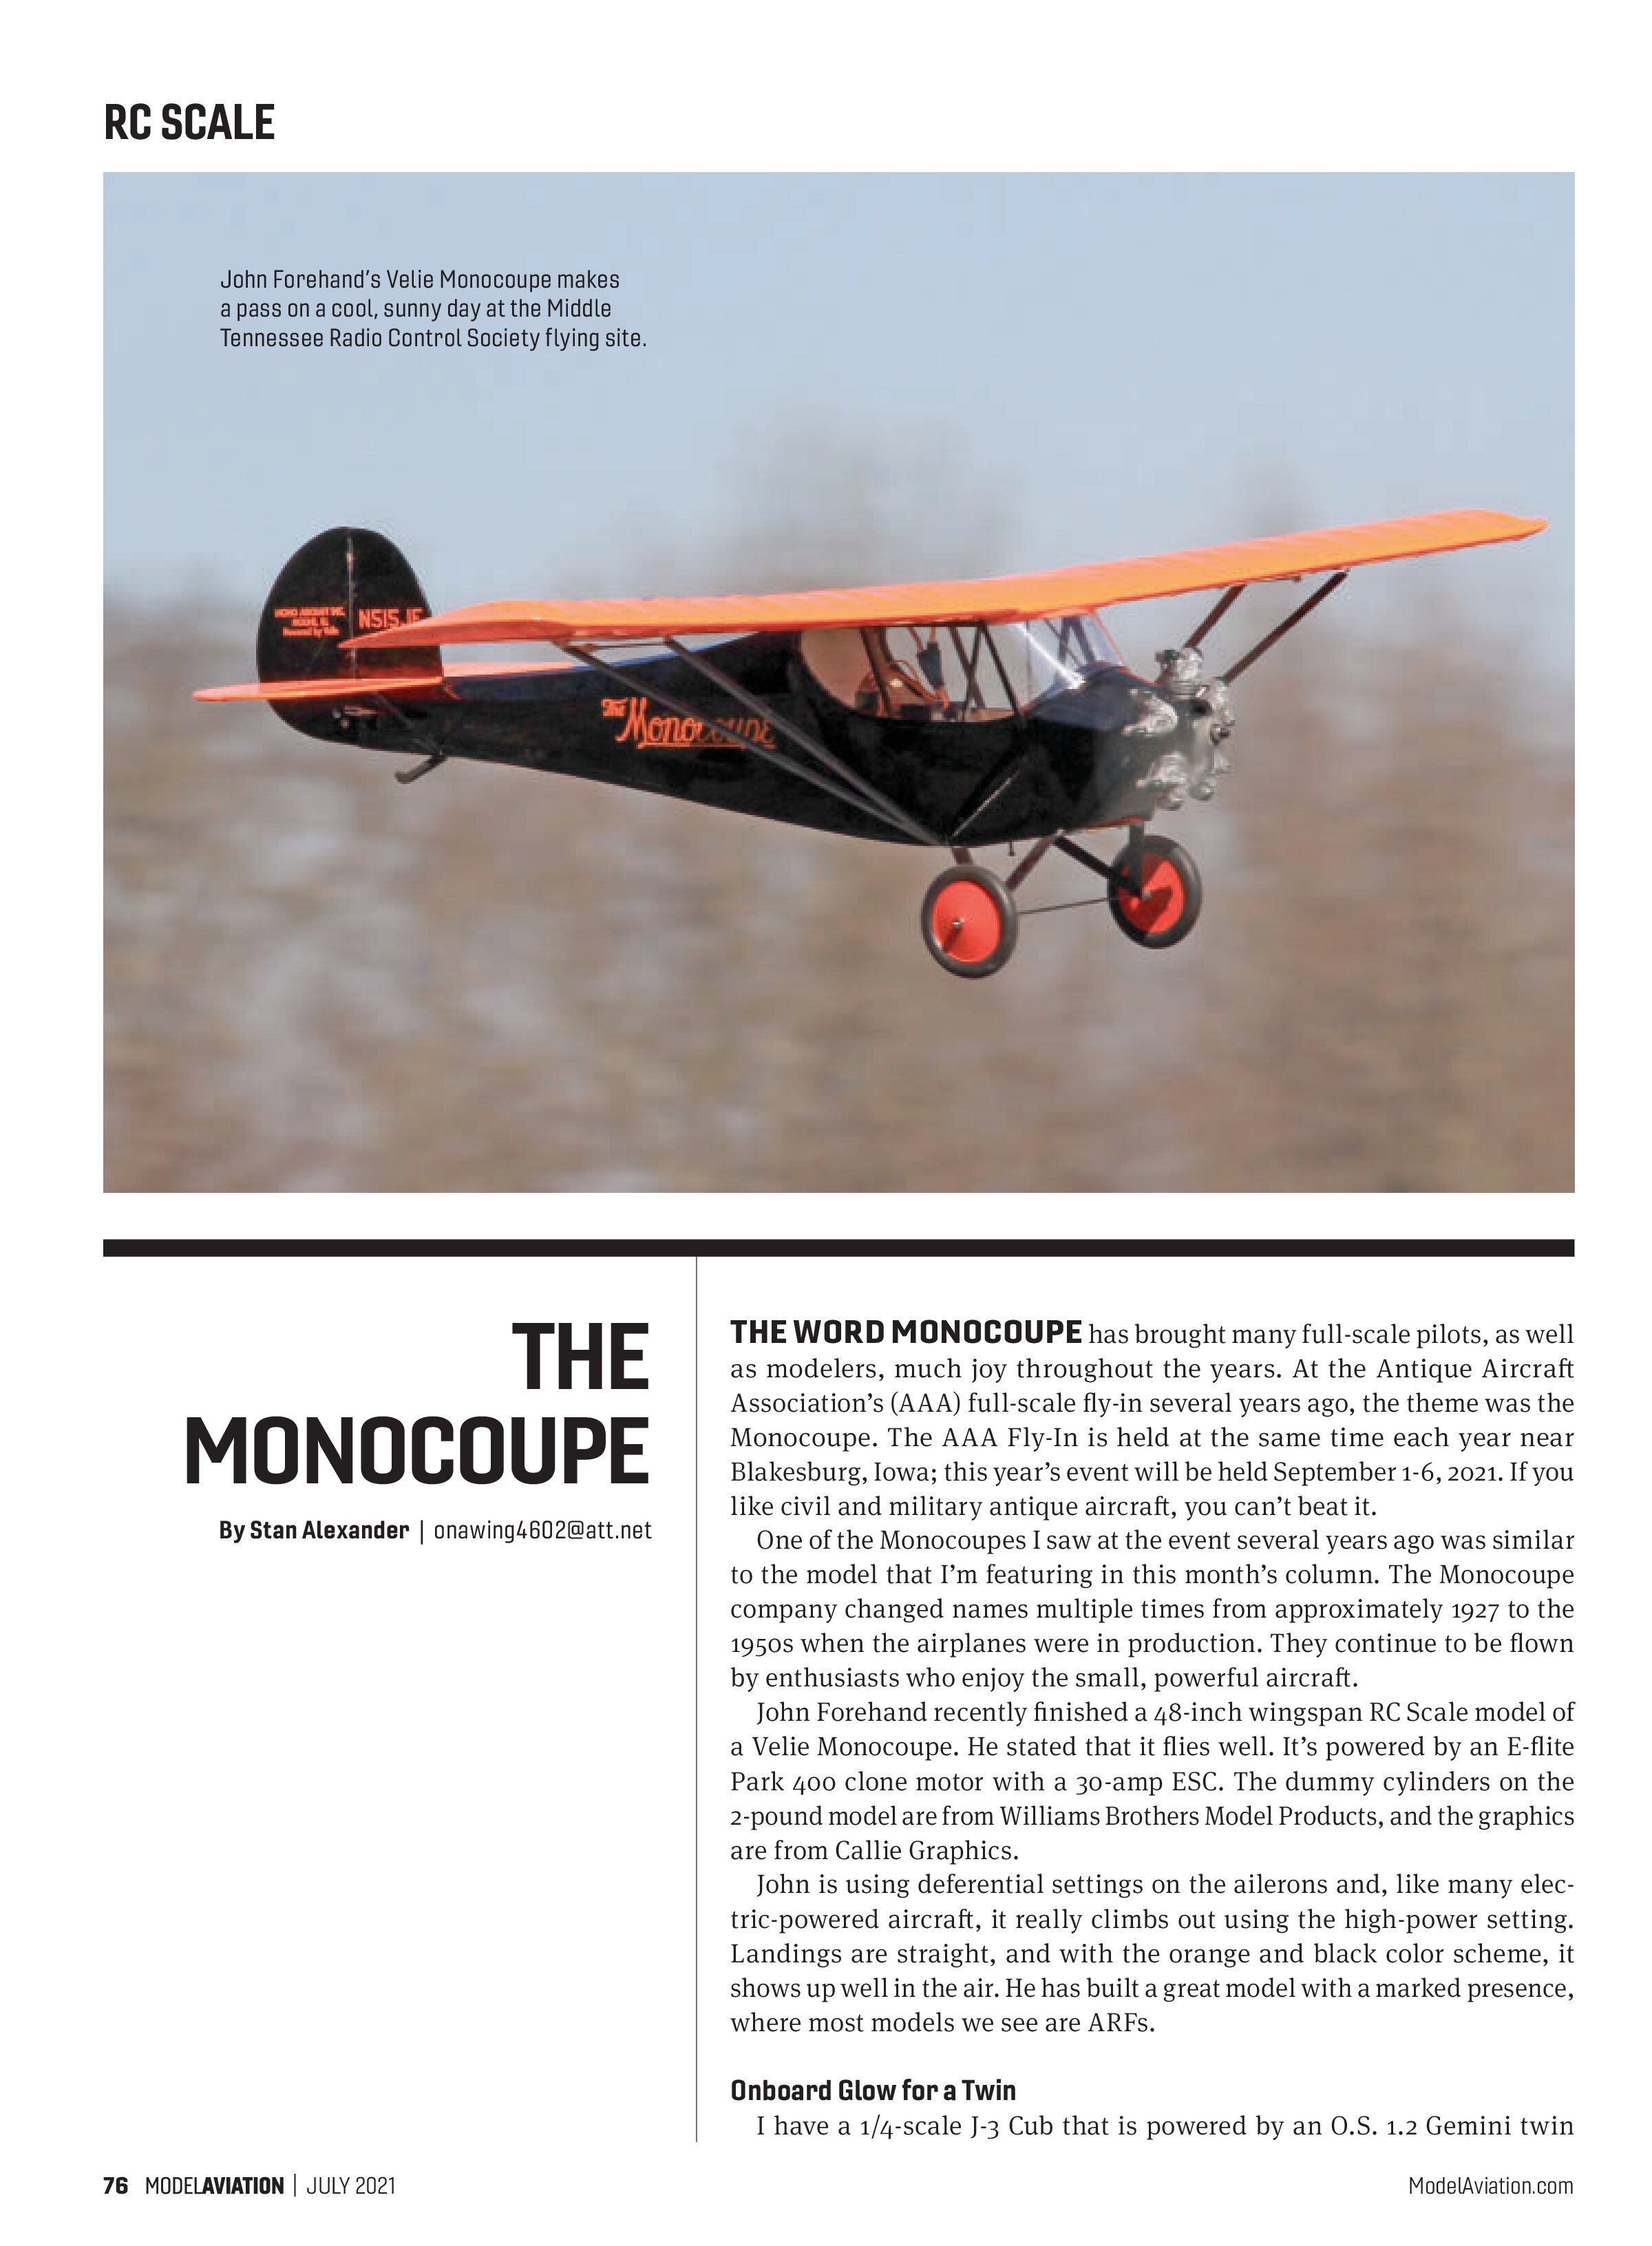
John Forehand’s Velie Monocoupe makes a pass on a cool, sunny day at the Middle Tennessee Radio Control Society flying site.
THE MONOCOUPE
By Stan Alexander | onawing4602@att.net
THE WORD MONOCOUPE has brought many full-scale pilots, as well as modelers, much joy throughout the years. At the Antique Aircraft Association’s (AAA) full-scale fly-in several years ago, the theme was the Monocoupe. The AAA Fly-In is held at the same time each year near Blakesburg, Iowa; this year’s event will be held September 1-6, 2021. If you like civil and military antique aircraft, you can’t beat it.
One of the Monocoupes I saw at the event several years ago was similar to the model that I’m featuring in this month’s column. The Monocoupe company changed names multiple times from approximately 1927 to the 1950s when the airplanes were in production. They continue to be flown by enthusiasts who enjoy the small, powerful aircraft.
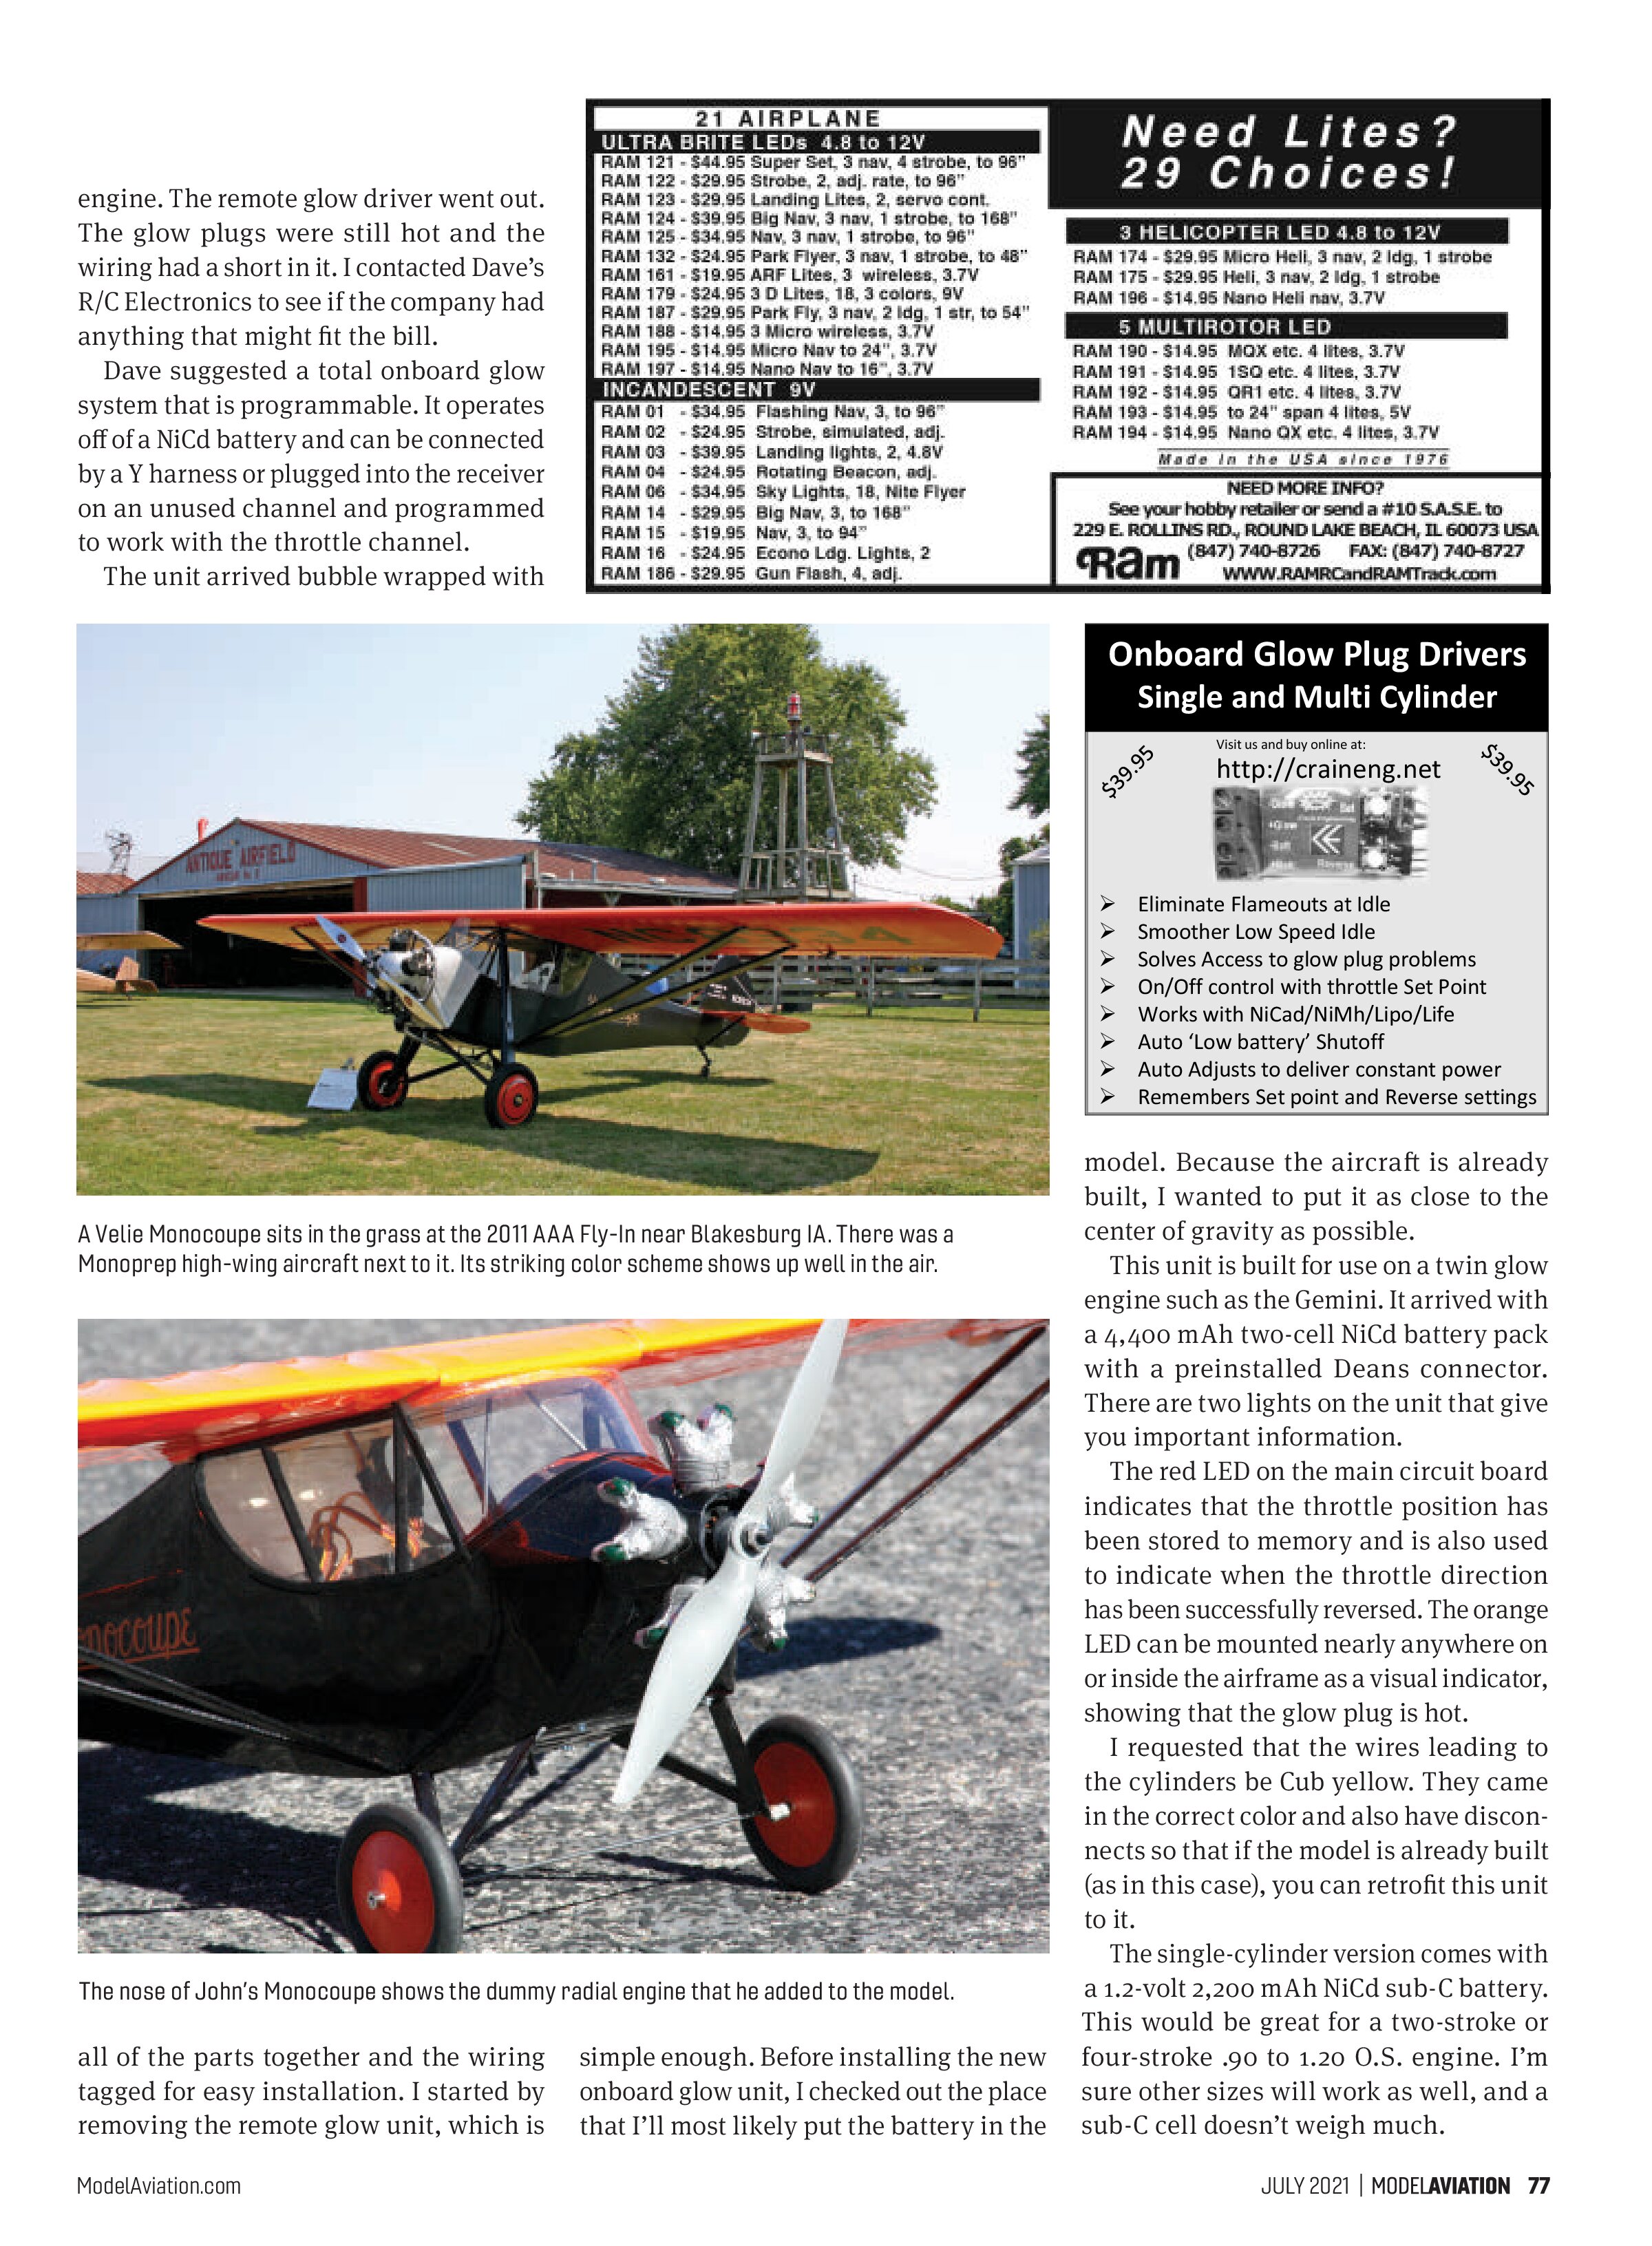
John Forehand recently finished a 48-inch wingspan RC Scale model of a Velie Monocoupe. He stated that it flies well. It’s powered by an E-flite Park 400 clone motor with a 30-amp ESC. The dummy cylinders on the 2-pound model are from Williams Brothers Model Products, and the graphics are from Callie Graphics.
John is using differential settings on the ailerons and, like many electric-powered aircraft, it really climbs out using the high-power setting. Landings are straight, and with the orange and black color scheme, it shows up well in the air. He has built a great model with a marked presence, where most models we see are ARFs.
Onboard Glow for a Twin
I have a 1/4-scale J-3 Cub that is powered by an O.S. 1.2 Gemini twin engine. The remote glow driver went out. The glow plugs were still hot and the wiring had a short in it. I contacted Dave’s R/C Electronics to see if the company had anything that might fit the bill.
Dave suggested a total onboard glow system that is programmable. It operates off of a NiCd battery and can be connected by a Y harness or plugged into the receiver on an unused channel and programmed to work with the throttle channel.
The unit arrived bubble wrapped with

all of the parts together and the wiring tagged for easy installation. I started by removing the remote glow unit, which is

simple enough. Before installing the new onboard glow unit, I checked out the place that I’ll most likely put the battery in the model. Because the aircraft is already built, I wanted to put it as close to the center of gravity as possible.
This unit is built for use on a twin glow engine such as the Gemini. It arrived with a 4,400 mAh two-cell NiCd battery pack with a preinstalled Deans connector. There are two lights on the unit that give you important information.
The red LED on the main circuit board indicates that the throttle position has been stored to memory and is also used to indicate when the throttle direction has been successfully reversed. The orange LED can be mounted nearly anywhere on or inside the airframe as a visual indicator, showing that the glow plug is hot.
I requested that the wires leading to the cylinders be Cub yellow. They came in the correct color and also have disconnects so that if the model is already built (as in this case), you can retrofit this unit to it.
The single-cylinder version comes with a 1.2-volt 2,200 mAh NiCd sub-C battery. This would be great for a two-stroke or four-stroke .90 to 1.20 O.S. engine. I’m sure other sizes will work as well, and a sub-C cell doesn’t weigh much.


using the supplied Deans connector. Fully charge the battery pack and you’re ready to go play!
Fair skies and tailwinds.
SOURCES:
National Association of Scale Aeromodelers (NASA)
www.nasascale.org
AAA
(641) 938-2773
www.antiqueairfield.com
Dave’s R/C Electronics
(423) 332-7504
www.davesrce.com
Sig Mfg. Co., Inc.
(641) 623-5154
www.sig mfg.com

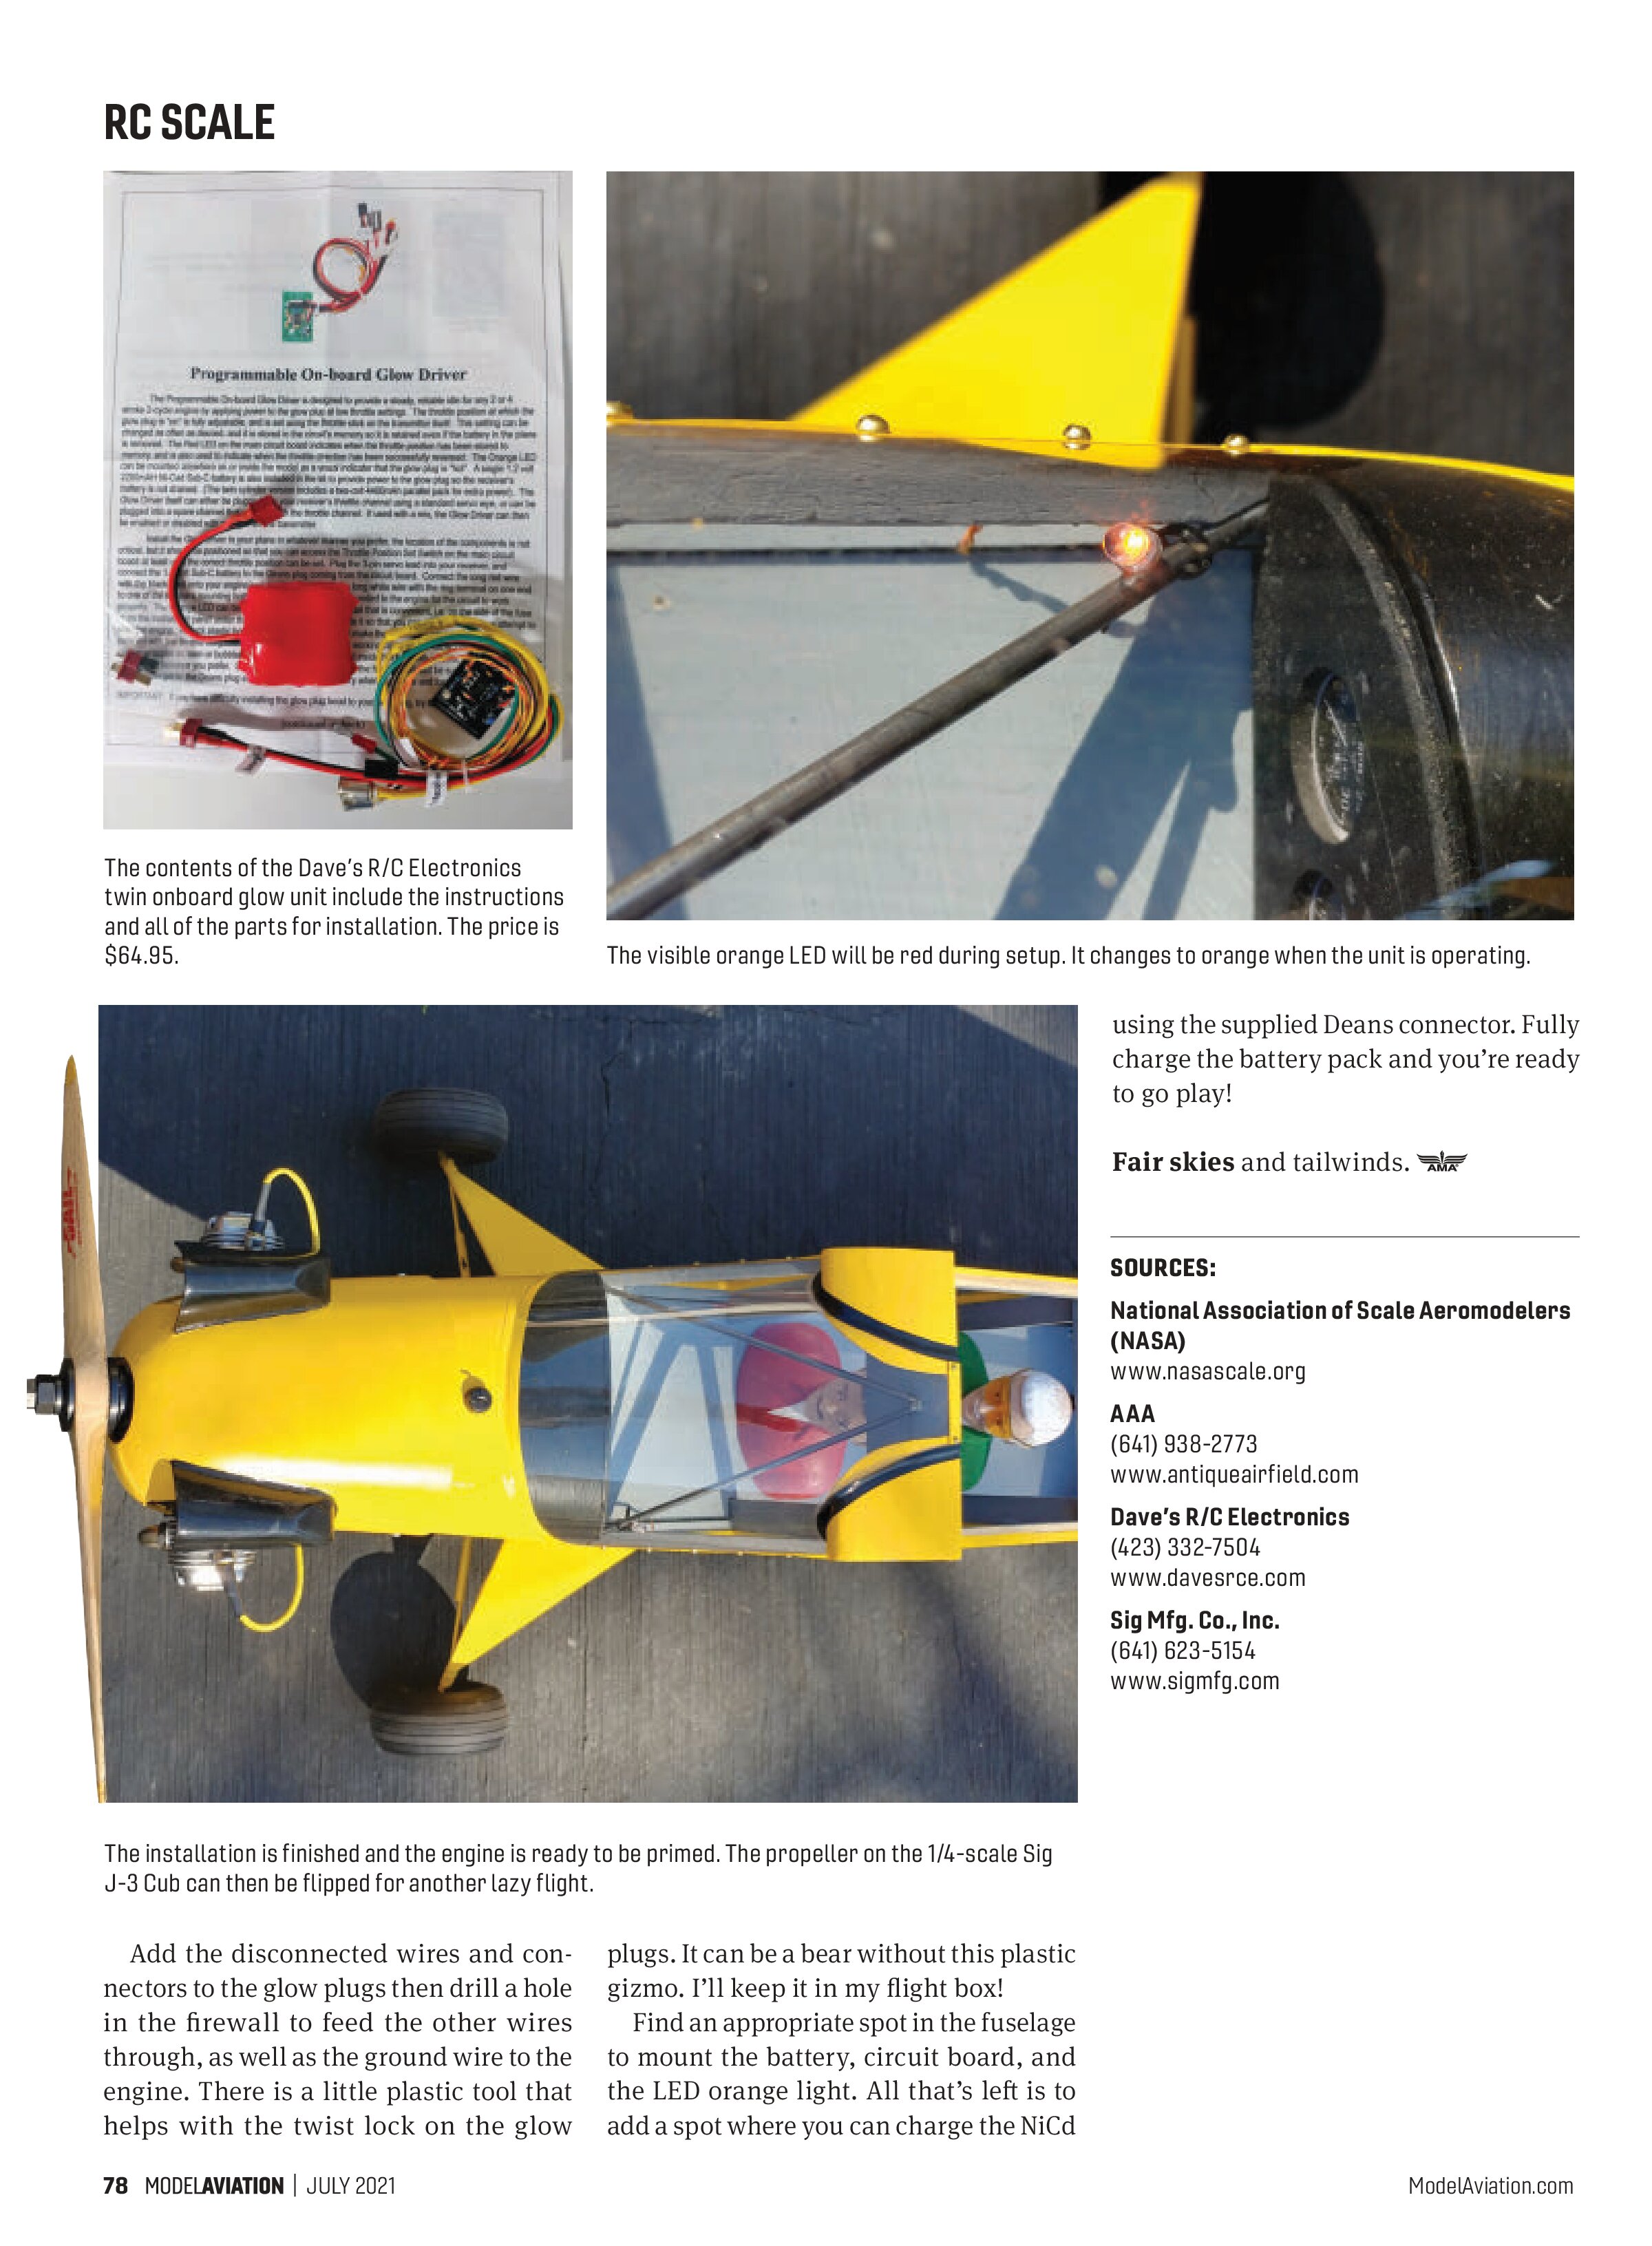
Add the disconnected wires and connectors to the glow plugs then drill a hole in the firewall to feed the other wires through, as well as the ground wire to the engine. There is a little plastic tool that helps with the twist lock on the glow plugs. It can be a bear without this plastic gizmo. I’ll keep it in my flight box!
Find an appropriate spot in the fuselage to mount the battery, circuit board, and the LED orange light. All that’s left is to add a spot where you can charge the NiCd