RC JETS
By Jim Hiller | jetmodeler@earthlink.net

I WANT TO GIVE A SHOUTOUT to Duane Woods II for his efforts on developing some new jet models for RealFlight 9.5 flight simulator users. They bring the feel of sport jets to the simulator world. He has uploaded them to the Knife Edge Software website for you to download. It’s well worth it.
Duane has created the Elite Aerosports Rogue, Havoc, and Havoc SS jets at this time. These simulator models allow us to try them before we buy. He has accurately simulated the flying characteristics of each of them. Believe me, Duane has experience flying all of the Elite Aerosports jets to the extreme. He has an aggressive flying style and is qualified to make the simulated model fly similar to the true airplane.
The large Havoc has two setups. I have found that I enjoy flying the Havoc X on my simulator because it has a setup to fly in Duane’s extreme style, with control travels tamed with just the right amount of exponential rate to allow beautiful, smooth flights when flying normally. Push the sticks hard and get those wild roll rates. It’s pretty cool to fly. Many thanks to Duane for sharing his hard work and skills.
Freewing T-33
As last summer’s flying season came to an end, I picked up a new, smaller, electric-powered airplane for winter flying. I love the convenience of electrics when it’s cold outside—just show up at the field with freshly charged batteries and enjoy flying.
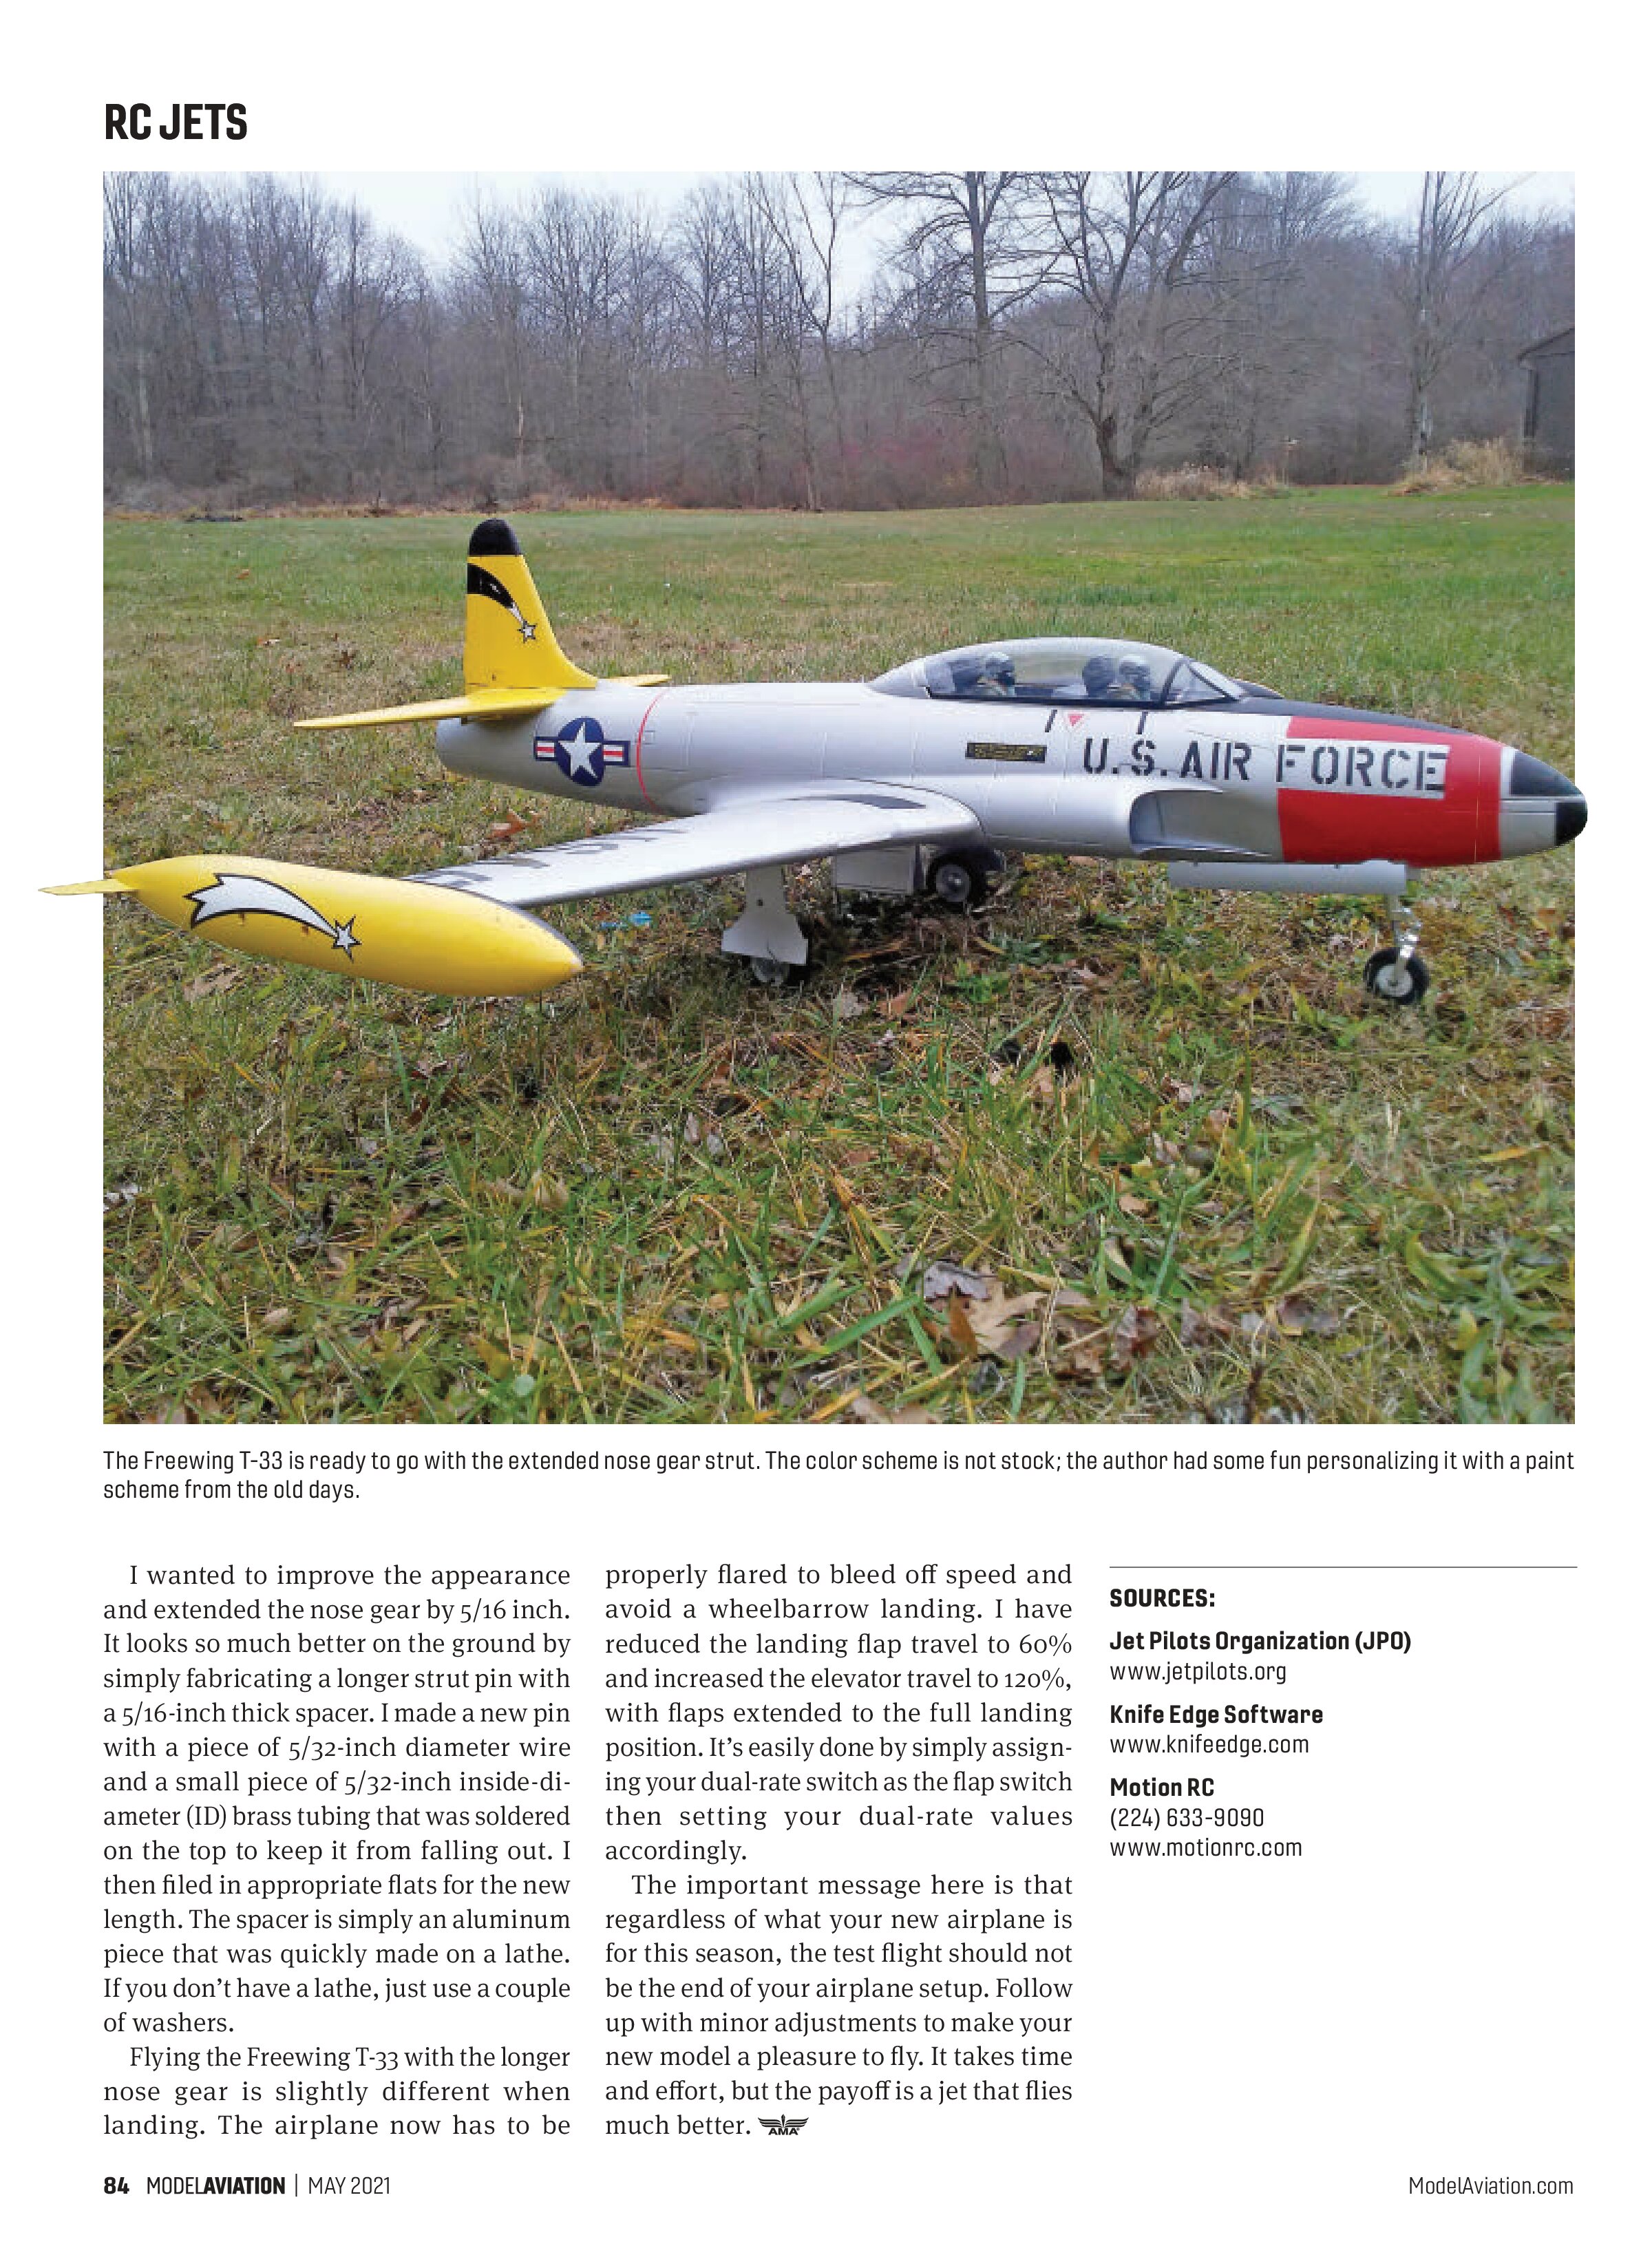
This past winter’s selection was an EDF jet for a change—a 53-inch wingspan Freewing T-33. It’s a nice-size airplane that transports fully assembled, which is important criteria when you arrive at the field and it’s cold outside.
Flying the T-33 has been fun. My go-to battery is a 6S 4,500 mAh LiPo. It’s a good compromise between weight and flight time. I have flown Freewing T-33s with batteries ranging from 4,000 mAh to 6,500 mAh. The center of gravity (CG) can be maintained by simply shifting the battery. There’s plenty of room for adjustment, so regardless of what battery you choose, there is no reason to take off without a proper CG. Flight times using a 4,500 mAh battery run slightly less than 5 minutes with my style of flying.
Because this is early in the flying season and many of us will be bringing out our new models for test flights, let’s review some of the setups that I have made to this T-33.
I first tried a couple of flights to adjust the CG to find my preference. The recommended CG is good with nice handling characteristics, yet I have found that I prefer it back approximately 1/8 inch. After installing the battery, just pick it up at the CG mark or, in my case, the spar slot just aft of the CG. I have flown the T-33 with the CG 1/2 inch behind the recommendation and it flew well, but landings tended to float too easily during the landing flare.
After the CG is taken care of, it’s on to fine-tuning. The T-33 tends to change pitch trim with the throttle position. It dives under power and climbs with power off, which is frustrating when you are flying precision aerobatics.
I need to explain slightly more because we usually do not experience this with turbines or EDFs. An example would be when coming out of the backside of a loop with power off and releasing the elevator after it is level, the aircraft climbs. You need to hold down-elevator to maintain level flight. Now by applying power, the nose immediately pitches down even before it accelerates. The problem is similar to downthrust issues, and the proper fix in this case would be to lower the EDF so that the thrust tube angles up. It’s not an easy thing to do with a foam airplane.
A programmable mix is an easy fix for many airplane quirks and I used it in this case. I have a transmitter mix setup for the throttle-to-elevator. This mix setup is similar to any other one because it starts from the half-stick position (half throttle), and then adjusts in either direction as the stick is moved.
The flight routine to set the rates was to fly at half throttle and set the normal elevator trim for level flight then back to idle and adjust the mix rate as required. This was followed by the same routine at full throttle, again adjusting the mix rate as required. It takes a few flights to get it right.
The final numbers I ended up with while using a Spektrum DX7 transmitter were -2% at full throttle and -4% at idle. Now the T-33 accelerates after a loop from idle to full power with no pitch-trim change. It just rapidly accelerates in speed in preparation for the turnaround maneuver.
I dislike the appearance of the T-33 sitting nose down—the nose gear is just too short for my taste. The wing’s incidence is approximately 0-0 in stock form. It takes off and lands well, so no change is really necessary to improve the flying. The supplied landing gear setup makes for an easy landing arrangement. You can fly the airplane to the ground with full flaps and minimal landing flare without making a wheelbarrow landing.
What is a wheelbarrow landing? It’s when you touch down at such a high speed and low angle of attack (AOA) that the nose gear tire touches the ground before the main gear tires—hence, a wheelbarrow landing. Bad things happen next. The aft end of the airplane settles down until the main tires touch the ground. The AOA is increased and you find yourself back in the air, only nose high. It’s only a minor skip if the pilot applies the elevator quickly and hard enough to return to a level gliding flight then properly continues the landing flare.
The really bad moment happens when you don’t immediately arrest the bounce with the elevator. If you’ve bounced in the air, the nose will sharply drop. The next bounce is harder and you have less speed, followed by more bounces until the nose gear fails or the airplane finally stalls, and is then followed by more aggressive bounces and sliding upside down on the runway. The T-33’s short nose gear is a good thing.

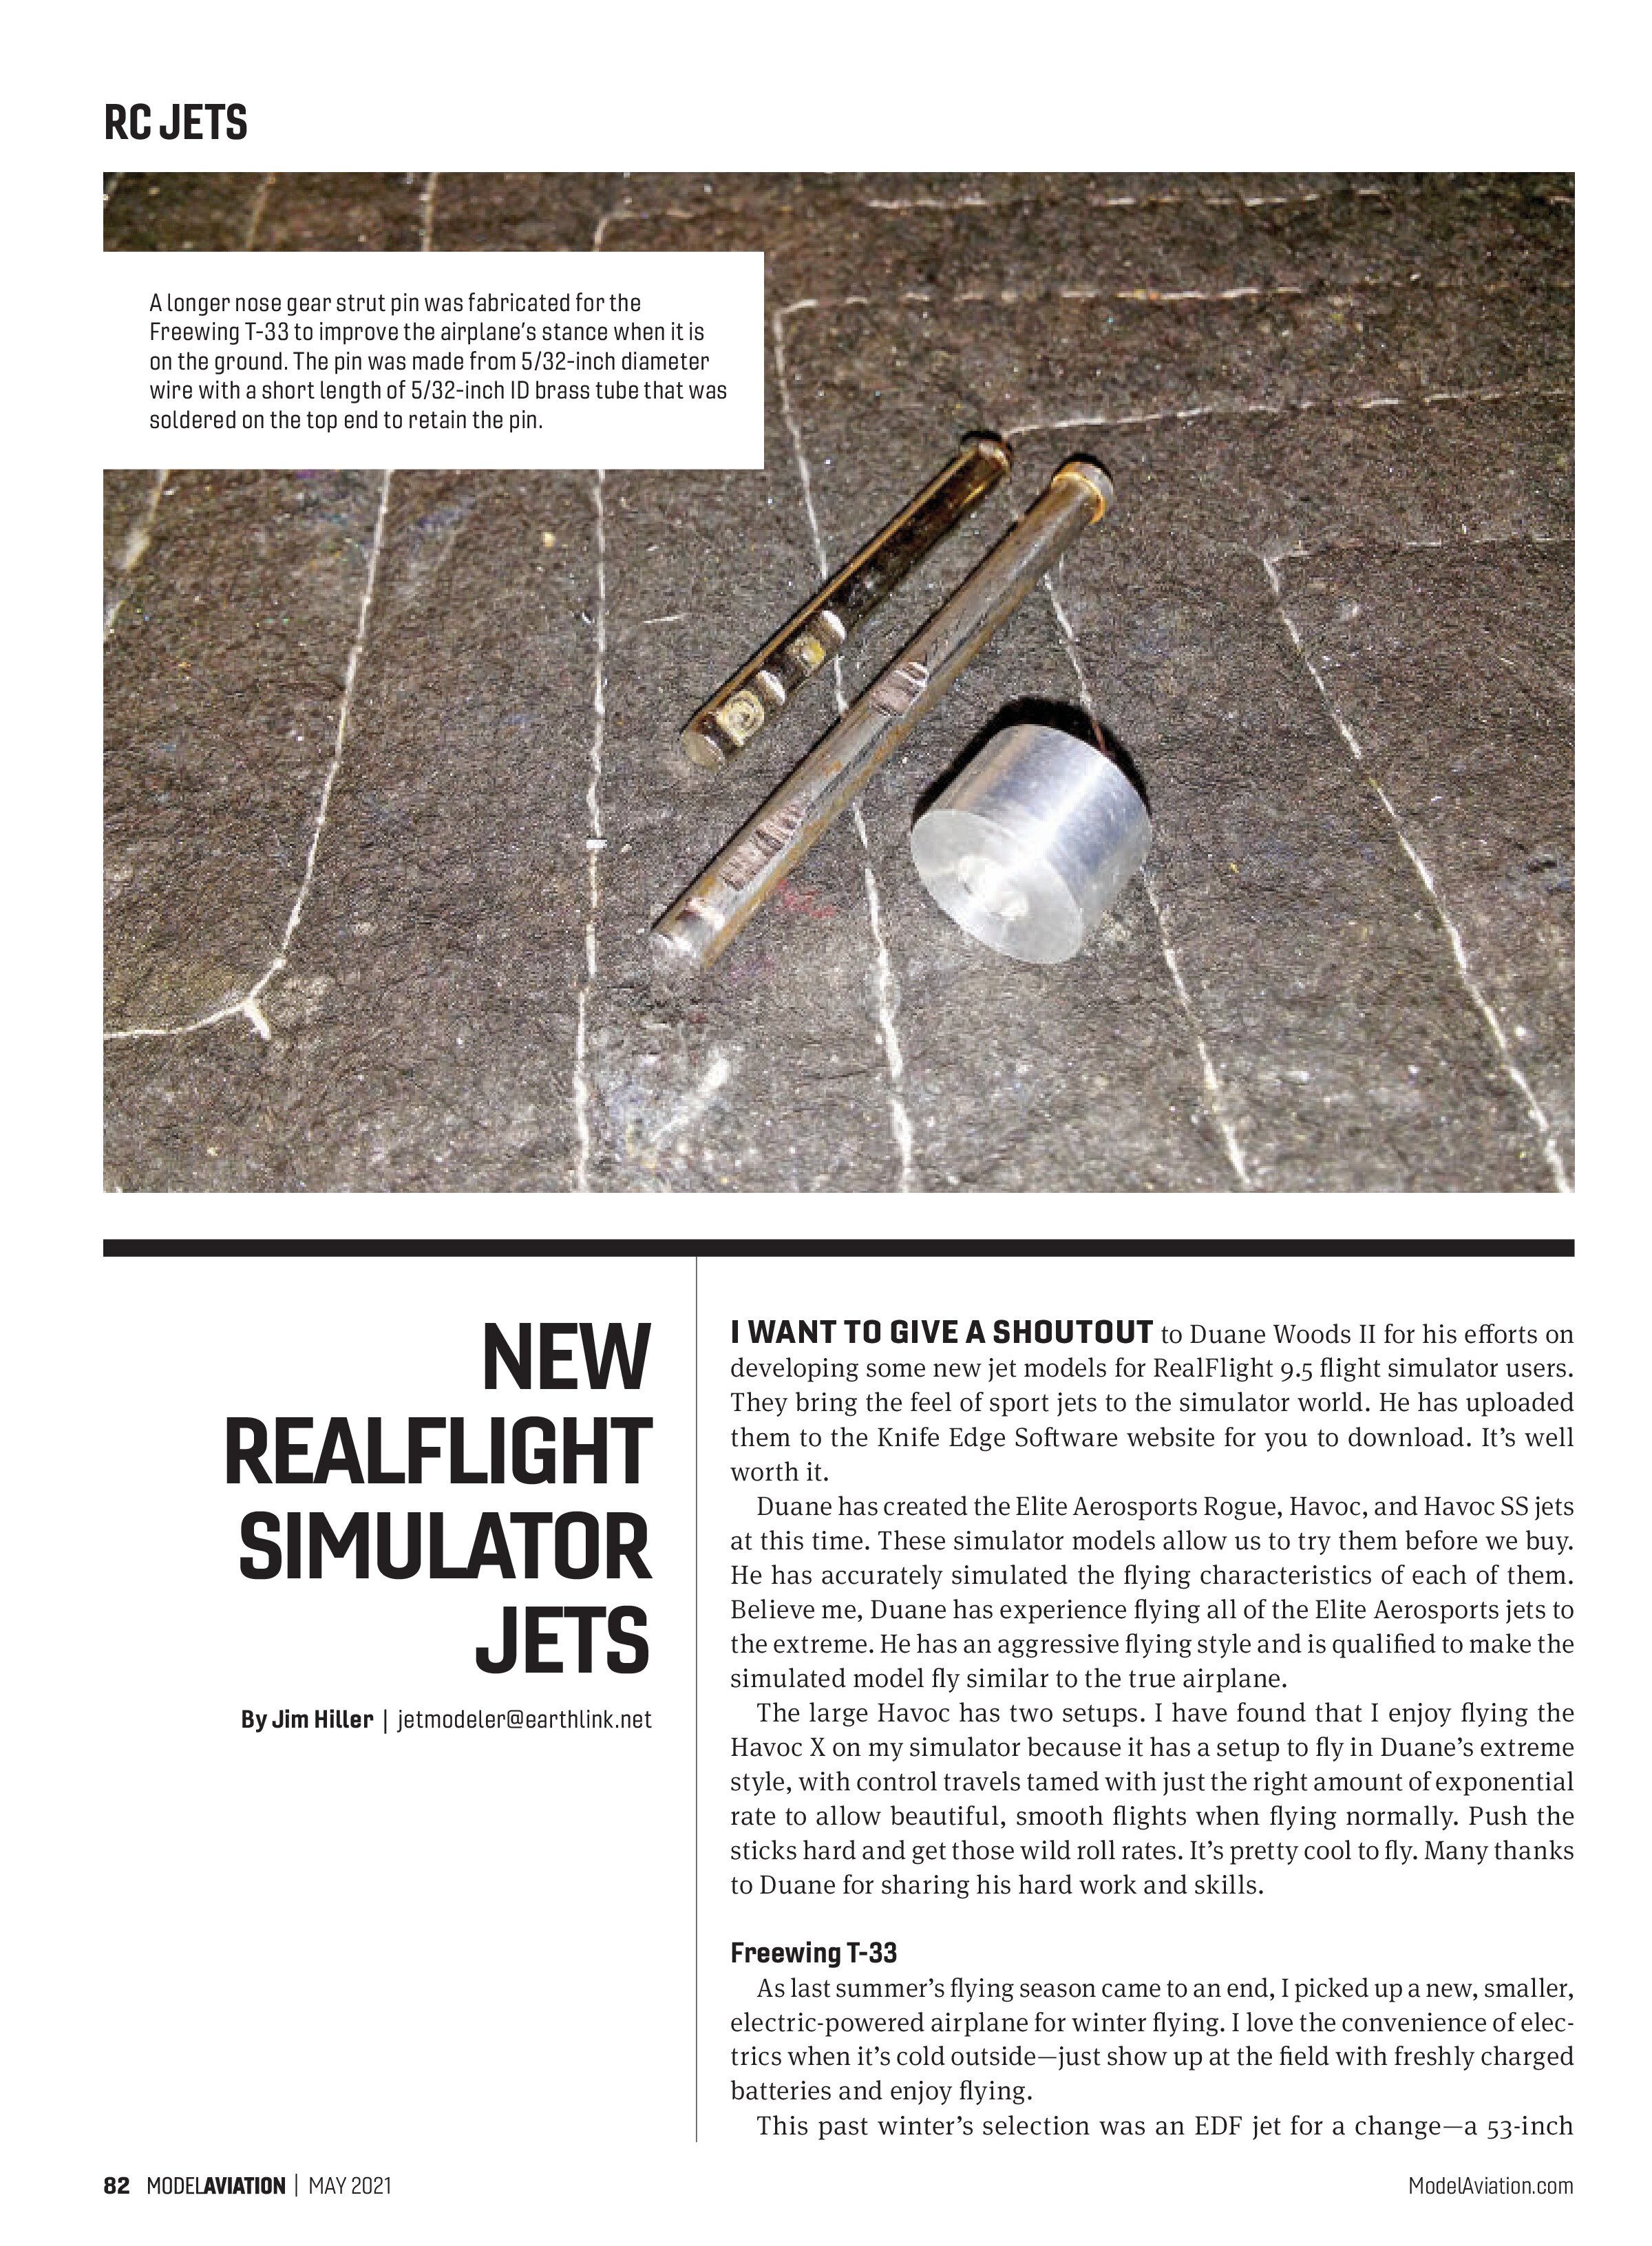
I wanted to improve the appearance and extended the nose gear by 5/16 inch. It looks so much better on the ground by simply fabricating a longer strut pin with a 5/16-inch thick spacer. I made a new pin with a piece of 5/32-inch diameter wire and a small piece of 5/32-inch inside-diameter (ID) brass tubing that was soldered on the top to keep it from falling out. I then filed in appropriate flats for the new length. The spacer is simply an aluminum piece that was quickly made on a lathe. If you don’t have a lathe, just use a couple of washers.
Flying the Freewing T-33 with the longer nose gear is slightly different when landing. The airplane now has to be properly flared to bleed off speed and avoid a wheelbarrow landing. I have reduced the landing flap travel to 60% and increased the elevator travel to 120%, with flaps extended to the full landing position. It’s easily done by simply assigning your dual-rate switch as the flap switch then setting your dual-rate values accordingly.
The important message here is that regardless of what your new airplane is for this season, the test flight should not be the end of your airplane setup. Follow up with minor adjustments to make your new model a pleasure to fly. It takes time and effort, but the payoff is a jet that flies much better.
SOURCES:
Jet Pilots Organization (JPO)
www.jetpilots.org
Knife Edge Software
www.knifeedge.com
Motion RC
(224) 633-9090
www.motionrc.com