RC SCALE AEROBATICS

THE AIRFRAME
AND
PREVENTATIVE
MEASURES
By John Glezellis | jglezellis@gmail.com
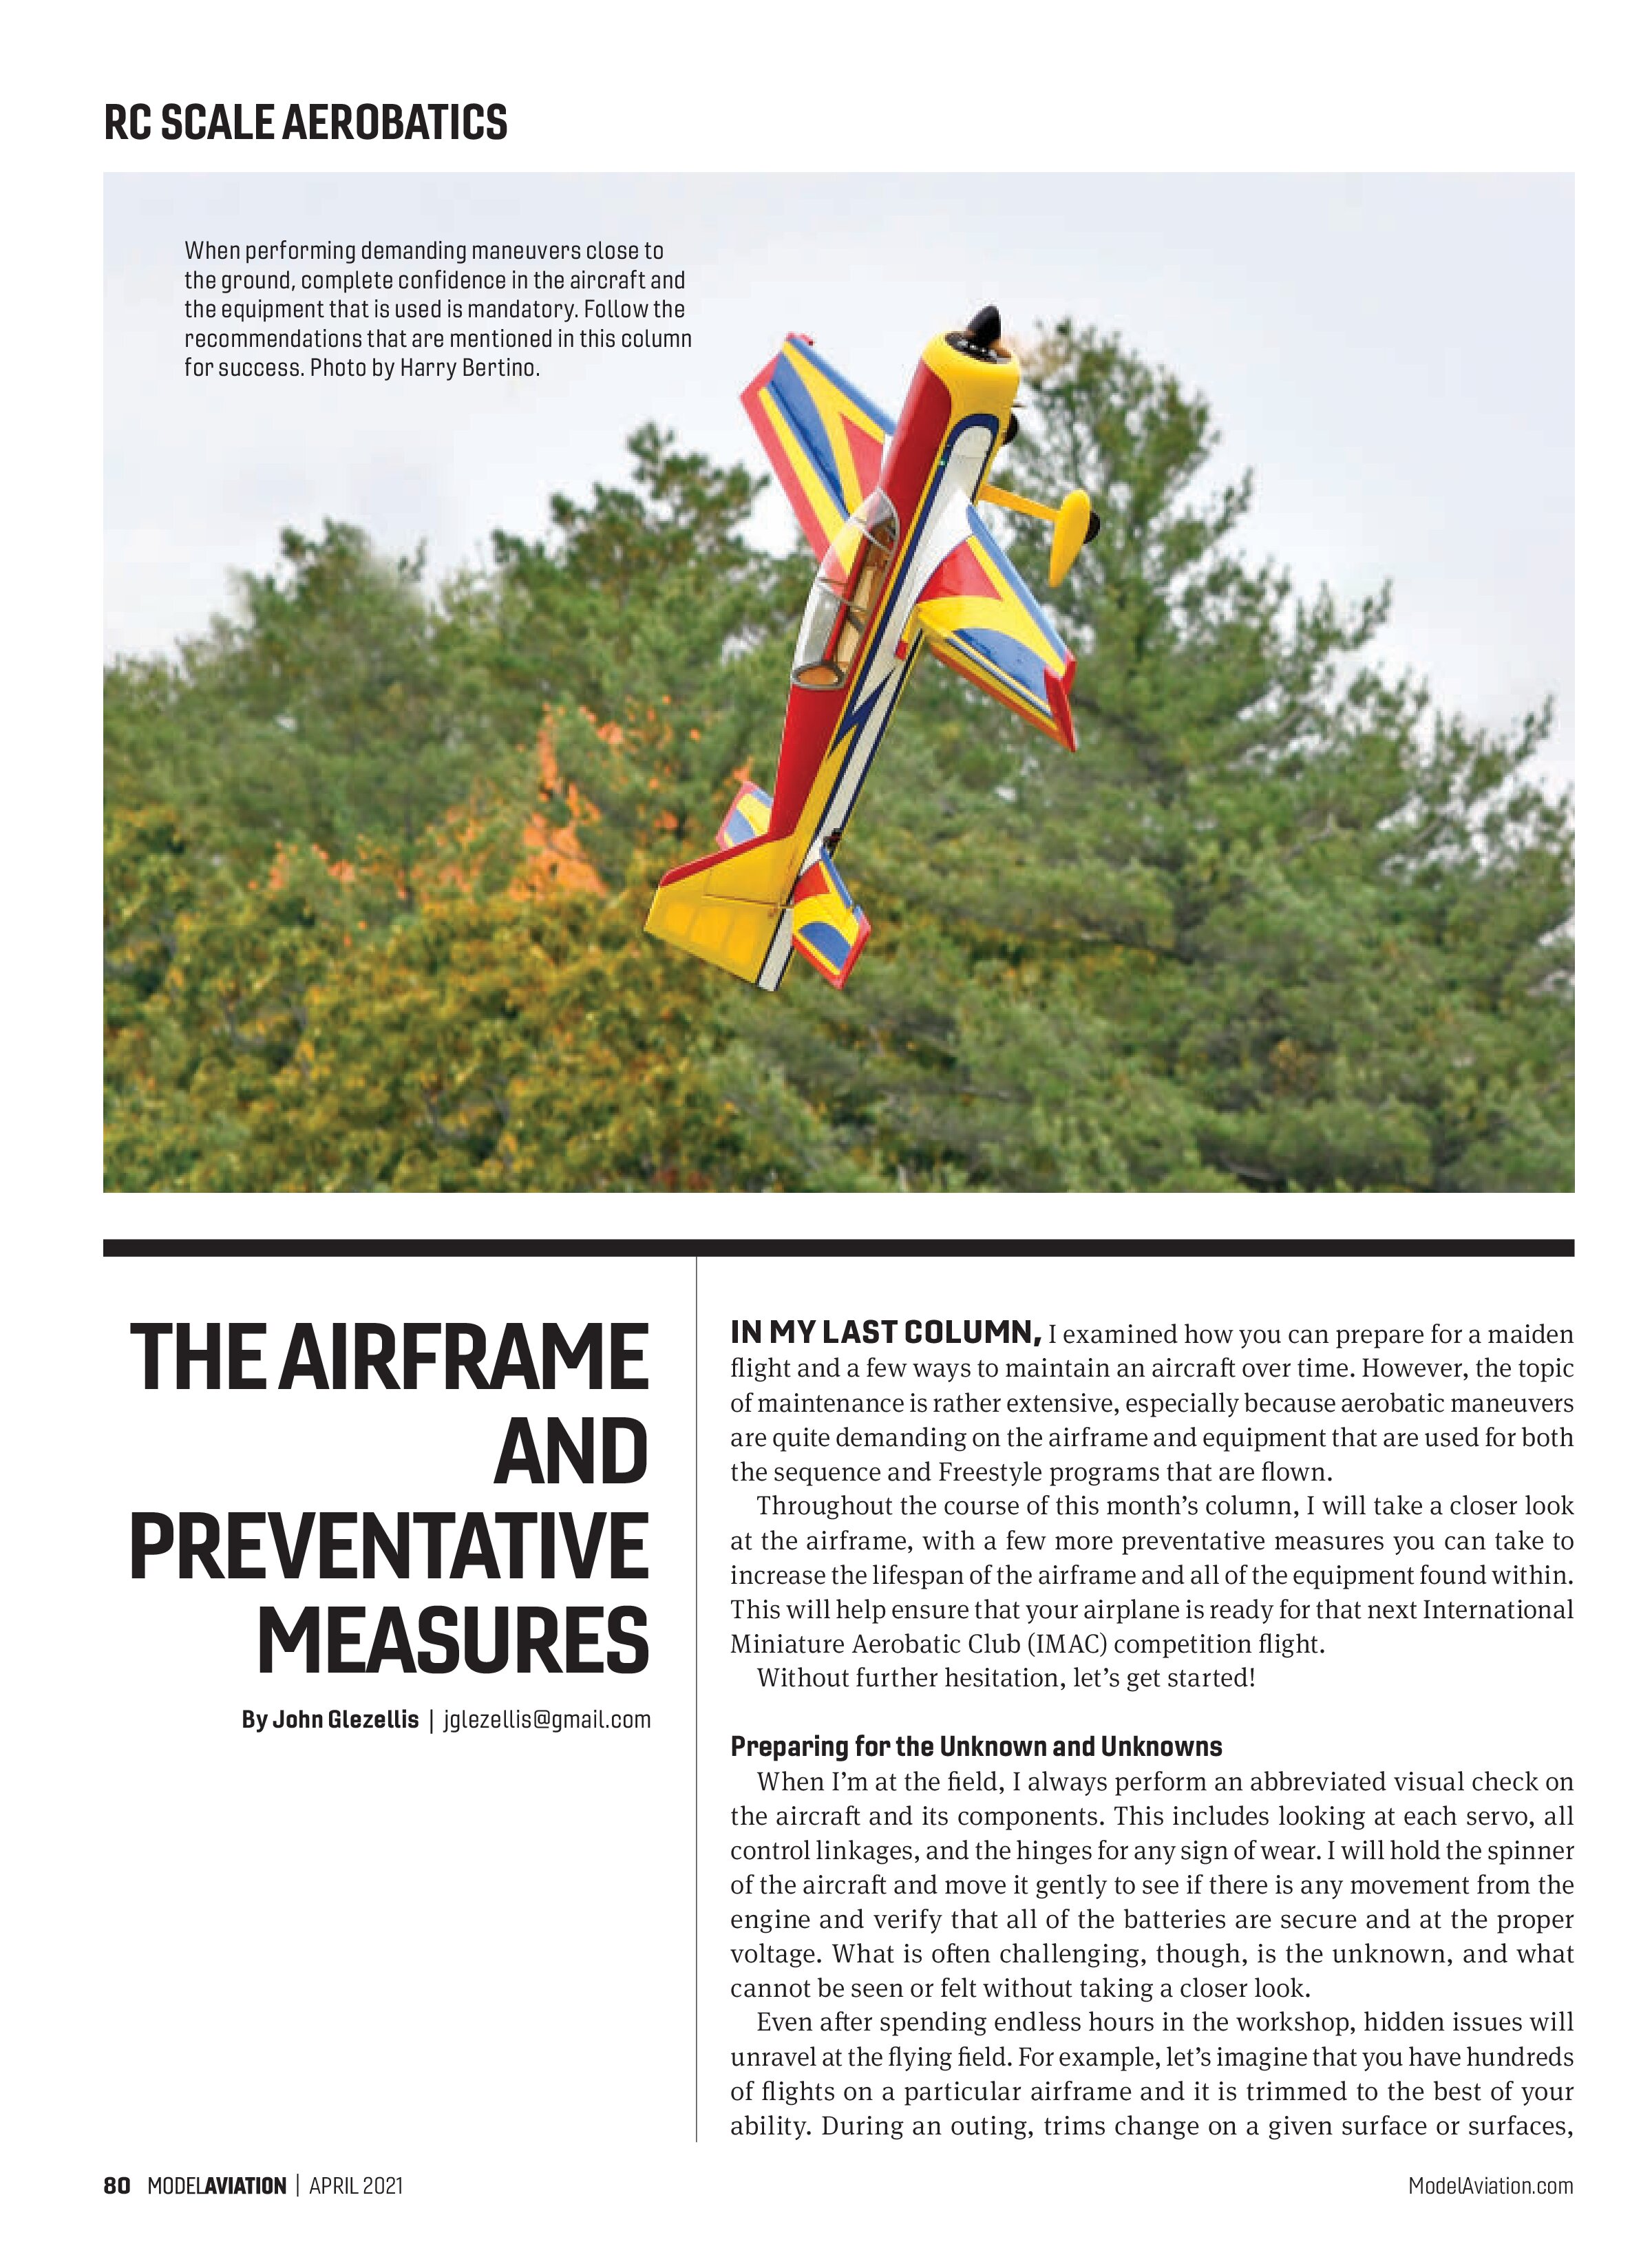
IN MY LAST COLUMN, I examined how you can prepare for a maiden flight and a few ways to maintain an aircraft over time. However, the topic of maintenance is rather extensive, especially because aerobatic maneuvers are quite demanding on the airframe and equipment that are used for both the sequence and Freestyle programs that are flown.
Throughout the course of this month’s column, I will take a closer look at the airframe, with a few more preventative measures you can take to increase the lifespan of the airframe and all of the equipment found within. This will help ensure that your airplane is ready for that next International Miniature Aerobatic Club (IMAC) competition flight.
Without further hesitation, let’s get started!
Preparing for the Unknown and Unknowns
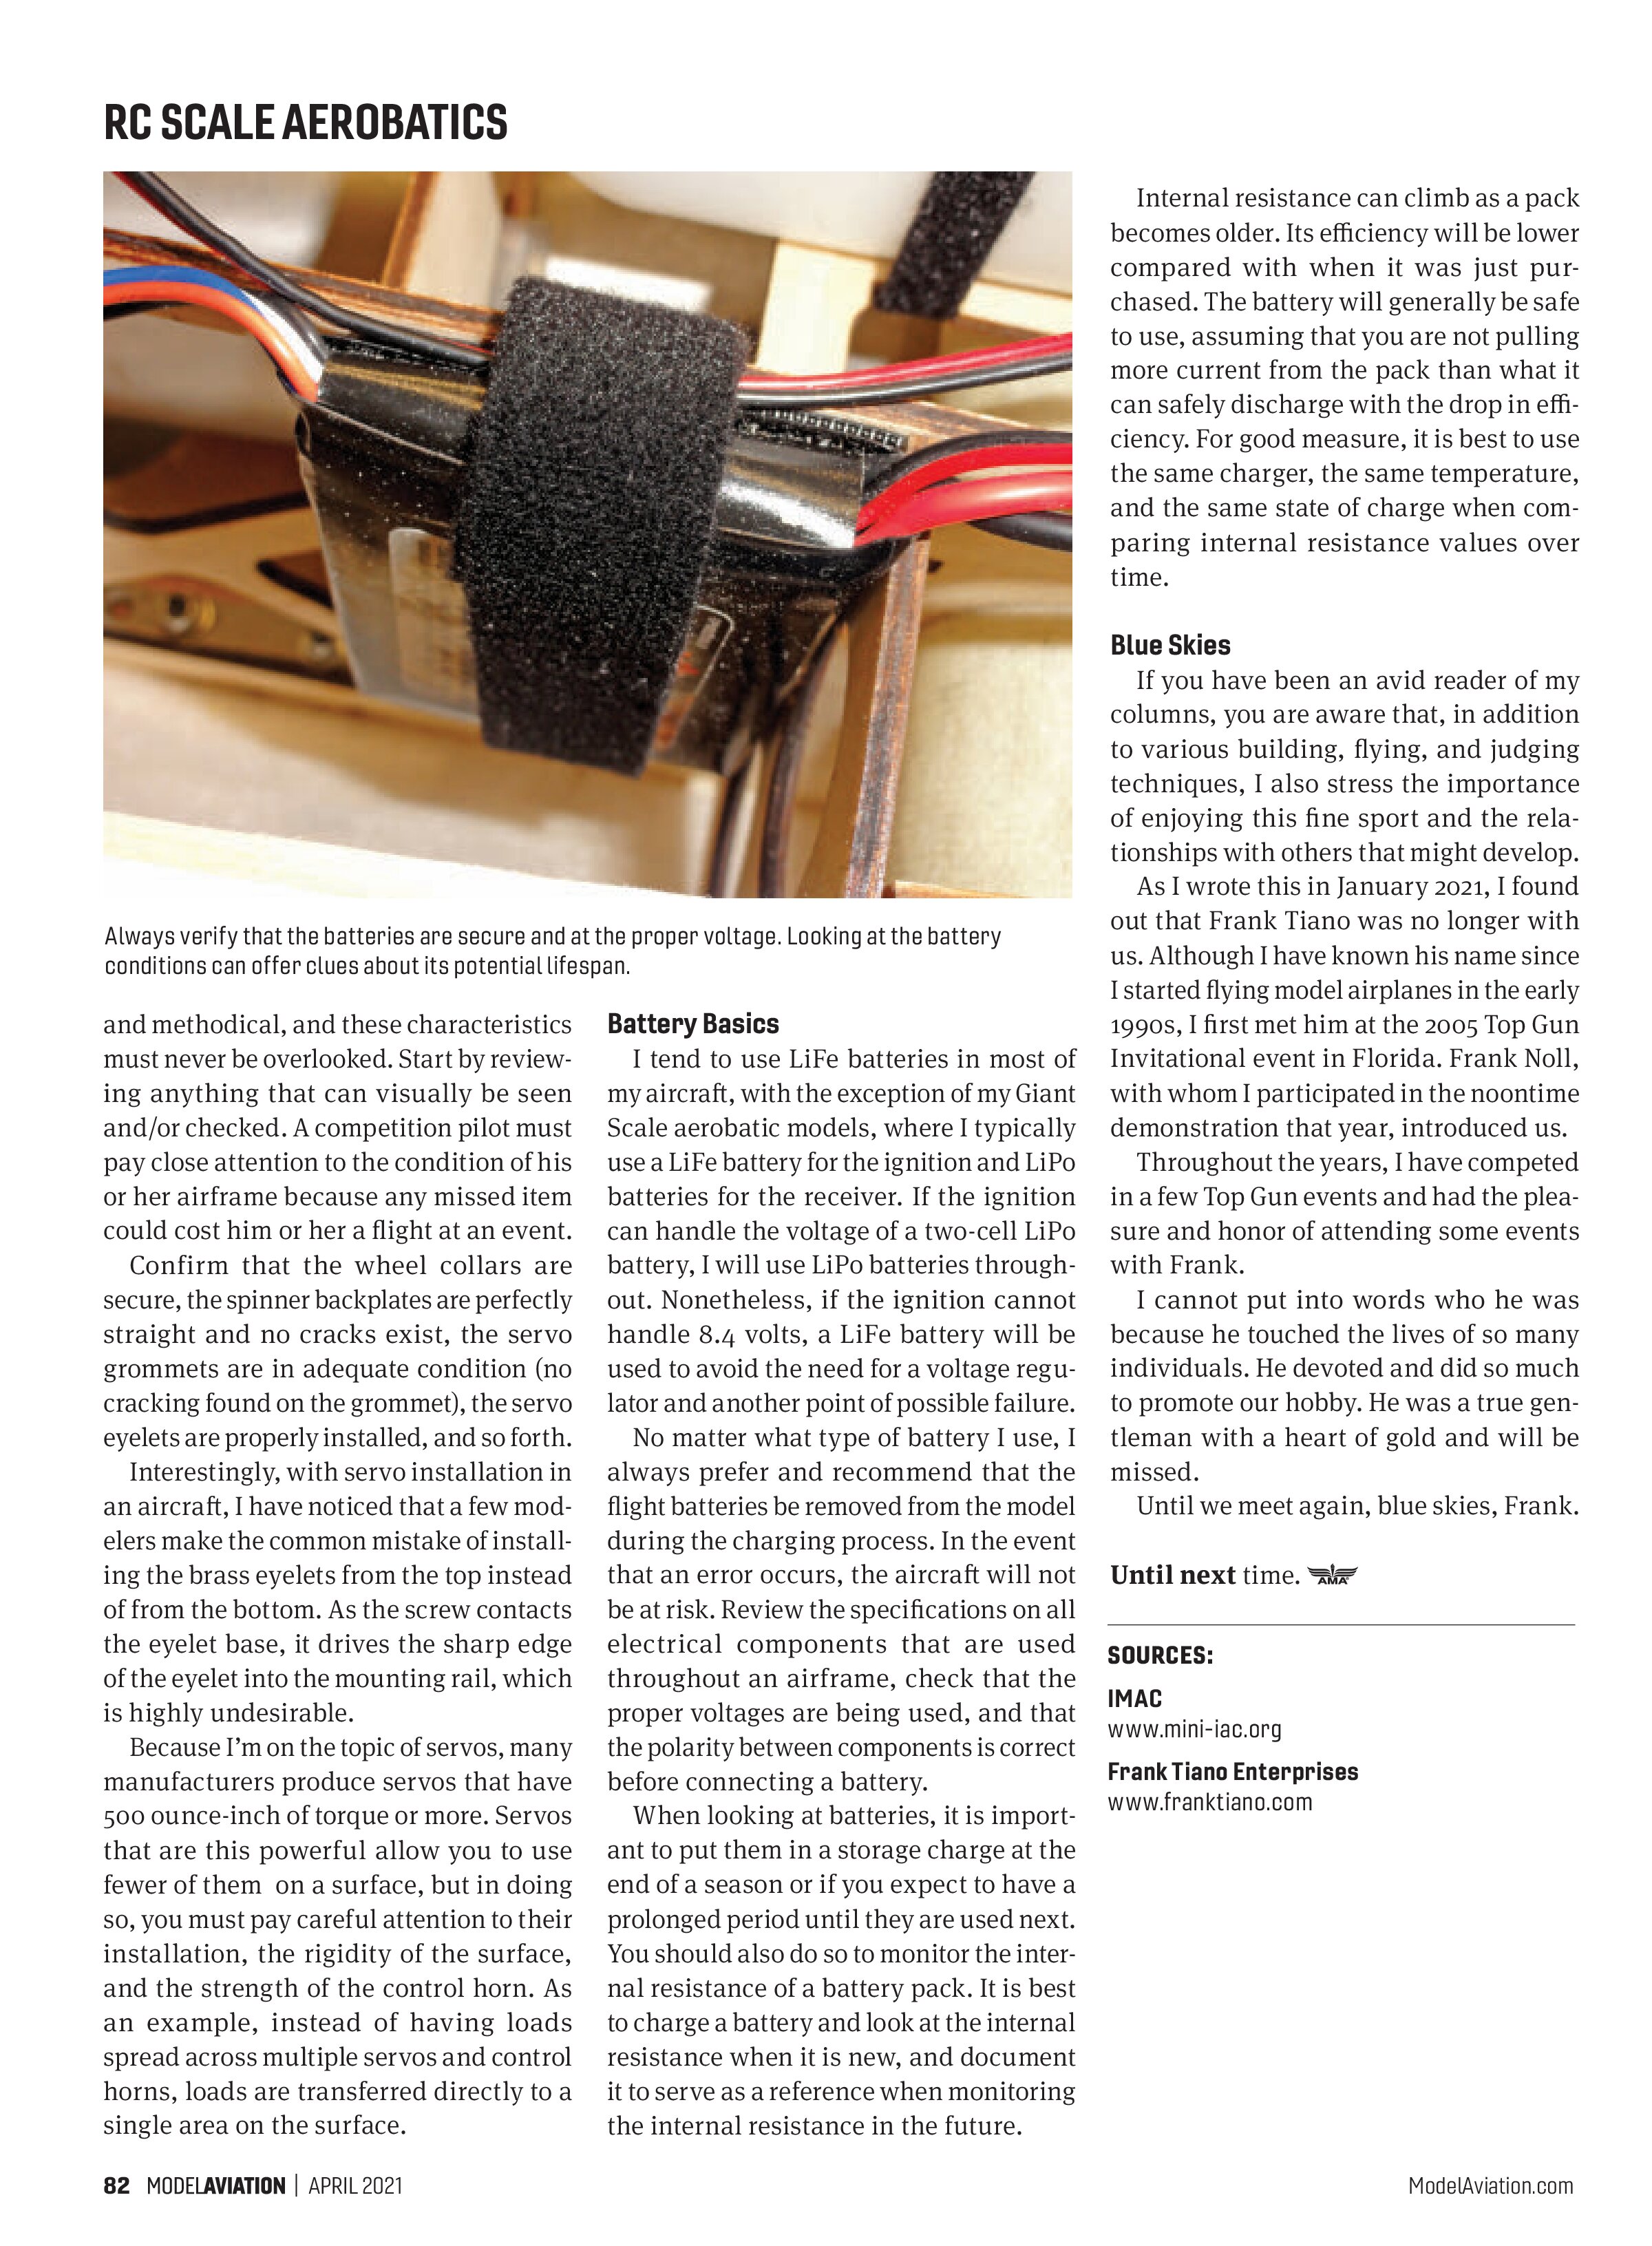
When I’m at the field, I always perform an abbreviated visual check on the aircraft and its components. This includes looking at each servo, all control linkages, and the hinges for any sign of wear. I will hold the spinner of the aircraft and move it gently to see if there is any movement from the engine and verify that all of the batteries are secure and at the proper voltage. What is often challenging, though, is the unknown, and what cannot be seen or felt without taking a closer look.
Even after spending endless hours in the workshop, hidden issues will unravel at the flying field. For example, let’s imagine that you have hundreds of flights on a particular airframe and it is trimmed to the best of your ability. During an outing, trims change on a given surface or surfaces, sometimes at multiple points in a flight. If an airplane only requires a few “clicks” of trim and is trimmed from that point forward, you should not be concerned.
Nevertheless, if the airplane is in a constant state of requiring trim, land it immediately and analyze it. In some cases, a servo might be worn, causing the control surface to not return to center and resulting in not enough holding power for a given command. In other instances, a servo arm or servo could loosen, or perhaps an interplane strut could not be secured completely on a biplane, causing the wing to twist.

Although it is recommended to check that the propeller is secure after every flight, occasionally remove the cowling and check all of the engine bolts, canister clamps, and so forth. To the maximum extent possible, perform visual inspections.
Although these are just a few possible causes, many possibilities can exist. As a pilot, if something doesn’t feel quite right, something is likely wrong. It is important to never second-guess yourself.
During the entire in-depth inspection process, it is important to be organized.

and methodical, and these characteristics must never be overlooked. Start by reviewing anything that can visually be seen and/or checked. A competition pilot must pay close attention to the condition of his or her airframe because any missed item could cost him or her a flight at an event.
Confirm that the wheel collars are secure, the spinner backplates are perfectly straight and no cracks exist, the servo grommets are in adequate condition (no cracking found on the grommet), the servo eyelets are properly installed, and so forth.
Interestingly, with servo installation in an aircraft, I have noticed that a few modelers make the common mistake of installing the brass eyelets from the top instead of from the bottom. As the screw contacts the eyelet base, it drives the sharp edge of the eyelet into the mounting rail, which is highly undesirable.
Because I’m on the topic of servos, many manufacturers produce servos that have 500 ounce-inch of torque or more. Servos that are this powerful allow you to use fewer of them on a surface, but in doing so, you must pay careful attention to their installation, the rigidity of the surface, and the strength of the control horn. As an example, instead of having loads spread across multiple servos and control horns, loads are transferred directly to a single area on the surface.
Battery Basics
I tend to use LiFe batteries in most of my aircraft, with the exception of my Giant Scale aerobatic models, where I typically use a LiFe battery for the ignition and LiPo batteries for the receiver. If the ignition can handle the voltage of a two-cell LiPo battery, I will use LiPo batteries throughout. Nonetheless, if the ignition cannot handle 8.4 volts, a LiFe battery will be used to avoid the need for a voltage regulator and another point of possible failure.
No matter what type of battery I use, I always prefer and recommend that the flight batteries be removed from the model during the charging process. In the event that an error occurs, the aircraft will not be at risk. Review the specifications on all electrical components that are used throughout an airframe, check that the proper voltages are being used, and that the polarity between components is correct before connecting a battery.
When looking at batteries, it is important to put them in a storage charge at the end of a season or if you expect to have a prolonged period until they are used next. You should also do so to monitor the internal resistance of a battery pack. It is best to charge a battery and look at the internal resistance when it is new, and document it to serve as a reference when monitoring the internal resistance in the future.
Internal resistance can climb as a pack becomes older. Its efficiency will be lower compared with when it was just purchased. The battery will generally be safe to use, assuming that you are not pulling more current from the pack than what it can safely discharge with the drop in efficiency. For good measure, it is best to use the same charger, the same temperature, and the same state of charge when comparing internal resistance values over time.
Blue Skies
If you have been an avid reader of my columns, you are aware that, in addition to various building, flying, and judging techniques, I also stress the importance of enjoying this fine sport and the relationships with others that might develop.
As I wrote this in January 2021, I found out that Frank Tiano was no longer with us. Although I have known his name since I started flying model airplanes in the early 1990s, I first met him at the 2005 Top Gun Invitational event in Florida. Frank Noll, with whom I participated in the noontime demonstration that year, introduced us.
Throughout the years, I have competed in a few Top Gun events and had the pleasure and honor of attending some events with Frank.
I cannot put into words who he was because he touched the lives of so many individuals. He devoted and did so much to promote our hobby. He was a true gentleman with a heart of gold and will be missed.
Until we meet again, blue skies, Frank.
Until next time.
SOURCES:
IMAC
www.mini-iac.org
Frank Tiano Enterprises
www.franktiano.com