YIN-YANG
A different
kind of twin
By Terry Dunn
Photos by the author
terrydunn74@gmail.com

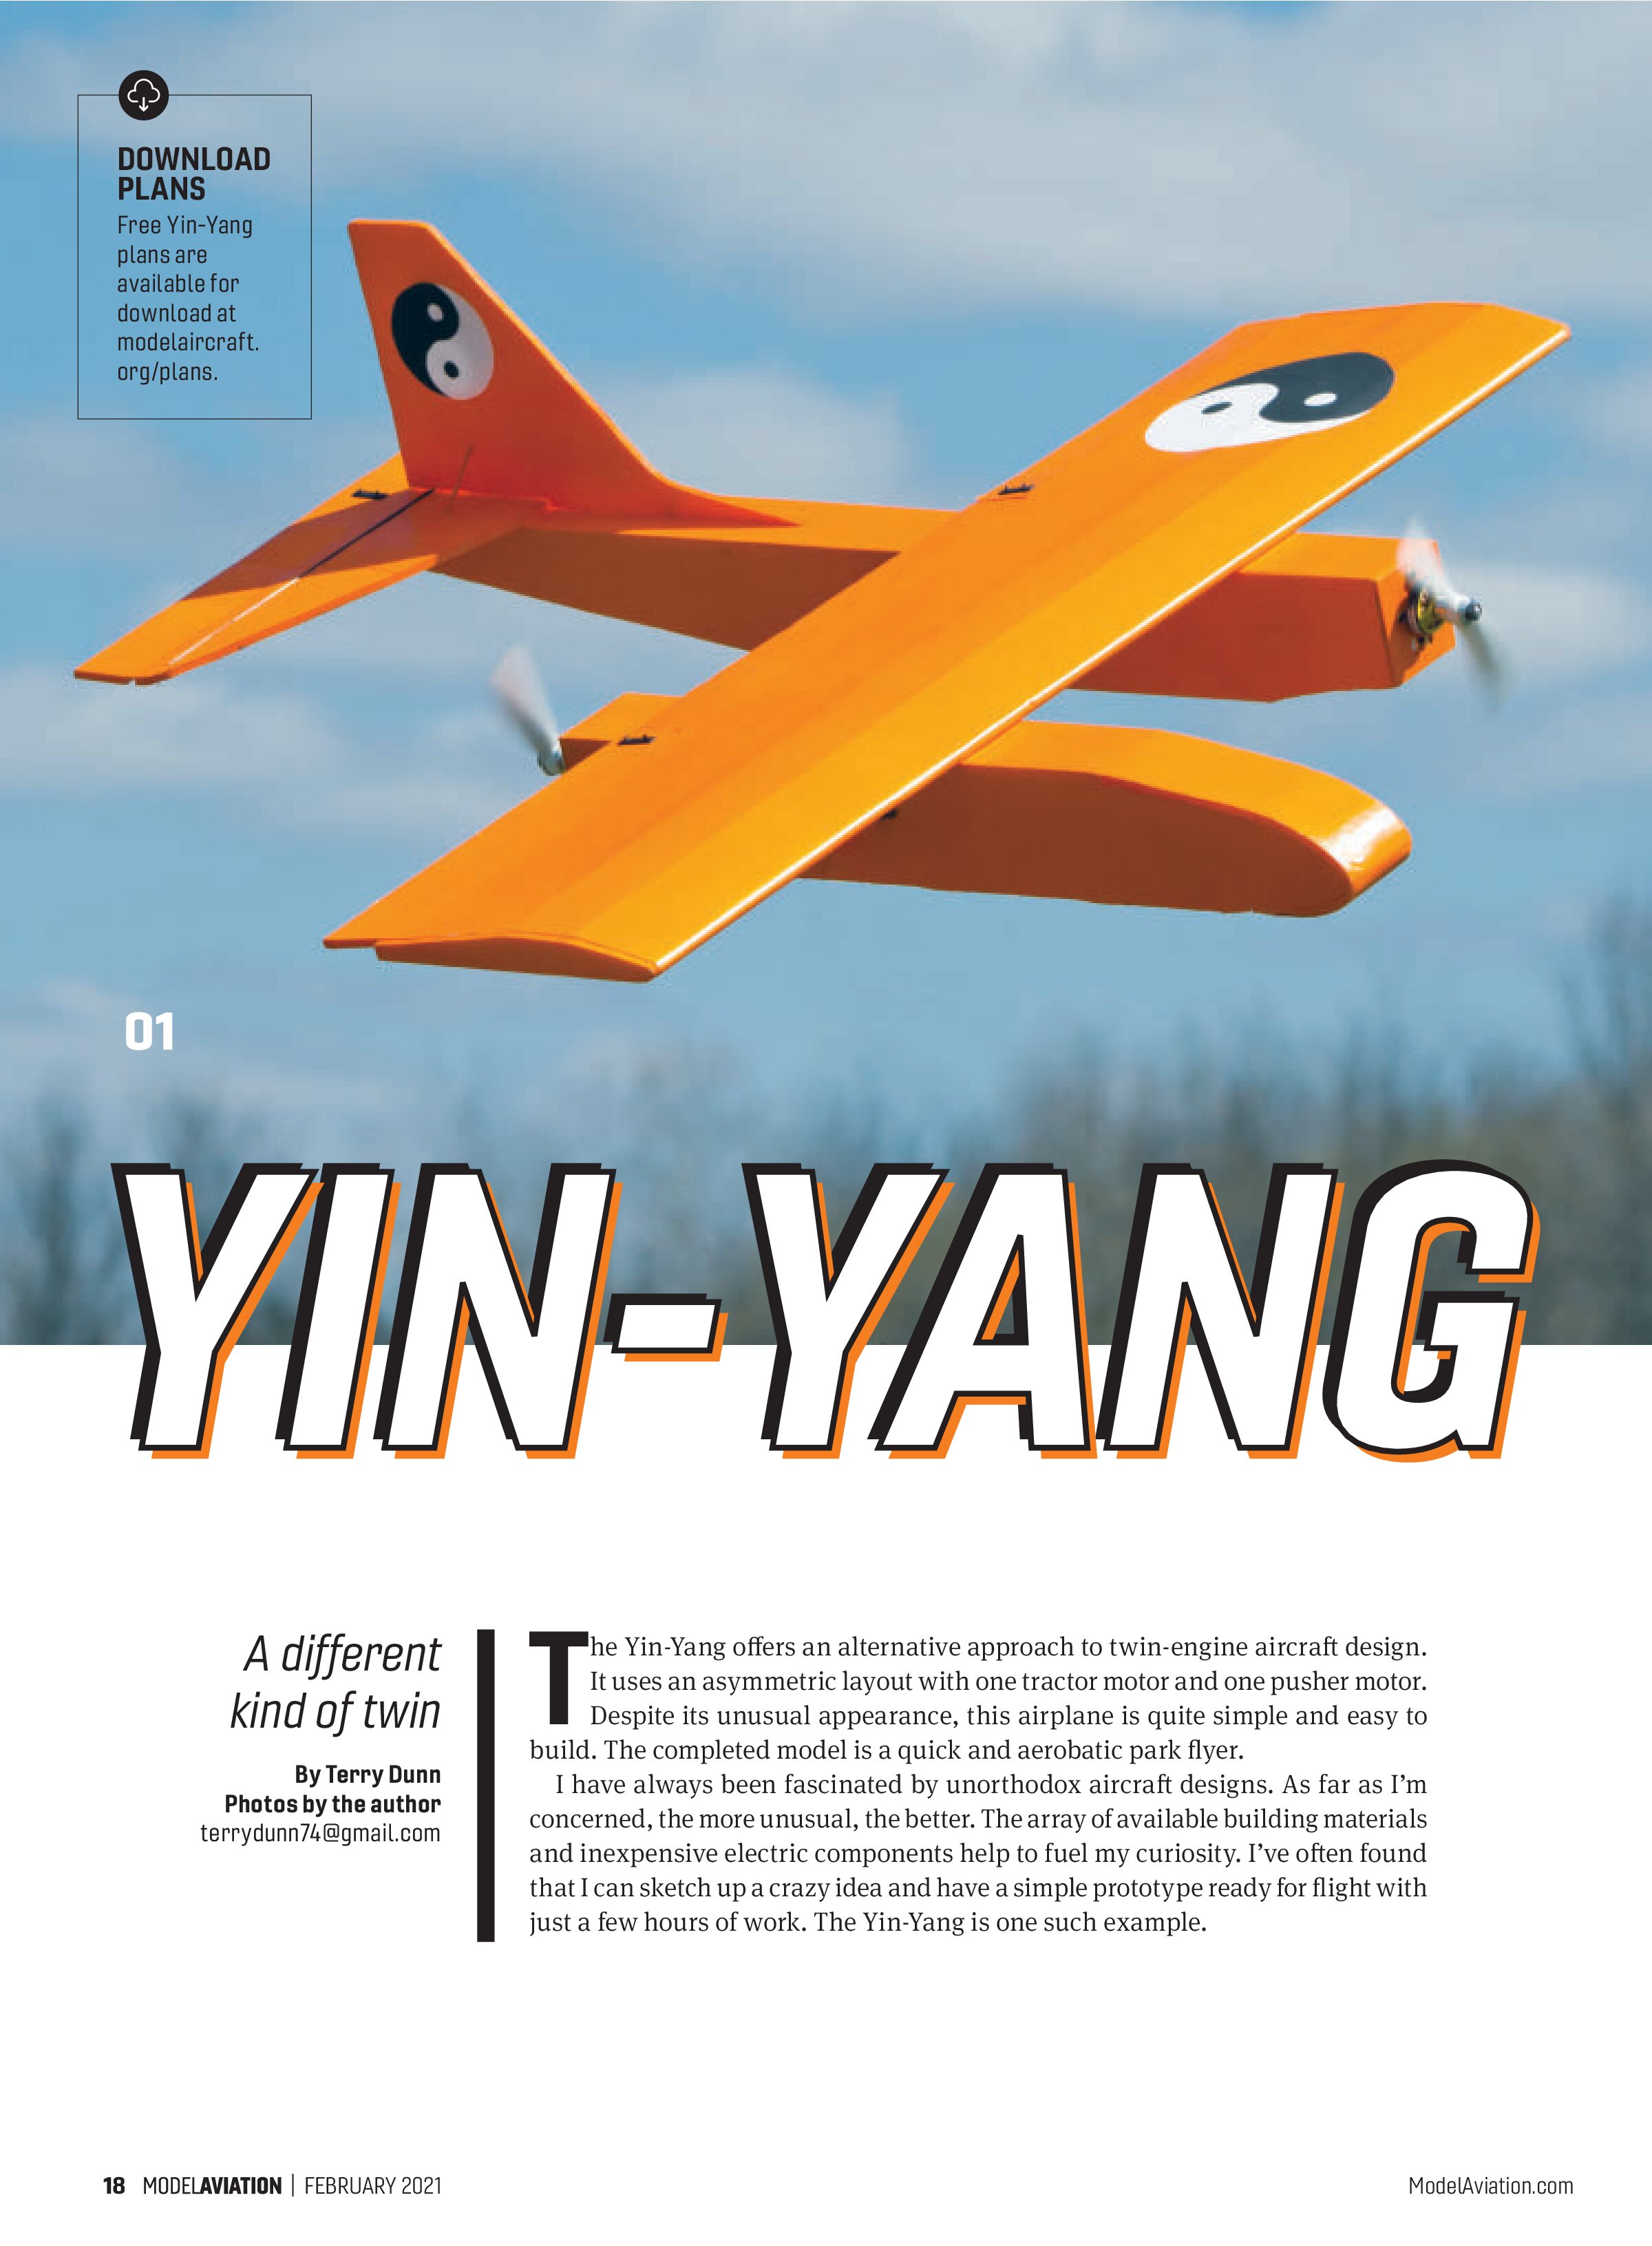
The Yin-Yang offers an alternative approach to twin-engine aircraft design. It uses an asymmetric layout with one tractor motor and one pusher motor. Despite its unusual appearance, this airplane is quite simple and easy to build. The completed model is a quick and aerobatic park flyer.
I have always been fascinated by unorthodox aircraft designs. As far as I’m concerned, the more unusual, the better. The array of available building materials and inexpensive electric components help to fuel my curiosity. I’ve often found that I can sketch up a crazy idea and have a simple prototype ready for flight with just a few hours of work. The Yin-Yang is one such example.
Building the Yin-Yang
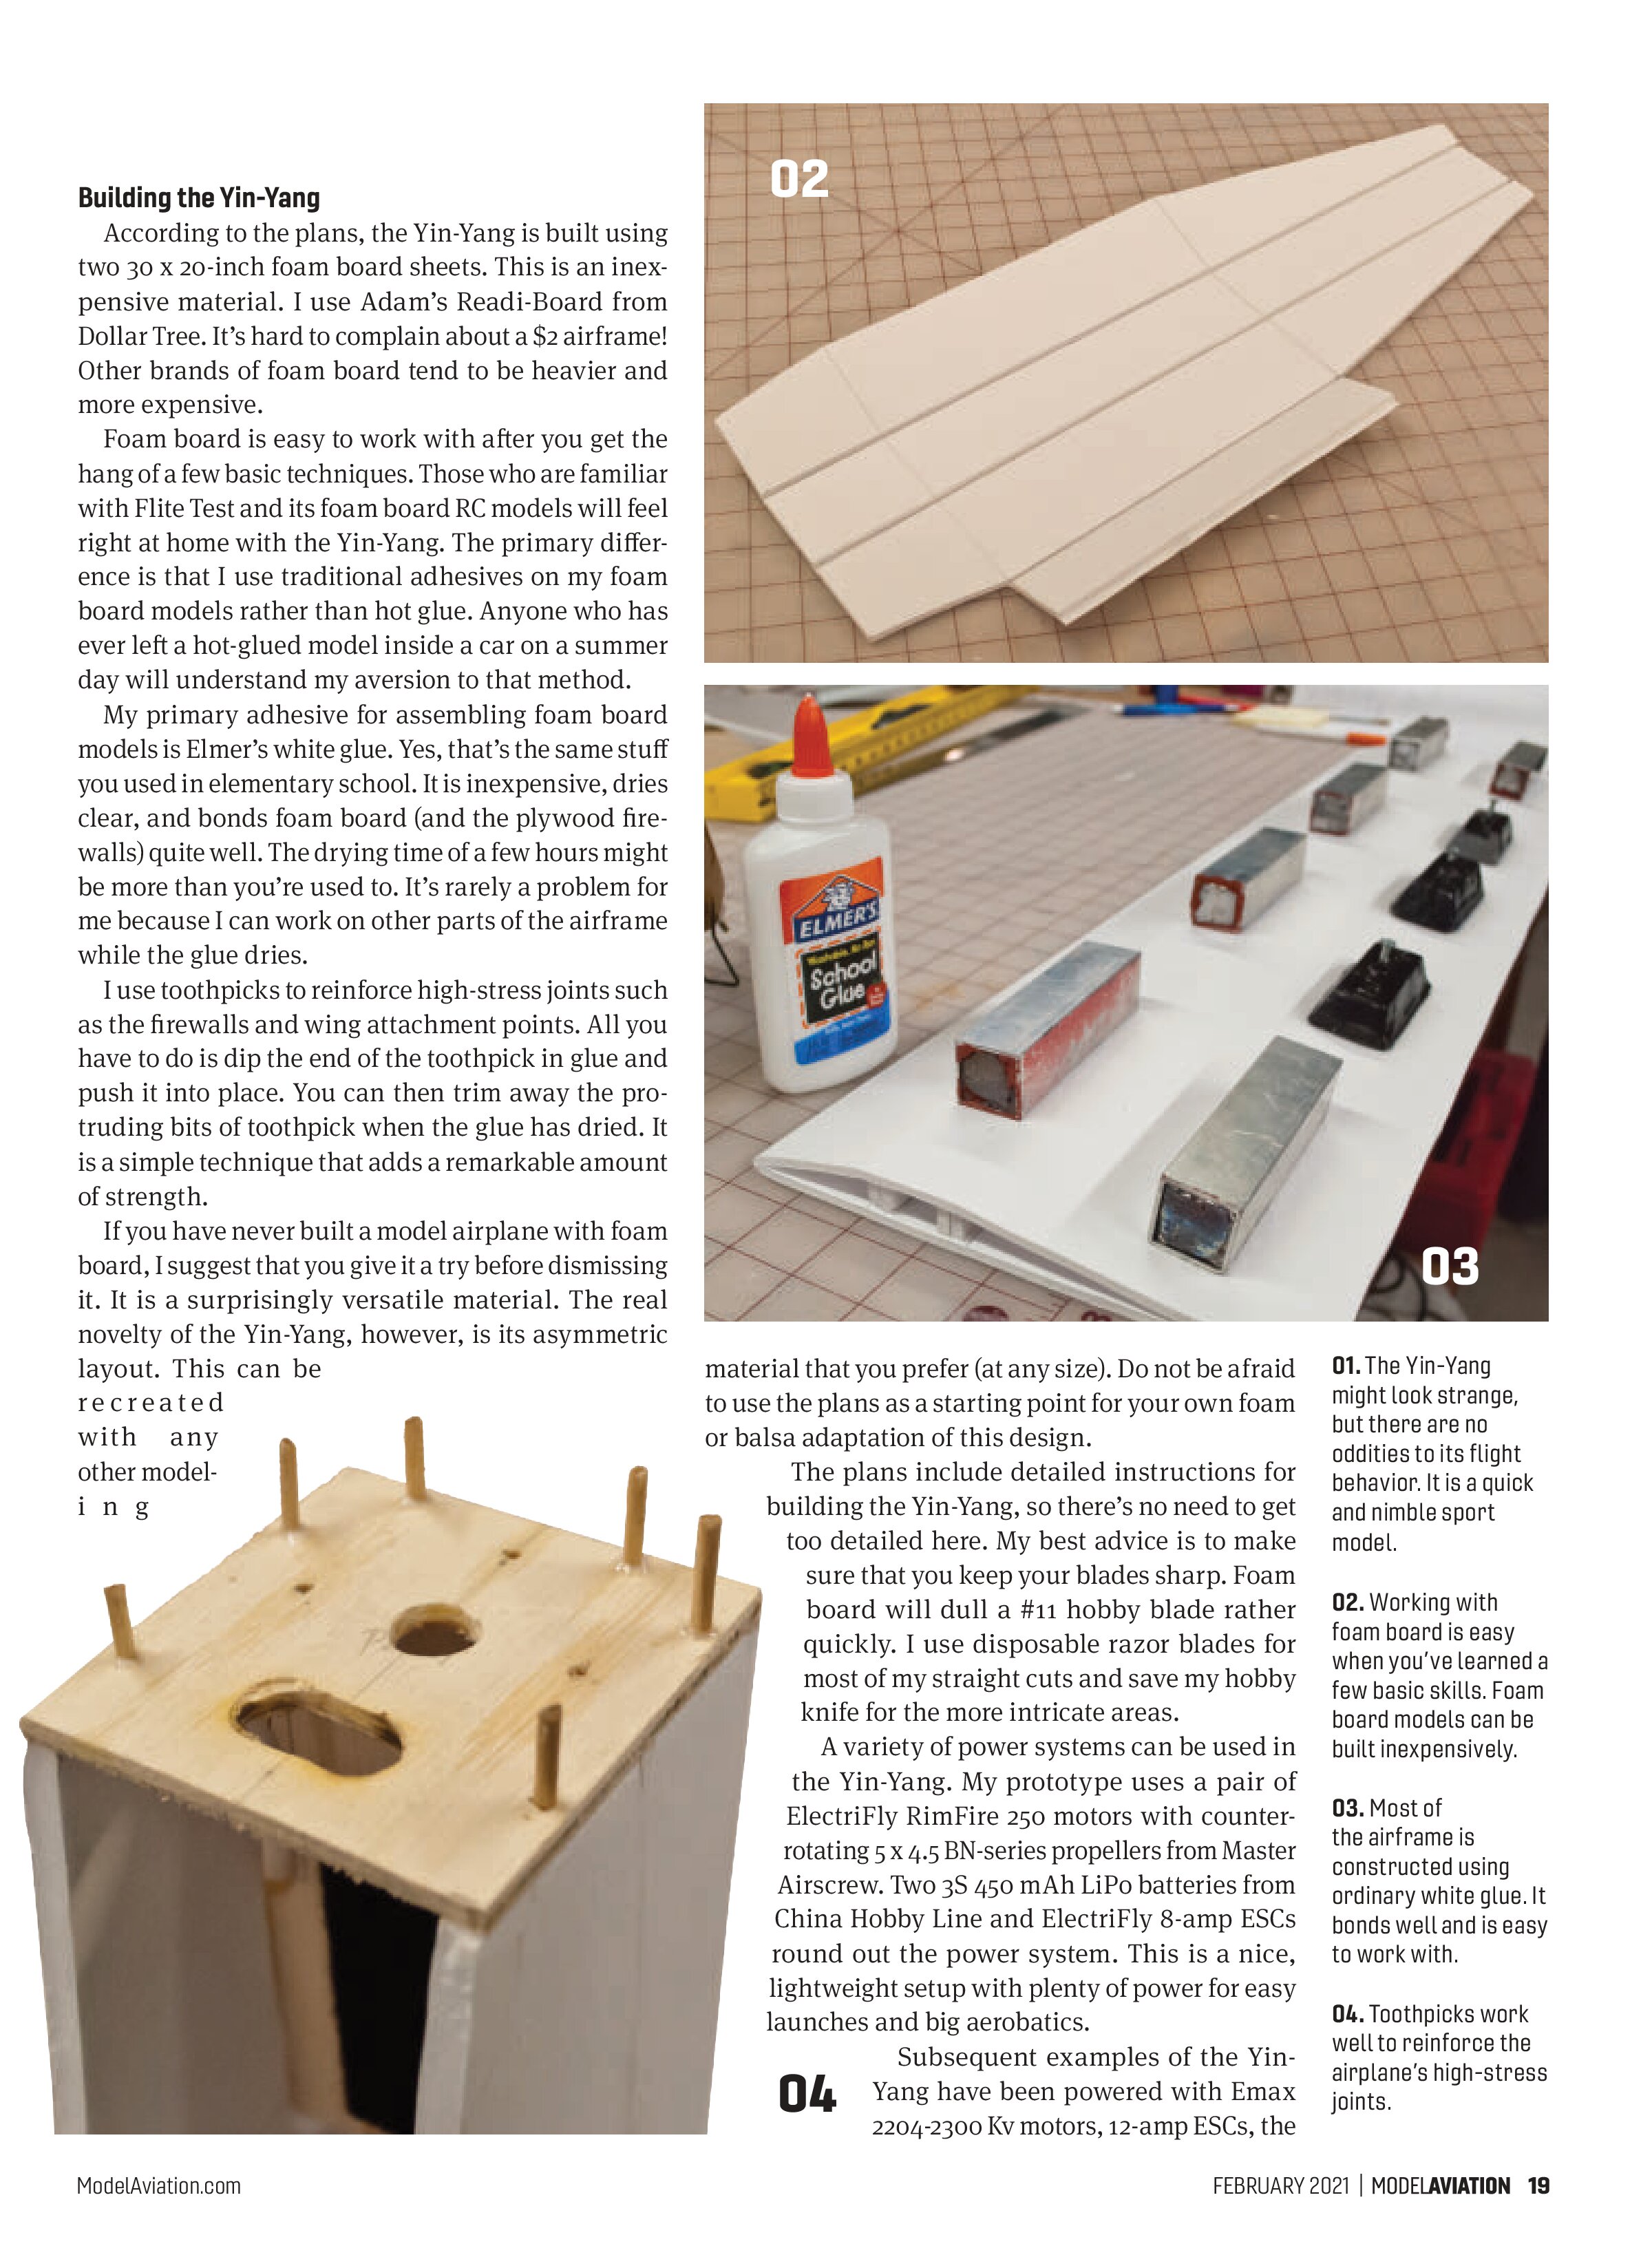
According to the plans, the Yin-Yang is built using two 30 x 20-inch foam board sheets. This is an inexpensive material. I use Adam’s Readi-Board from Dollar Tree. It’s hard to complain about a $2 airframe! Other brands of foam board tend to be heavier and more expensive.
Foam board is easy to work with after you get the hang of a few basic techniques. Those who are familiar with Flite Test and its foam board RC models will feel right at home with the Yin-Yang. The primary difference is that I use traditional adhesives on my foam board models rather than hot glue. Anyone who has ever left a hot-glued model inside a car on a summer day will understand my aversion to that method.
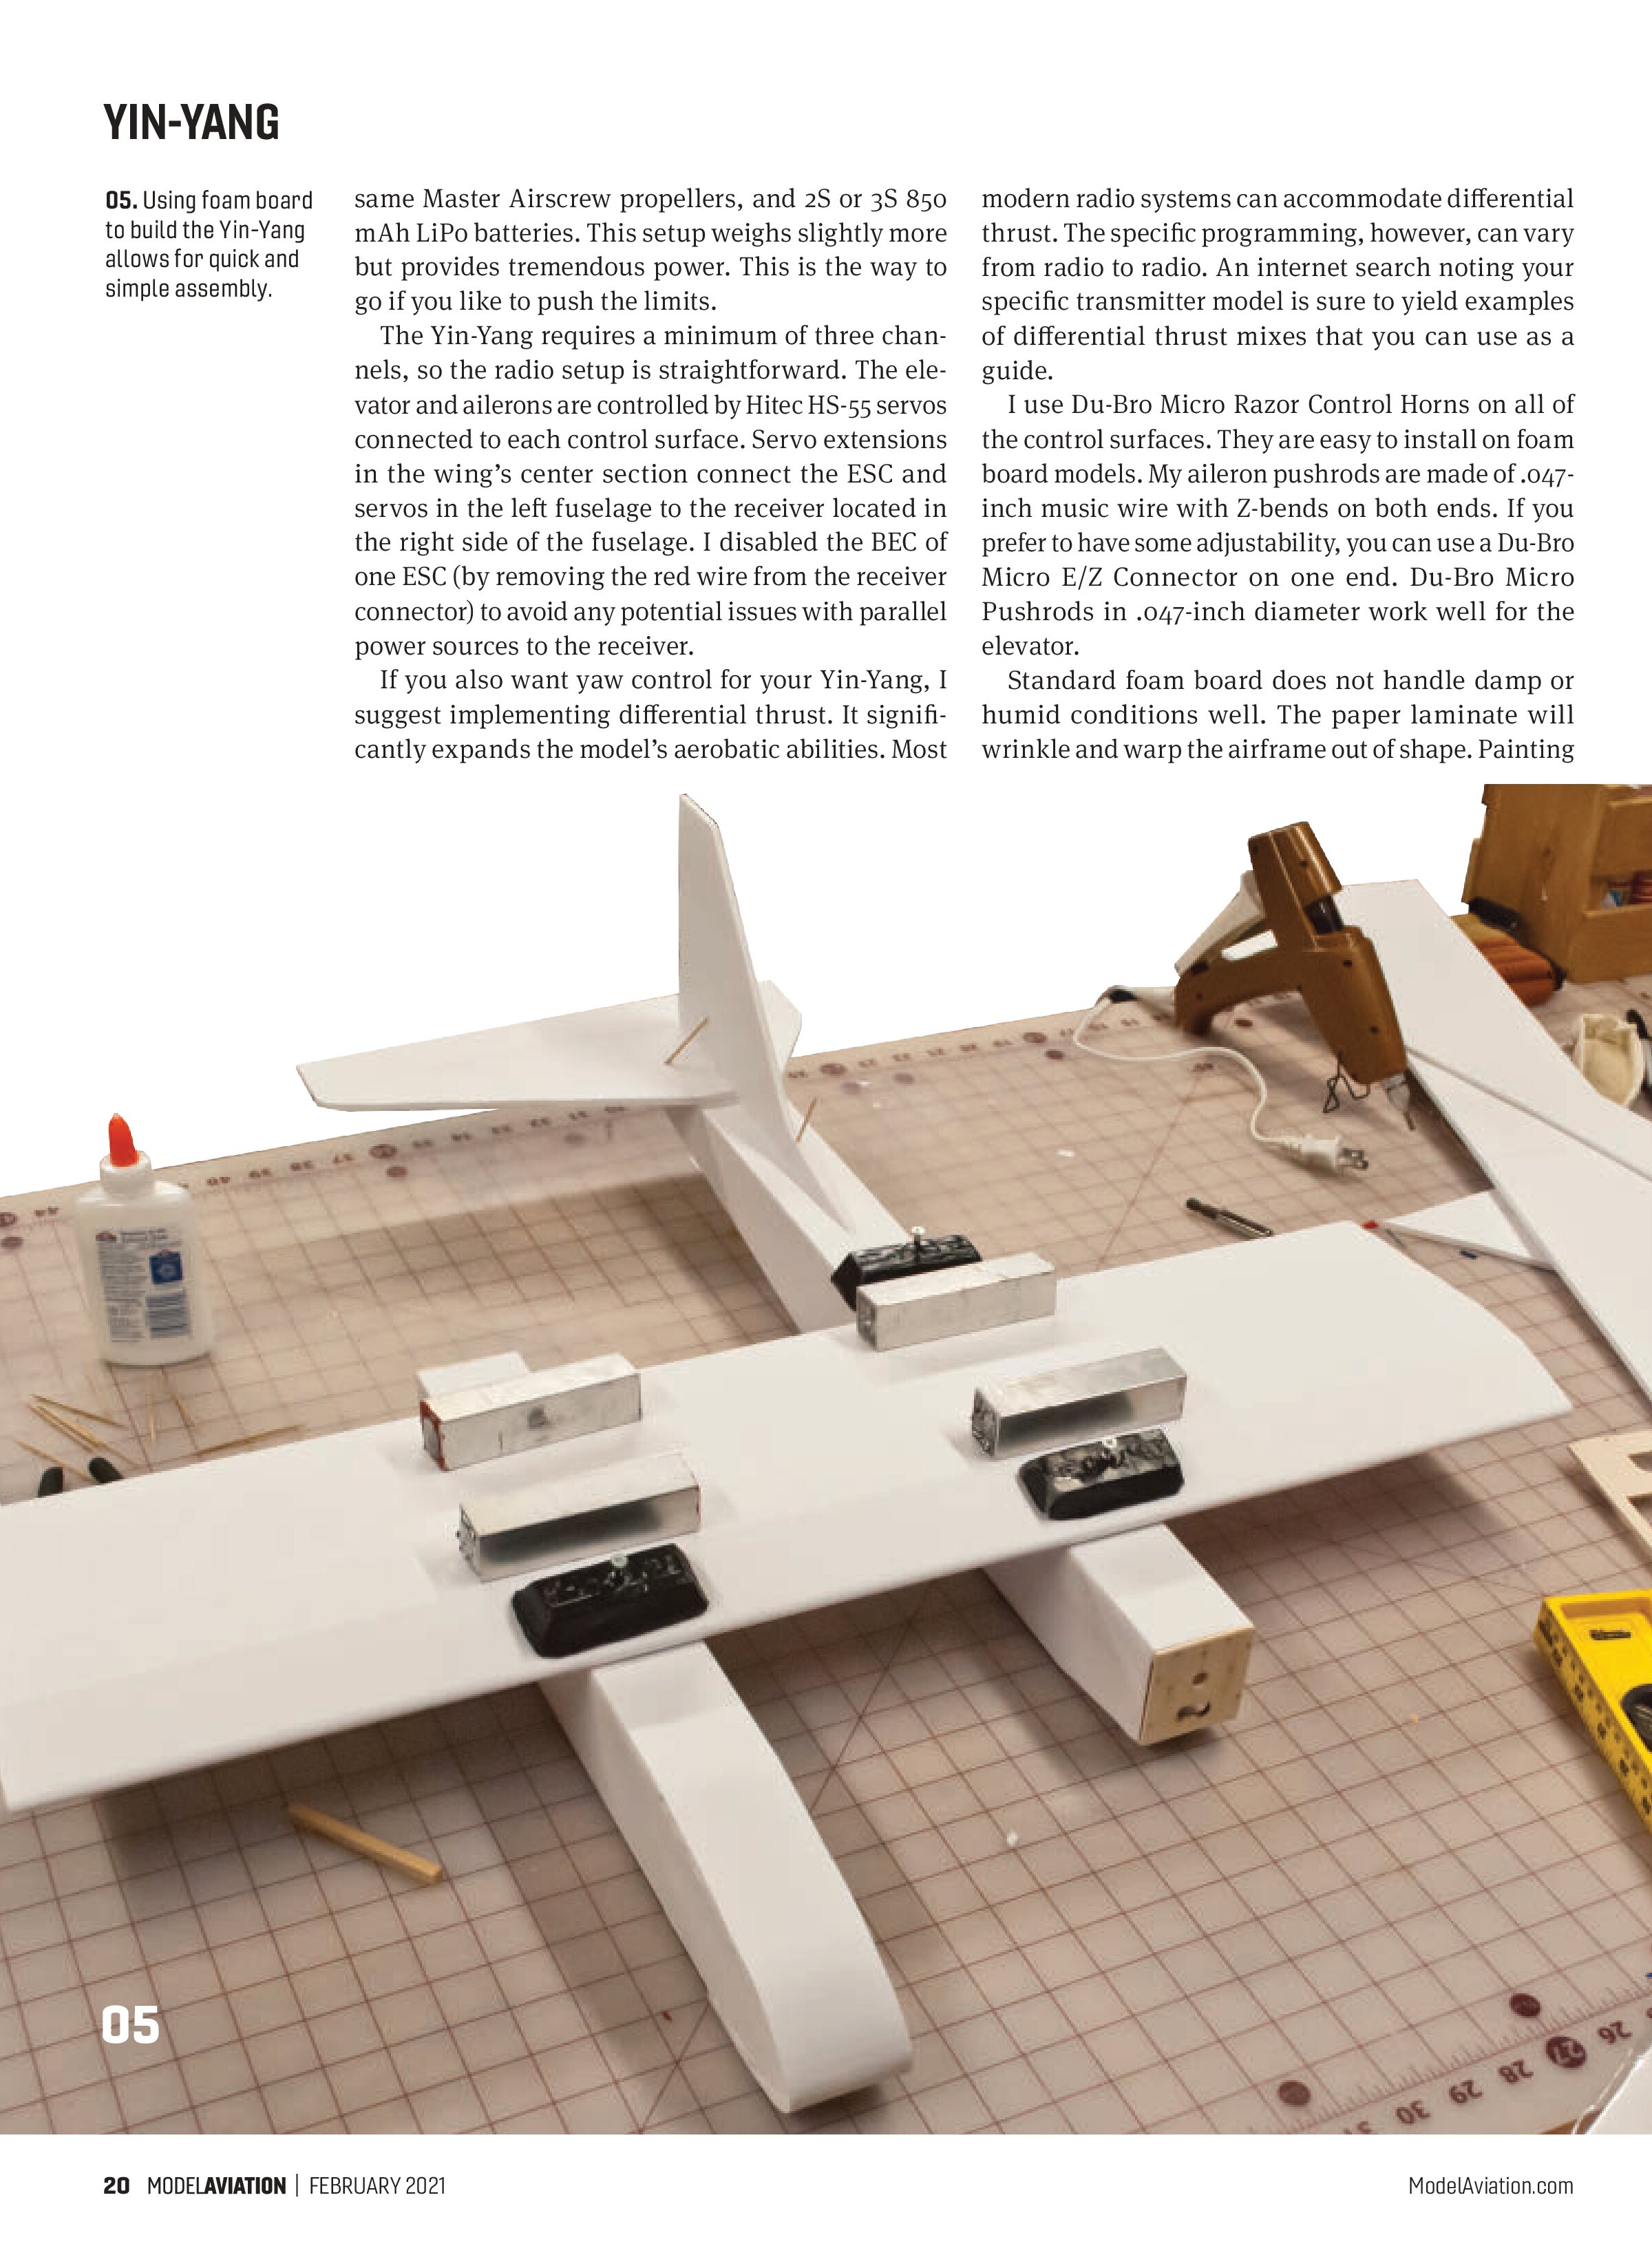
My primary adhesive for assembling foam board models is Elmer’s white glue. Yes, that’s the same stuff you used in elementary school. It is inexpensive, dries clear, and bonds foam board (and the plywood firewalls) quite well. The drying time of a few hours might be more than you’re used to. It’s rarely a problem for me because I can work on other parts of the airframe while the glue dries.
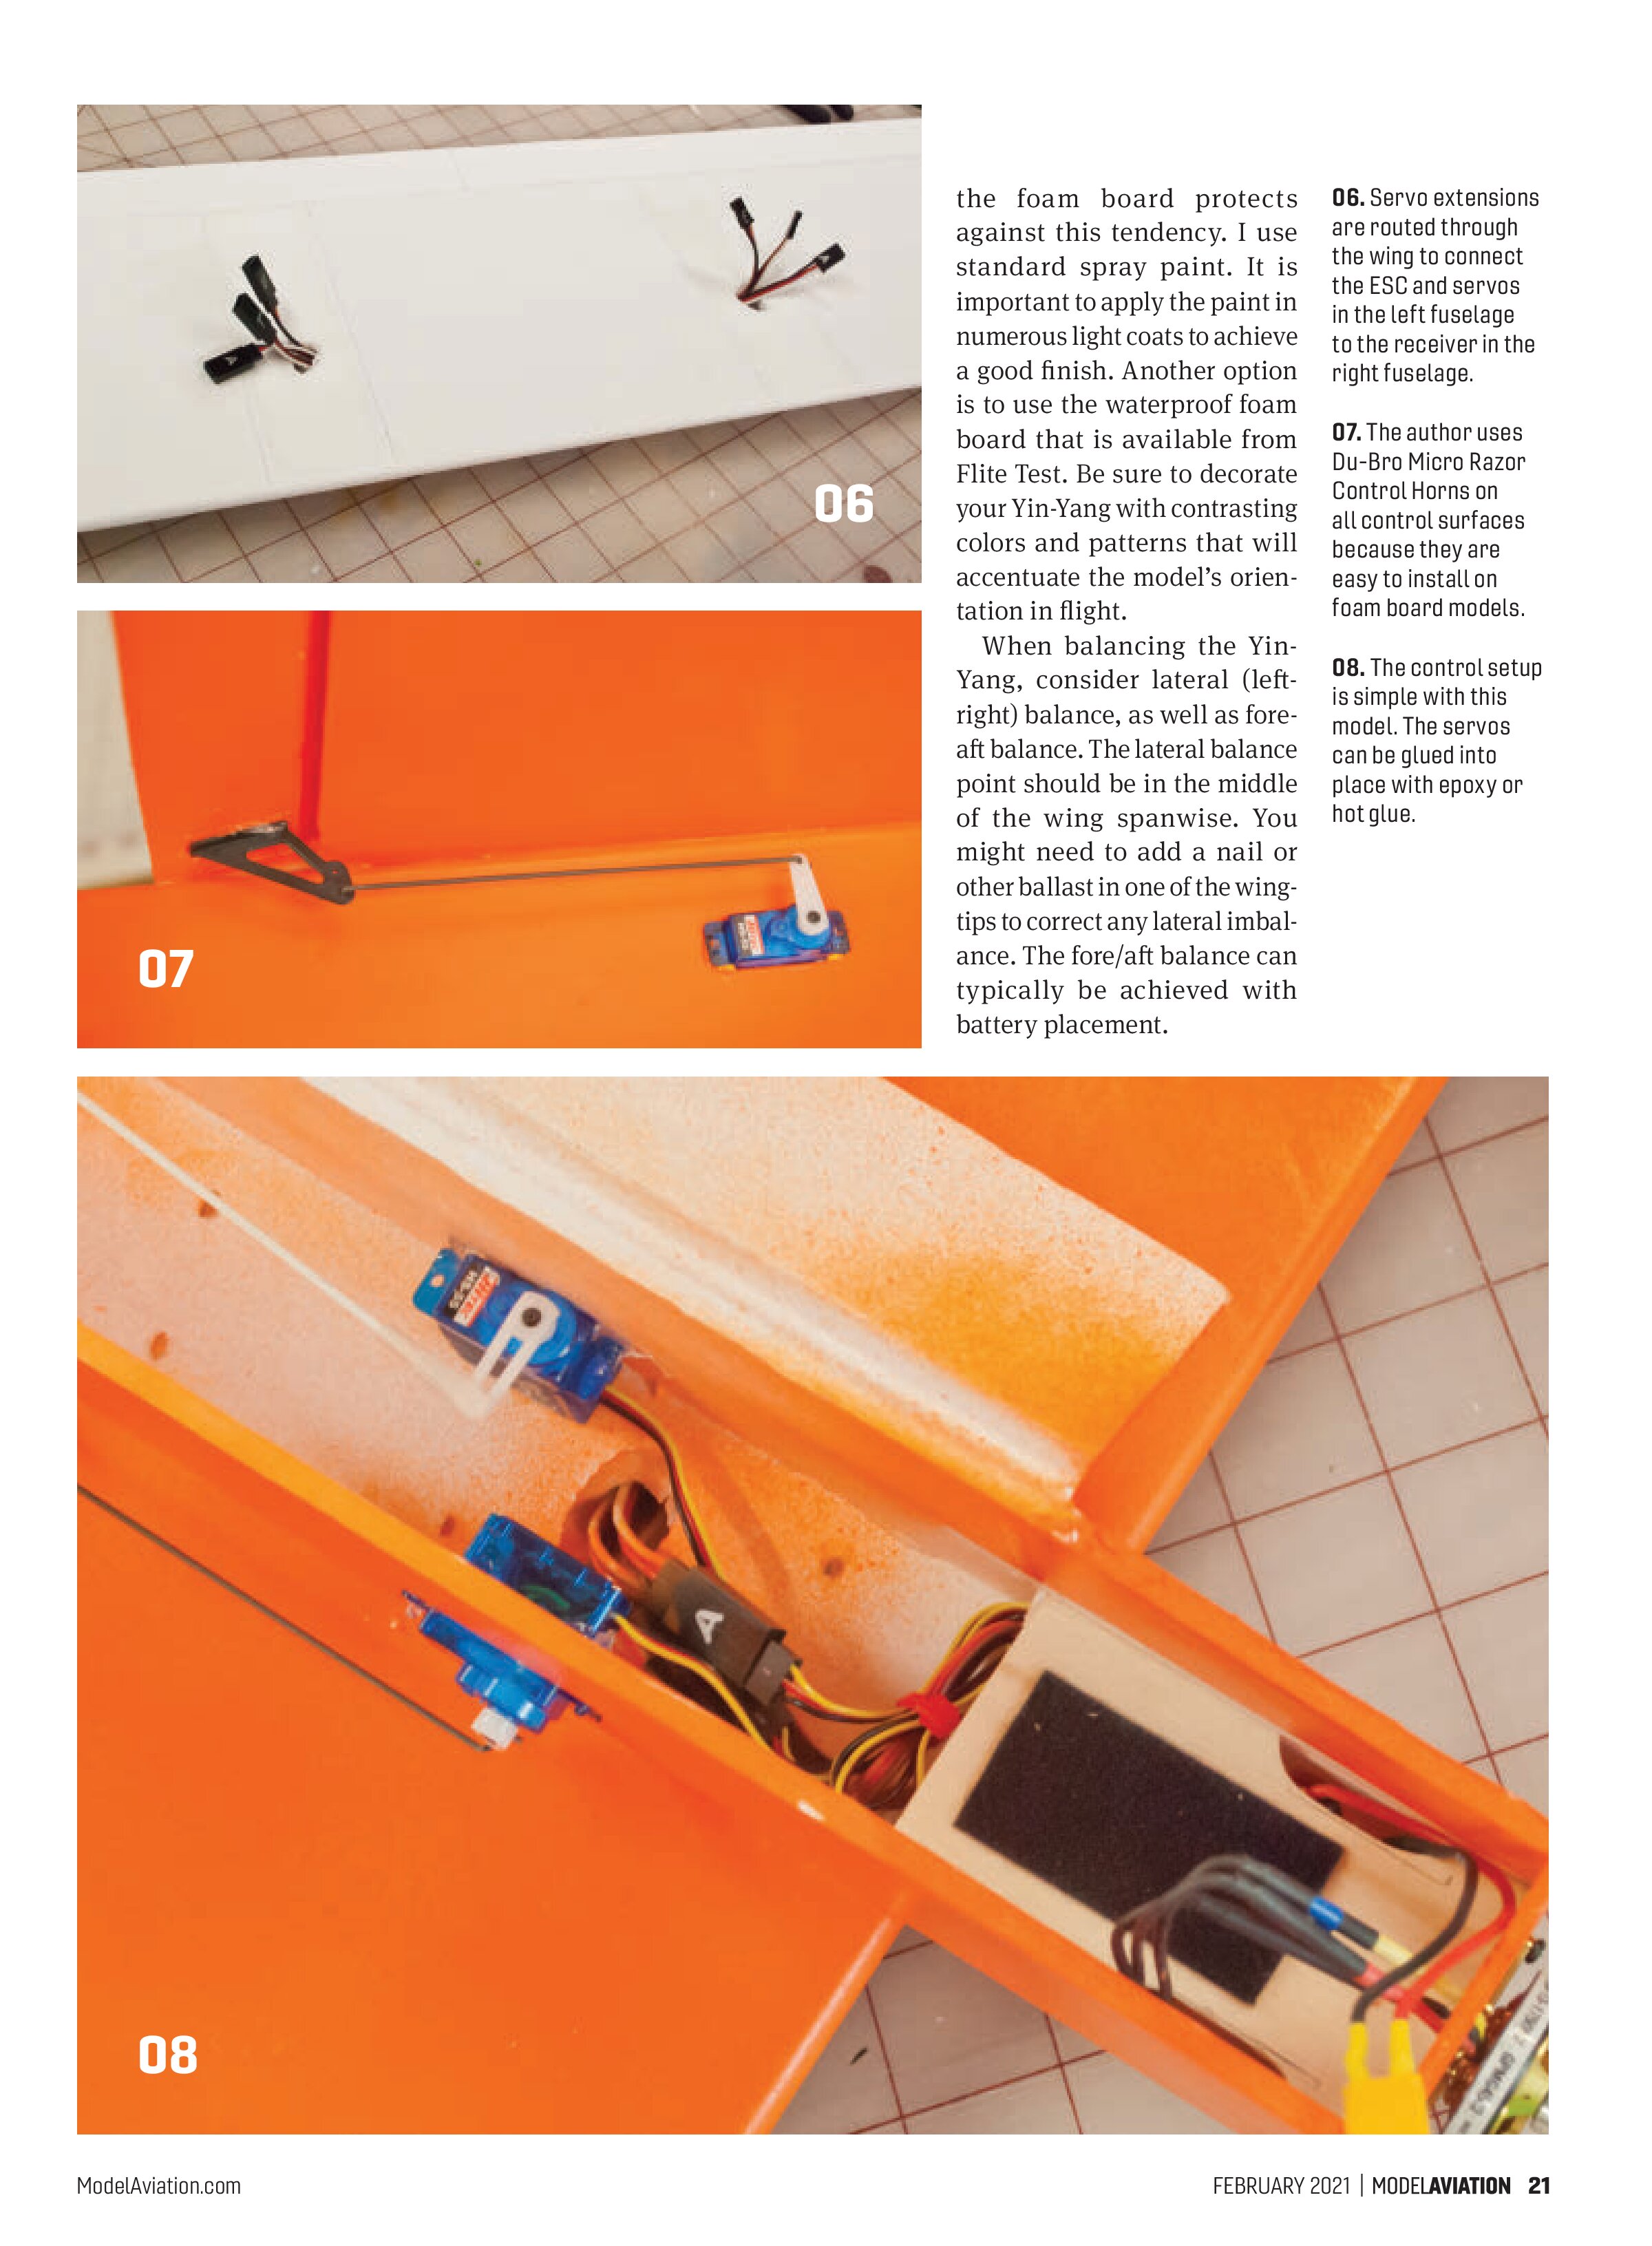
I use toothpicks to reinforce high-stress joints such as the firewalls and wing attachment points. All you have to do is dip the end of the toothpick in glue and push it into place. You can then trim away the protruding bits of toothpick when the glue has dried. It is a simple technique that adds a remarkable amount of strength.
If you have never built a model airplane with foam board, I suggest that you give it a try before dismissing it. It is a surprisingly versatile material. The real novelty of the Yin-Yang, however, is its asymmetric layout. This can be recreated with any other modeling material that you prefer (at any size). Do not be afraid to use the plans as a starting point for your own foam or balsa adaptation of this design.


The plans include detailed instructions for building the Yin-Yang, so there’s no need to get too detailed here. My best advice is to make sure that you keep your blades sharp. Foam board will dull a #11 hobby blade rather quickly. I use disposable razor blades for most of my straight cuts and save my hobby knife for the more intricate areas.
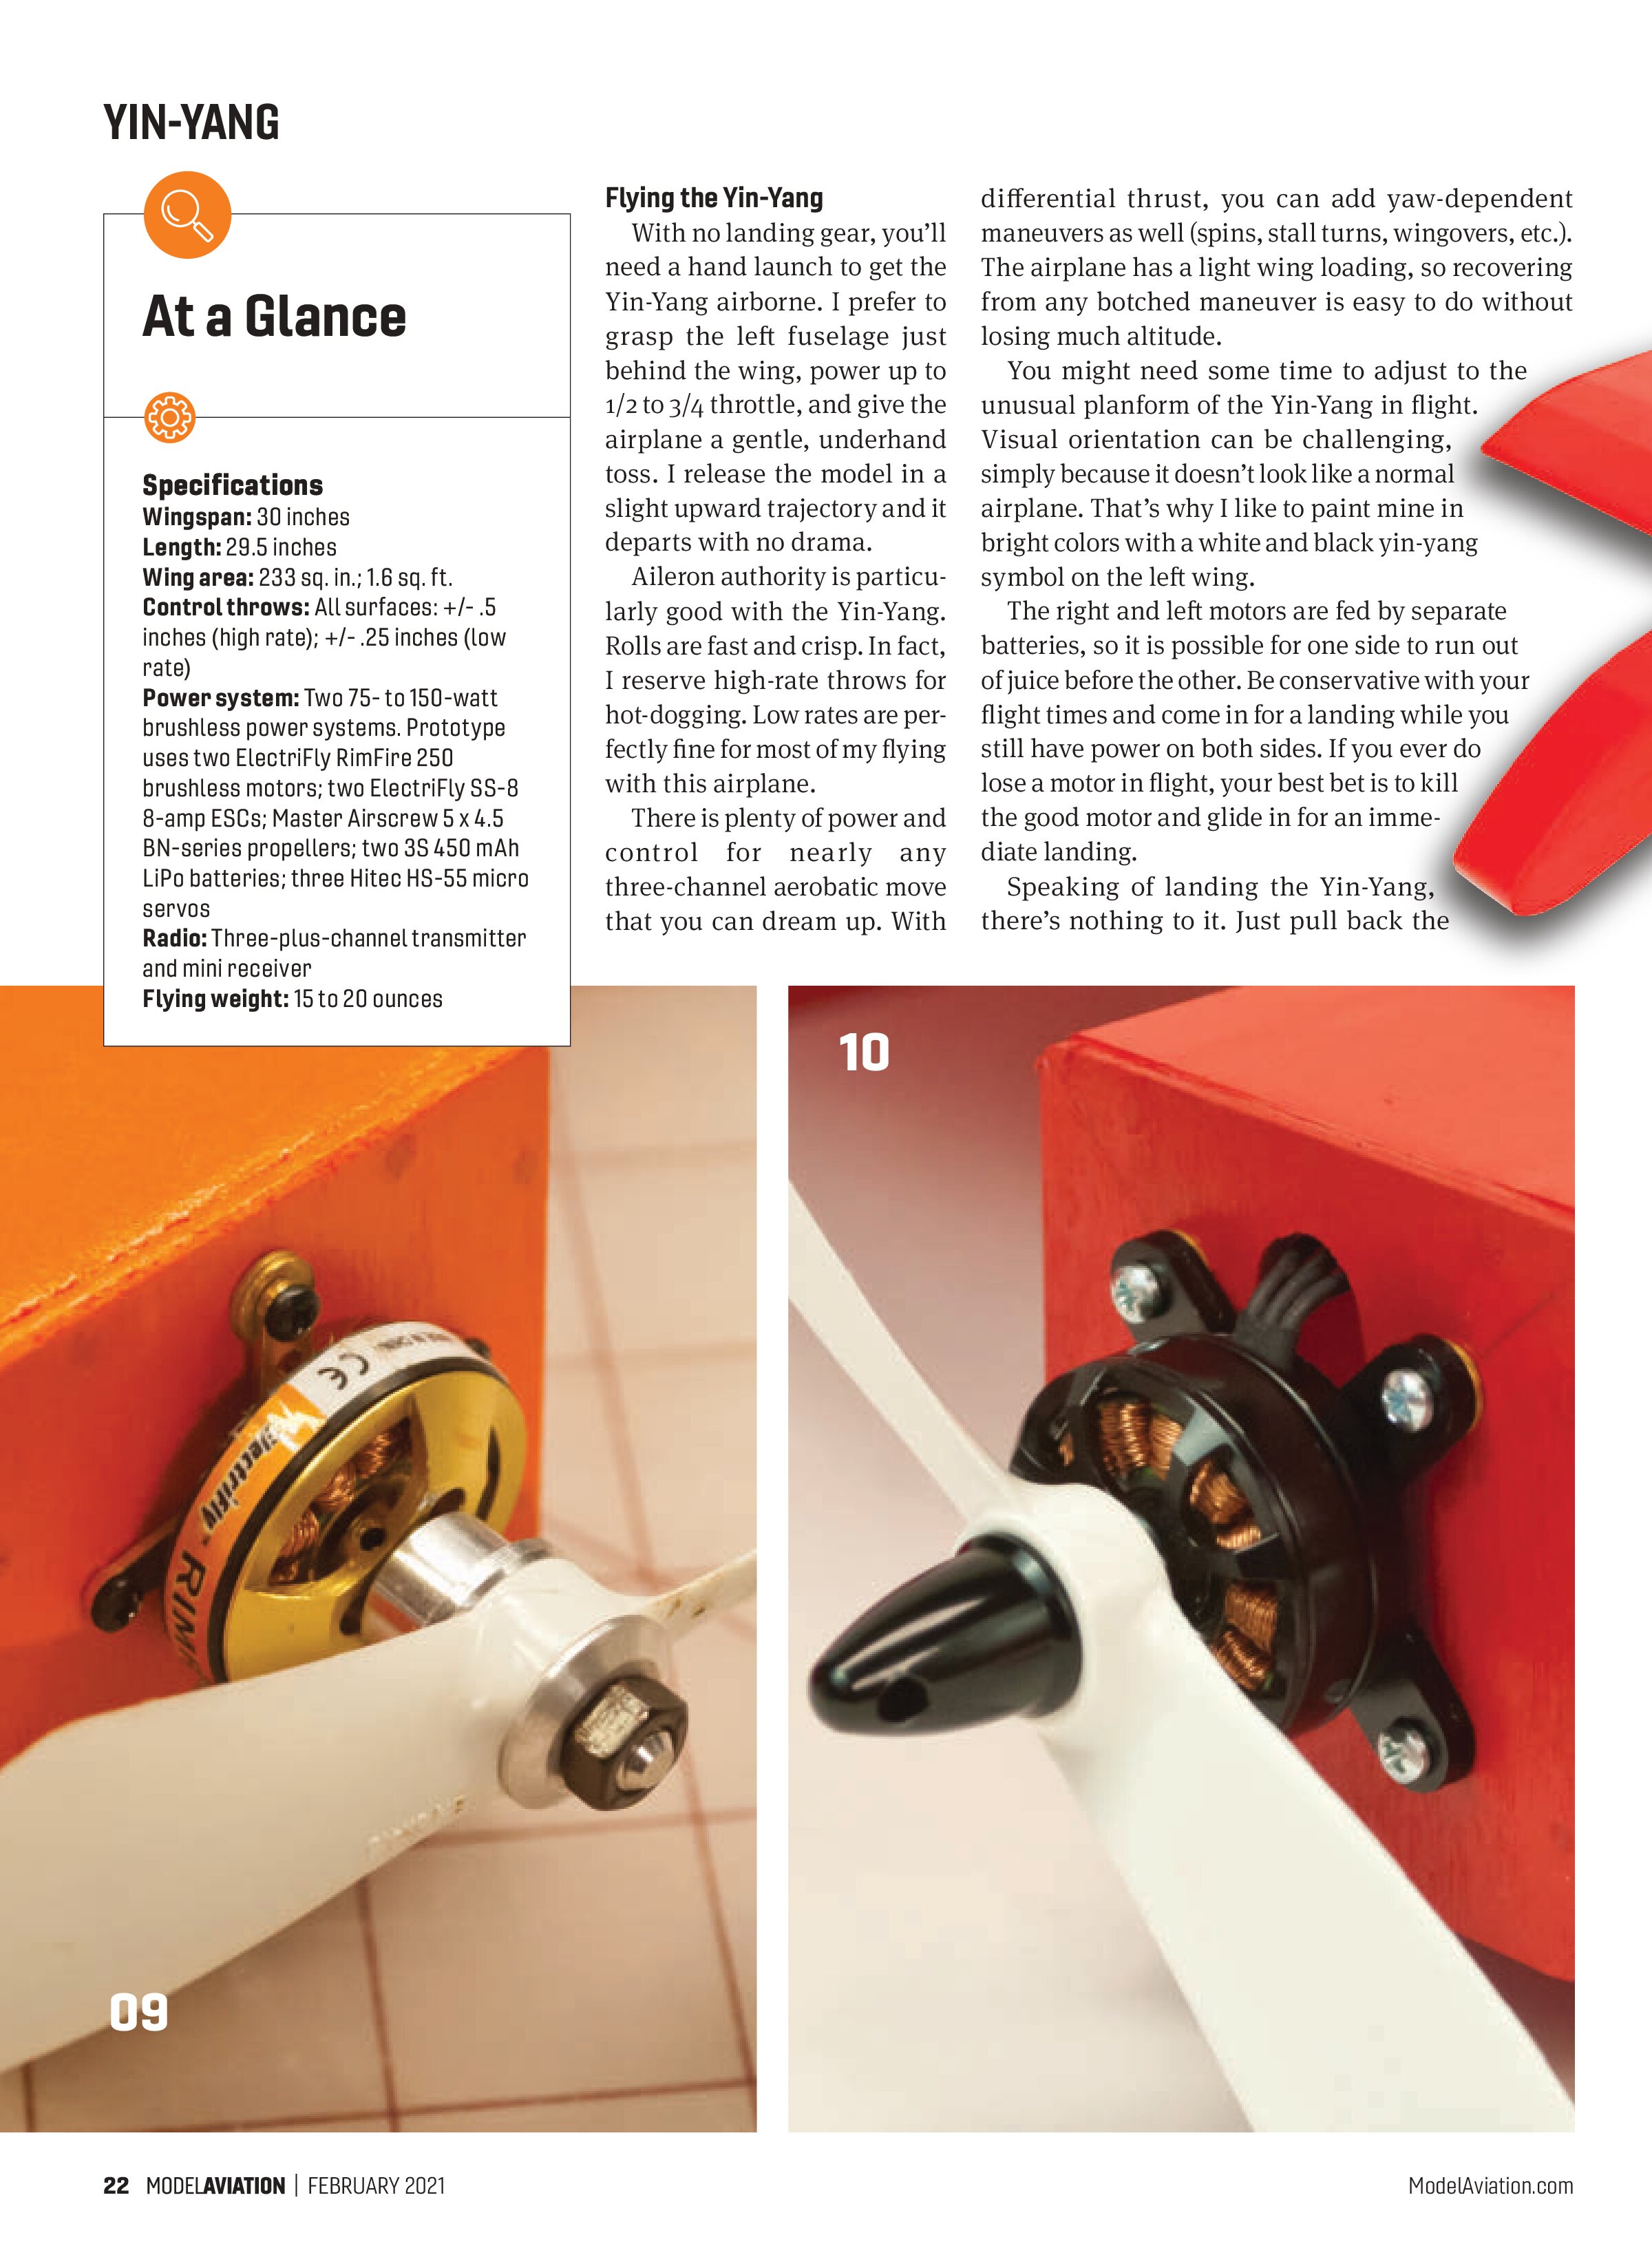
A variety of power systems can be used in the Yin-Yang. My prototype uses a pair of ElectriFly RimFire 250 motors with counter-rotating 5 x 4.5 BN-series propellers from Master Airscrew. Two 3S 450 mAh LiPo batteries from China Hobby Line and ElectriFly 8-amp ESCs round out the power system. This is a nice, lightweight setup with plenty of power for easy launches and big aerobatics.
Subsequent examples of the Yin-Yang have been powered with Emax 2204-2300 Kv motors, 12-amp ESCs, the
05. Using foam board to build the Yin-Yang allows for quick and simple assembly.
same Master Airscrew propellers, and 2S or 3S 850 mAh LiPo batteries. This setup weighs slightly more but provides tremendous power. This is the way to go if you like to push the limits.
The Yin-Yang requires a minimum of three channels, so the radio setup is straightforward. The elevator and ailerons are controlled by Hitec HS-55 servos connected to each control surface. Servo extensions in the wing’s center section connect the ESC and servos in the left fuselage to the receiver located in the right side of the fuselage. I disabled the BEC of one ESC (by removing the red wire from the receiver connector) to avoid any potential issues with parallel power sources to the receiver.
If you also want yaw control for your Yin-Yang, I suggest implementing differential thrust. It significantly expands the model’s aerobatic abilities. Most
modern radio systems can accommodate differential thrust. The specific programming, however, can vary from radio to radio. An internet search noting your specific transmitter model is sure to yield examples of differential thrust mixes that you can use as a guide.
I use Du-Bro Micro Razor Control Horns on all of the control surfaces. They are easy to install on foam board models. My aileron pushrods are made of .047-inch music wire with Z-bends on both ends. If you prefer to have some adjustability, you can use a Du-Bro Micro E/Z Connector on one end. Du-Bro Micro Pushrods in .047-inch diameter work well for the elevator.
Standard foam board does not handle damp or humid conditions well. The paper laminate will wrinkle and warp the airframe out of shape. Painting

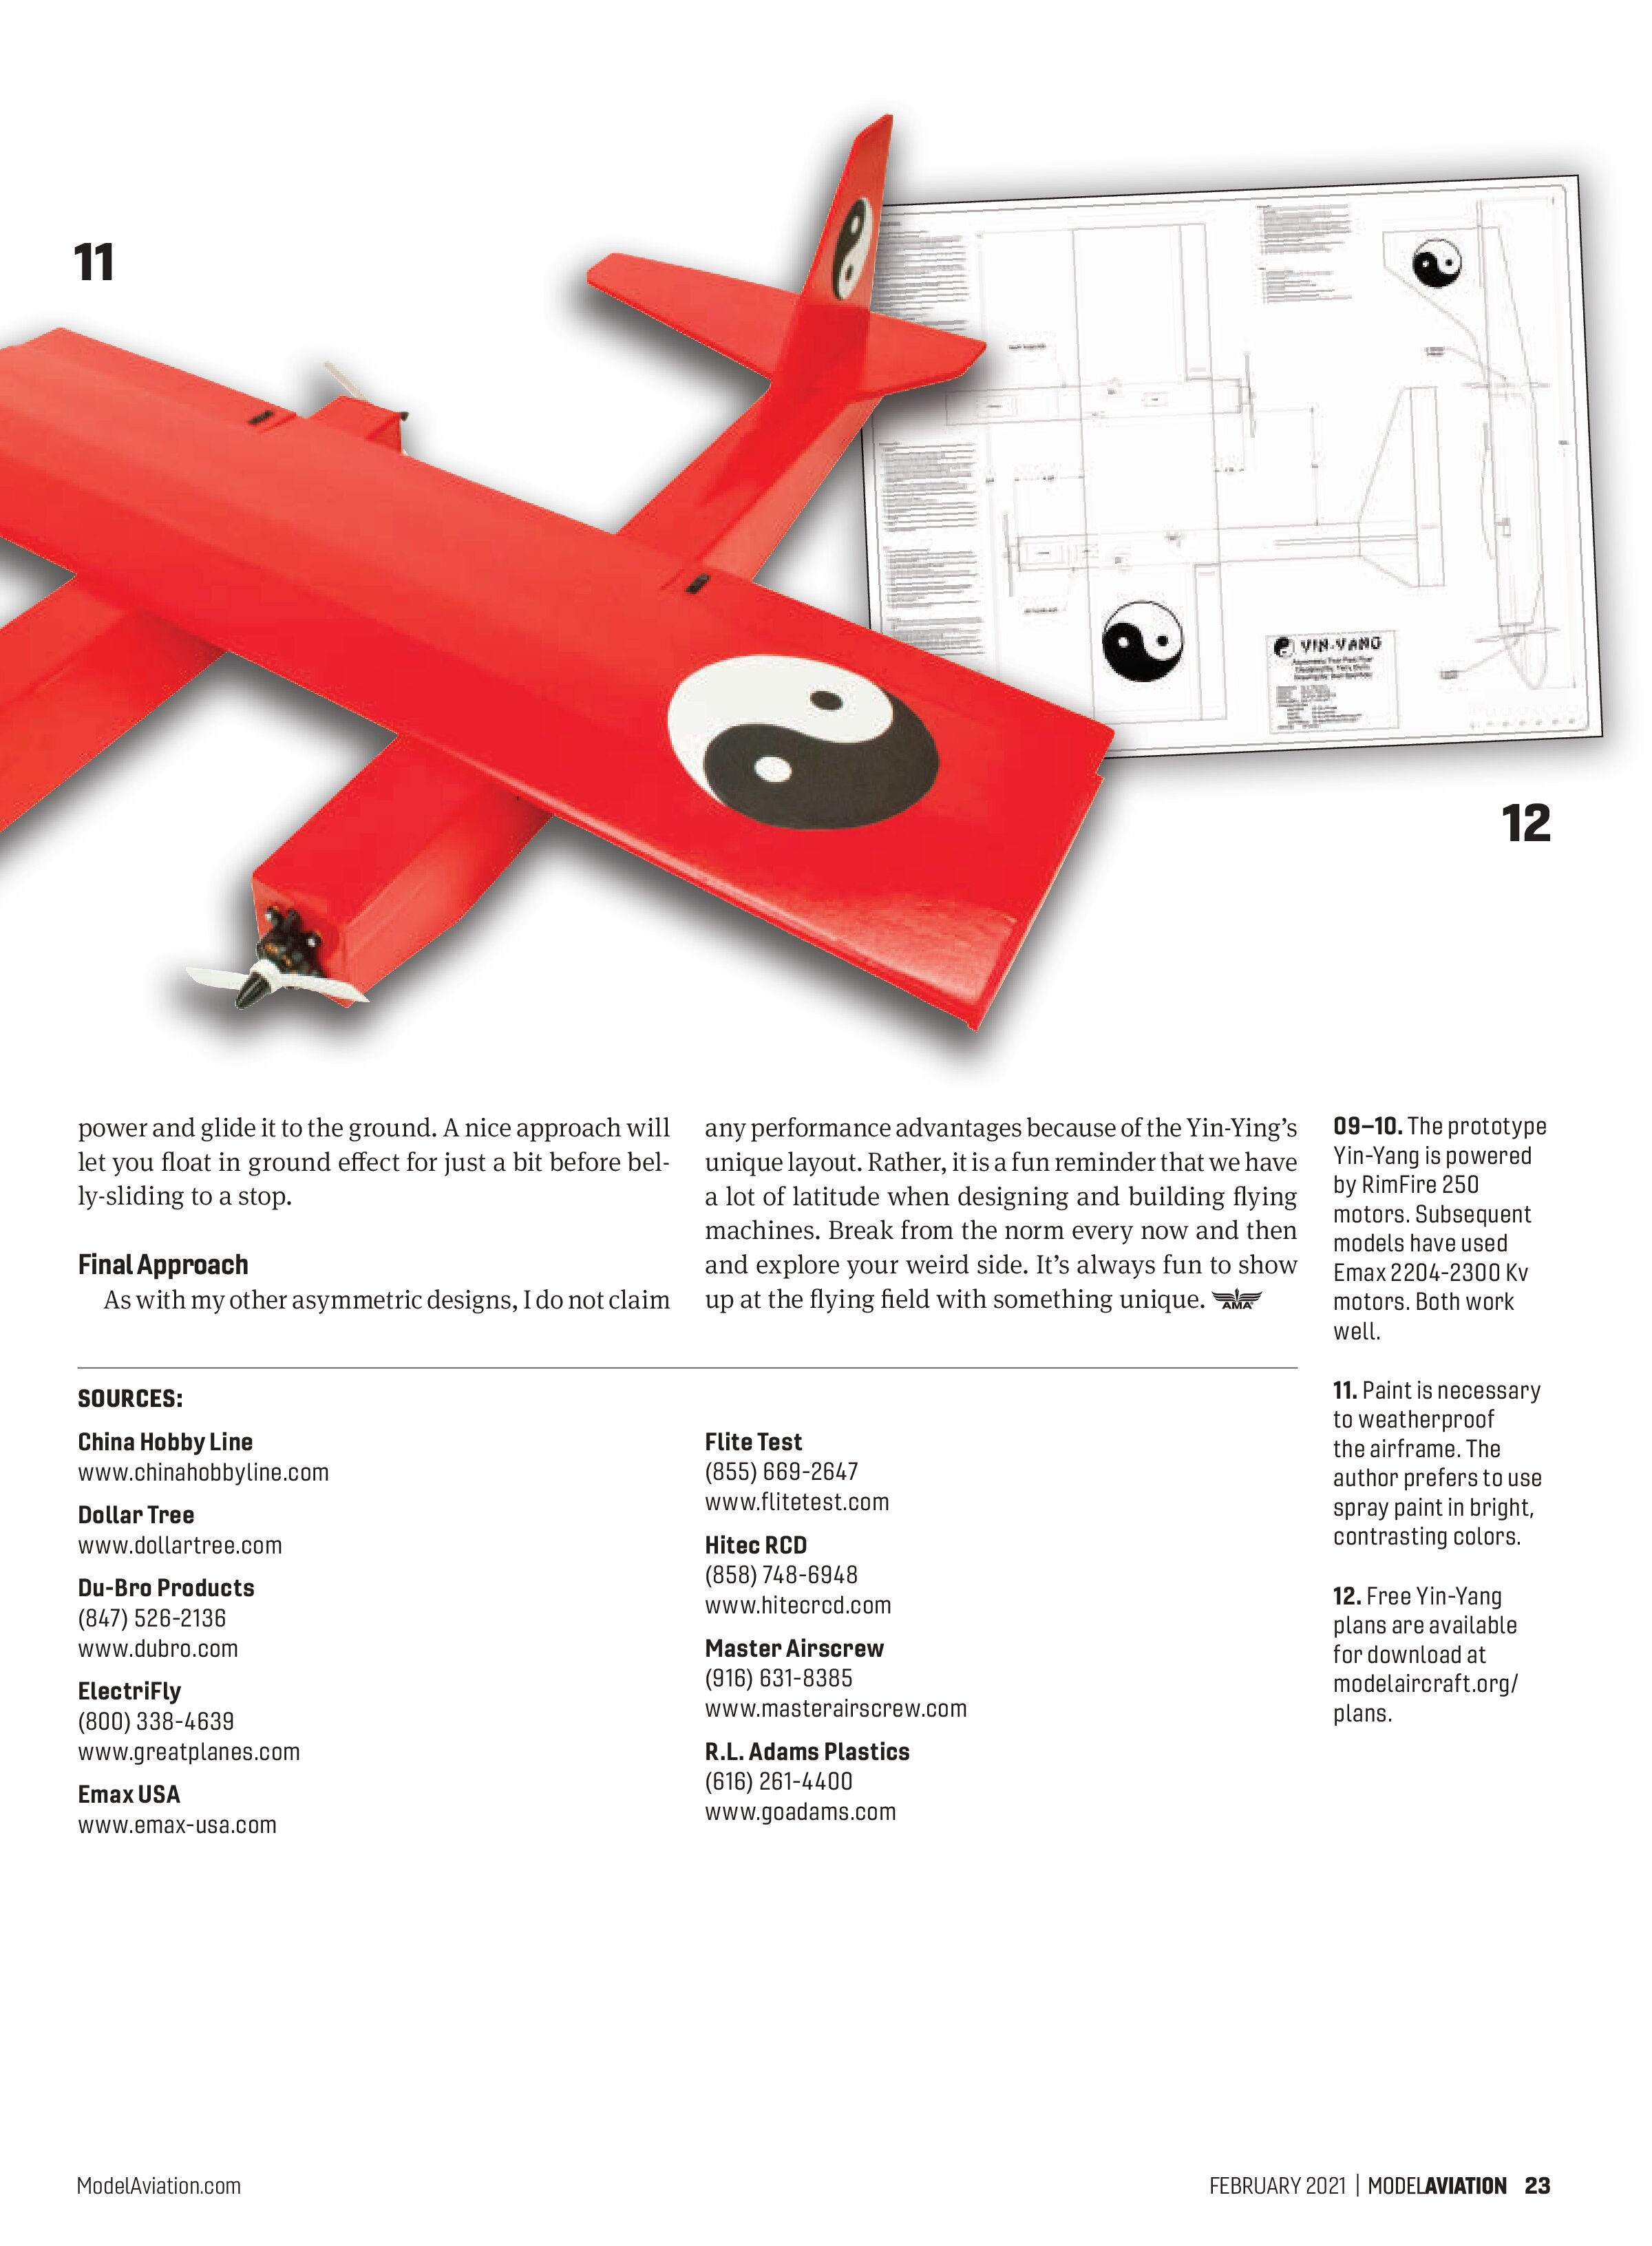
the foam board protects against this tendency. I use standard spray paint. It is important to apply the paint in numerous light coats to achieve a good finish. Another option is to use the waterproof foam board that is available from Flite Test. Be sure to decorate your Yin-Yang with contrasting colors and patterns that will accentuate the model’s orientation in flight.
When balancing the Yin-Yang, consider lateral (left-right) balance, as well as fore-aft balance. The lateral balance point should be in the middle of the wing spanwise. You might need to add a nail or other ballast in one of the wingtips to correct any lateral imbalance. The fore/aft balance can typically be achieved with battery placement.


At a Glance
Specifications
Wingspan: 30 inches
Length: 29.5 inches
Wing area: 233 sq. in.; 1.6 sq. ft.
Control throws: All surfaces: +/- .5 inches (high rate); +/- .25 inches (low rate)
Power system: Two 75- to 150-watt brushless power systems. Prototype uses two ElectriFly RimFire 250 brushless motors; two ElectriFly SS-8 8-amp ESCs; Master Airscrew 5 x 4.5 BN-series propellers; two 3S 450 mAh LiPo batteries; three Hitec HS-55 micro servos
Radio: Three-plus-channel transmitter and mini receiver
Flying weight: 15 to 20 ounces
Flying the Yin-Yang
With no landing gear, you’ll need a hand launch to get the Yin-Yang airborne. I prefer to grasp the left fuselage just behind the wing, power up to 1/2 to 3/4 throttle, and give the airplane a gentle, underhand toss. I release the model in a slight upward trajectory and it departs with no drama.
Aileron authority is particularly good with the Yin-Yang. Rolls are fast and crisp. In fact, I reserve high-rate throws for hot-dogging. Low rates are perfectly fine for most of my flying with this airplane.
There is plenty of power and control for nearly any three-channel aerobatic move that you can dream up. With differential thrust, you can add yaw-dependent maneuvers as well (spins, stall turns, wingovers, etc.). The airplane has a light wing loading, so recovering from any botched maneuver is easy to do without losing much altitude.
You might need some time to adjust to the unusual planform of the Yin-Yang in flight. Visual orientation can be challenging, simply because it doesn’t look like a normal airplane. That’s why I like to paint mine in bright colors with a white and black yin-yang symbol on the left wing.
The right and left motors are fed by separate batteries, so it is possible for one side to run out of juice before the other. Be conservative with your flight times and come in for a landing while you still have power on both sides. If you ever do lose a motor in flight, your best bet is to kill the good motor and glide in for an immediate landing.
Speaking of landing the Yin-Yang, there’s nothing to it. Just pull back the


power and glide it to the ground. A nice approach will let you float in ground effect for just a bit before belly-sliding to a stop.
Final Approach
As with my other asymmetric designs, I do not claim any performance advantages because of the Yin-Yang’s unique layout. Rather, it is a fun reminder that we have a lot of latitude when designing and building flying machines. Break from the norm every now and then and explore your weird side. It’s always fun to show up at the flying field with something unique.
SOURCES:
China Hobby Line
www.chinahobbyline.com
Dollar Tree
www.dollartree.com
Du-Bro Products
(847) 526-2136
www.dubro.com
ElectriFly
(800) 338-4639
www.greatplanes.com
Emax USA
www.emax-usa.com
Flite Test
(855) 669-2647
www.flitetest.com
Hitec RCD
(858) 748-6948
www.hitecrcd.com
Master Airscrew
(916) 631-8385
www.masterairscrew.com
R.L. Adams Plastics
(616) 261-4400
www.goadams.com