INDOOR FREE FLIGHT
3D-PRINTED WINDERS
By Don Slusarczyk | don@slusarczyk.com
IN PREVIOUS COLUMNS, I discussed how 3D printers can be used to make a variety of items for Indoor Free Flight (FF). One item that I have always wanted to 3D print was a winder, but I couldn’t find the spare time to design one. I belong to several modeling groups on Facebook, and in the past year, a couple of winder designs have shown up in those groups for people to print.
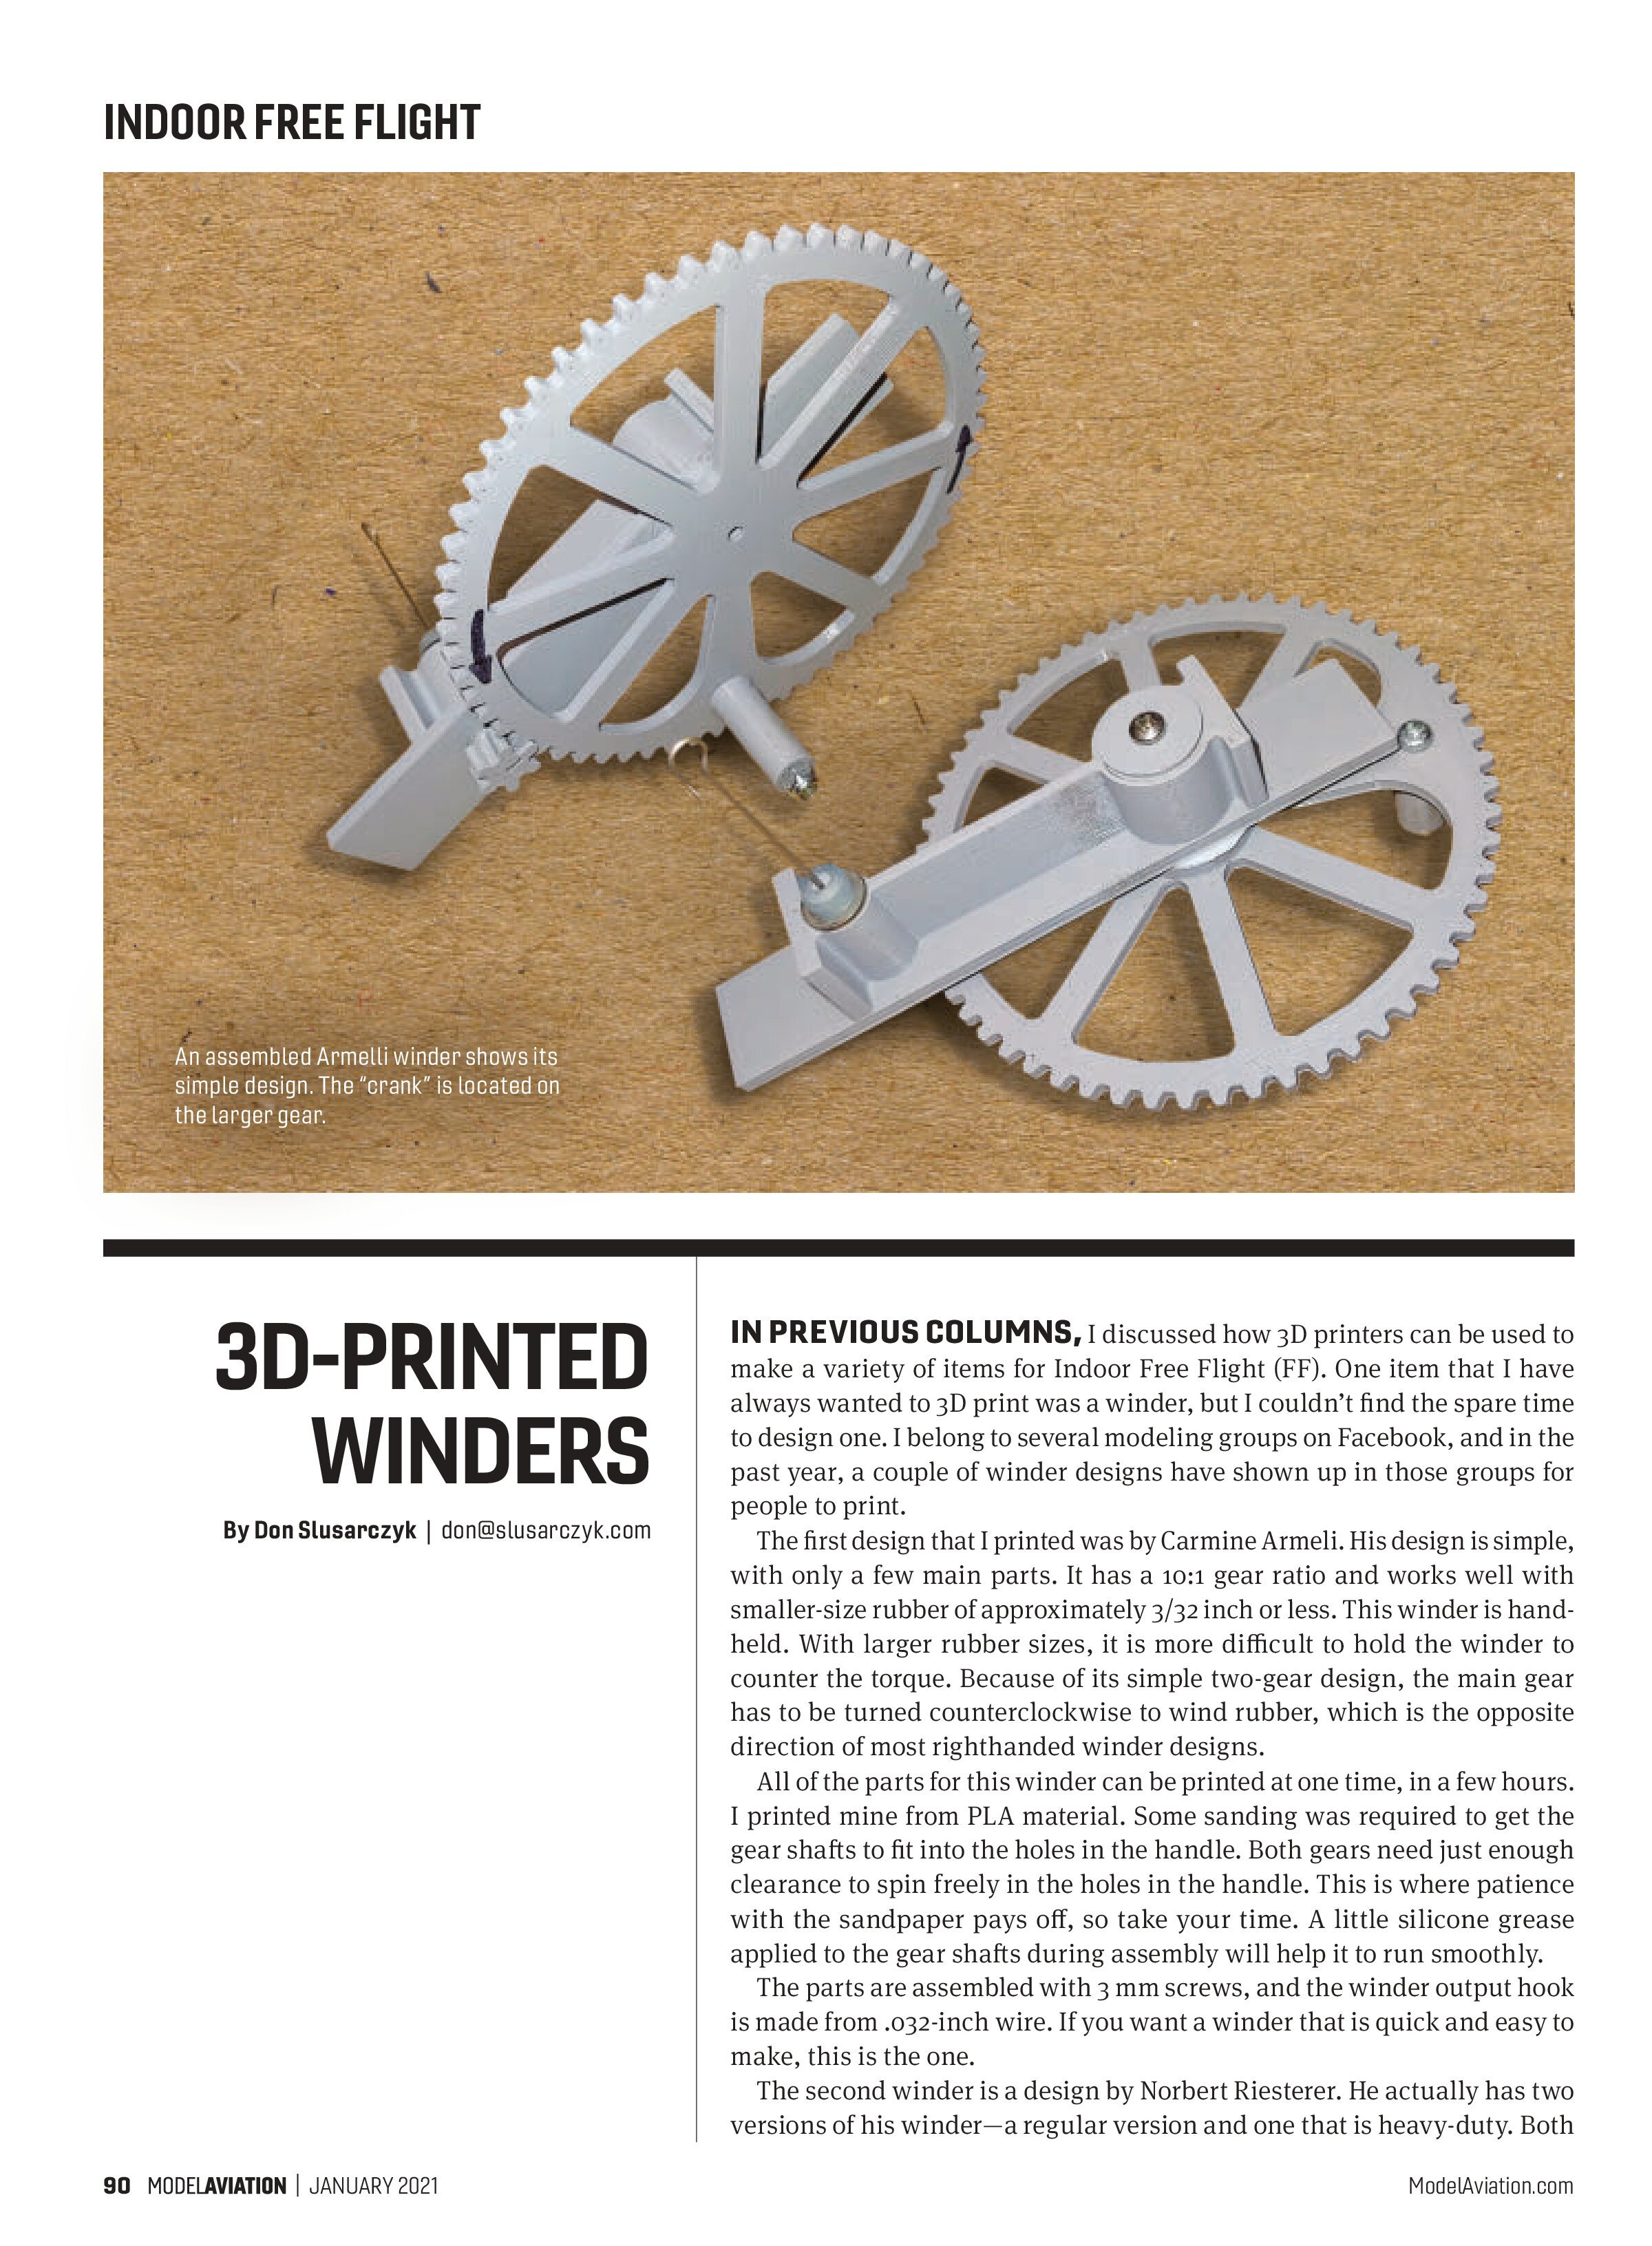
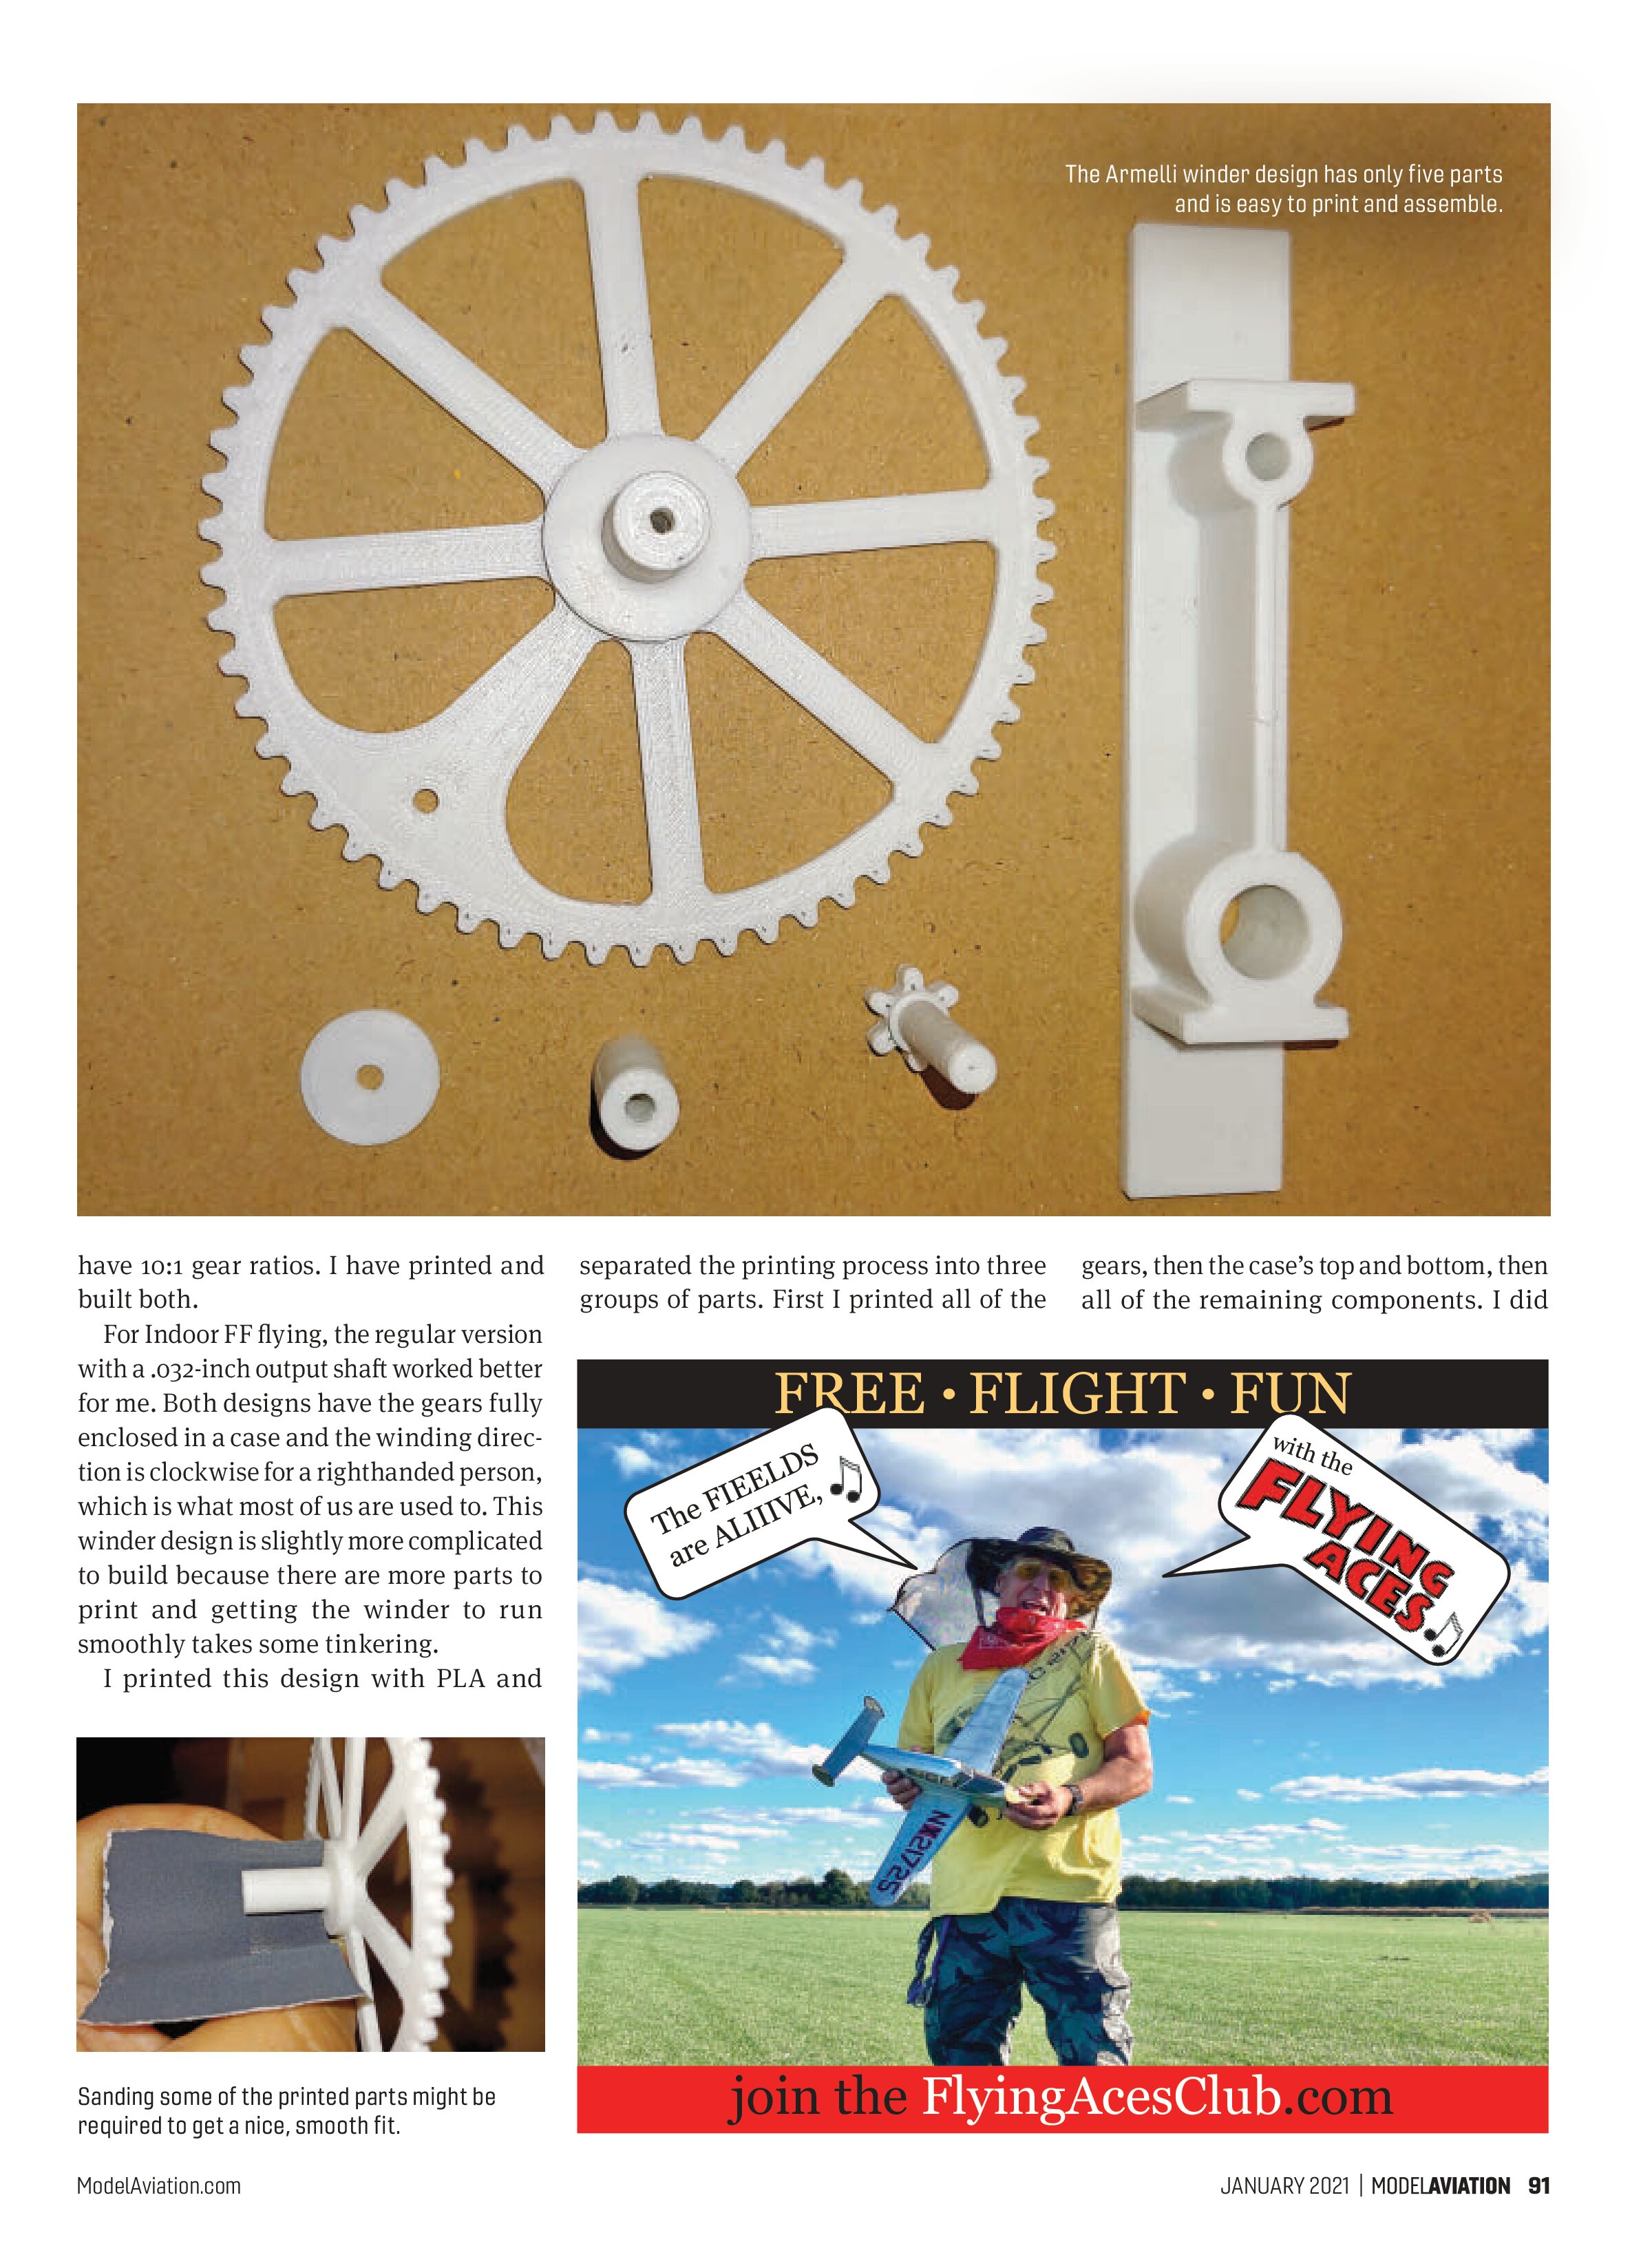
The first design that I printed was by Carmine Armelli. His design is simple, with only a few main parts. It has a 10:1 gear ratio and works well with smaller-size rubber of approximately 3/32 inch or less. This winder is hand-held. With larger rubber sizes, it is more difficult to hold the winder to counter the torque. Because of its simple two-gear design, the main gear has to be turned counterclockwise to wind rubber, which is the opposite direction of most righthanded winder designs.
All of the parts for this winder can be printed at one time, in a few hours. I printed mine from PLA material. Some sanding was required to get the gear shafts to fit into the holes in the handle. Both gears need just enough clearance to spin freely in the holes in the handle. This is where patience with the sandpaper pays off, so take your time. A little silicone grease applied to the gear shafts during assembly will help it to run smoothly.
The parts are assembled with 3 mm screws, and the winder output hook is made from .032-inch wire. If you want a winder that is quick and easy to make, this is the one.
The second winder is a design by Norbert Riesterer. He actually has two versions of his winder—a regular version and one that is heavy-duty. Both

have 10:1 gear ratios. I have printed and built both.
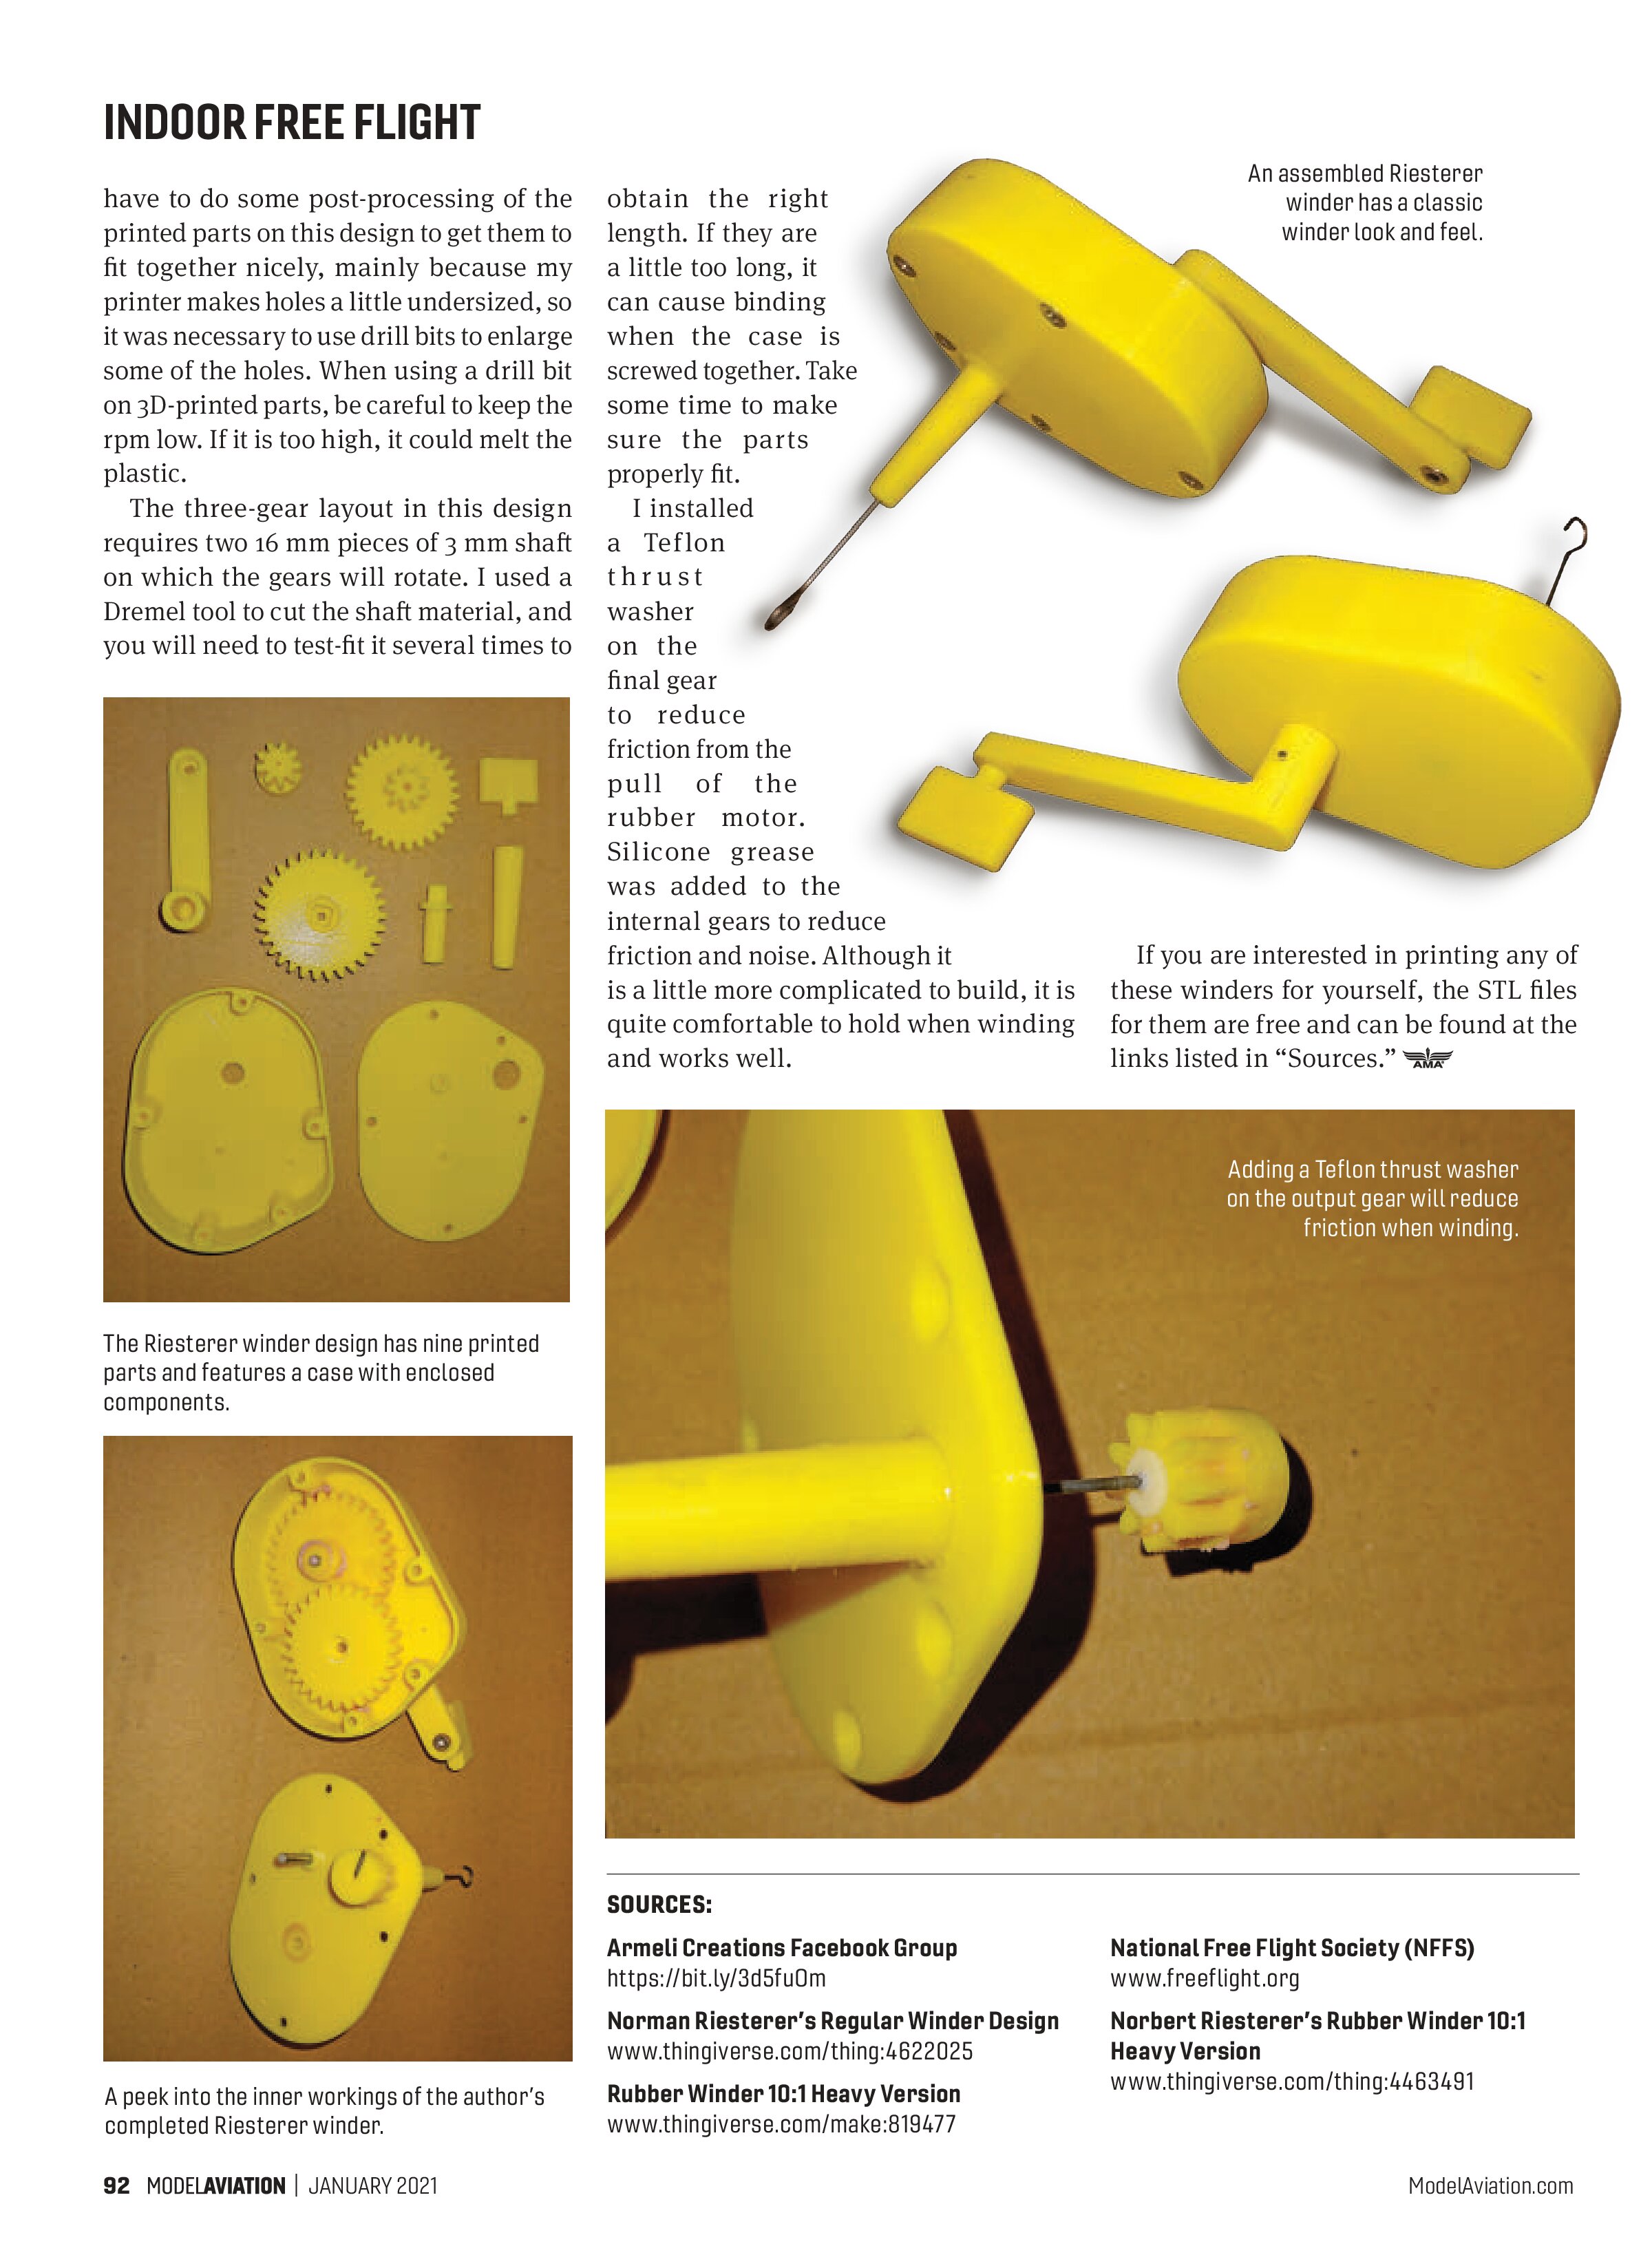
For Indoor FF flying, the regular version with a .032-inch output shaft worked better for me. Both designs have the gears fully enclosed in a case and the winding direction is clockwise for a righthanded person, which is what most of us are used to. This winder design is slightly more complicated to build because there are more parts to print and getting the winder to run smoothly takes some tinkering.
I printed this design with PLA and separated the printing process into three groups of parts. First I printed all of the gears, then the case’s top and bottom, then all of the remaining components. I did


have to do some post-processing of the printed parts on this design to get them to fit together nicely, mainly because my printer makes holes a little undersized, so it was necessary to use drill bits to enlarge some of the holes. When using a drill bit on 3D-printed parts, be careful to keep the rpm low. If it is too high, it could melt the plastic.
The three-gear layout in this design requires two 16 mm pieces of 3 mm shaft on which the gears will rotate. I used a Dremel tool to cut the shaft material, and you will need to test-fit it several times to obtain the right length. If they are a little too long, it can cause binding when the case is screwed together. Take some time to make sure the parts properly fit.

I installed a Teflon thrust washer on the final gear to reduce friction from the pull of the rubber motor. Silicone grease was added to the internal gears to reduce friction and noise. Although it is a little more complicated to build, it is quite comfortable to hold when winding and works well.

If you are interested in printing any of these winders for yourself, the STL files for them are free and can be found at the links listed in “Sources.”


SOURCES:
Armeli Creations Facebook Group
https://bit.ly/3d5fu0m
Norman Riesterer’s Regular Winder Design
www.thingiverse.com/thing:4622025
Rubber Winder 10:1 Heavy Version
www.thingiverse.com/make:819477
National Free Flight Society (NFFS)
www.freeflight.org
Norbert Riesterer’s Rubber Winder 10:1 Heavy Version
www.thingiverse.com/thing:4463491