At a Glance
Specifications
Wingspan: 21 inches
Length: 20 inches
Wing area: 139 square inches
Flying weight (with rubber): 59.6 grams
Materials
Wood
• (1) 1/16 x 3 x 6-inch sheet balsa
• (1) 3/32 x 3 x 12-inch sheet balsa
• (1) 1/8 x 3 x 12-inch sheet balsa
• (4) 1/16 square x 36-inch balsa
• (2) 1/16 x 1/8 x 36-inch balsa
• (7) 3/32 square x 36-inch balsa
• (1) 3/32 x 1/8 x 12-inch balsa
• (1) 1/2 x 1-1/2 x 2-inch balsa block
Metal
• (1) .020 diameter x 3-inch steel wire
• (1) .032 diameter x 12-inch steel wire
• (1) .015 x 3/16 x 1-inch brass
• 5/32 OD x 1-1/2-inch aluminum tube
• (1) 1/2-inch square of aluminum (from a beverage can)
Miscellaneous
• (1) .004 x 3 x 12-inch acetate
• (1) 7-inch Peck-Polymers propeller
• (1) 19-inch single loop of 3/16 Tan Rubber
DOSALAS
Build this FF Sport biplane
By Pat Tritle | patscustommodels@gmail.com
Photos by the author


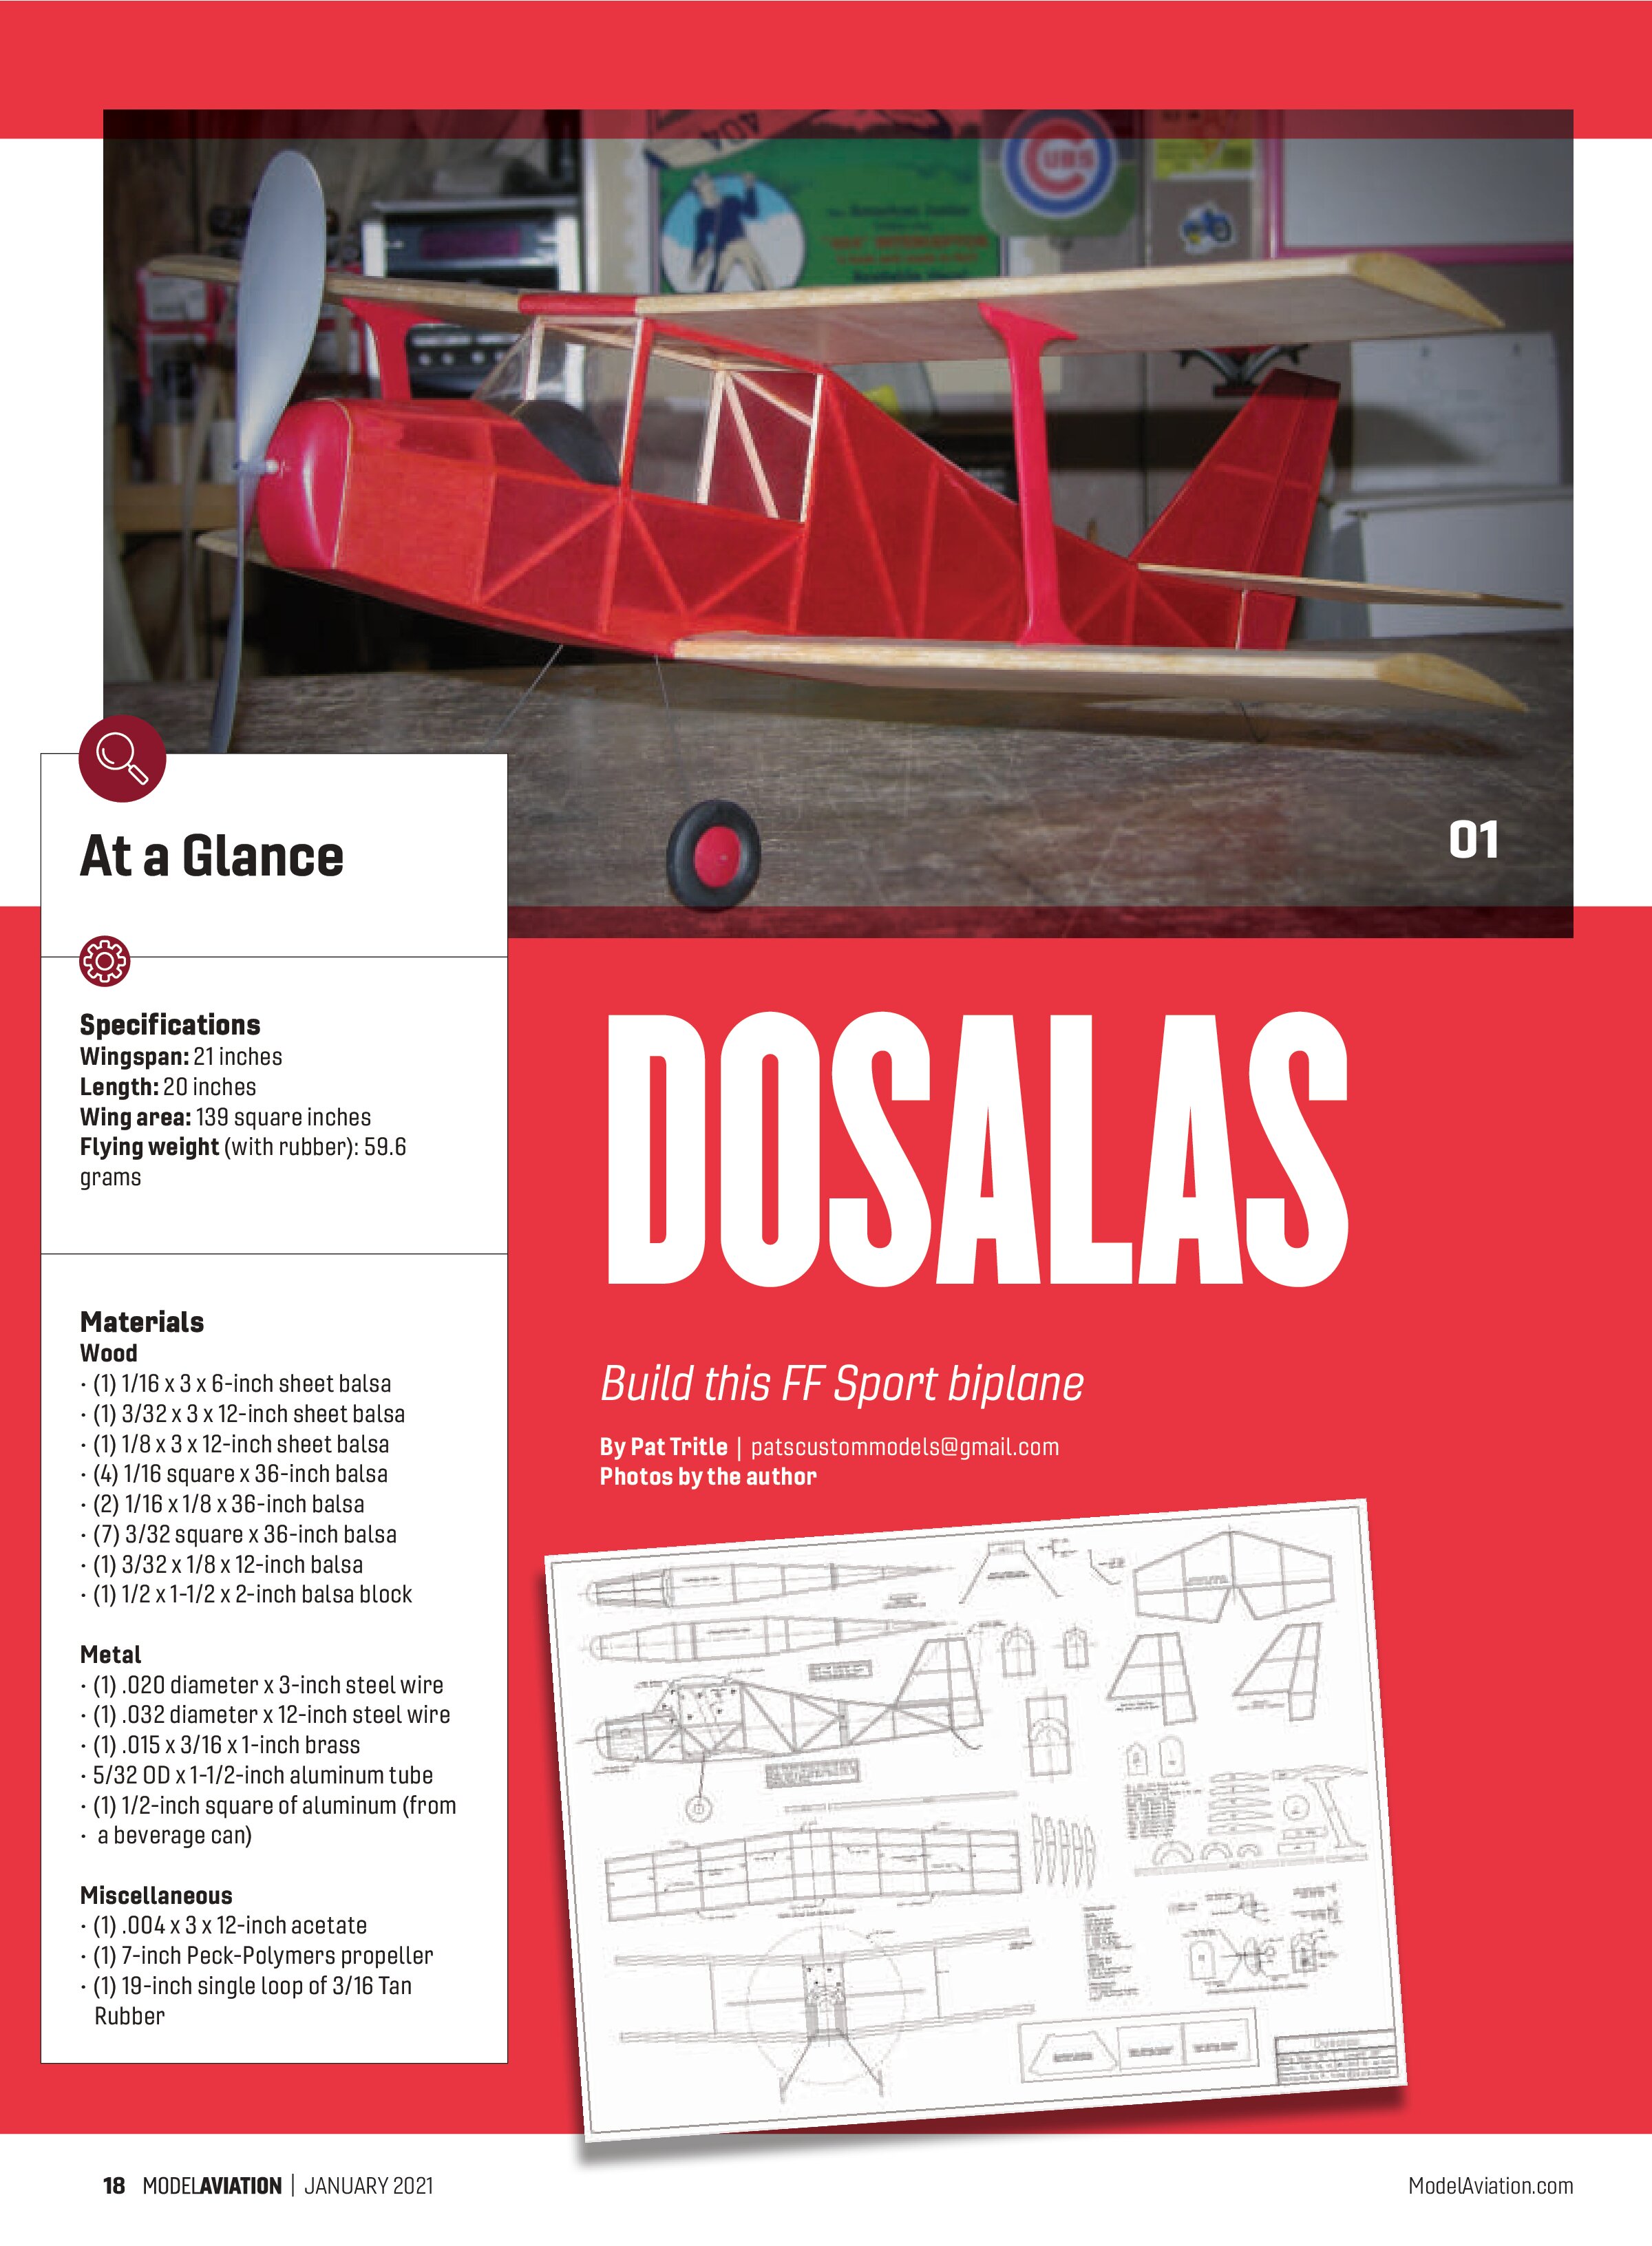
I am a big fan of biplanes, but in the Free Flight (FF) realm, setting up a conventional biplane can be a challenge. Because I wanted to create a simple FF biplane without the typical complexity of a conventional setup, I decided to go with a cabin-type fuselage with I-type interplane struts to make the setup nearly foolproof. The result is a fun little sport FF model that is easy to build and will fly well, even in small venues.
The Dosalas is of the conventional stick-and-tissue style of construction, covered with tissue and dope. The lines are straightforward, so the model is not only fun, but it is easy to build. It is also easy to cover for those who have less experience with old-school covering methods.
One unique feature of Dosalas is its universally adjustable nose block. The setup allows for any combination of side- or downthrust that will allow even minute trim adjustments to be made quickly and easily. The adjustable nose block requires fabricating a couple of metal parts, but the parts can be made easily using simple hand tools. And with that, the only thing left is to build the model.
Building the Dosalas
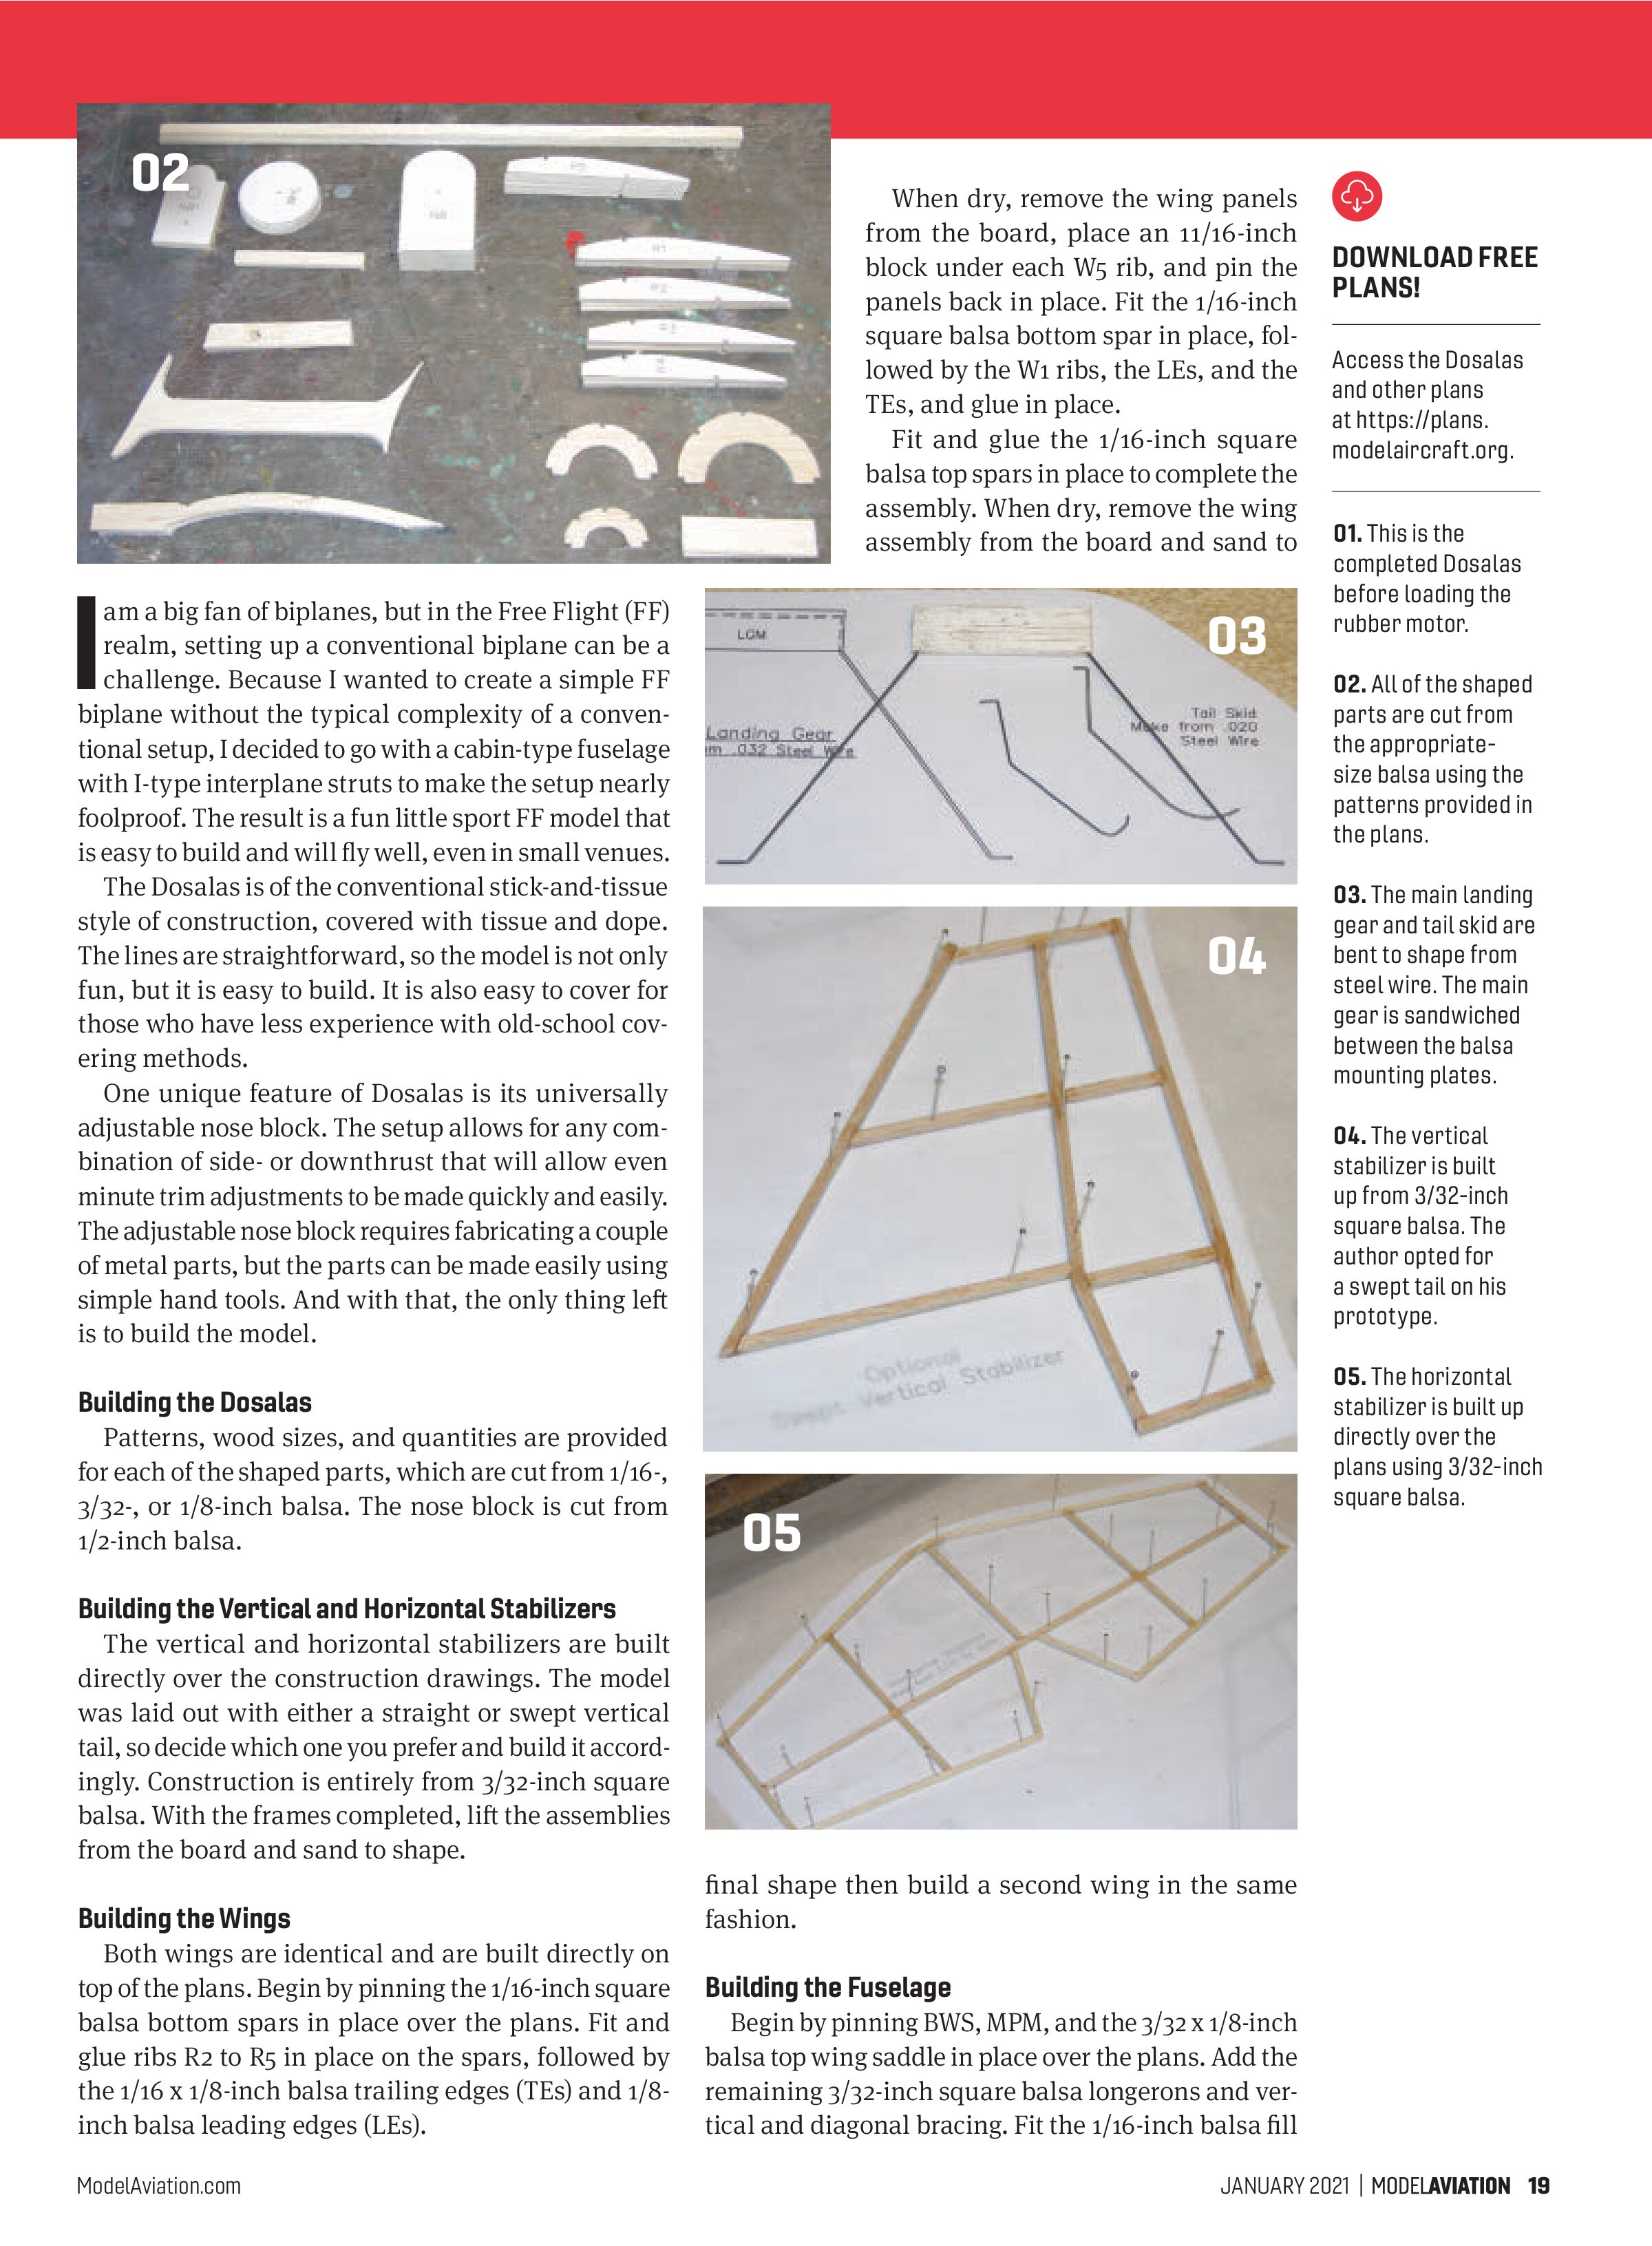
Patterns, wood sizes, and quantities are provided for each of the shaped parts, which are cut from 1/16-, 3/32-, or 1/8-inch balsa. The nose block is cut from 1/2-inch balsa.
Building the Vertical and Horizontal Stabilizers
The vertical and horizontal stabilizers are built directly over the construction drawings. The model was laid out with either a straight or swept vertical tail, so decide which one you prefer and build it accordingly. Construction is entirely from 3/32-inch square balsa. With the frames completed, lift the assemblies from the board and sand to shape.
Building the Wings
Both wings are identical and are built directly on top of the plans. Begin by pinning the 1/16-inch square balsa bottom spars in place over the plans. Fit and glue ribs R2 to R5 in place on the spars, followed by the 1/16 x 1/8-inch balsa trailing edges (TEs) and 1/8-inch balsa leading edges (LEs).
When dry, remove the wing panels from the board, place an 11/16-inch block under each W5 rib, and pin the panels back in place. Fit the 1/16-inch square balsa bottom spar in place, followed by the W1 ribs, the LEs, and the TEs, and glue in place.
Fit and glue the 1/16-inch square balsa top spars in place to complete the assembly. When dry, remove the wing assembly from the board and sand to final shape then build a second wing in the same fashion.
Building the Fuselage
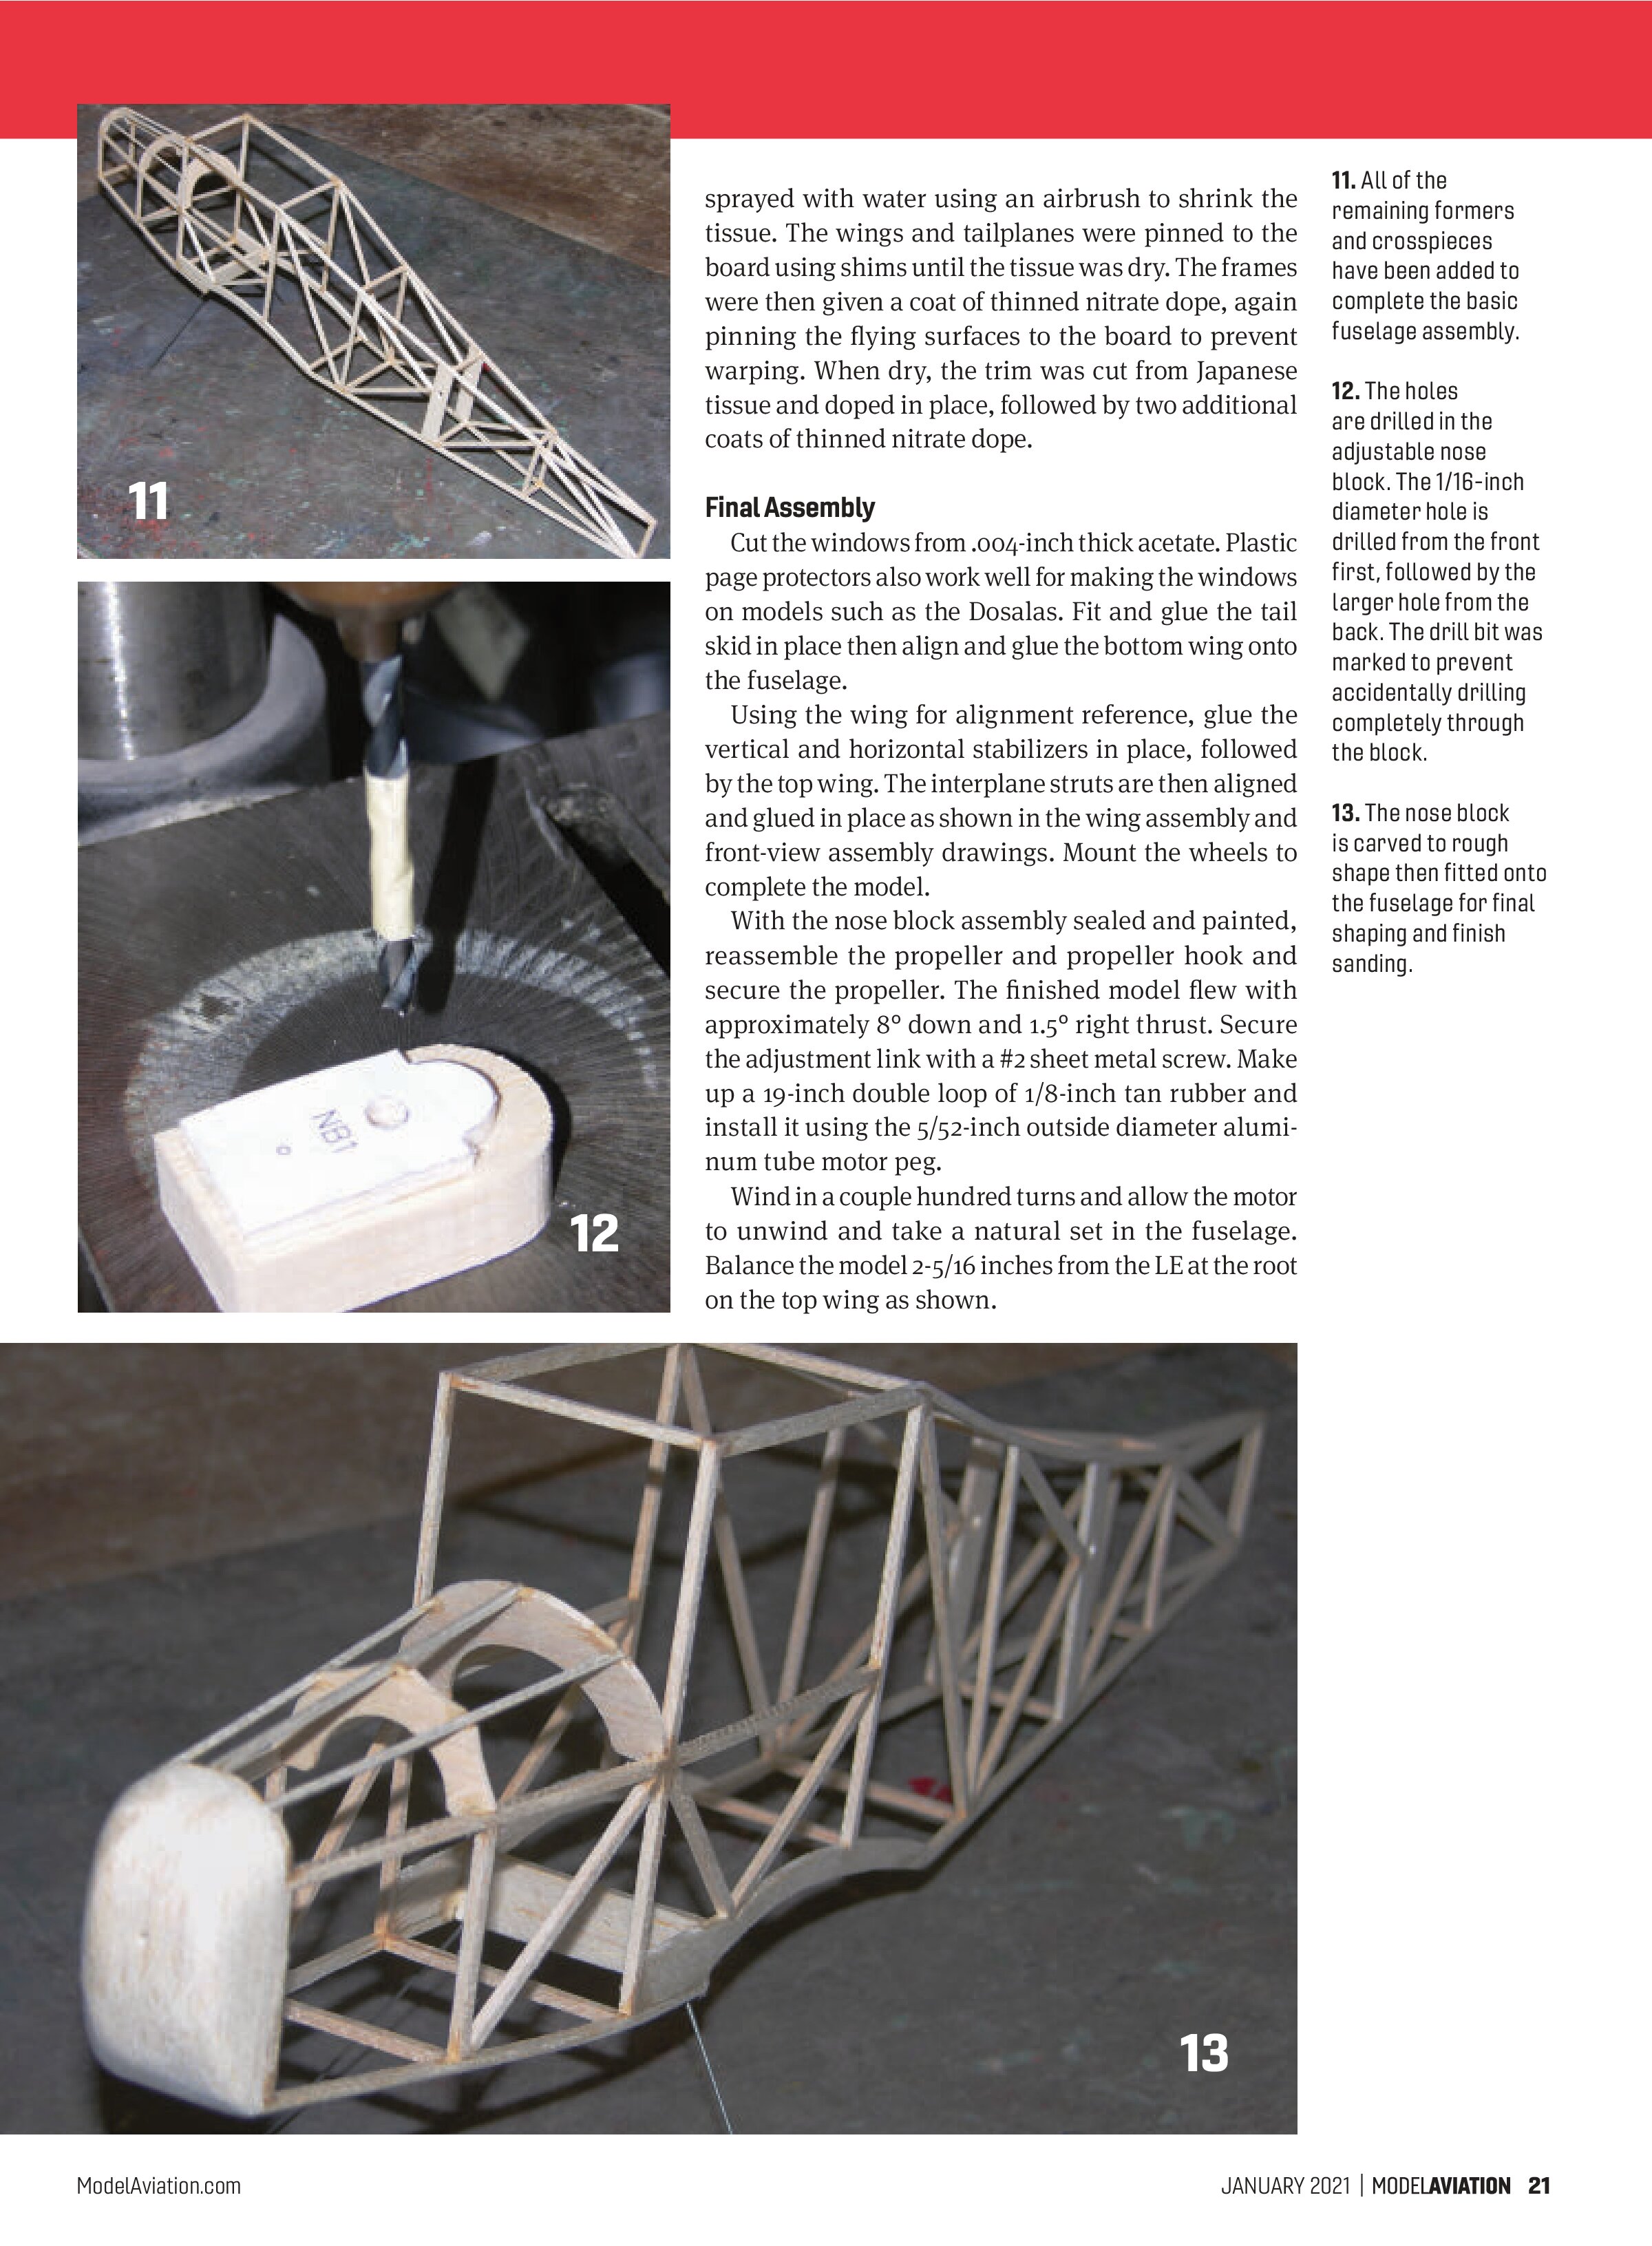
Begin by pinning BWS, MPM, and the 3/32 x 1/8-inch balsa top wing saddle in place over the plans. Add the remaining 3/32-inch square balsa longerons and vertical and diagonal bracing. Fit the 1/16-inch balsa fill


Download Free Plans!
Access the Dosalas and other plans at https://plans.modelaircraft.org.
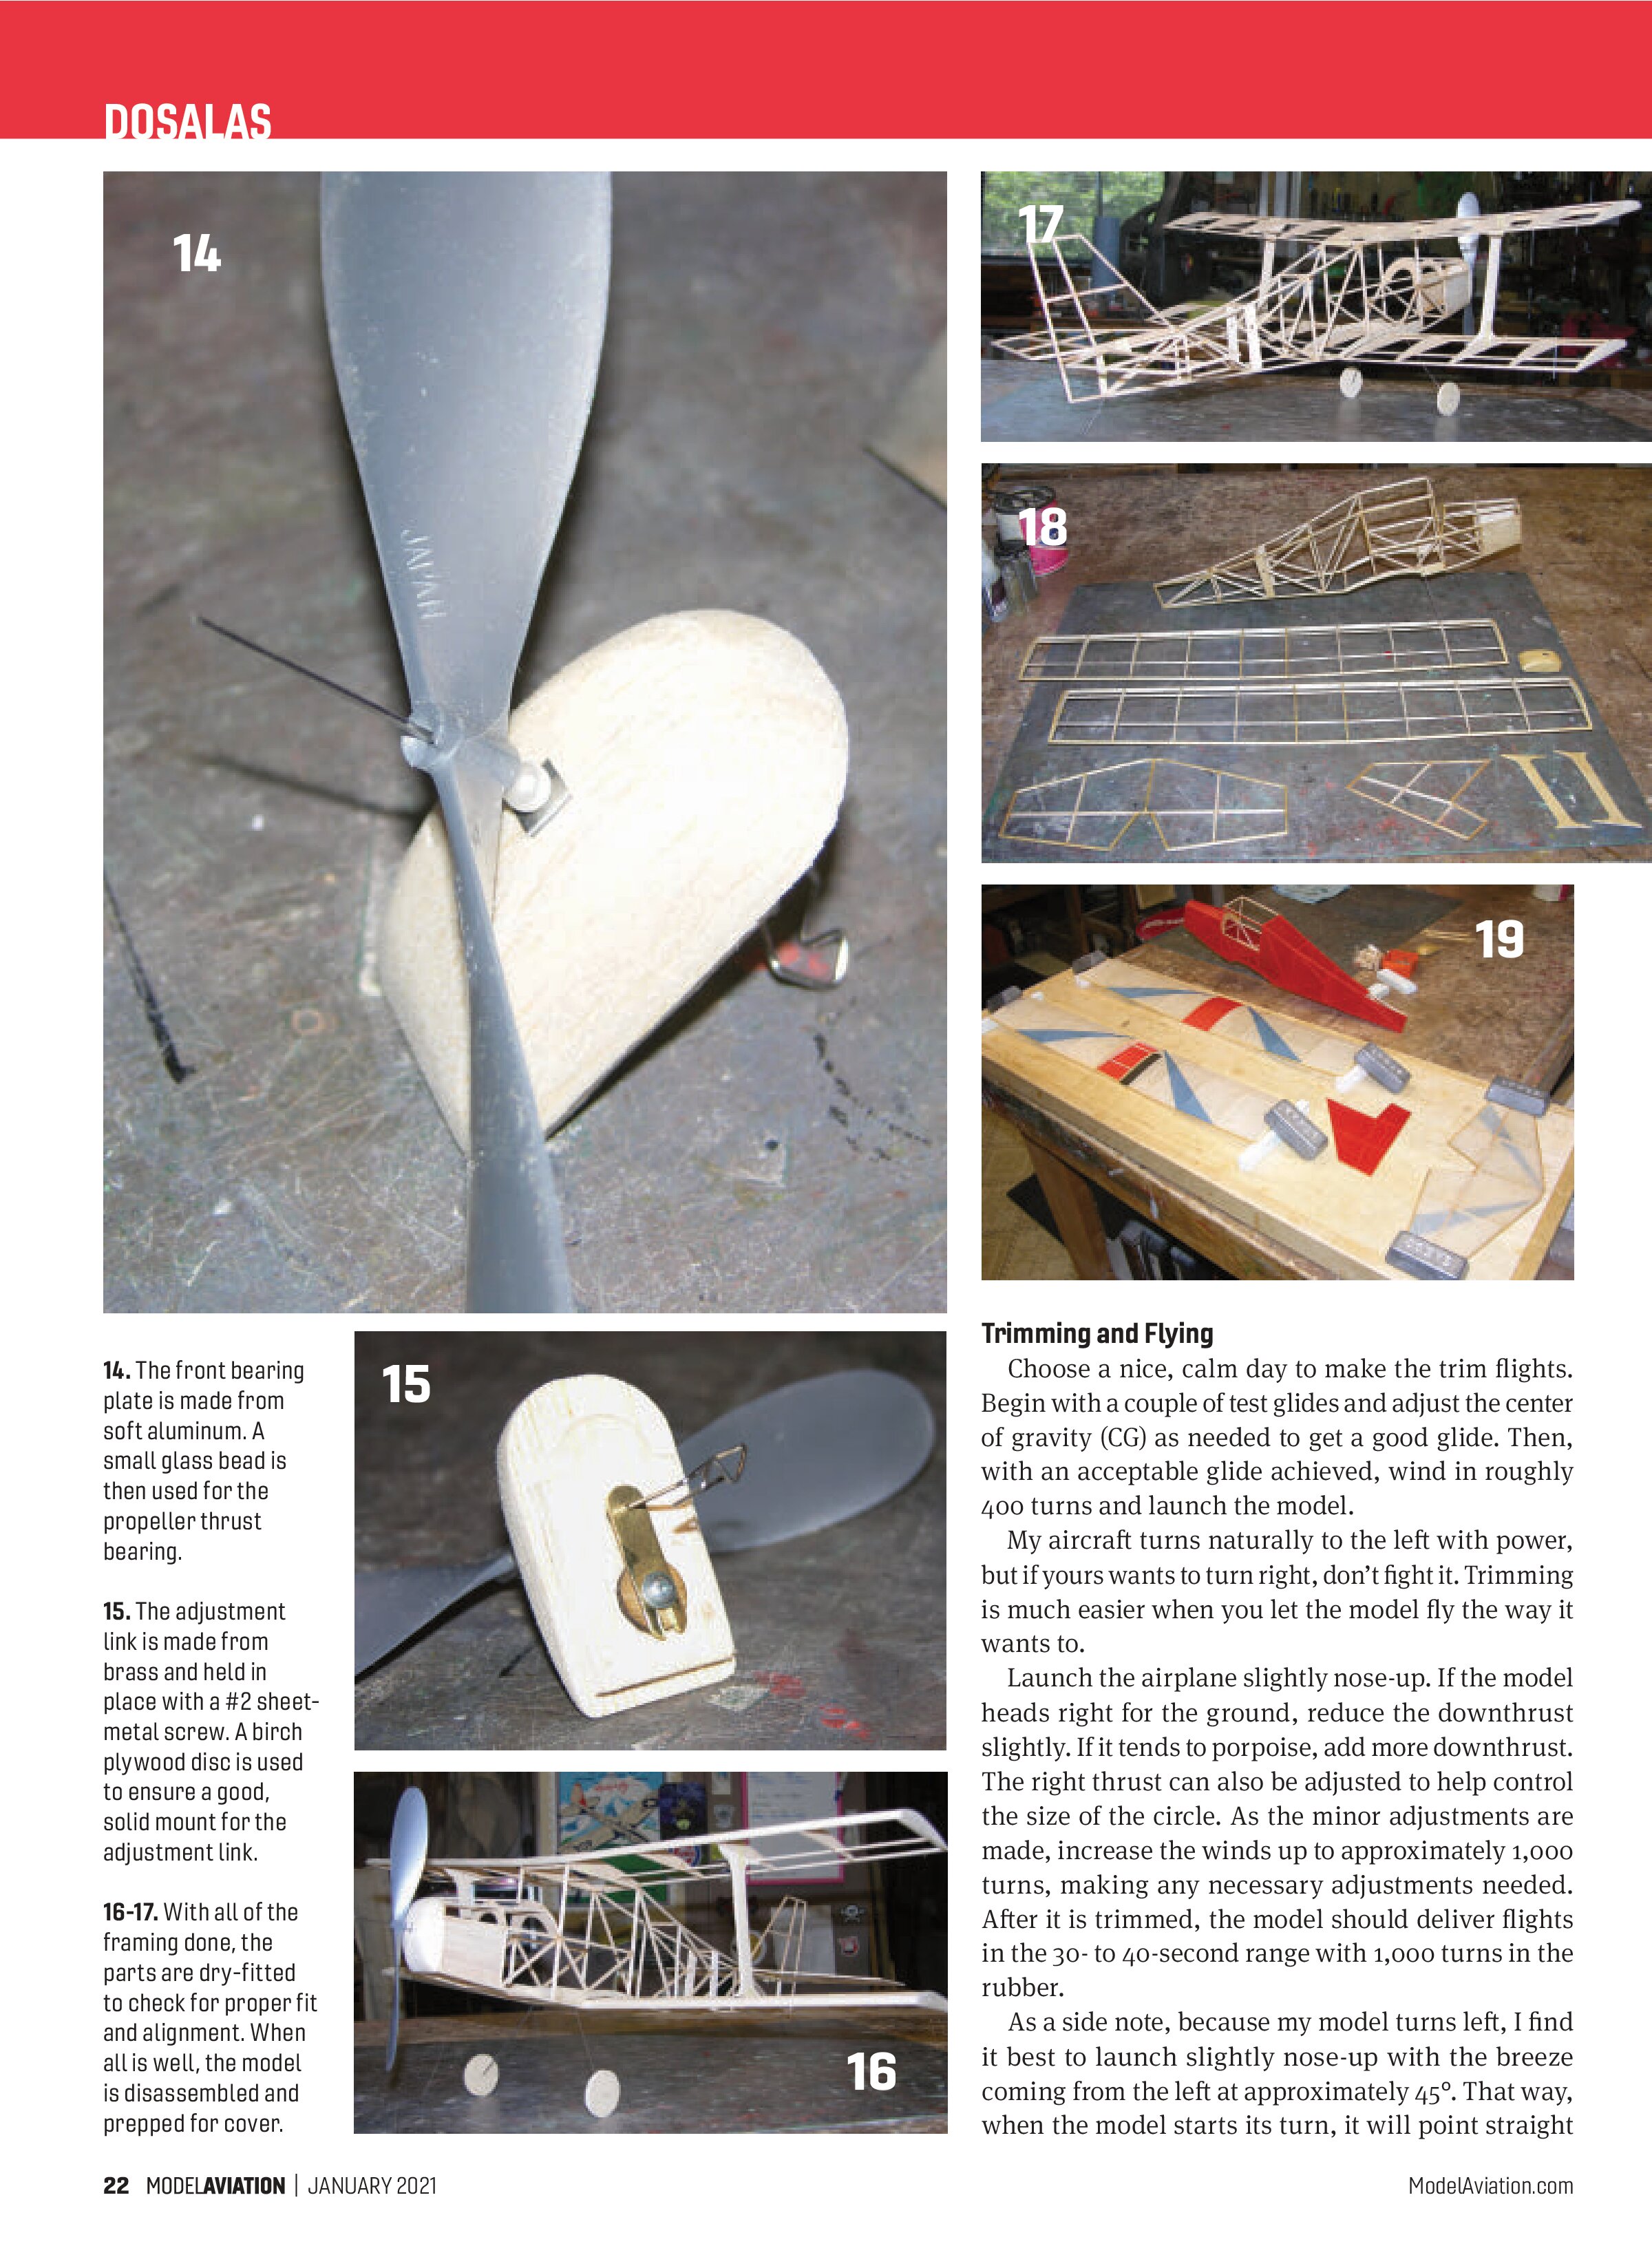
The propeller hook was bent from .032-inch steel wire and all of the parts were dry-fitted together. The propeller won’t be permanently fitted until the nose block has been sealed and painted.
Covering
Before covering begins, give the entire airframe a detail sanding to remove any irregularities on the parts. Dry-fit all of the major components to ensure proper fit and alignment. With that done, give all of the frames three or four coats of nitrate dope with a light sanding between each to remove the “balsa fuzz” from the frames.
Domestic tissue was used to cover the wings and tail, so that had to be applied dry. The tissue was cut to size and glued in place by wicking thinner through the covering. After it was attached, a coat of thinned nitrate dope was applied to the edges to seal it in place.
Japanese tissue was used on the fuselage, which was also applied dry using the same methods. When dry, the edges were lightly sanded with 220-grit sandpaper to remove any excess tissue around the perimeter.
After all of the frames were covered, they were sprayed with water using an airbrush to shrink the tissue. The wings and tailplanes were pinned to the board using shims until the tissue was dry. The frames were then given a coat of thinned nitrate dope, again pinning the flying surfaces to the board to prevent warping. When dry, the trim was cut from Japanese tissue and doped in place, followed by two additional coats of thinned nitrate dope.
Final Assembly
Cut the windows from .004-inch thick acetate. Plastic page protectors also work well for making the windows on models such as the Dosalas. Fit and glue the tail skid in place then align and glue the bottom wing onto the fuselage.
Using the wing for alignment reference, glue the vertical and horizontal stabilizers in place, followed by the top wing. The interplane struts are then aligned and glued in place as shown in the wing assembly and front-view assembly drawings. Mount the wheels to complete the model.
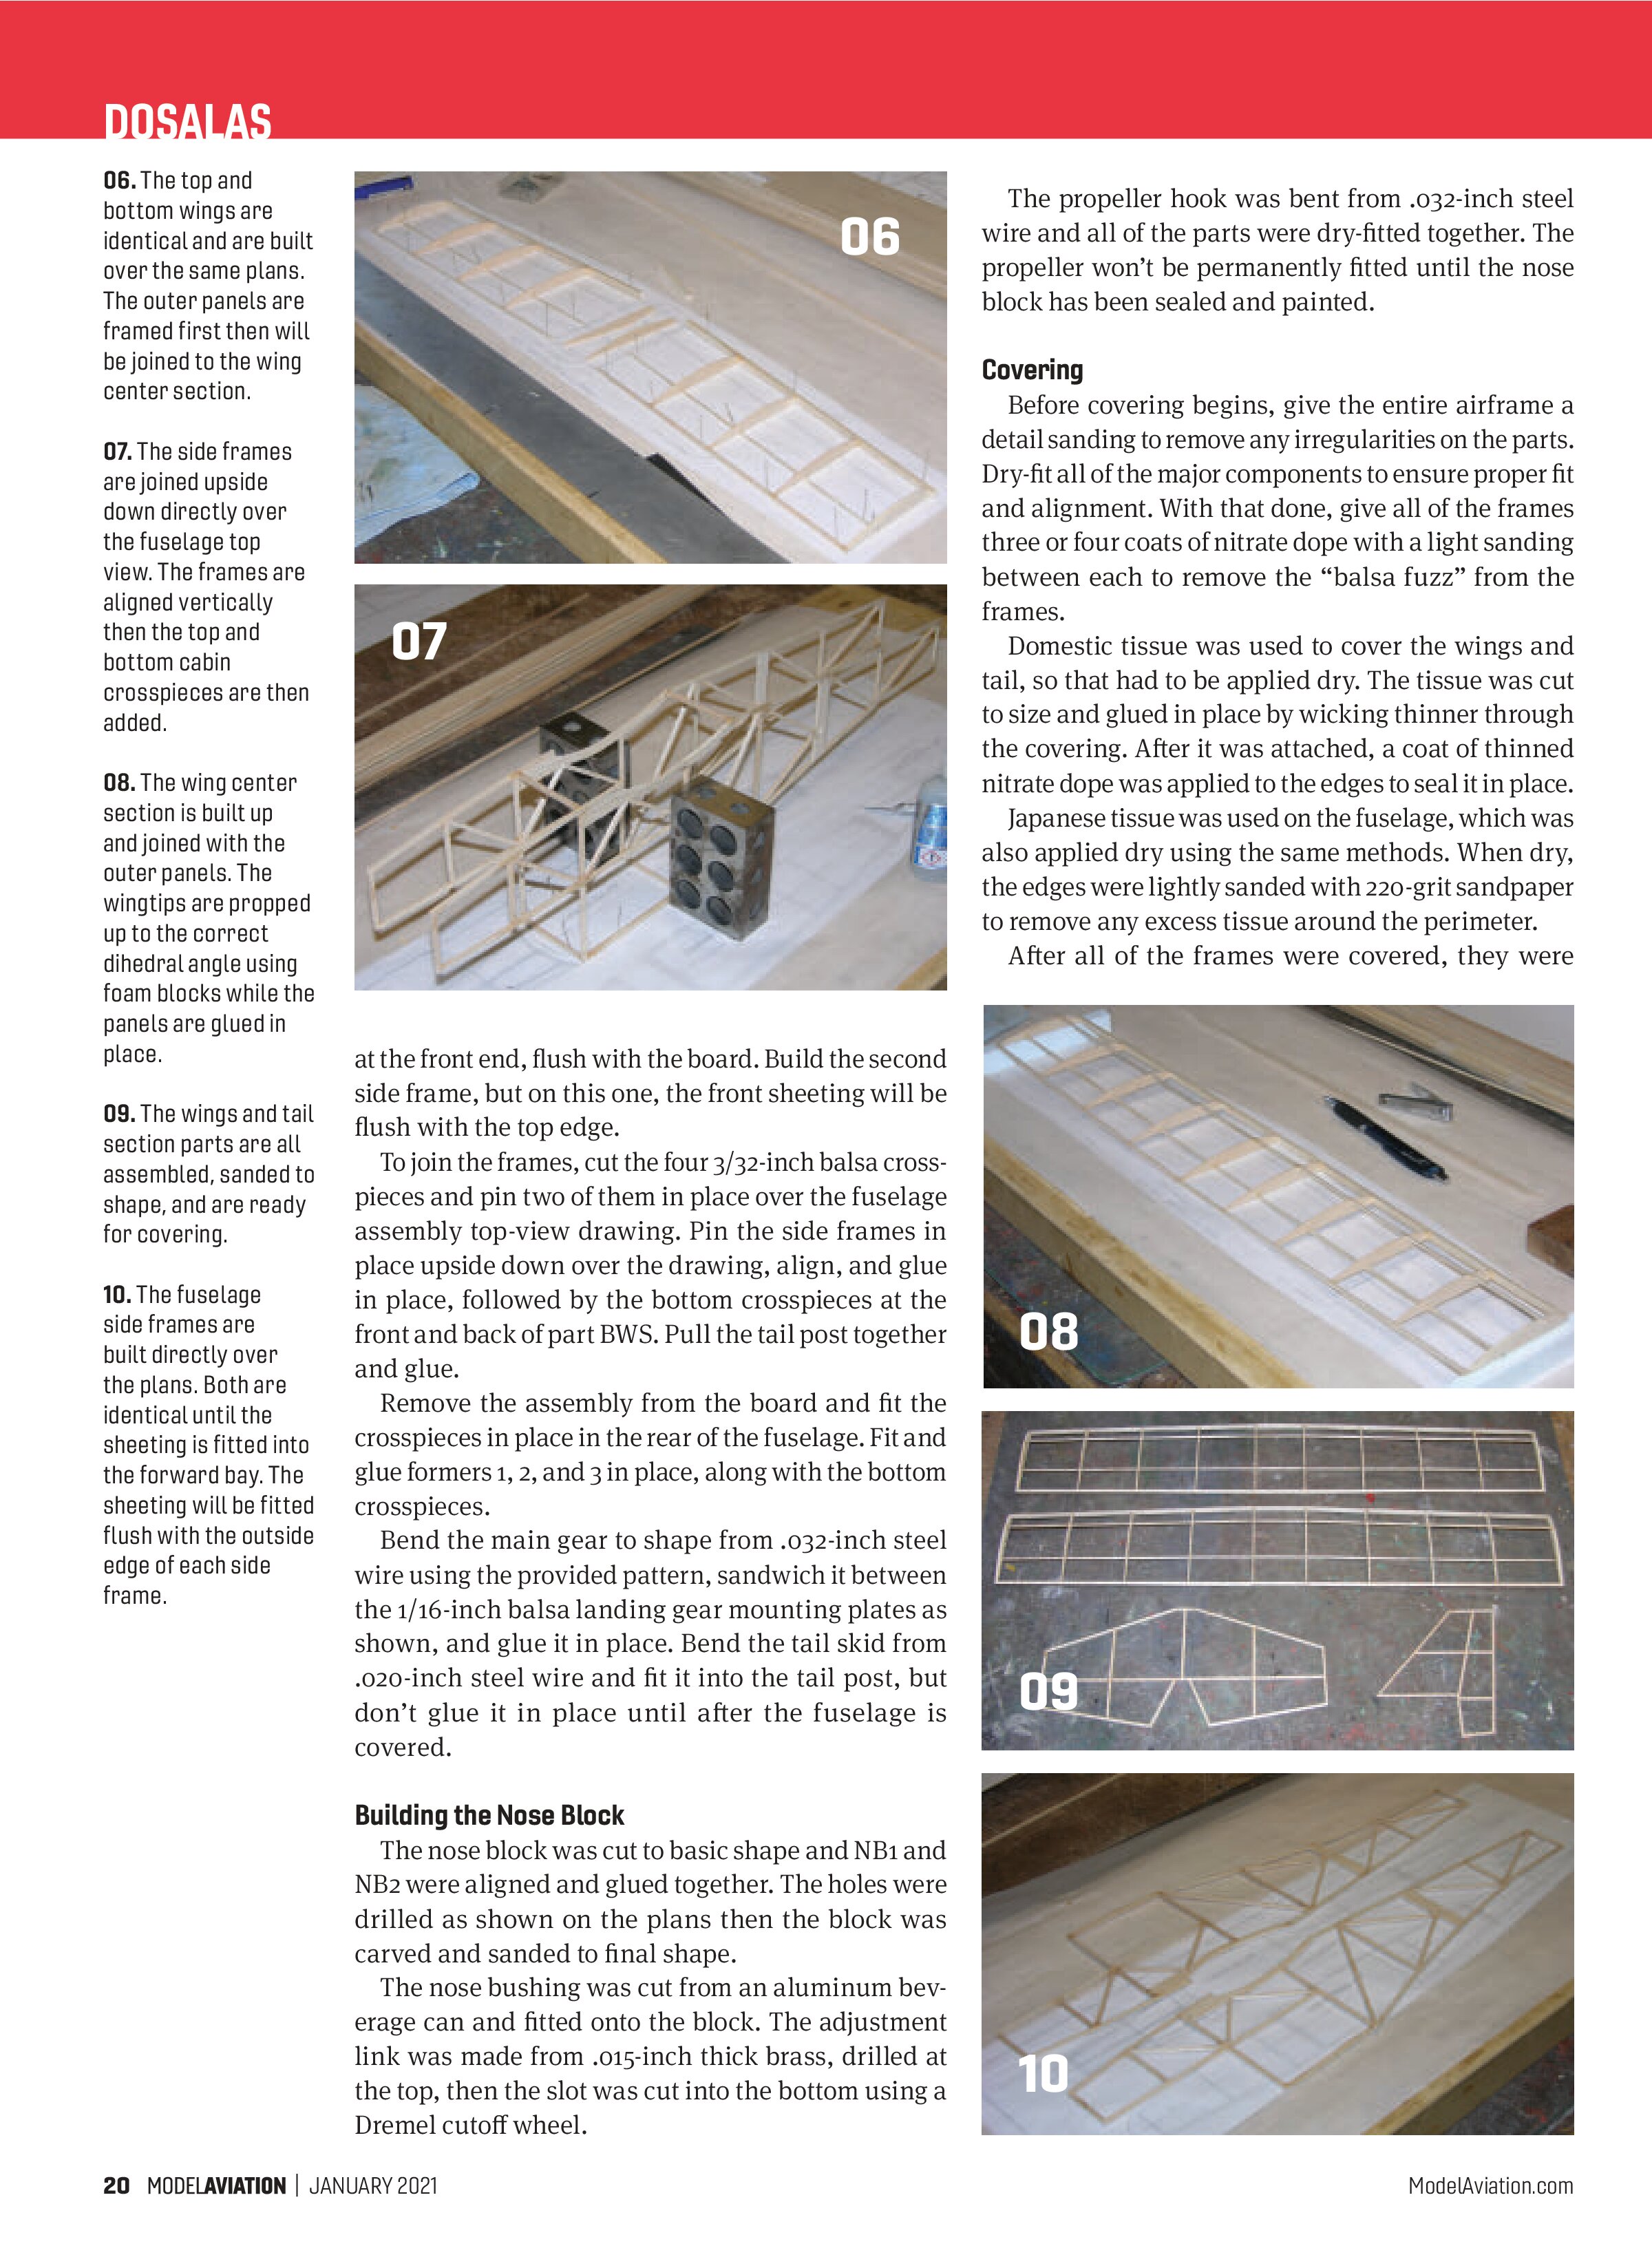
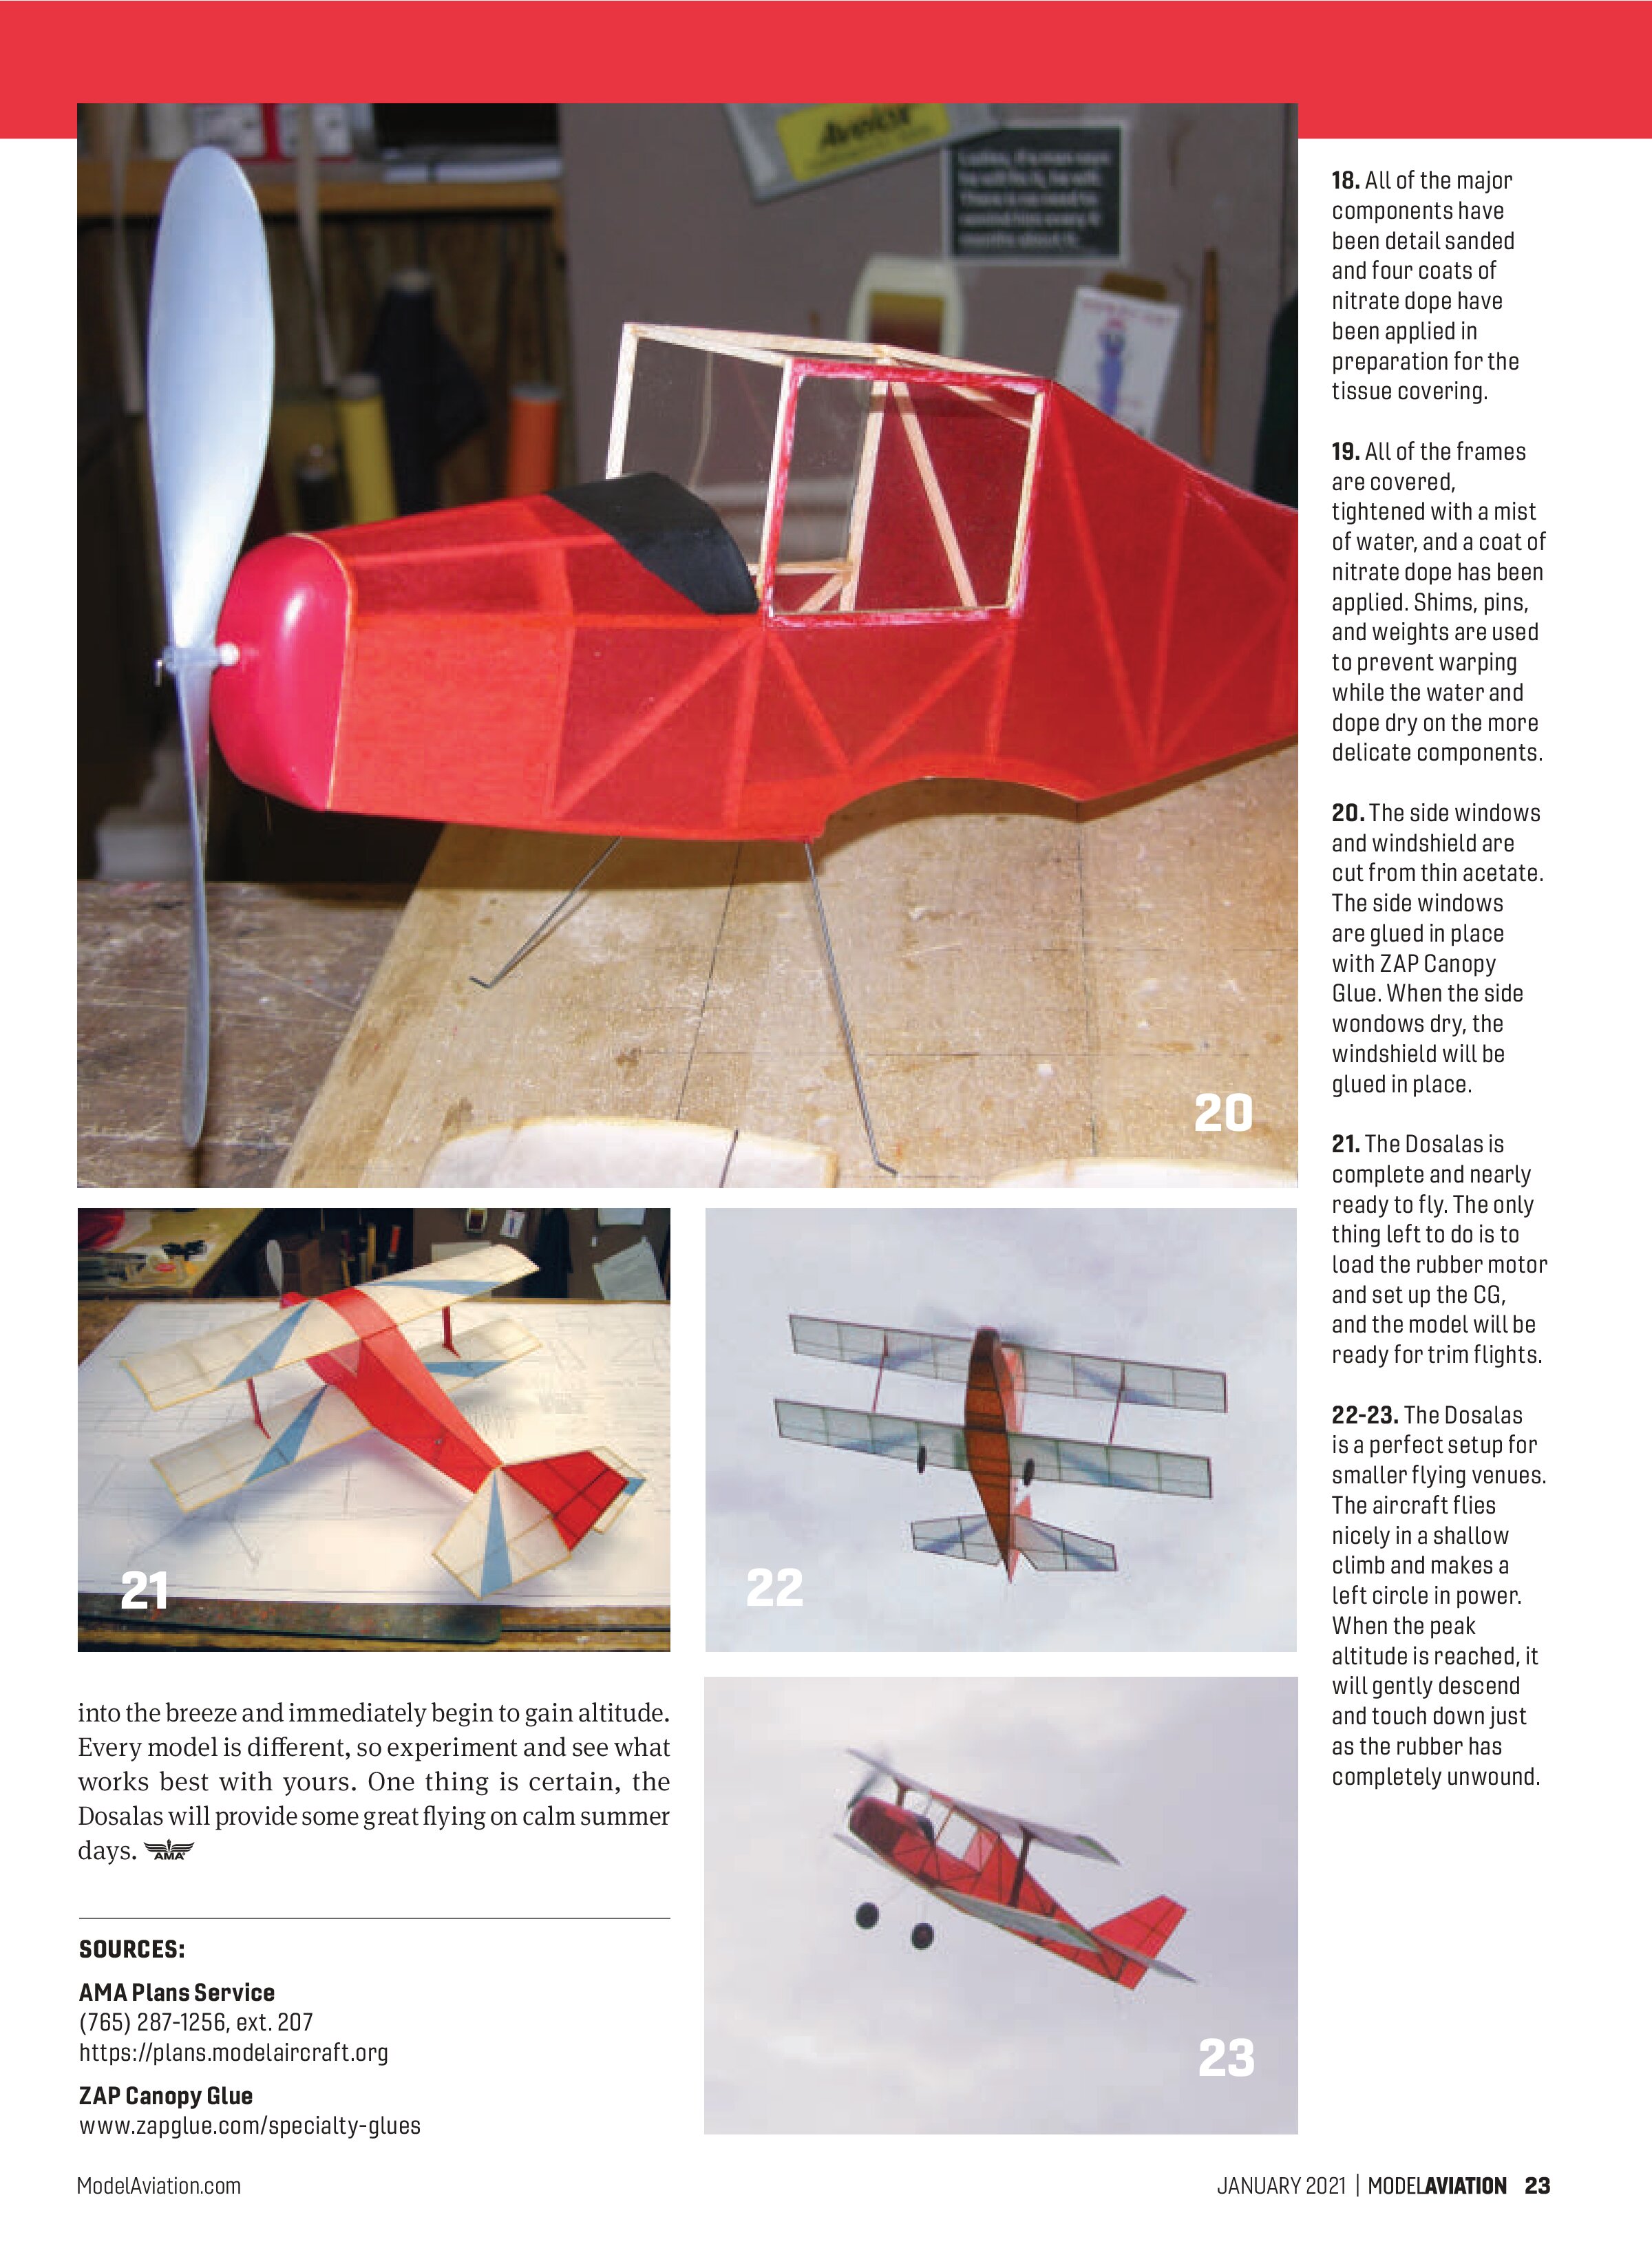
With the nose block assembly sealed and painted, reassemble the propeller and propeller hook and secure the propeller. The finished model flew with approximately 8° down and 1.5° right thrust. Secure the adjustment link with a #2 sheet metal screw. Make up a 19-inch double loop of 1/8-inch tan rubber and install it using the 5/32-inch outside diameter aluminum tube motor peg.
Wind in a couple hundred turns and allow the motor to unwind and take a natural set in the fuselage. Balance the model 2-5/16 inches from the LE at the root on the top wing as shown.


Trimming and Flying
Choose a nice, calm day to make the trim flights. Begin with a couple of test glides and adjust the center of gravity (CG) as needed to get a good glide. Then, with an acceptable glide achieved, wind in roughly 400 turns and launch the model.
My aircraft turns naturally to the left with power, but if yours wants to turn right, don’t fight it. Trimming is much easier when you let the model fly the way it wants to.
Launch the airplane slightly nose-up. If the model heads right for the ground, reduce the downthrust slightly. If it tends to porpoise, add more downthrust. The right thrust can also be adjusted to help control the size of the circle. As the minor adjustments are made, increase the winds up to approximately 1,000 turns, making any necessary adjustments needed. After it is trimmed, the model should deliver flights in the 30- to 40-second range with 1,000 turns in the rubber.
As a side note, because my model turns left, I find it best to launch slightly nose-up with the breeze coming from the left at approximately 45°. That way, when the model starts its turn, it will point straight


into the breeze and immediately begin to gain altitude. Every model is different, so experiment and see what works best with yours. One thing is certain, the Dosalas will provide some great flying on calm summer days.


SOURCES:
AMA Plans Service
(765) 287-1256, ext. 207
https://plans.modelaircraft.org
ZAP Canopy Glue
www.zapglue.com/specialty-glues