F2B Team Selections
by Bob Hunt
robinhunt@rcn.com
The 2018 USA F2B CL Aerobatics Team Selections are now history and the team that will represent the US at the World Championships in Landres, France, on July 14-19, has been determined. This team selection was not without a lot of pre-contest drama, and certainly not without drama during the actual flying event.
As reported in my last column, the site for the selection contest had to be moved from Scobee Field in Houston to Hobby Park in Garland, Texas, because of the devastation and flooding caused by Hurricane Harvey. The event director, Frank Williams, and his extended crew did a wonderful job of running an efficient contest, despite the distractions.
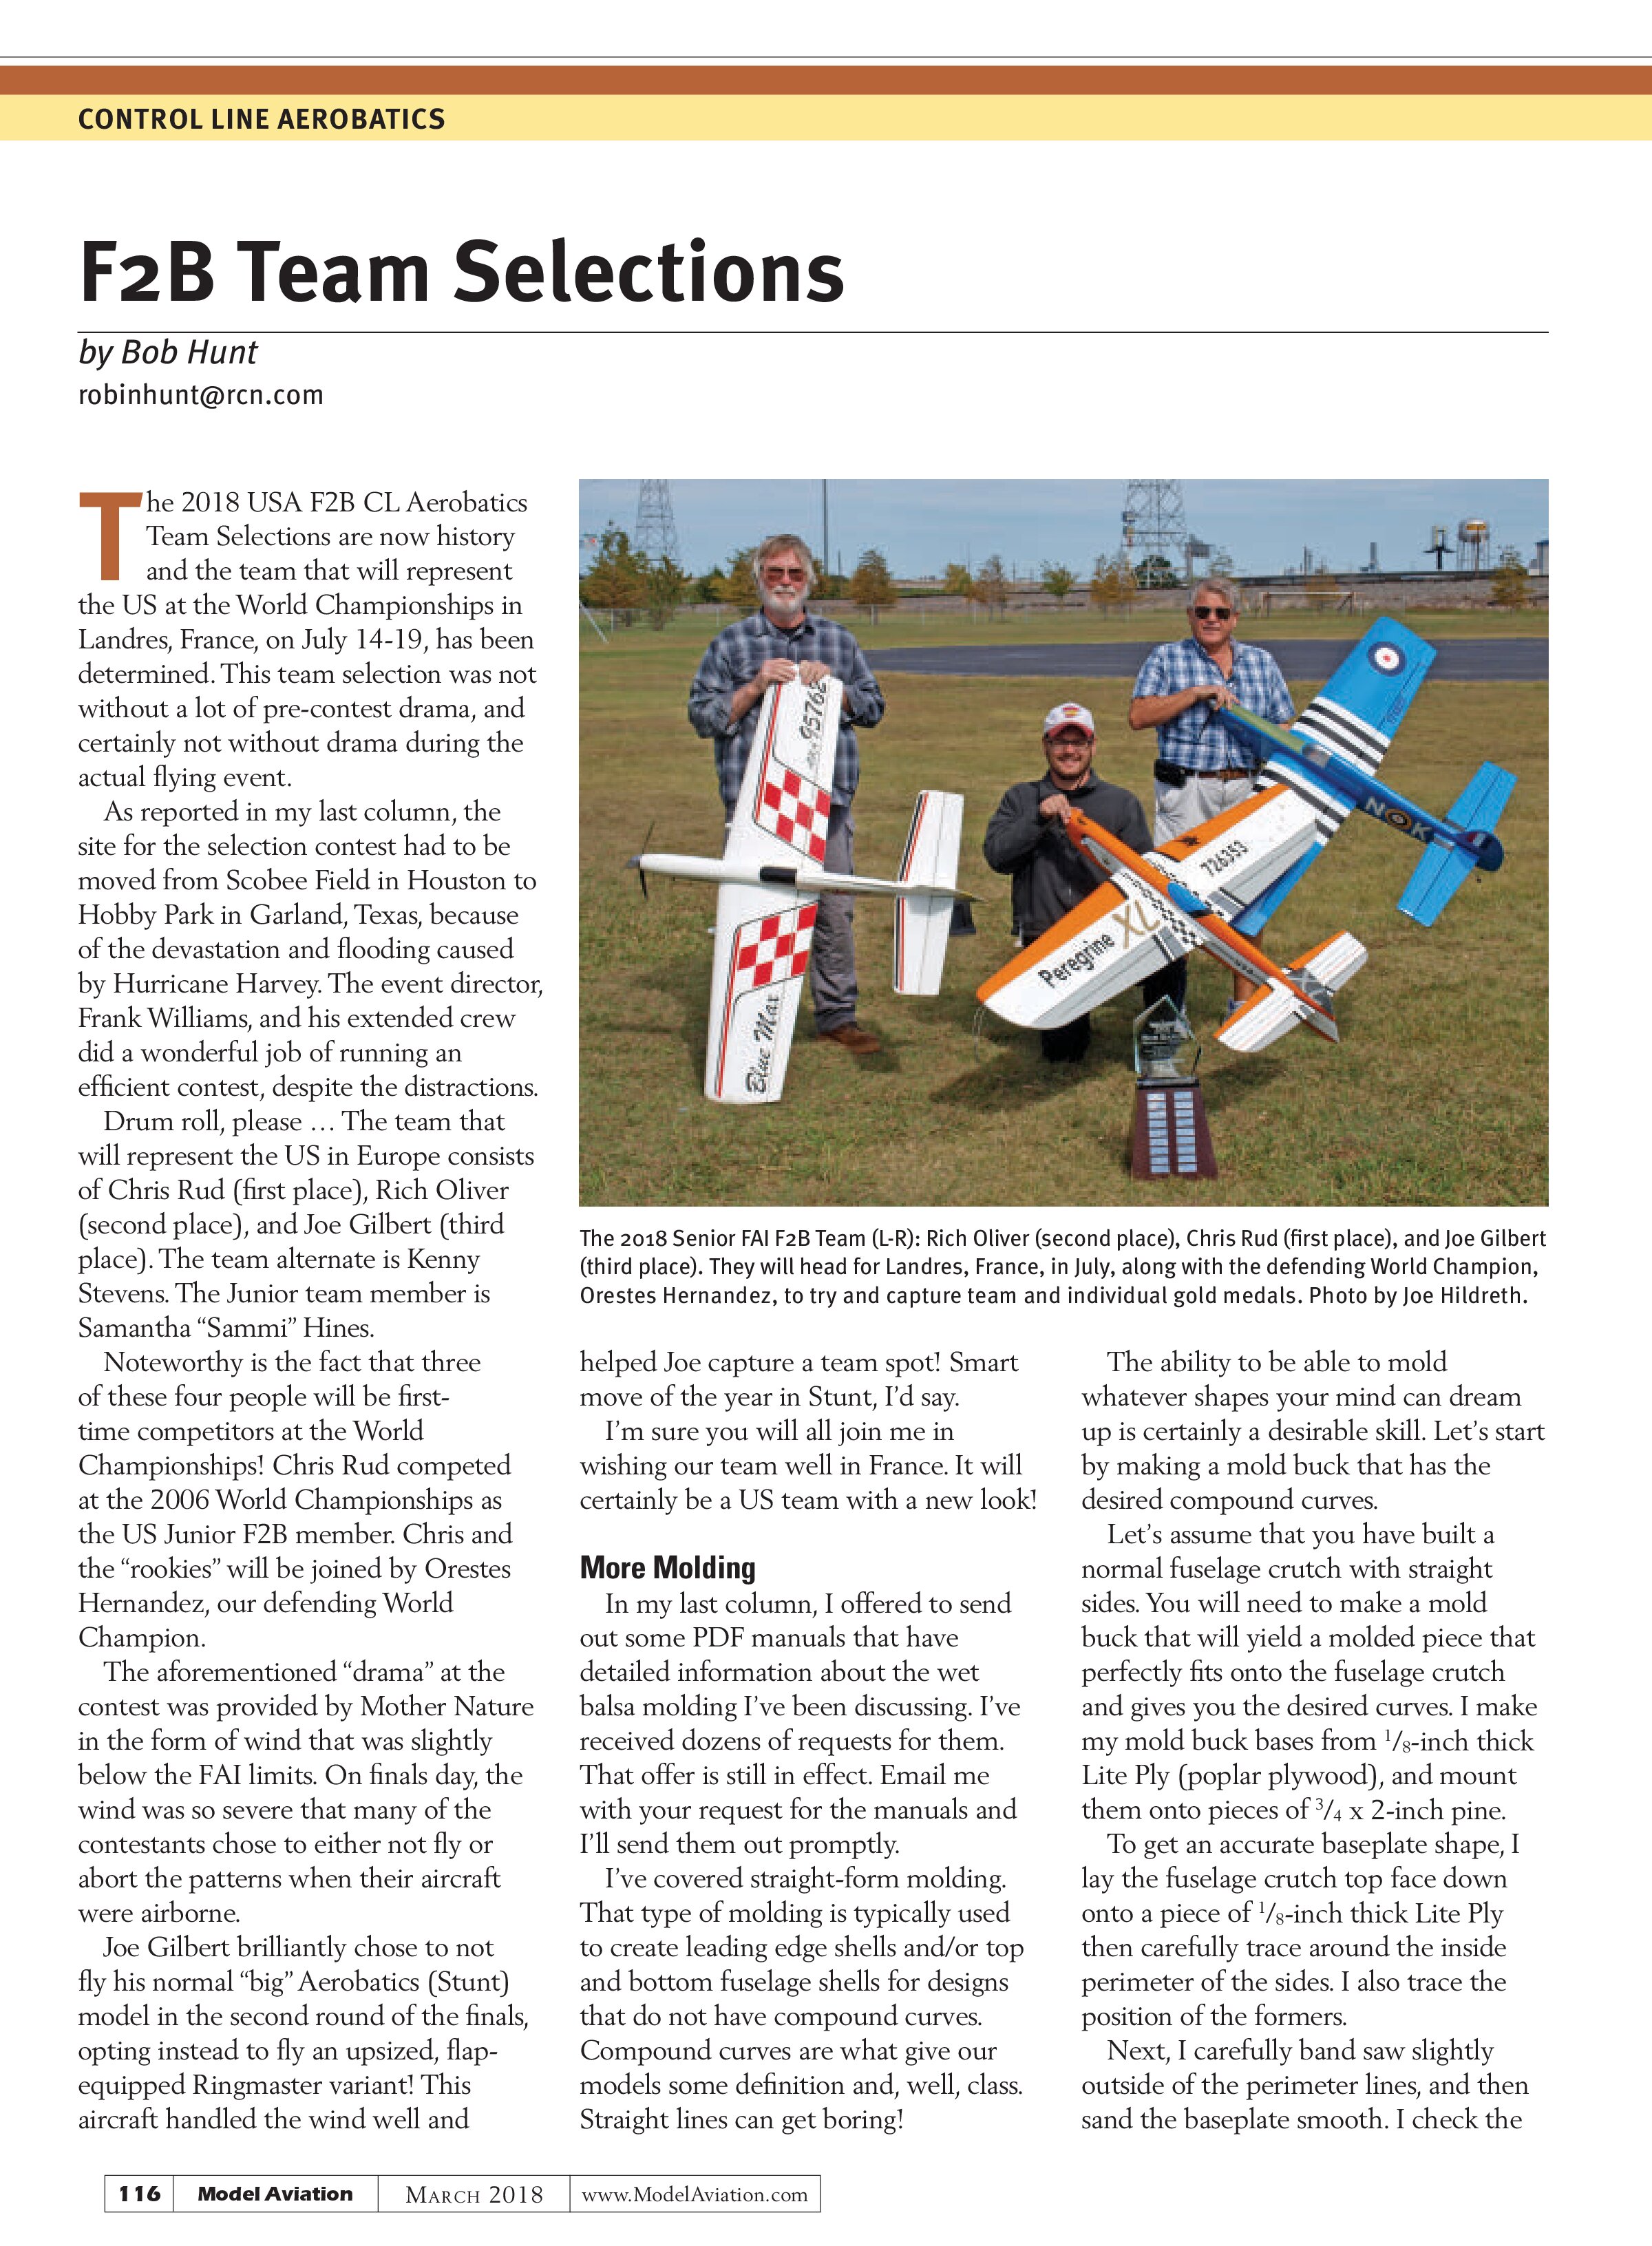
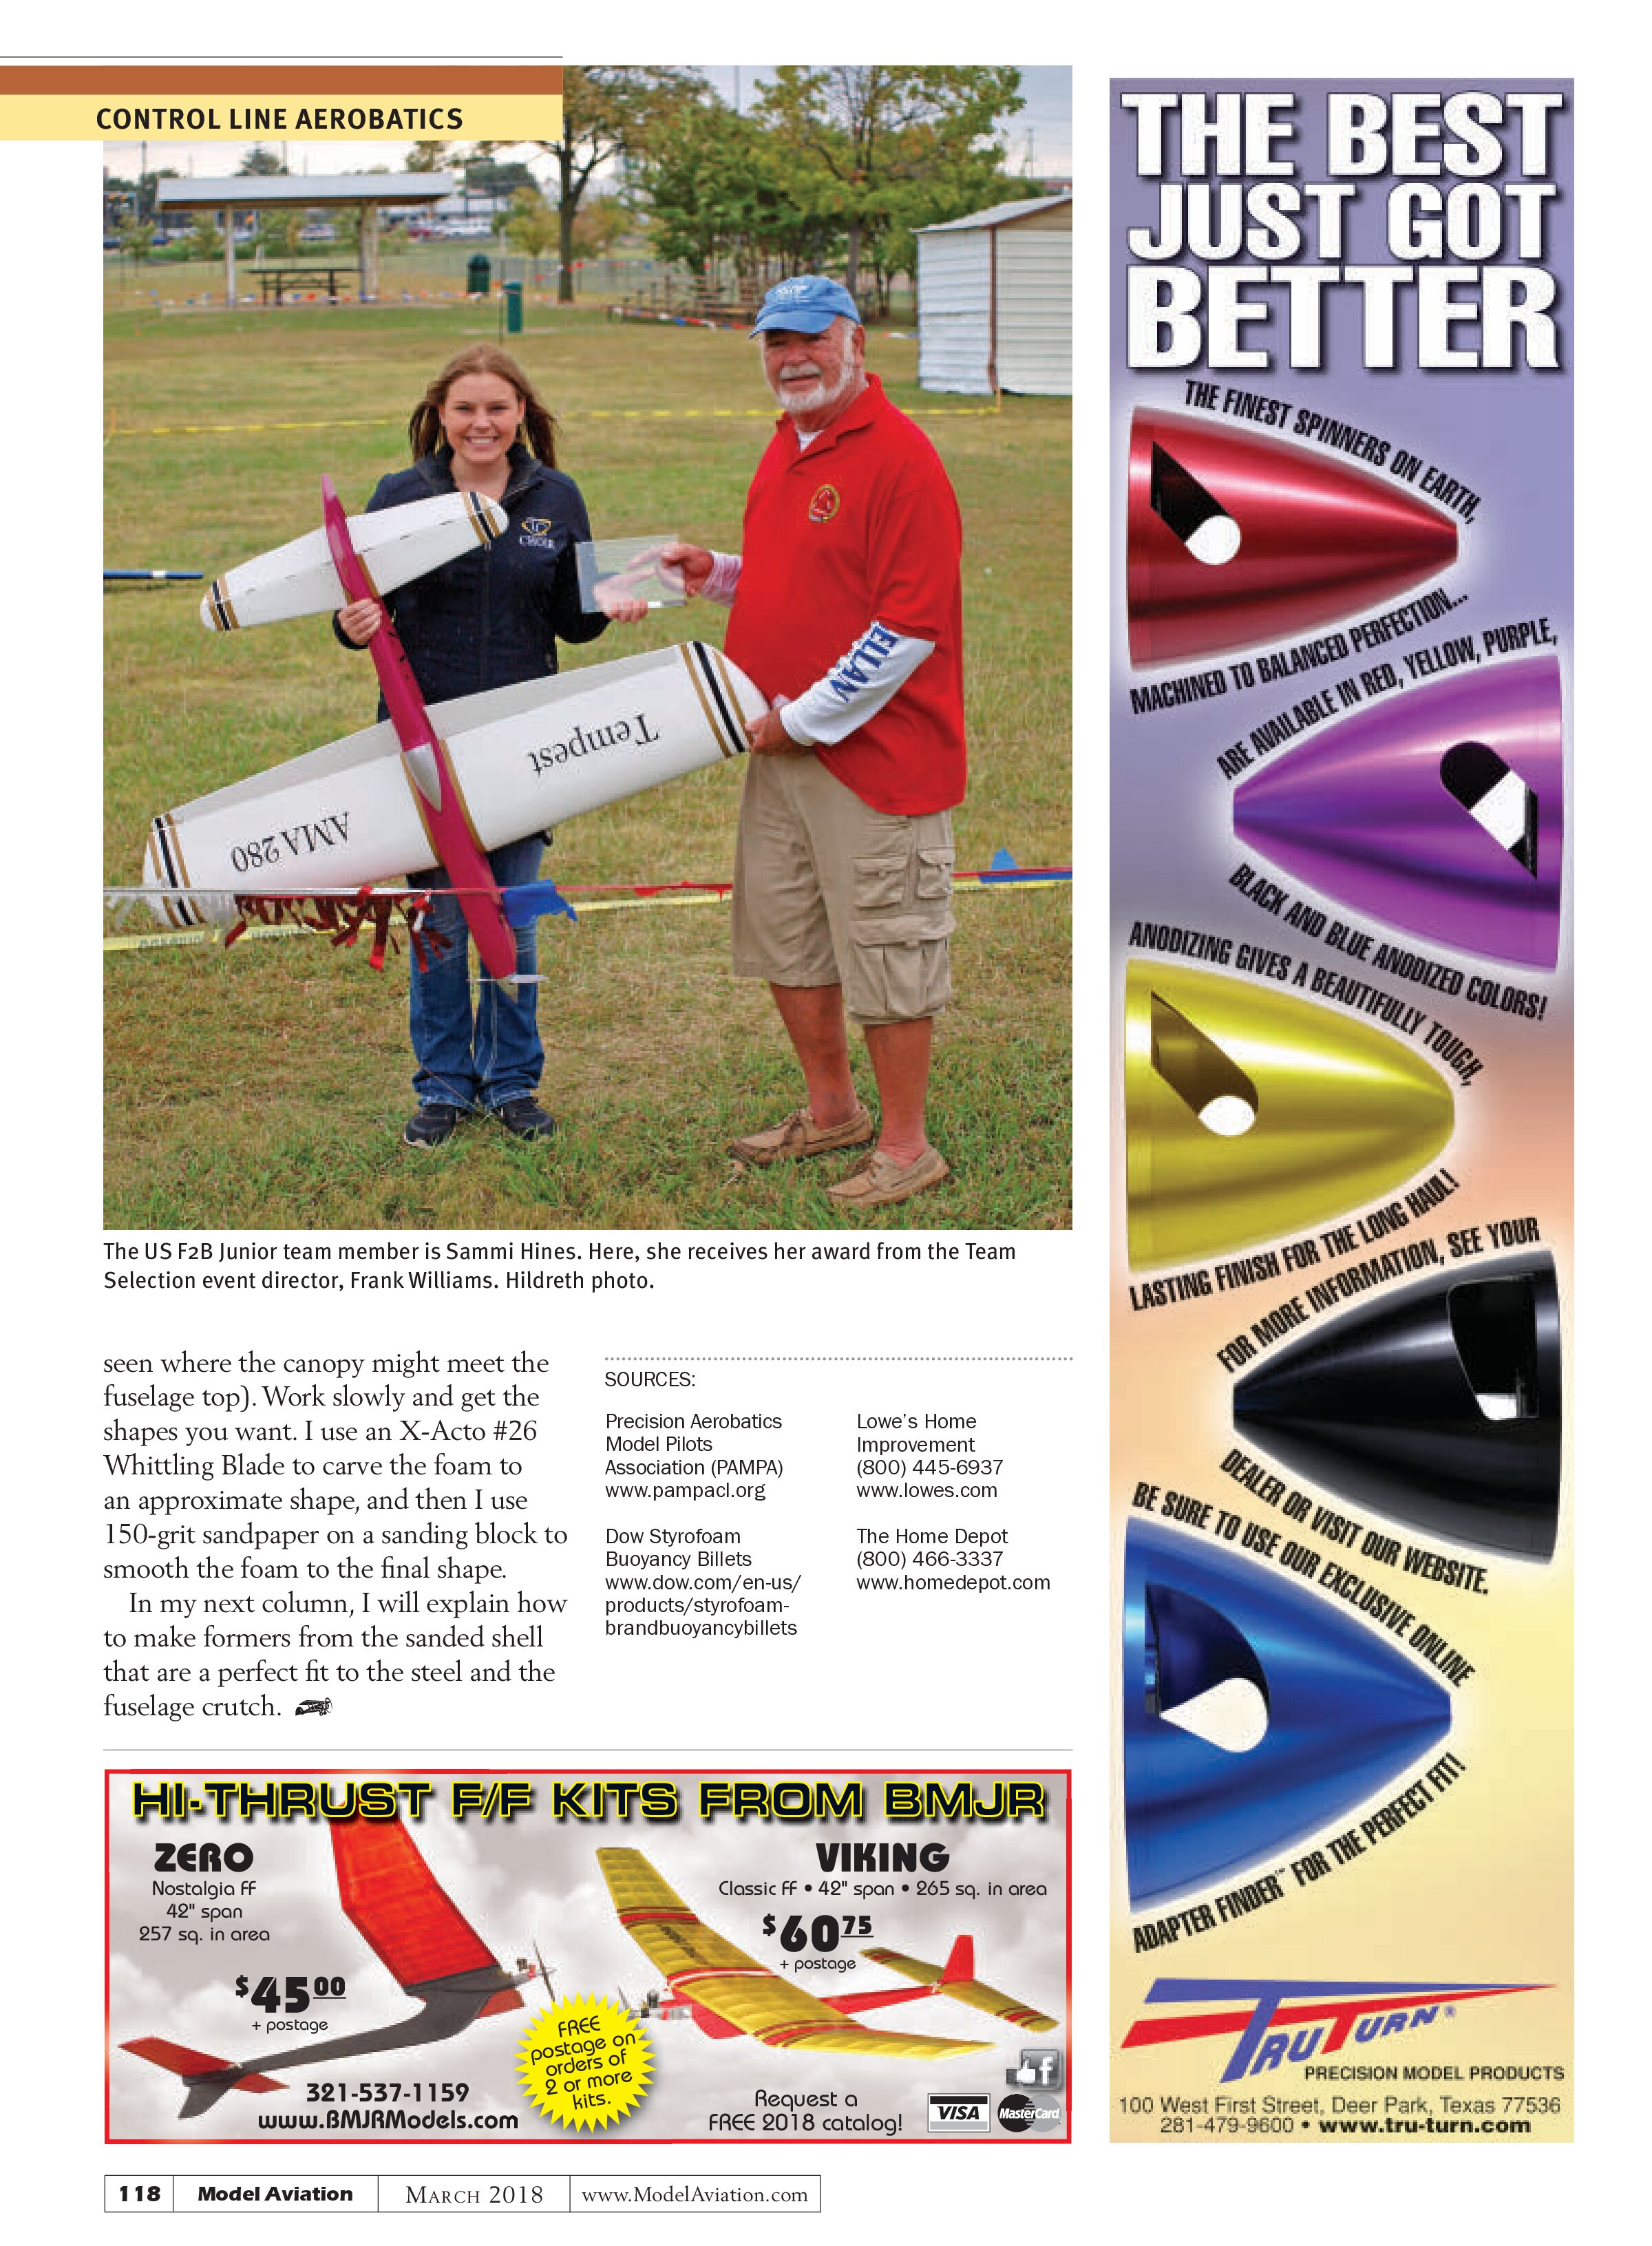
Drum roll, please … The team that will represent the US in Europe consists of Chris Rud (first place), Rich Oliver (second place), and Joe Gilbert (third place). The team alternate is Kenny Stevens. The Junior team member is Samantha “Sammi” Hines.
Noteworthy is the fact that three of these four people will be first-time competitors at the World Championships! Chris Rud competed at the 2006 World Championships as the US Junior F2B member. Chris and the “rookies” will be joined by Orestes Hernandez, our defending World Champion.
The aforementioned “drama” at the contest was provided by Mother Nature in the form of wind that was slightly below the FAI limits. On finals day, the wind was so severe that many of the contestants chose to either not fly or abort the patterns when their aircraft were airborne.
Joe Gilbert brilliantly chose to not fly his normal “big” Aerobatics (Stunt) model in the second round of the finals, opting instead to fly an upsized, flap-equipped Ringmaster variant! This aircraft handled the wind well and helped Joe capture a team spot! Smart move of the year in Stunt, I’d say.
I’m sure you will all join me in wishing our team well in France. It will certainly be a US team with a new look!

More Molding
In my last column, I offered to send out some PDF manuals that have detailed information about the wet balsa molding I’ve been discussing. I’ve received dozens of requests for them. That offer is still in effect. Email me with your request for the manuals and I’ll send them out promptly.
I’ve covered straight-form molding. That type of molding is typically used to create leading edge shells and/or top and bottom fuselage shells for designs that do not have compound curves. Compound curves are what give our models some definition and, well, class. Straight lines can get boring!
The ability to be able to mold whatever shapes your mind can dream up is certainly a desirable skill. Let’s start by making a mold buck that has the desired compound curves.
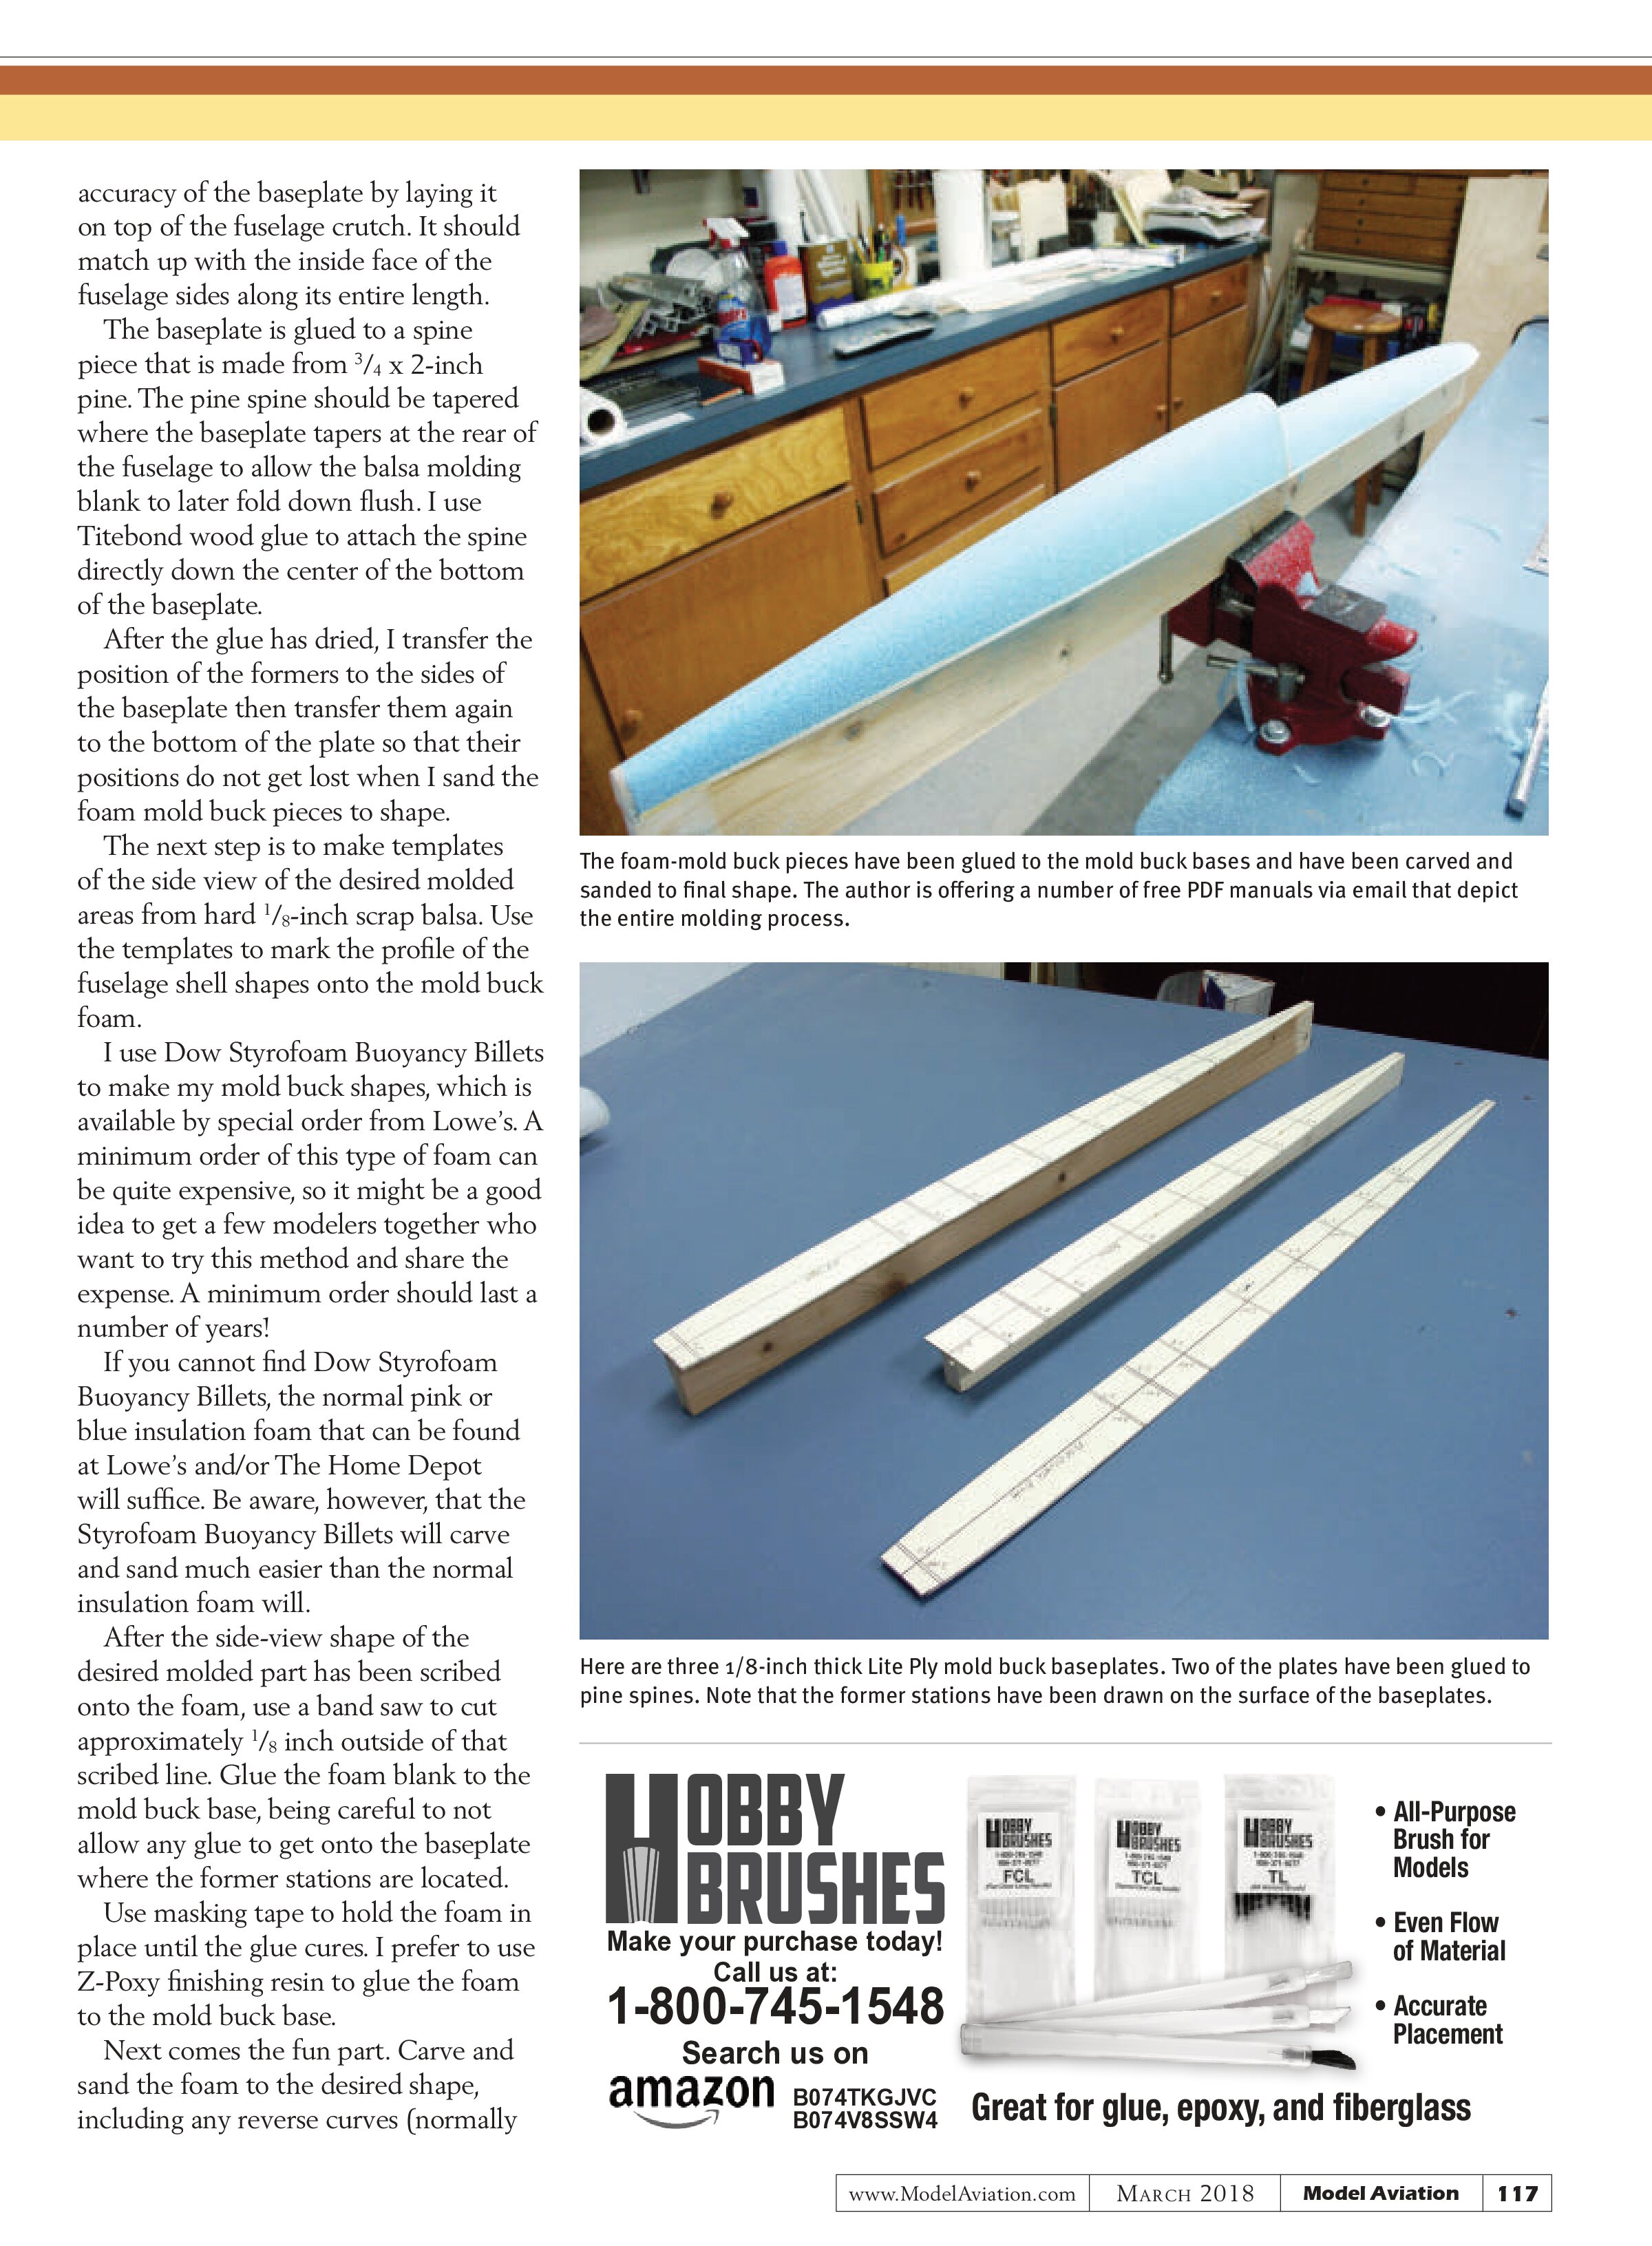
Let’s assume that you have built a normal fuselage crutch with straight sides. You will need to make a mold buck that will yield a molded piece that perfectly fits onto the fuselage crutch and gives you the desired curves. I make my mold buck bases from 1/8-inch thick Lite Ply (poplar plywood), and mount them onto pieces of 3/4 x 2-inch pine.
To get an accurate baseplate shape, I lay the fuselage crutch top face down onto a piece of 1/8-inch thick Lite Ply then carefully trace around the inside perimeter of the sides. I also trace the position of the formers.
Next, I carefully band saw slightly outside of the perimeter lines, and then sand the baseplate smooth. I check the accuracy of the baseplate by laying it on top of the fuselage crutch. It should match up with the inside face of the fuselage sides along its entire length.

The baseplate is glued to a spine piece that is made from 3/4 x 2-inch pine. The pine spine should be tapered where the baseplate tapers at the rear of the fuselage to allow the balsa molding blank to later fold down flush. I use Titebond wood glue to attach the spine directly down the center of the bottom of the baseplate.
After the glue has dried, I transfer the position of the formers to the sides of the baseplate then transfer them again to the bottom of the plate so that their positions do not get lost when I sand the foam mold buck pieces to shape.
The next step is to make templates of the side view of the desired molded areas from hard 1/8-inch scrap balsa. Use the templates to mark the profile of the fuselage shell shapes onto the mold buck foam.
I use Dow Styrofoam Buoyancy Billets to make my mold buck shapes, which is available by special order from Lowe’s. A minimum order of this type of foam can be quite expensive, so it might be a good idea to get a few modelers together who want to try this method and share the expense. A minimum order should last a number of years!
If you cannot find Dow Styrofoam Buoyancy Billets, the normal pink or blue insulation foam that can be found at Lowe’s and/or The Home Depot will suffice. Be aware, however, that the Styrofoam Buoyancy Billets will carve and sand much easier than the normal insulation foam will.
After the side-view shape of the desired molded part has been scribed onto the foam, use a band saw to cut approximately 1/8 inch outside of that scribed line. Glue the foam blank to the mold buck base, being careful to not allow any glue to get onto the baseplate where the former stations are located.
Use masking tape to hold the foam in place until the glue cures. I prefer to use Z-Poxy finishing resin to glue the foam to the mold buck base.
Next comes the fun part. Carve and sand the foam to the desired shape, including any reverse curves (normally


seen where the canopy might meet the fuselage top). Work slowly and get the shapes you want. I use an X-Acto #26 Whittling Blade to carve the foam to an approximate shape, and then I use 150-grit sandpaper on a sanding block to smooth the foam to the final shape.
In my next column, I will explain how to make formers from the sanded shell that are a perfect fit to the steel and the fuselage crutch.
SOURCES:
Precision Aerobatics Model Pilots Association (PAMPA)
www.pampacl.org
Dow Styrofoam Buoyancy Billets
www.dow.com/en-us/products/styrofoam-brandbuoyancybillets
Lowe’s Home Improvement
(800) 445-6937
www.lowes.com
The Home Depot
(800) 466-3337
www.homedepot.com