Listening to your aircraft
by John Glezellis
jglezellis@gmail.com
As I write this column, snow flurries are in the forecast, marking the start of the building season for those of us who live in the northern part of the US. This time of year is perfect for working on new or previously flown contest models.
Although any lull is great for looking over an airframe, periodic maintenance is mandatory throughout the flying season. When done properly, it will allow an aircraft to withstand many years on the International Miniature Aerobatic Club (IMAC) competition circuit!
This month I begin my discussion with learning how you can listen to your aircraft to address certain areas that might require attention. Then I will transition to a few key items to examine within the airframe.
Without further delay, let’s get down to business!
Subtle Signs?
Throughout the years, I have witnessed many pilots fly airplanes that they have flown for quite some time. As soon as any odd flight behavior is shown,
they land and begin to make changes to the computer radio system. Instead, the pilot should stop and ask, “If my aircraft was trimmed and performing in a normal fashion for the past few flights, what might have changed?”
Sometimes these small changes are,
in fact, signs that an engine has become loose because of a broken engine bolt, or a servo linkage has developed excessive amounts of undesired movement. It is always important to “listen” to subtle signs that an airframe might exhibit before making any unnecessary changes.
Maintenance Basics!
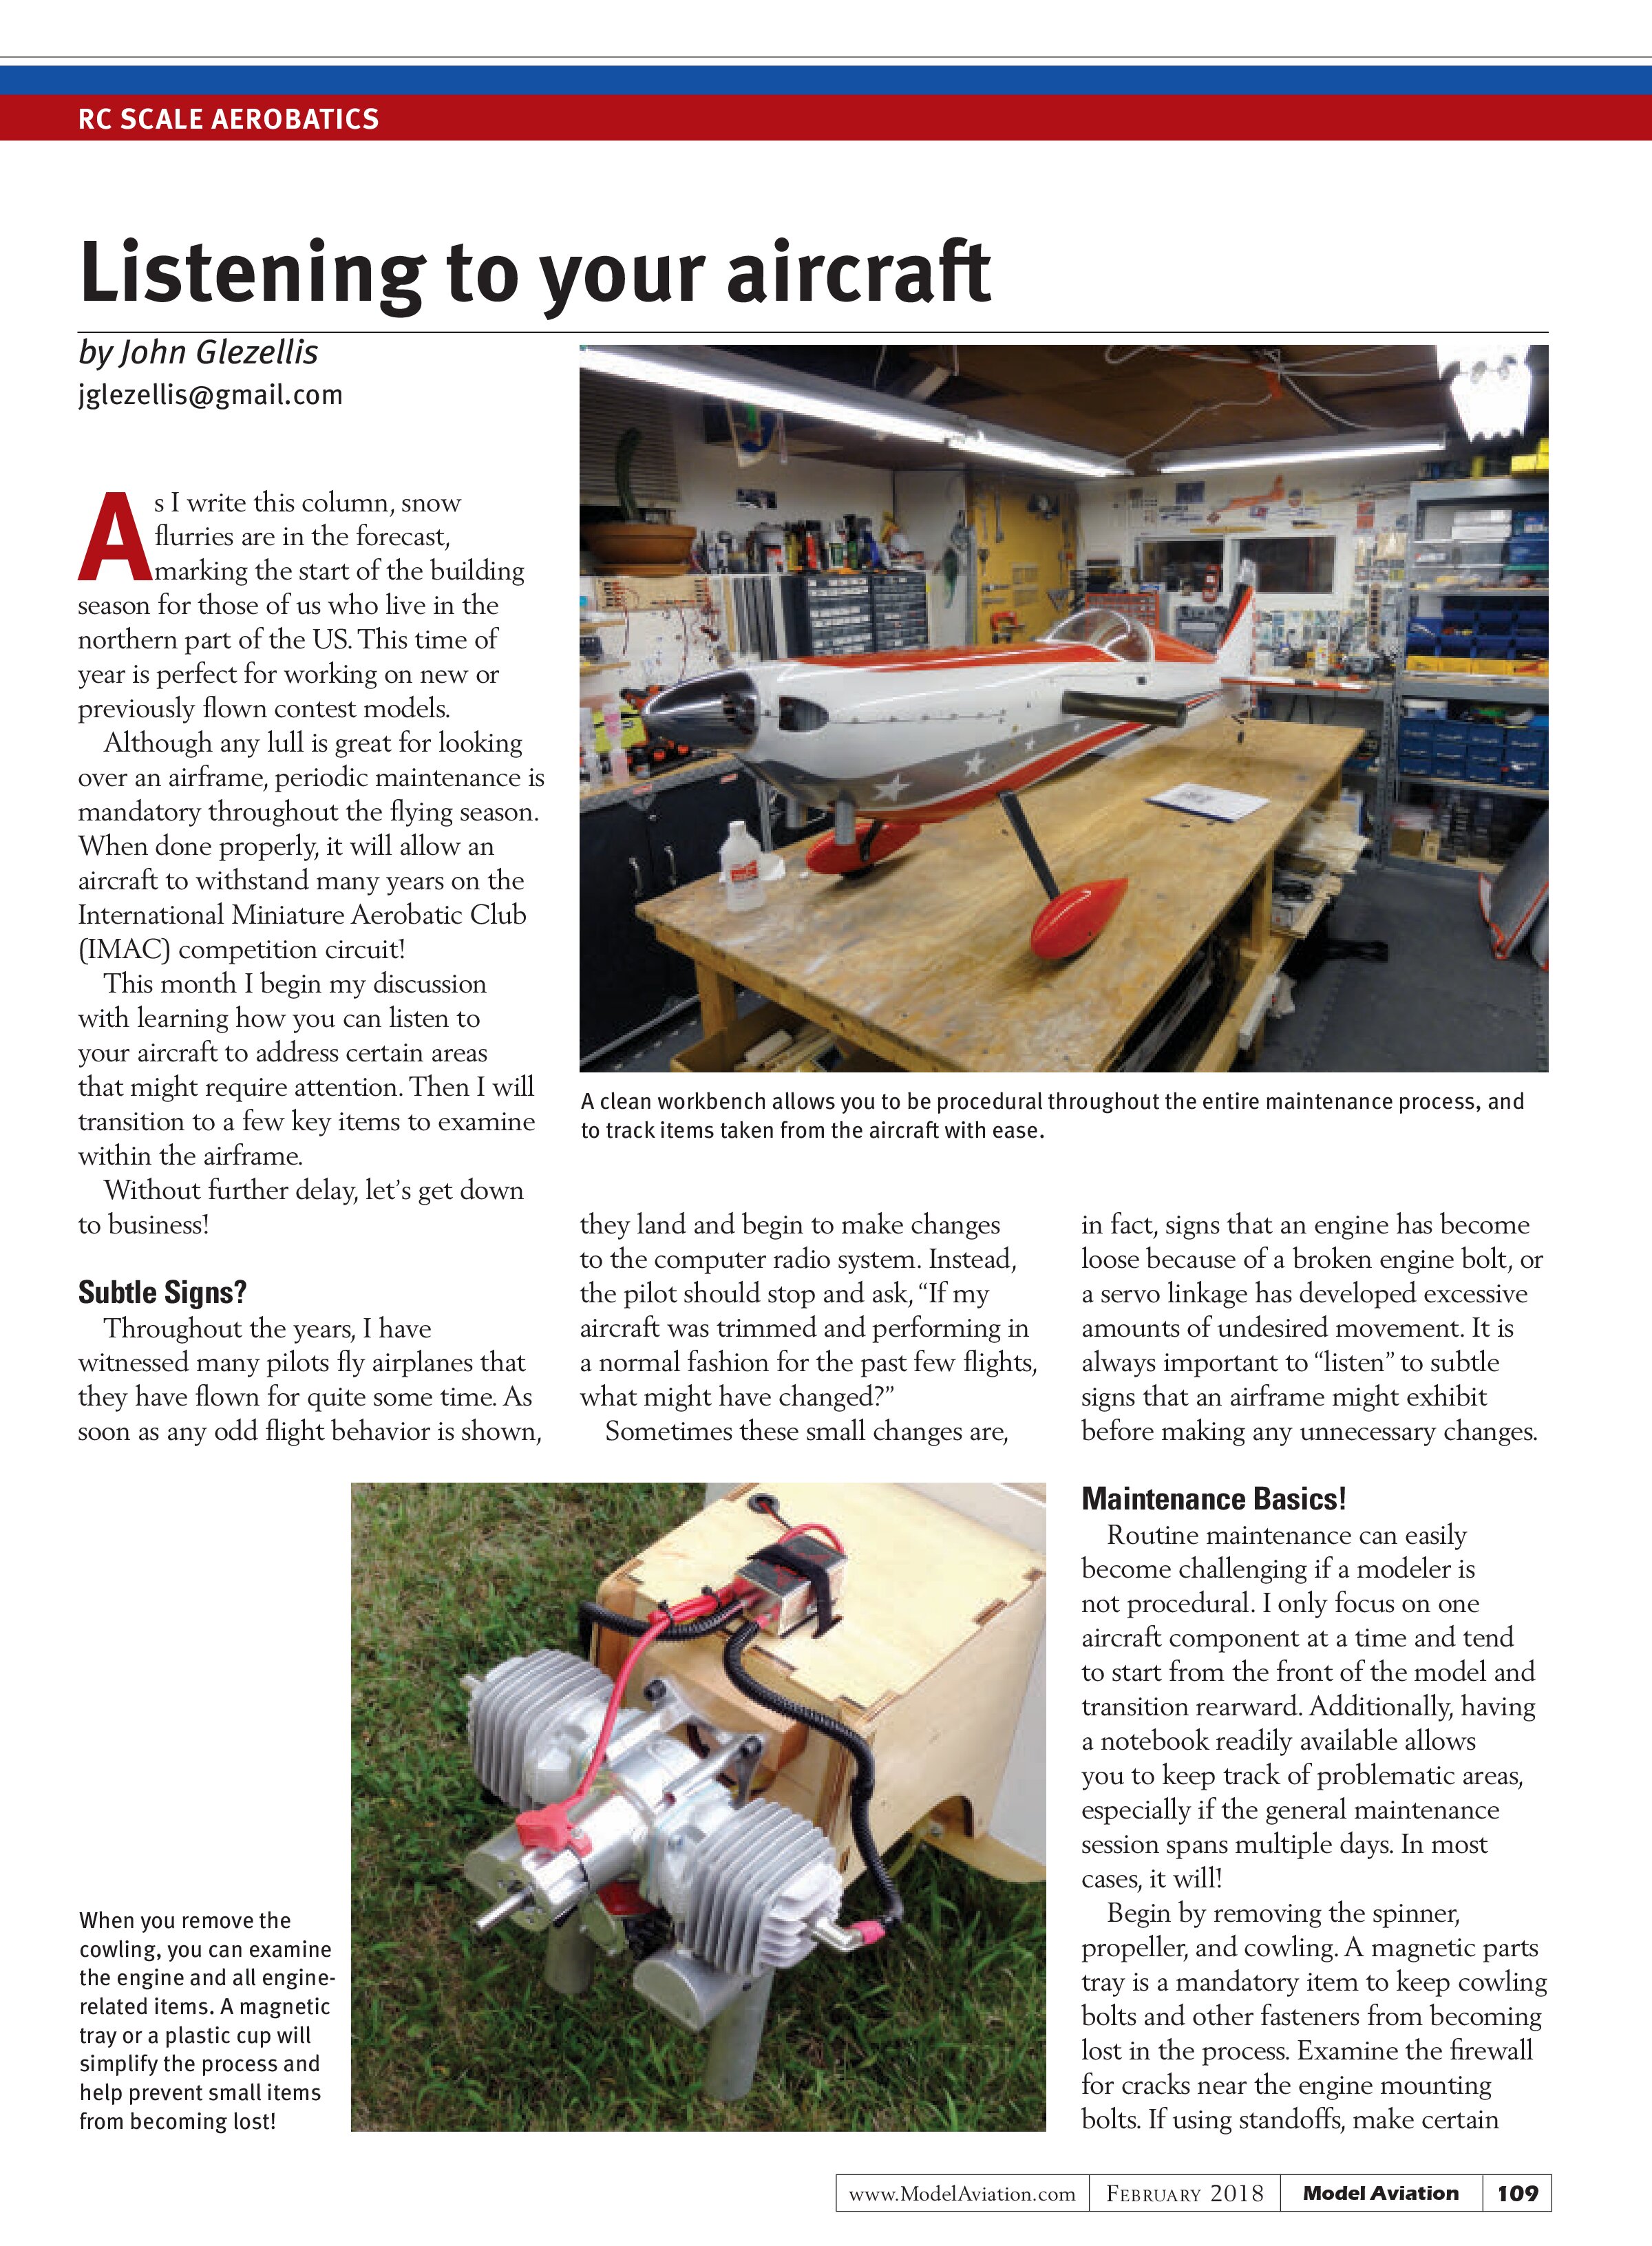
Routine maintenance can easily become challenging if a modeler is not procedural. I only focus on one aircraft component at a time and tend to start from the front of the model and transition rearward. Additionally, having a notebook readily available allows you to keep track of problematic areas, especially if the general maintenance session spans multiple days. In most cases, it will!
Begin by removing the spinner, propeller, and cowling. A magnetic parts tray is a mandatory item to keep cowling bolts and other fasteners from becoming lost in the process. Examine the firewall for cracks near the engine mounting bolts. If using standoffs, make certain


that the engine mounting area is free of cracks.
One interesting item to ponder is that thrust adjustments should be made by angling the firewall or by installing an engine mount that has a certain amount of offset incorporated within the design, such as those available from SWB Manufacturing. These mounts are available for a variety of engines and have 0°, as well as 2.5°, of thrust built into the mount. If shims, washers, or spacers behind the supplied standoff mounts are used, uneven shim heights will cause stress and possibly damage the engine case. Depending upon the engine used, this might or might not apply to you.
Spark plugs should be relatively clean. The color of the spark plug’s interior will indicate whether the fuel mixture is correct. A dark plug typically means that the fuel mixture is set rich, and an ash or white appearance indicates that the engine is running lean. Tan indicates that the engine is properly set.

If your engine does not start, one common item to check for is spark. If there is no spark, there is typically a problem with either the ignition module, ignition battery, or the ignition switch.
Some ignition modules feature rubber grommets and eyelets that need to be secured in a similar fashion as a servo. Others are held in place by simply using foam rubber and a hook-and-loop strap. Regardless of the mounting method, make certain that all components are secured, and use blue threadlocker on all engine mounting screws. Then transition to the throttle servo linkage and installation.
Finally, look at all of the fuel lines within the aircraft and inside of the fuel tank. Cable ties, Sullivan Products fuel line clamps, or Du-Bro fuel line clips should be used at all connection points. The clunk should move freely within the fuel tank, which could harden with time. If any fuel line appears to have hardened or become brittle, replace it!
I have seen some modelers use excessive lengths of fuel line within their aircraft. Try to limit the amount of fuel line and secure all lines within the model to prevent contact with hot parts of the engine and/or the exhaust system.
You should inspect the airframe and all visible glue joints. If you find an area where a former has become loose, apply either CA glue or epoxy, depending on the application. Epoxy is great for high-stress areas, as well as vibration areas such as firewalls and landing gear blocks.
After the structure of the aircraft has been inspected, you should look at all servos, servo mounts, linkages, and hinges found on the airplane. With time, items can loosen or shift. Threadlocker should be used on all servo screws for metal-gear servos. If you are not using metal-gear servos, apply a touch of canopy glue over the edge of the servo screw and the servo arm as an added safety measure. I have yet to see a servo arm screw loosen on a plastic-geared servo.
If at any point during the maintenance process an item’s functionality appears to be questionable, replace it! If the centering of a servo is inaccurate, for example, examine the linkage for any possible binding. If the control surface can move freely, replace the servo.
Secure the flight batteries by using a hook-and-loop strap that features an adhesive backing. Charge all flight batteries to check the voltage levels. When verified, put the batteries in a storage charge until the next flying session.
Talking Spares!
While I am building an aircraft or performing a few of the maintenance items discussed in this column, I have found it beneficial to keep spare items in a tool kit that I bring with me each time I fly. I tend to use common items between different airplanes to simplify the spare items required. Examples include miscellaneous bolts, washers, lock nuts, carburetor rebuild kits, servo arms, servos, cable ties, a foot or so of fuel line, propeller bolts, and an assortment of adhesives.
Closing Thoughts
The topics discussed this month should apply to all pilots—not only those involved in IMAC competition.
Although there is some risk with every flight, a pilot must perform necessary routine maintenance. That same pilot can then focus on the proper setup of his or her aircraft to cater it to his or her preferences, and ultimately execute a flawless competition routine. A lot of hard work and dedication are required, but remember that any flying day is better than a day at work!
Until next time, fly hard!
SOURCES:
Du-Bro
(800) 848-9411
www.dubro.com
IMAC
www.mini-iac.com
Sullivan Products
(410) 732-3500
www.sullivanproducts.com
SWB Manufacturing, Inc.
(262) 675-2848
www.swbmfg.com