Gyros for rates
by Jim Hiller
jetmodeler@earthlink.net

We use gyros in our models to a greater degree now more than ever—some to improve poor flight characteristics of a design and others to smooth out flying on windy, turbulent days.
How do we properly set up a gyro in our airplanes to have the greatest advantage? This topic is not well understood, but it is at the heart of the advantages that a gyro can offer. In most cases, remember that you are using the gyro installations as rate gyros.
First, let me dispel some myths. A rate gyro does not fly your airplane for you and it does not replace a poor rudder mix setup in knife-edge flight. You still have to use your mixes and it does not replace flying skills.
A rate gyro is only there to try to keep the airplane from leaving a straight line. If the wing is not level, it will attempt to keep the wing at that bank angle until the pilot uses the ailerons to bring the wing back to level flight. If the airplane is pointed up, it will try to hold that straight line, climbing until the pilot makes the correction.
A gyro will only hold a straight line if an airplane is properly trimmed to fly a perfect straight line. If you trim a slight down-elevator dive, it will try to maintain that slight dive until the pilot moves the controls. The typical gyro is programmed to reduce the gain rate as the control stick is moved away from center, so think of a gyro as an aid for level—not aerobatic—flight.
With that stated, I assume that you have properly installed and followed the manufacturer’s directions for the gyro you chose. Typical mistakes I’ve seen when pilots are new to using gyros include getting the control directions reversed when the gyro is inputting its corrections. This is hard to visualize because you must rotate the model around the axis to see the control movement. As soon as you stop the movement, the control surface returns to center. You only have a moment to see the correction when setting up the gyro installation.
Another way to cause problems with the installation is by failing to program the gyro endpoints based on the actual control values you use for flying. If your setup for flying the airplane only uses 30% of travel volume, make sure you calibrate your gyro with the same 30% of travel volume. Failure to do this can create some funky control responses while in the air.
Proper calibration is important. It will affect how the airplane responds to the controls. It’s especially important when going from gyro off to gyro on. Calibrate carefully and correctly.
The only real adjustment you need to make and understand is the gain rate. This is what you also use to turn the gyro on and off from the transmitter.
The gain rate is the amount that the gyro will move the control surface based on the change in the rate that an axis is rotating. An example is during a roll. Should level flight be disrupted, the gyro senses that it has started to rotate and will apply aileron control to stop the rotation. Setting this gain rate is the key to optimal gyro performance.
Gain rate adjustment is an issue that often is not fully understood. To be honest, it’s one I am continuing to learn about for more effective methods to properly set it up. The number one thing you don’t want is too high of a gain rate. It will set up an oscillation that is similar to flutter and one that can be destructive to the entire airframe.
I have seen pitch-induced oscillation from high gyro gain knock nose gear doors off and crack fuselages. The lower frequency allows the wing to load up and incur some high-G loads on the airframe. Oscillating between positive and negative is hard on airframes.
Now that I have scared you, let’s discuss how not to do that. It’s best to sneak up on the gain rate carefully. The quickest way to set up a gyro is to temporarily assign the gyro rate to
a rotary knob and turn it all the way down, effectively turning off the gyro then flying the airplane. The simple method for gyro gain while in the air is to slowly increase the gain until the airplane starts to oscillate, be it in yaw, pitch, or roll, then back off the gain from there.
This has to be done at a high speed because control response is quicker at higher speeds—hence the gain must be lower for high-speed flight. This setting at high speed is important because when the gyro gain is near the limit at cruise speed, you can experience gyro oscillation as you come diving in for a low-burner pass. It’s an ugly moment.
I watched Ali Machinchy, from Horizon Hobby, set up his gyro gain on an airplane in a different way a few years ago, and since then I have used this method to set the gain rate on my gyro. It’s much easier on the airframe and it is based on the true handling advantages that the gyro has to offer.
Assign the gyro gain to a rotary knob

then fly the airplane. Take off with the gain turned all the way off. In flight, start increasing the gain rate, testing each axis with a bump of the control. For roll axis, for example, sharply bump the aileron stick, allowing the stick to return to neutral, and observe the aircraft’s response. Does it immediately stop rolling or does it float to a stop?
Increase the gain and you will roll to a stop quicker. With too high of a gain, the aircraft will momentarily roll past center, overcorrecting by a few degrees at most. It takes experience to see this overcorrection, but the more you do it, the better you will be at it.
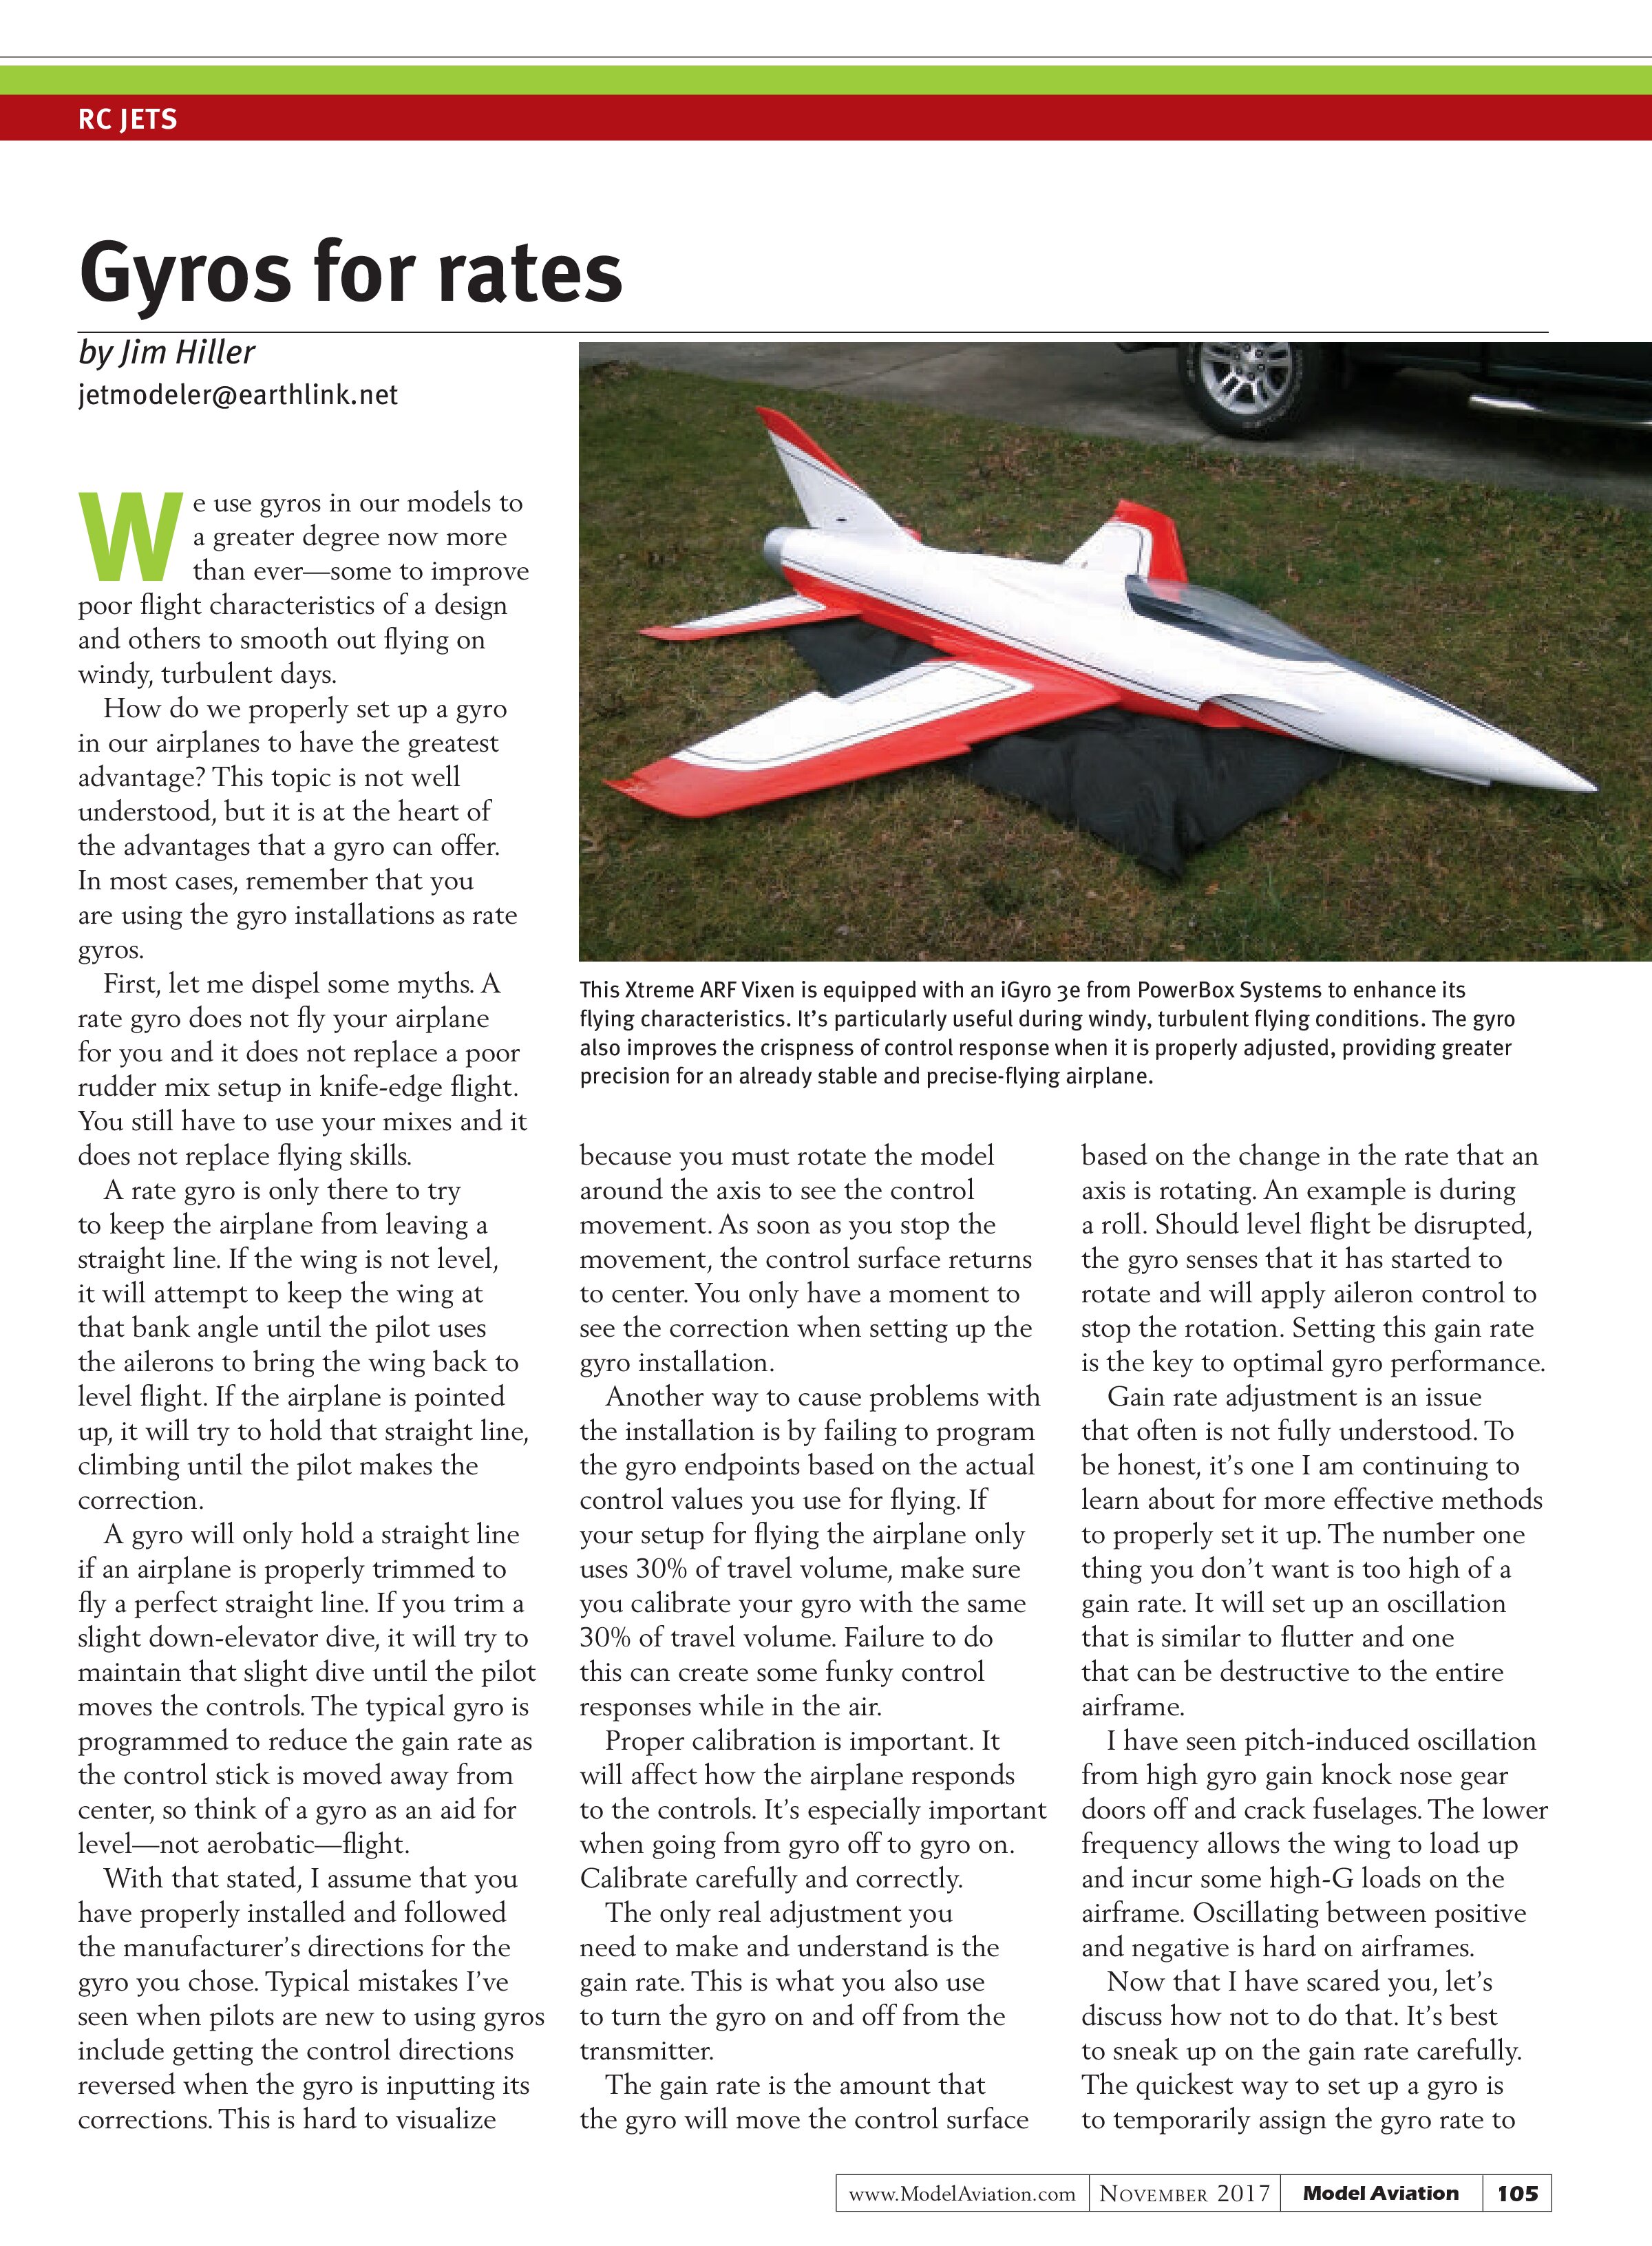
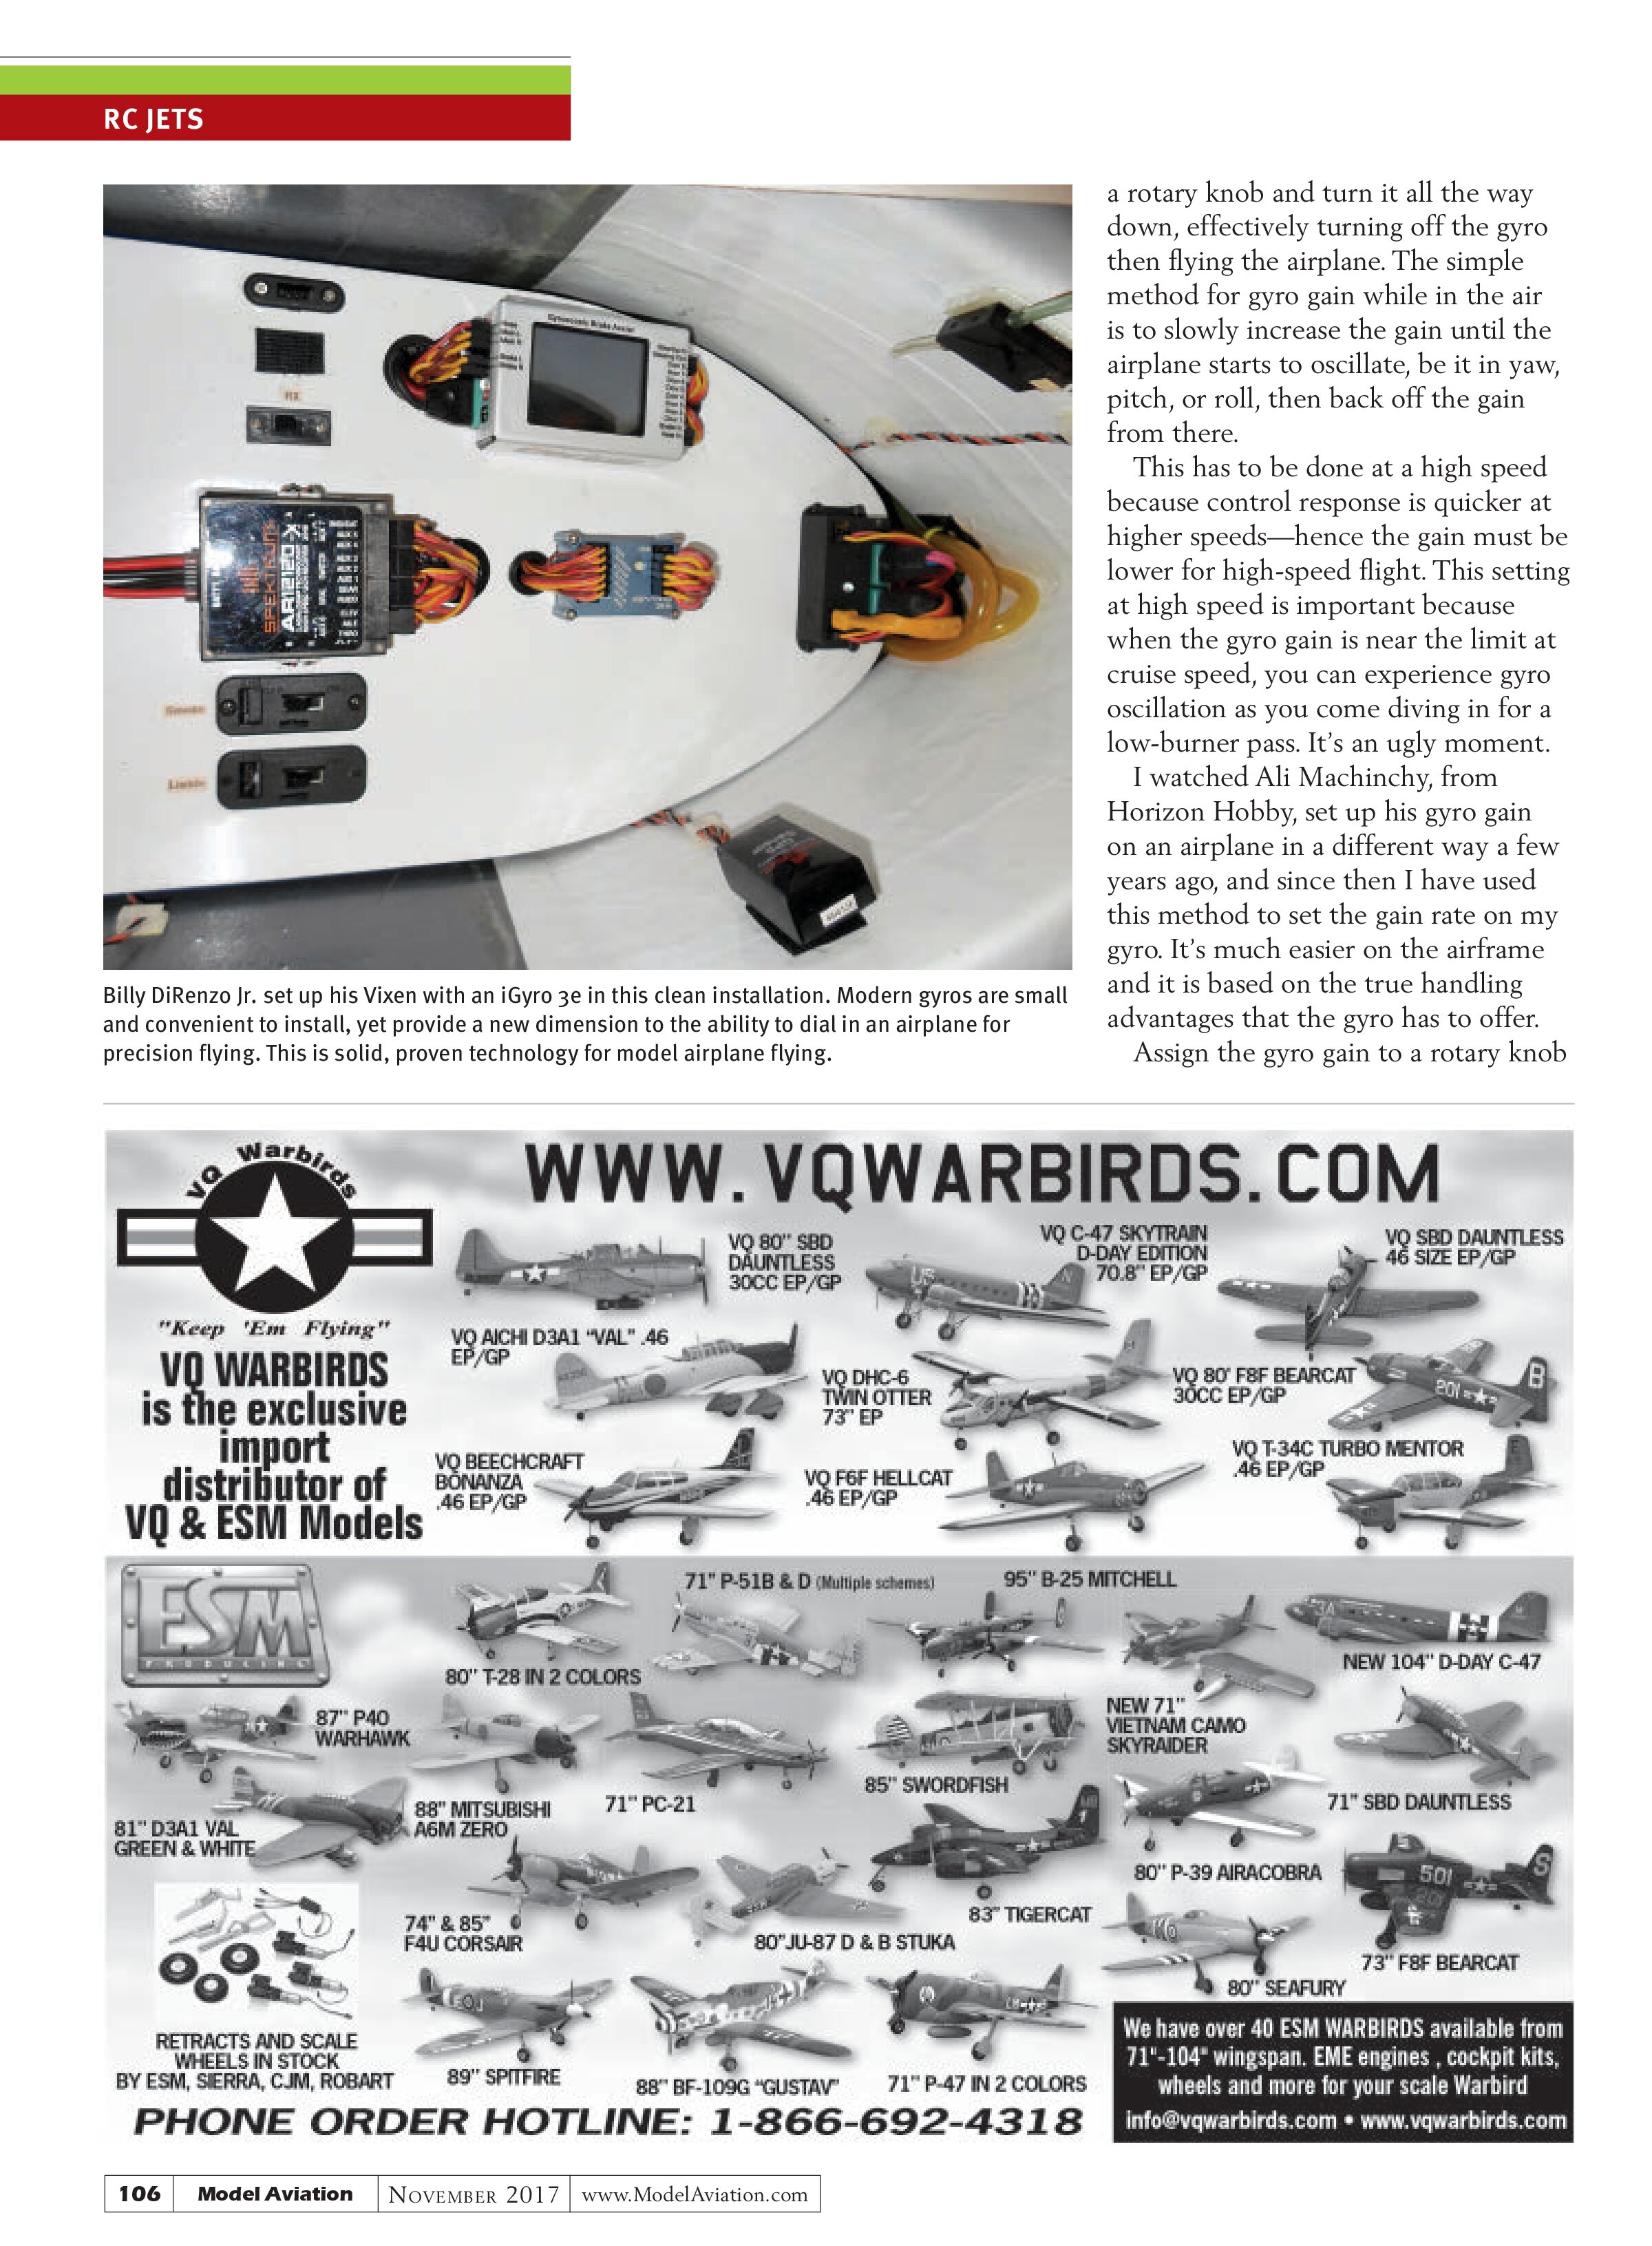
Pilots who have set up many airplanes will be better at this. Those of us who only set up two or three aircraft a year will not be as good at this technique, but this is the handling improvement we are hoping to get from a gyro. Last year, I used this technique to set up my Xtreme ARF Vixen. It worked well. My jet had crisp stops on point rolls. I loved it—that is until a few months later, during the Route 66 Jets event.
It was a windy day with a lot of turbulence, upsetting the Vixen on low passes. The gyro gain was set to high for these conditions and I could see the airplane harshly correcting for the wind gusts. It was not steady and smooth at all. I turned the gyro gain down another 2% and smoothed out the corrections in the gusty air, yet my stops in point rolls were still crisp and clean (part of my learning curve).
Now that you have determined what setting you like on your gyro gain, reassign the gain channel, typically to the top right switch. On my Spektrum DX18 transmitter, this is switch G, a three-position switch. I use zero travel volume in the center position and the gyro gain is set to off. The travel volume is set to the percentage determined from the in-flight knob adjustments, except in special circumstances. Special circumstances could simply be a reduced gain rate or heading hold, or in some cases, SAFE Mode.
I am consistent with this setup. It is a habit when turning on the transmitter to confirm switch positions, and much easier when all of my airplane setups are the same.
That’s my experience with setting up gyros. It is working for me. I know that the more we use gyros, the better we will get at using them to their best advantage. Understanding what they can do to improve our airplanes’ flying characteristics makes flying more precise and enjoyable.
SOURCES:
Jet Pilots Organization (JPO)
www.jetpilots.org
PowerBox Systems
info@powerbox-systems.com
www.powerbox-systems.com