An easier way to make balsa blades
by Louis Joyner
joynerduration@gmail.com
Molded or laminated propeller blades offer alternatives to carving a rubber-powered model propeller from a block or thick plank of balsa. Here are some of the reasons:
- It’s easier to find good balsa in thinner sheets.
- Construction time is reduced.
- Accuracy and repeatability are increased.
- You don’t end up knee-deep in balsa shavings.
You will first have to make a form to the desired diameter, pitch distribution, and undercamber shape, so there will be some shavings—although not necessarily of balsa. For the form shown, I used a block of basswood. Mahogany or hard balsa will also work.
Carving the form requires some effort, but is much less trouble than carving a pair of blades. After you have the form, you can make multiple sets of blades, knowing that the blade angles and undercamber will be identical. With a constant-width form, you can experiment with different outline shapes.
Laying out the form for carving is the most important step because it determines the accuracy of all of the blades that you’ll make. The block shown is used to make F1B Wakefield blades. The technique can be scaled down for smaller models.
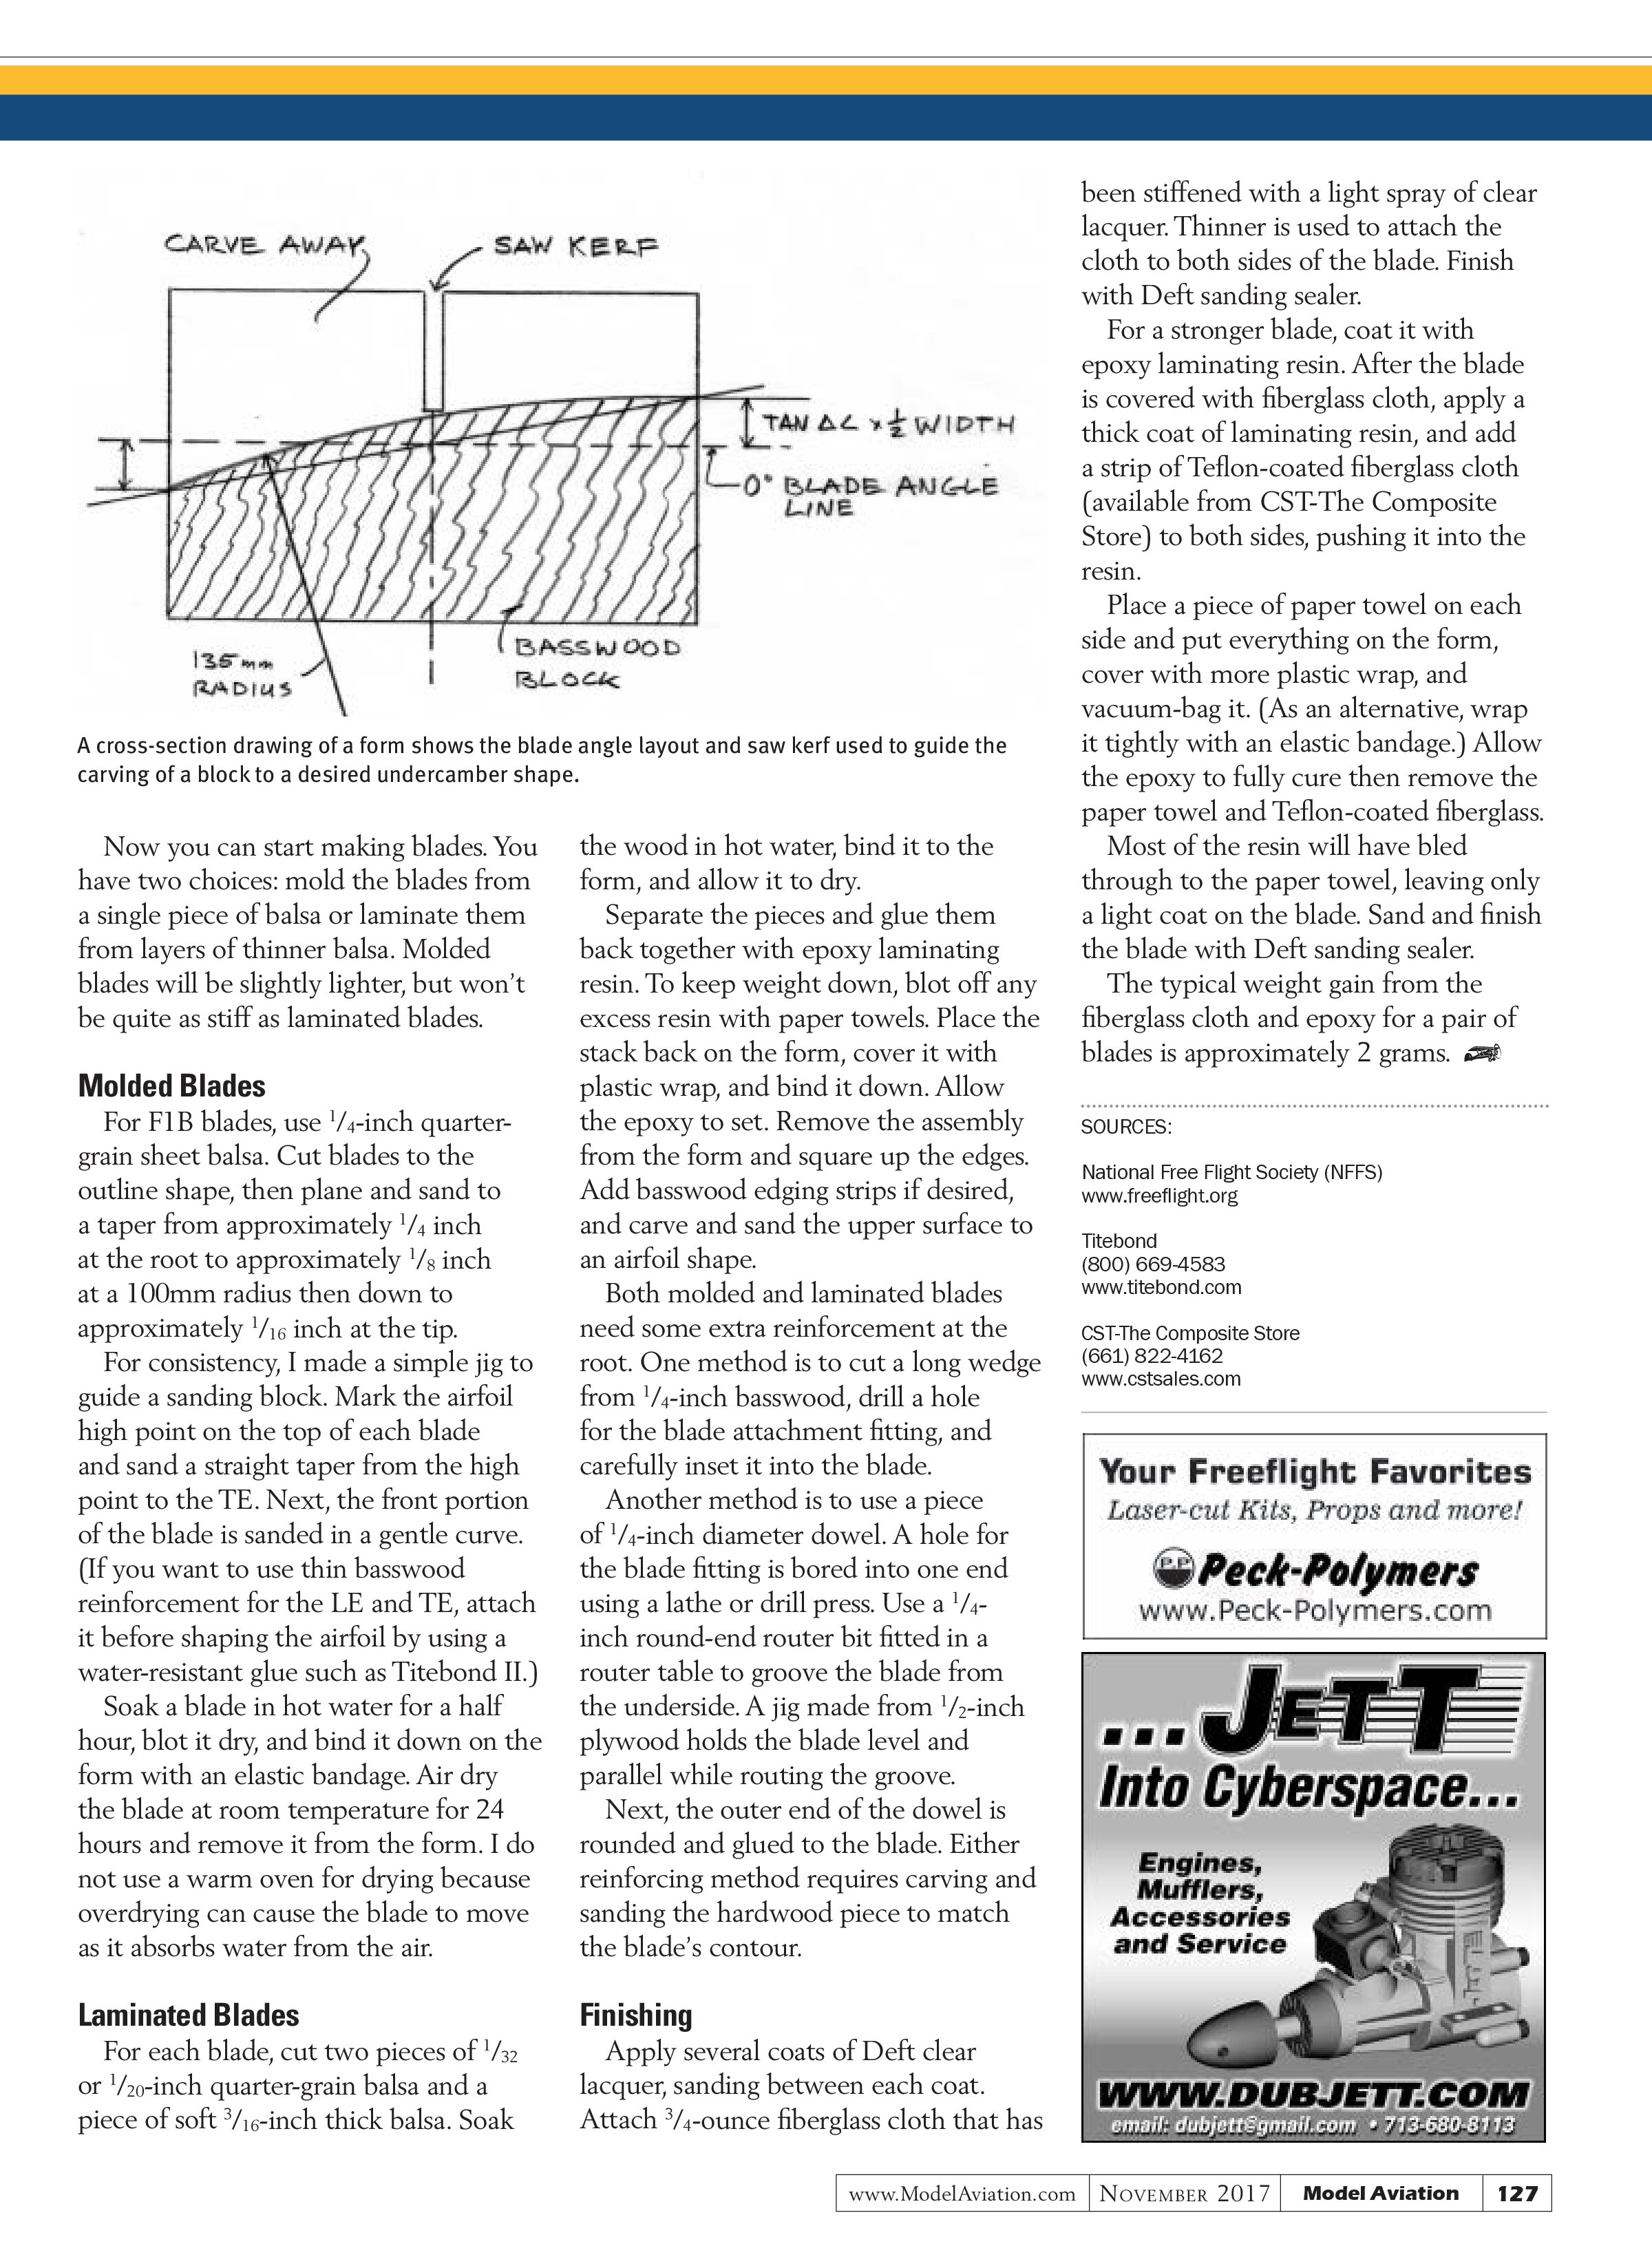
The 15-inch long, 1.5-inch thick block was ripped to exactly 50mm wide to make the layout easier. The front and back sides of the block were marked with vertical lines spaced 25mm apart. The desired blade angle at each of these stations was then carefully calculated. (Actually, I cribbed it from a drawing of an Andriukov blade.) Note that I am referring to the blade angle as it varies along the length of the blade, not the pitch.
For the blade design I was copying, the blade angle at 200mm from the center of the hub was 30°; angles inboard of that were higher and angles outboard were lower. Using those angles would have required a much thicker block. Instead, the blade angles were rotated 30°, so the new “delta” blade angle at the 200mm station became 0°.
When the rotated blade angles have been calculated for each station, you can use a scientific calculator to find the tangent of each angle and multiply that by half the width of the block to find the distances above and below the zero blade angle line for that angle (see the sketch). Set the height of the zero angle line at a whole number of millimeters (I used 20mm) then add that amount to all of your “above” positive numbers and “below” negative numbers for the various stations.
Next, measure up from the bottom of the block at each station and make a mark. Connect the marks on the front (leading edge [LE]) and on the back (trailing edge [TE]) of the block. As a guide in carving the undercamber, make a saw kerf along the centerline of the block with the block upside down on a table saw. Carve and sand the block down to the kerf and the front and back lines. Protect the form with plastic wrap.

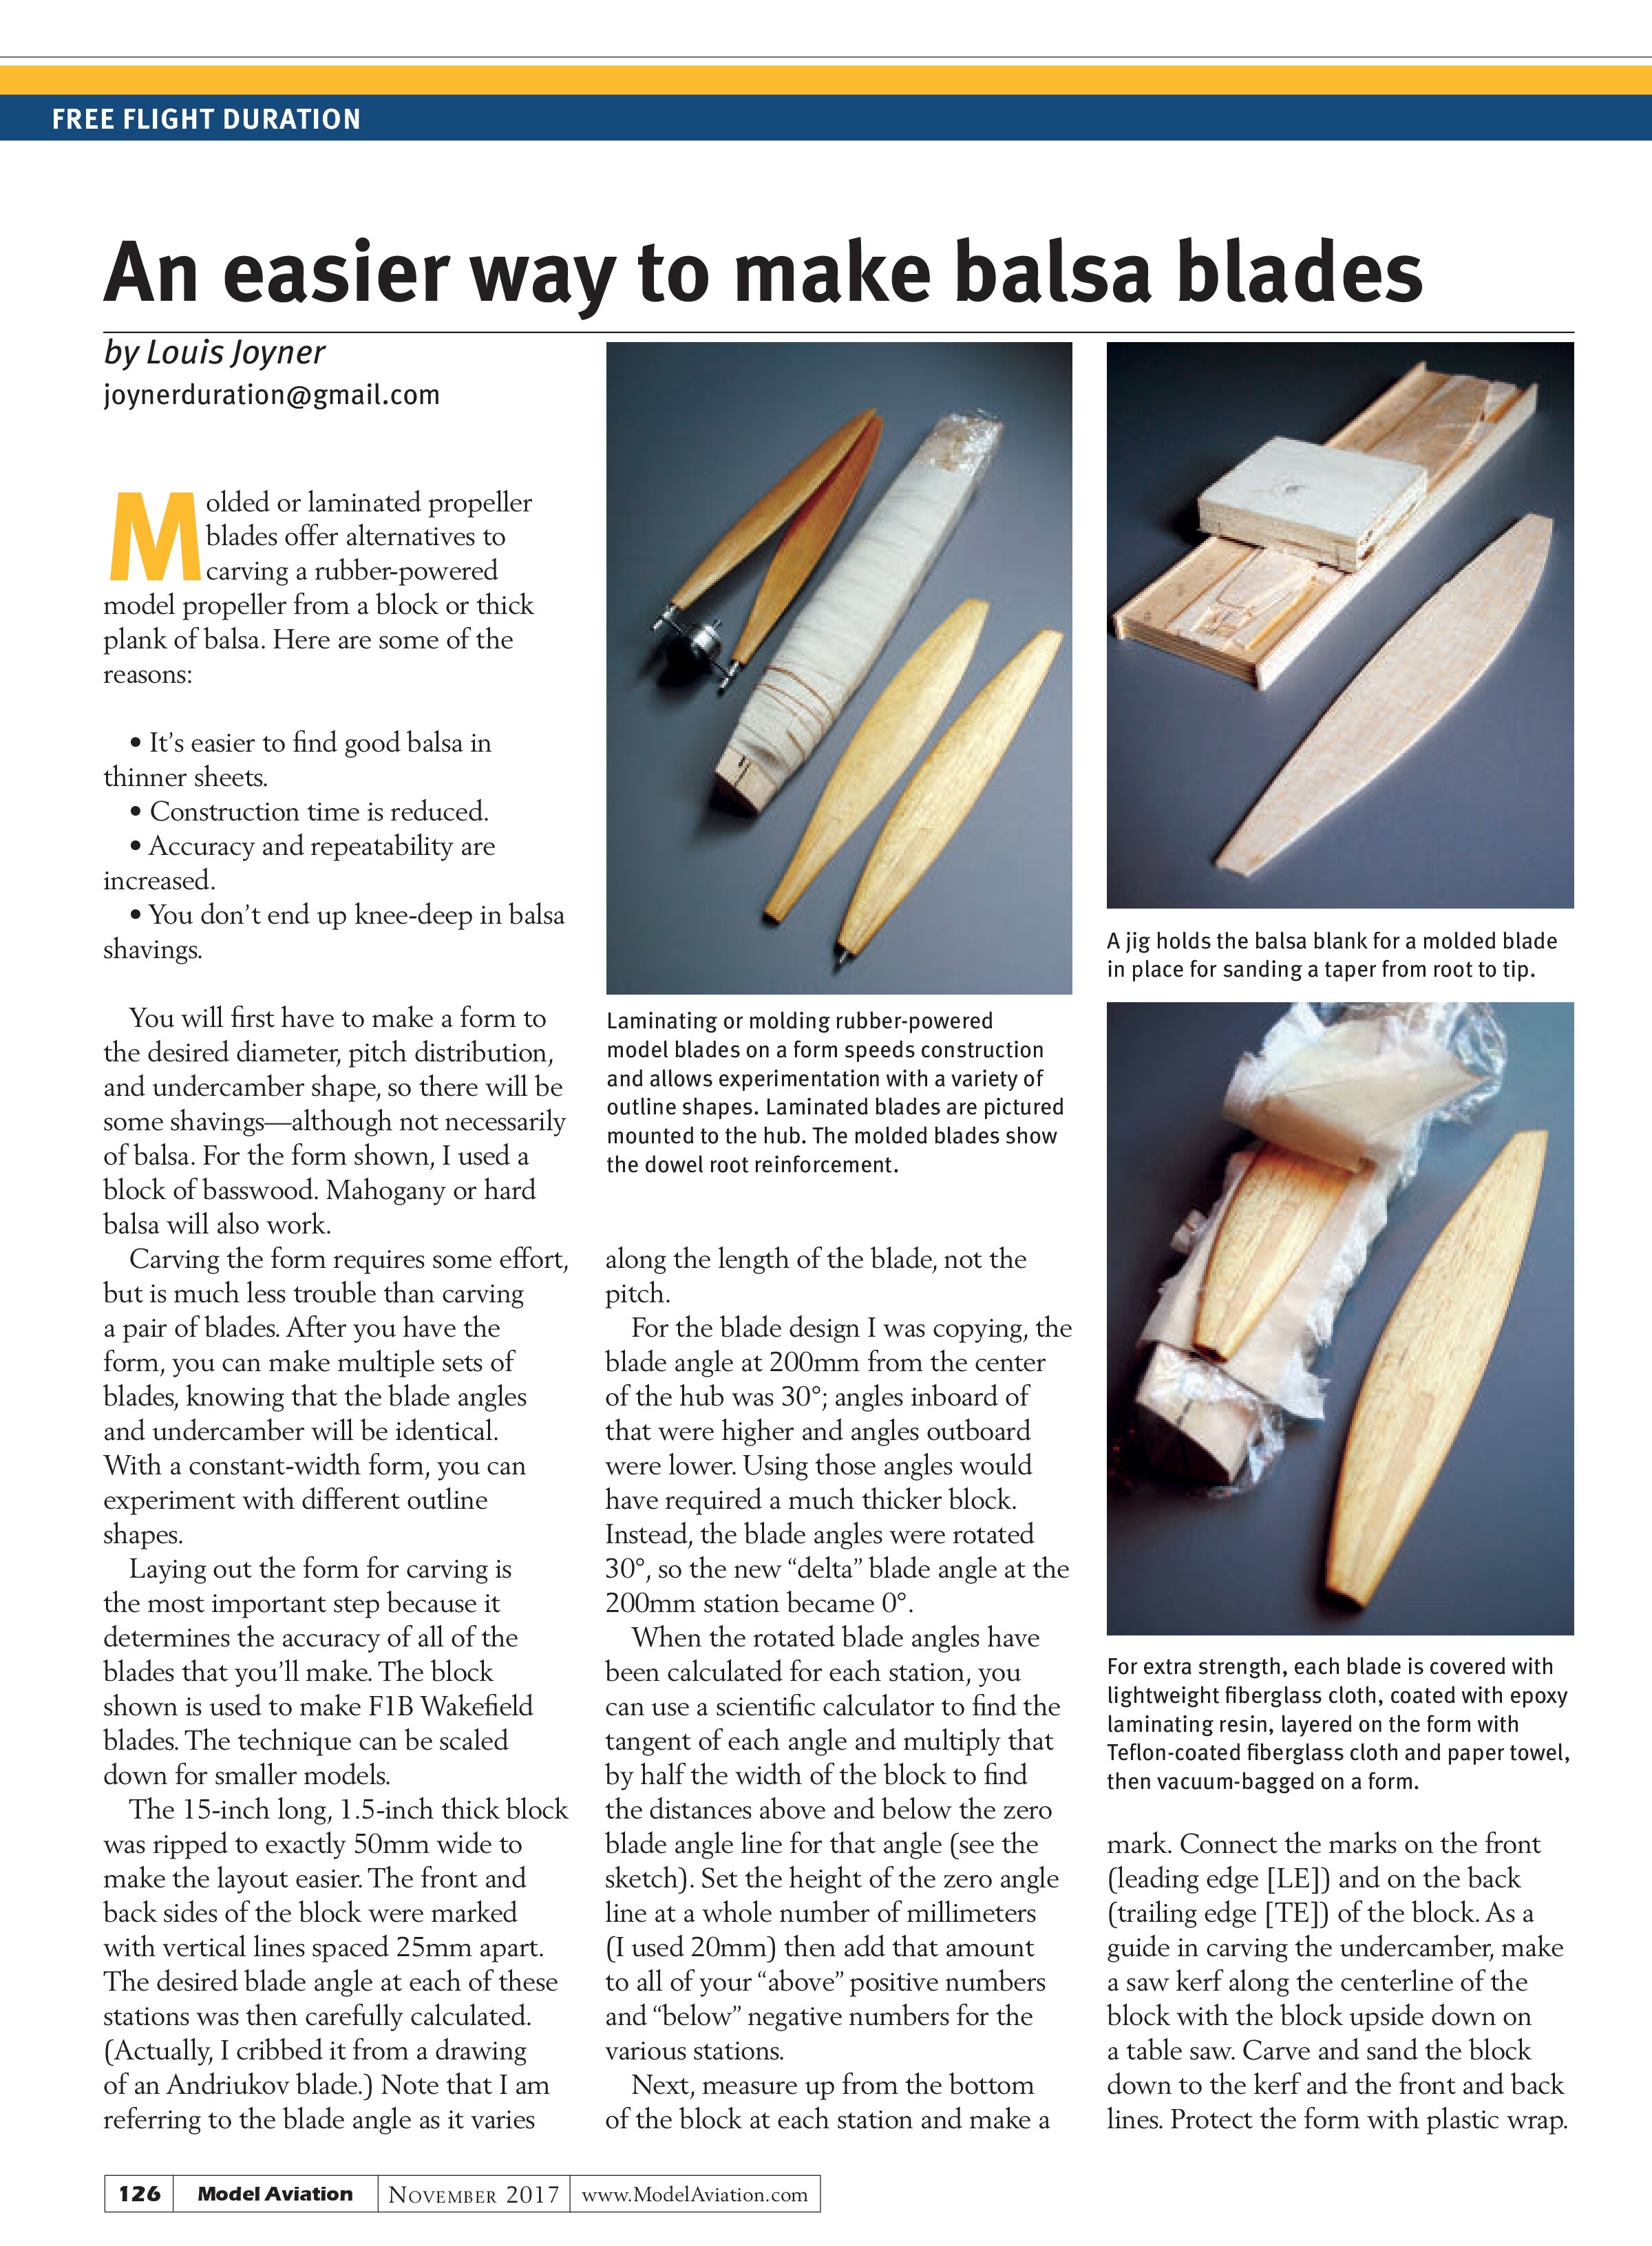
Laminating or molding rubber-powered model blades on a form speeds construction and allows experimentation with a variety of outline shapes. Laminated blades are pictured mounted to the hub. The molded blades show the dowel root reinforcement.

A jig holds the balsa blank for a molded blade in place for sanding a taper from root to tip.

For extra strength, each blade is covered with lightweight fiberglass cloth, coated with epoxy laminating resin, layered on the form with Teflon-coated fiberglass cloth and paper towel, then vacuum-bagged on a form.
A cross-section drawing of a form shows the blade angle layout and saw kerf used to guide the carving of a block to a desired undercamber shape.

Now you can start making blades. You have two choices: mold the blades from a single piece of balsa or laminate them from layers of thinner balsa. Molded blades will be slightly lighter, but won’t be quite as stiff as laminated blades.
Molded Blades
For F1B blades, use ¼-inch quarter-grain sheet balsa. Cut blades to the outline shape, then plane and sand to a taper from approximately ¼ inch at the root to approximately ⅛ inch at a 100mm radius then down to approximately 1/16 inch at the tip.
For consistency, I made a simple jig to guide a sanding block. Mark the airfoil high point on the top of each blade and sand a straight taper from the high point to the TE. Next, the front portion of the blade is sanded in a gentle curve. (If you want to use thin basswood reinforcement for the LE and TE, attach it before shaping the airfoil by using a water-resistant glue such as Titebond II.)
Soak a blade in hot water for a half hour, blot it dry, and bind it down on the form with an elastic bandage. Air dry the blade at room temperature for 24 hours and remove it from the form. I do not use a warm oven for drying because overdrying can cause the blade to move as it absorbs water from the air.
Laminated Blades
For each blade, cut two pieces of 1/32 or 1/20-inch quarter-grain balsa and a piece of soft 3/16-inch thick balsa. Soak the wood in hot water, bind it to the form, and allow it to dry.
Separate the pieces and glue them back together with epoxy laminating resin. To keep weight down, blot off any excess resin with paper towels. Place the stack back on the form, cover it with plastic wrap, and bind it down. Allow the epoxy to set. Remove the assembly from the form and square up the edges. Add basswood edging strips if desired, and carve and sand the upper surface to an airfoil shape.
Both molded and laminated blades need some extra reinforcement at the root. One method is to cut a long wedge from ¼-inch basswood, drill a hole for the blade attachment fitting, and carefully inset it into the blade.
Another method is to use a piece of ¼-inch diameter dowel. A hole for the blade fitting is bored into one end using a lathe or drill press. Use a ¼-inch round-end router bit fitted in a router table to groove the blade from the underside. A jig made from ½-inch plywood holds the blade level and parallel while routing the groove.
Next, the outer end of the dowel is rounded and glued to the blade. Either reinforcing method requires carving and sanding the hardwood piece to match the blade’s contour.
Finishing
Apply several coats of Deft clear lacquer, sanding between each coat. Attach ¾-ounce fiberglass cloth that has been stiffened with a light spray of clear lacquer. Thinner is used to attach the cloth to both sides of the blade. Finish with Deft sanding sealer.
For a stronger blade, coat it with epoxy laminating resin. After the blade is covered with fiberglass cloth, apply a thick coat of laminating resin, and add a strip of Teflon-coated fiberglass cloth (available from CST-The Composite Store) to both sides, pushing it into the resin.
Place a piece of paper towel on each side and put everything on the form, cover with more plastic wrap, and vacuum-bag it. (As an alternative, wrap it tightly with an elastic bandage.) Allow the epoxy to fully cure then remove the paper towel and Teflon-coated fiberglass.
Most of the resin will have bled through to the paper towel, leaving only a light coat on the blade. Sand and finish the blade with Deft sanding sealer.
The typical weight gain from the fiberglass cloth and epoxy for a pair of blades is approximately 2 grams.
SOURCES:
National Free Flight Society (NFFS)
www.freeflight.org
Titebond
(800) 669-4583
www.titebond.com
CST-The Composite Store
(661) 822-4162
www.cstsales.com