Make Your Own Servo Extensions
Keep your wiring tidy with custom-length extensions
by Jerry Smith

I have been making my own servo extension leads for years. Why? Because I can make them on demand and don’t have to go out and buy any. I can also make them to the exact length needed and easily replace a connector if one becomes damaged. Not all servo extension leads are the

same. Some have gold-plated pins and others merely have plain steel pins. Stay away from the steel pins. In time, they will corrode and can cause intermittent signal issues that could cause a crash. A Spektrum tech told me that many signal loss problems are caused by poor servo leads. At our field recently, we had two airplanes go down because of signal loss. These were caused by corroded servo leads.
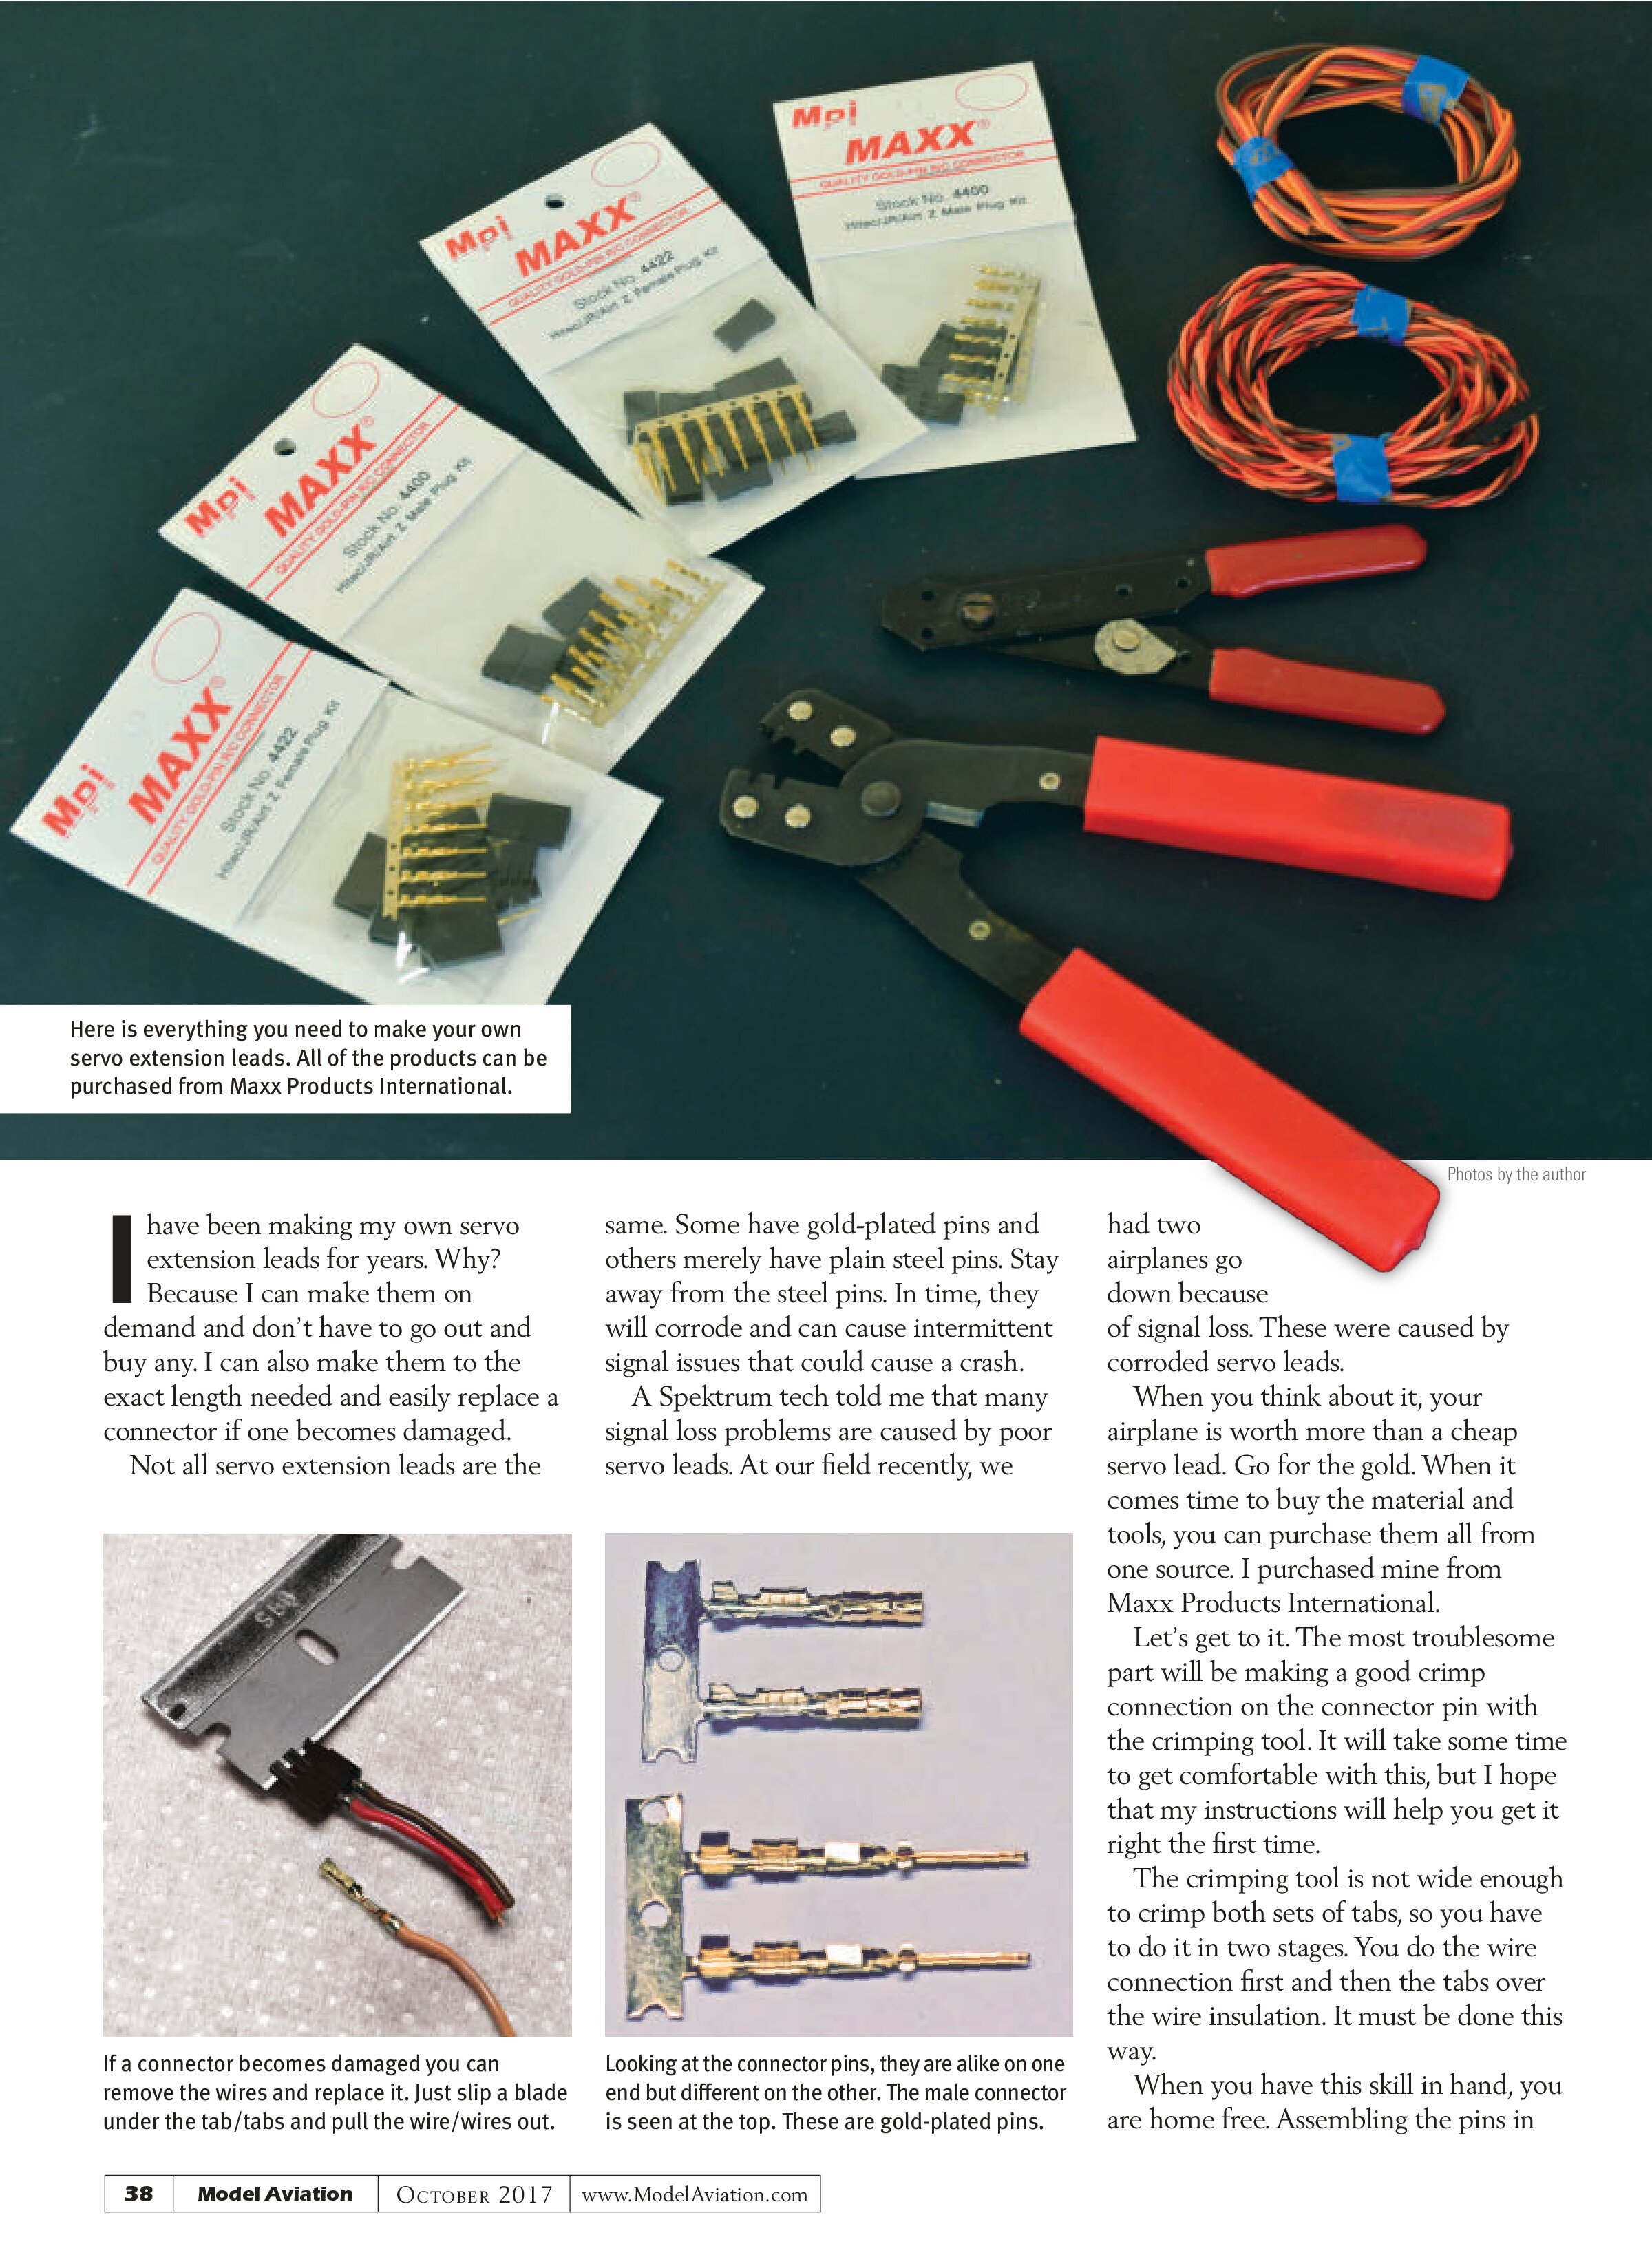
When you think about it, your airplane is worth more than a cheap servo lead. Go for the gold. When it comes time to buy the material and tools, you can purchase them all from one source. I purchased mine from Maxx Products International.
Let’s get to it. The most troublesome part will be making a good crimp connection on the connector pin with the crimping tool. It will take some time to get comfortable with this, but I hope that my instructions will help you get it right the first time.
The crimping tool is not wide enough to crimp both sets of tabs, so you have to do it in two stages. You do the wire connection first and then the tabs over the wire insulation. It must be done this way.
When you have this skill in hand, you are home free. Assembling the pins in

If a connector becomes damaged you can remove the wires and replace it. Just slip a blade under the tab/tabs and pull the wire/wires out.

Looking at the connector pins, they are alike on one end but different on the other. The male connector is seen at the top. These are gold-plated pins.
the connector shell goes fast and you are done.
Holding the shell in your hand, with the locking tabs facing you and pointing to the right, insert the signal wire in the top hole, followed by the red wire in the middle, and the black at the bottom. Install with the smooth side of the pin down. If you have trouble installing the pins in the connector shell, see my troubleshooting hints. Don’t give up on the crimping bit. Stay with it if you encounter trouble. I want you to have success.
Most of the servo leads on the market are made with ribbon wire—that is, the leads are not twisted. They are available with 24- and 22-gauge wire. It is better to use the twisted lead servo extensions. Twisting the leads cancels out electromagnetic interference from external sources, such as crosstalk between neighboring pairs. Why are there so many ribbon lead extensions, you might ask. Apparently, it is not that beneficial in our application. The choice is up to you, but if twisted lead cables are better, why not use them?
Troubleshooting hints: If you have trouble installing the pins in the connector shell, shrink the width of the tabs holding the wire in place. Crimping tends to flatten and increase the width of the tabs. Squeeze together with a pair of needle-nose pliers. Also, squeeze the tabs on the insulation, rotating it as you go around. Follow along with my pictures and learn how to do it.
—Jerry Smith
jerry.smith875@gmail.com
SOURCES:
Maxx Products International
sales@maxxprod.com
www.maxxprod.com