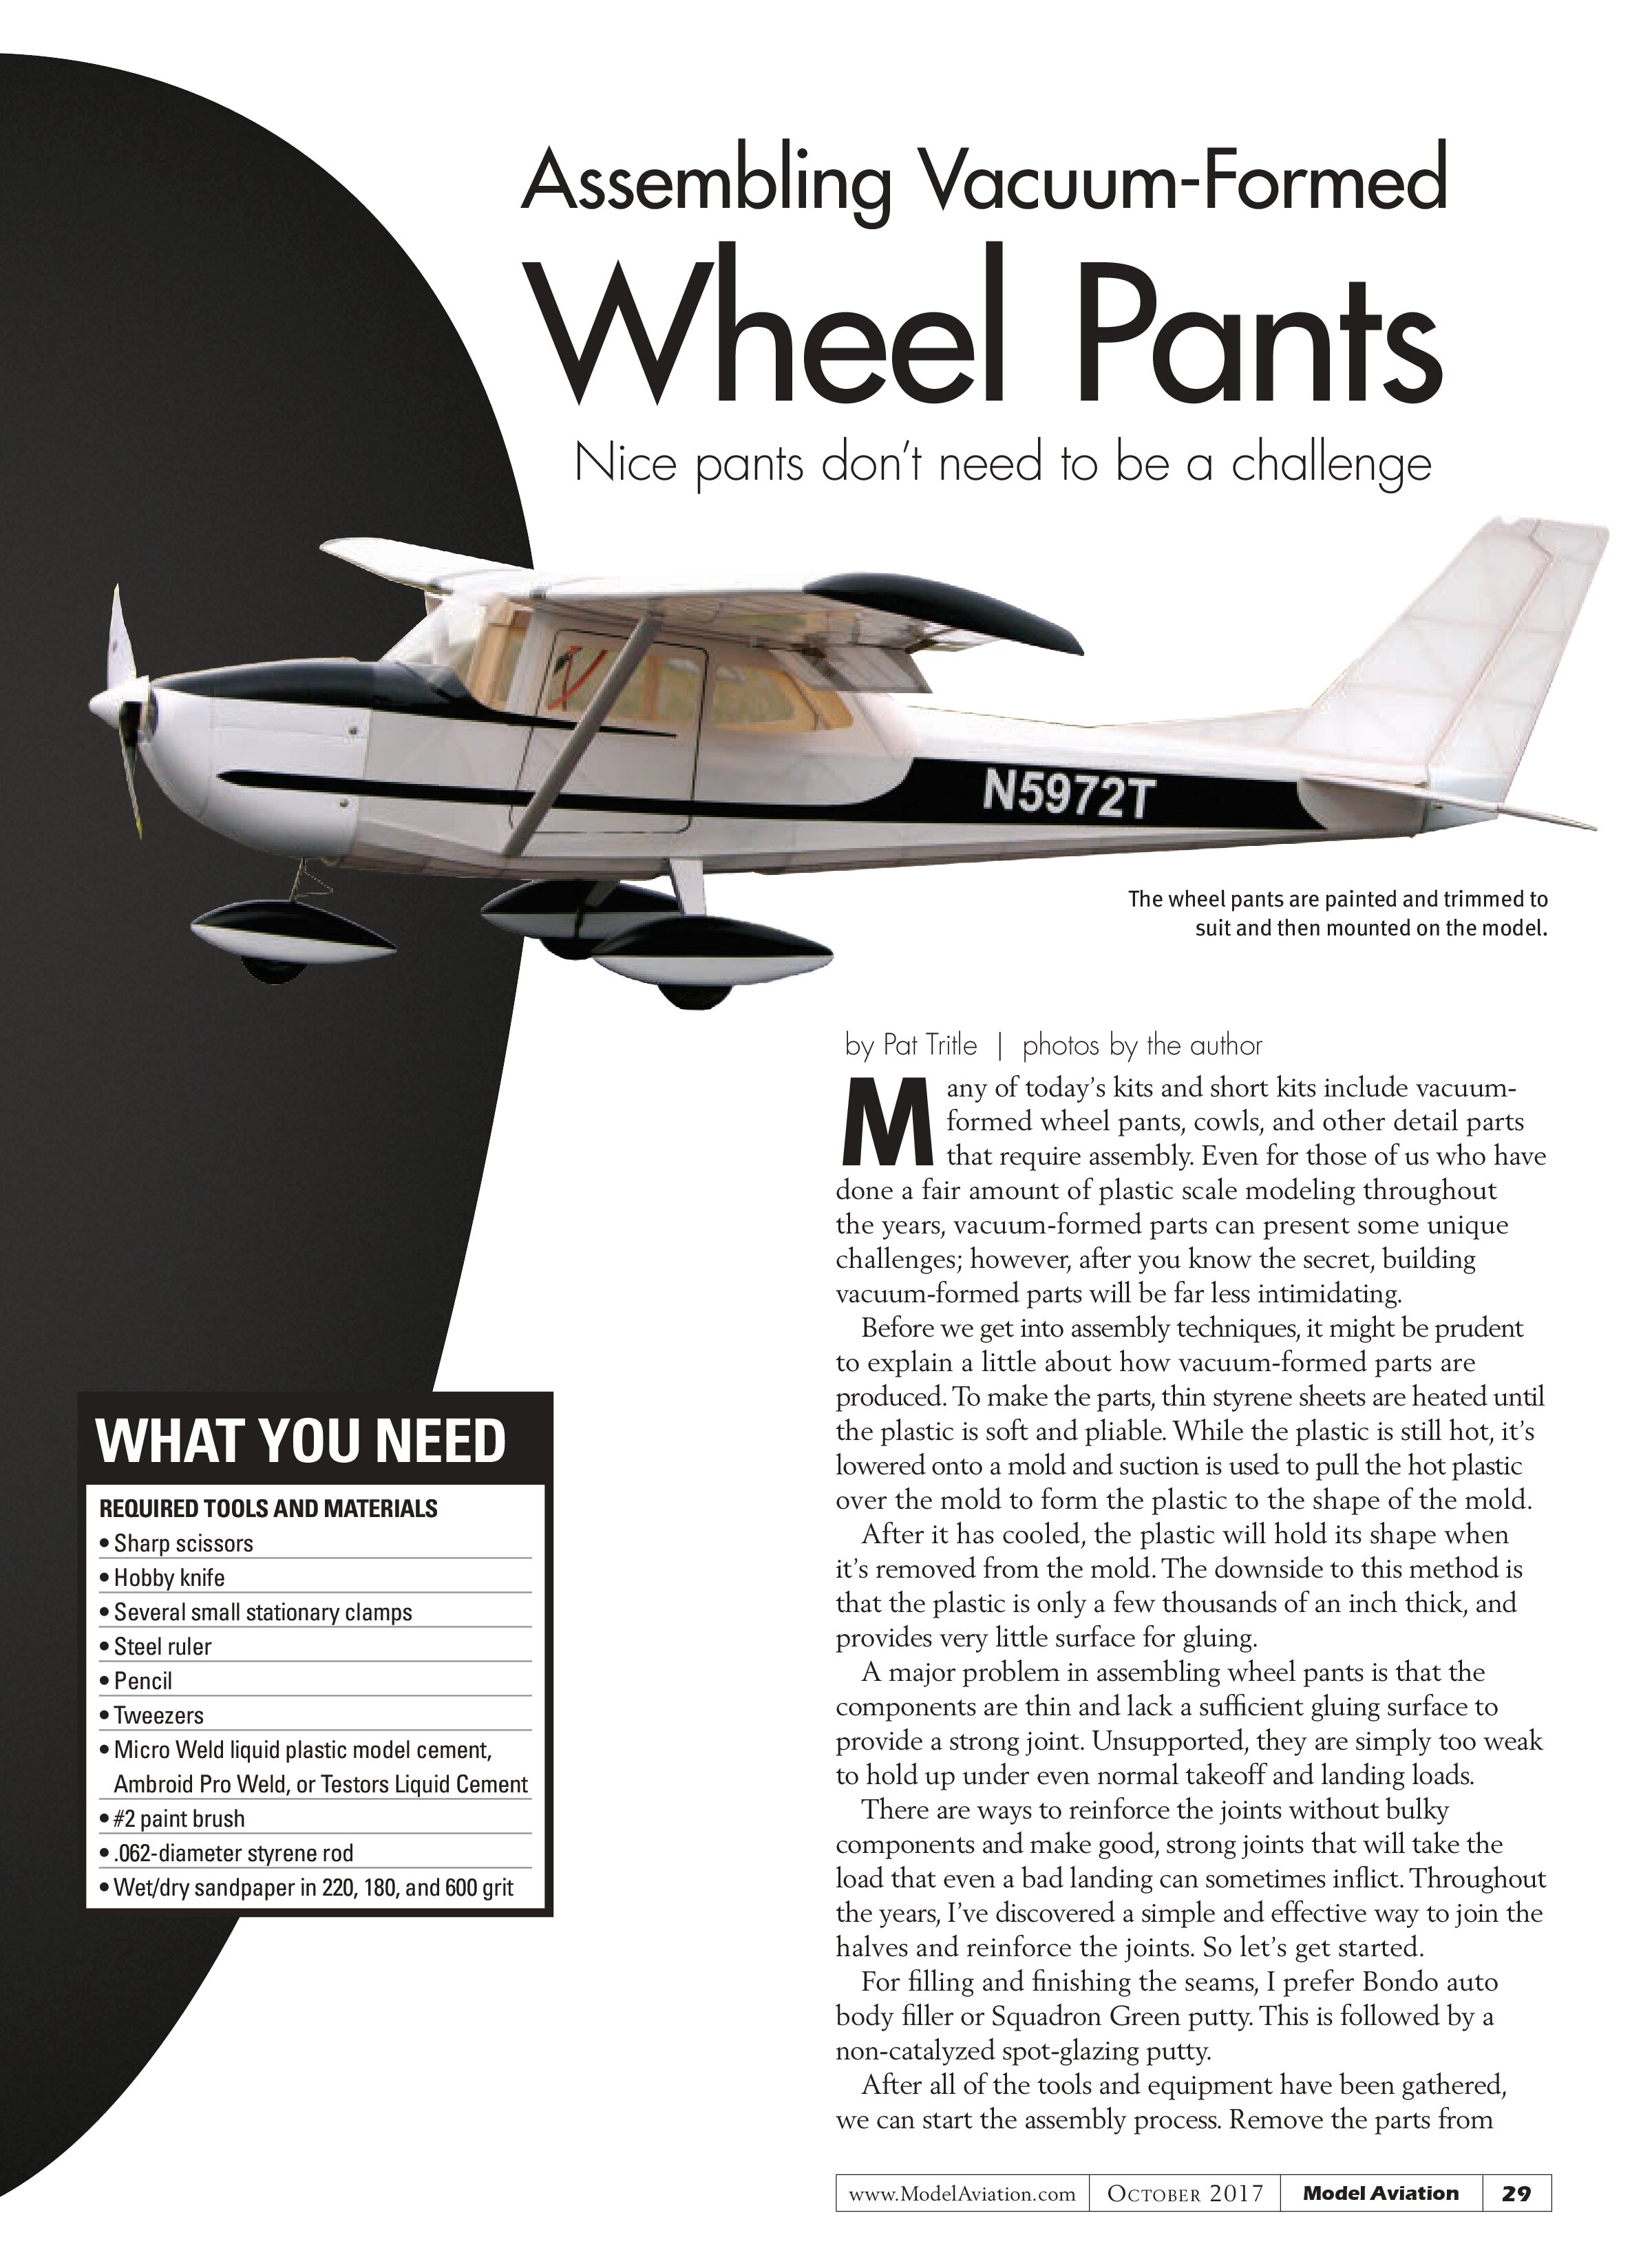
Assembling Vacuum-Formed Wheel Pants
Nice pants don’t need to be a challenge

by Pat Tritle | photos by the author
Many of today’s kits and short kits include vacuum-formed wheel pants, cowls, and other detail parts that require assembly. Even for those of us who have done a fair amount of plastic scale modeling throughout the years, vacuum-formed parts can present some unique challenges; however, after you know the secret, building vacuum-formed parts will be far less intimidating.
Before we get into assembly techniques, it might be prudent to explain a little about how vacuum-formed parts are produced. To make the parts, thin styrene sheets are heated until the plastic is soft and pliable. While the plastic is still hot, it’s lowered onto a mold and suction is used to pull the hot plastic over the mold to form the plastic to the shape of the mold. After it has cooled, the plastic will hold its shape when it’s removed from the mold. The downside to this method is that the plastic is only a few thousands of an inch thick, and provides very little surface for gluing.
A major problem in assembling wheel pants is that the components are thin and lack a sufficient gluing surface to provide a strong joint. Unsupported, they are simply too weak to hold up under even normal takeoff and landing loads.
There are ways to reinforce the joints without bulky components and make good, strong joints that will take the load that even a bad landing can sometimes inflict. Throughout the years, I’ve discovered a simple and effective way to join the halves and reinforce the joints. So let’s get started.
For filling and finishing the seams, I prefer Bondo auto body filler or Squadron Green putty. This is followed by a non-catalyzed spot-glazing putty.
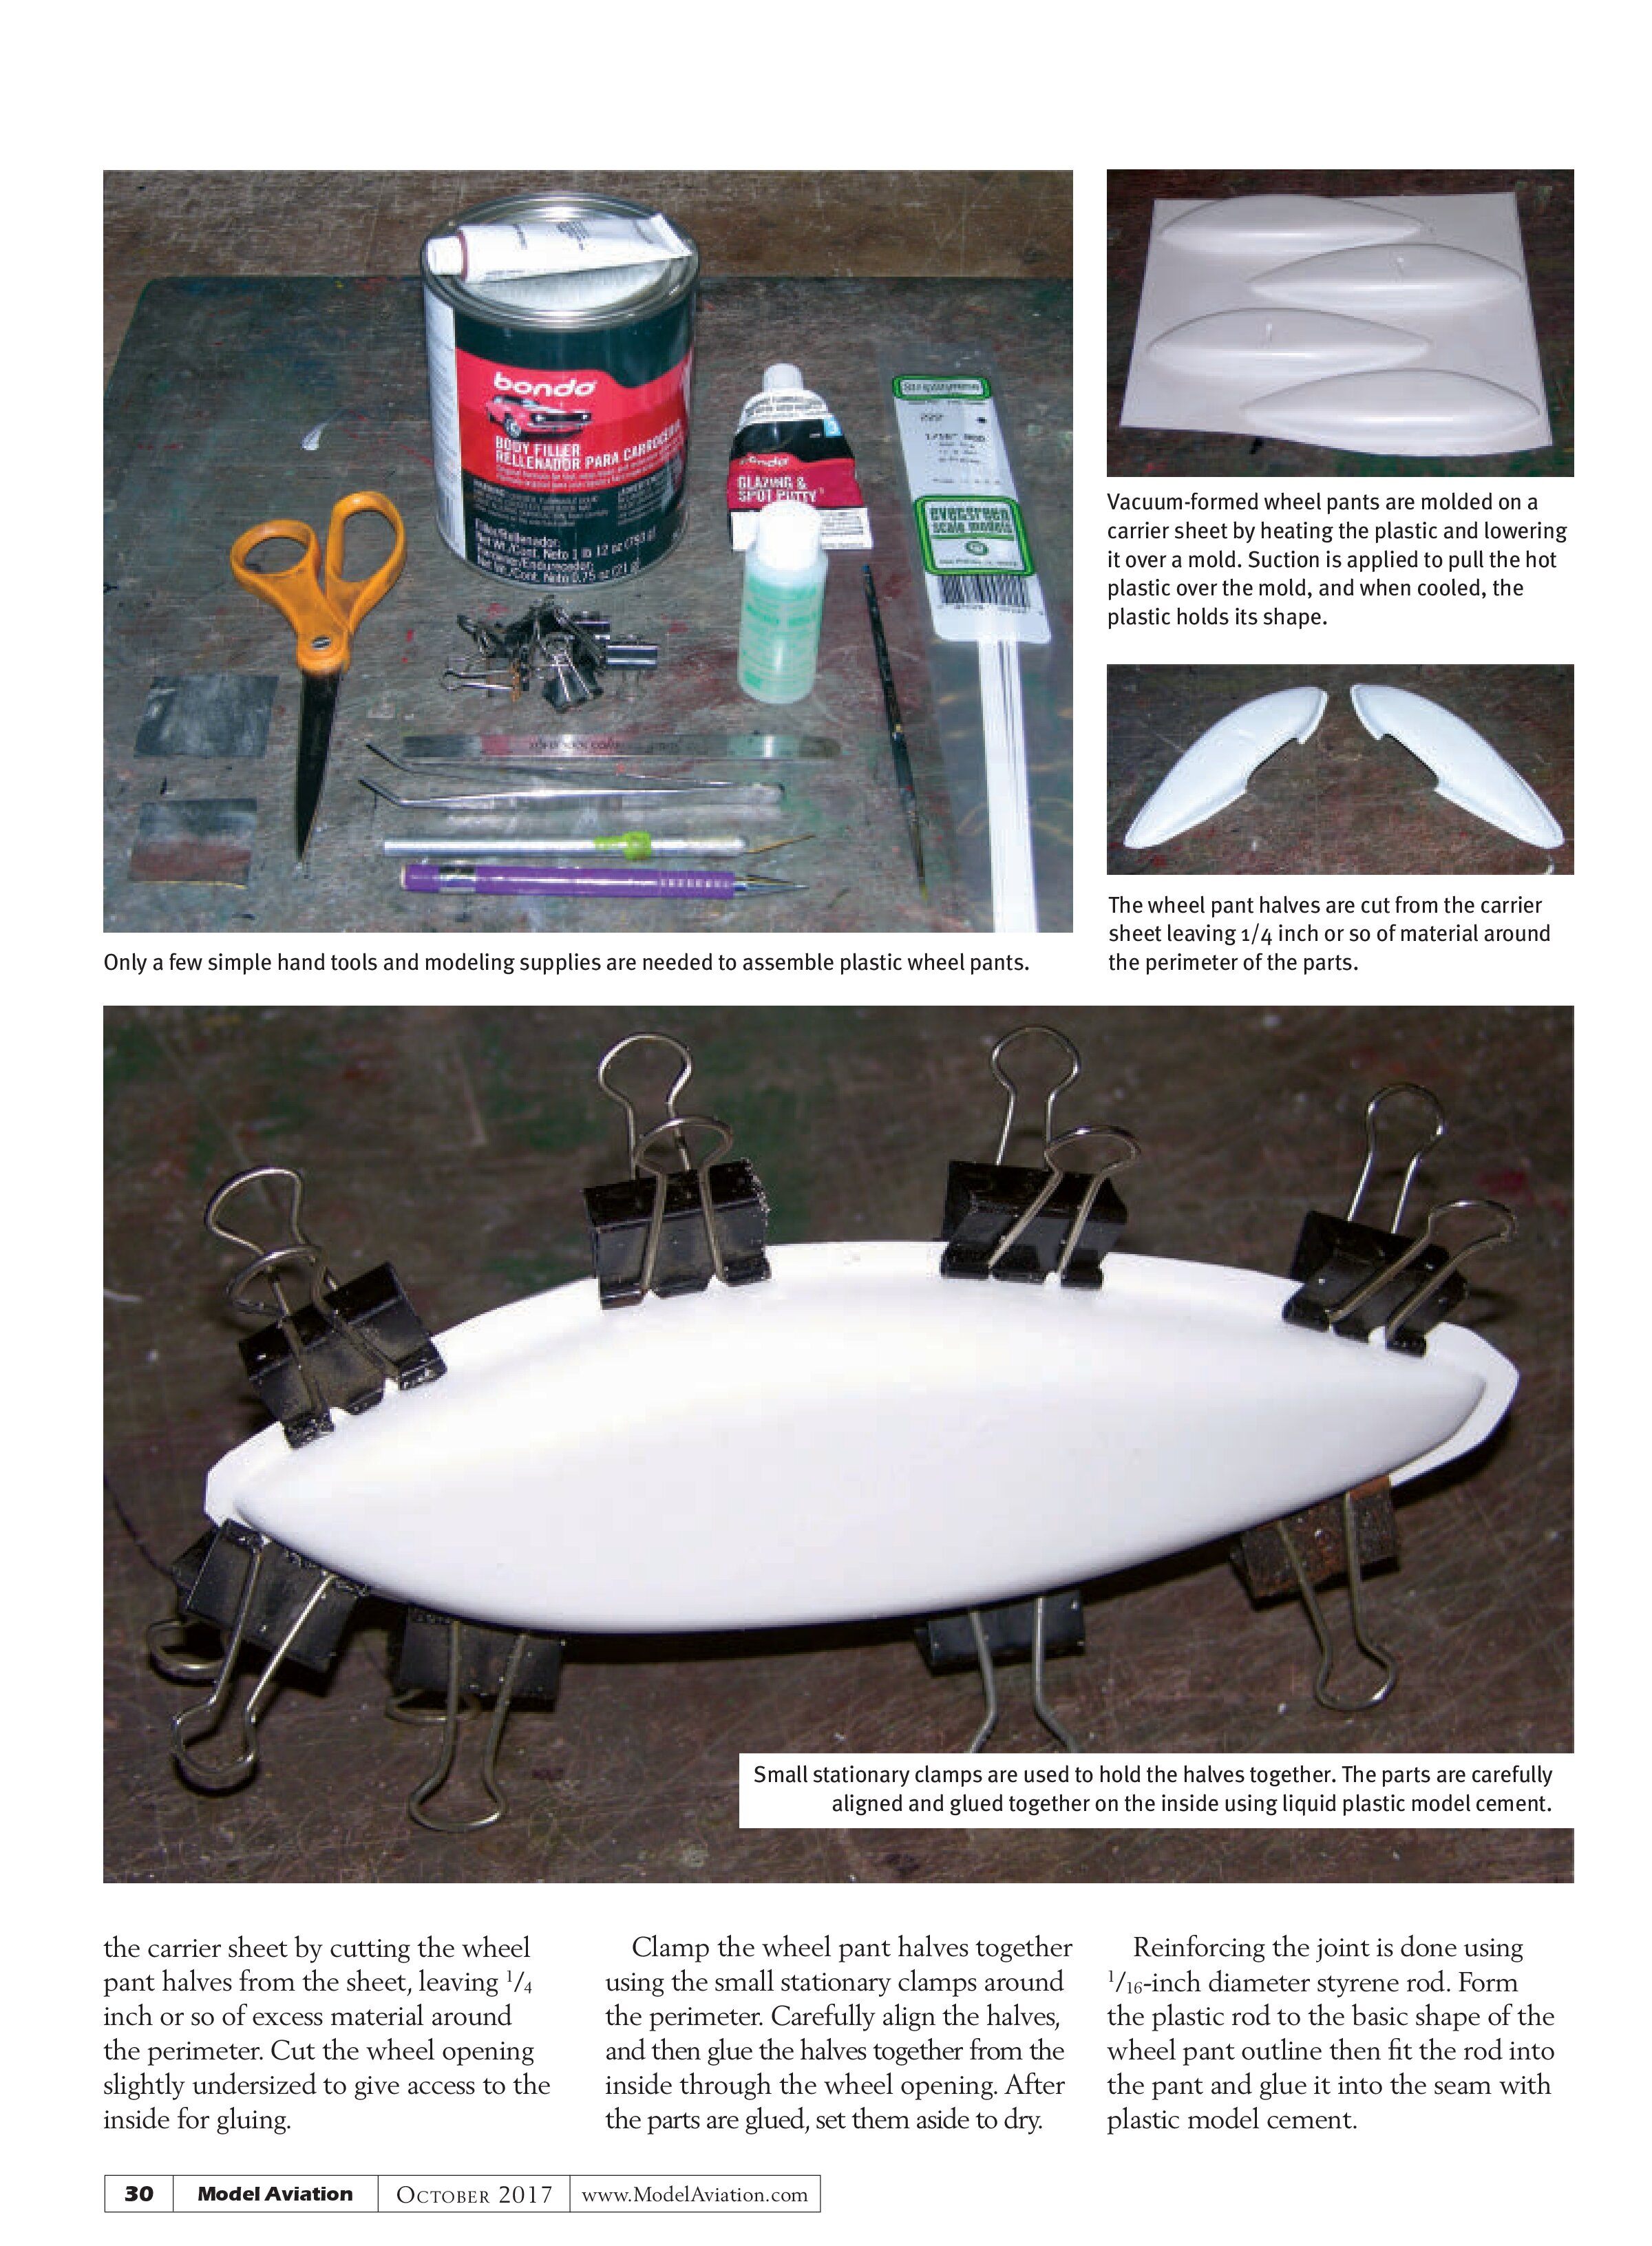
WHAT YOU NEED
REQUIRED TOOLS AND MATERIALS
- Sharp scissors
- Hobby knife
- Several small stationary clamps
- Steel ruler
- Pencil
- Tweezers
- Micro Weld liquid plastic model cement, Ambroid Pro Weld, or Testors Liquid Cement
- #2 paint brush
- .062-diameter styrene rod
- Wet/dry sandpaper in 220, 180, and 600 grit
After all of the tools and equipment have been gathered, we can start the assembly process. Remove the parts from


the carrier sheet by cutting the wheel pant halves from the sheet, leaving ¼ inch or so of excess material around the perimeter. Cut the wheel opening slightly undersized to give access to the inside for gluing.
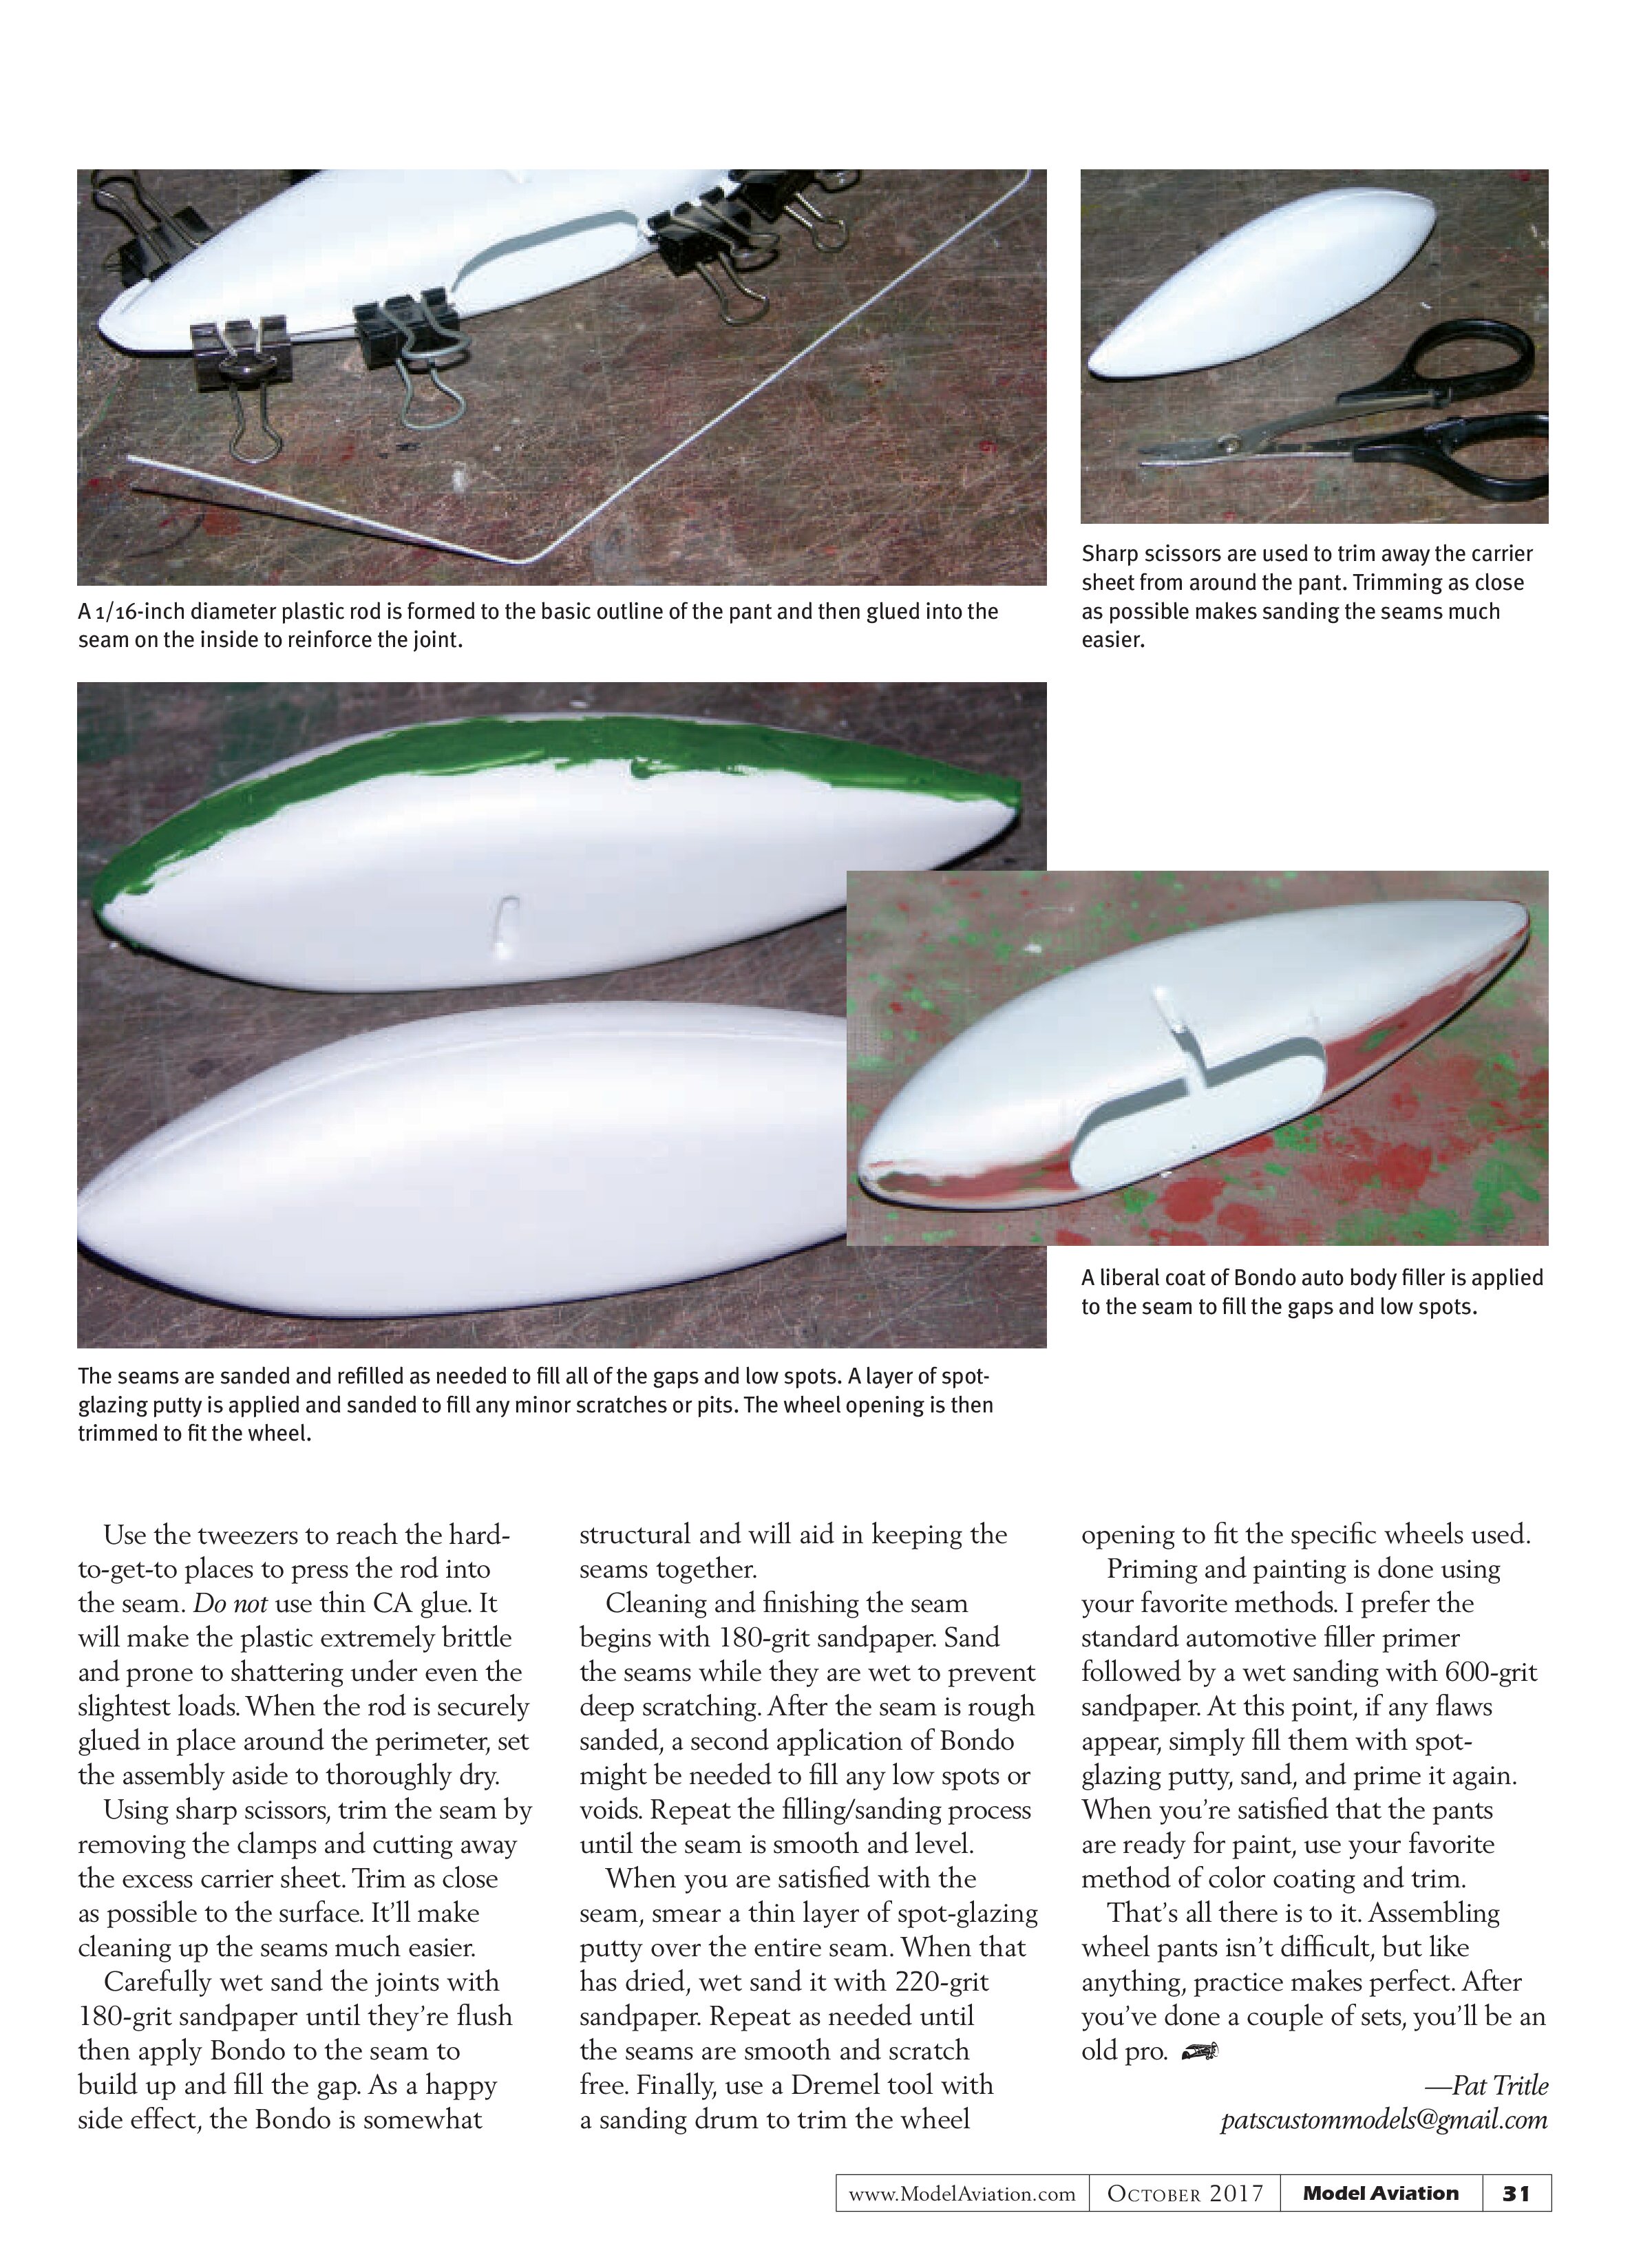
Clamp the wheel pant halves together using the small stationary clamps around the perimeter. Carefully align the halves, and then glue the halves together from the inside through the wheel opening. After the parts are glued, set them aside to dry.
Reinforcing the joint is done using 1/16-inch diameter styrene rod. Form the plastic rod to the basic shape of the wheel pant outline then fit the rod into the pant and glue it into the seam with plastic model cement.


Use the tweezers to reach the hard-to-get-to places to press the rod into the seam. Do not use thin CA glue. It will make the plastic extremely brittle and prone to shattering under even the slightest loads. When the rod is securely glued in place around the perimeter, set the assembly aside to thoroughly dry.
Using sharp scissors, trim the seam by removing the clamps and cutting away the excess carrier sheet. Trim as close as possible to the surface. It’ll make cleaning up the seams much easier.
Carefully wet sand the joints with 180-grit sandpaper until they’re flush then apply Bondo to the seam to build up and fill the gap. As a happy side effect, the Bondo is somewhat structural and will aid in keeping the seams together.
Cleaning and finishing the seam begins with 180-grit sandpaper. Sand the seams while they are wet to prevent deep scratching. After the seam is rough sanded, a second application of Bondo might be needed to fill any low spots or voids. Repeat the filling/sanding process until the seam is smooth and level.
When you are satisfied with the seam, smear a thin layer of spot-glazing putty over the entire seam. When that has dried, wet sand it with 220-grit sandpaper. Repeat as needed until the seams are smooth and scratch free. Finally, use a Dremel tool with a sanding drum to trim the wheel opening to fit the specific wheels used.
Priming and painting is done using your favorite methods. I prefer the standard automotive filler primer followed by a wet sanding with 600-grit sandpaper. At this point, if any flaws appear, simply fill them with spot-glazing putty, sand, and prime it again. When you’re satisfied that the pants are ready for paint, use your favorite method of color coating and trim.
That’s all there is to it. Assembling wheel pants isn’t difficult, but like anything, practice makes perfect. After you’ve done a couple of sets, you’ll be an old pro.
—Pat Tritle
patscustommodels@gmail.com