Skyhopper plans
by Gene Smith
grwhiskey@brightok.net
Bill Schmidt’s Skyhopper, detailed in my May 2017 column, struck a chord with quite a few readers. If you want to take the plunge, the AMA Plans Service has the Skyhopper. It is plans number 20592. Contact information for the AMA Plans Service is listed in “Sources.”

Covering Models With Tissue
I recently saw an online discussion that revolved around covering models with tissue. The topics included what adhesive to use, the merits of Esaki (Japanese tissue) vs. domestic tissue, and how the type of construction might dictate the covering technique that you use. The consensus was that diluted white glue is good, but most people use a glue stick because of its convenience.
Here are some nuances and tips:
- If you need to reposition the tissue to remove a wrinkle, glue stick adhesive can be loosened with rubbing alcohol.
- Esaki tissue typically has a shiny side and a dull side. Domestic tissue is generally dull on both sides. Domestic tissue tears when it is wet and should be applied dry. Easy Built Models has decent domestic tissue in a wide variety of colors. It is less expensive than Esaki, but it is not quite as lightweight.
- Esaki has relatively good strength when it is wet. It is easier to apply to compound surfaces when wet. If the tissue is being applied to a small part such as a nose block or wheel pant, saliva works well as a wetting agent and seems to help position the tissue. It is available from Volaré Products and others.
- Heavy structures, such as most Guillow’s kits (except the Flyboy and a few others) are warp and wrinkle resistant, but don’t fly as well. Light kit structures, such as those from Easy Built, Volaré Products, Peck-Polymers, and Dumas Products, fly better but are more prone to warping. Everything is a tradeoff.
- When covering light structures such as wings, stabilizers, and fins, it is advisable to preshrink the tissue to remove some of the shrinkage. This is done by sticking the tissue to a frame. I have two frames that I made from ½ x ¾-inch pine. Each frame takes a half sheet of standard Japanese tissue.
I glue the tissue to the frame using a glue stick, let the glue set up for 10 minutes, and spray the tissue lightly with water. When it dries, I cut the tissue from the frame and apply it, preferably dry, to the flying surfaces.
If I have to negotiate a curve, I dampen the tissue with saliva or a light

spray of water in that area so that it can be more easily shaped to fit.
- The most common area for wrinkles is at the corners. That problem can be minimized by using a gusset in that area. Keep your blade sharp or replace it often so that you are cutting the tissue and not tearing it.
- Do not shrink one side then the other or your wing or stabilizer will take on the contour of a potato chip. Cover both sides of a surface, be sure to give the glue adequate time to set up, then give each side a light mist of water. Do not soak the tissue when shrinking. That can loosen the glue stick. A light spray on each side is all that is needed.
Pinning the wing or stabilizer to a flat surface to dry can help prevent warping. Of course, if you want a little washout in the wingtips, you will want to shim that in place when pinning down the wing.
Take advantage of the internet. Check YouTube for covering tips. Search “cover model tissue.” You should be able to extract some useful information from those videos.
Although there is no audio, the best video I have found shows an Embryo, the Debut, being covered. It shows how to cover the tips and edges—techniques I knew nothing about when I got back into the hobby several decades ago. It mentions using a light mist of water for shrinkage and a light spray of Krylon Crystal Clear for the finish. This modeler knows what he is doing. The link is at the end of the column in “Sources.”
This is a great time to get back into stick-and-tissue construction. Online forums and YouTube can be very helpful. There are scores of laser-cut kits available. The Flying Aces Club (FAC) is a great venue for learning, competition, and perhaps finding a club near you.


Skip town Cadet Embryo Group Build
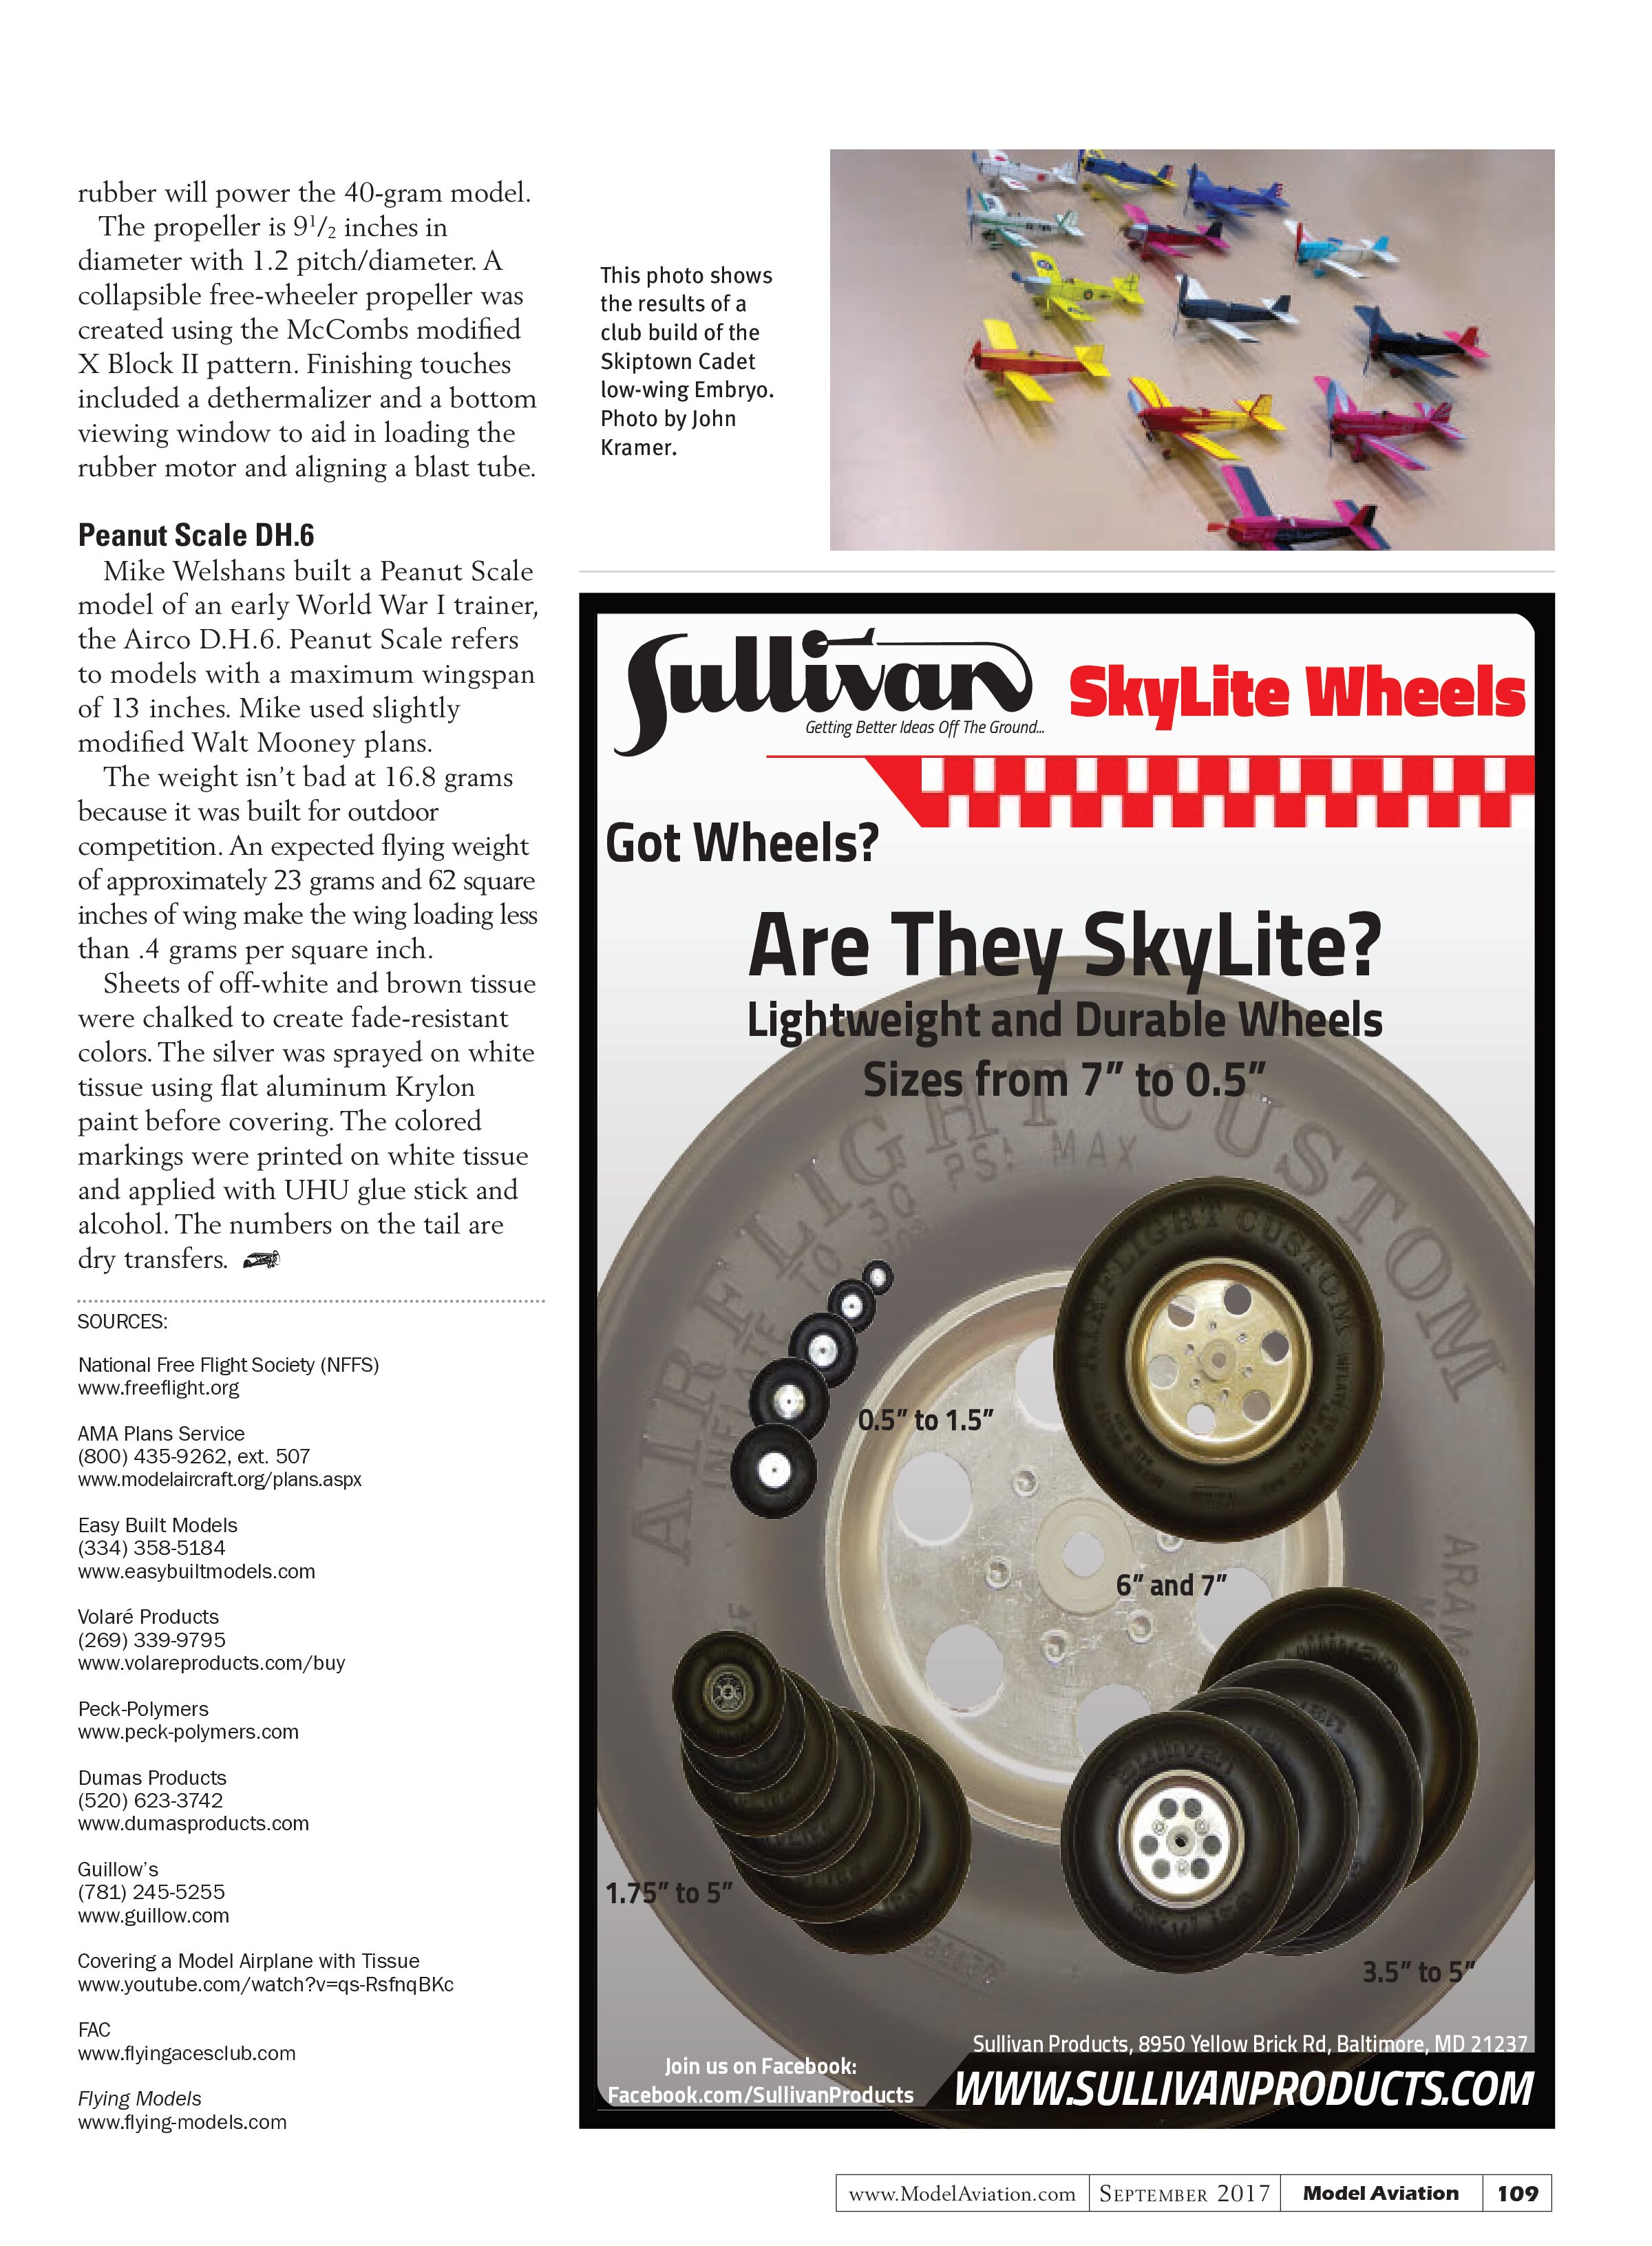
Tom Nallen’s club had a group build of the Skip town Cadet Embryo. Club members came up with an amazing array of color schemes. Plans for the model are available from the Flying Models plans service.
Comet P-51A
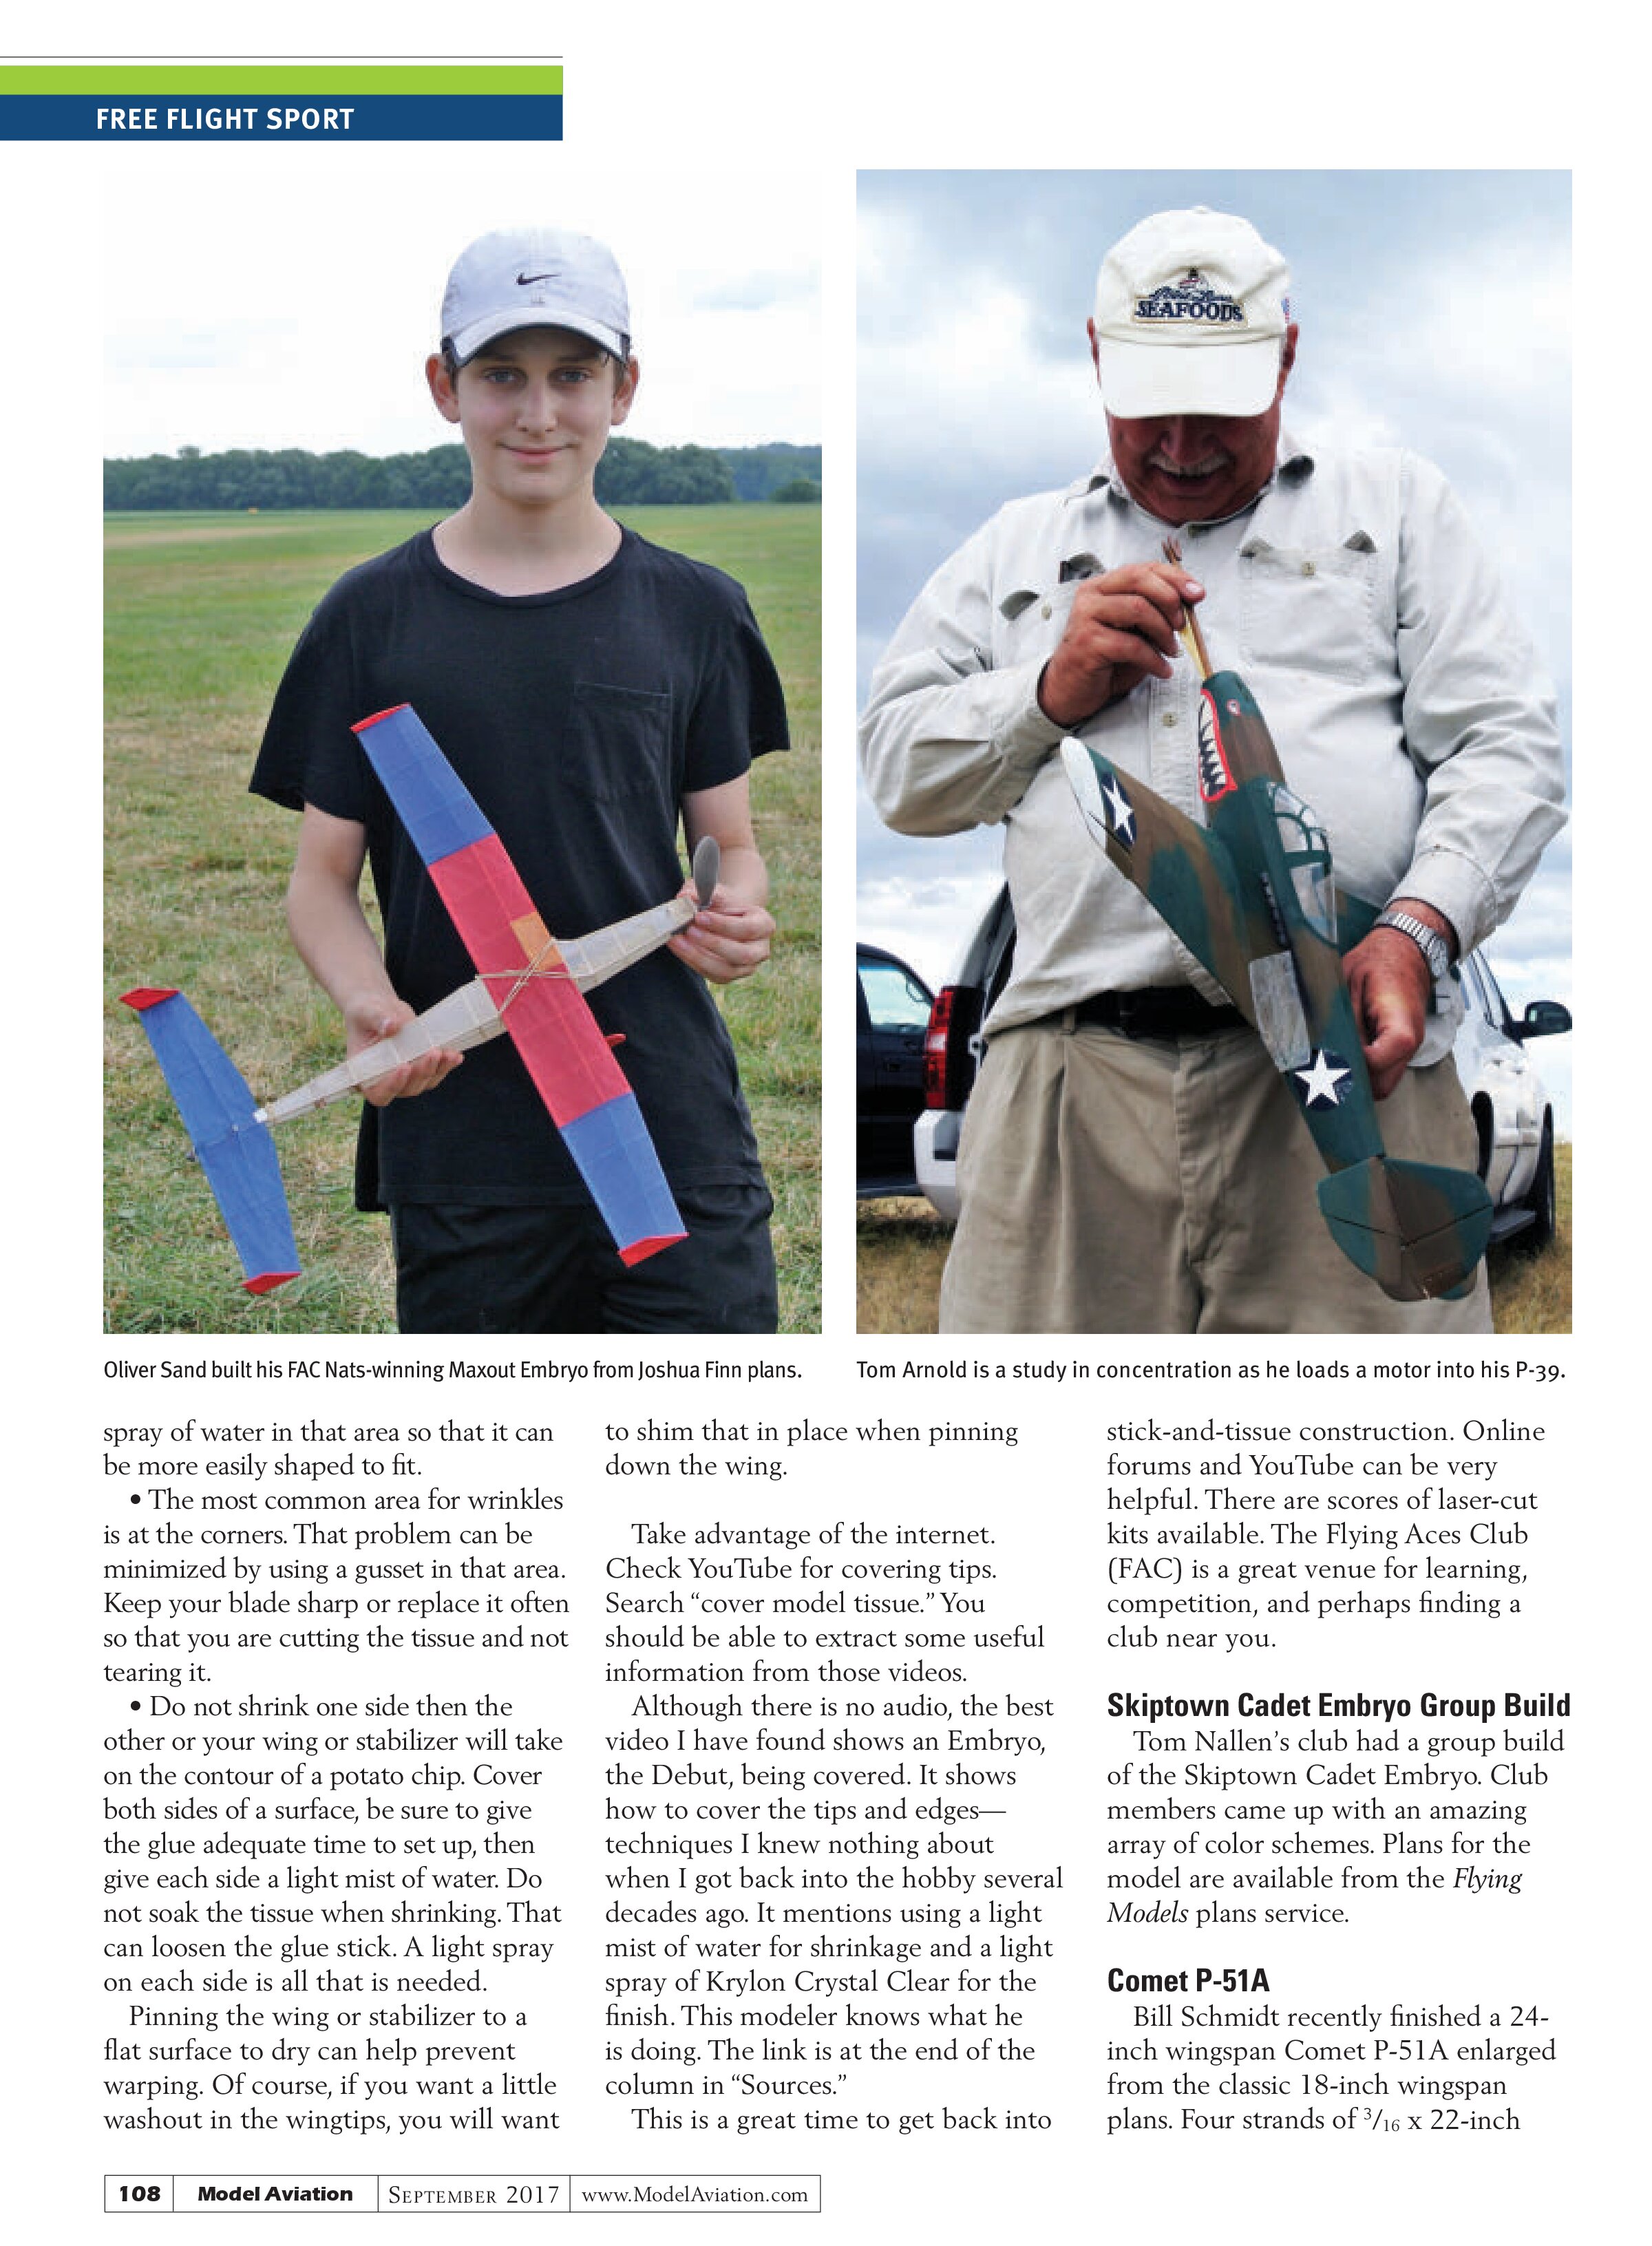
Bill Schmidt recently finished a 24-inch wingspan Comet P-51A enlarged from the classic 18-inch wingspan plans. Four strands of ⅜ x 22-inch rubber will power the 40-gram model. The propeller is 9½ inches in diameter with 1.2 pitch/diameter. A collapsible free-wheeler propeller was created using the McCombs modified X Block II pattern. Finishing touches included a dethermalizer and a bottom viewing window to aid in loading the rubber motor and aligning a blast tube.

Peanut Scale DH.6
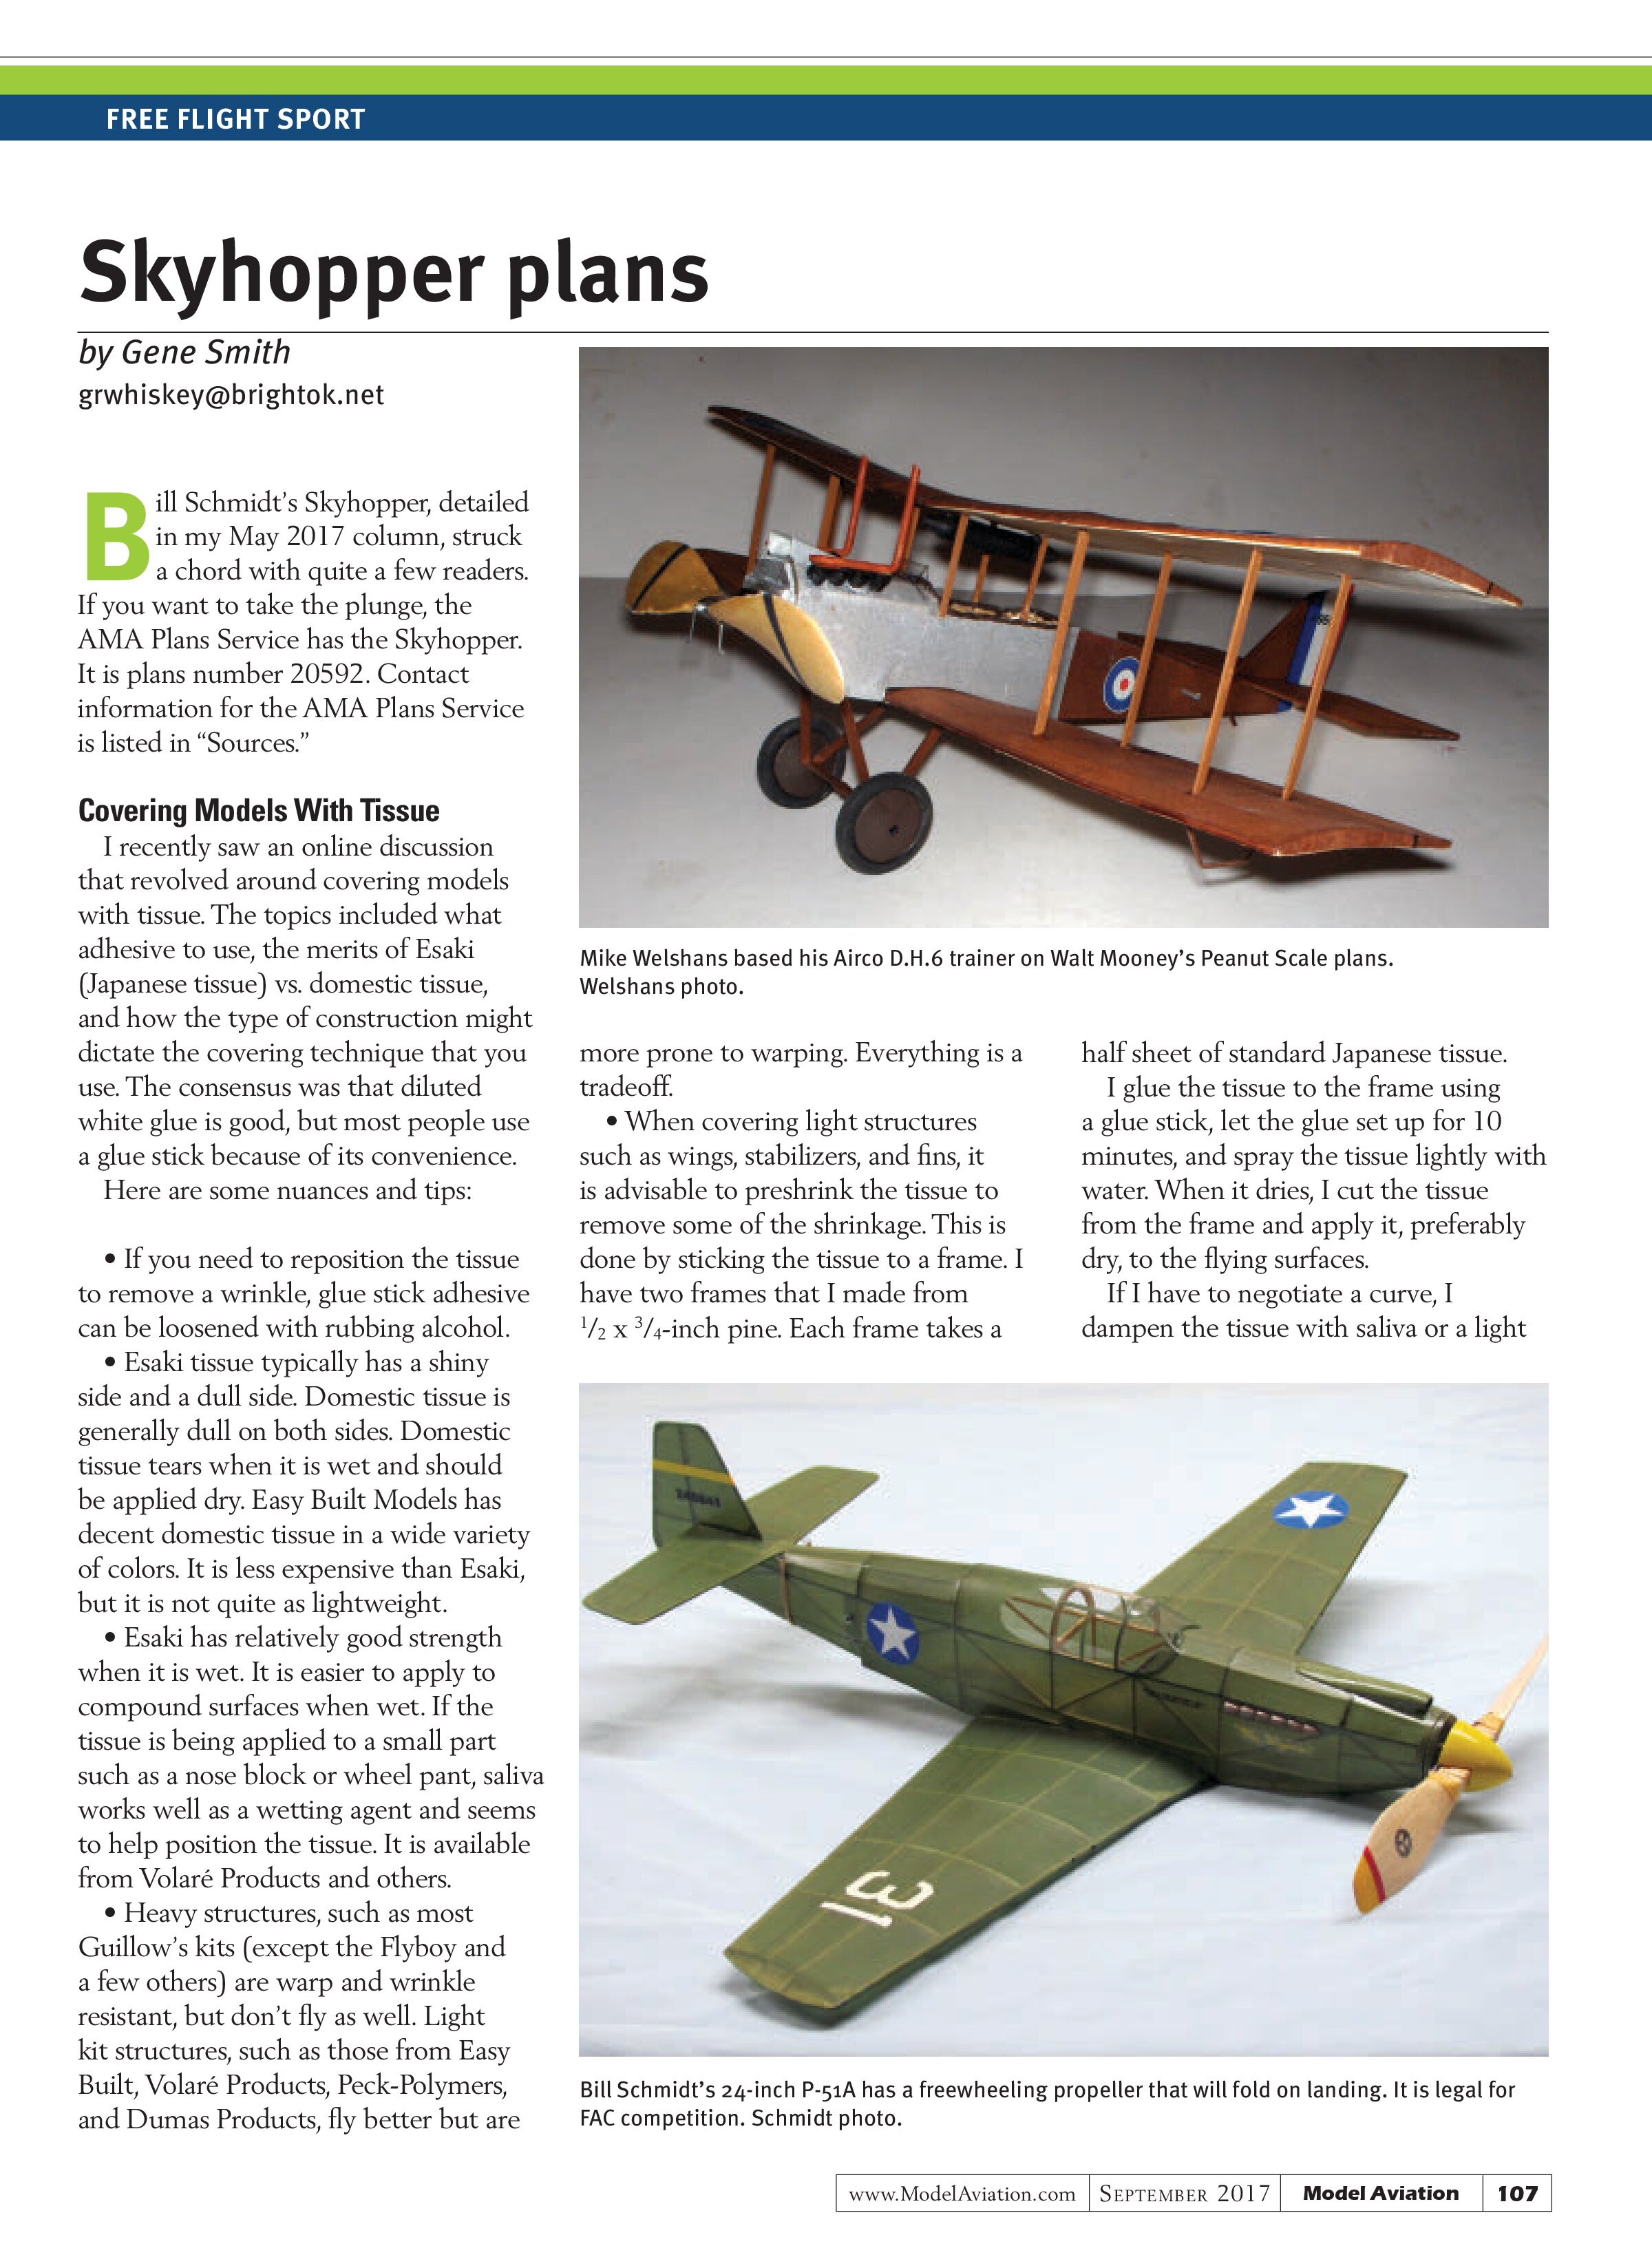
Mike Welshans built a Peanut Scale model of an early World War I trainer, the Airco D.H.6. Peanut Scale refers to models with a maximum wingspan of 13 inches. Mike used slightly modified Walt Mooney plans.
The weight isn’t bad at 16.8 grams because it was built for outdoor competition. An expected flying weight of approximately 23 grams and 62 square inches of wing make the wing loading less than .4 grams per square inch.
Sheets of off-white and brown tissue were chalked to create fade-resistant colors. The silver was sprayed on white tissue using flat aluminum Krylon paint before covering. The colored markings were printed on white tissue and applied with UHU glue stick and alcohol. The numbers on the tail are dry transfers.
SOURCES:
National Free Flight Society (NFFS)
www.freeflight.org
AMA Plans Service
(800) 435-9262, ext. 507
www.modelaircraft.org/plans.aspx
Easy Built Models
(334) 358-5184
www.easybuiltmodels.com
Volaré Products
(269) 339-9795
www.volareproducts.com/buy
Peck-Polymers
www.peck-polymers.com
Dumas Products
(520) 623-3742
www.dumasproducts.com
Guillow’s
(781) 245-5255
www.guillow.com
Covering a Model Airplane with Tissue
www.youtube.com/watch?v=qs-RsfnqBKc
Flying Models
www.flying-models.com