Preflight checklists
by Dave Garwood
dave.garwood.518@gmail.com

Man, it sure is a drag to crash a model airplane when the accident was preventable. Workbench double-checks and preflight checklists can avert crashes and save us headaches and embarrassment. I find that the more I fly, the longer my preflight checklists become.
A common cause of crashes is battery pack failure. The next most common is control surface problems such as controls reversed or binding, or linkages or hinges damaged from a previous hard landing. I’ve also seen crashes caused by incorrect balance and poorly mounted or secured wings.
The good news is that many of these crashes are preventable. This column seeks to reduce the number of preventable crashes by listing things we can do to avert problems.
First, here are a couple of crash stories. You’ll quickly detect how each mishap was preventable. I will then touch on checklists for workbench inspections and prelaunch checks.
Crash One
Petersburg Pass in upstate New York is not a flying site for beginners. We launch in turbulence and shoot through a break in a tree line out into lift, holding the nose down to keep the speed up. It is an adrenaline-pumping moment because there is a huge forest 900 feet below. Downed sailplanes are essentially unrecoverable.
A fellow pilot wiggled his sticks, heard the servos move, and launched his trusty Bob Martin Coyote—only to have the servos stop responding when the sailplane was five seconds out of his hand. The only good thing about the incident was that we saw which 60-foot tree the sailplane landed in and we were able to climb it and recover the model. Five more seconds of flight and it would have been well out over the valley, lost and gone forever.
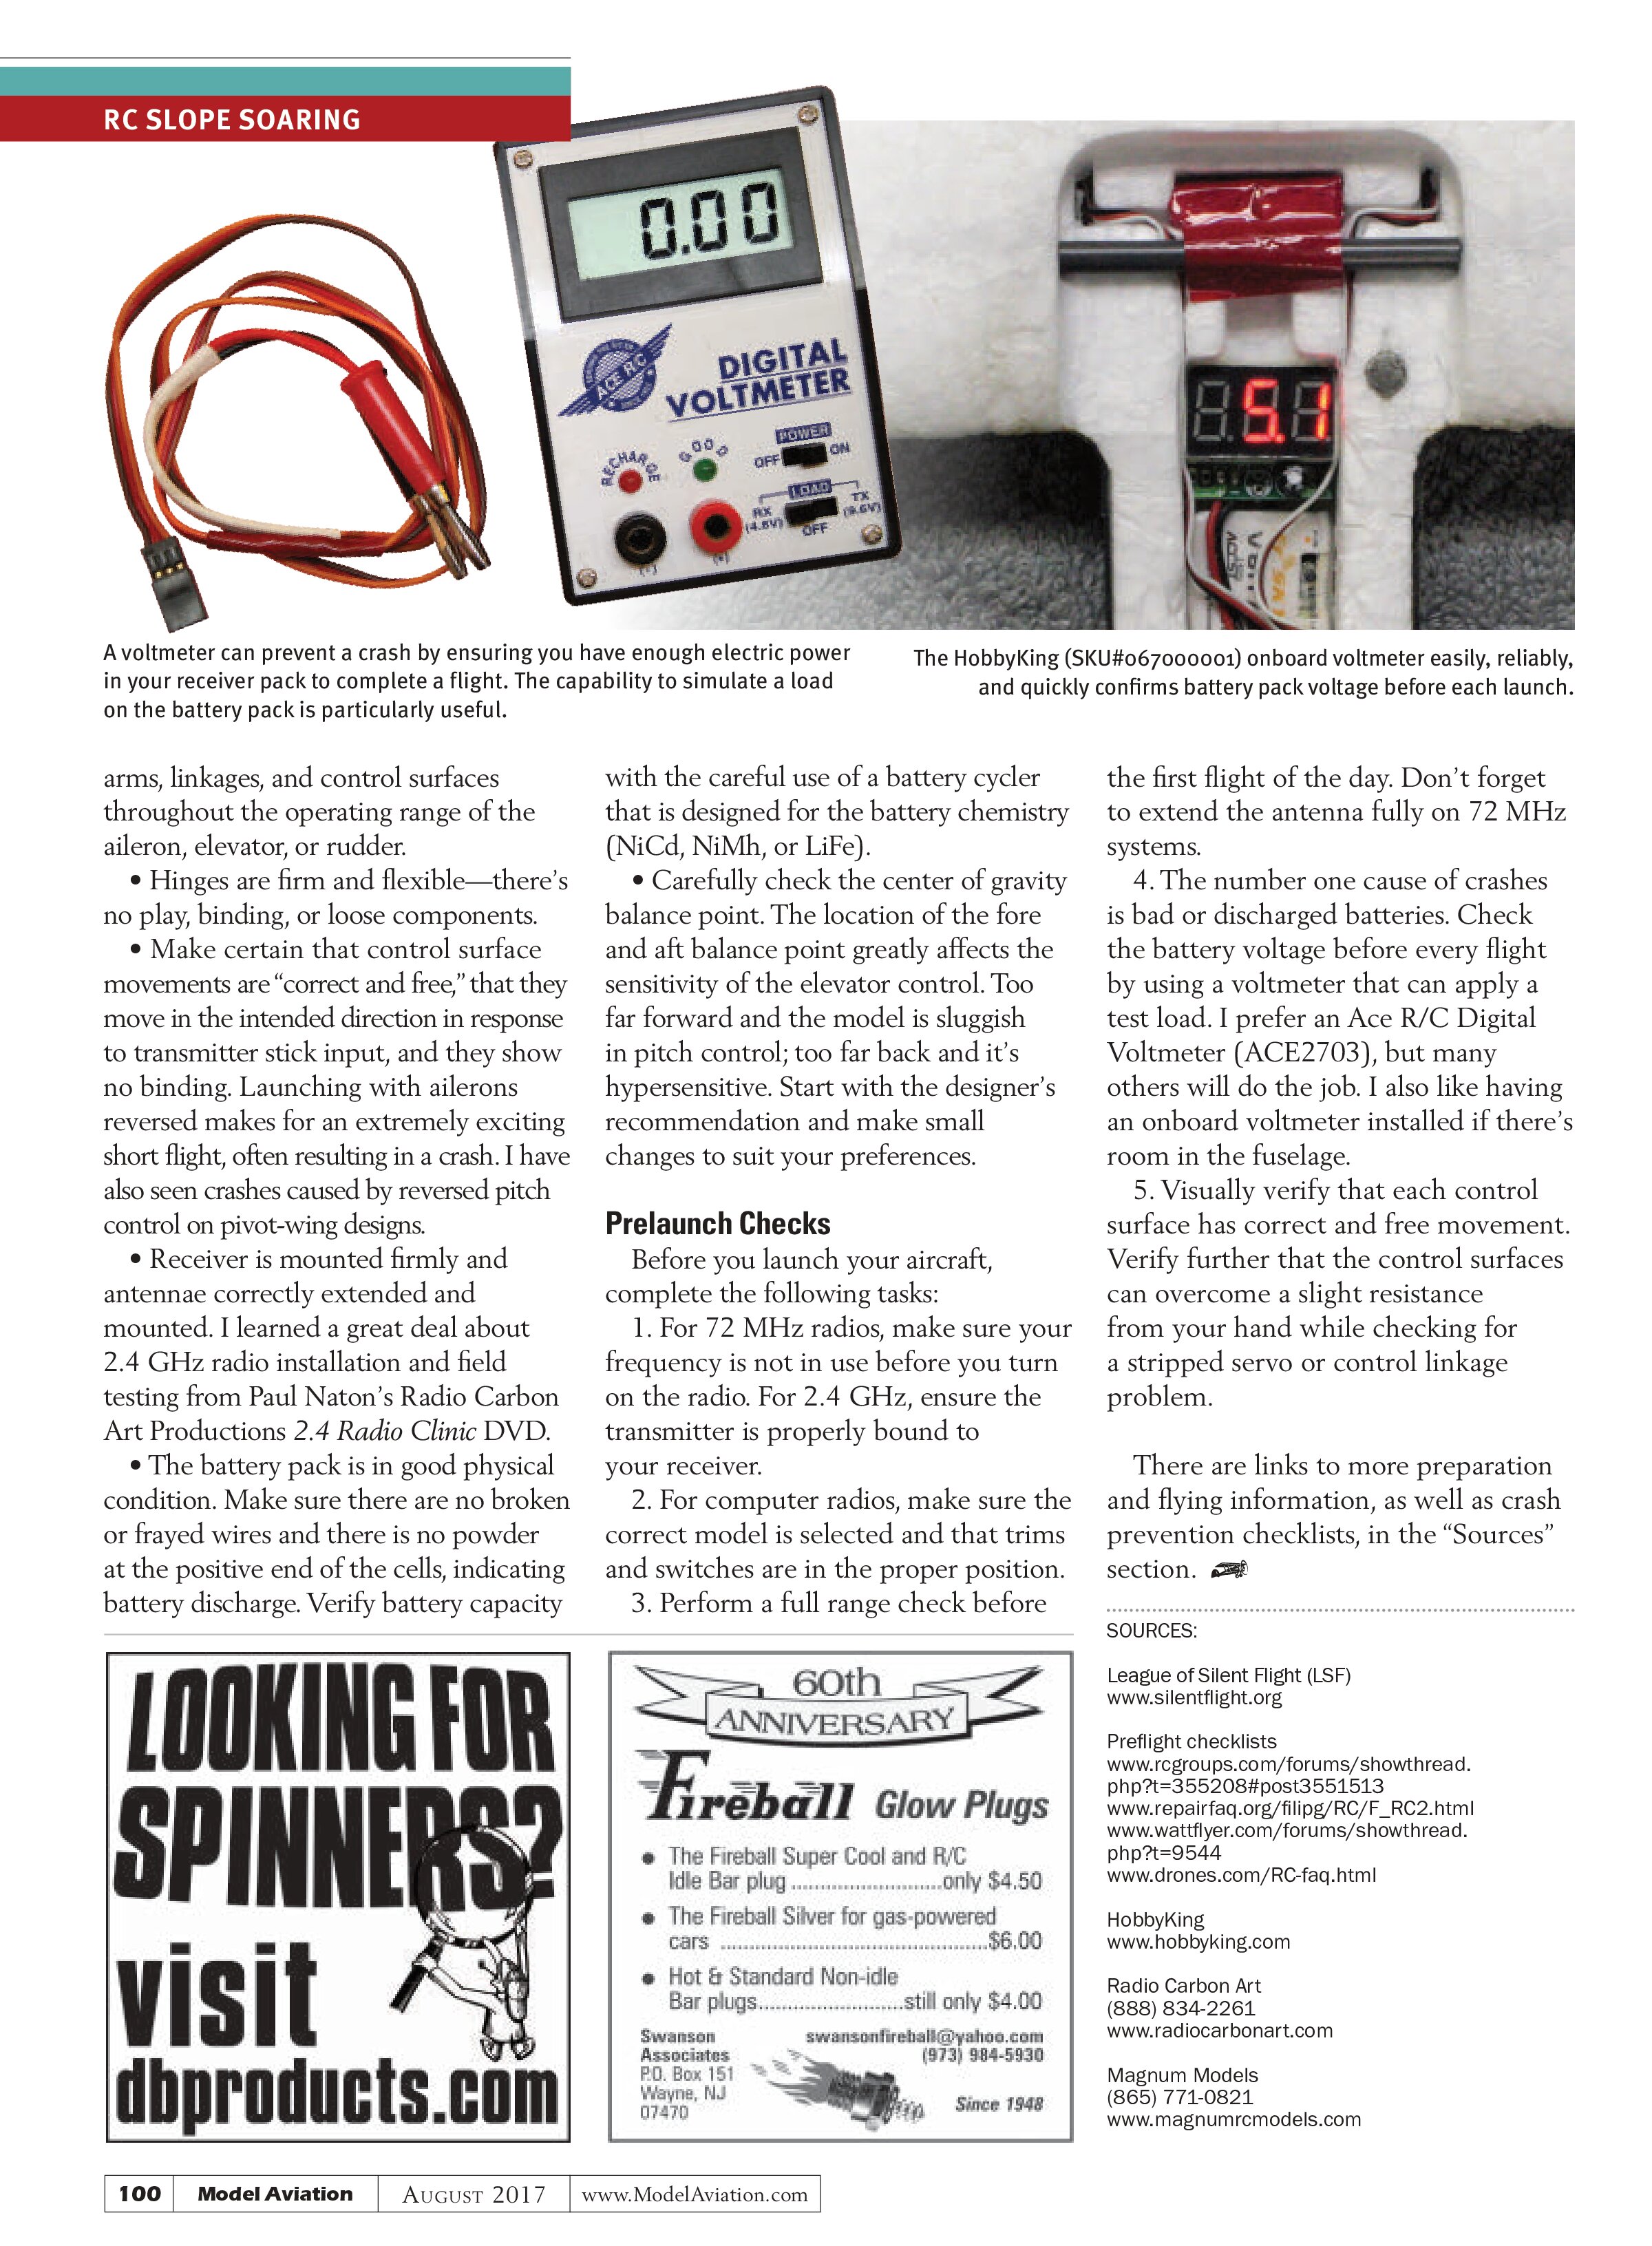
The cause of the crash was a dead receiver battery pack. What was the age of the pack? Seven years. The lesson learned is to change receiver battery packs more often (three years is commonly recommended) and test their capacity with an instrument designed for this purpose. I suggest using an Ace R/C Digipace, a Sirius Electronics SuperTest, or an ElectriFly Triton EQ battery charger/cycler/tester.

Crash Two
One chilly, but sunny, day we were flying from snow pack on a hill that overlooks the Hudson River in New York. Beginning his third flight of the day, a friend launched his prototype One-Design Racing airplane. This time he found he had plenty of air speed, but no elevator control. This is not a fun situation to be in.
He had aileron control and kept the wings level, but the sailplane began a huge loop and traced the dreaded Figure Nine pattern—nosing in on frozen ground that was 200 feet behind us and shattering the fuselage.
The cause of the crash was a broken control horn. More brittle in the cold, the nylon elevator control horn fractured after an otherwise normal-looking landing. It might not be enough to check before the first flight of the day to see if the control surfaces move. It’s best to check before every launch.
It’s not sufficient to wiggle the sticks before launch and simply see the control surfaces move. We also need to touch the control surfaces, introduce some slight resistance, and feel the surfaces move against the resistance to know if the linkages are working. It’s good to get into the habit of manually grasping and checking control surface movement against resistance before each launch. This test can reveal a stripped servo or damage that occurs during landing when all else on the airframe looks fine.
Workbench Checks
While your sailplane is on your workbench, check the following:
- Control linkages.
- Servos are firmly mounted.
- Control cables are routed smoothly and mounted firmly.
- Hardware is correctly installed.
- There is free movement of servo


arms, linkages, and control surfaces throughout the operating range of the aileron, elevator, or rudder.
- Hinges are firm and flexible—there’s no play, binding, or loose components.
- Make certain that control surface movements are “correct and free,” that they move in the intended direction in response to transmitter stick input, and they show no binding. Launching with ailerons reversed makes for an extremely exciting short flight, often resulting in a crash. I have also seen crashes caused by reversed pitch control on pivot-wing designs.
- Receiver is mounted firmly and antennae correctly extended and mounted. I learned a great deal about 2.4 GHz radio installation and field testing from Paul Naton’s Radio Carbon Art Productions 2.4 Radio Clinic DVD.
- The battery pack is in good physical condition. Make sure there are no broken or frayed wires and there is no powder at the positive end of the cells, indicating battery discharge. Verify battery capacity with the careful use of a battery cycler that is designed for the battery chemistry (NiCd, NiMh, or LiFe).
- Carefully check the center of gravity balance point. The location of the fore and aft balance point greatly affects the sensitivity of the elevator control. Too far forward and the model is sluggish in pitch control; too far back and it’s hypersensitive. Start with the designer’s recommendation and make small changes to suit your preferences.
Prelaunch Checks
Before you launch your aircraft, complete the following tasks:
- For 72 MHz radios, make sure your frequency is not in use before you turn on the radio. For 2.4 GHz, ensure the transmitter is properly bound to your receiver.
- For computer radios, make sure the correct model is selected and that trims and switches are in the proper position.
- Perform a full range check before the first flight of the day. Don’t forget to extend the antenna fully on 72 MHz systems.
- The number one cause of crashes is bad or discharged batteries. Check the battery voltage before every flight by using a voltmeter that can apply a test load. I prefer an Ace R/C Digital Voltmeter (ACE2703), but many others will do the job. I also like having an onboard voltmeter installed if there’s room in the fuselage.
- Visually verify that each control surface has correct and free movement. Verify further that the control surfaces can overcome a slight resistance from your hand while checking for a stripped servo or control linkage problem.
There are links to more preparation and flying information, as well as crash prevention checklists, in the “Sources” section.
Sources:
League of Silent Flight (LSF)
www.silentflight.org
Preflight checklists
www.rcgroups.com/forums/showthread.php?t=355208#post3551513
www.repairfaq.org/filipg/RC/F_RC2.html
www.wattflyer.com/forums/showthread.php?t=9544
www.drones.com/RC-faq.html
HobbyKing
www.hobbyking.com
Radio Carbon Art
(888) 834-2261
www.radiocarbonart.com
Magnum Models
(865) 771-0821
www.magnumrcmodels.com